13. Molding and Casting
This week's assignment consisted of making a mold, so I thought about making a mold to make a cat-shaped candle.
For more information about the different ways to make a mold, you can check the GROUP PAGE. To make my mold I used a wax block and machined it on the router.
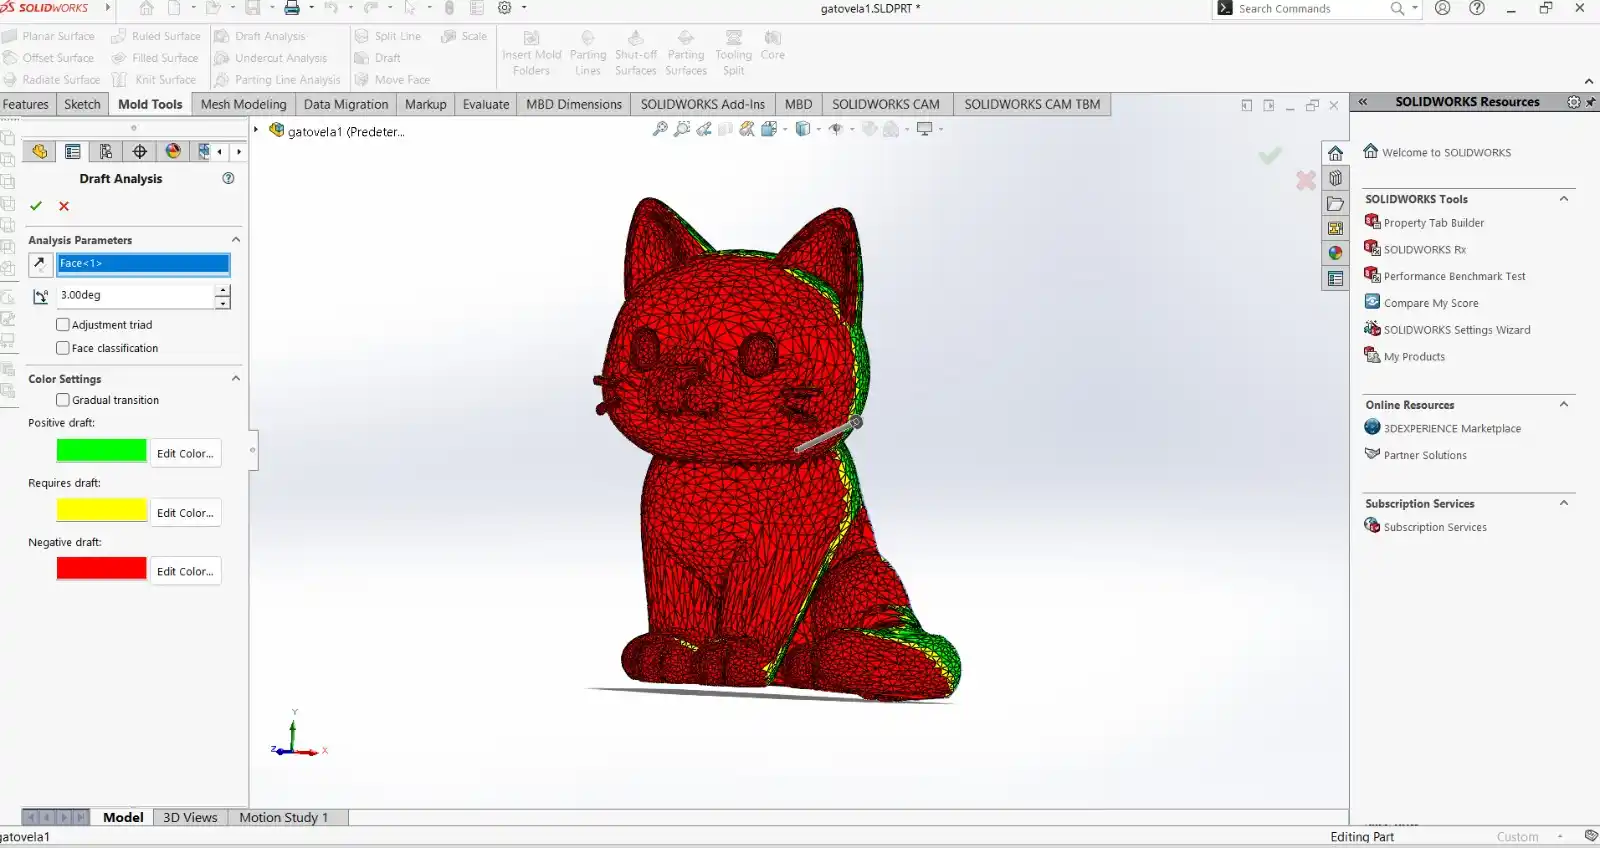
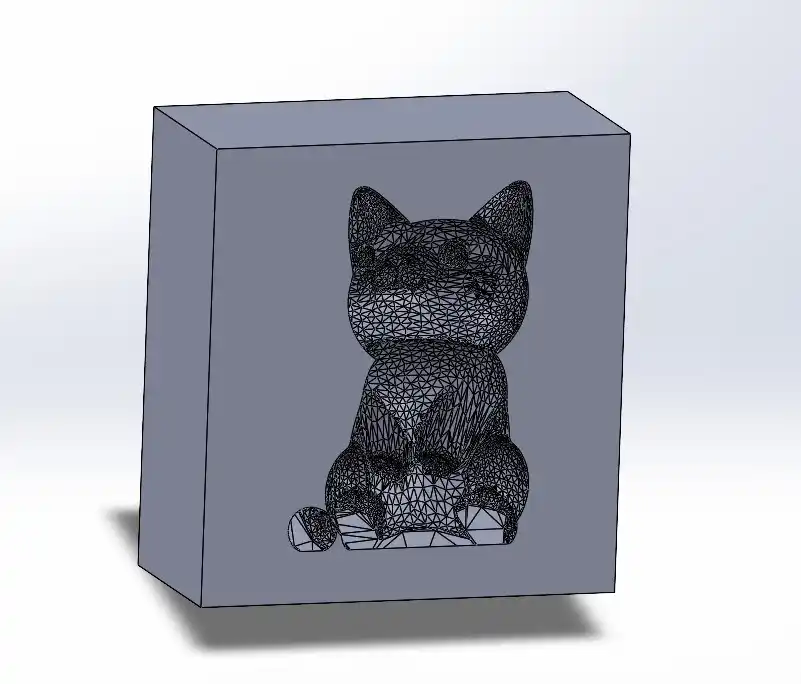
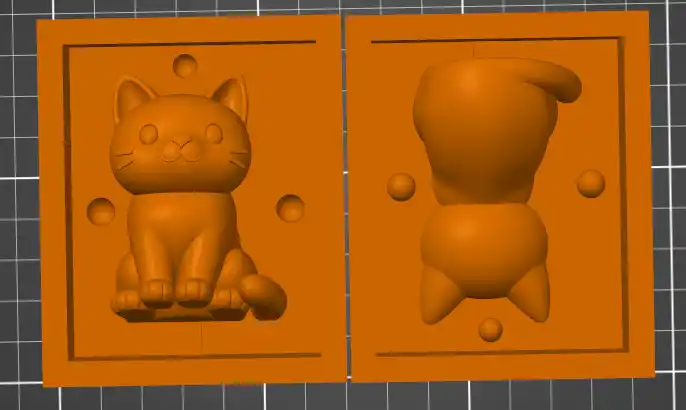
The first thing I did was download a cat model from Cults and open it in SolidWorks as a solid.
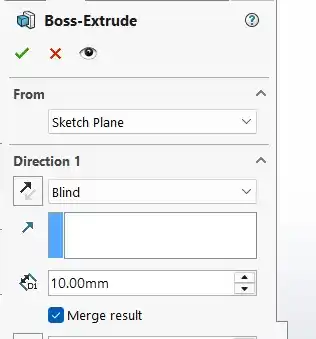
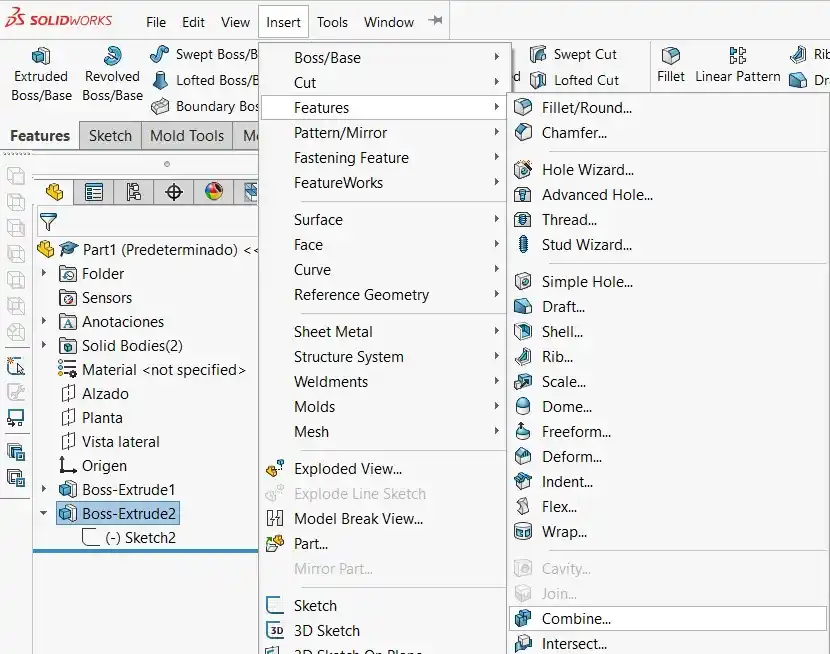
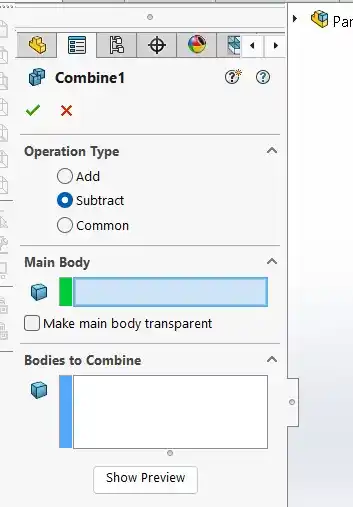
1. SolidWorks

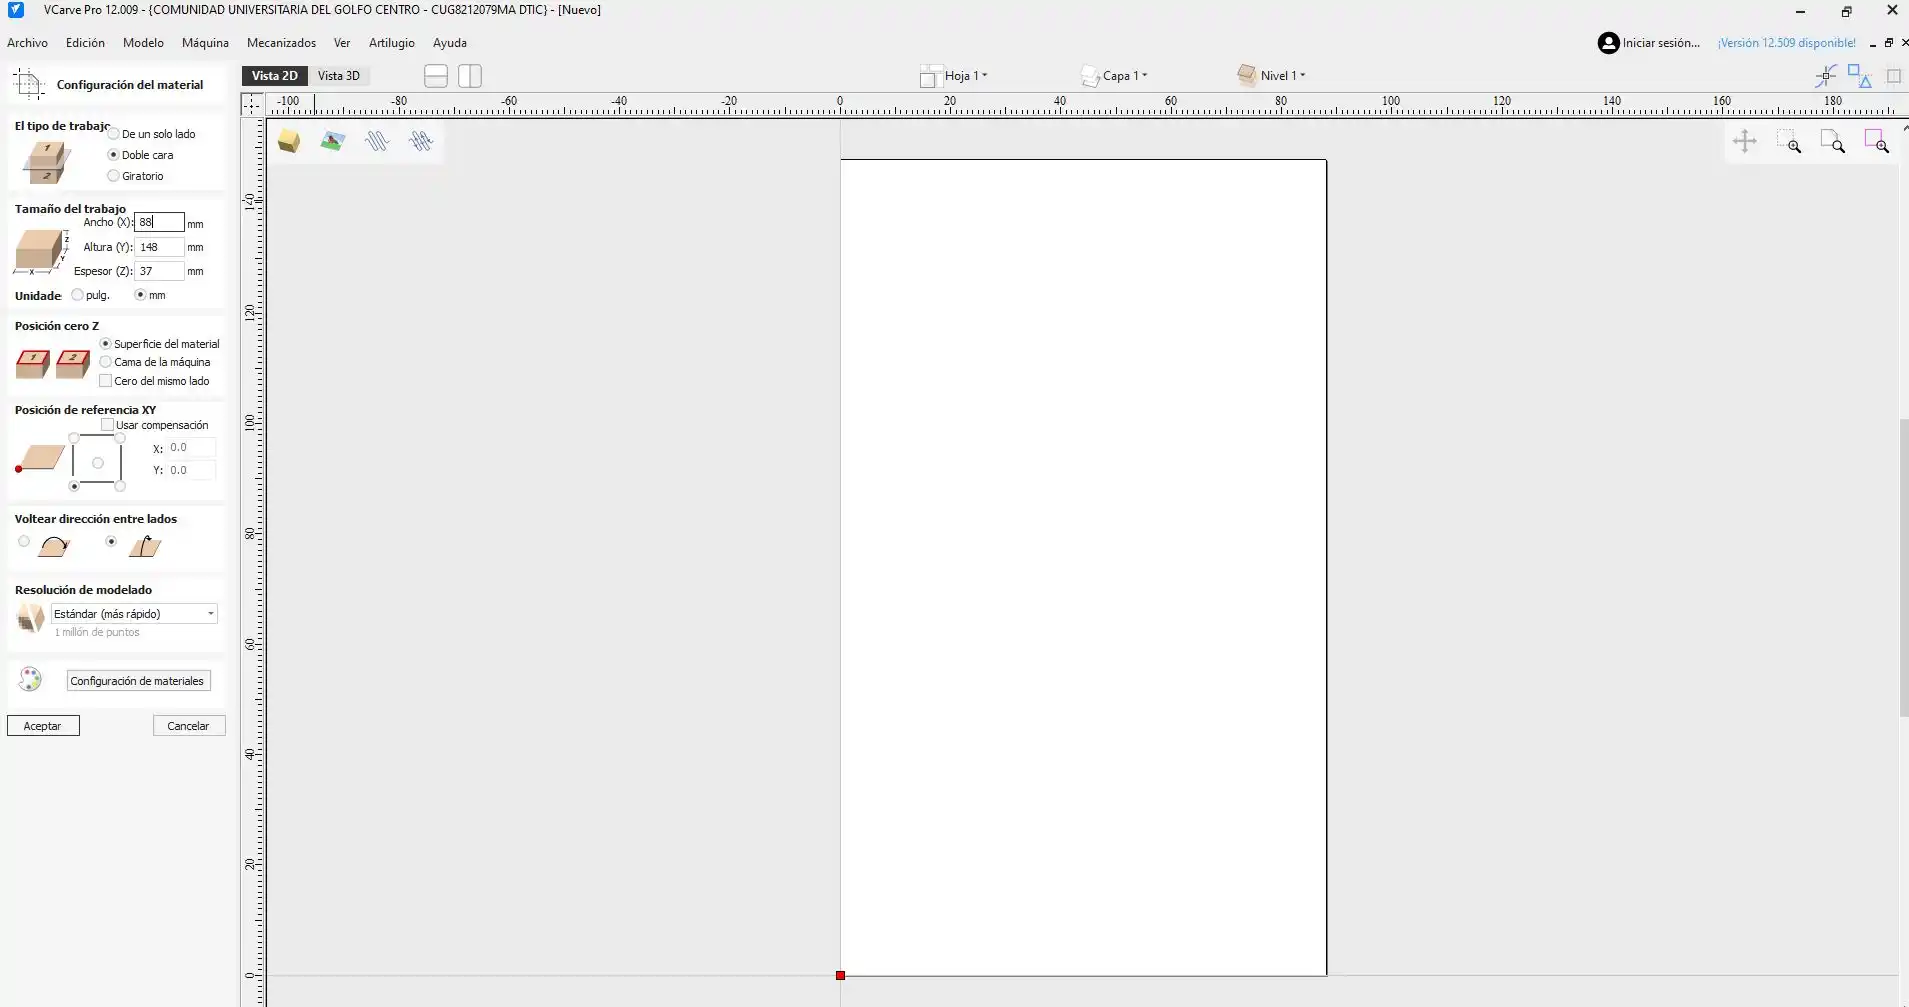
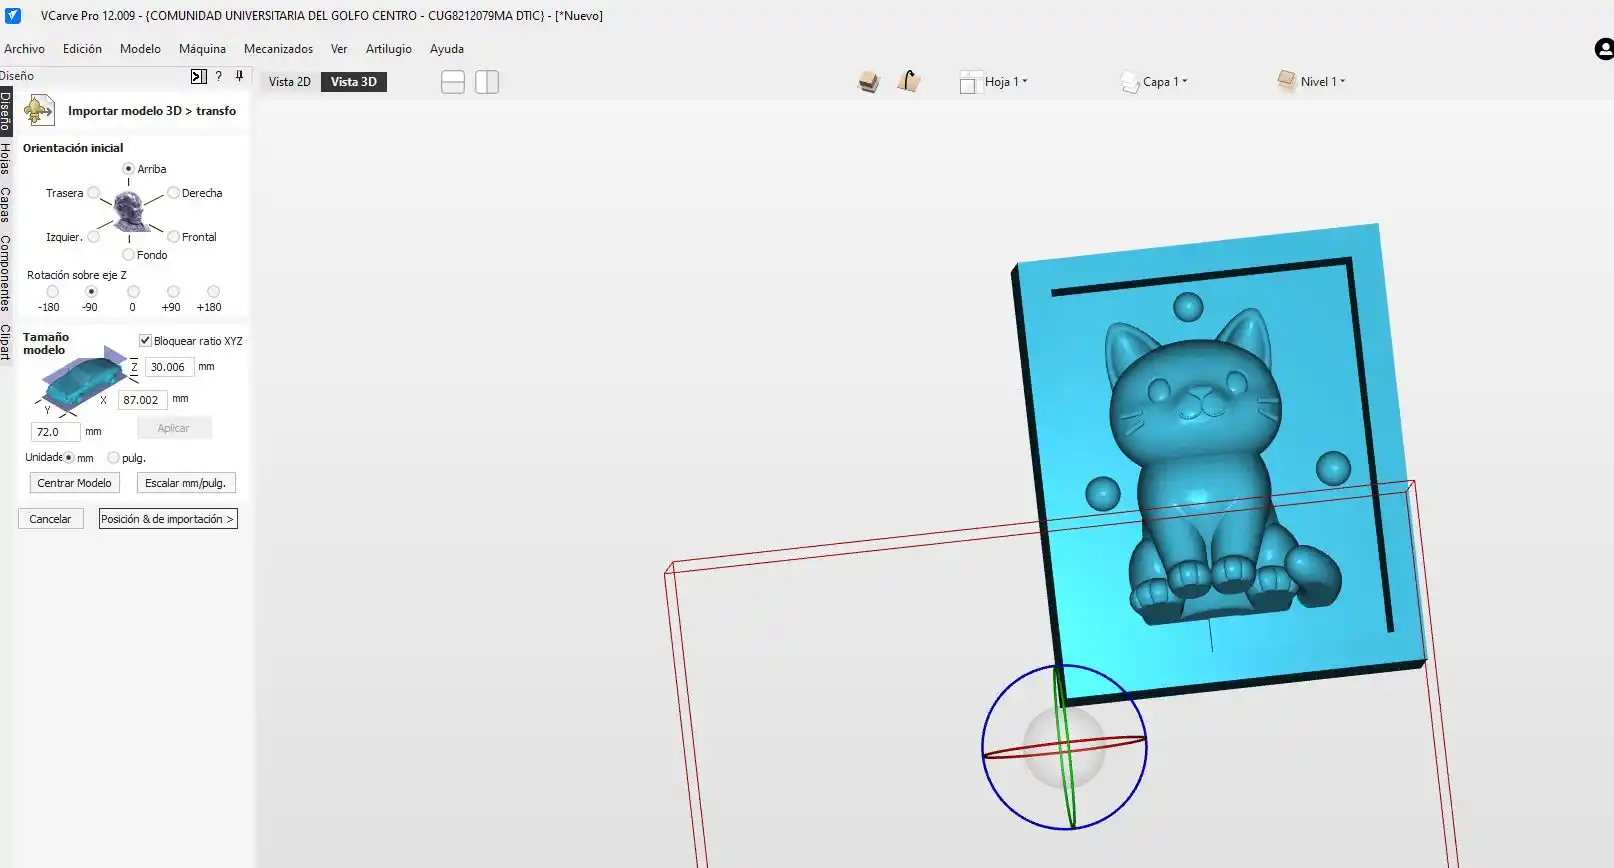
2. VCarve
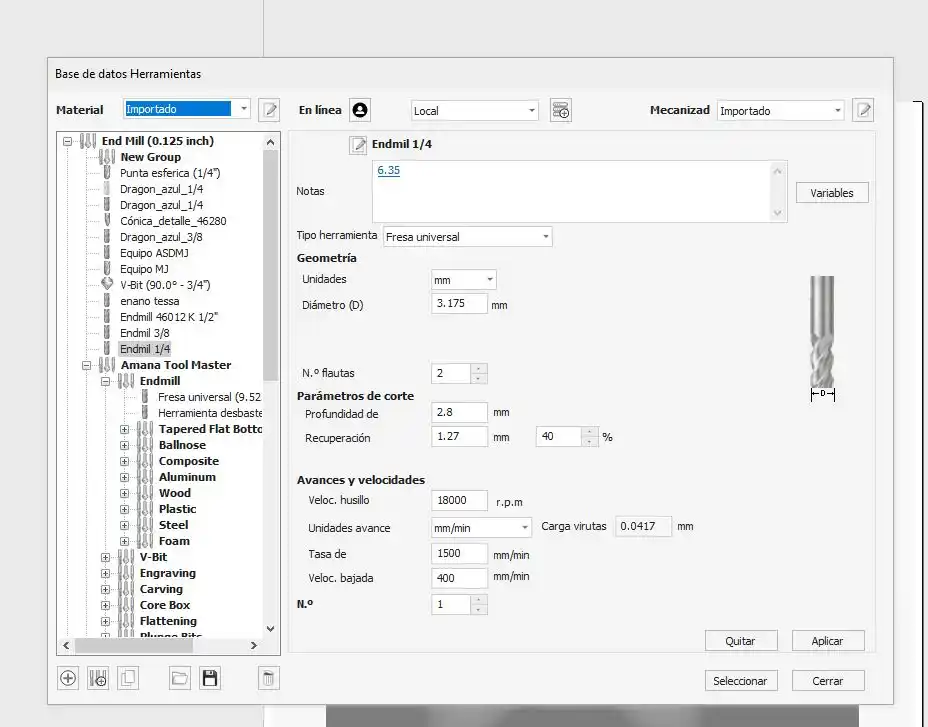
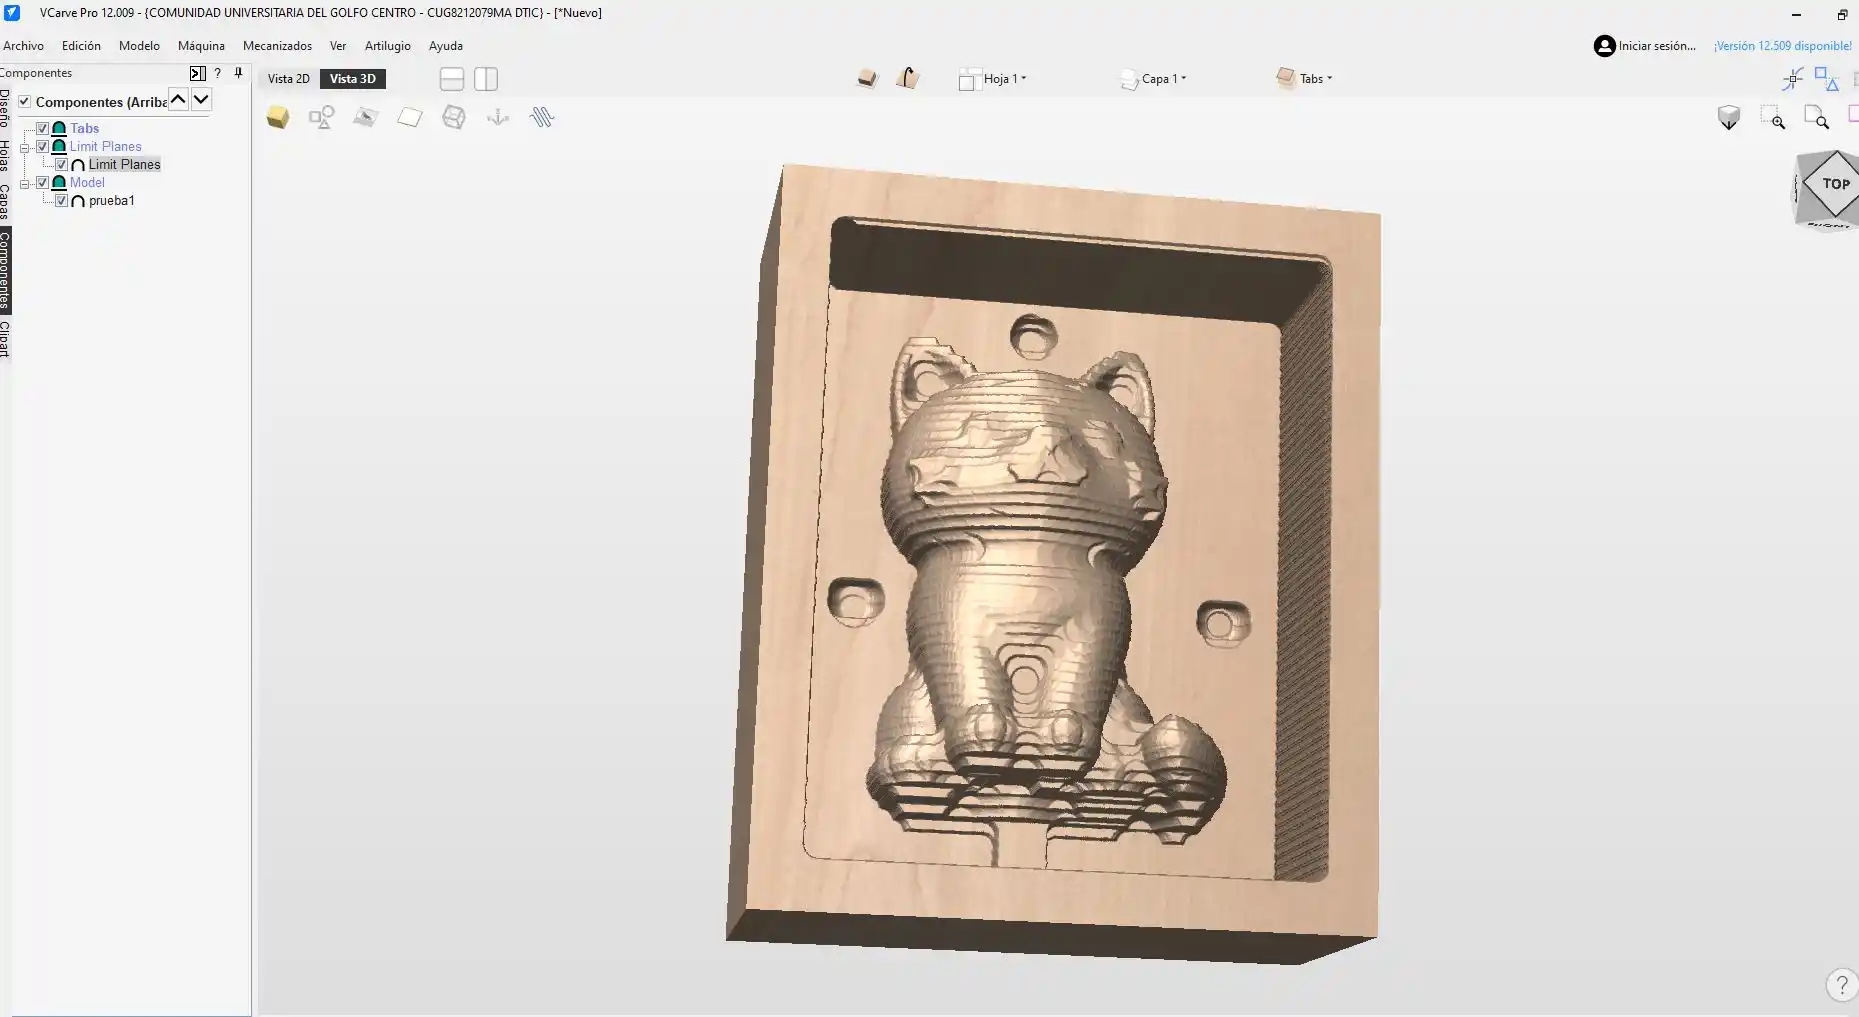
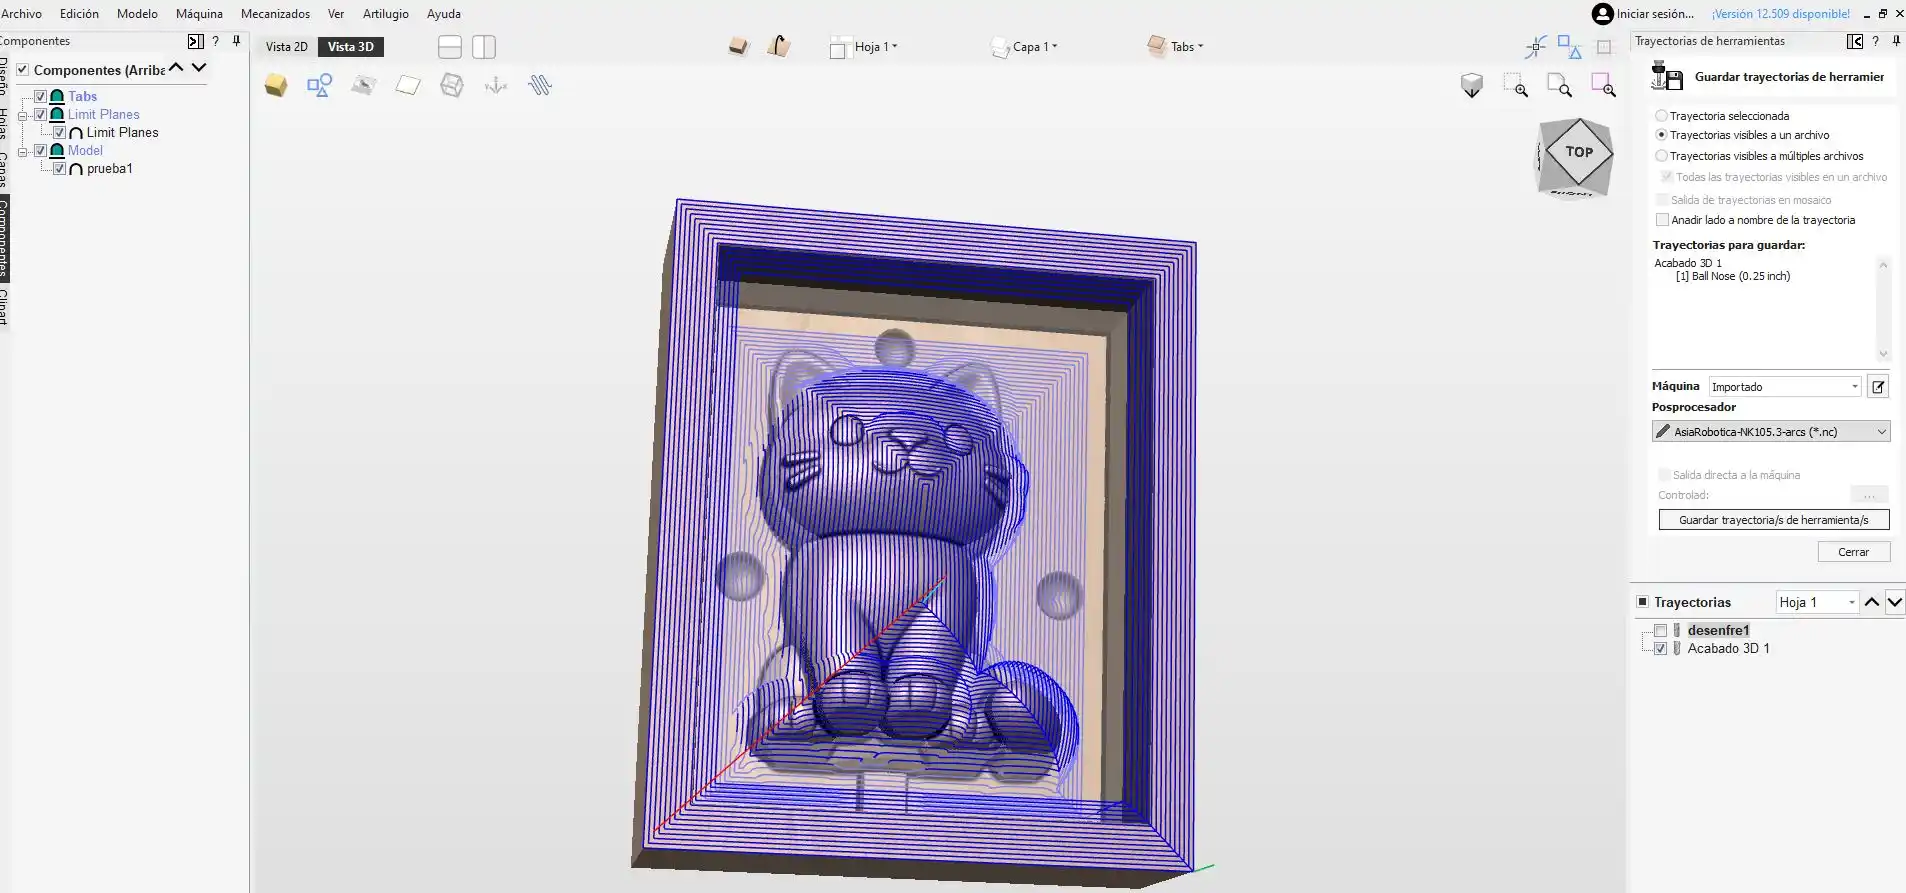
3. Router
To see how the router works you can check my WEEK7.
To place our piece of wax we have to place a board that has nuts and we place the board with the Asia clamps, then we place the wax block and secure it with the clamps located next to the router and fasten them with screws.
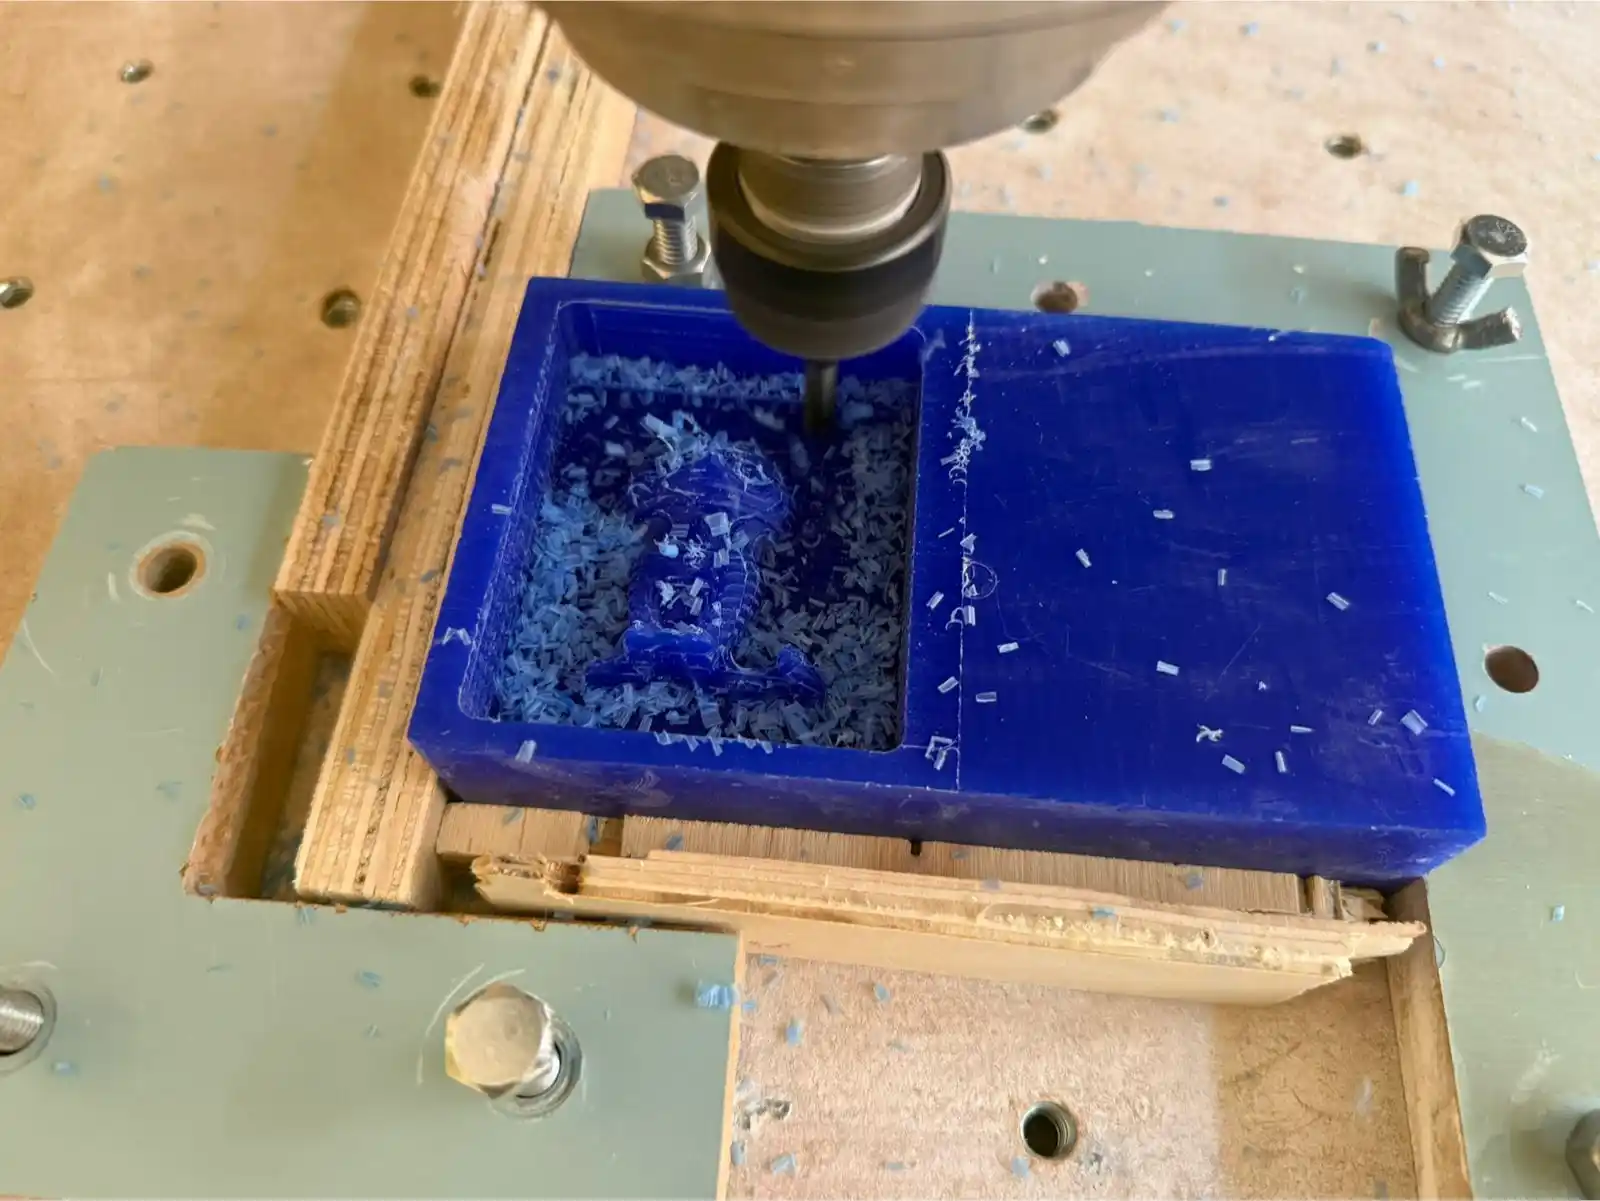
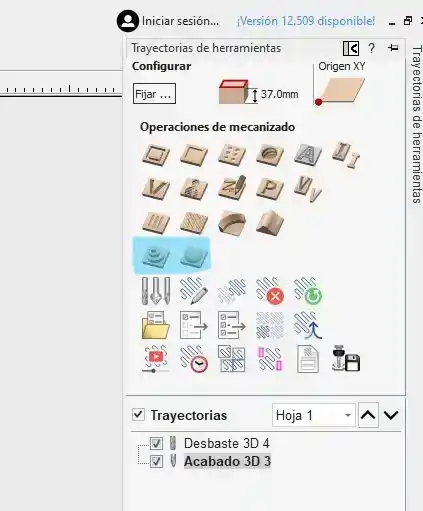
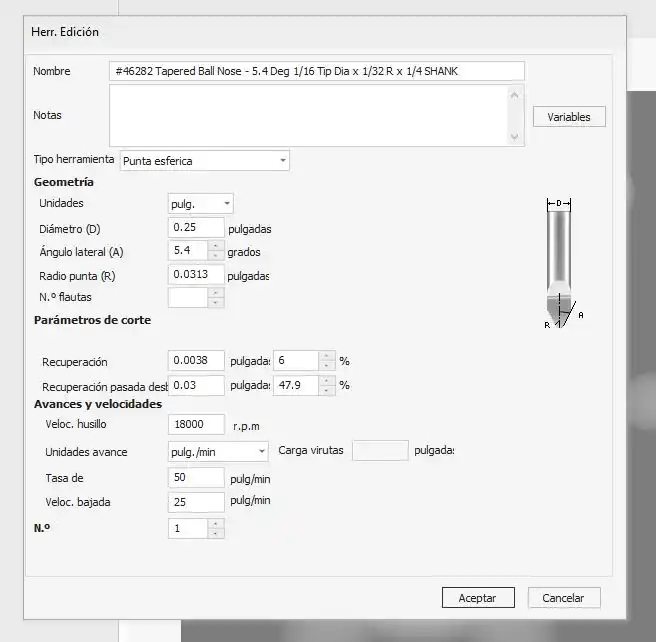
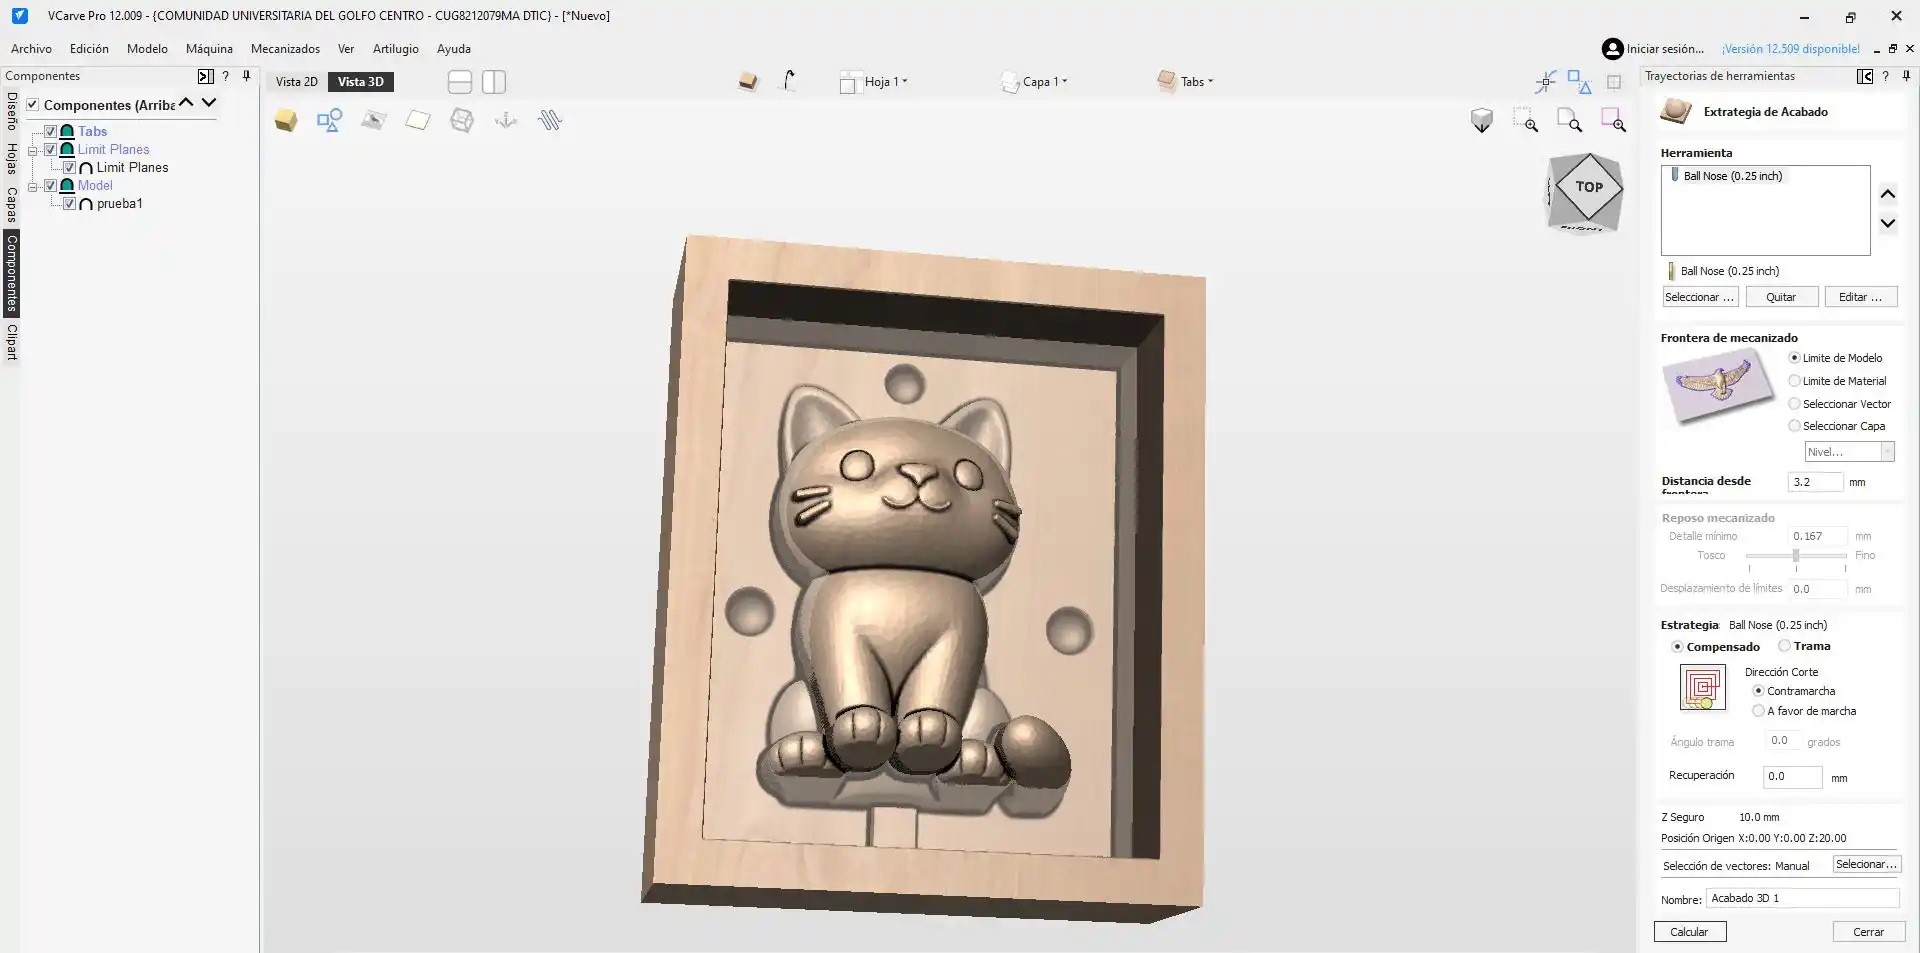
Then we place the roughing tool and once it has finished we place the finishing tool.
4. Silicon
To make our counter mold we use the mold we made on the router and make a silicone mixture, the silicone I used was the following:
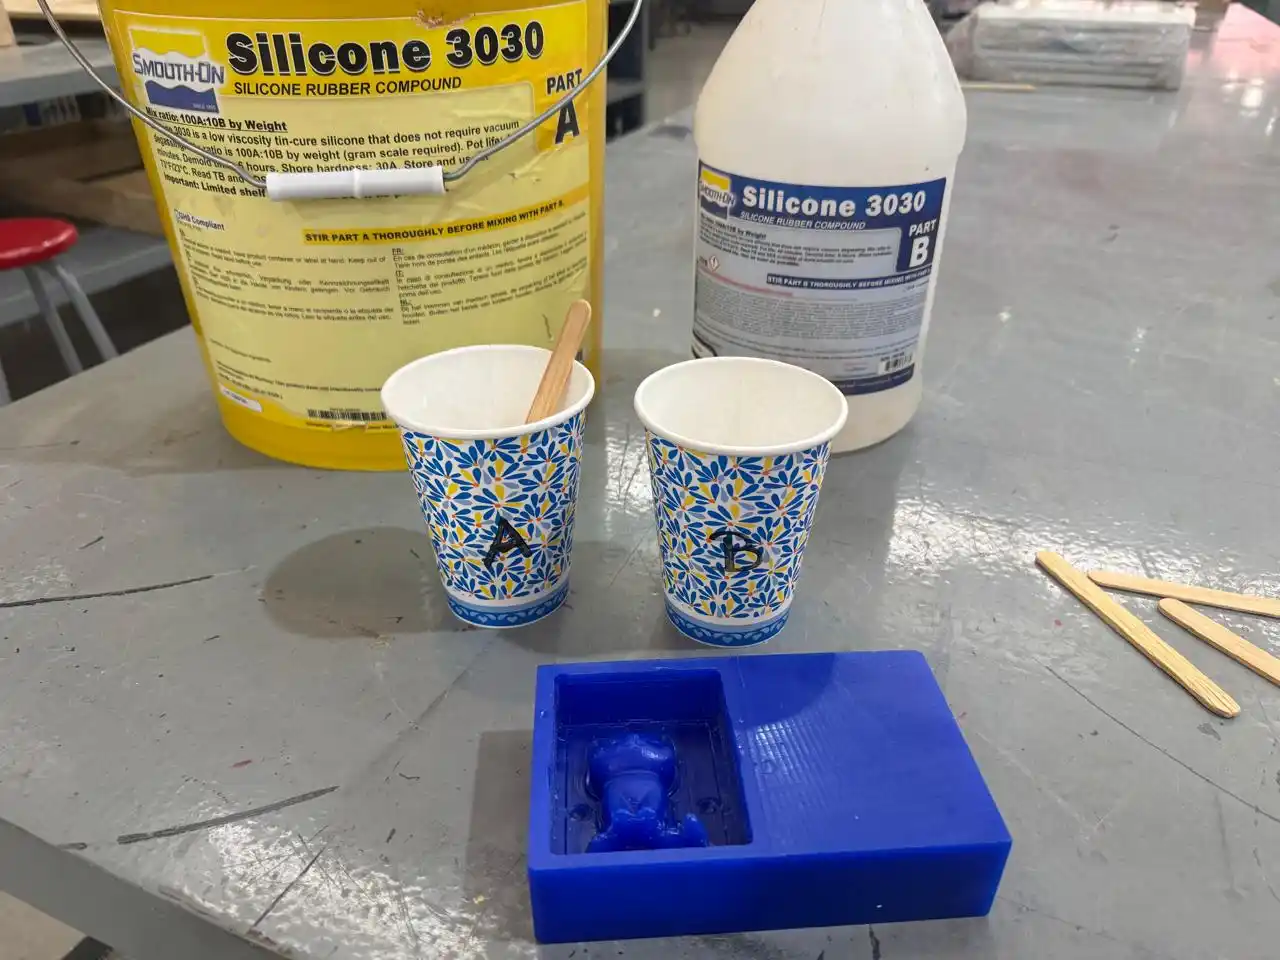
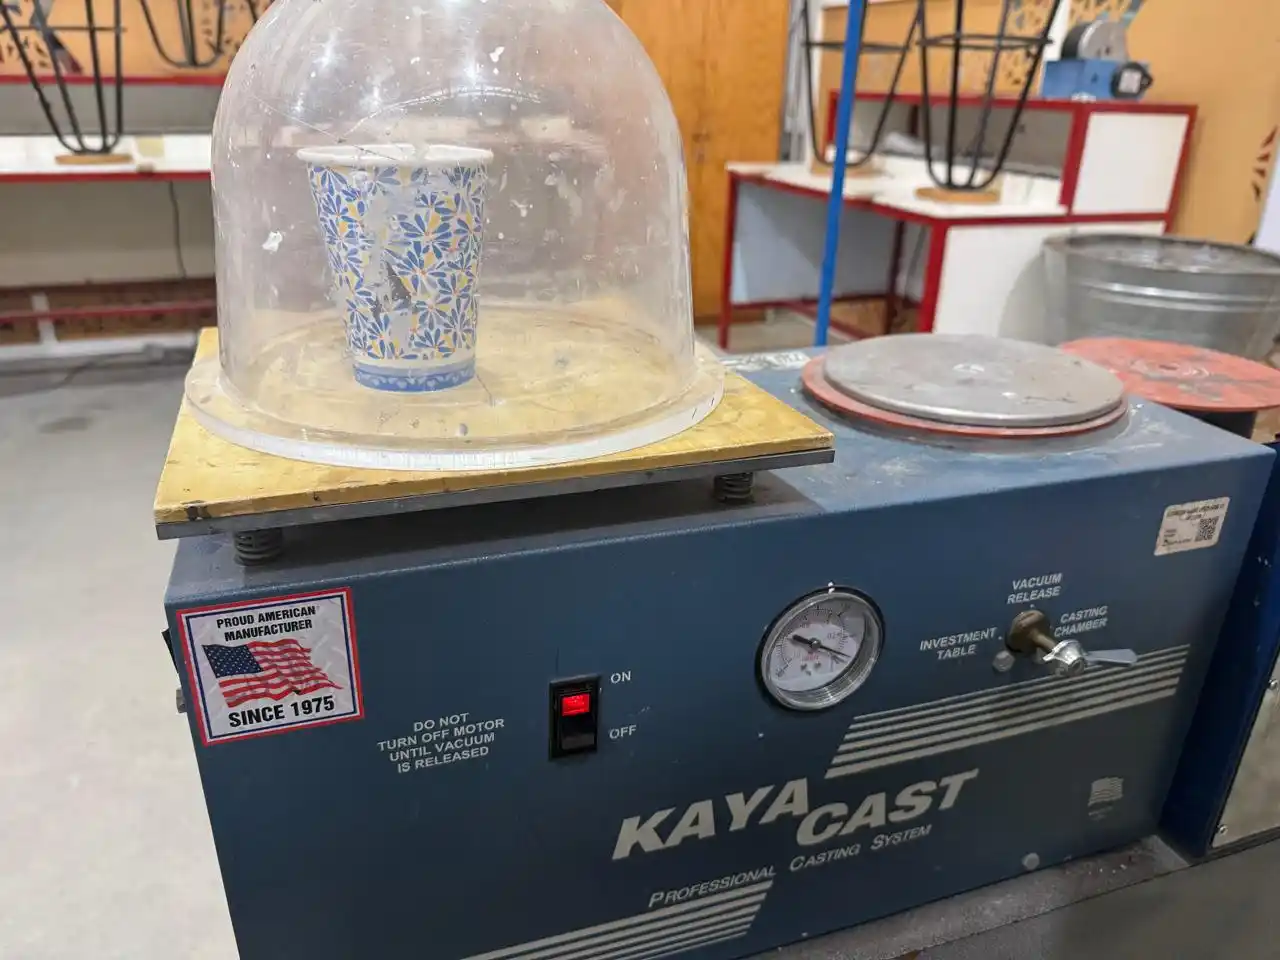
This silicone should be mixed in a ratio of 100% of chemical A and 10% of chemical B, according to the silicone datasheet; furthermore, according to the datasheet, we can know that this silicone dries in 40 minutes. I made the mixture and then placed it in the vacuum machine where the steps are as follows:
- Place the lever on the Vacuum Release option.
- Then on the Investment table option.
We take out our mixture and pour it into our wax mold.
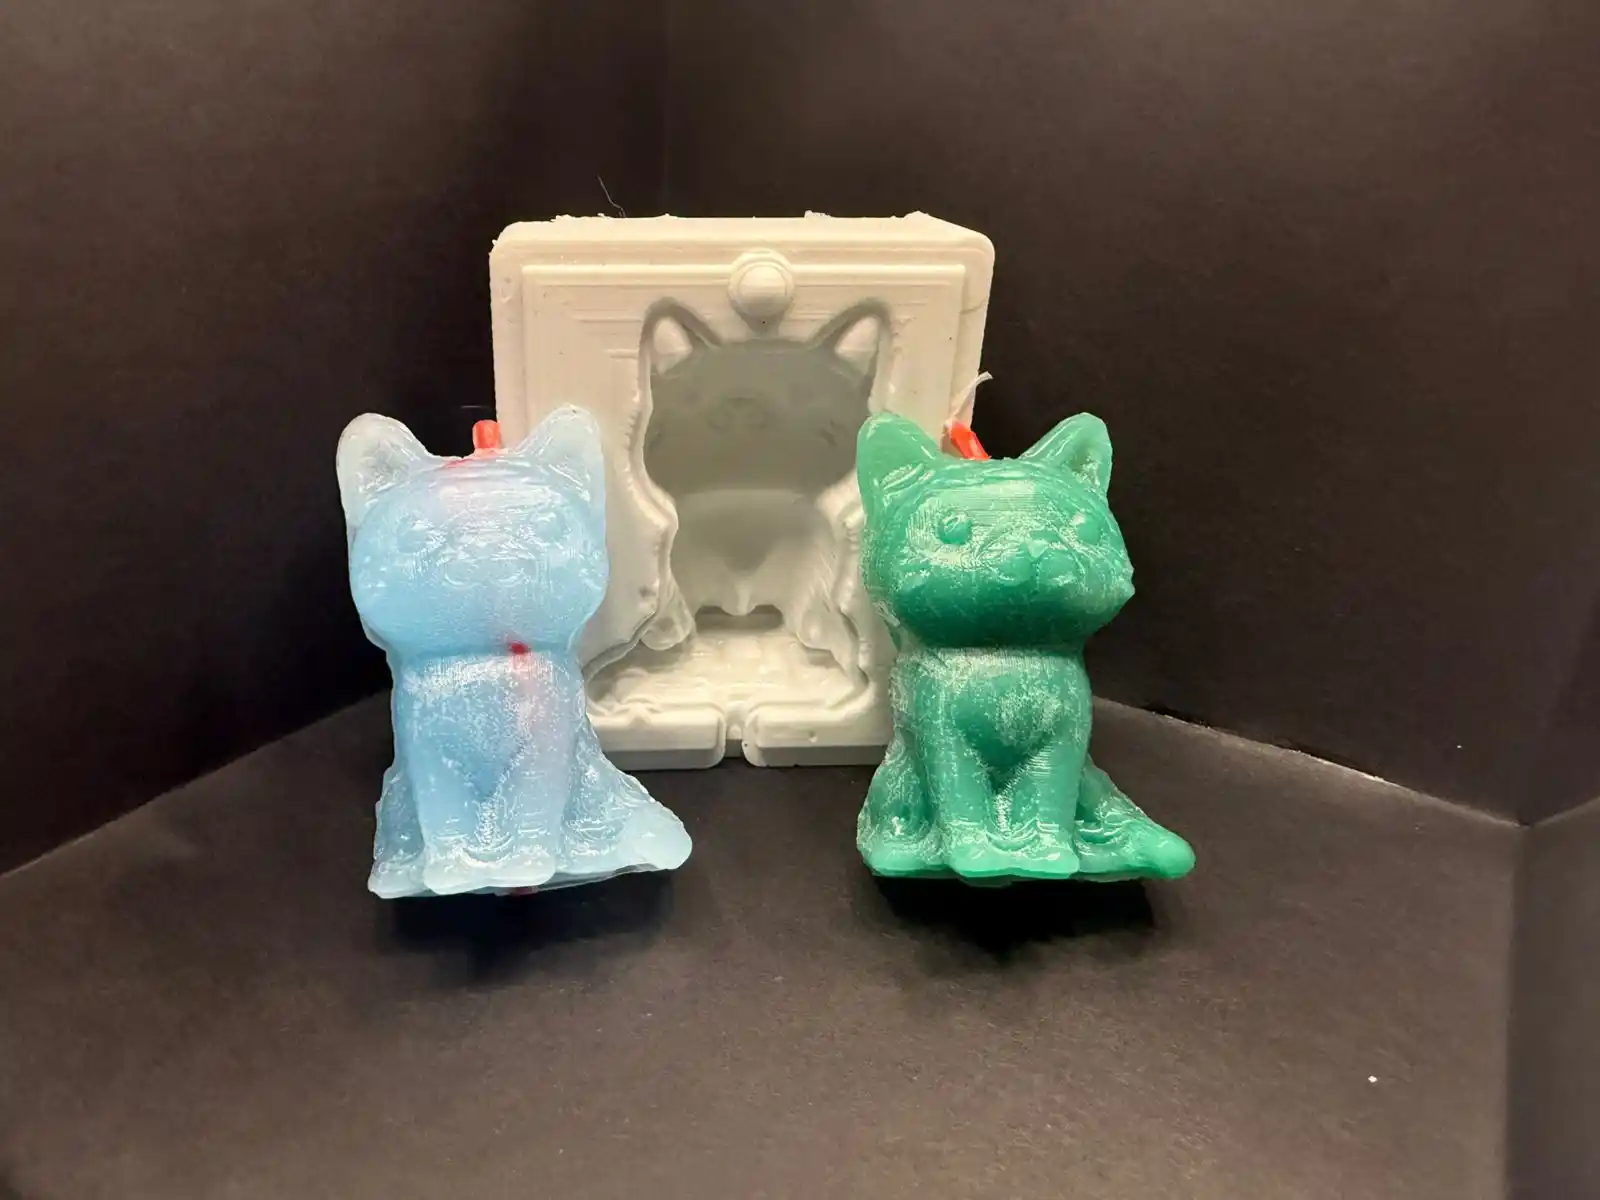
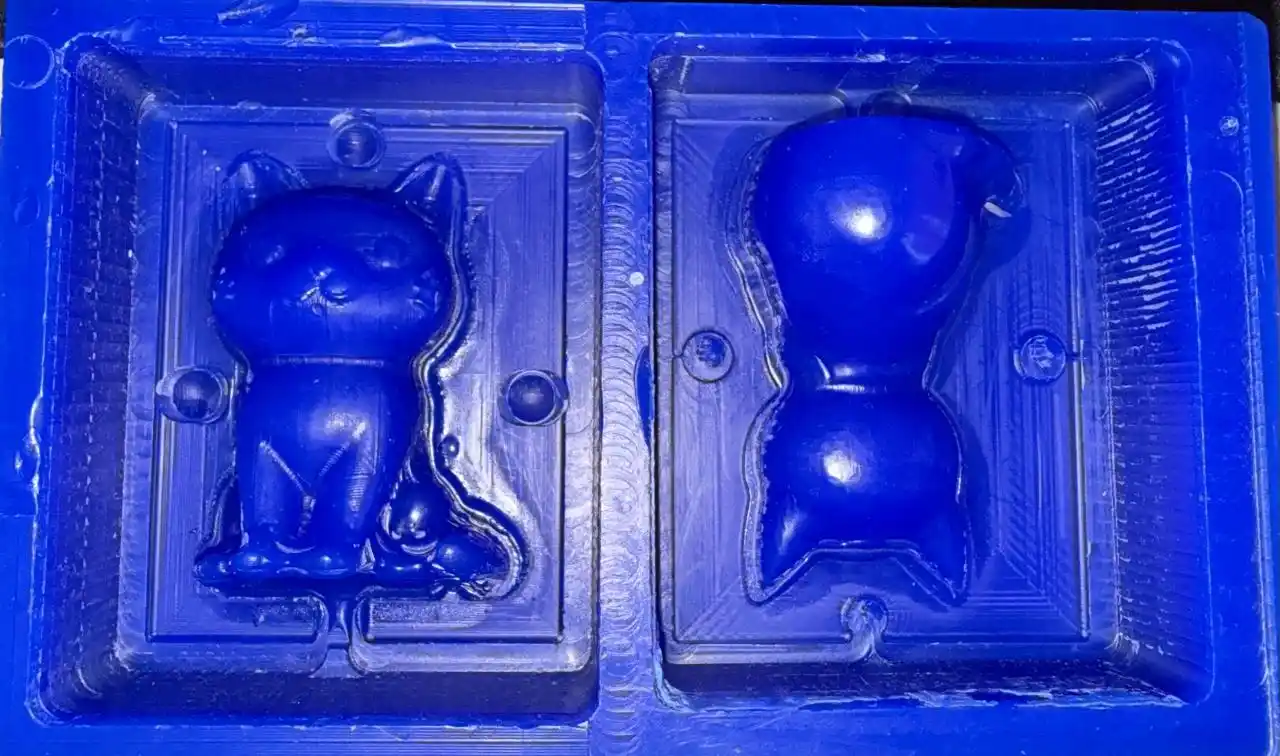
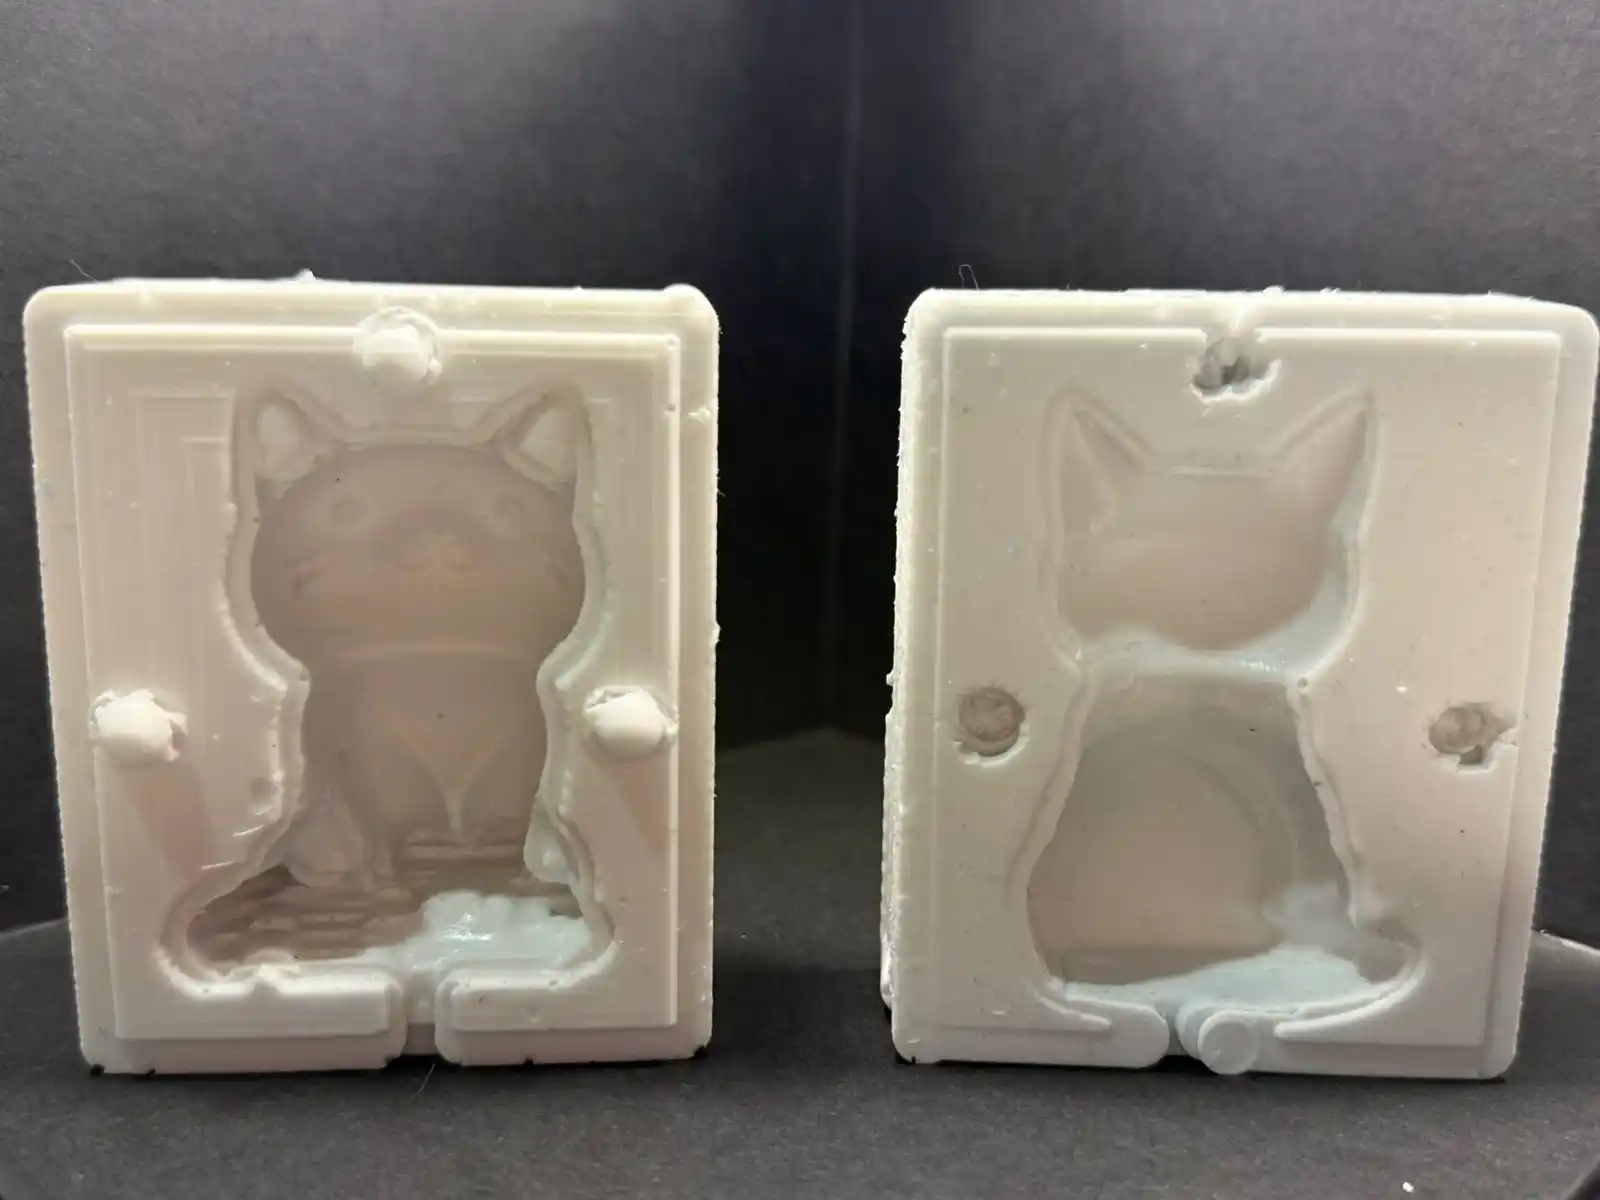
This is how the mold turned out:
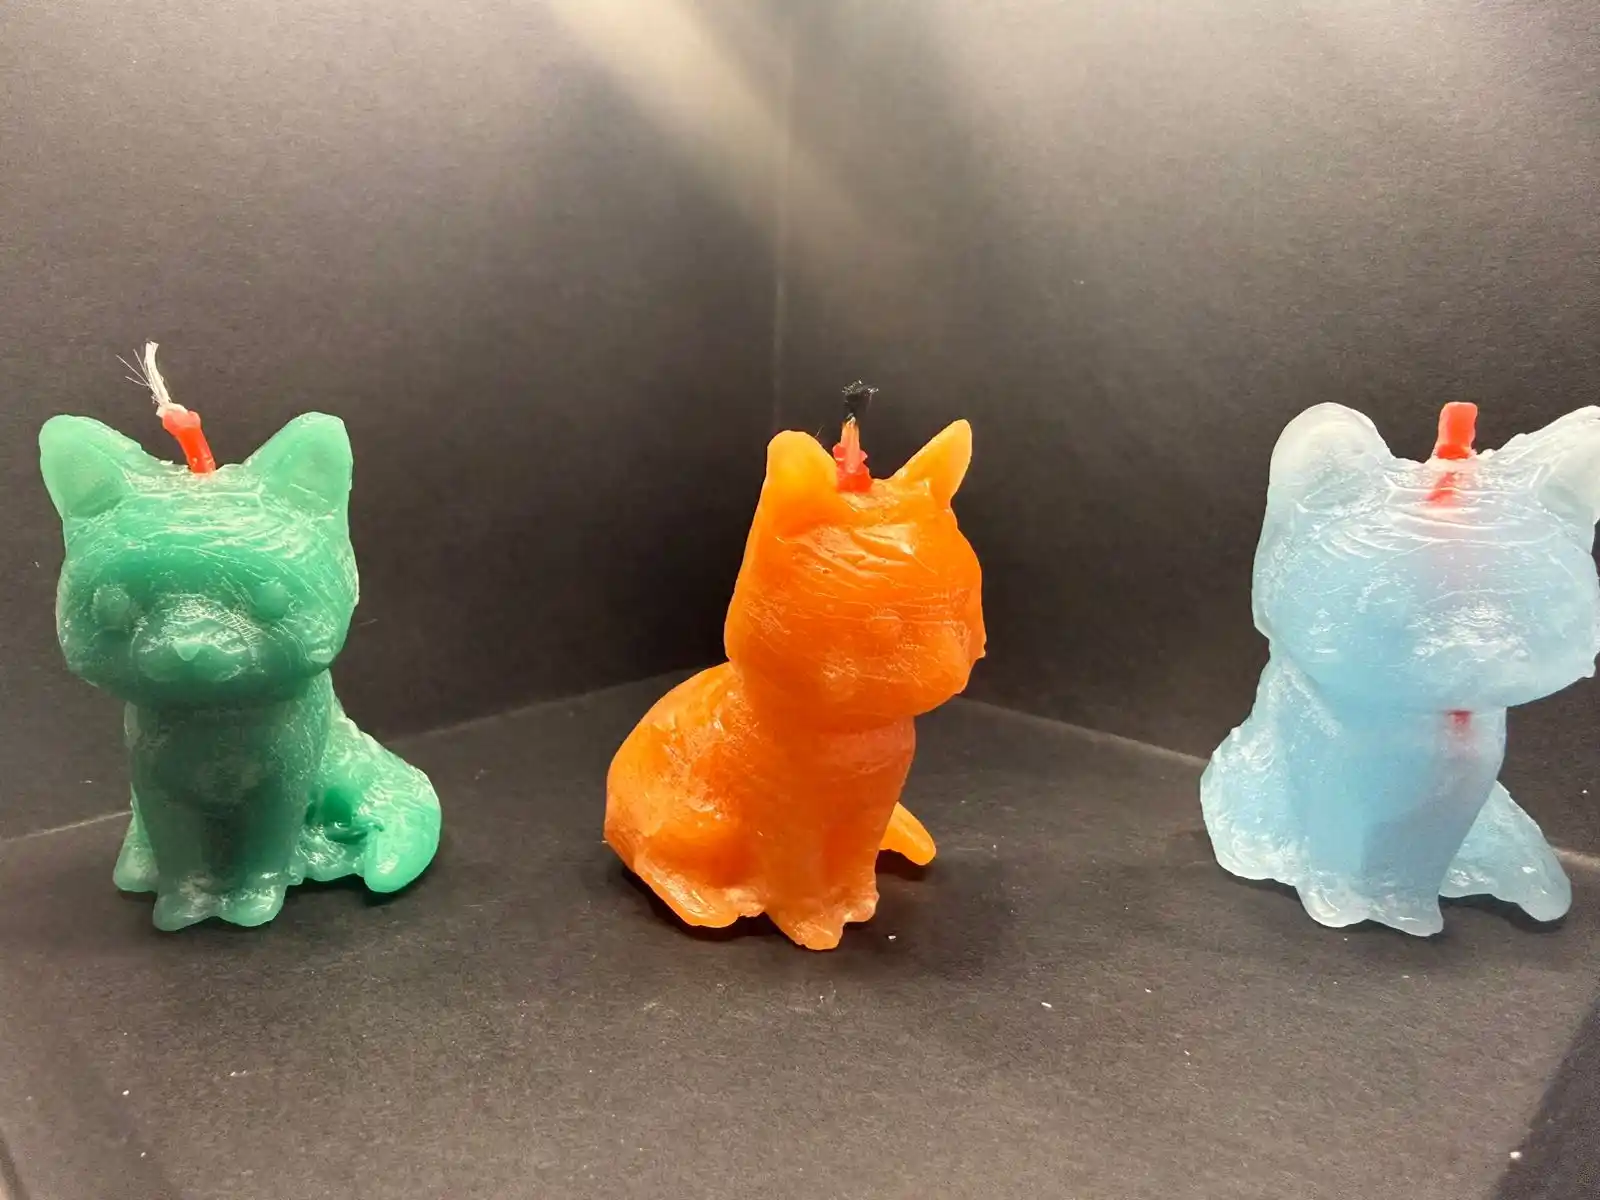
5. Result
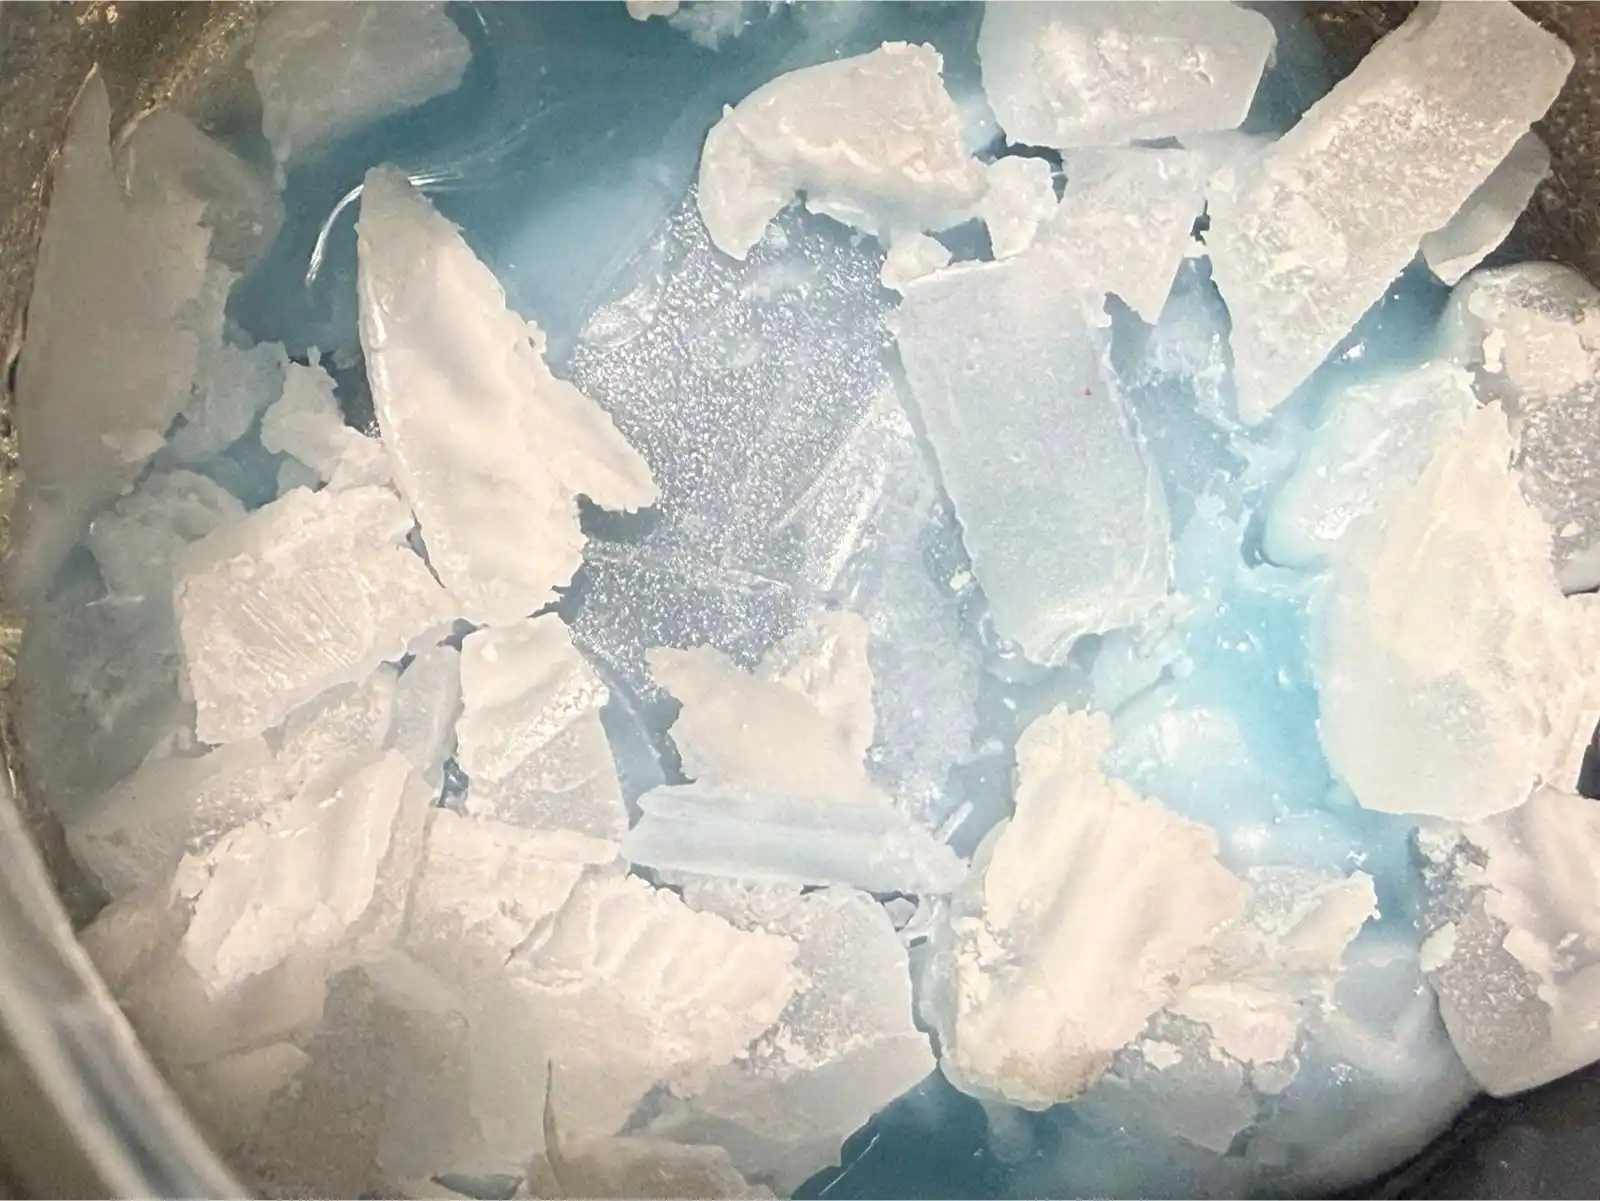
For the final result I melted wax in a water bath and colored it with pieces of crayon, this is how my cat turned out: