Personal and Group Assignment
This week's personal assignment was to document the process of designing and machining a large-scale project. The group assignment focused on testing the machine's runout, alignment, speeds, feeds, and toolpath capabilities.
Group Assignment
Here's also the link to our group assignment of this week.
What is Computer Controlled Machining?
It is a subtractive fabrication process where a computer-controlled cutting tool (a router bit) removes material from a solid block to create a shape. Unlike laser cutting, CNC machining allows for 2.5D and 3D shapes by controlling the depth (Z-axis).

Large Format CNC Workflow
Working with a large format CNC router involves a clear sequence of steps — from digital design to physical part. Each stage depends on the previous one, so understanding the full pipeline is essential before touching the machine.
The process starts in CAD software (in my case Shapr3D), where the part is designed with the final dimensions and joint tolerances already considered. The design is then exported as a DXF file, which is imported into VCarve Pro — the CAM software — where toolpaths are generated and cutting parameters are set.
VCarve exports the toolpaths as a G-Code file, which is loaded into Mach3 — the machine control software that communicates directly with the CNC router. Before running the file, the machine must be physically prepared: the material is secured to the bed, the correct bit is installed, and the X, Y, and Z origins are set precisely using the control panel and a Z-probe.
Once the machine runs, the operator must stay present at all times to monitor the cut, check for material movement, and stop the machine immediately if something goes wrong. After machining, the parts are sanded, deburred, and tested for fit before final assembly.
Full workflow summary
01. Design — Model the part in CAD (Shapr3D) with correct dimensions and joint tolerances. Export as DXF.
02. CAM setup — Import DXF into VCarve Pro. Define toolpaths (Profile, Pocket, Drilling), set feeds, speeds, and depth of cut. Run a simulation to verify.
03. Machine preparation — Mount and secure the material. Install the correct router bit. Set X/Y origin at the material corner. Use the Z-probe to zero the Z axis.
04. Cutting — Load the G-Code in Mach3 and start the cut. Monitor continuously. Never leave the machine unattended.
05. Post-processing — Sand edges, remove burrs, test press-fit joints, and assemble.
CNC Tooling and Bits
Choosing the right tool is essential for a good finish and machine safety. These are the most common bits I used:
Pulls chips upward. Excellent for clearing material in deep cuts but can leave a rough finish on the top surface of the wood.
Pushes chips downward. It provides a very clean top surface finish, ideal for shallow engraving or thin materials.
Combines up-cut and down-cut geometry. It leaves a clean finish on both the top and bottom of the material, perfect for plywood.
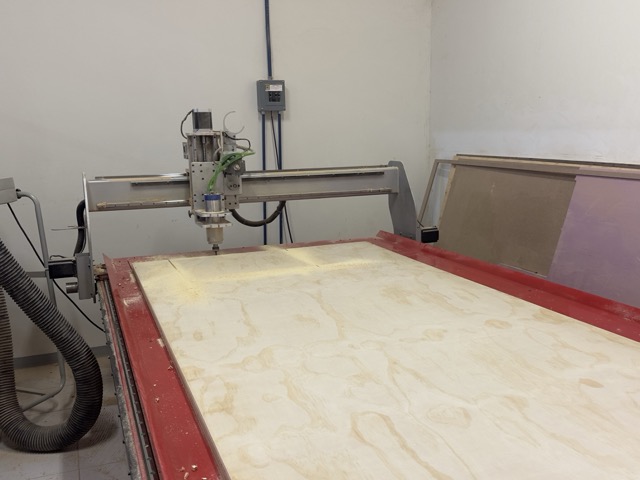
Machine Specifications
Before machining, I reviewed the technical specifications of our machine to set the correct feeds and speeds in VCarve.
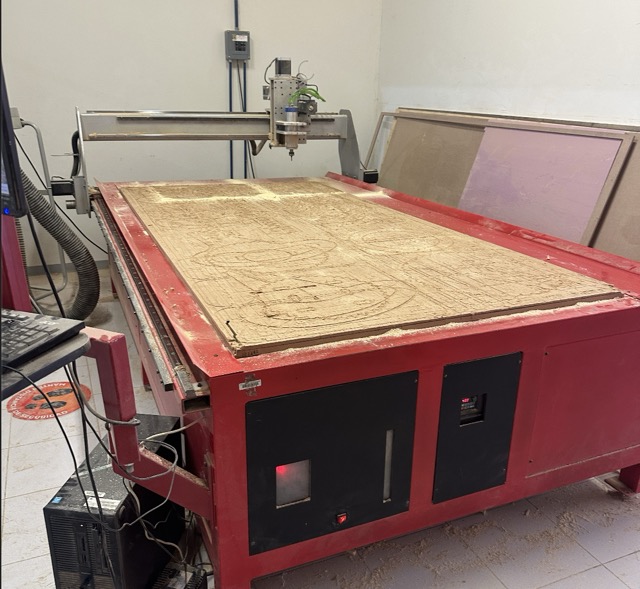
This is the large-format CNC machine at Fab Lab Puebla.
| Feature | CNC Router |
|---|---|
| Work Area | 1220 x 2440 mm (4' x 8') |
| Spindle Speed | Up to 18,000 - 24,000 RPM |
| Materials | Plywood, MDF, OSB, Foam, Soft metals |
| Hold-down | Vacuum table / Nails |
| Axis | X, Y, Z (3-Axis) |
| Post-Processor | G-Code (Arc/mm) |
CAM Process in VCarve
To convert my 2D design into machine instructions, I used VCarve Pro. This is the workflow I followed:
| Strategy | Application | Parameters |
|---|---|---|
| Profile | Cutting out the external shapes | Outside vectors, add Tabs |
| Creating hollows or recesses | Inside vectors, clearing path | |
| Drilling | Pre-drilling holes for screws | Center of circles, Peck drilling |
| Dog-bones | Corner clearance for joints | Corner fillets for 90° fit |
Step by Step: VCarve Setup
We need to prepare our design for cutting.
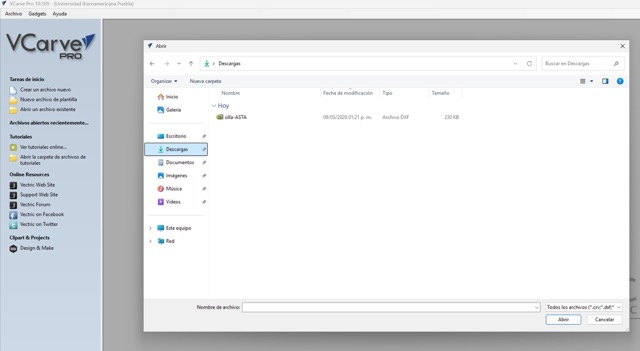
01. Opening file
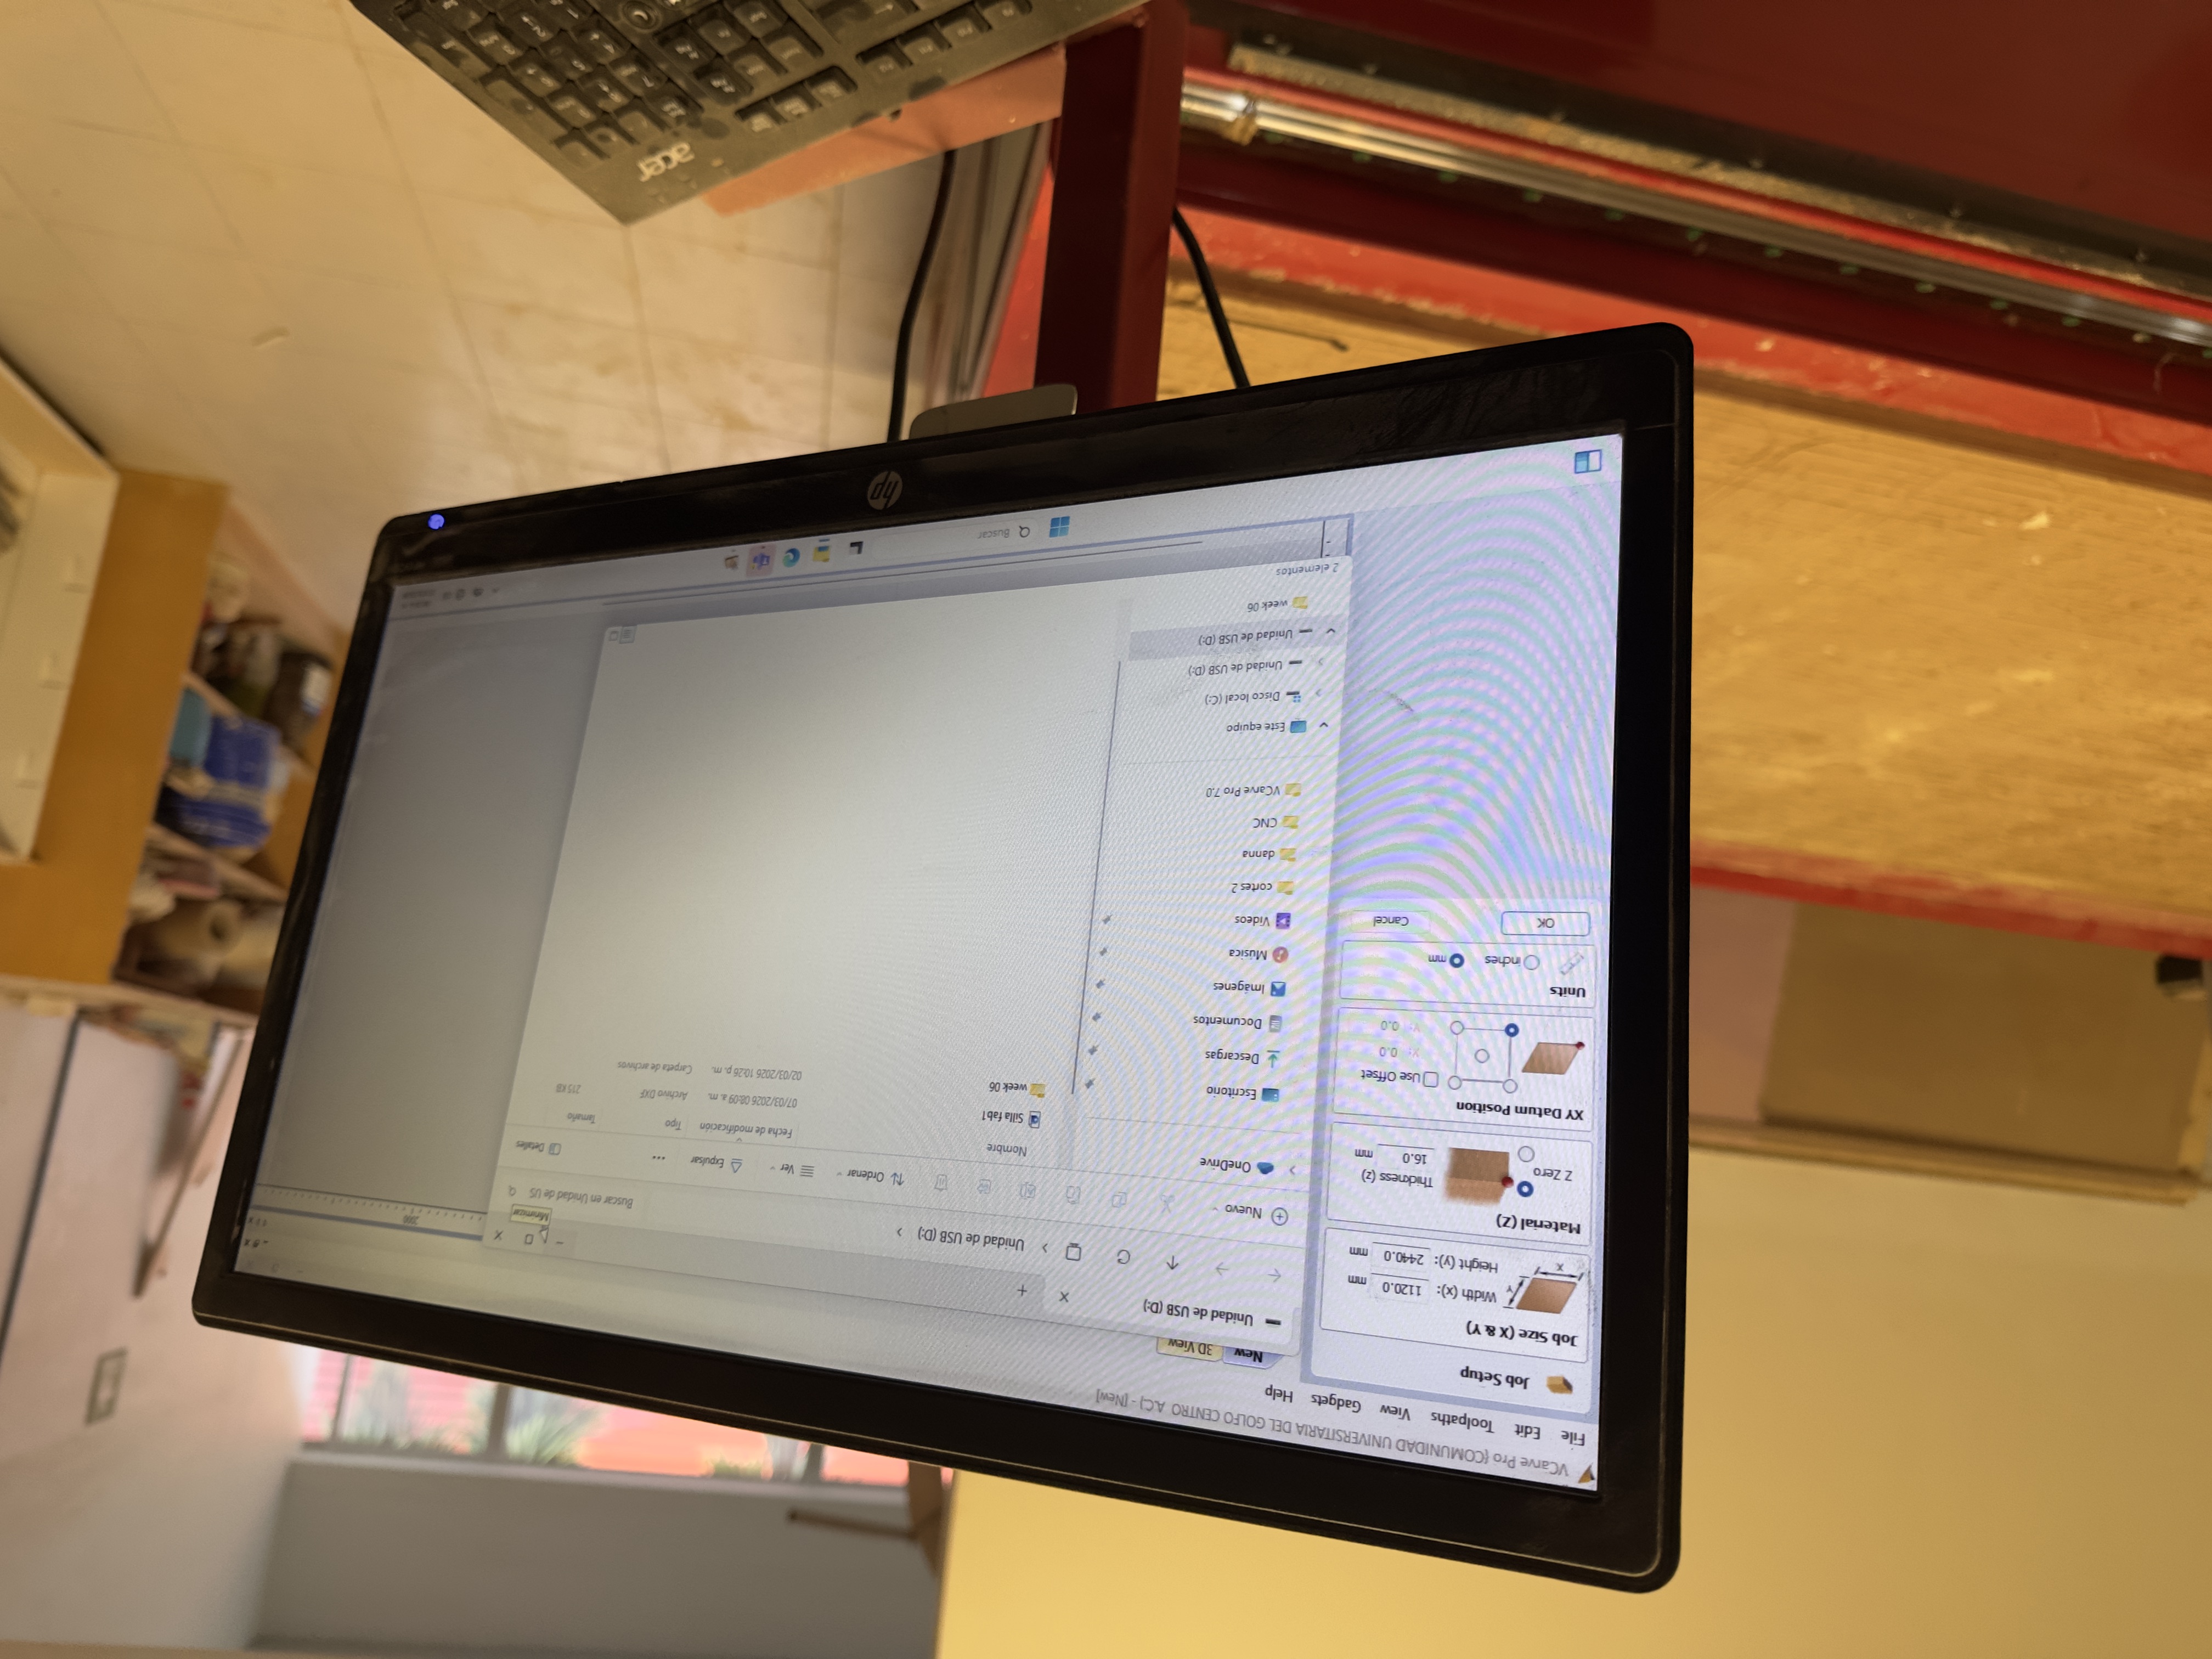
02. Select measurements
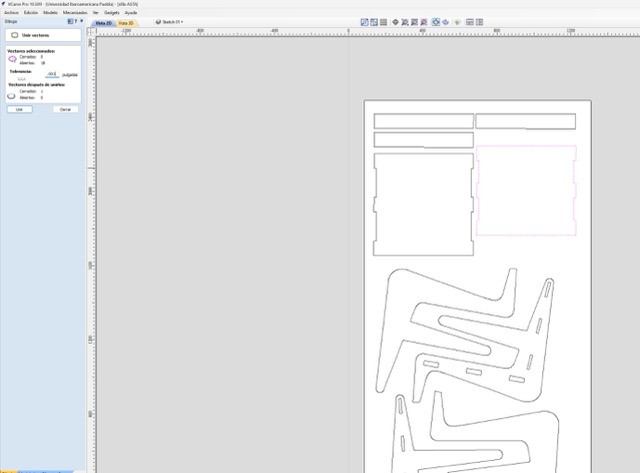
03. Close all vectors
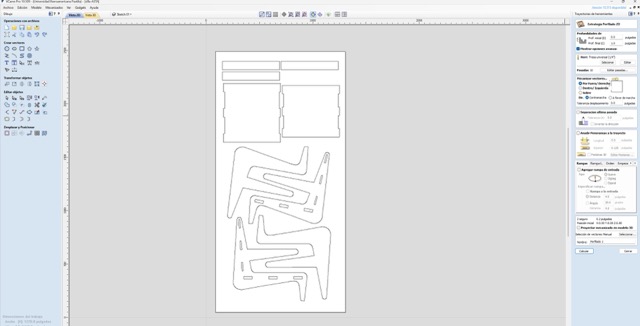
04. Calculate Routes
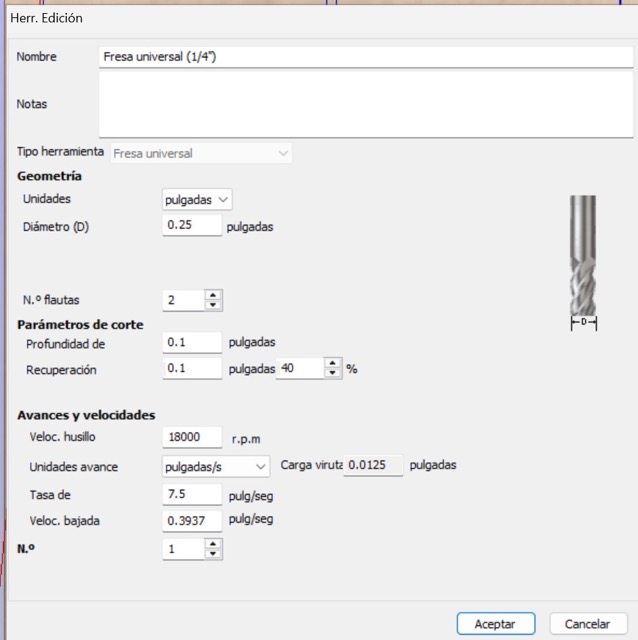
05. Edit revolutions
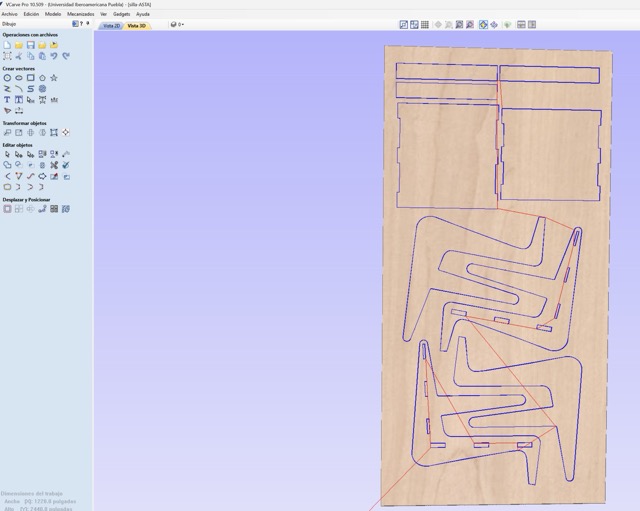
06. Run Simulation
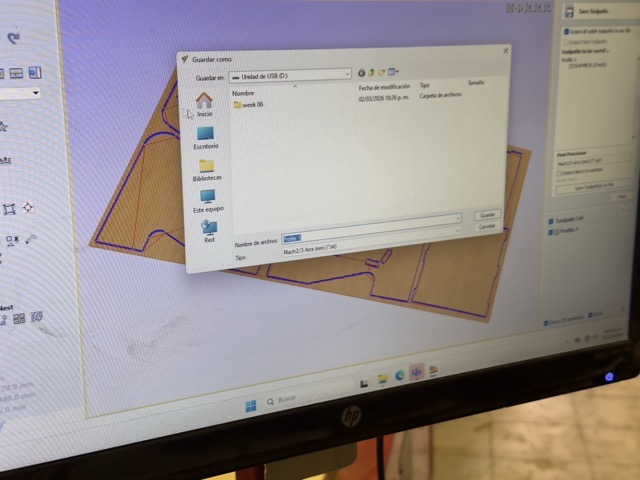
07. Save Cutting File
Step by Step: CNC Setup
Operating a large machine requires a strict safety protocol.

01. Safety Gear
Always wear eye protection and ear muffs. Tie back long hair and avoid loose clothing.
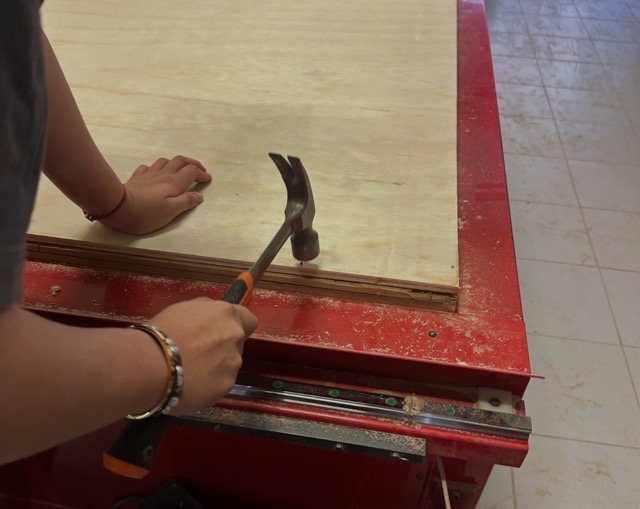
02. Mount Material
Secure the plywood to the bed. Ensure no nails are in the path of the cutting bit.
03. Install Bit
Clean the collet, insert the bit, and tighten it securely using the wrenches.
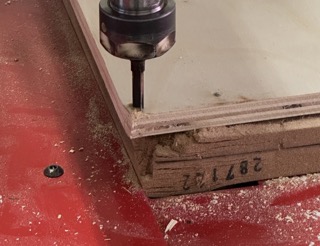
04. Set Origins
Move the tool to the X and Y starting point. Use the Z-probe to find the material surface.
Step by Step: Mach3 Software
Preparing the router.
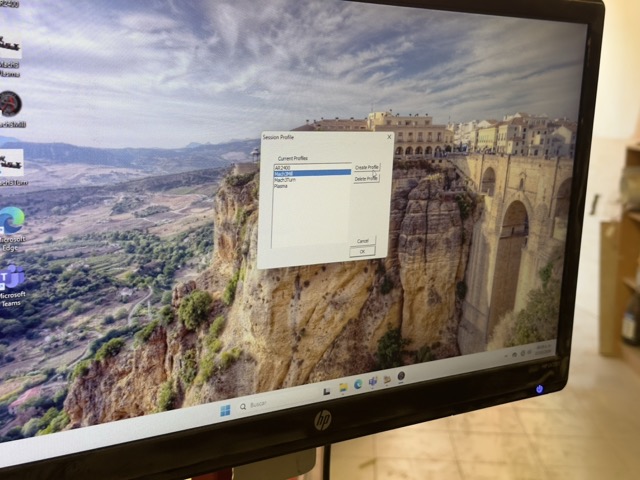
01. Open the software
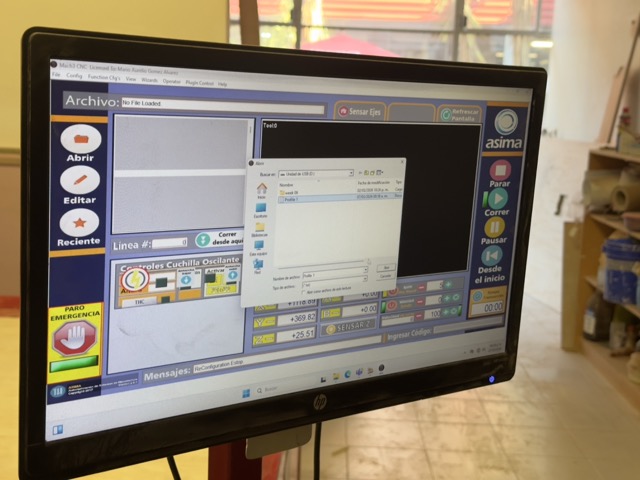
02. Open File Exported from VCarve
03. Set the Router's origin in the software
04. Run Cutting Process
Fabrication and Assembly
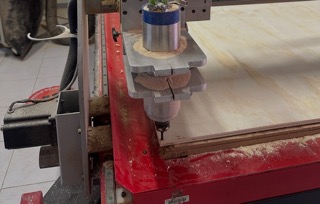
Step 1: Machining
Running the G-Code. Monitoring the machine at all times.
Step 2: Sanding
Cleaning the edges and surfaces to remove burrs and splinters.
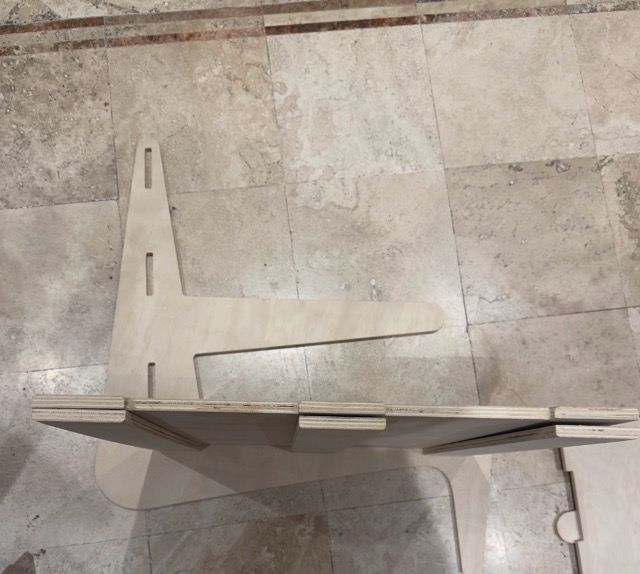
Step 3: Joint Check
- Press-fit: Testing the tolerance (0.1 - 0.2mm).

Step 4: Staining
Applying wood stain evenly with a brush or rag, following the grain. Let it absorb for a few minutes before wiping off the excess.
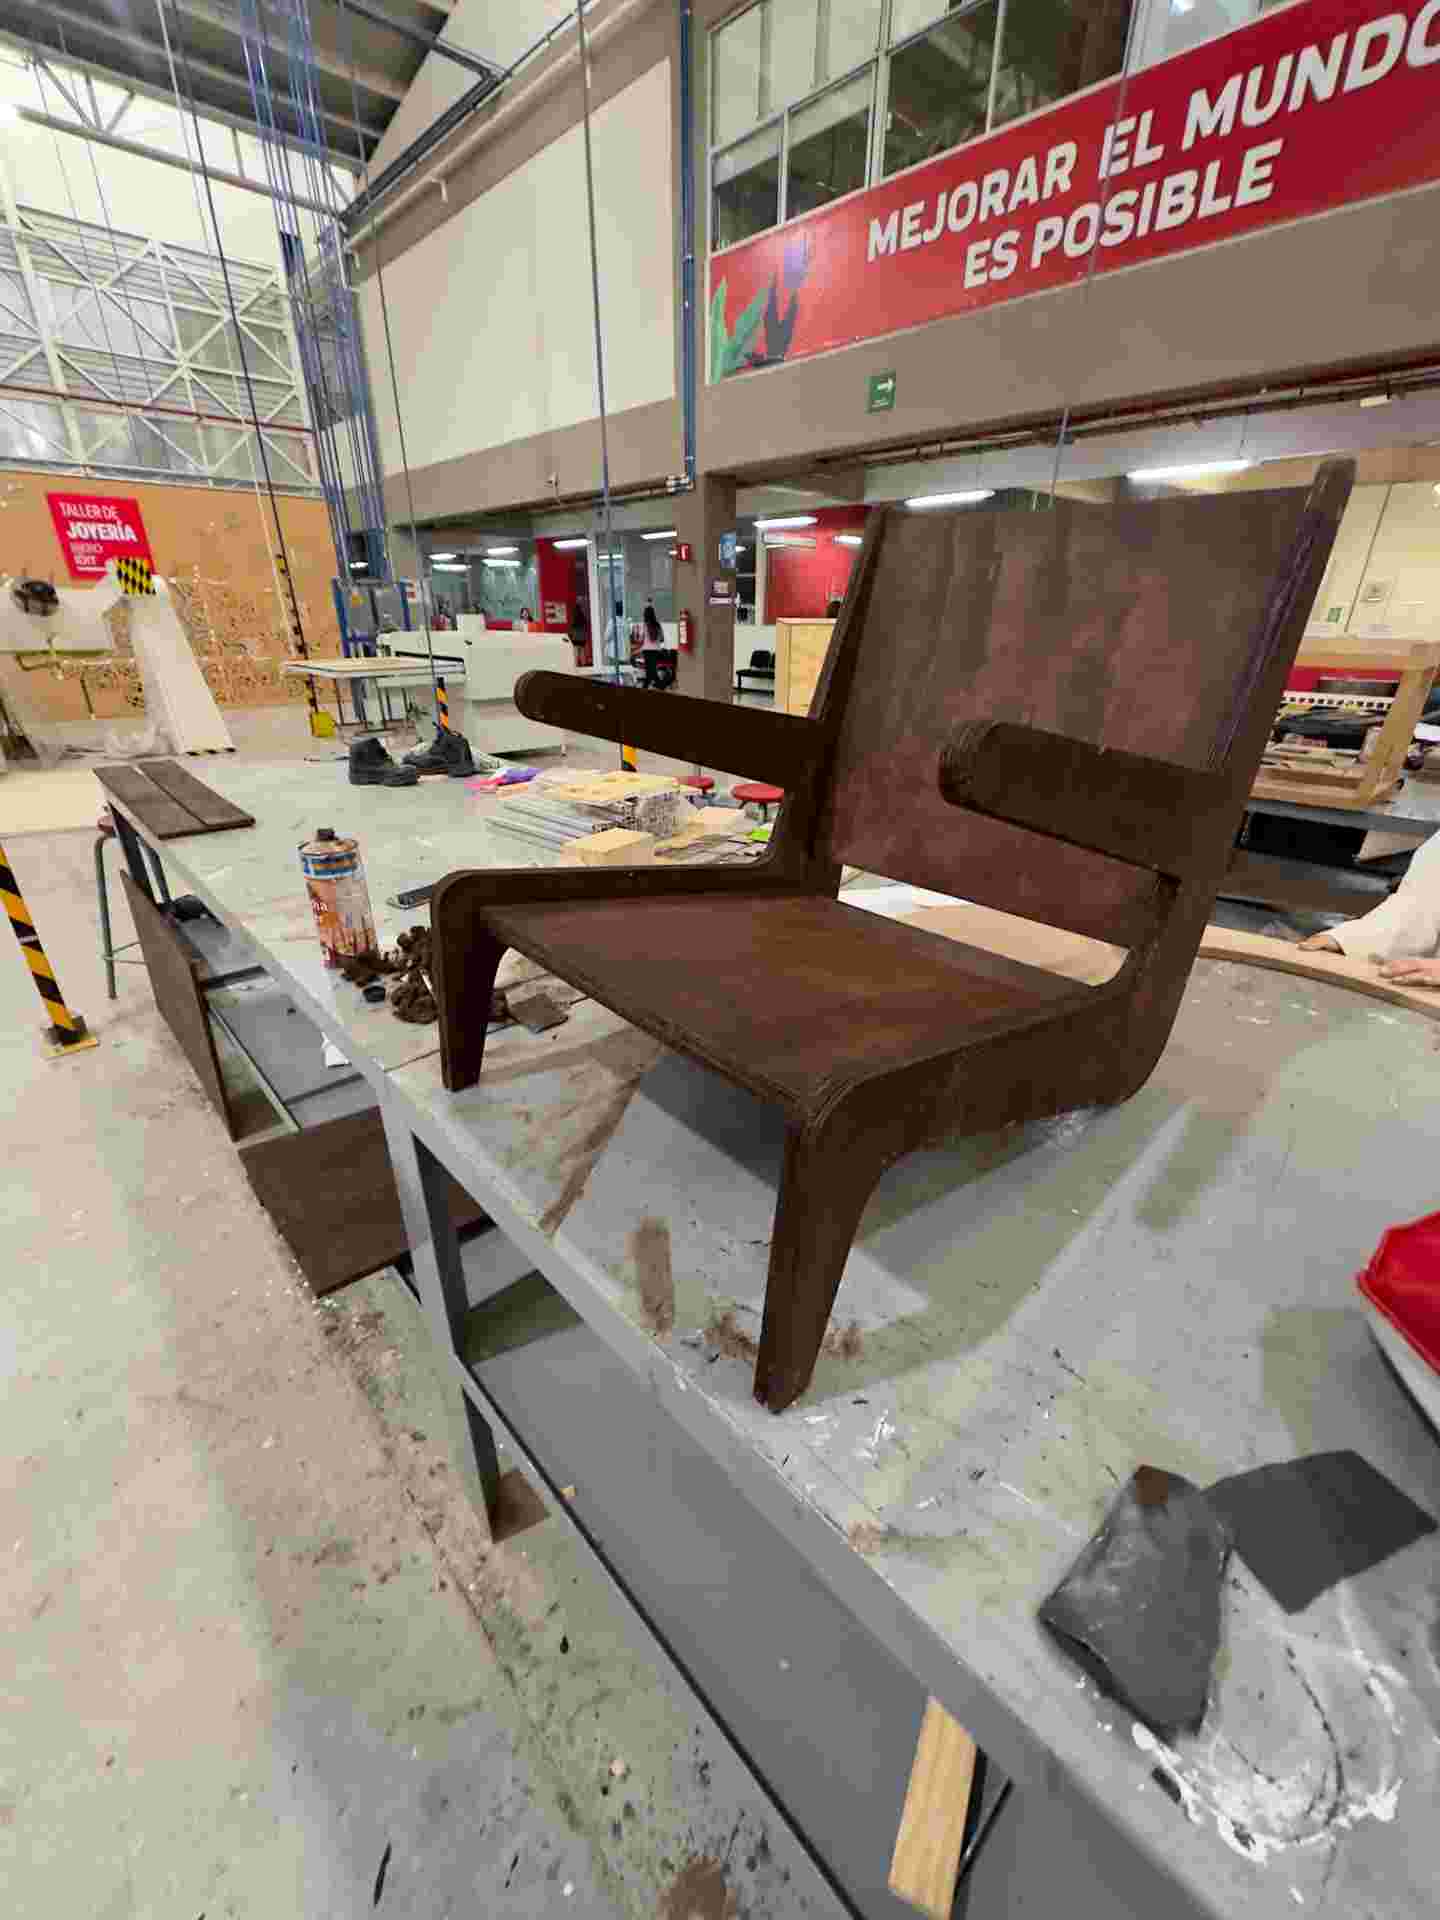
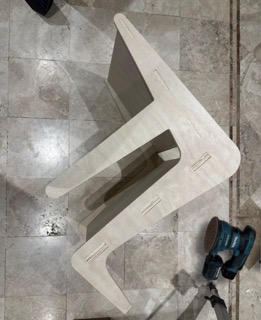
Step 5: Final Result
The assembled furniture piece, stable and without mechanical fasteners.
Results