
Laser cutting and vinyl cutting
This week, we learned about computer-controlled cutting processes. We worked with a laser cutting machine, learning both how to operate it and how to program it for precise cuts. We also learned how to use the vinyl cutter and its practical applications.
Group Assignment
Here's also the link to our group assignment of this week.
Laser Cutting
How to use the laser cutting machine?
A laser cutting machine is a digital fabrication tool that uses a high-precision laser beam to cut, engrave, or mark materials. It works from digital design files, allowing for accurate and repeatable results.
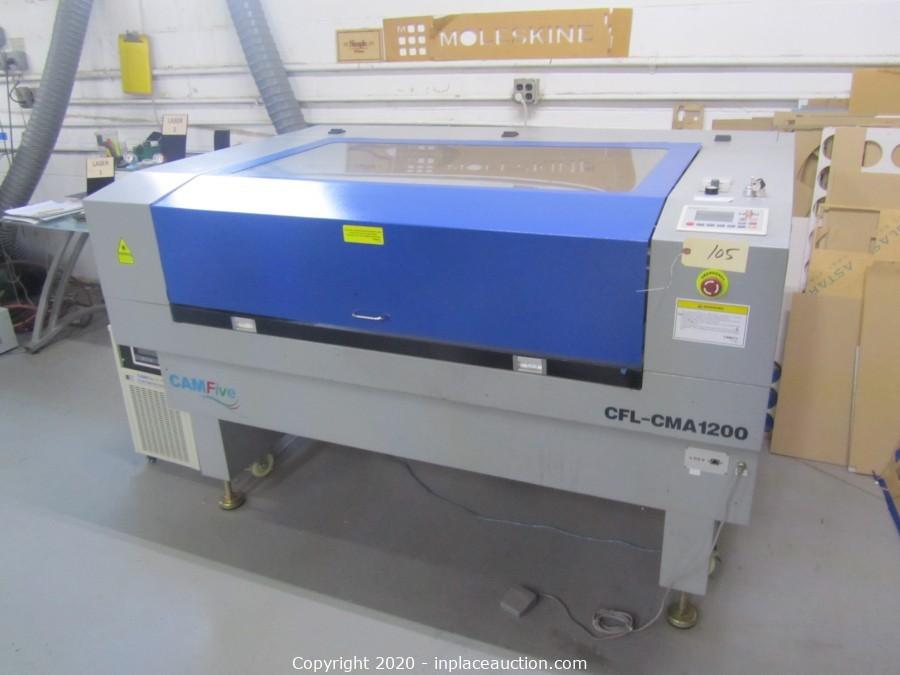
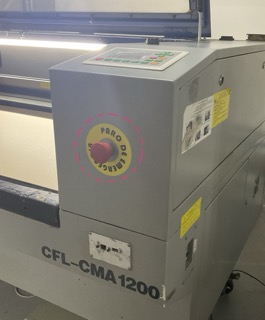
00. Machine Type
First, I used the CFL-CMA 1200 machine for this task.
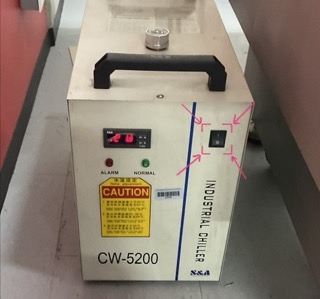
01. Chiller
The first step to use this machine is to turn on the chiller, which helps us maintain a safe temperature for us to work safely.
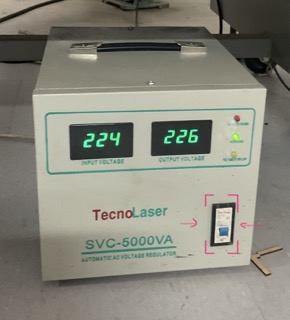
02. Automatic Voltage Regulator
The second step to use it is to turn on the automatic voltage regulator.
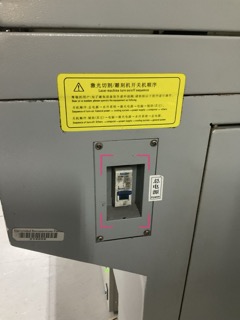
03. Turning on the machine
Then, we need to turn on the machine using the button on the side of the machine.
04. Emergency Button Release
The next step is to release the emergency button to be able to use it.
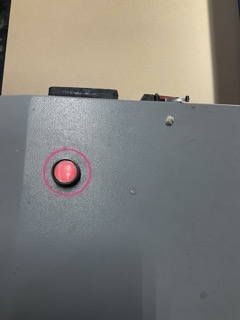
05. Start
Then, we need to start it by pushing this button located on top of the machine, above the control panel.

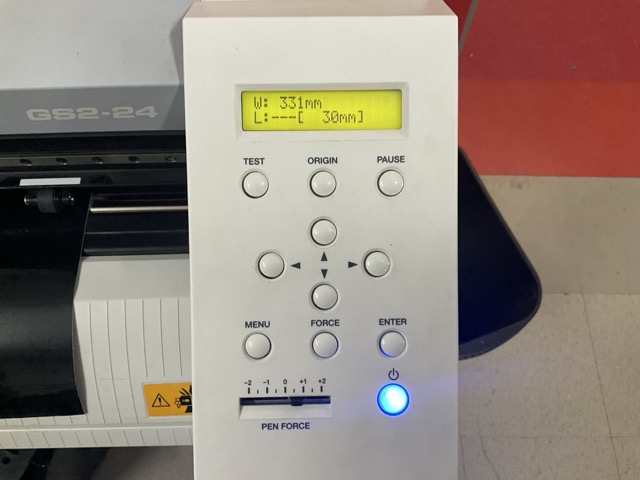
06. Control panel
Then, we can move the origin using the control panel.
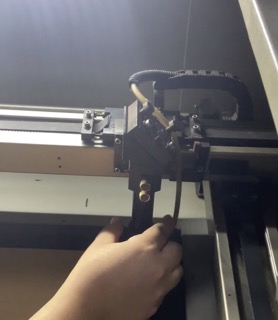
07. Adjusting the laser head
Now, before cutting we need to adjust the head by turning the screws.
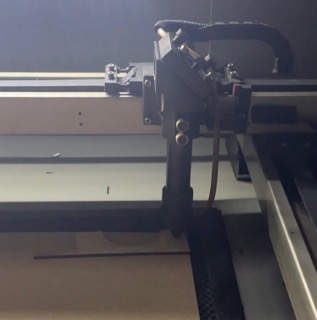
08. Measuring distance
Lastly, we need to leave a distance of approximately 5mm within the material and the laser head.
How to make a parametric design in Fusion 360?
Parametric design in Fusion 360 allows designers to create models whose dimensions and features are linked to parameters. When a parameter is changed, the entire model updates automatically.
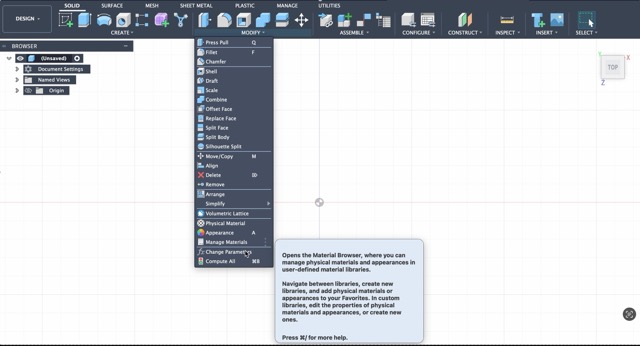
01. Where to start adding parameters?
In Fusion you can click on the "Modify" tab and click on "Change Parameters".
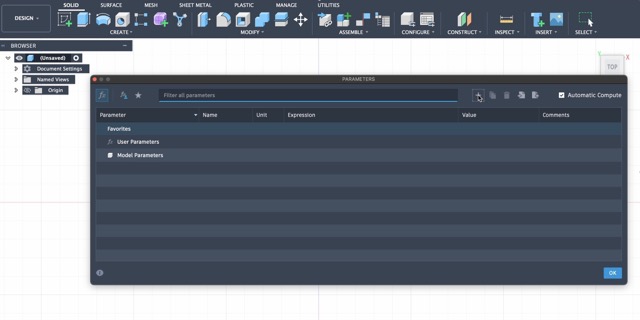
02. Add parameters
Then click on the "+" to add a new parameter.
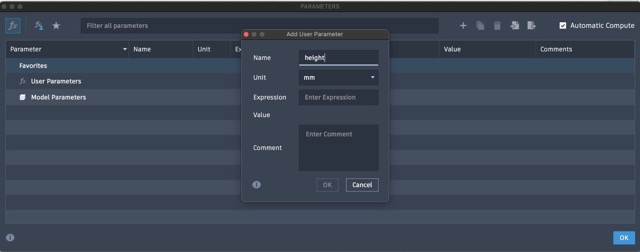
03. Naming
You can name your parameter, such as "width" or "length".
04. Choosing units
Select the units you will be working with.
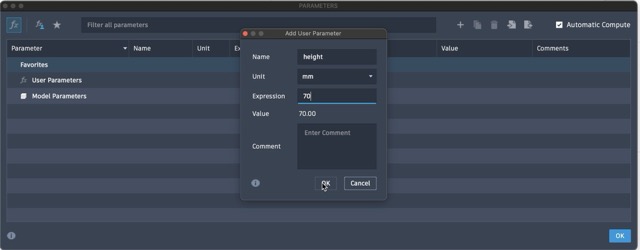
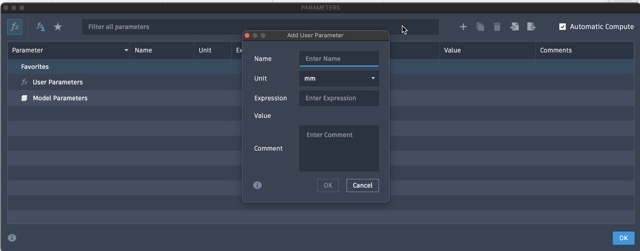
05. Adding expressions
Add the expression for your parameter.
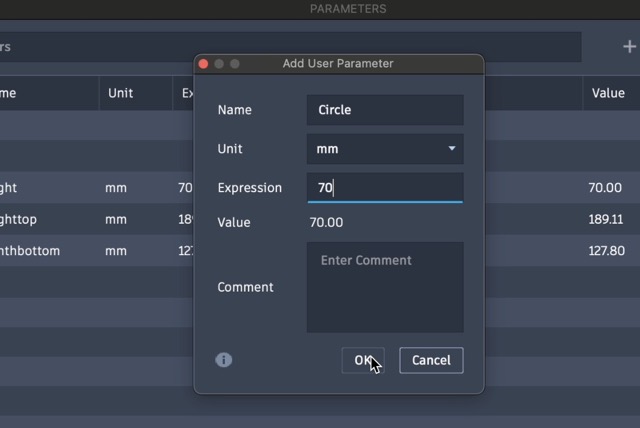
06. Saving the parameter
Press "OK" to save your parameter.
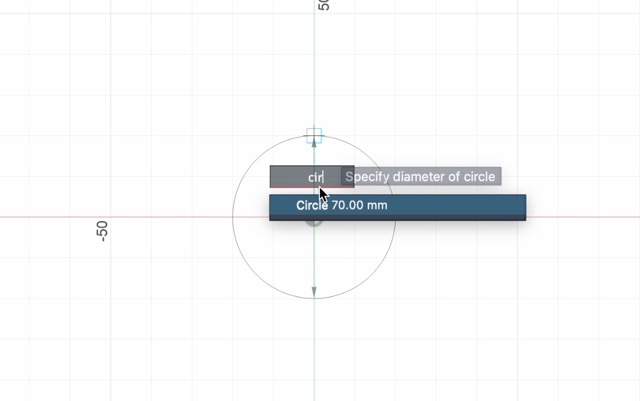
07. Sketching with parameters
Now, you can start sketching with parameters.
How to use SmartCarve 4.3?
SmartCarve 4.3 is software used to prepare and send designs to a laser cutter. It helps set parameters and control tasks.
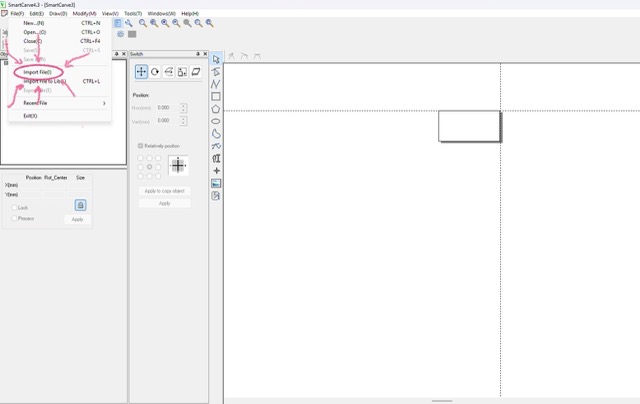
01. Importing file
First, you need to import your parametric file in dxf format.
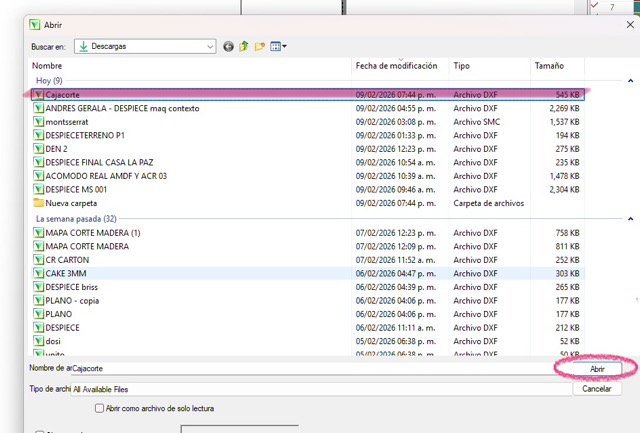
02. Choosing file
You need to choose your cutting file.
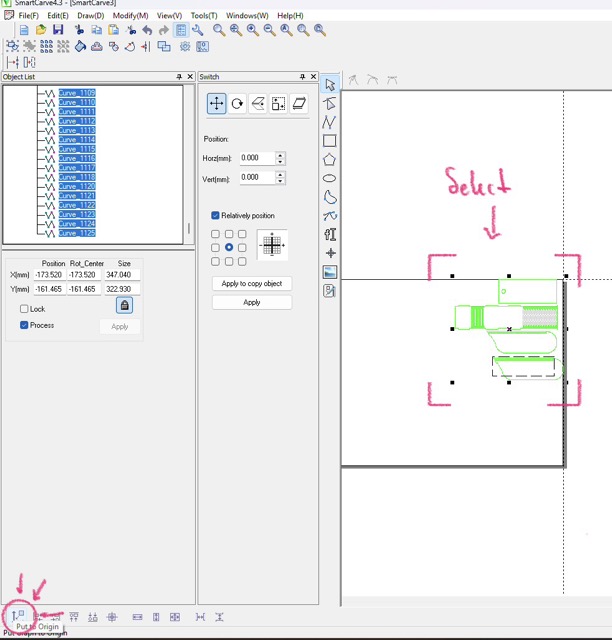
03. Aligning to origin
After opening your file you need to align the sketch to the origin.
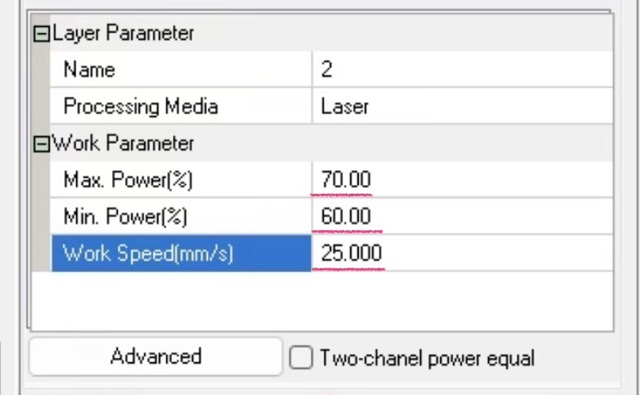
04. Cutting parameters
Then, you need to choose your parameters for cutting.
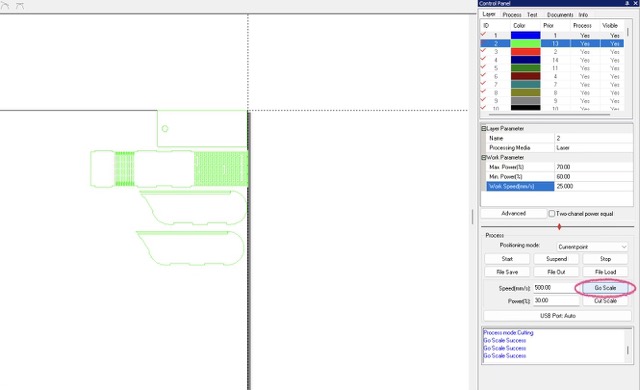
05. Go scale
Then you can use "go scale" to see if it fits on your material and where it'll start cutting.

06. Start
Lastly, you'll press on start and the machine will start cutting your file.
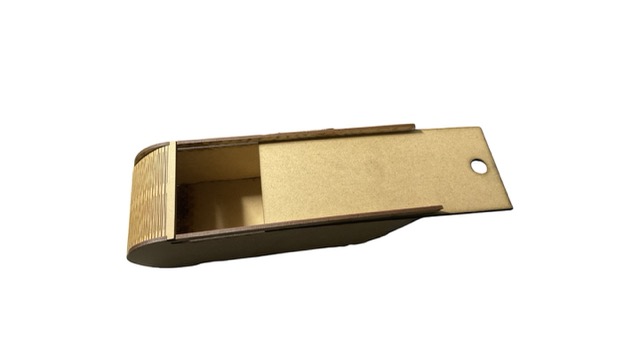
Assembly of parametric design
After cutting, the next step is assembling the structure carefully to ensure proper fit and stability.
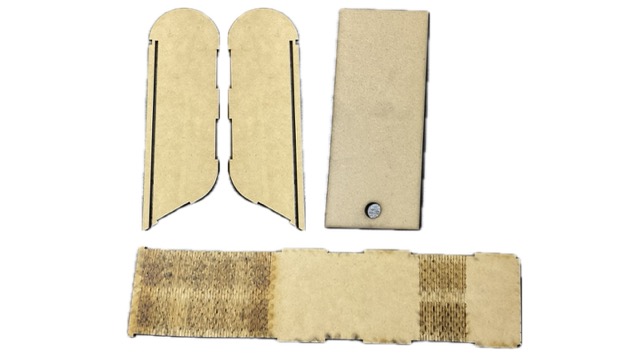
01. Pieces
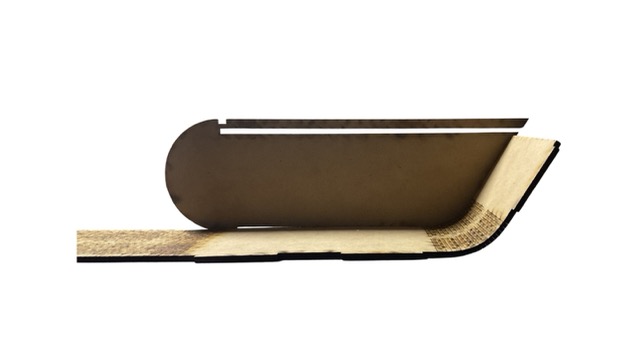
02. Connecting wall to base
03. Connecting large curve to wall
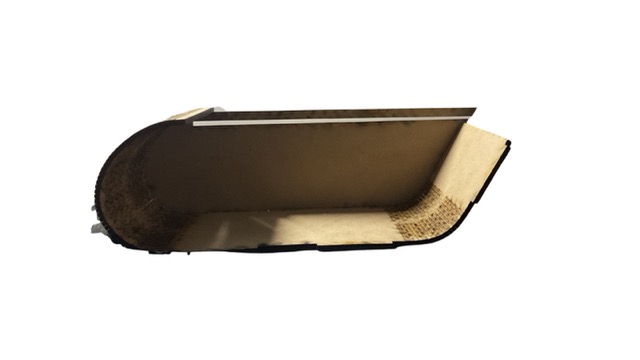
04. Adding the other wall
05. Adding cover
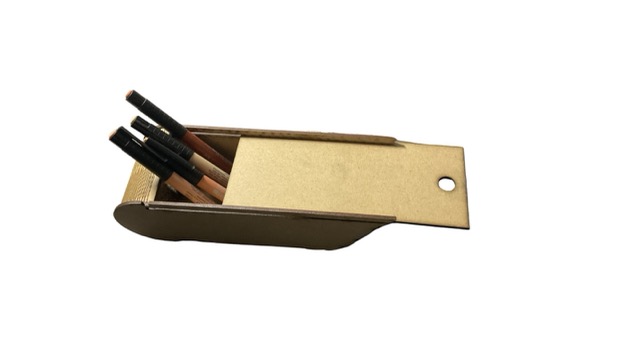
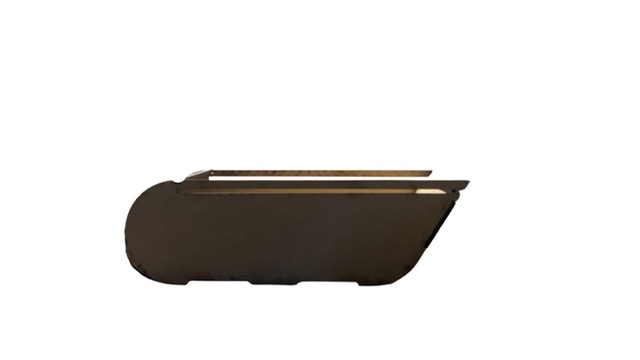
06. Final result
Vinyl Cutting
How to use the vinyl cutting machine?
A vinyl cutter uses a small precision blade to cut designs into adhesive vinyl from vector-based digital files.
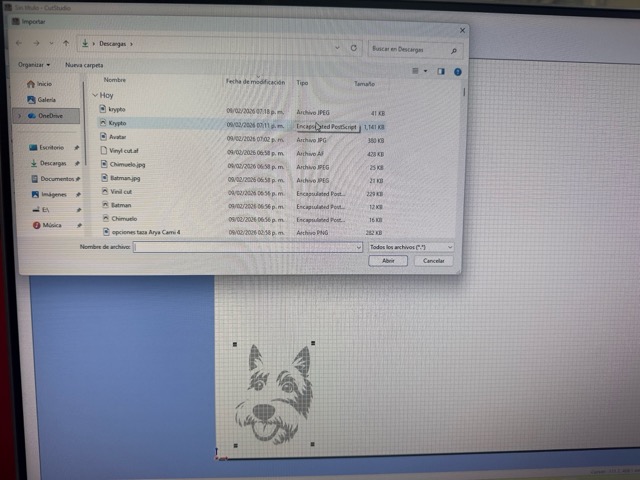
01. Importing file
First, you need to import your file in EPS format to CutStudio.
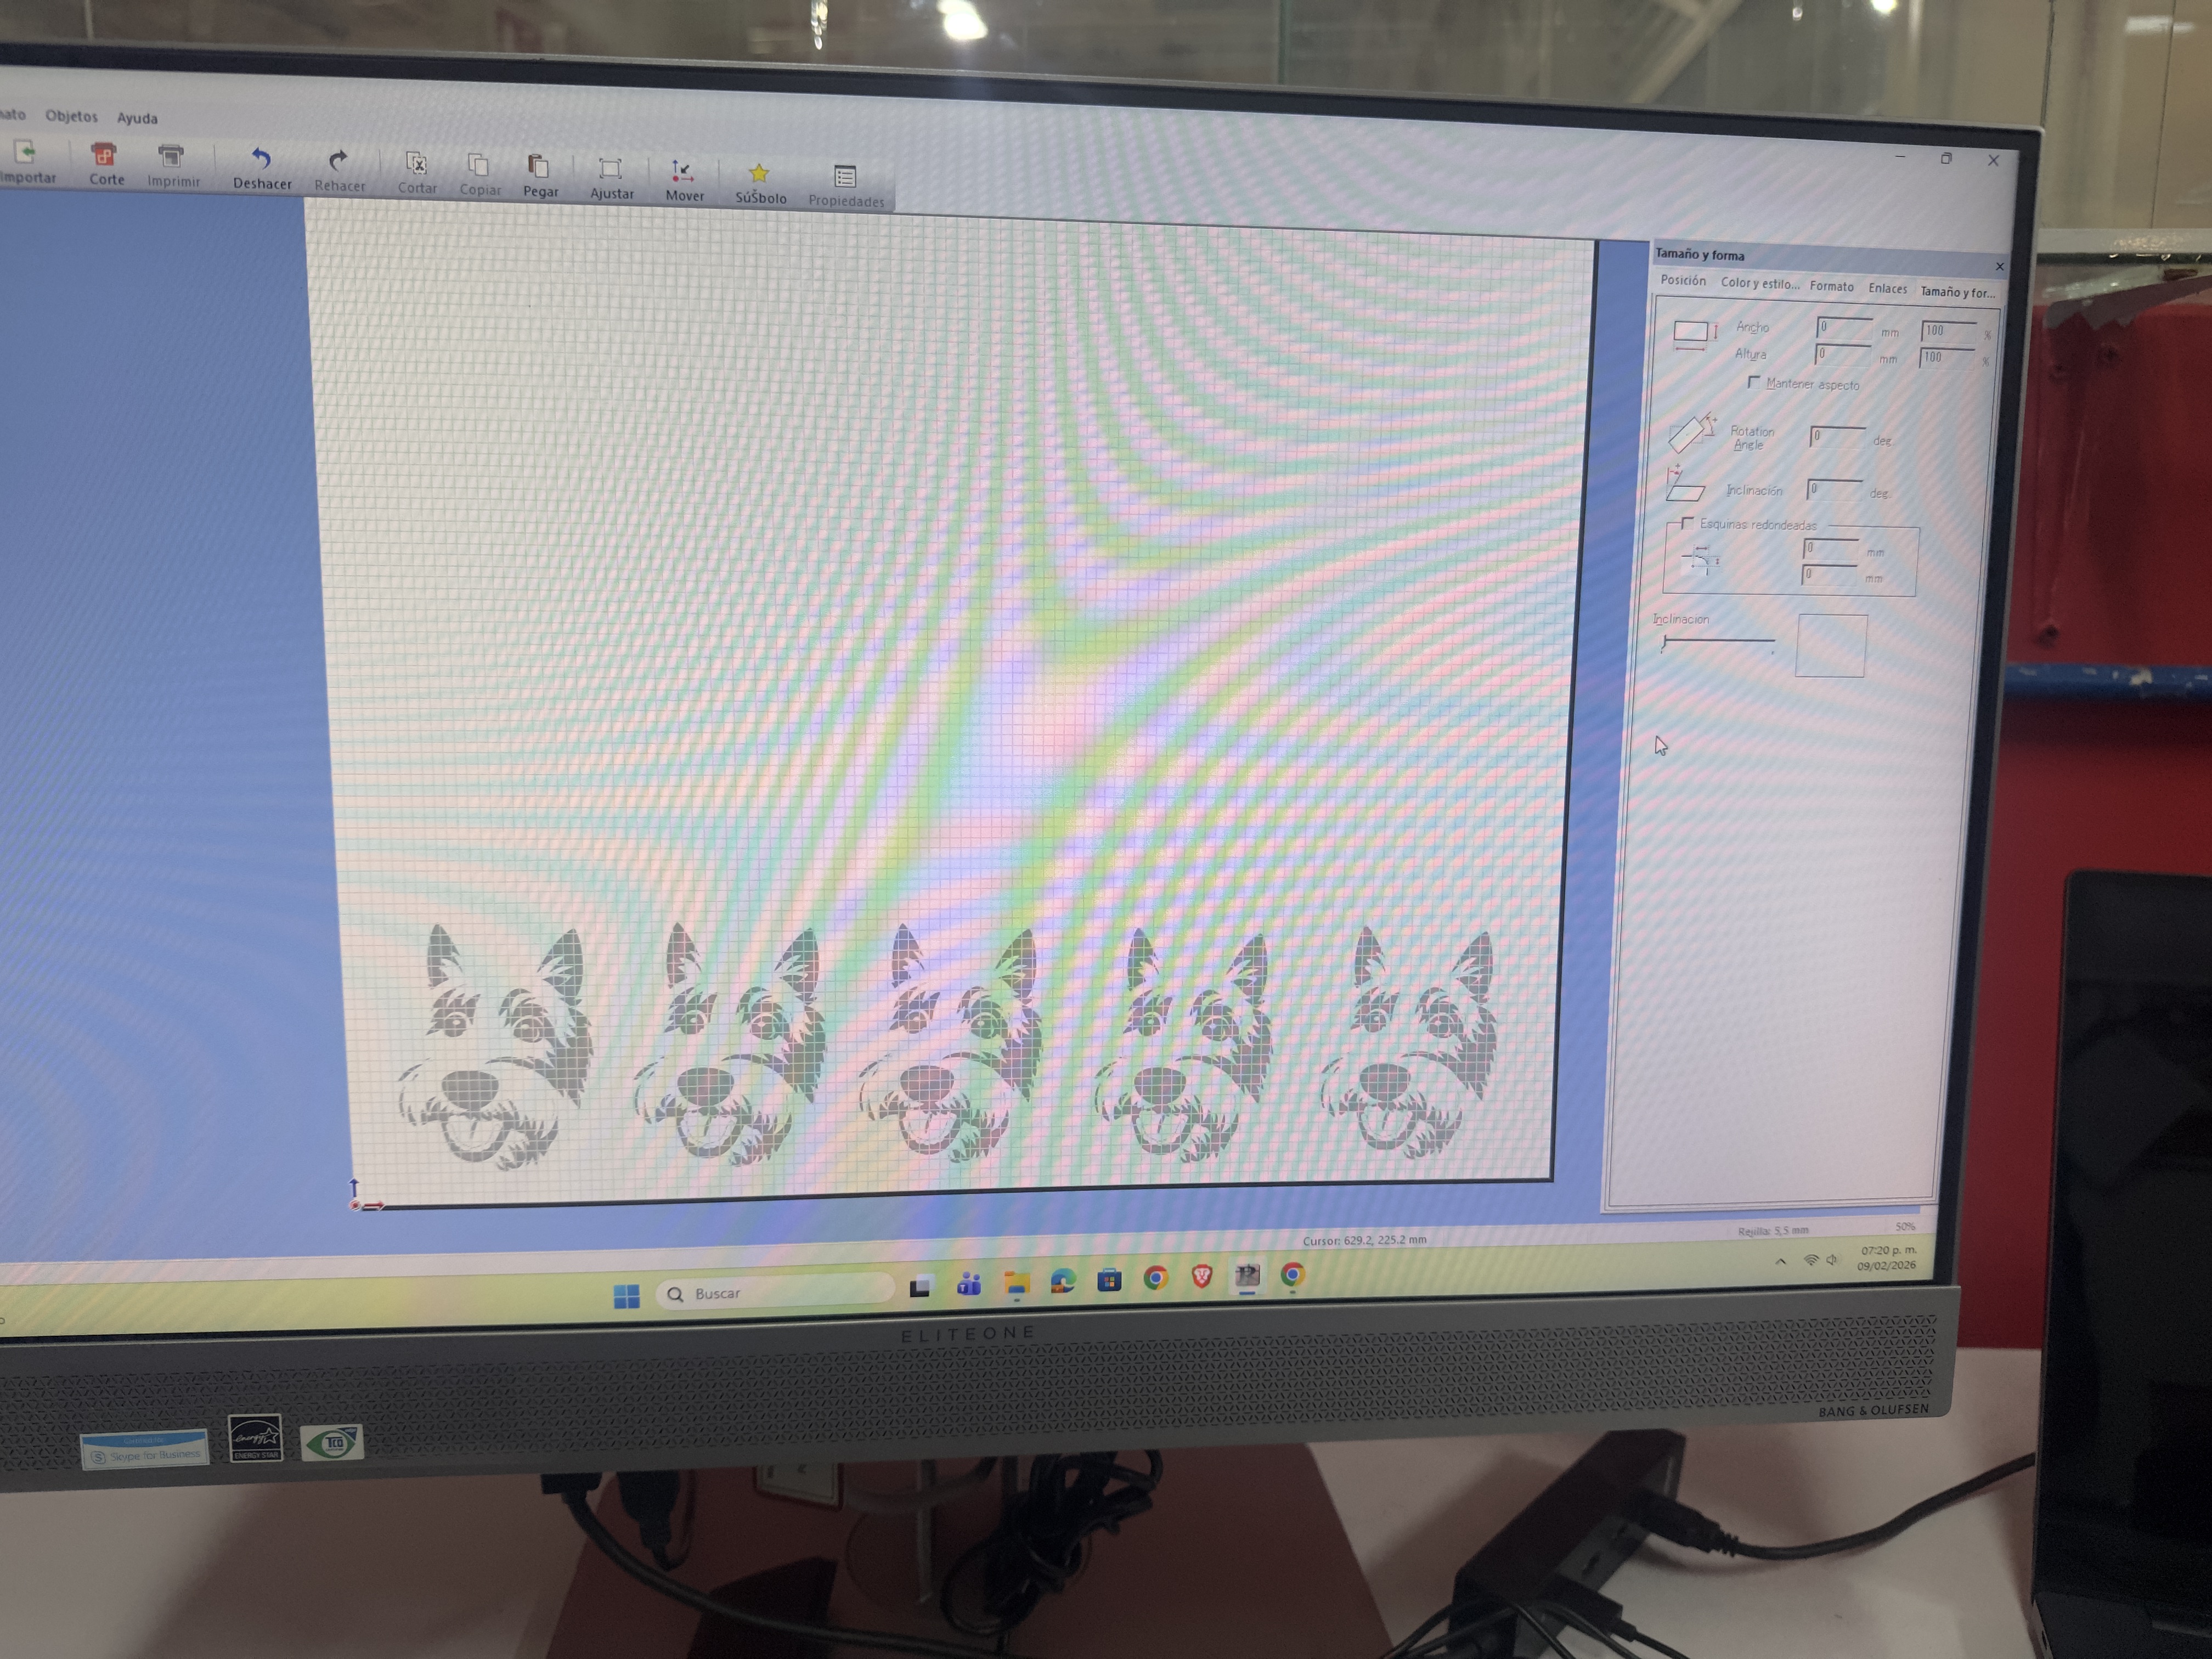
02. Arranging
Then, you need to arrange your file.
03. Set to origin
After getting your file ready, you need to set the machine to the origin.
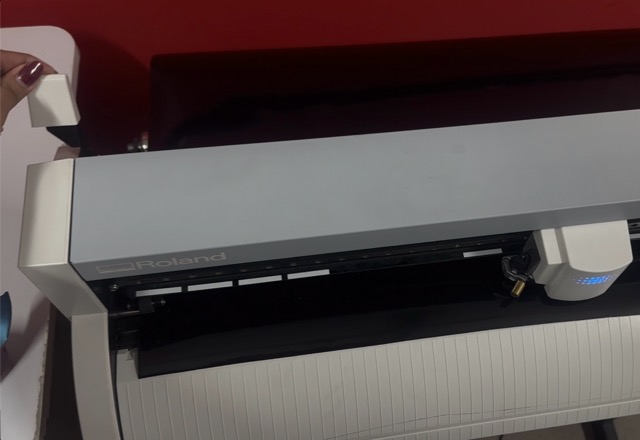
04. Securing material
Then, you need to secure the material by closing the lever on the side.

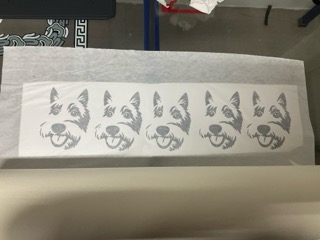
05. Cutting
Then, you can send your file to cut.
How to transfer vinyl?

01. Removing excess vinyl
First, you need to remove all the excess vinyl.
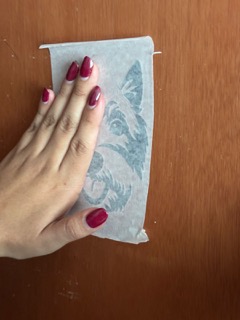
02. Covering with transfer paper
Then, you need to cover it with transfer paper.
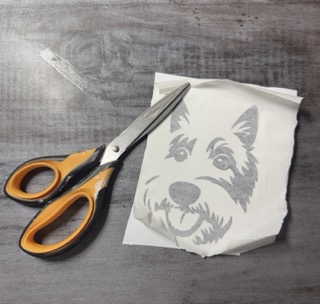
03. Cutting
Then, you need to cut your sticker.
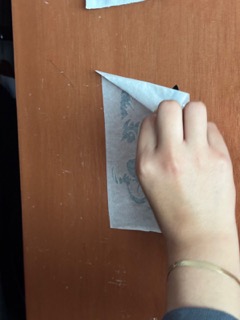
04. Removing from sheet
After that you'll remove the sticker from the anti-stick sheet.
05. Applying!
Now, you can put it wherever you want.
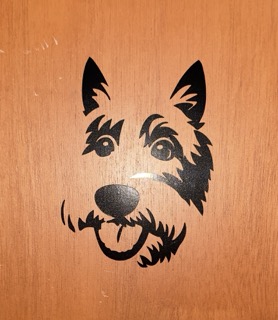
06. Result
Here's how it looks!