

Group Assignment — Week 8: Electronics Production
This week I learned to prepare my PCB Gerber files for milling using KiCad, Bantam, and JLCPCB.
Using JLCPCB
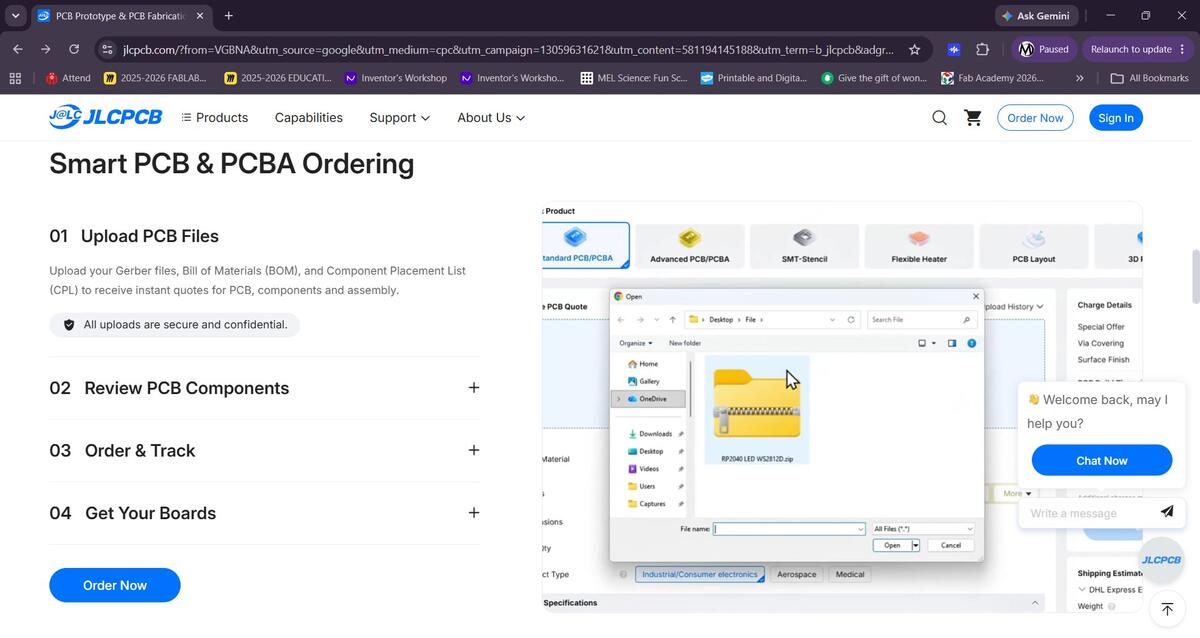
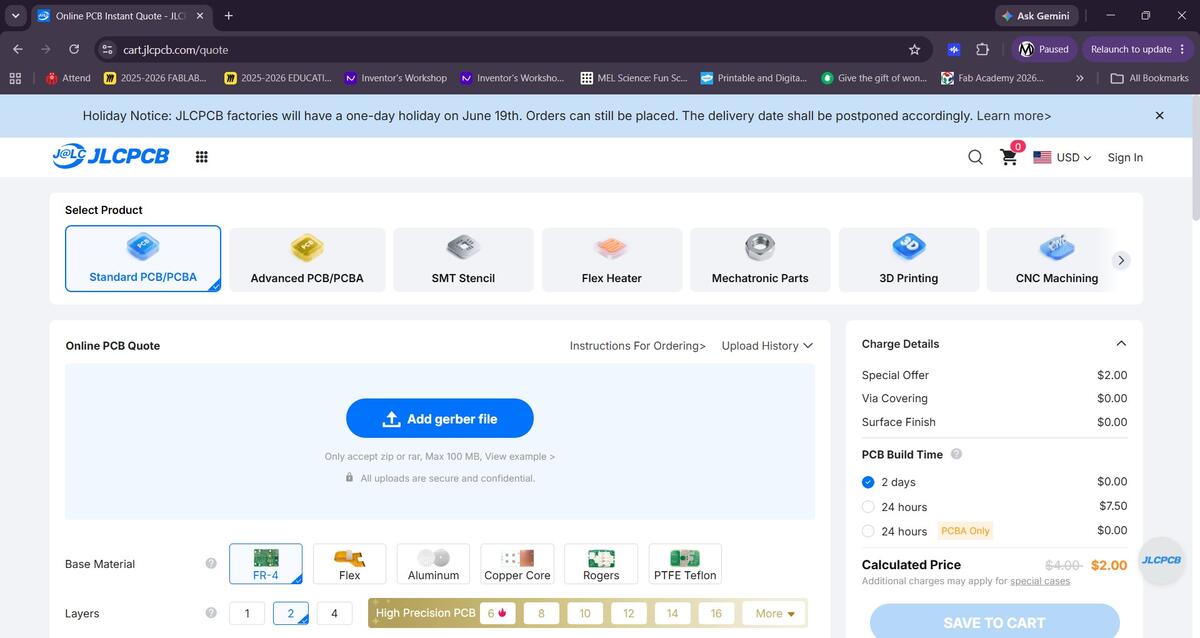
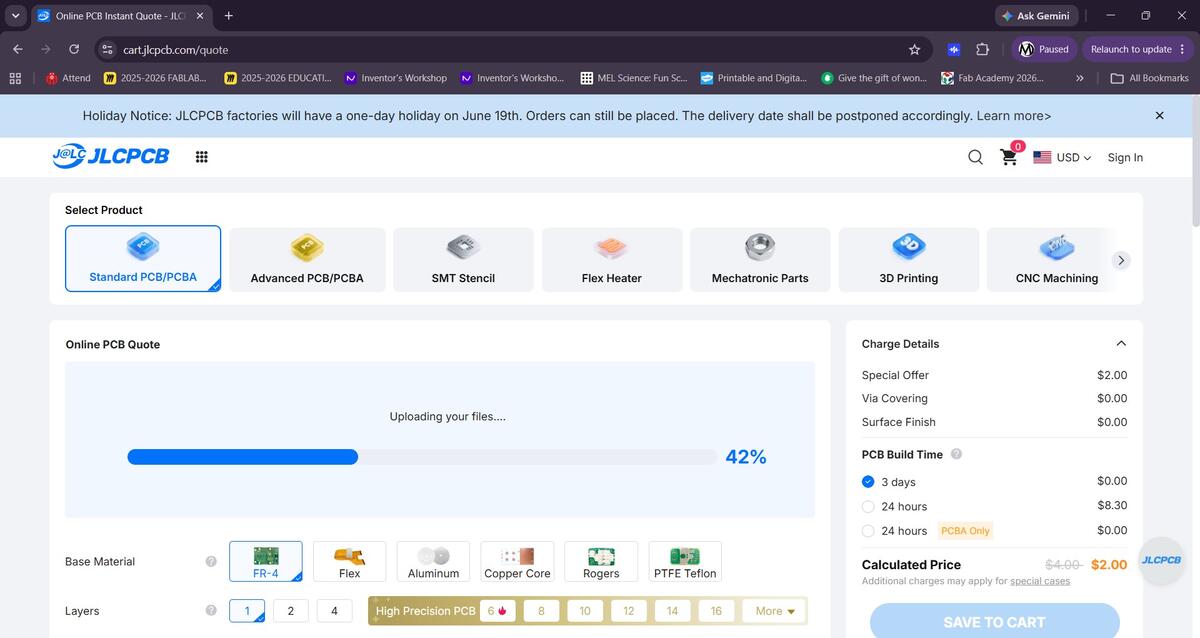
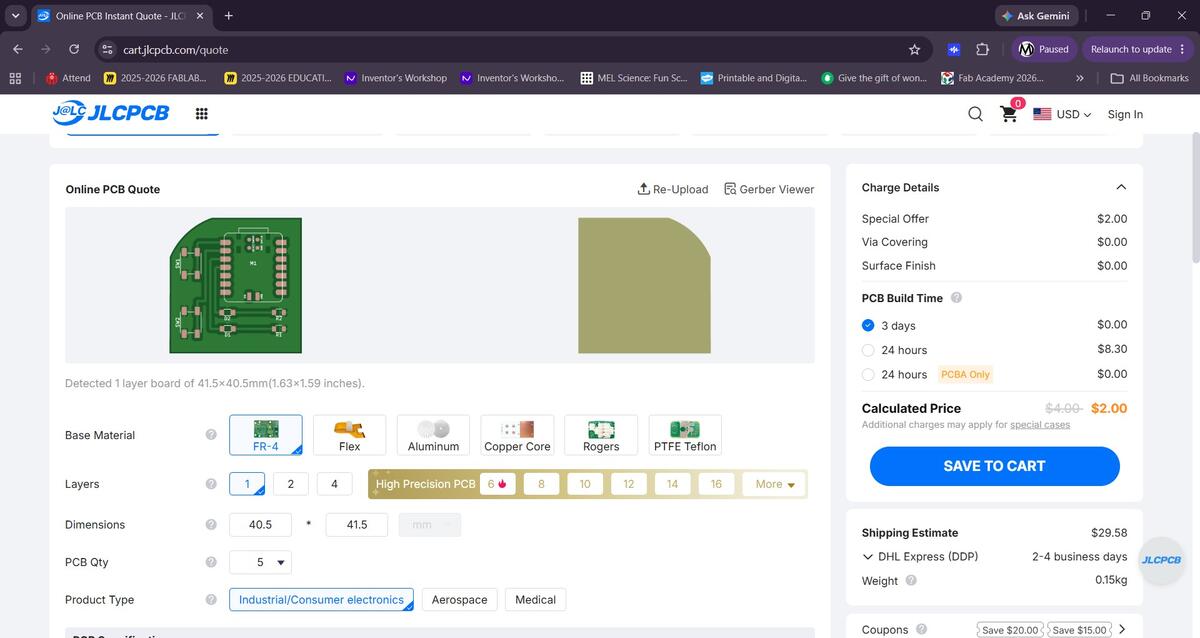
Using the PCB I designed in the previous weeks, I went through the process of setting up an order through JLCPCB. I selected the single sided FR-4 PCB in a green color. The minimum order quantity is 5 and the total came up to $29.58 with a 2-4 business day shipping time fulfilled by DHL Express.
Using Bantam
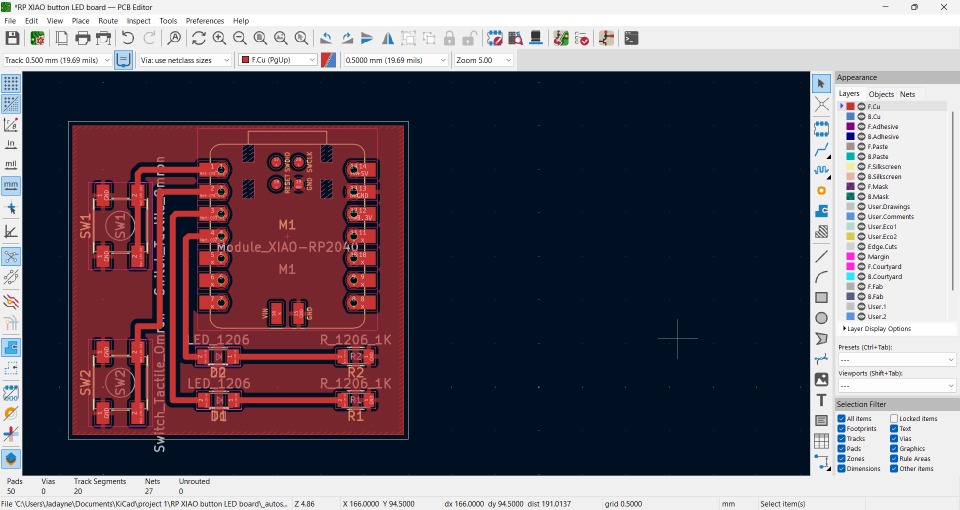
I returned to KiCad to create a proper schematic of the PCB and followed the logic of how electric currents flow.
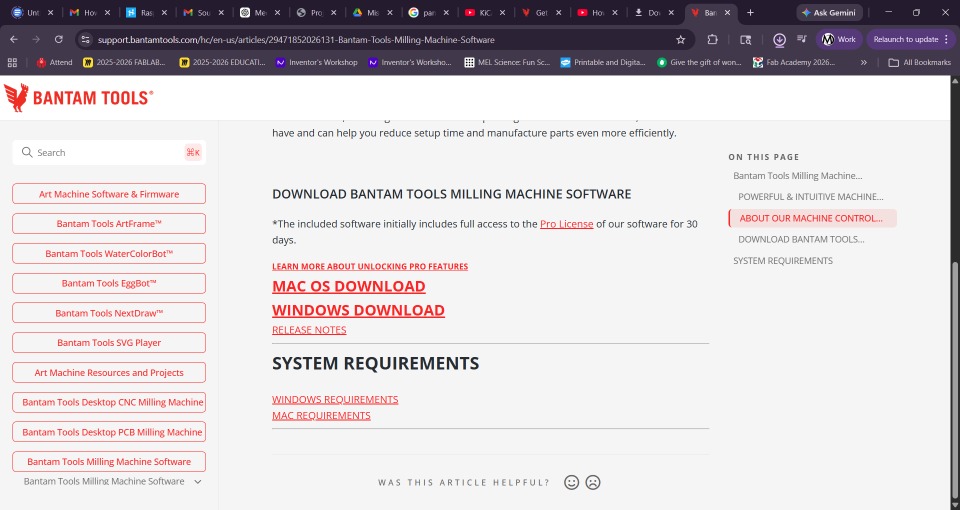
We use Bantam milling tools at Moonlighter FabLab to produce our PCBs. To use these tools I needed to install the desktop application for my Windows PC.
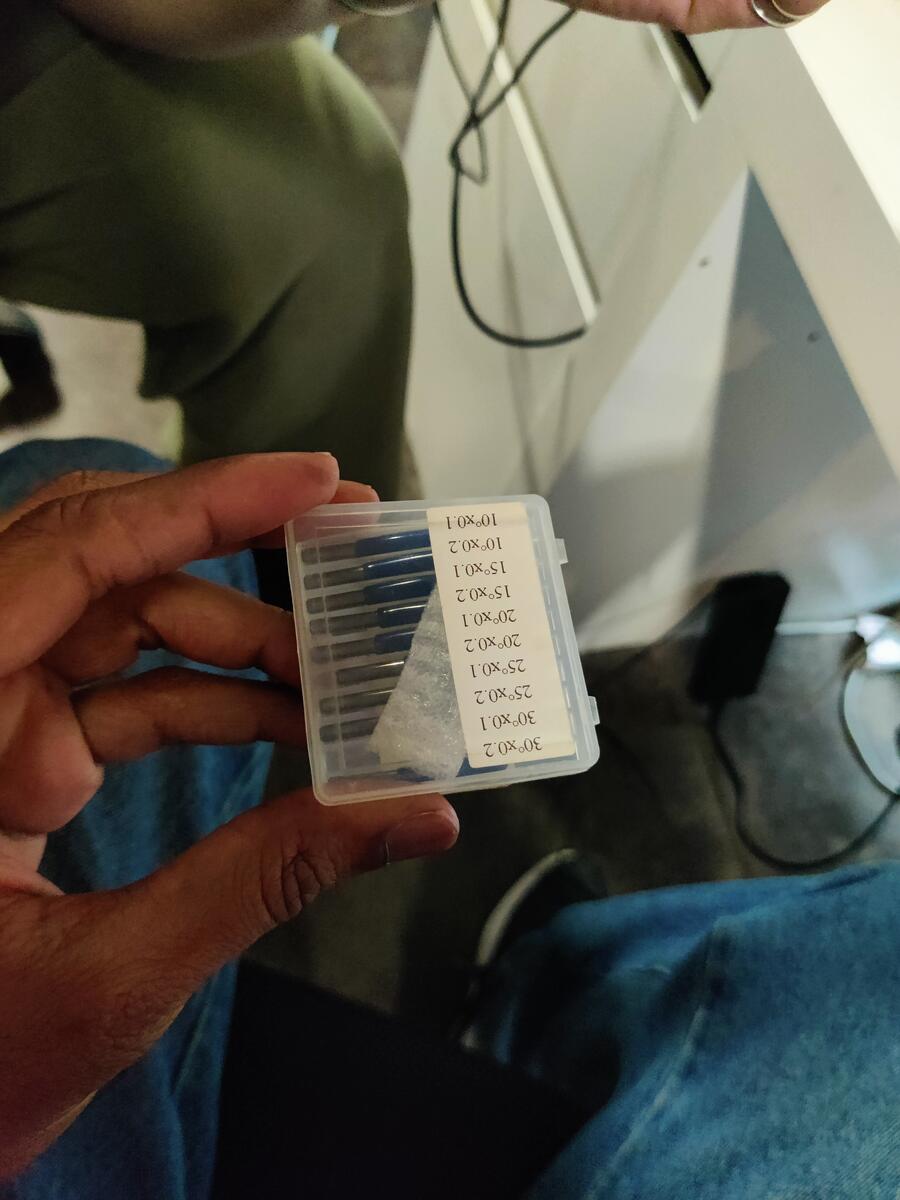
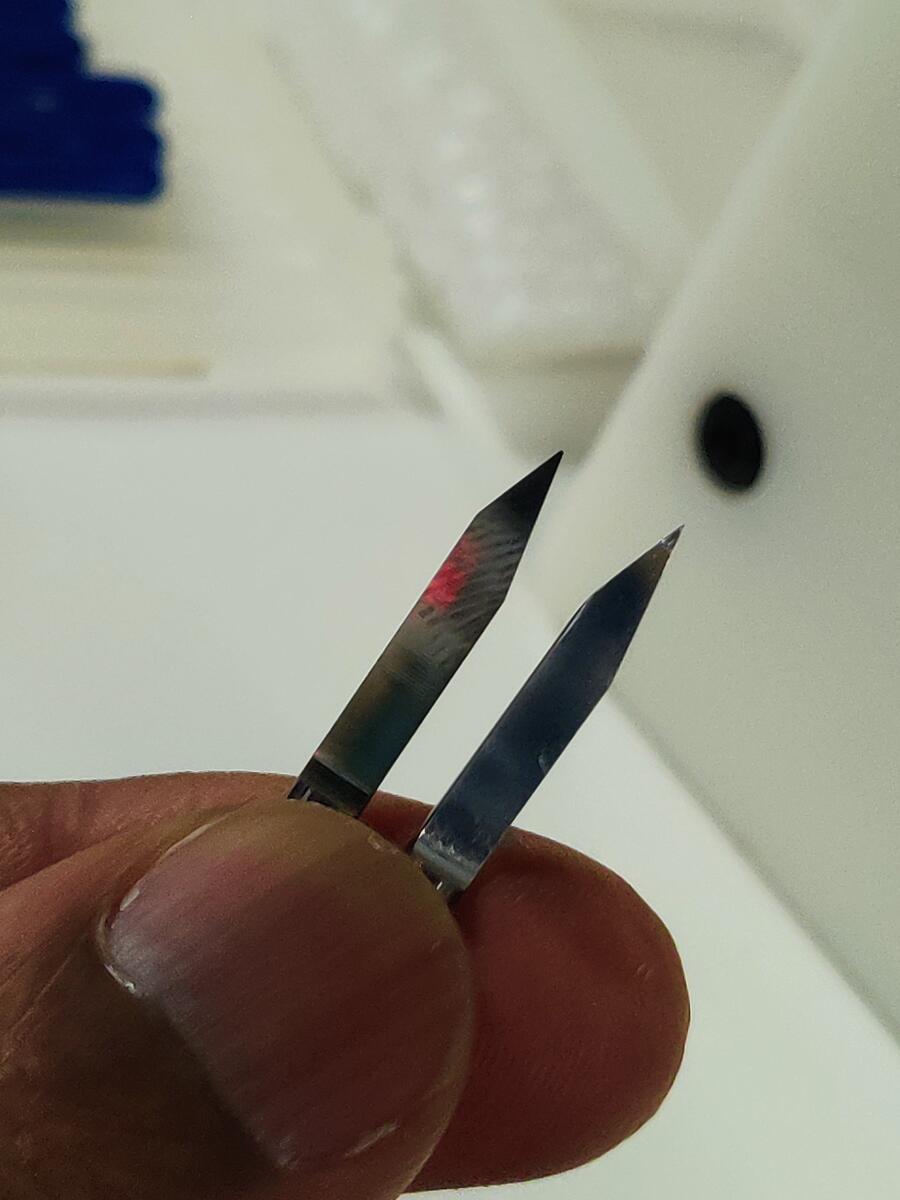
I found these bits for the mill thinking they were the correct type for PCBs.
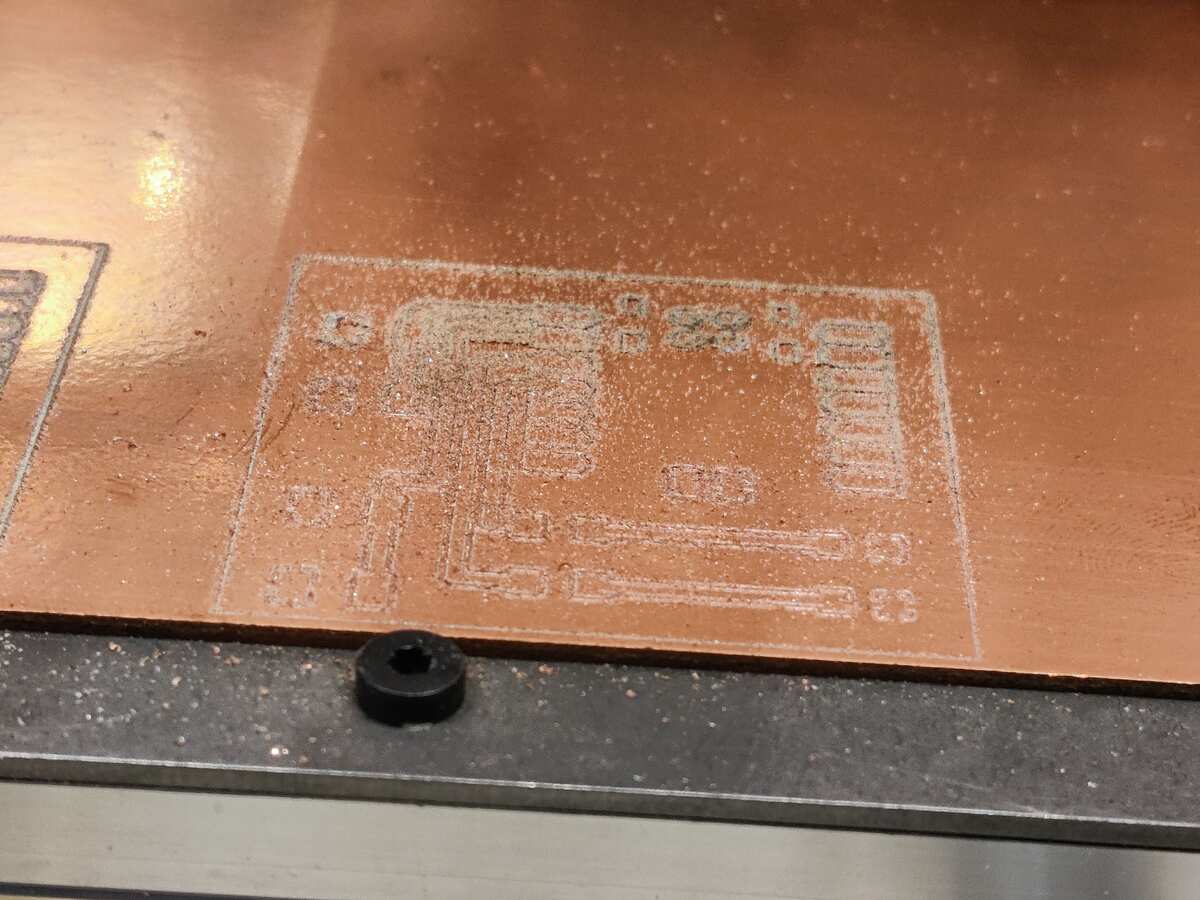
The second cut went much better but was still not able to be cut out completely.
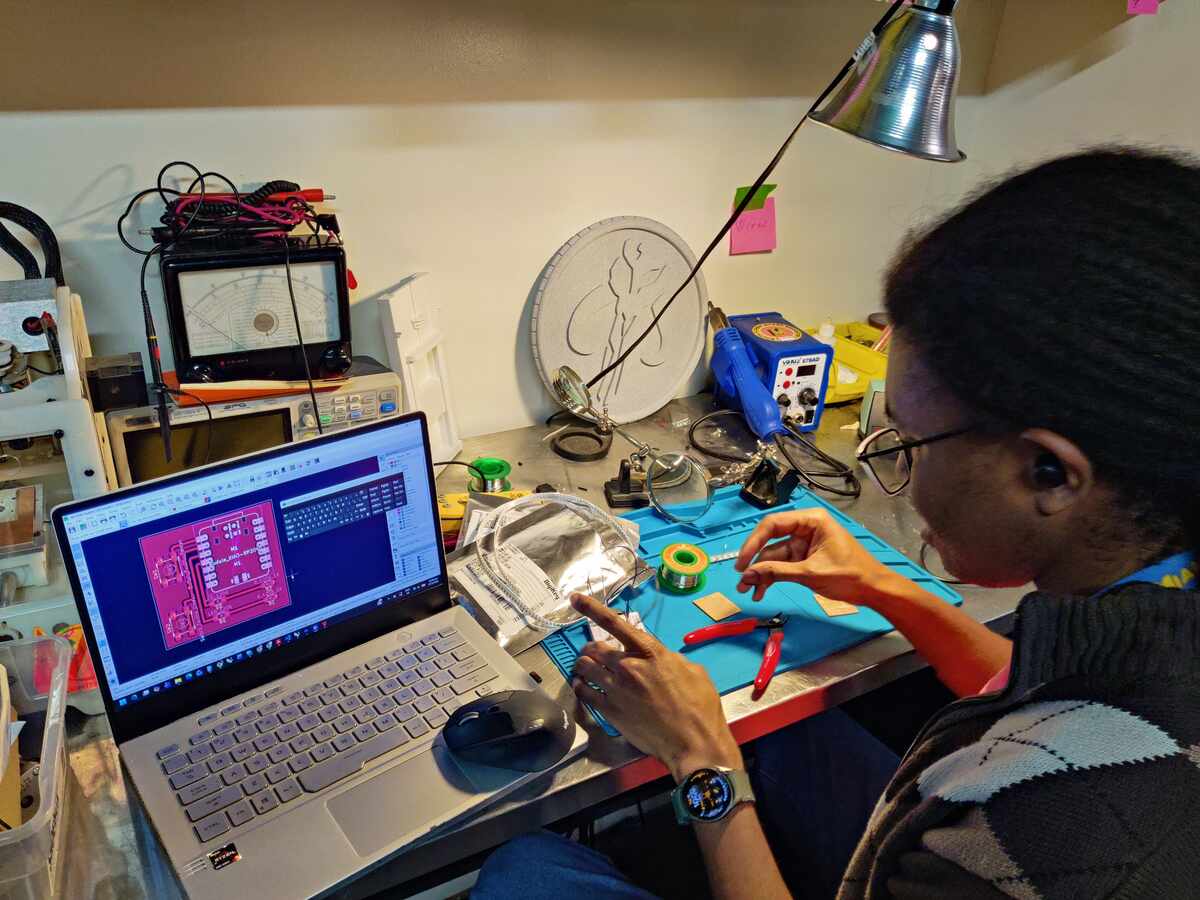
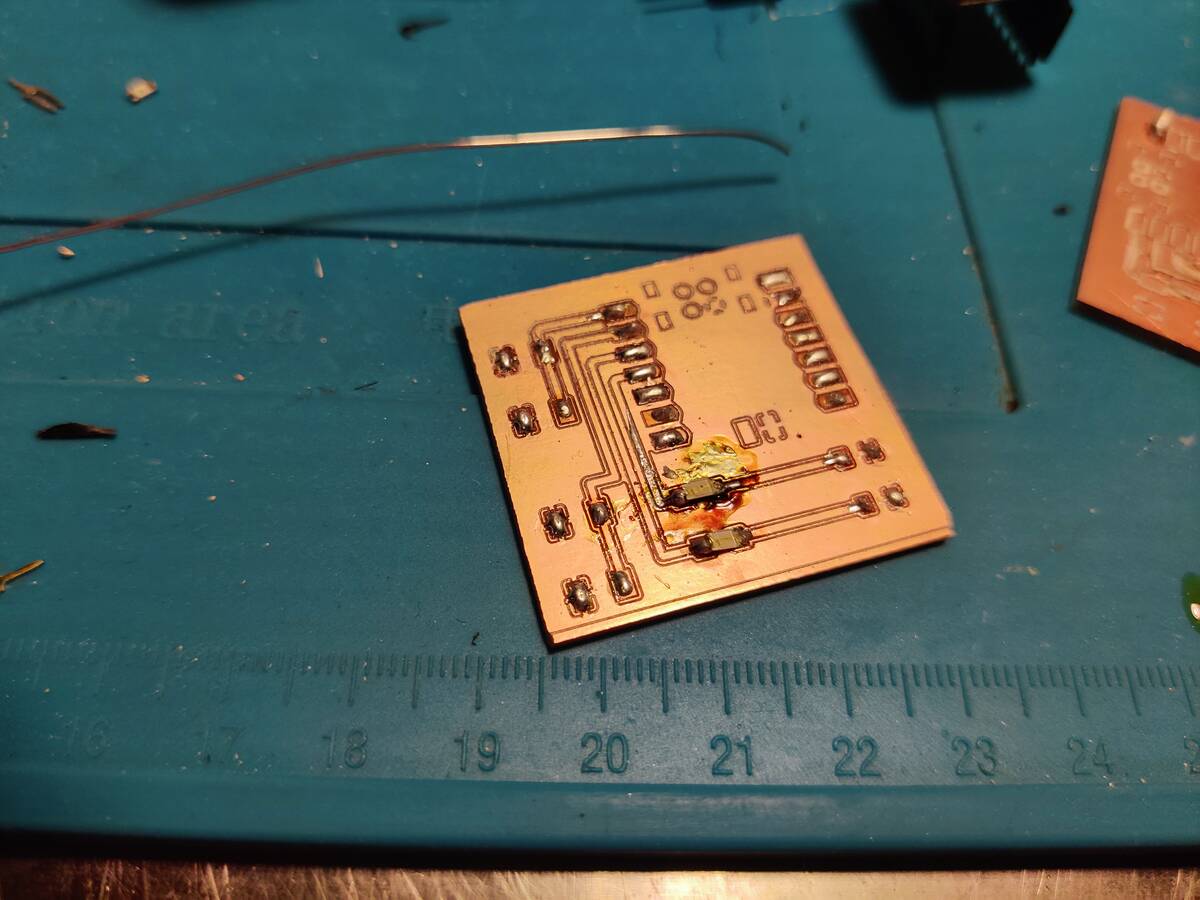
I used the KiCad design to solder the second board.
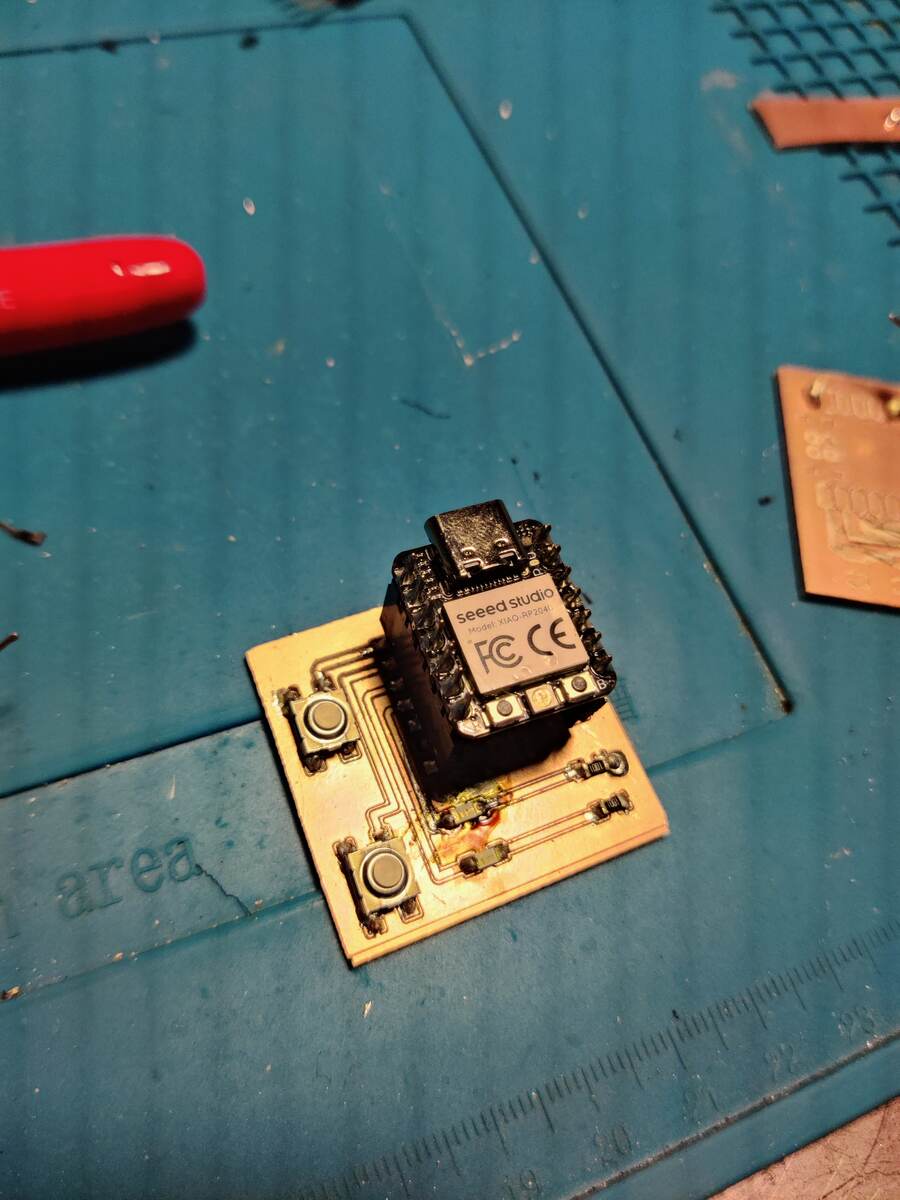
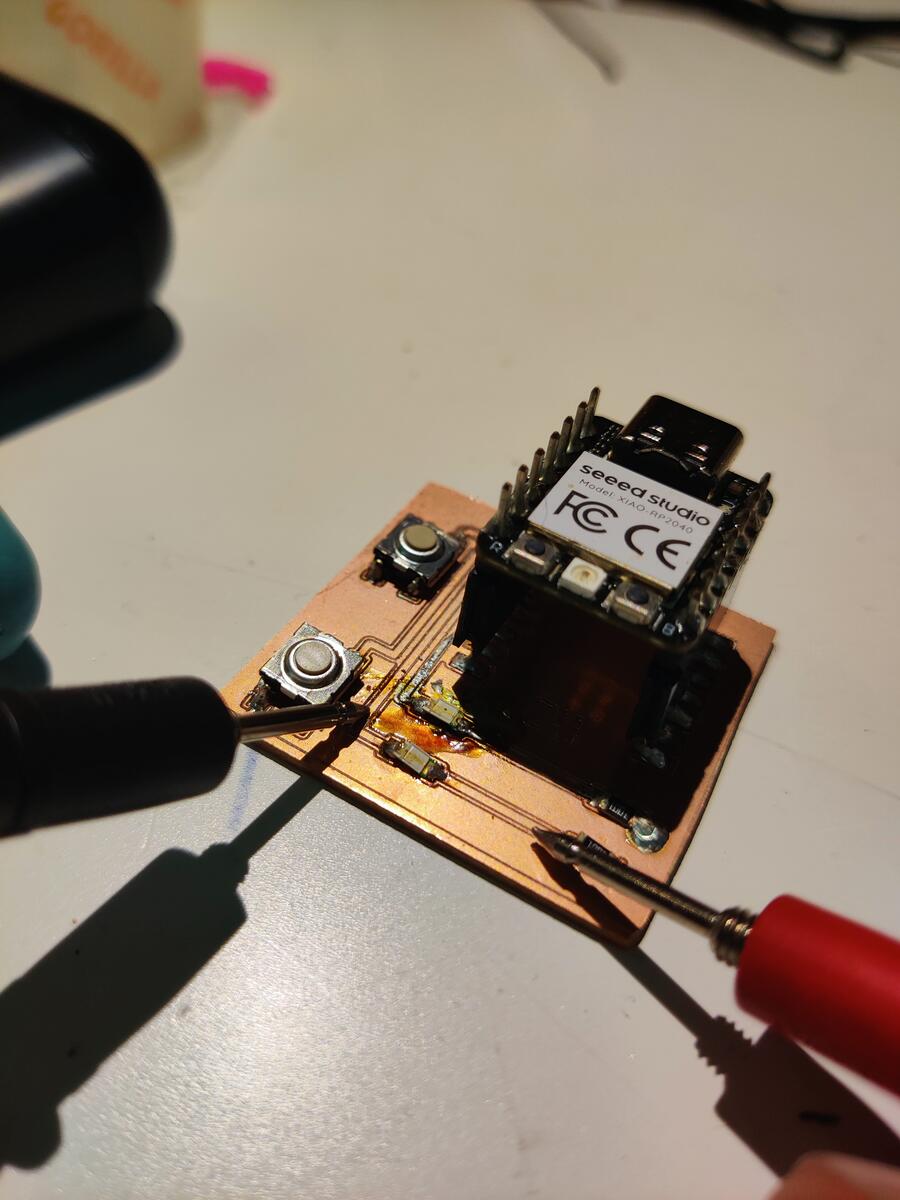
Using a Multimeter, I tested the traces because the board did not work initially.
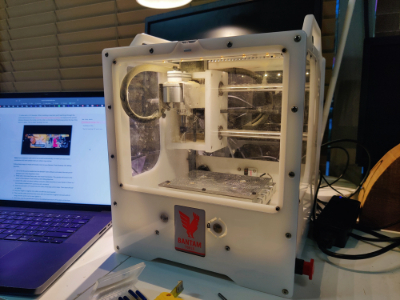
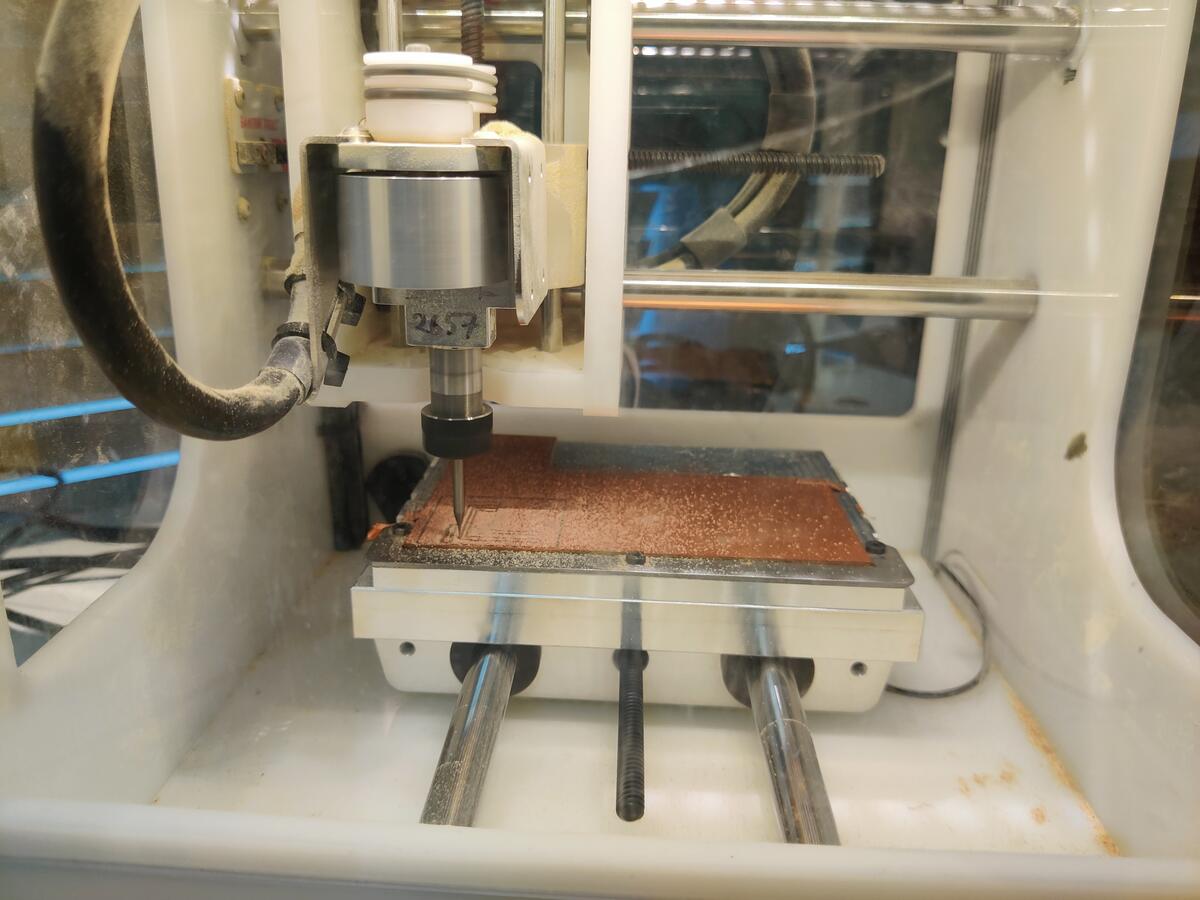
Resetting for another attempt, I found out that I was using the wrong Bantam and the wrong bit.
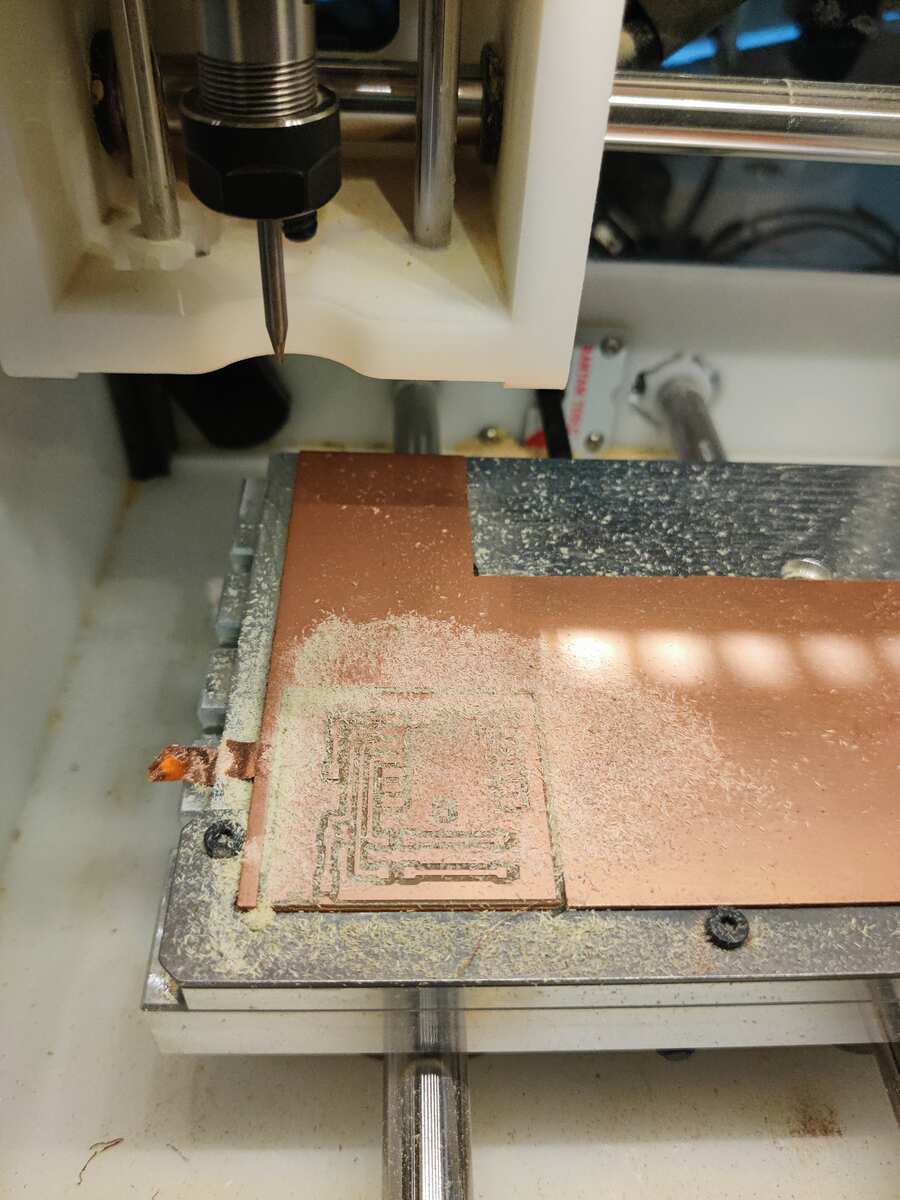
Setting up the new Bantam Tool with a 1/32” flat end mill worked much better.