

Group Assignment — Week 7: Computer-Controlled Machining
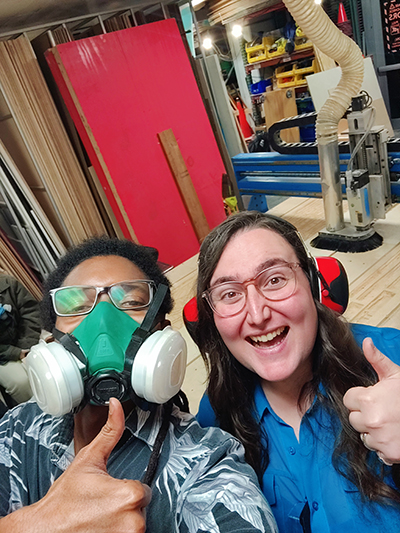
This week we learned to use the CNC at Moonlighter FabLab. My instructor Augusto went through the training with Alie and me.
Group Work and Safety Training
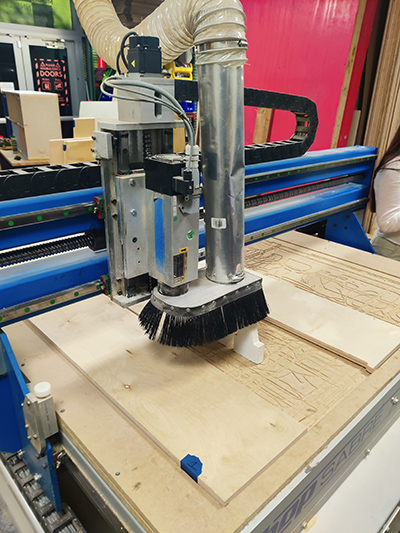
Augusto explained the various parts of the CNC.
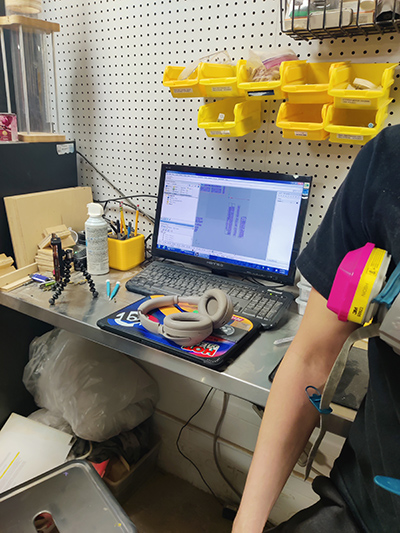
There is a dedicated PC for the CNC which uses Rhino software and Rhino CAM to layout and send the files for milling.
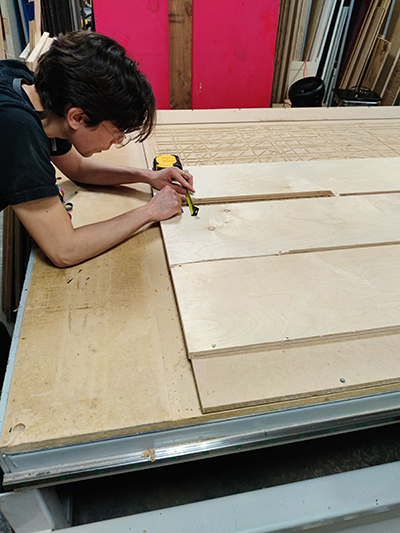
We got to help him with carefully placing ¾" plywood which we secured to the bed with screws.
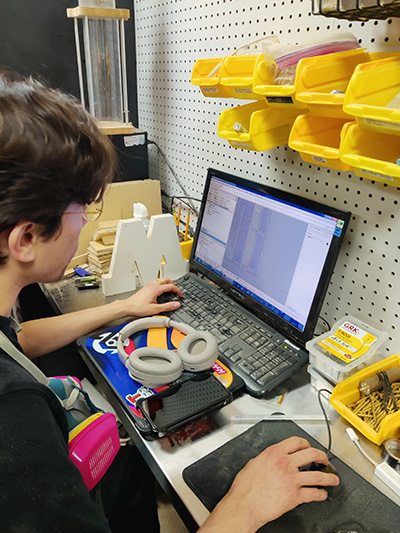
He demonstrated the processes of selecting the 2D profiles and preparing the plot settings.
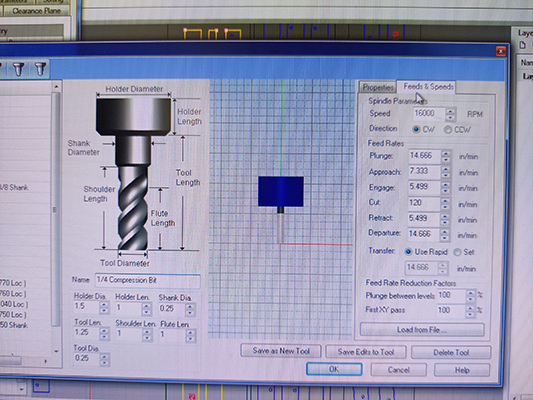
The tool settings we used for a profile cut:
- ¼ Compression Bit
- Holder Diameter: 1.5
- Holder Length: 1
- Shank Diameter: 0.25
- Tool Length: 1.25
- Shoulder Length: 1
- Flute Length: 1
- Tool Diameter: 0.25
Feeds and Speeds:
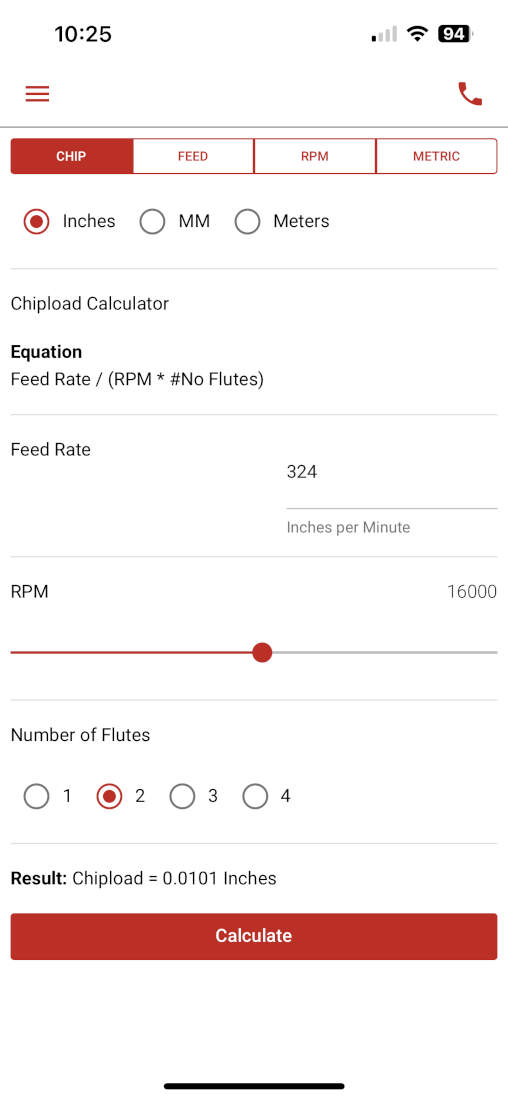
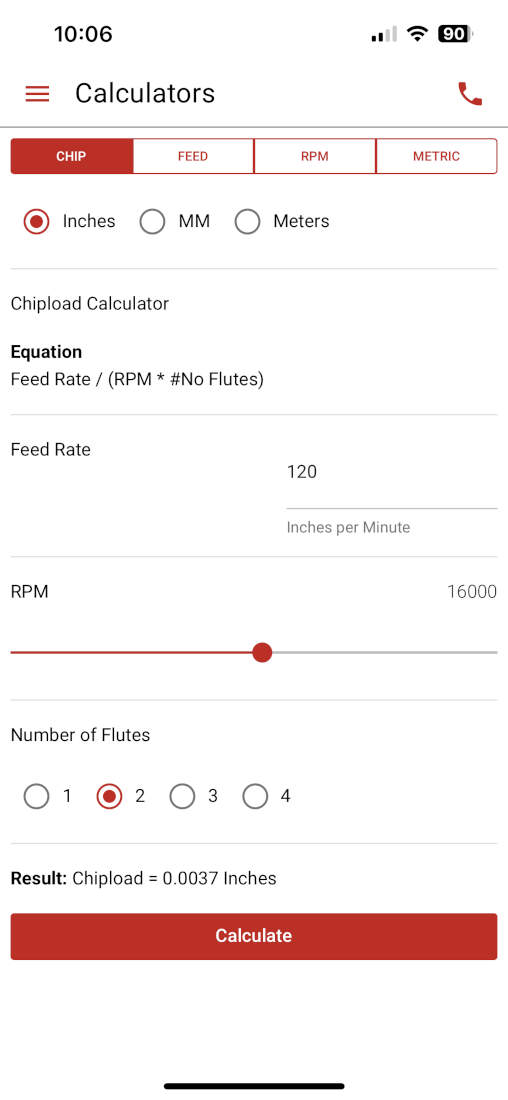
- Speed: 16000 RPM
- Direction: CW
- Plunge: 14.666 in/min
- Approach: 7.333 in/min
- Engage: 5.499 in/min
- Cut: 120 in/min
- Retract: 5.499 in/min
- Departure: 14.666 in/min
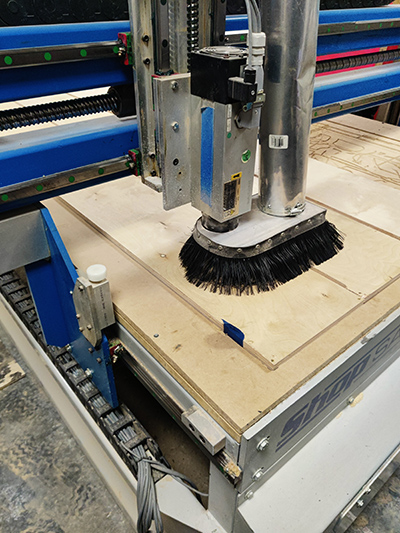
After preparing the tool path, we sent the plot.
What We Learned
The ShopSabre 4896 is a CNC router with a 48" x 96" work area. It runs on Shop Sabre Router Controller software. The spindle tops out at 18,000 RPM powered by a 9.38 HP motor.
Safety & Use:
- Don't reach for parts while the machine is on. Use the emergency stop if needed.
- Keep the vacuum on during all cuts.
- Wear safety goggles inside the workshop.
- Kerf size depends on bit size and diameter.
- Inside corners will be round due to the bit shape and diameter.
Material & Bit Pairings:
- Solid Wood – 2-Flute Endmill
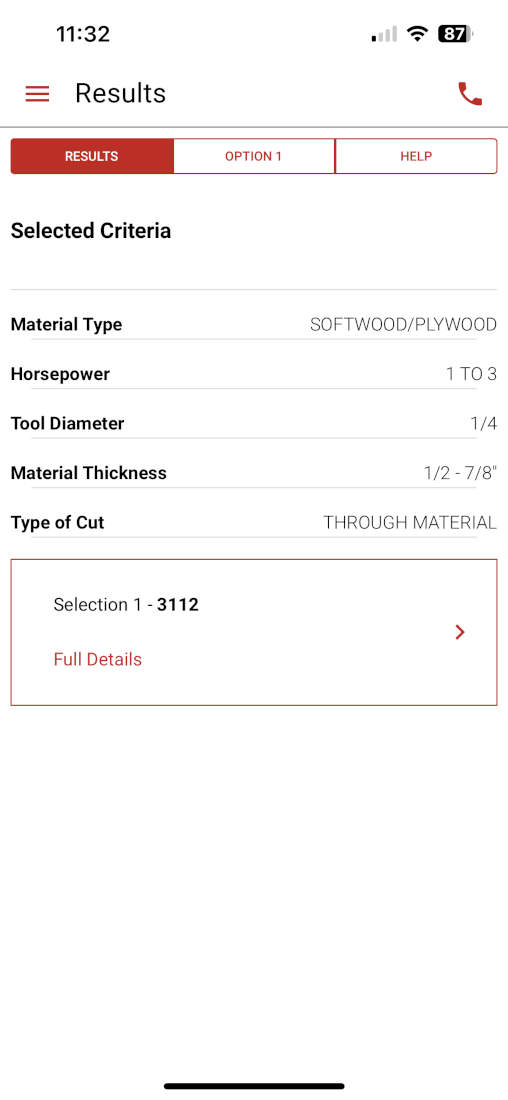
- Plywood – Compression Bit
- MDF – 2-Flute Endmill
- Foam – Single-Flute Endmill
- Plastics – Single-Flute Endmill
Designing My Test File
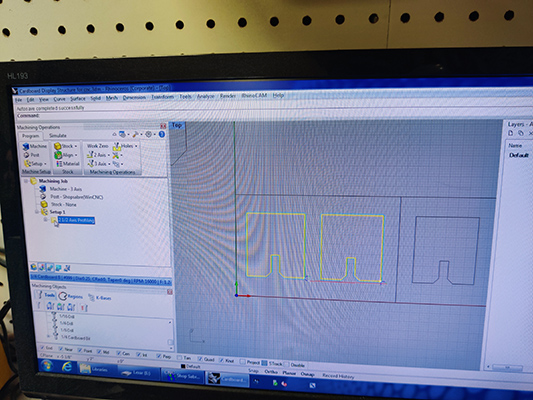
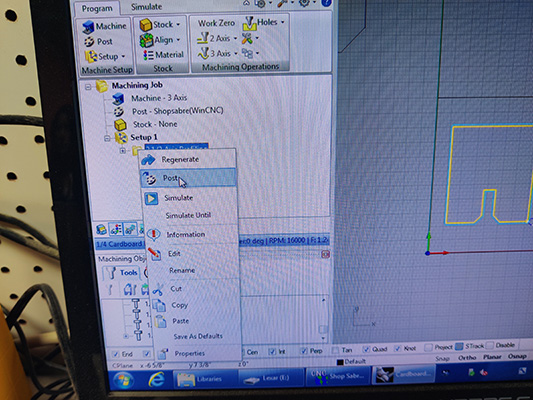
I designed samples for a push fit installation project I planned for Maker Faire Miami. After making the 2D profiles, I selected them and began setting up my file.
Toolpath Accuracy - Regarding toolpath accuracy, kerf plays a large part in it but so does the programmed toolpath itself. When conducting those tests we used the "Profiling" command which has the option of being set to the center of the line, or inside or outside the line. We choose to cut outside the line and the CNC automatically offsets the toolpath by half the kerf. Additionally, we used a right-angle tool to determine how straight our cuts were and if there was any deviation in its angles. There were none.
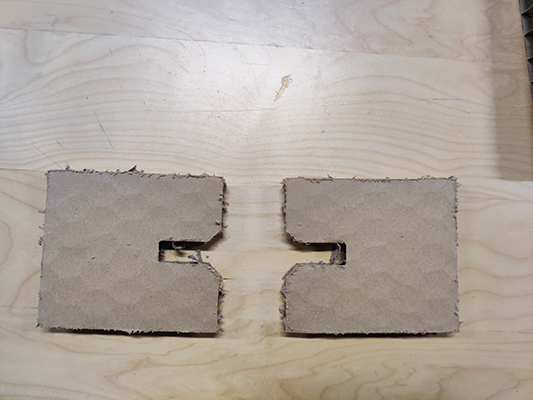
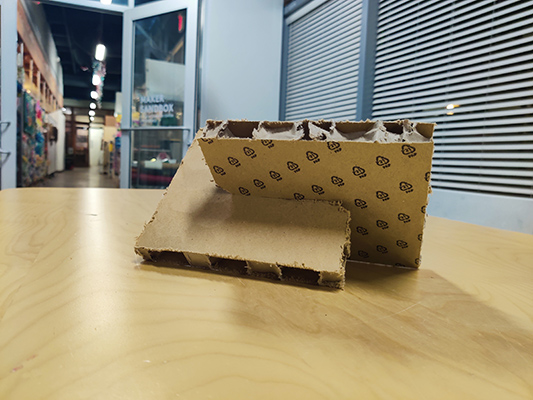
We were also testing a new tool that could be used on ¾” honeycomb cardboard. The cut went well, unfortunately the finish was very messy with frayed edges and excessive dust. We decided to switch to a combination of laser cutting and finishing by hand.