

5. 3D Scanning and 3D Printing
This week I explored 3D Printing using the Bambu Labs A1 printer. Bambu printers have become extremely popular in the past few years for their accessibility and the ease to which experienced professionals and beginner hobbyists are able to produce high quality prints. My node, Moonlighter FabLab, now has a Bambu print farm with X1 Carbon, P1S, H2D and A1 printers. I decided to do my assignment using the A1 printers because the ones at the FabLab would have the same strengths and limitations as my personal 3D printer at home. I often print my projects wherever is most convenient.
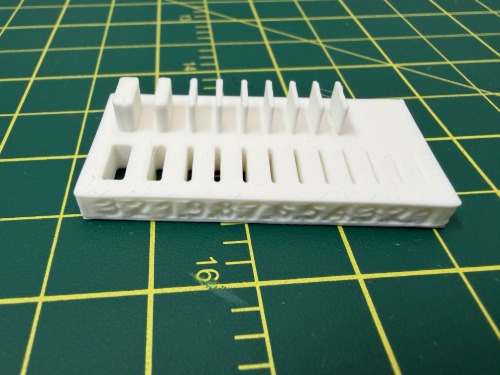
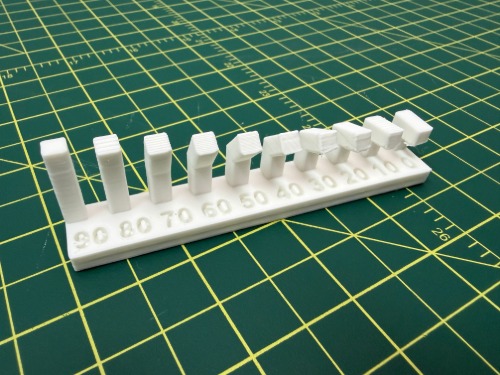
Week 5 Group Assignment3D Printing Rules
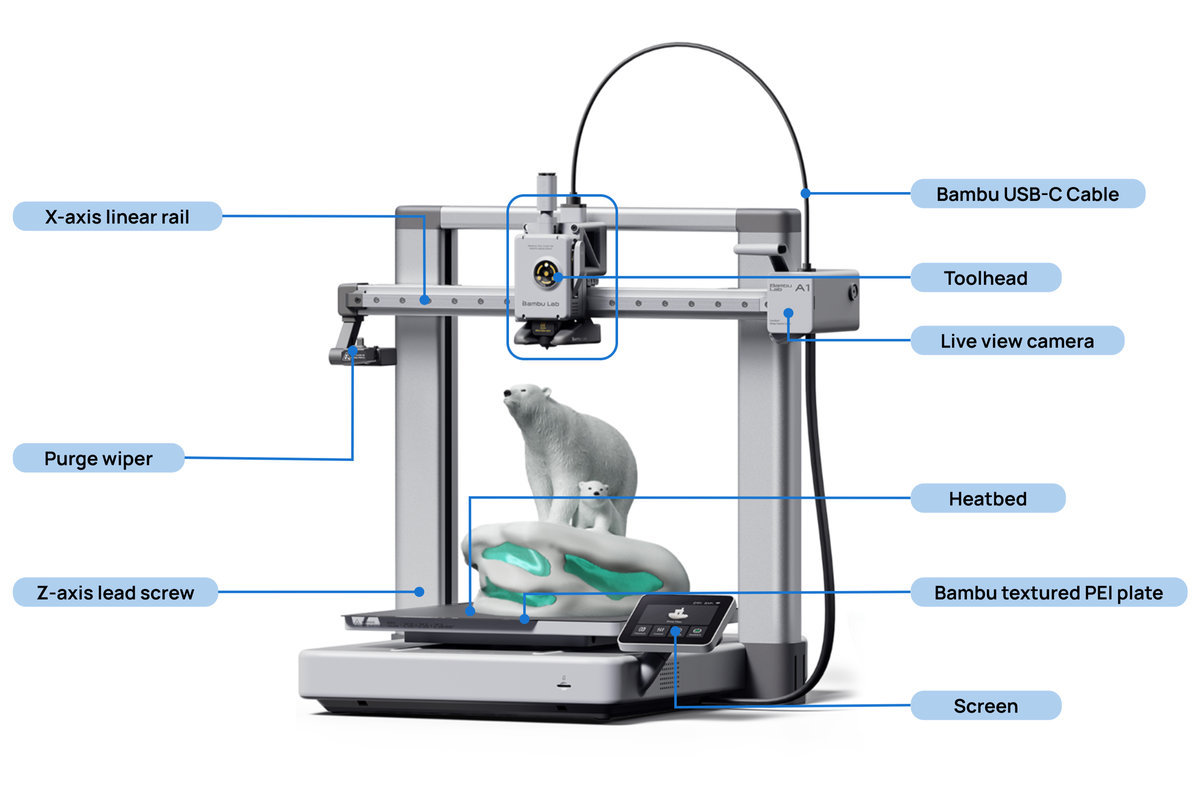
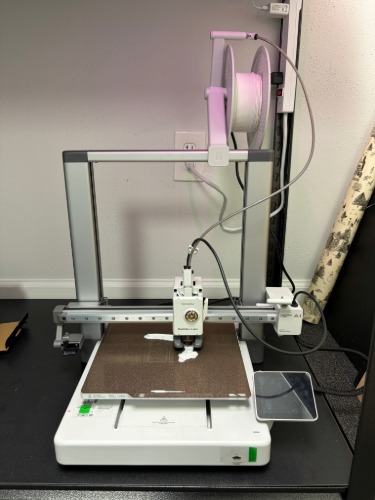
The basic model of the Bambu Labs A1 is not enclosed like most other Bambu printers, it also functions a little differently. The standard printer format with enclosures has a toolhead that moves along the X, Y axes while the printbed moves in the Z axis. For the A1 printer, the toolhead moves along the X, Z axes and the printbed moves in the Y axis. This format makes the printer more portable, keeping most of the moving parts closer to the heavier base. In my experience, this reduces the shaking and vibration which would have been managed by the structure of the other models. It is also much safer. I take this printer around kids and students very often. There is a risk that the Z axis printbeds can clamp down on objects or limbs. This is still a present risk for the A1’s toolhead and X-axis linear rail; however, this is much less dangerous of the 2 options.
The other concern about the A1 is that it would produce significantly lower quality prints. From what I have seen, the difference can be minor with the built in calibrations and having specific slicer settings for each printer model. Prints also take slightly longer on the A1 vs other printers. This is also a reason I wanted to work on the A1. If I use the lower end printer to test the base level.
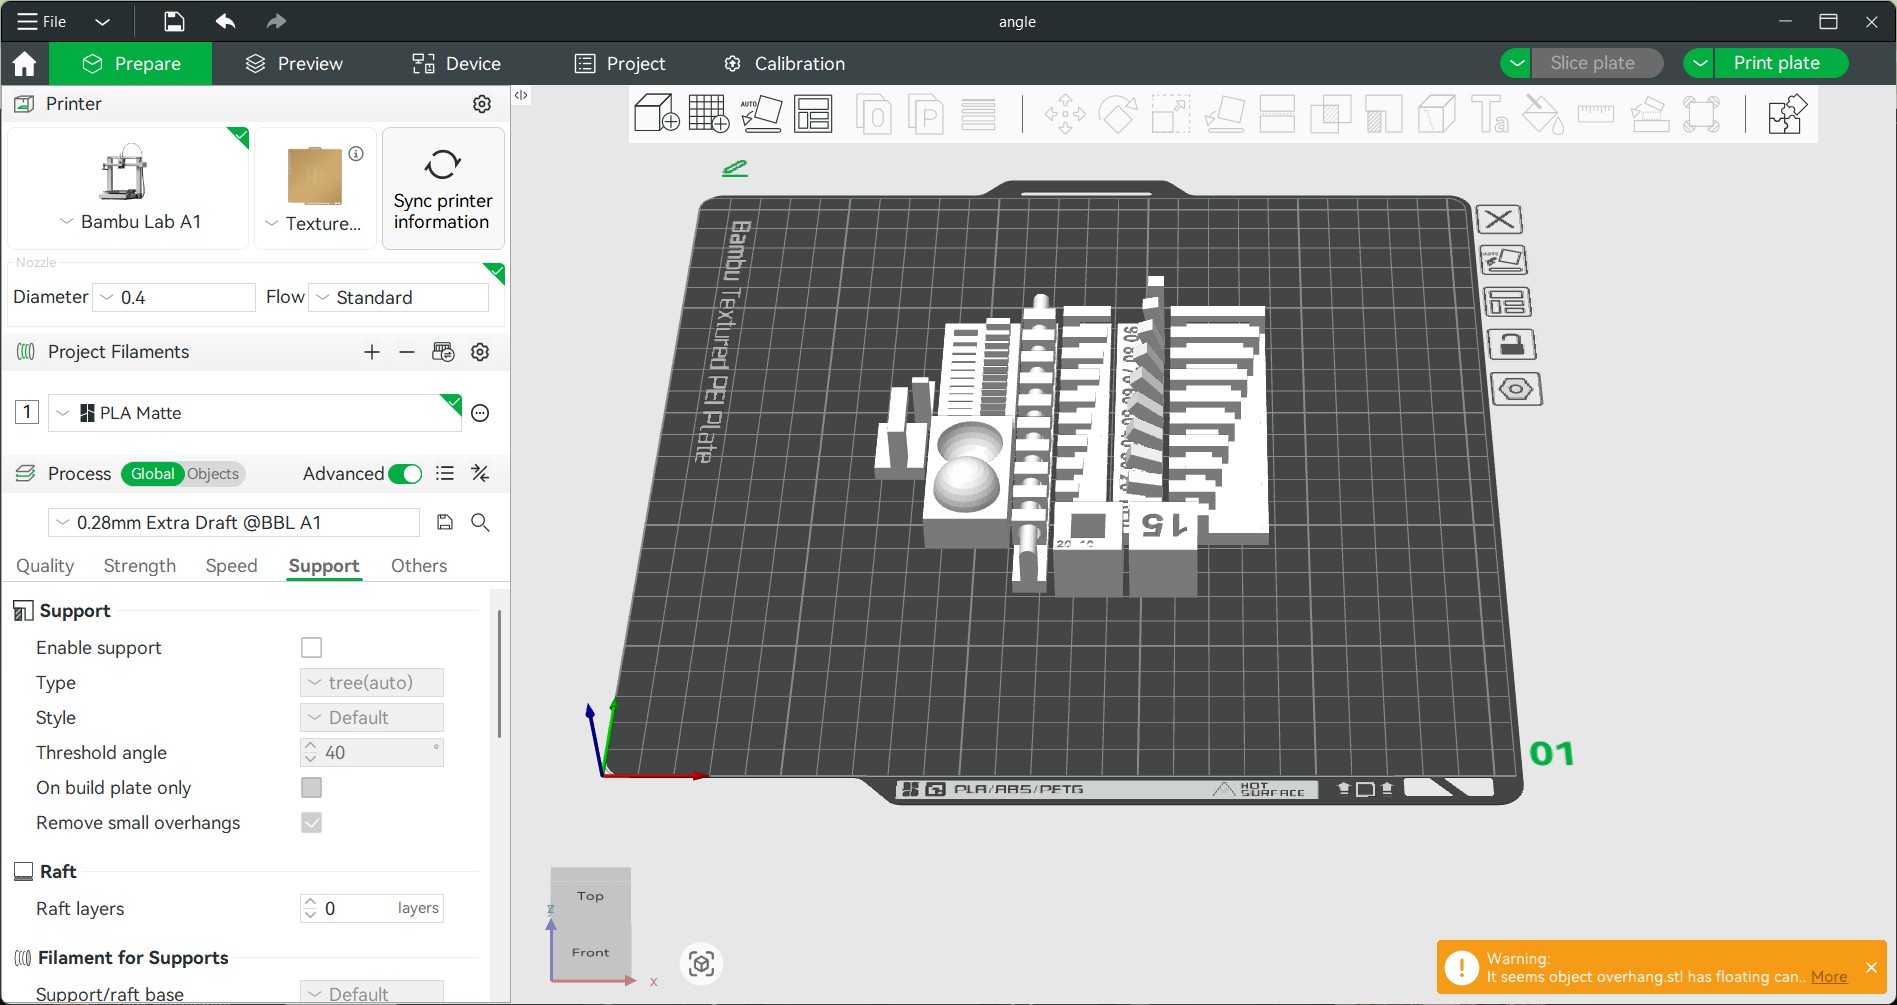
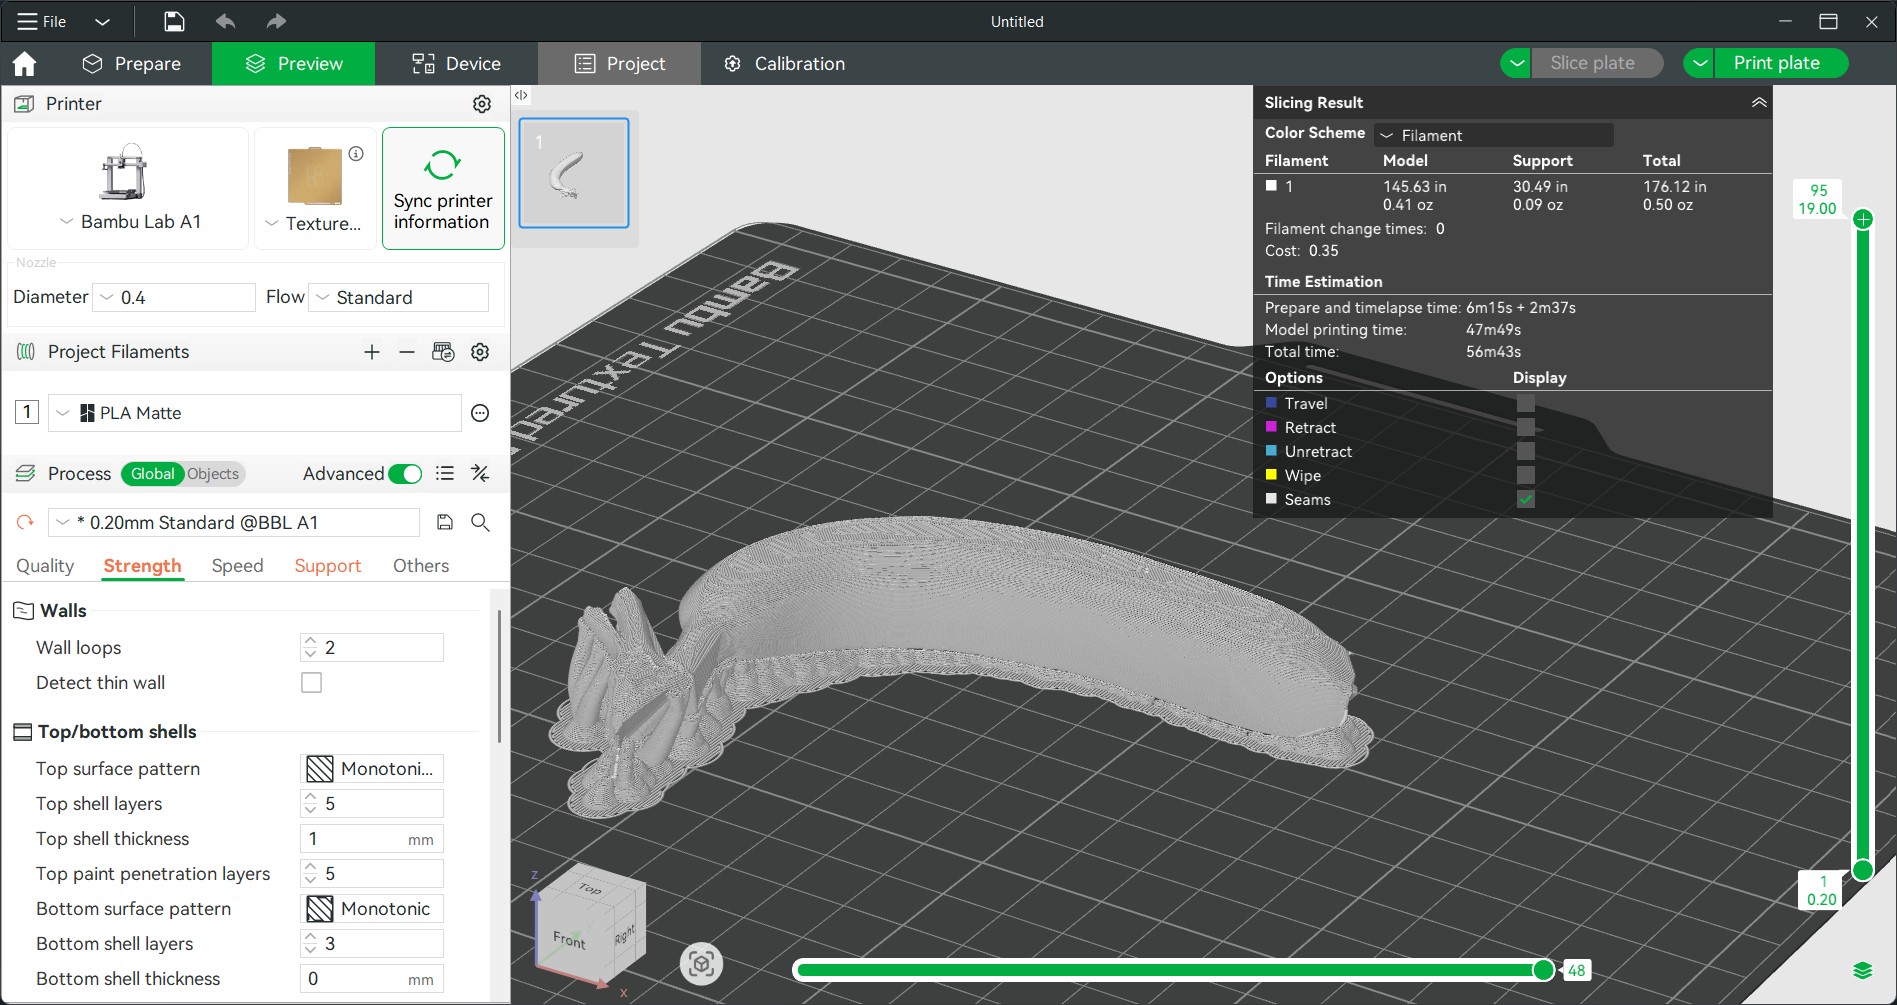
Assembling the parts on the build plate in the Bambu Studio slicer wasn’t difficult. I made sure it was set to Bambu A1, textured PEI plate, 0.4 diameter nozzle, standard flow with PLA Matte which were all the correct settings and conditions of my physical printer and filament. I also set the first attempt to .028mm extra draft quality with supports off. My second attempt was .20mm standard quality with supports on. This difference in settings allowed me to compare a messy print to a much cleaner print.
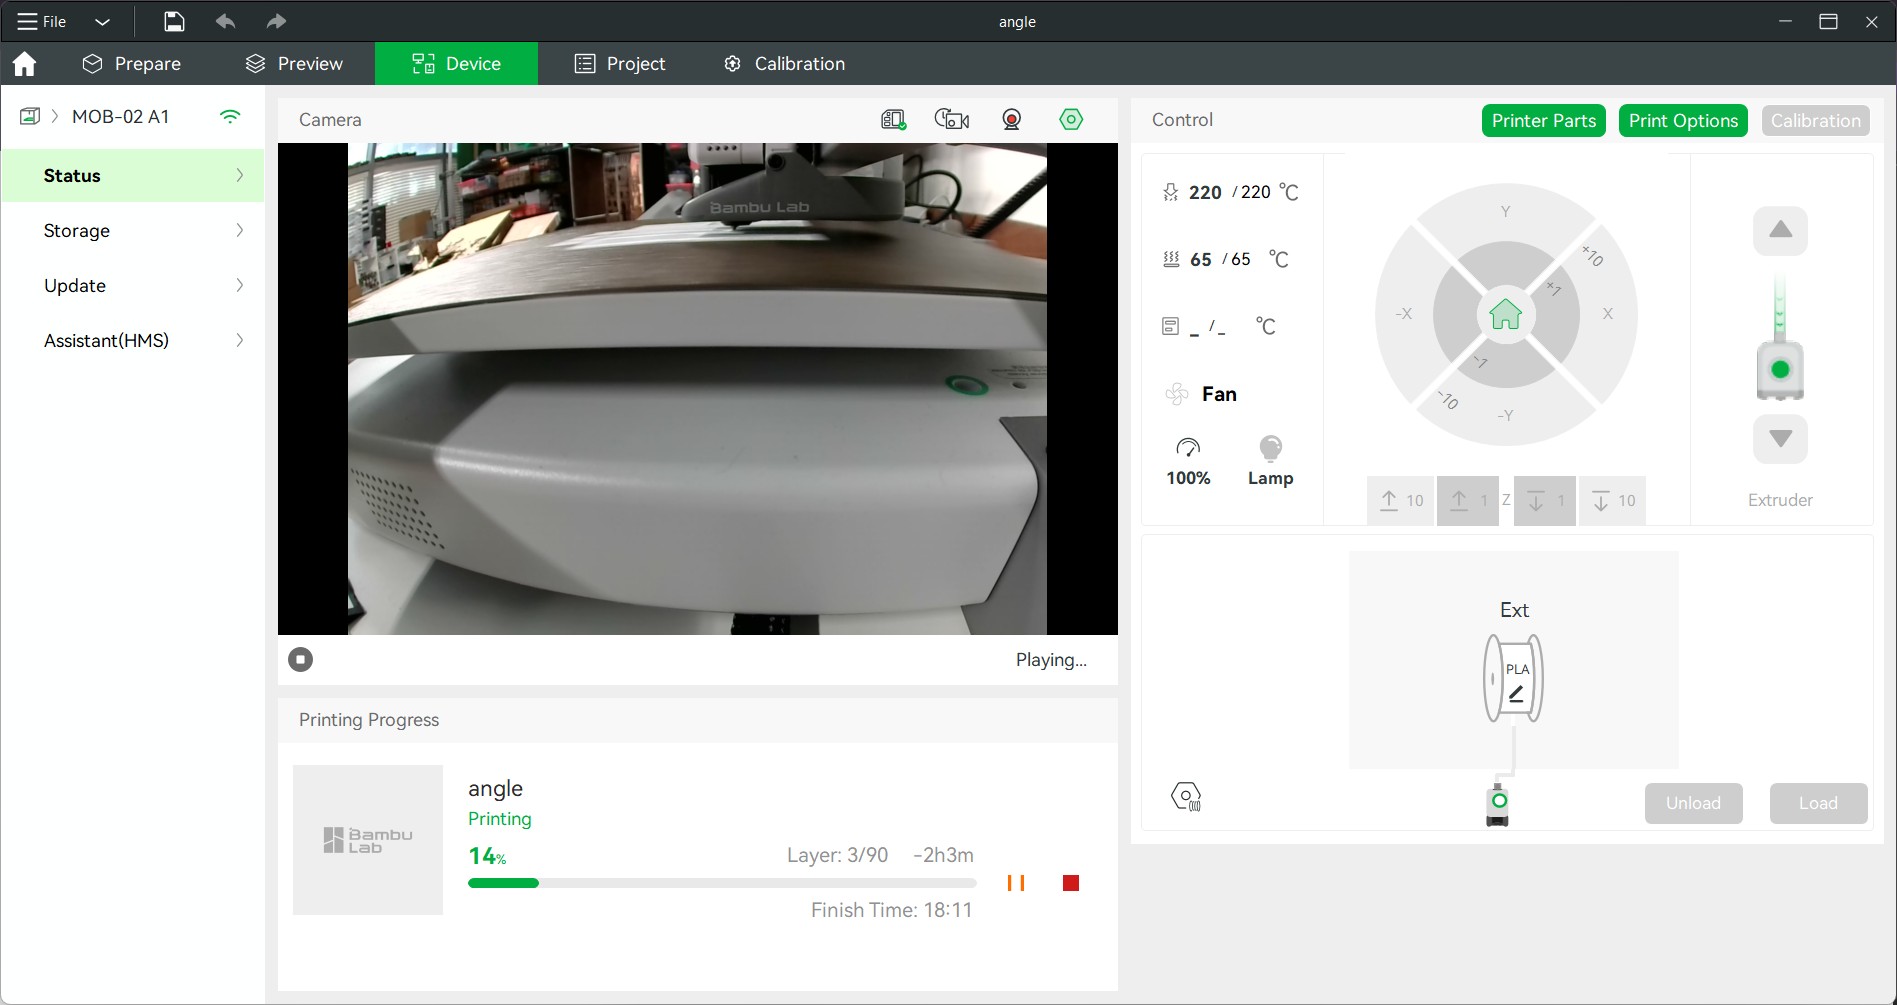
Sending the print to the printer starts with connecting to the specific device. Under the Device tab, you can see the view from the onboard camera remotely, adjust device settings, load or unload filament, monitor prints and catch failures.
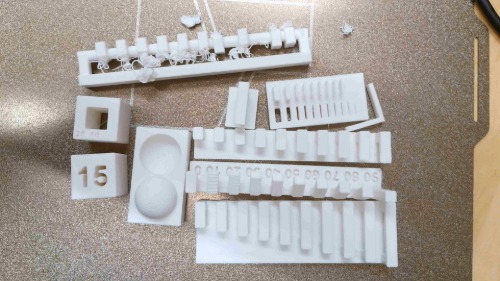
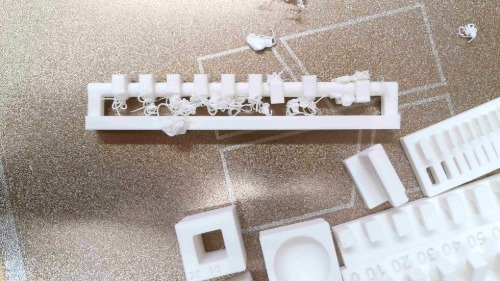
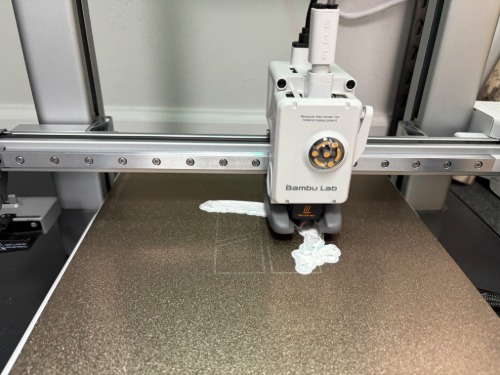
The extra draft print was unusable in some areas. I had unsupported bridges and spaghetti failures that fused together. An interesting observation is that the print was able to recover after a while of having hovering filament. The text and non-cantilevering areas printed well in most cases.
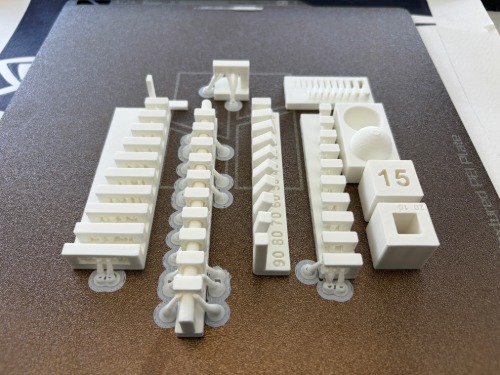
The standard quality print with supports turned out much better but needed to be spaced further apart. No failures observed.


3D Modeling - 3D Printing
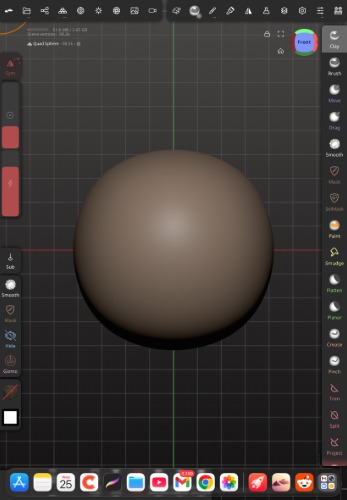
To create my 3D model, I used Nomad on Ipad. This was the first time I used Nomad to make something for printing. This seemed like a fun experiment as I learn a new app. It starts out with a base object which can be modified using various tools and setting.
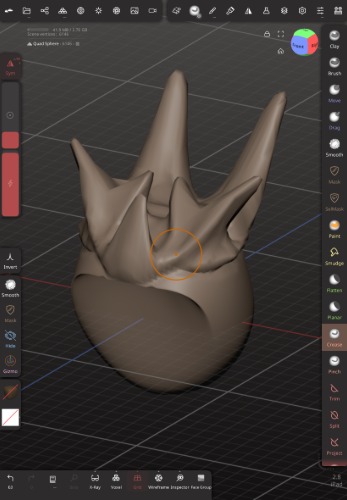
I was able to use the surface tools in the right side bar to create an interesting organic shape which was crown-like.
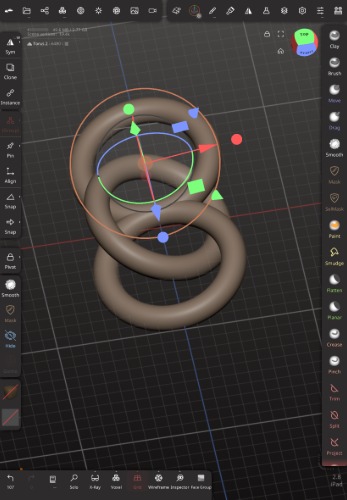
After a while I considered doing a linking chain using a series of torus ring shapes.

I then took a rectangle and created a tight spiral.
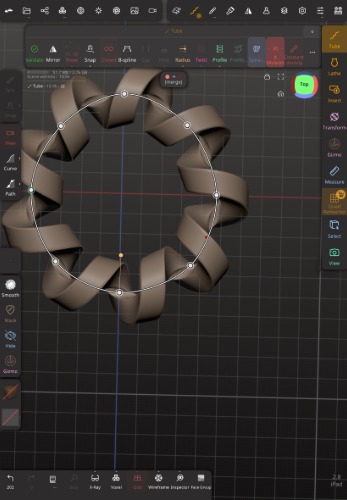
This gave me the idea to apply a spiral to a torus. This shape is not suitable for subtractive manufacturing processes because it has many undercuts and tight, complex nonplanar surfaces. This is a continuous twisting shape with no flat surfaces and or obvious ways to assemble modular components.
I exported the model as .STL

The file was then opened in Bambu Studio with standard quality settings and supports turned on.
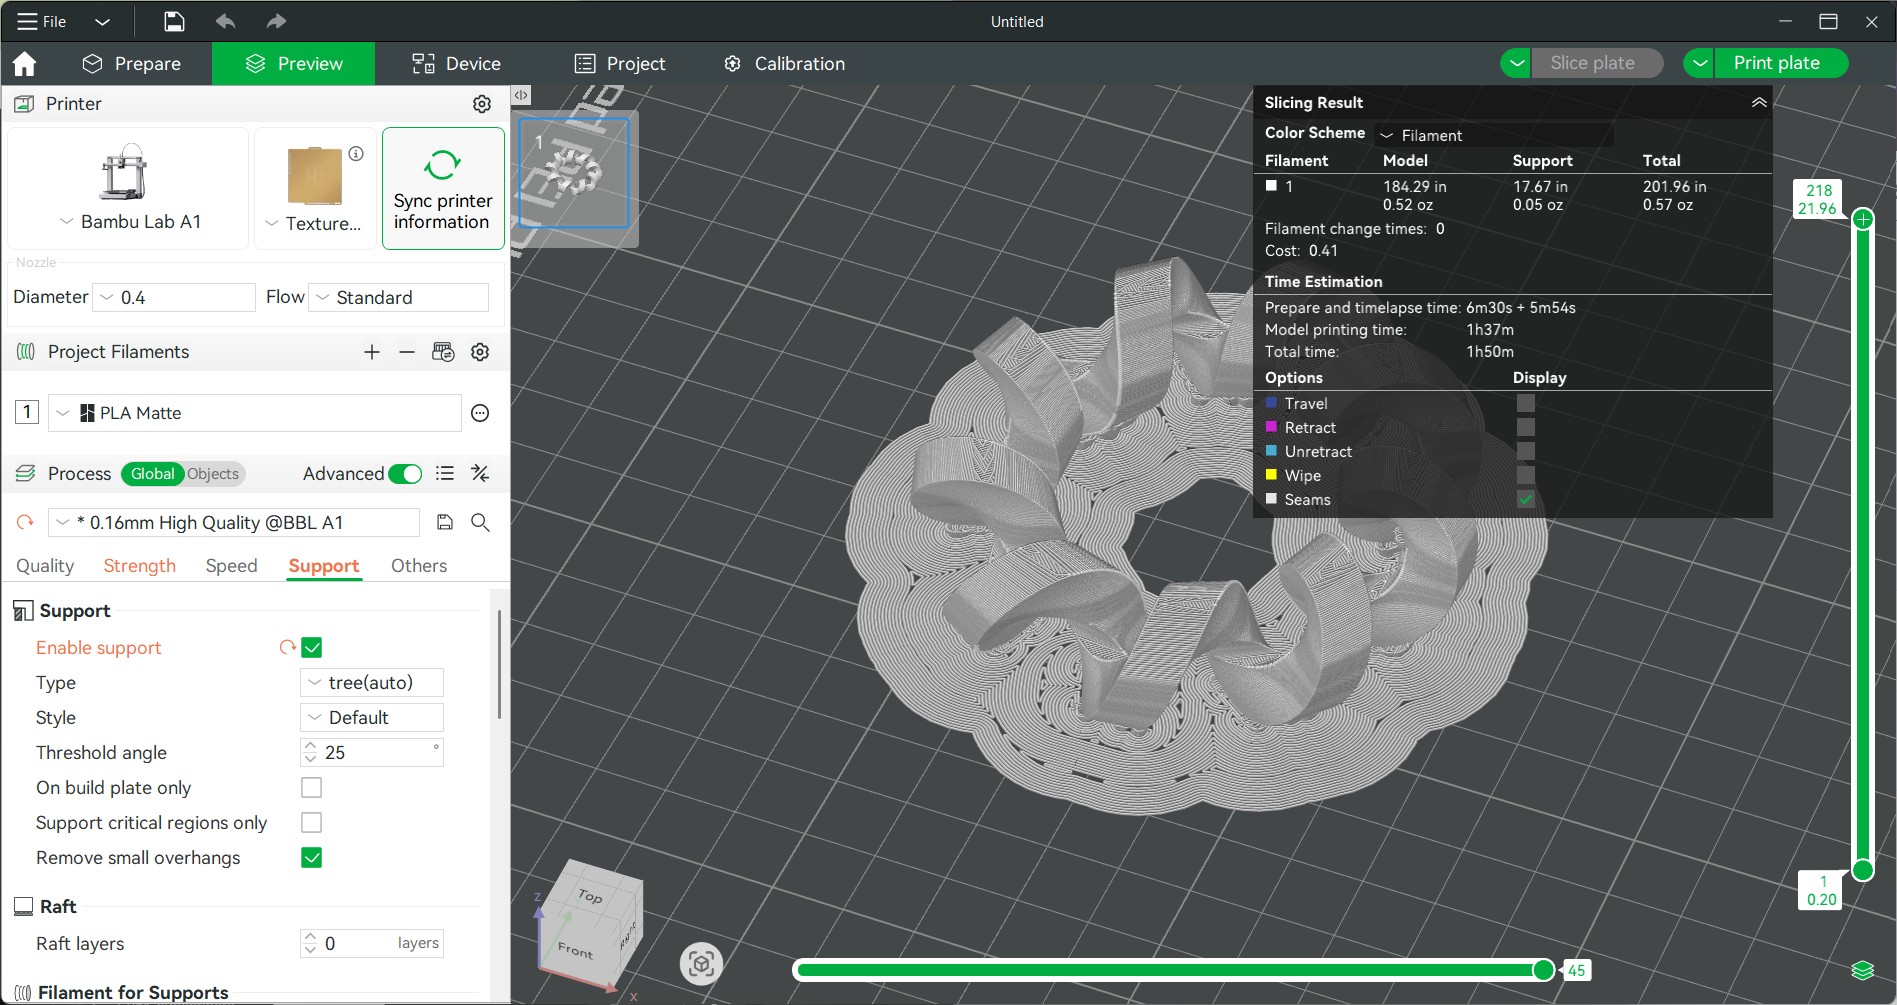
Slicing the model shows more support on the base but the gradual slopes of the walls which end in arches did not need much support. That was something I have learned before, but it was interesting to see in a practical visual way.
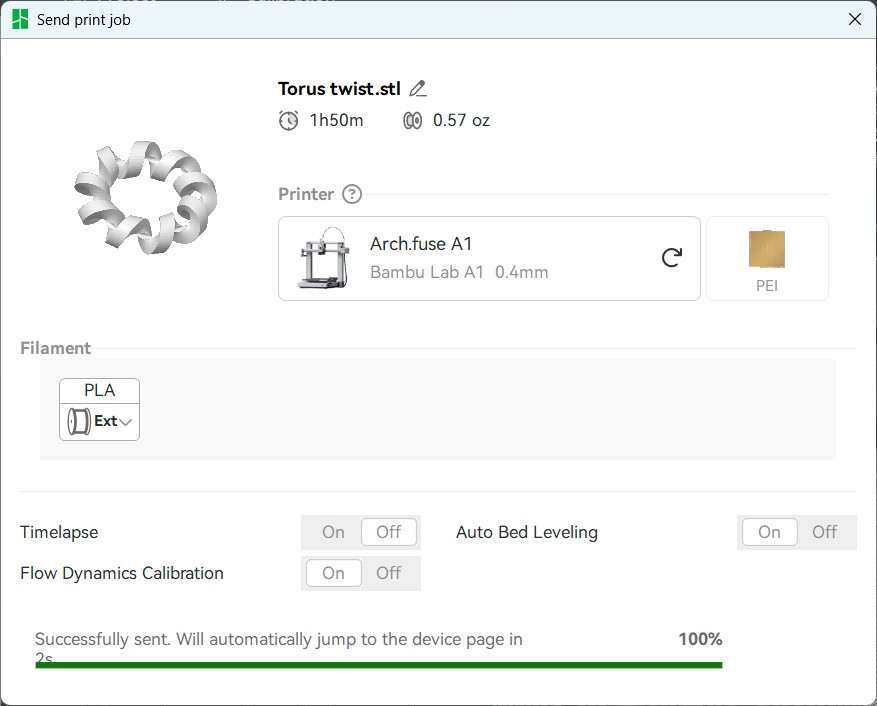
I sent the print to my A1 using PLA Matte filament and the estimated time was 1hr 50mins.
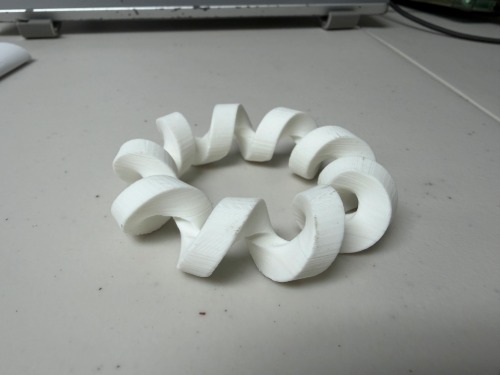
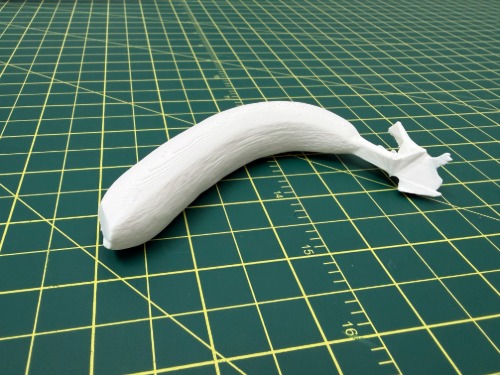
The print came out with noticeable layer lines and stepping on the top surface which are common for curved prints. It also had a slight springiness and flexibility due to the form; however, the material was still rigid and eventually cracked along the layer lines when excess force was applied.
3D Scanning - 3D Printing
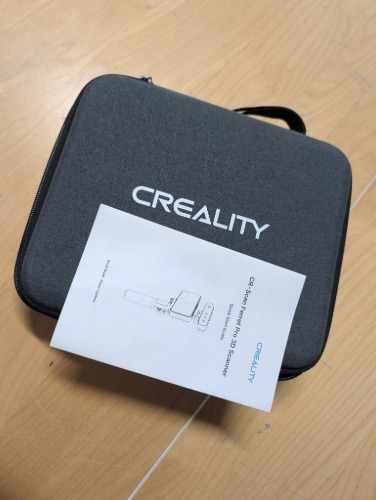
I used the Creality CR-Scan Ferret Pro 3D Scanner which was at Moonlighter FabLab. This was not my first time using it but this was my first time sending a scan to print. The device is kept in a rigid fabric lined case to keep it safe and to make sure we always store it in the best conditions.
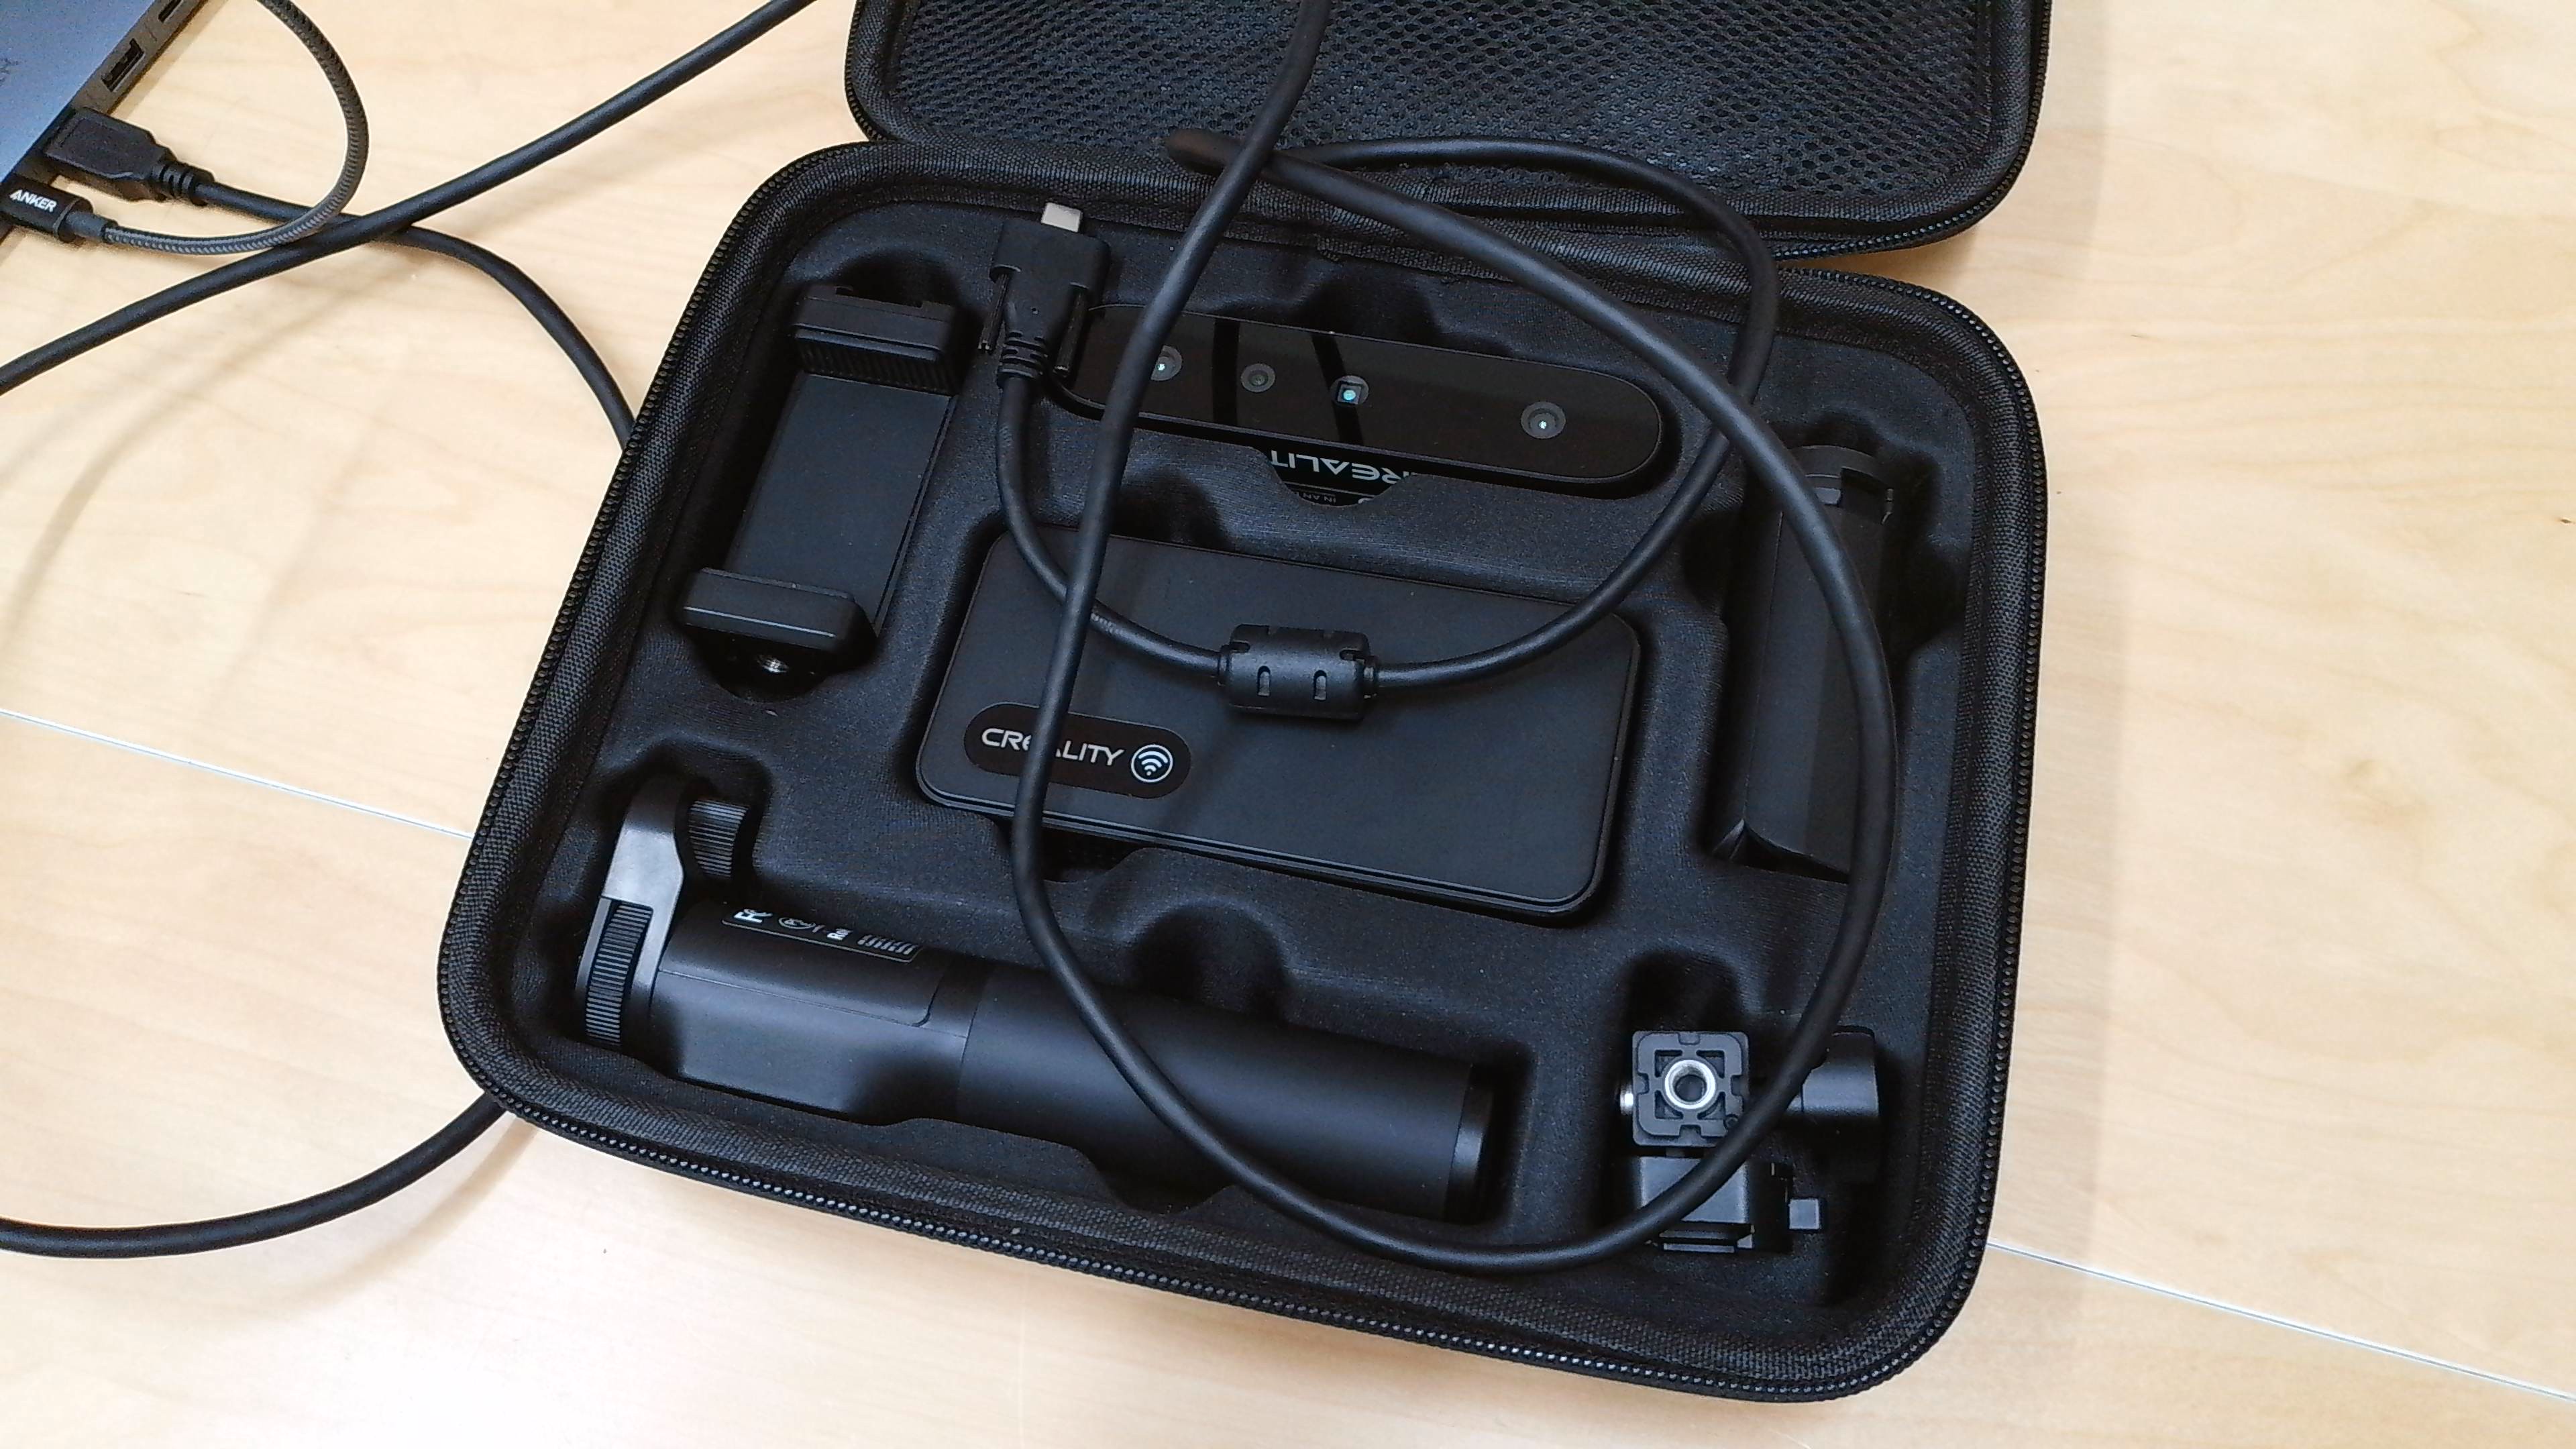
Inside the case, it is stored disassembled with the camera/ scanners, phone mount, handle, feet and wireless unit for use with the mobile app in separate spaces. All of the cables and instructions are kept in a pouch on the other side of the case.
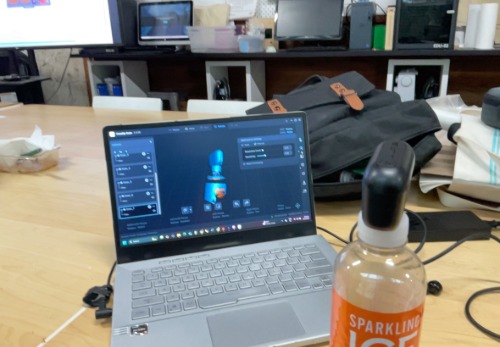
Using the 3D scanner is pretty easy but requires practice. This was a test scan I did with my earbuds case on a bottle. To get started I needed to install the CrealityScan software.
Link to CrealityScanWhen I had the scanner assembled and ready, I grabbed the first thing I saw in front of me which happened to be a banana.
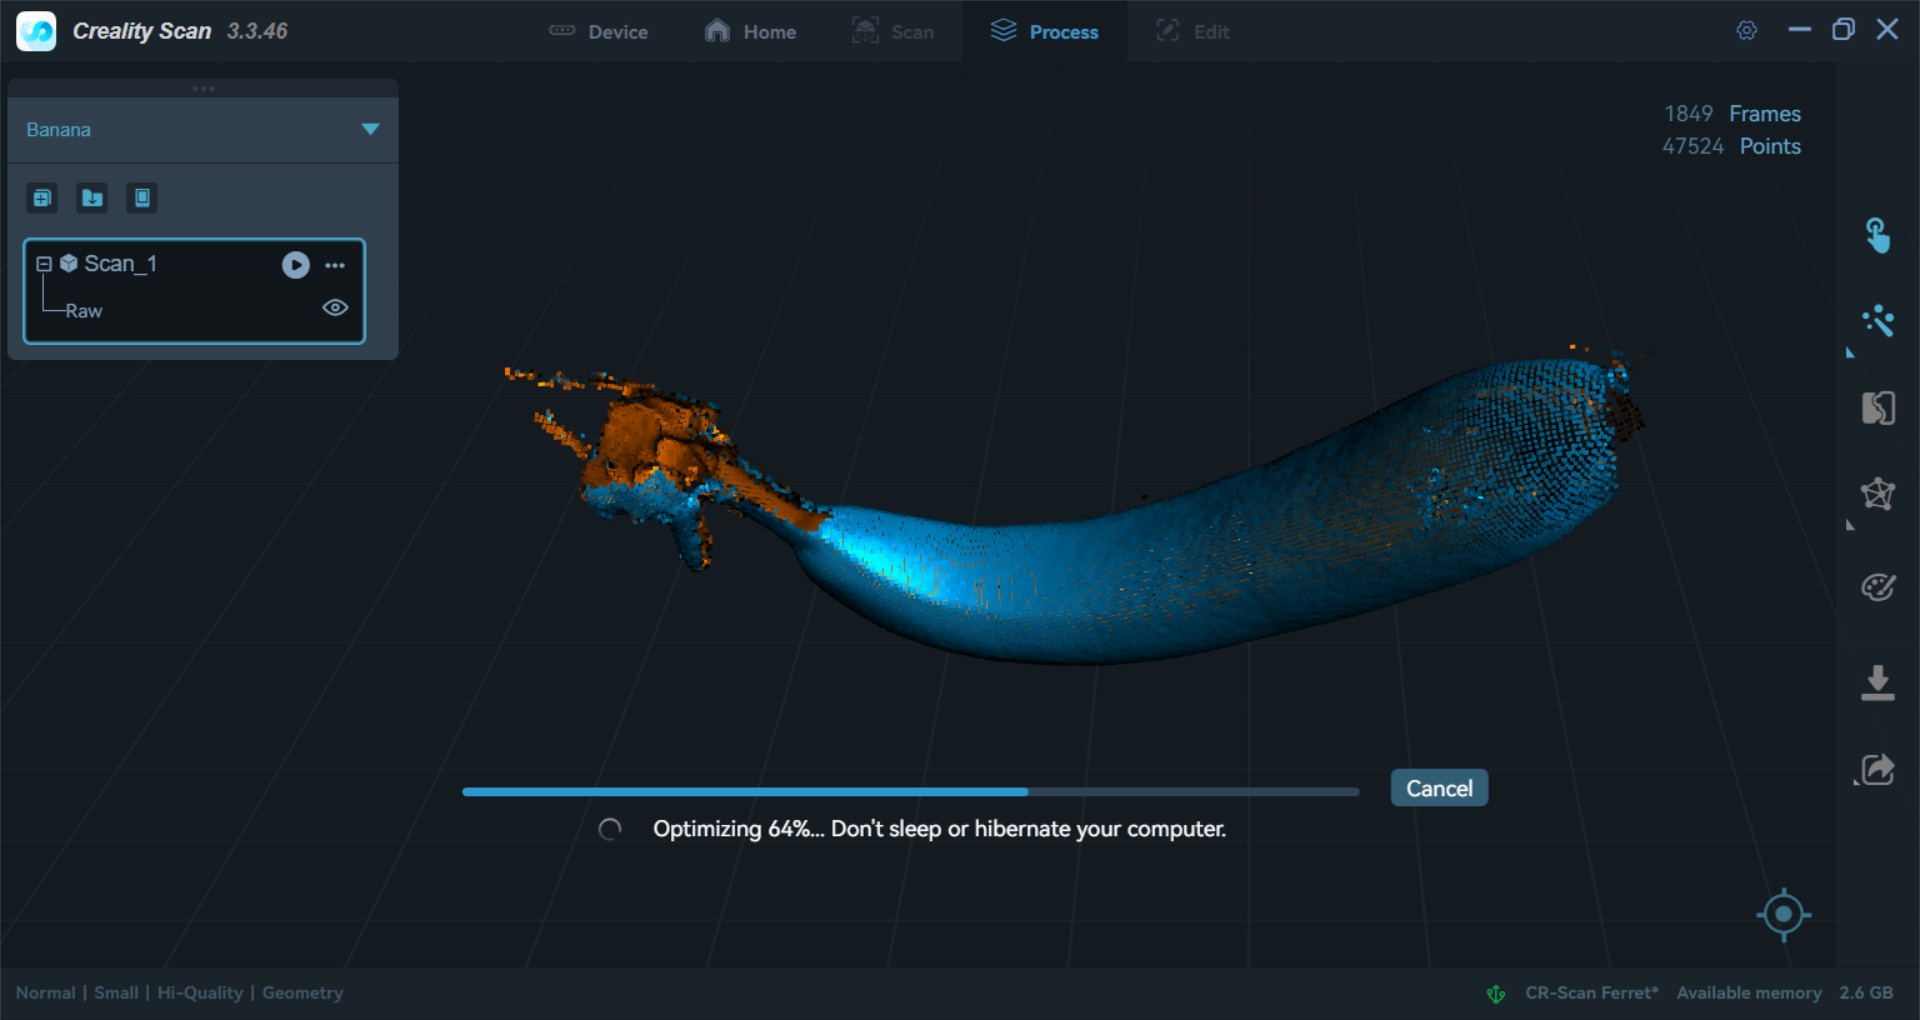
The scanner works by mapping a series of dots and the proximal distance between the scanner and the subject. The multiple cameras and the scanner are able to record the shape, dimensions and color of the subject’s surfaces while attempting to isolate it from surrounding surfaces and geometries. This is sometimes effective but is one of the challenges to work around with this device. It also does not require dots or special equipment to assist the mapping. It does unfortunately struggle with reflective surfaces and dark conditions.
When the scanning is complete, the object is blue on the outside and hollow with orange on the inside. Zooming in allows you to see the points that make up the object. The program then fills in the gaps to generate an approximation of what the solid object might look like.

It also produces a bitmap of the surfaces so you can see the colors and visual textures of the object. This can then be exported as OBJ or STL depending on the need.
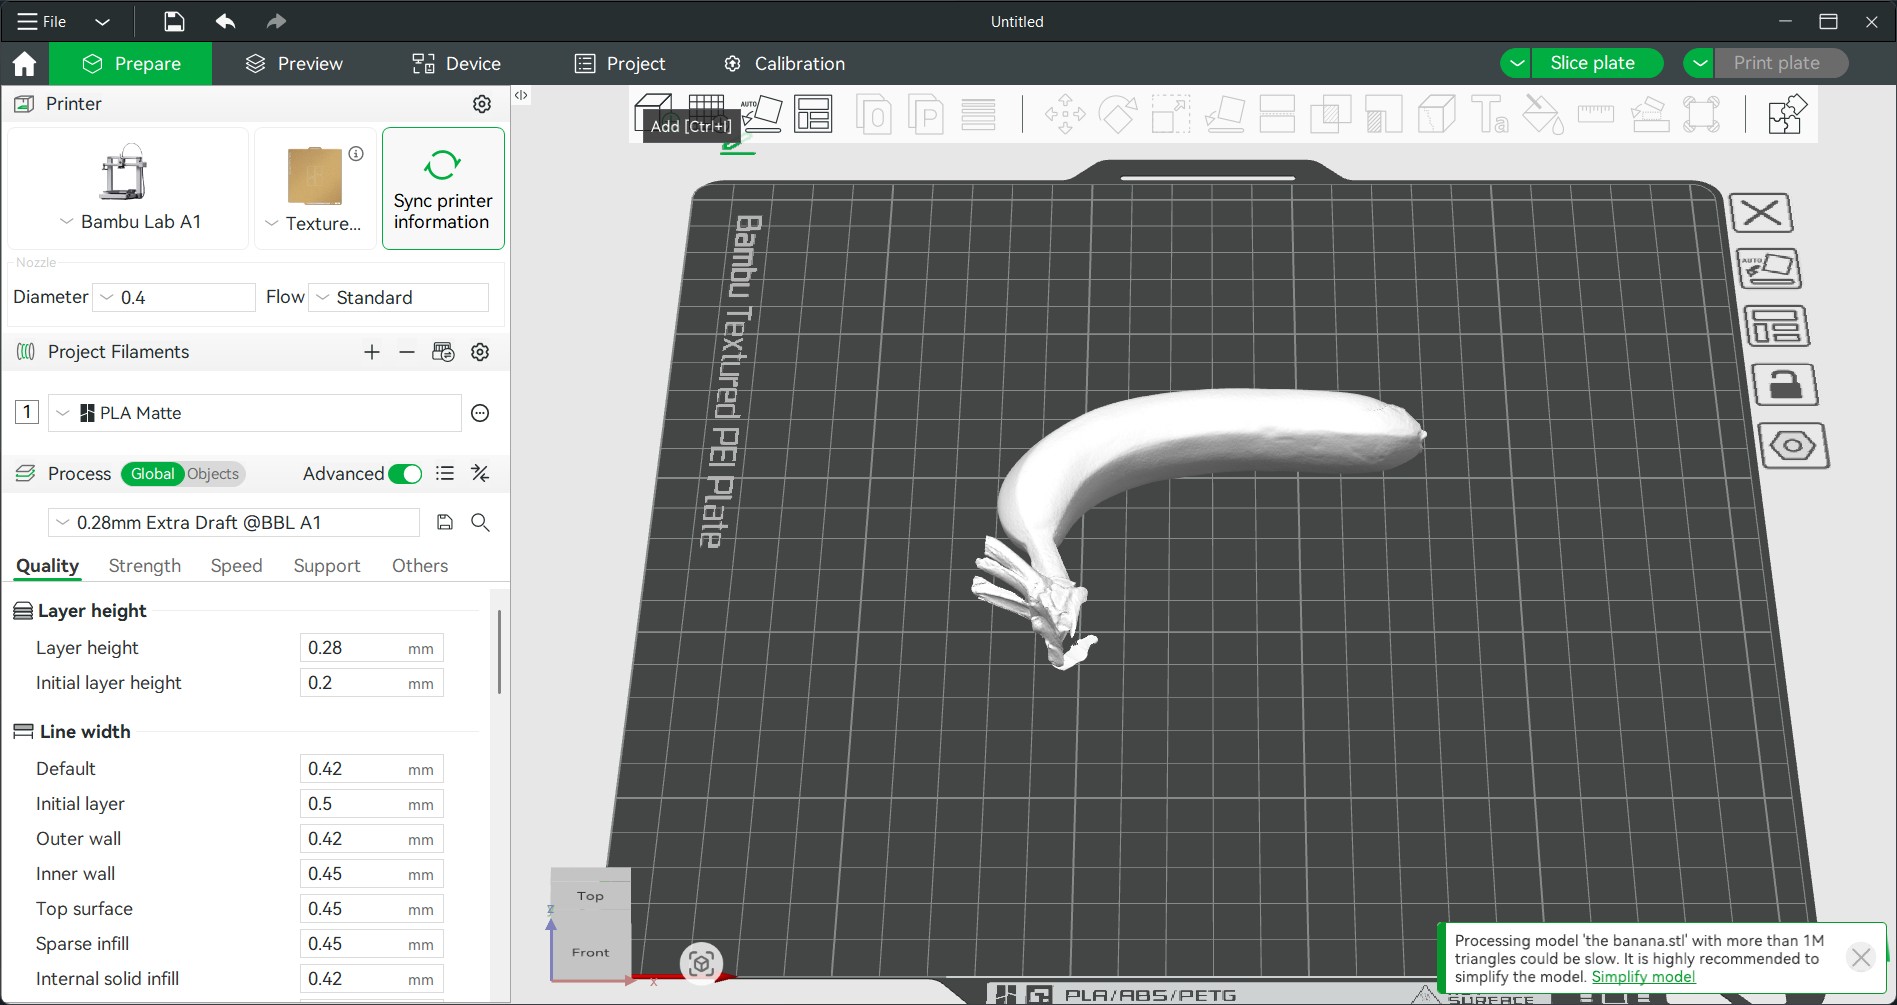
I opened the STL file in Bambu Studio and got it ready to print.
I SLICED the banana and sent it to the printer.

The completed print was amazing and was a near perfect mini copy of my late original banana.