

Group Assignment — Week 3: Computer Controlled Cutting
Tasks
- Do your lab's safety training.
- Characterize your lasercutter's focus, power, speed, rate, kerf, joint clearance and types.
- Document your work to the group work page and reflect on your individual page what you learned.
Laser Cutter Certification and Safety Certifications
I earned my Laser Cutter Certifications for the Full Spectrum P Series Lasers when I started working at Moonlighter FabLab.

Laser Cutter Characterization
Focus
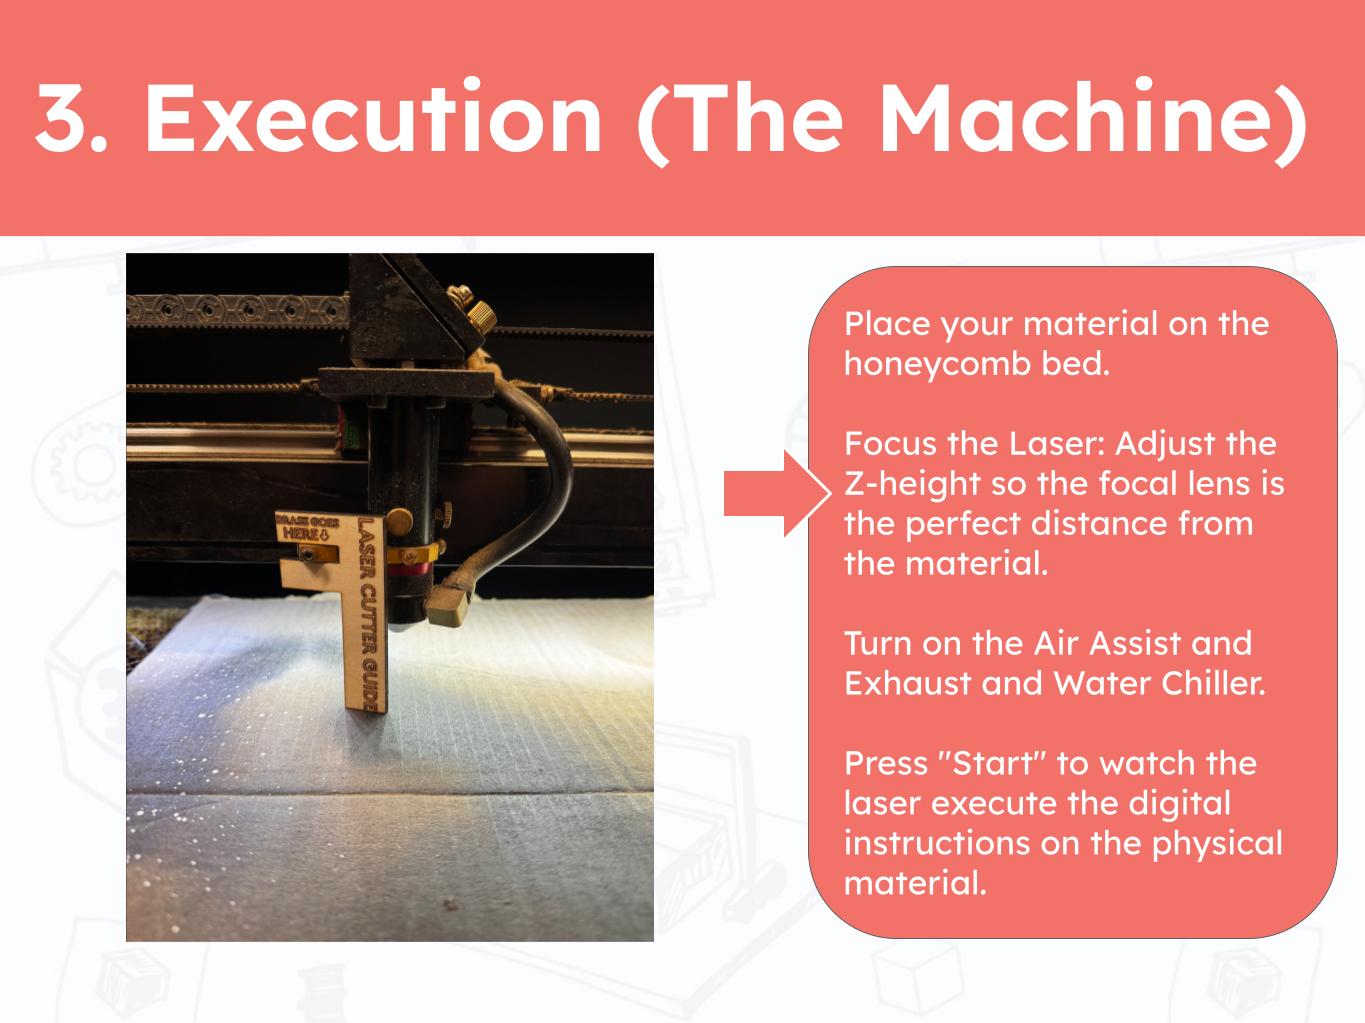
The Laser Cutters at Moonlighter FabLab do not have the auto focus tool which means we are required to manually focus the focus head to the material using a laser cutter guide placed on the brass holder which would have housed the official focussing component. Focusing a laser is very important for the quality of the cut. A well focused laser can produce sharper cuts with less unwanted burning.
Speed, Power and Current
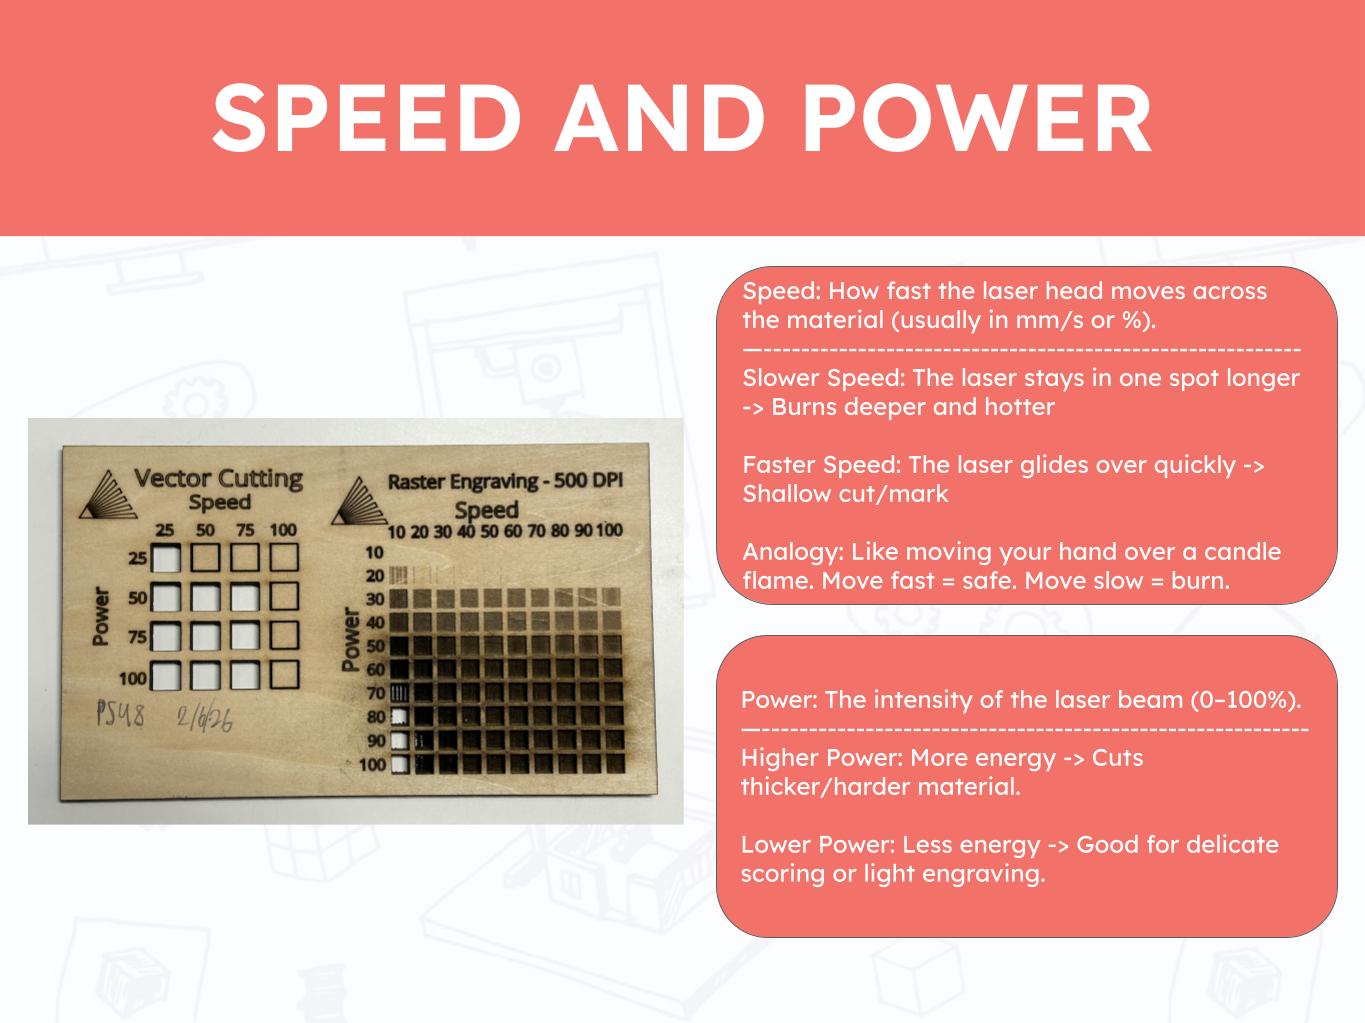
Testing the speed and power is an important step in preparing a laser cut as it can save time and prevent the material from burning. I understand that a 1/8" sheet of bass wood can be cut through with 70 Speed, 70 Power, 100 Current and 1-2 passes. These values may change depending on the calibration of the machine.
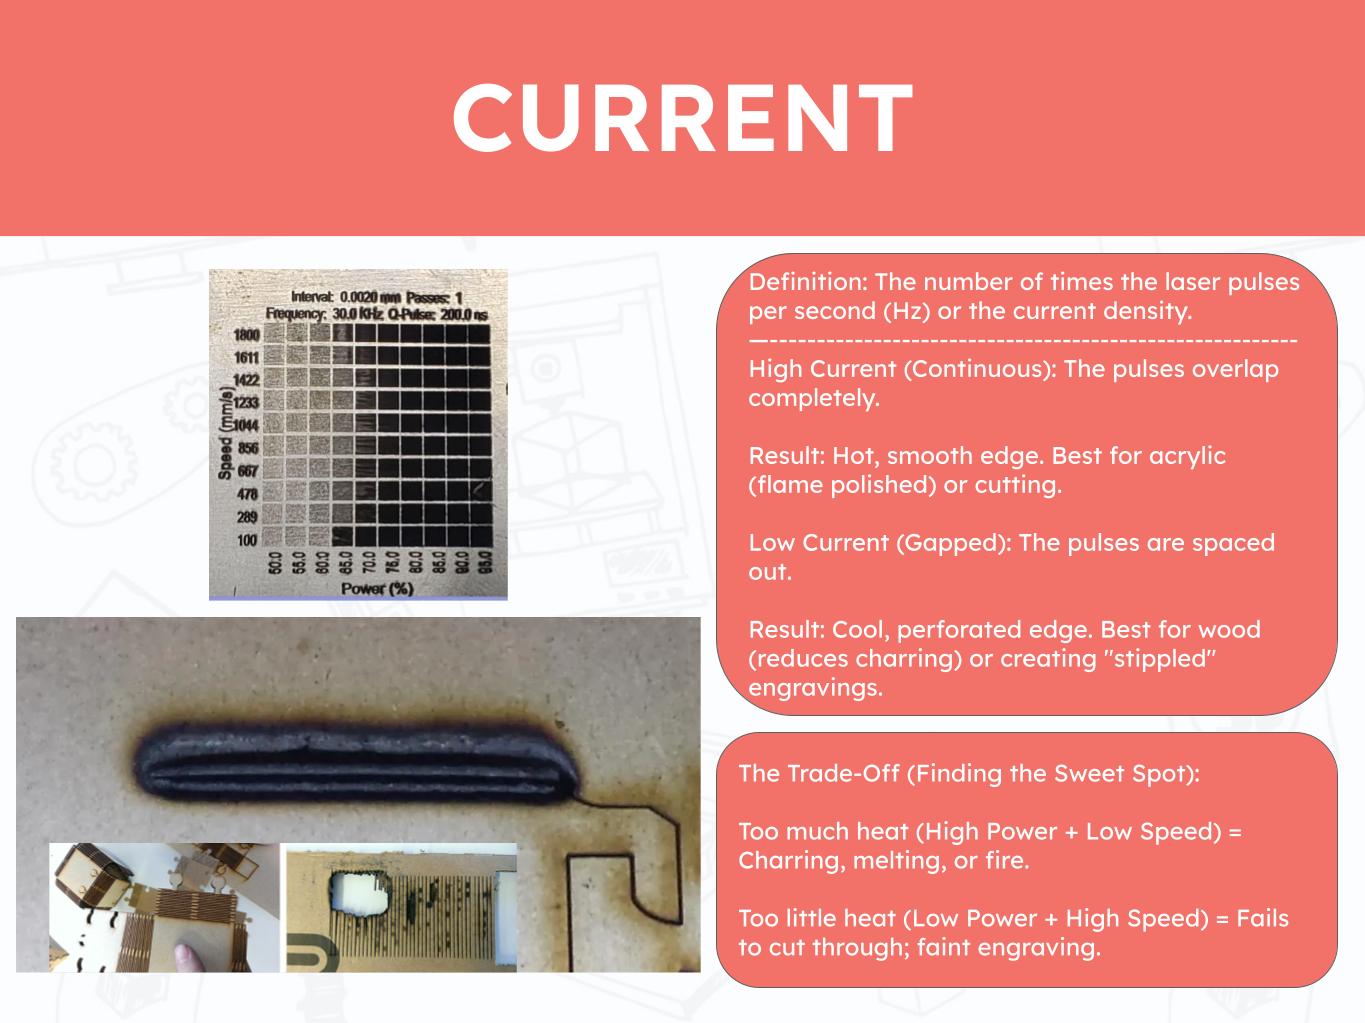
We normally keep the current at 100 to ensure that our cuts have the best chance of going through the material. It is worth reducing the current for engraving operations.
Kerf
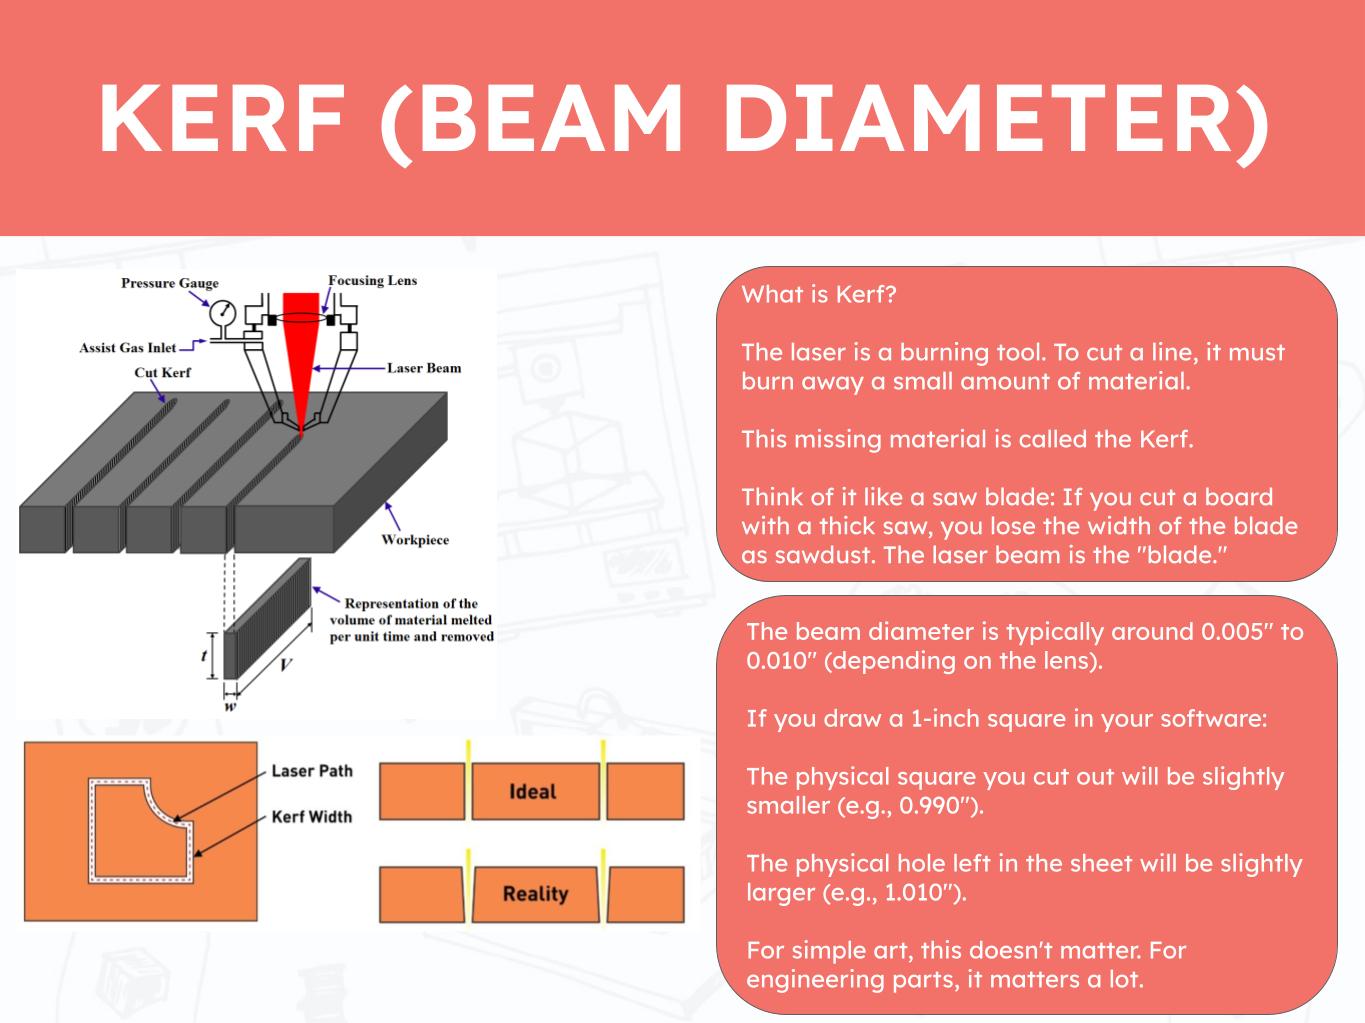
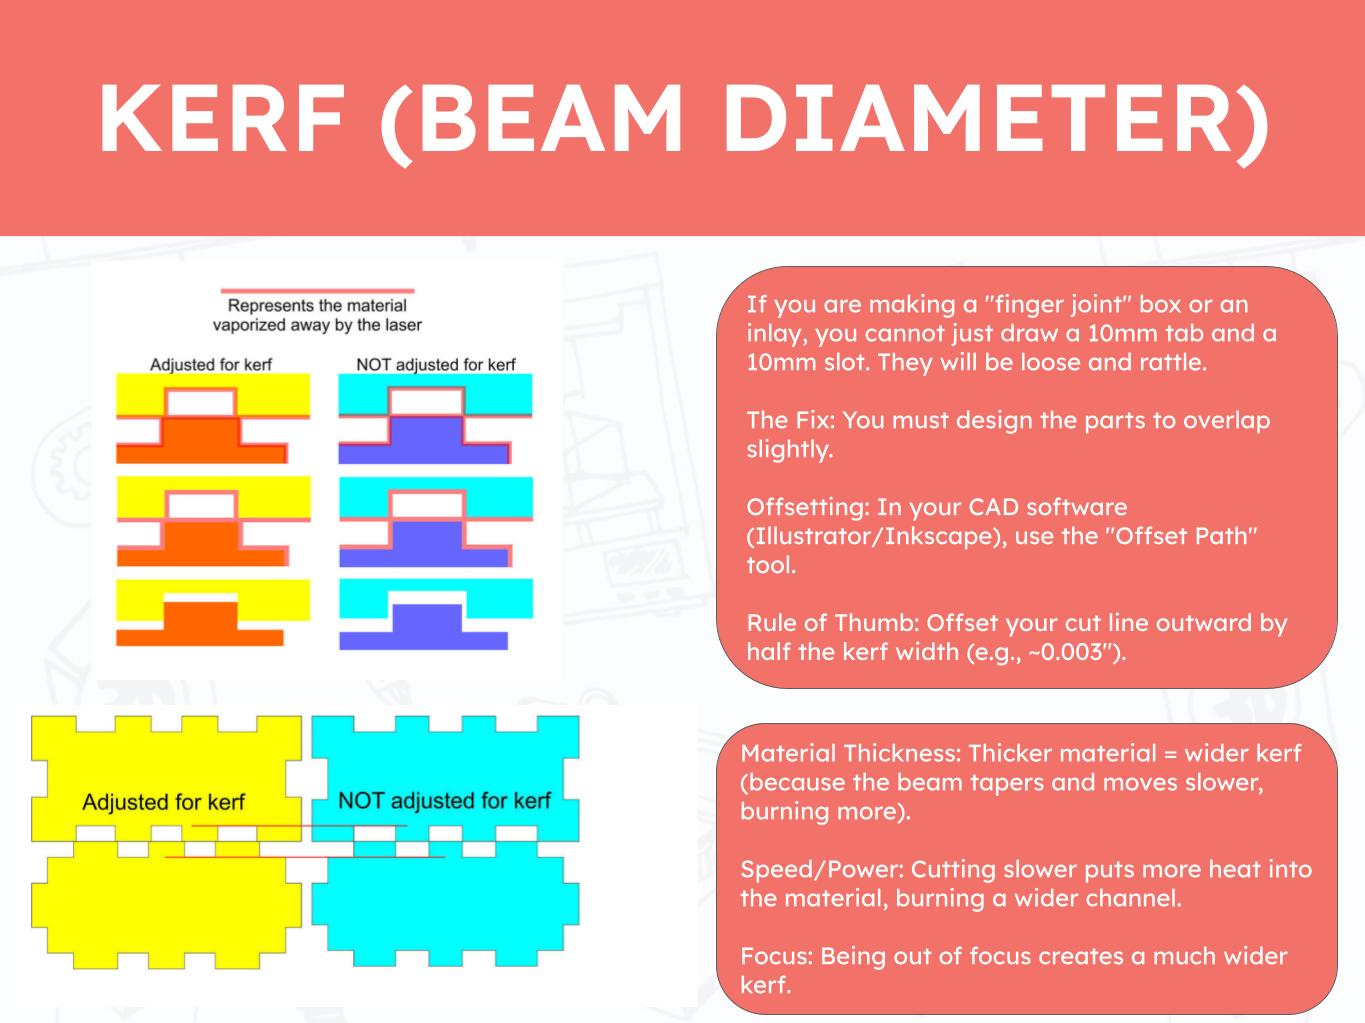
Understanding the kerf of the Moonlighter FabLab Laser Cutter was very helpful in this week's project. I knew that I would need to account for the kerf in some way but this was the first time I learned that there are actual values.
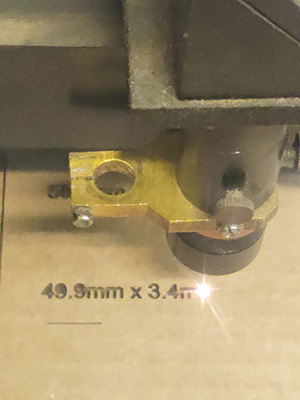
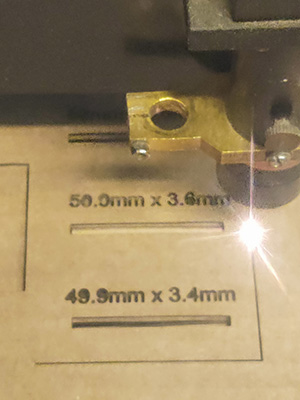
I designed a simple test for my cardboard using my usual method to getting a rough material thickness with a ruler. I made slots ranging from 3.4mm to 3.6mm to see which one would have the correct dimensions for my material and how the Kerf changes the fit.
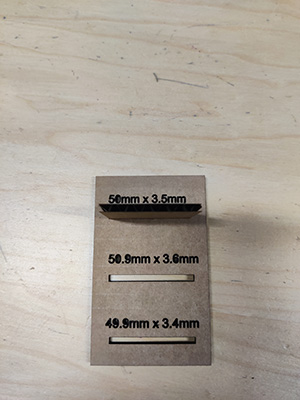
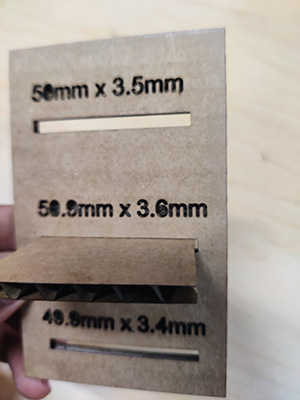
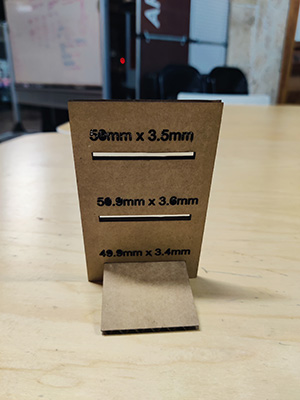
I was able to get the material to fit in all 3 slots. The difference was very subtle. My conclusion is that in a different form factor, the differences in kerf would be more pronounced.
Joint Clearance and Types
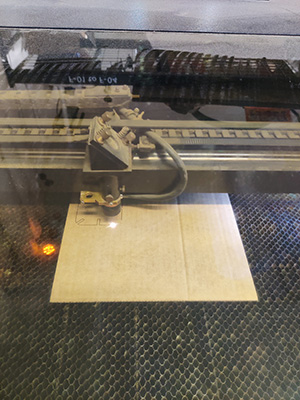
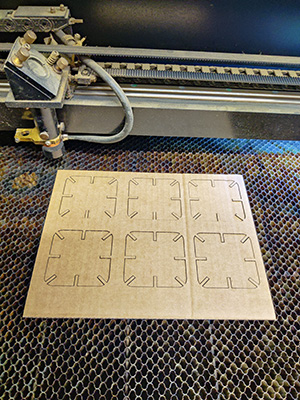
I used a Push fit method to assemble these parts. The clearance I used was based on the previous test results. I used the dimension which I thought worked best which was 3.5mm.
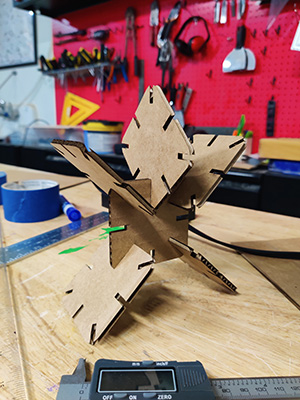
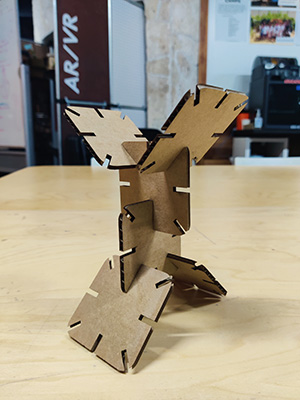
The assembly went well. I had no issues with excess movement, gaps or difficulty fitting the parts together.