Display stand
Design need and constrains
The need was for a display stand that could be used to showcase products from Kerala Startup Mission at exhibitions and similar events. The main constraint was the material limit. The panel had to be made using only a 4 ft × 4 ft area of 12 mm plywood. We had two sheets of 12 mm plywood measuring 8 ft × 4 ft, which had to be shared among the four of us.
Design Mechanism
The primary source of research and inspiration for this project was Pinterest. Early on, we decided it would be better if all our designs followed a common theme rather than being completely unrelated.
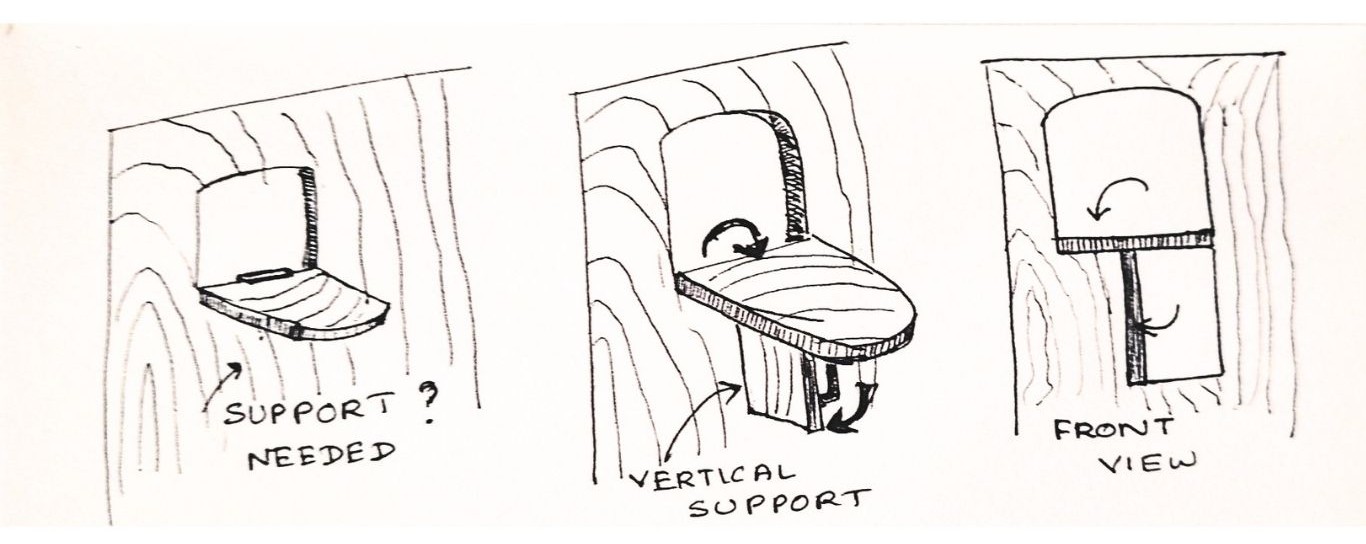
How the design mechanism unfolded
I already had an idea of how I wanted my display piece to function. Instead of using a horizontal piece joined to a vertical panel to form a standing structure, I thought it would be more interesting if it worked like a window swing. A section would fold down and become the display surface. The next challenge was figuring out how it would be supported. The solution was to have a side panel open out, allowing the folded section to rest against the vertical piece. Once that mechanism was decided, I could focus on the theme.
Design Evolution
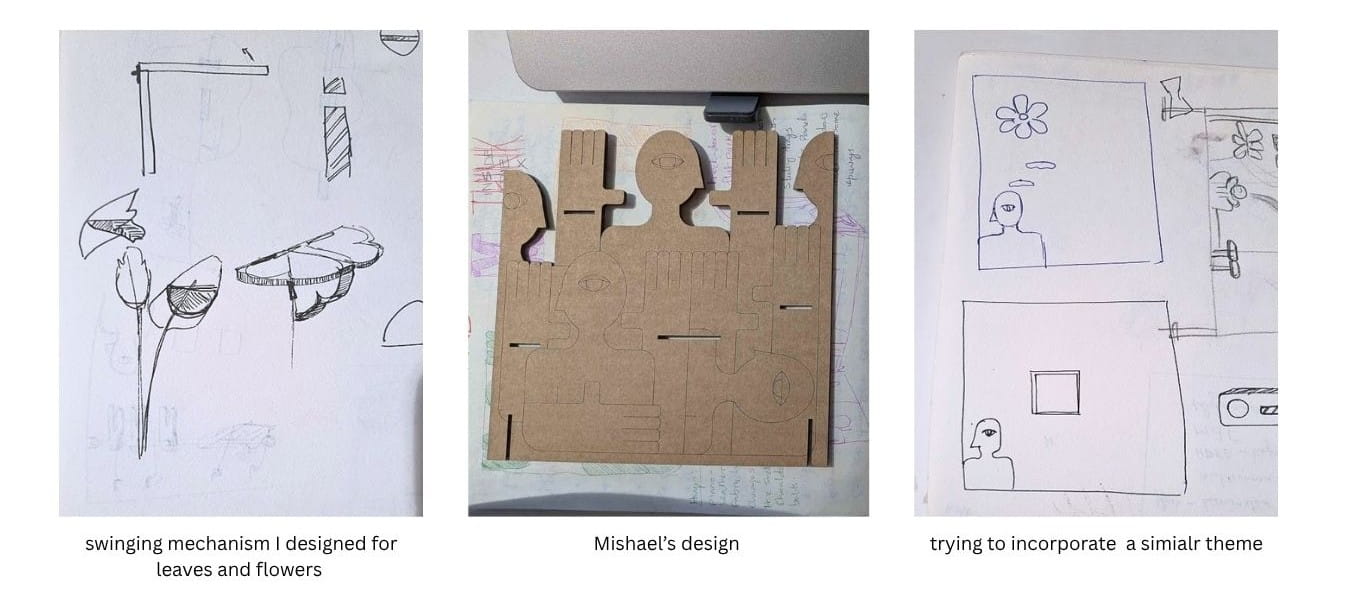
Mishael's design Link
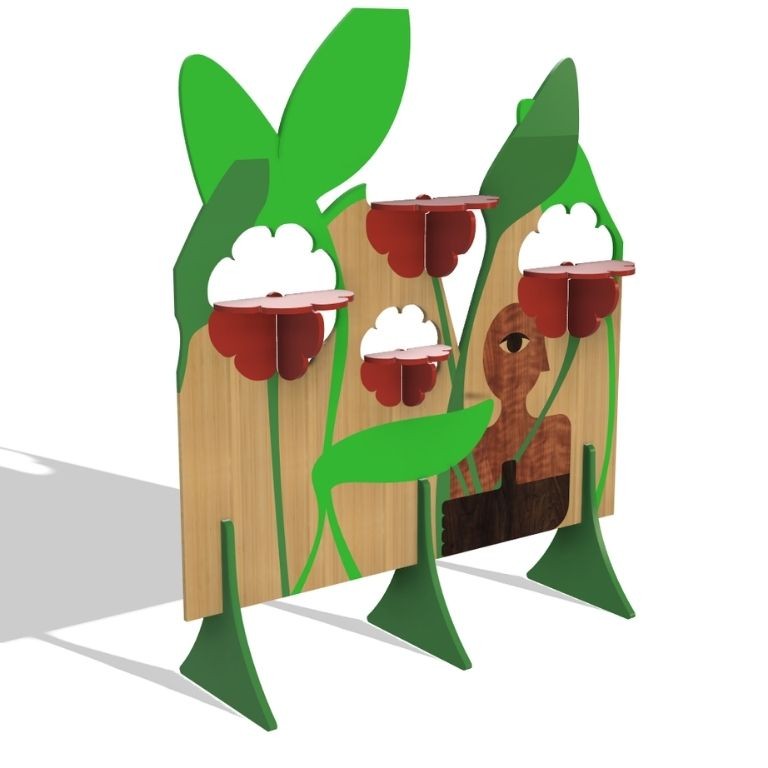
I chose plants and leaves as the main design element. The leaf idea came from Archita's brainstorming, where she explored the idea of a leaf opening out like a seat. By then, Mishael had also developed her theme, which included a human figure. I borrowed that design element and incorporated it into my own concept. The final design evolved into a person holding a giant bouquet made of leaves and flowers.
Design software - Autodesk Fusion

Sketch done on Fusion software. The components are coloured based on the intended paint scheme. View of the display stand in its open position.
Machine used for manufacturing
When designing, the model often has to be iterated based on the manufacturing process being used. In this case, the machine used for fabrication was the waterjet cutter. Standard abrasive waterjet cutting machines typically achieve tolerances of ±0.076 mm to ±0.127 mm, allowing for highly precise cuts. Because of this accuracy, I was able to place the leaf and petal details directly within the board instead of simplifying them. Unlike the ShopBot, which is limited by tool diameter, the waterjet can produce much finer internal profiles.
However, the waterjet only cuts through the plywood and cannot create engraved details. For that reason, the profile lines and design markings were prepared separately to be processed on the Zünd cutter. The 8 ft × 4 ft plywood sheet was shared between two people, partly because of material availability and partly due to the bed size limitations of the waterjet cutter.
The outline and the cut lines has to be cut in water jet. while the engraving is to be done in the ZUND , as waterjet does not engrave.
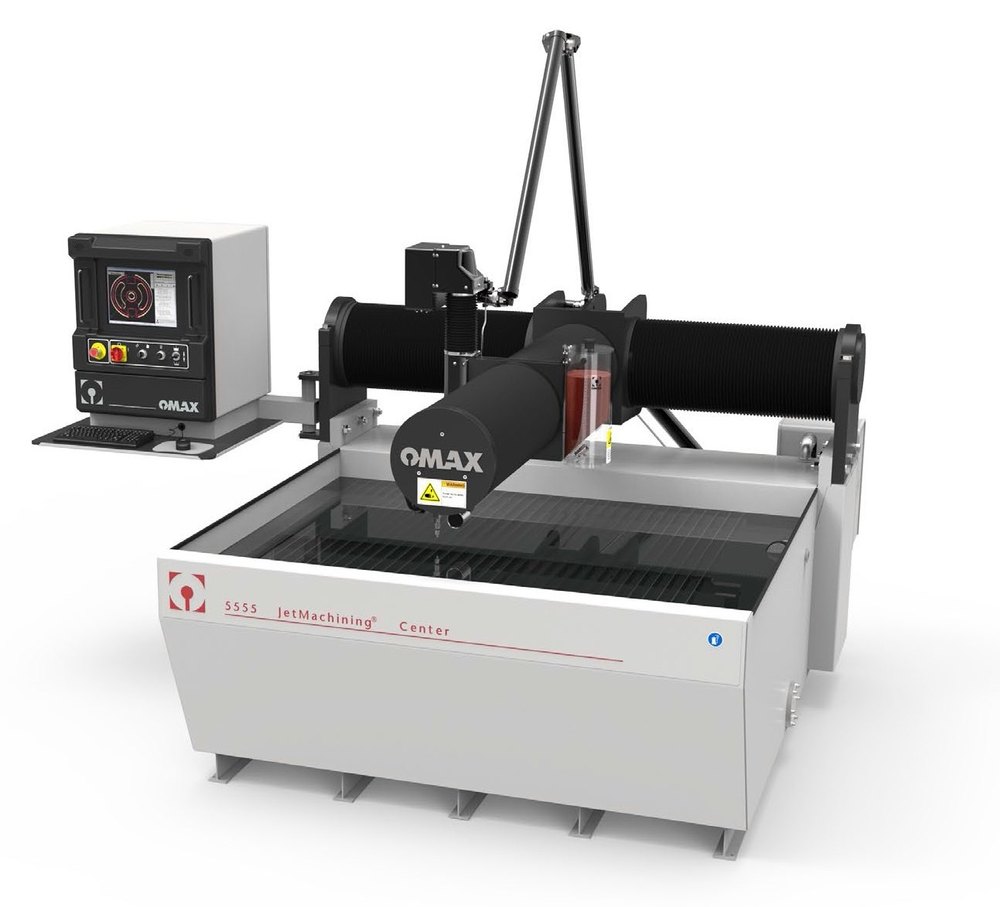
Maufactuing machine - omax 5555 waterjet cutter
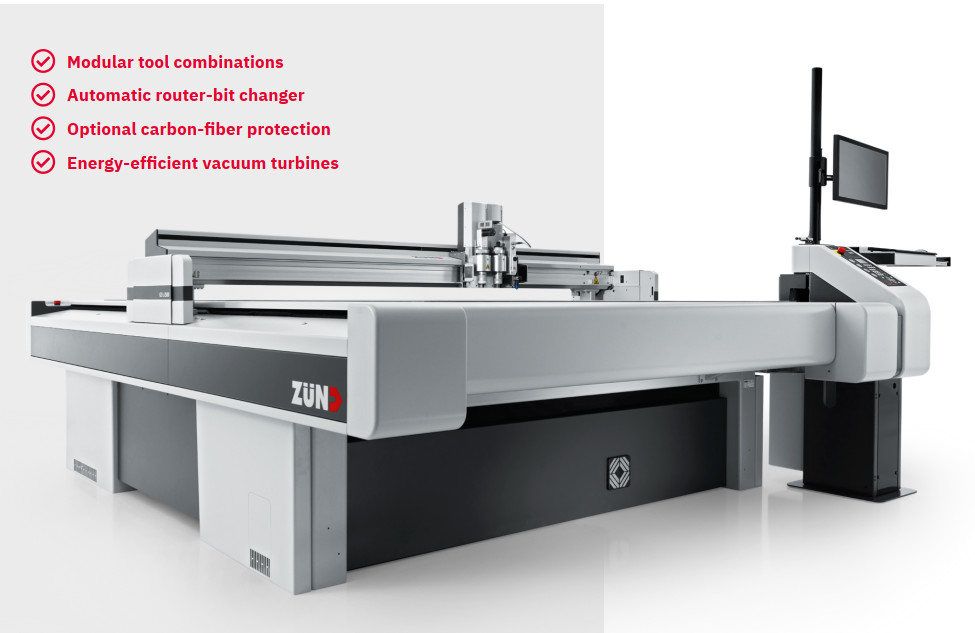
Zünd G3 Digital CNC Cutter
more info
more info
The OMAX 5555 Waterjet Cutter is an abrasive cutting system that uses high pressure water mixed with abrasive particles at near sonic speeds to make precise cuts. It can cut complex 2D shapes across a wide range of materials, including aluminum, titanium, stone, glass, ceramics, plastics, and composites up to 6 inches thick.
The Zünd G3 Digital CNC Cutter is a high precision flatbed cutting system designed for processing a wide range of materials, including cardboard, foam, textiles, vinyl, leather, rubber, plastics, and composite sheets. It uses interchangeable tool heads for cutting, creasing, routing, marking, and engraving./p>
Work Area: 1400 mm × 1400 mm cutting envelope with 200 mm Z axis travel on a 2000 mm × 1650 mm table.
Performance: Maximum traverse speed of 4572 mm/min, with a linear positional accuracy and repeatability of ±0.0254 mm.
Primary Uses: Fabricating structural components for lab built machinery, frames, metal gears, and sprockets.
Model: G3L2500 Digital CNC Cutter. The "L" denotes the machine width, while "2500" refers to the working length of the cutting bed in millimetres.
Work Area: 1800 mm × 2500 mm cutting area.
Capabilities: Digital cutting, creasing, routing, marking, and engraving using interchangeable tool modules.
Materials: Cardboard, paper, foam, textiles, vinyl, leather, rubber, plastics, and composite materials.
Primary Uses: Packaging prototypes, signage, textile cutting, furniture components, product development, and digital fabrication projects.
Prototyping on XTOOL S1
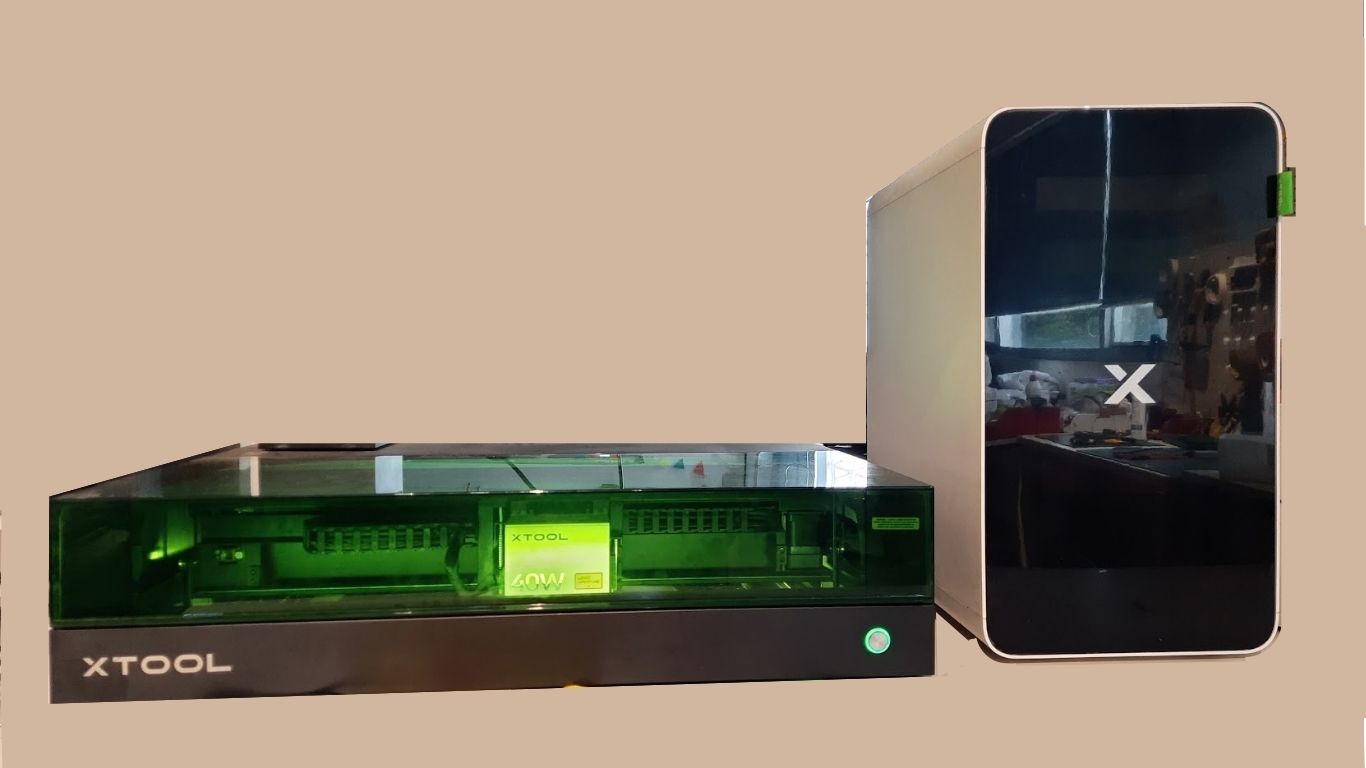
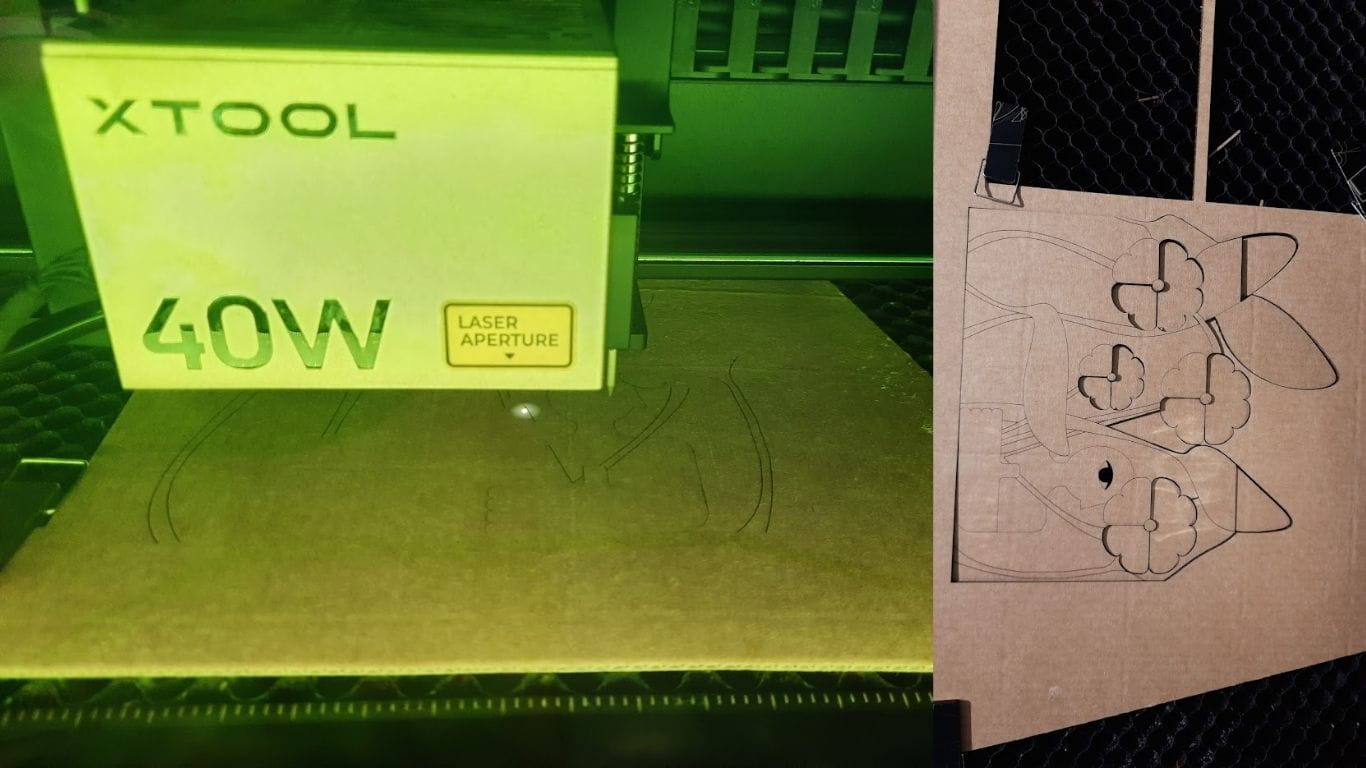
The prototype was made using 3 mm cardboard and cut on the xTool S1. A scaled down version of the display stand was first cut to understand how the mechanism and overall form would work.
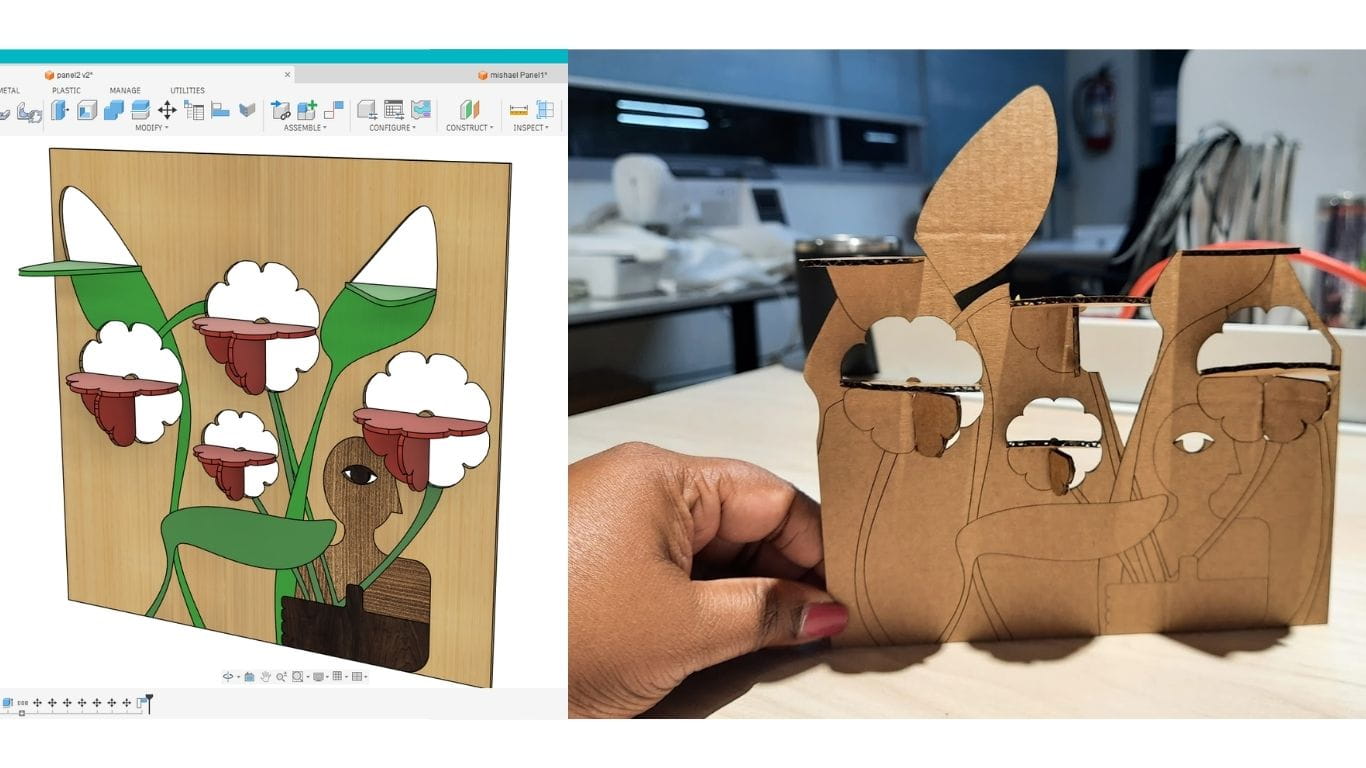
The outer profiles were cut through, while the internal design outlines were scored. The petal pieces that were cut out were reattached using cellophane tape. This allowed the petals to open and close, acting as a simple hinge mechanism. The prototype helped demonstrate how the moving parts of the display stand would function before proceeding with the full scale version.
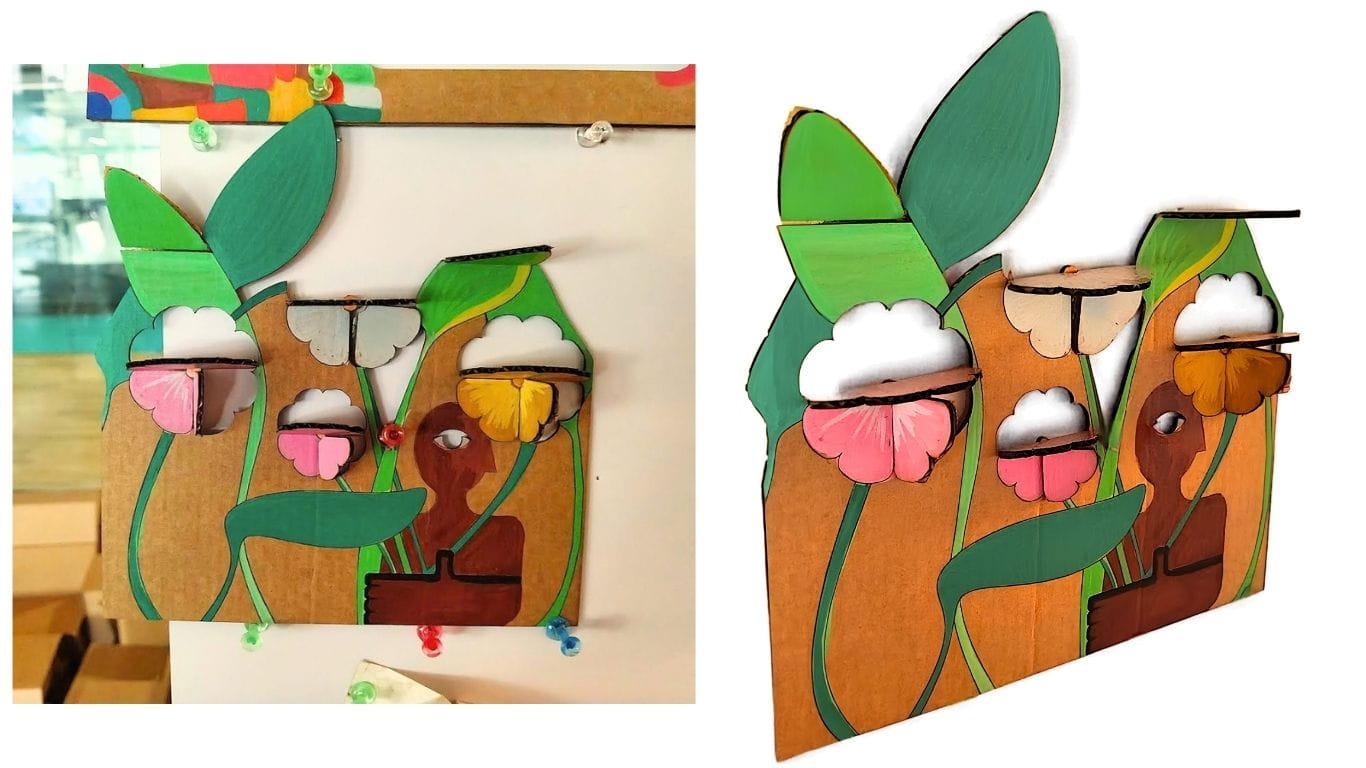
The scored outlines proved useful when colouring the cardboard with acrylic markers, as the scored lines clearly defined the different sections of the design and made the painting process much easier.
Design changes after prototyping
You may notice that the first design shown in the last image includes a foot support. Earlier, we had planned to connect the panels so they could be arranged in a W or C configuration, allowing the structure to support itself without additional components. However, as each of our designs evolved in different directions, that approach was no longer practical. As a result, a foot was added so that the display stand could remain stable on its own.
Awaiting Fabrication
Well, I would love to show the manufactured version of this project. Alas, the plywood sheets that were available when we were designing were later used for another project. We were told that the assorted materials would be replaced afterwards, but that never happened. Even after following up with Mufeed, we were informed that material procurement was delayed due to funding shortages and pending approvals.
So, I do not have a final fabricated output to show. My design remains in its cardboard prototype stage, patiently awaiting the arrival of both plywood and fate. Until then, it continues to exist as a full scale ambition and a scaled down cardboard model, which, admittedly, has had a much longer career than originally intended.