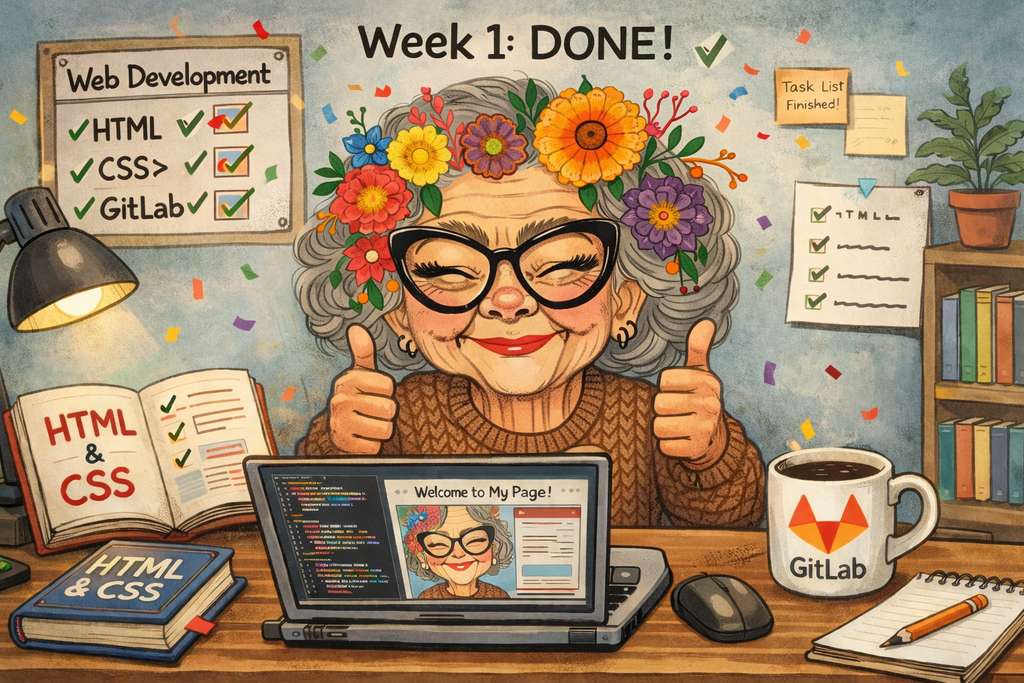
Week 1
ChatGPT prompt:
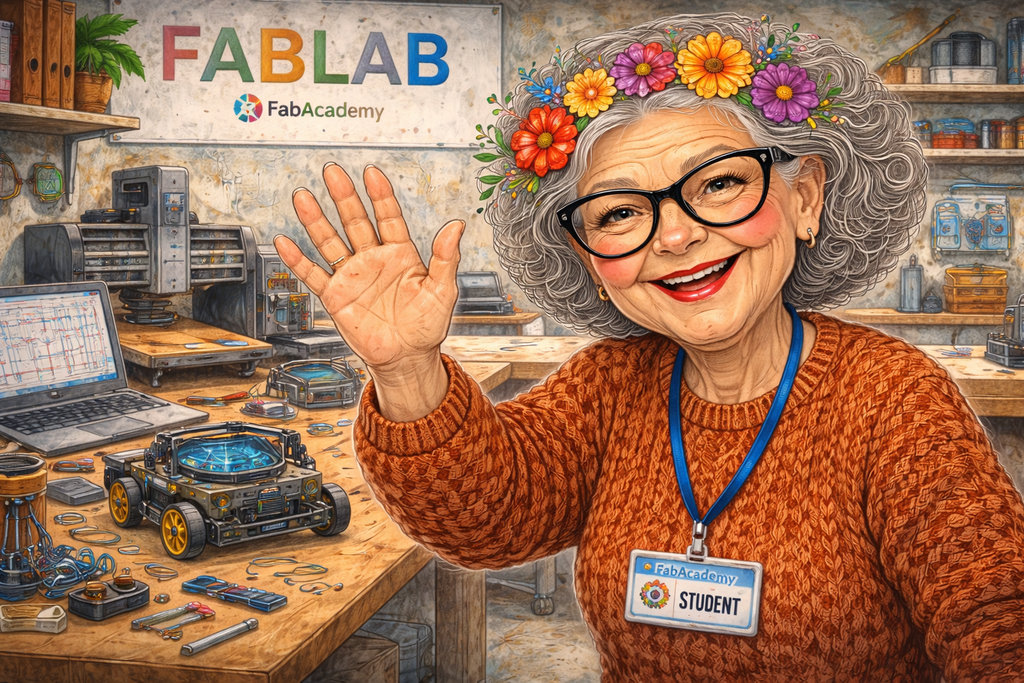
“The first week requires a picture where this grandmother studies the following topic: Principle and practice, project management, this implies the creation of a personal web page (html, css), gitlab settings”
Principles and Practices
Before moving on to the description of my final project, I would like to share the ideas I had during the past month. I also want to mention that I discussed my ideas with ChatGPT to generate visual concepts of my projects, which helped me better understand and refine them.
Idea 1
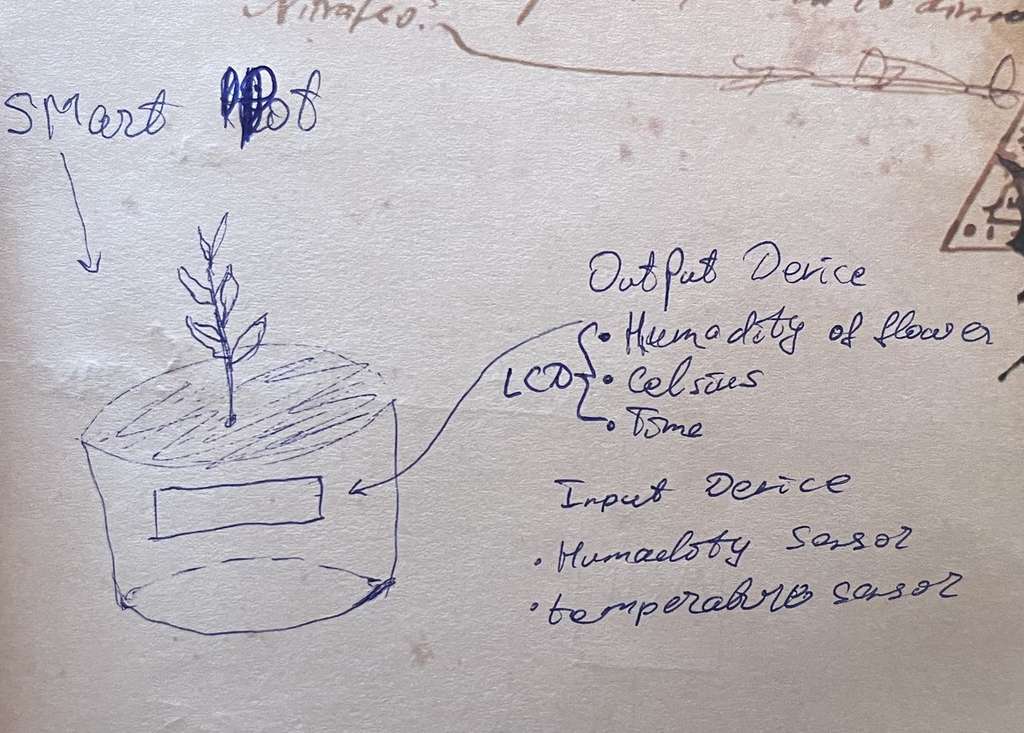
At first, I wanted to design a smart flower pot using 3D printing, where I would integrate electronics to measure the soil moisture and display the data on a small screen embedded in the pot. Additionally, it would show the room temperature and the current time. The main purpose of this smart flower pot was to remind me when it is time to water the plant.
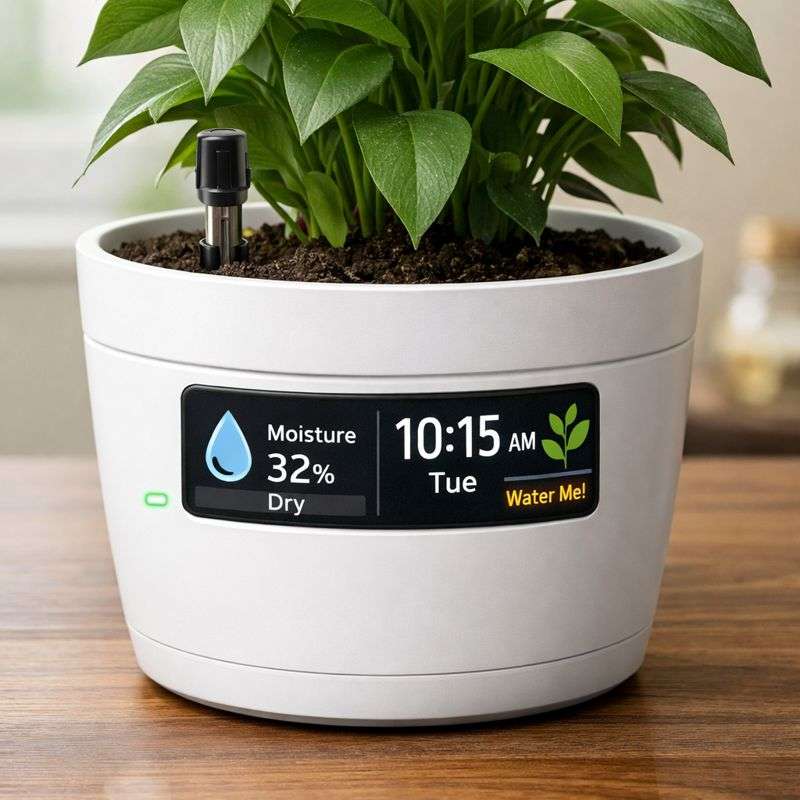
Below is an AI-generated concept image of this idea, along with the prompt that was used to generate it.:
ChatGPT prompt:
“Generate a concept image of a smart plant pot with sensors and a display showing moisture percentage, time, and watering notification.”
Idea 2
Considering the political situation in the region, a new idea came to my mind. I wanted to include a model inspired by Mount Ararat in my project. Initially, I planned to create a decorative Mount Ararat model with sensors: when touched, lights would turn on and Armenian music (such as Aram Khachaturian, Komitas, etc.) would start playing. Here is one example of the AI-generated concept image:
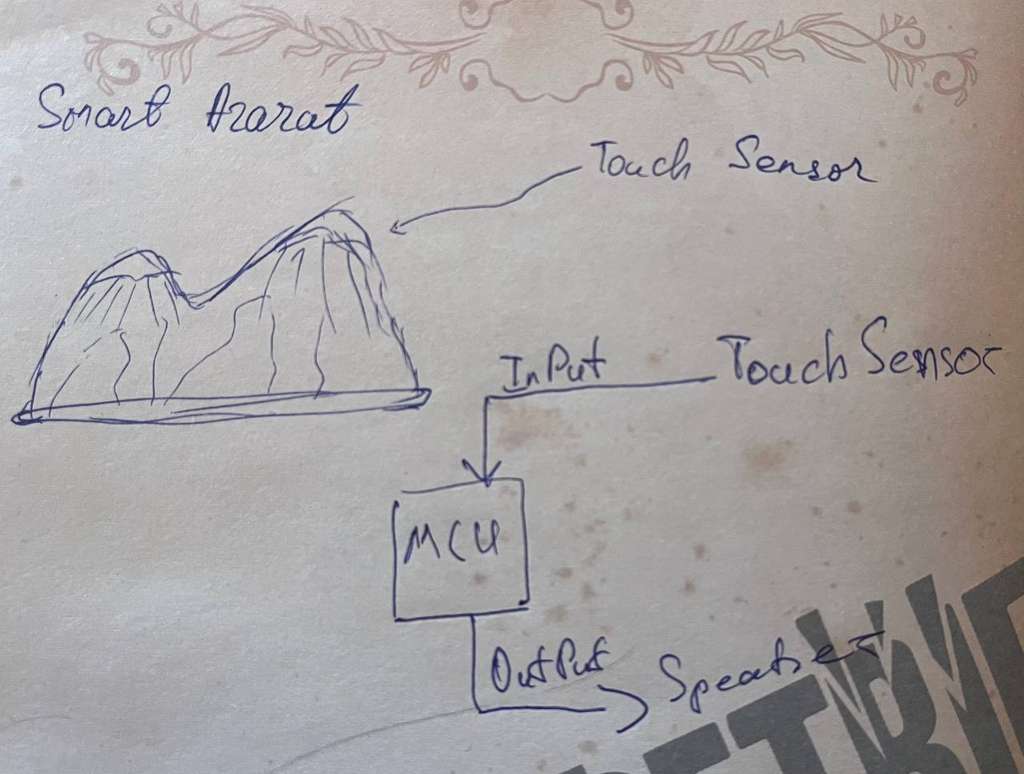

ChatGPT prompt:
“Generate a concept image of a decorative Mount Ararat model that turns on lights and plays Armenian music when touched.”
Idea 3
Due to the ongoing political tension, the concept of Mount Ararat still remained part of my final project ideas. I wanted to design and create a chair using MDF, where the backrest would have the shape of Mount Ararat. The chair would be smart: it would detect when a person sits on it and start playing Armenian music(Sayat-Nova, Tigran Mansuryan, etc).
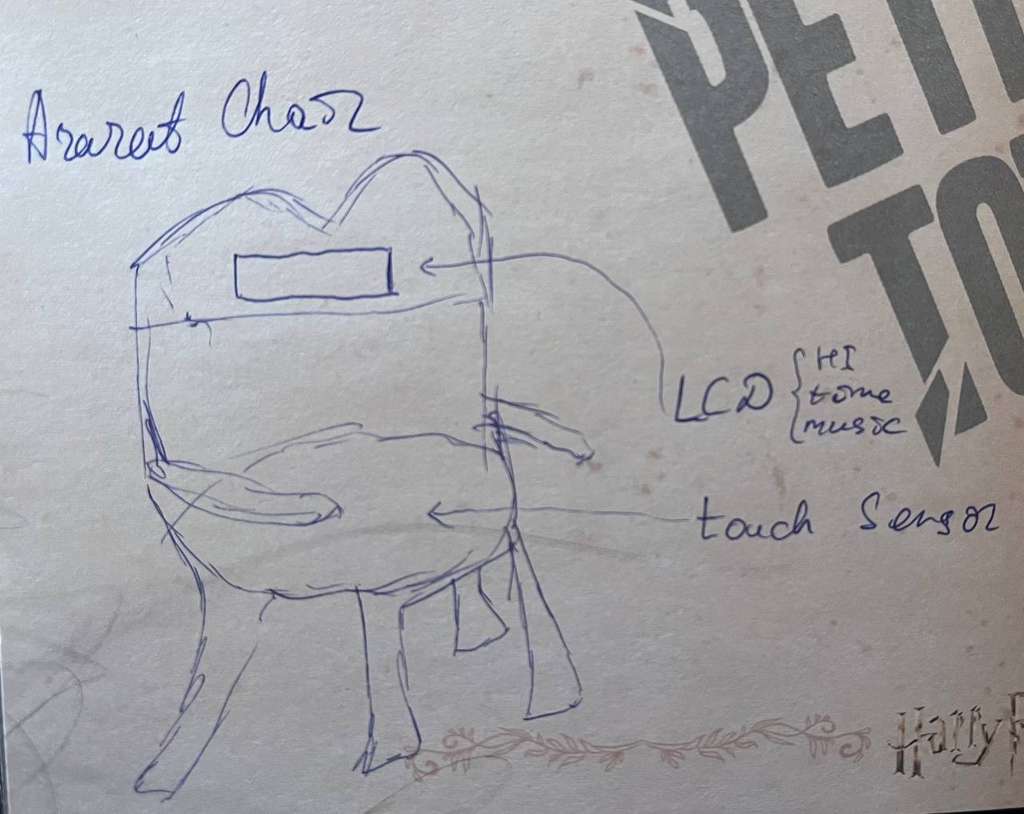
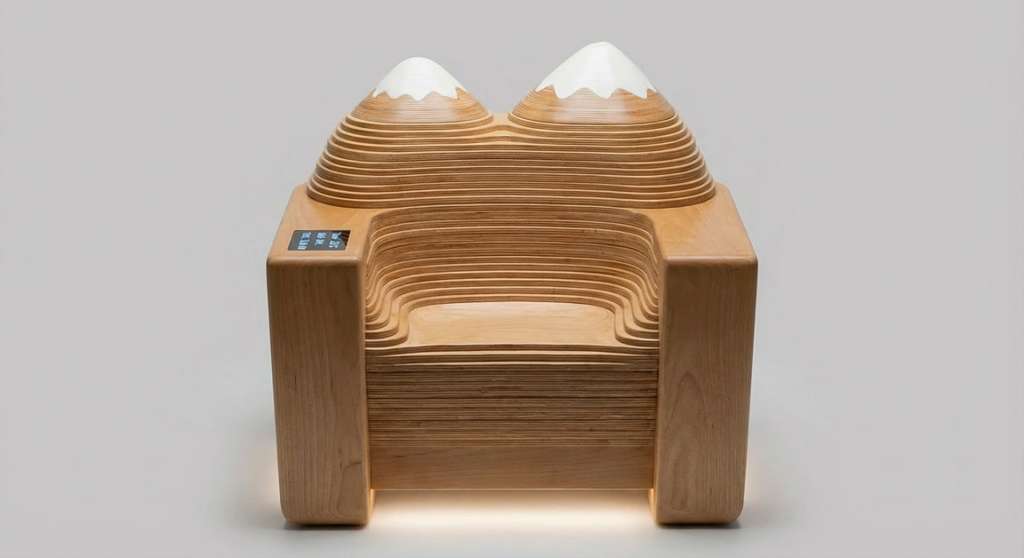


ChatGPT prompt:
“Generate an image for smart chair which looks like mount Ararat, It will be have a display temperature, humidity, time, music, and sensor when a human is set his feel.”
In any case, I really like this idea, and I hope that one day I will be able to bring it to life:
Final Project Idea
Finally, coming back to the present day, I now feel confident about what my final project will be. After realizing that politics is not something I want to focus on, I decided to create a game that helps people relax and think about positive things. Below is an AI-generated image of the game concept:

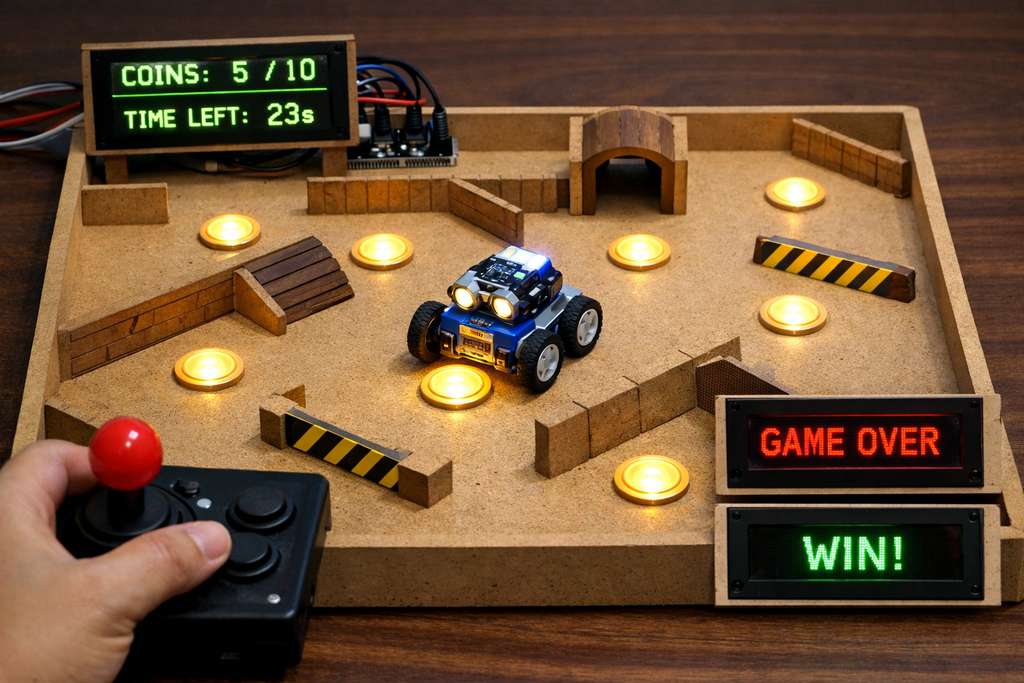
ChatGPT prompt:
“Generate a photorealistic image of a tabletop maze game made from wood, featuring a small robotic car collecting glowing coins, obstacles, and walls. Include a digital display showing coins collected and time left, and a joystick controller held by a human hand.”
The game will be built on an MDF board, featuring a robot that will be controlled using a joystick. The goal is to collect a predefined number of coins within a limited time.
The coins will be implemented using light sensors, and each time the robot passes over a sensor, the collected coin count will be displayed on a screen. If all the coins are collected within the given time, the screen will display “Win”, otherwise “Game Over.”
I hope I will be able to bring this idea to completion, and that together with the FabLab team, we will have a new game.
Project Management
Before starting my documentation, I followed the general structure and documentation guidelines using the documentation of Onik Babajanyan, who is also my husband 😄 Thank you both for being my husband and for the great documentation.
Git Setup
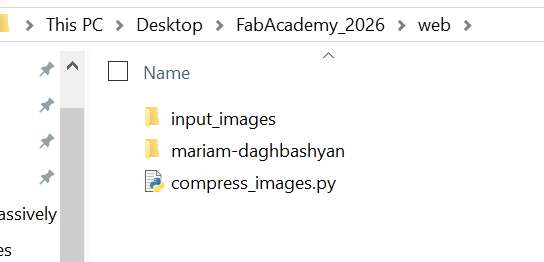
To proceed in an organized and structured way, I first created the necessary folders on my desktop. I organized them as follows:
- input_images — a folder where I store all the images needed for the website (before size compression),
- mariam-daghbashyan — the main folder containing the entire website content,
- compress_images.py — a Python script used to compress and save images from the input_images folder into the appropriate subfolders inside the website directory.
After downloading Git from the official website and completing the installation process, right-click on the folder where we need to install my project we see a context menu option for Git Bash Here. Selecting this option will open Git Bash with my current directory.
I use Git Bash because it gives me a Unix-like environment on Windows, making it easier to follow standard tutorials and use Linux commands alongside Git. It keeps my workflow consistent with other platforms and allows me to use the full range of Git features through the command line.
Several initial configuration steps are required. First, we need to define our username and email address in Git. This is important because every Git commit uses this information, and it is permanently included in the commit history.
 config --global user.name "Mariam Daghbashyan"
 config --global user.email "mardaghbash@gmail.com"
To verify that the configuration was applied correctly, I used:
git config --list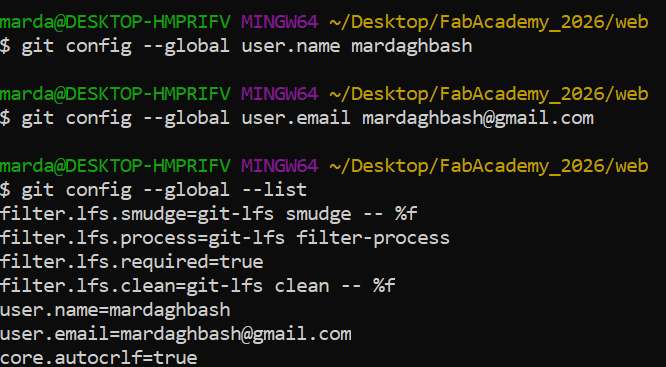
SSH Key Generation
Git servers identify users using SSH public keys. To generate a public key, I executed the following command in the terminal (Git Bash on Windows / Terminal on Linux or macOS):
ssh-keygen 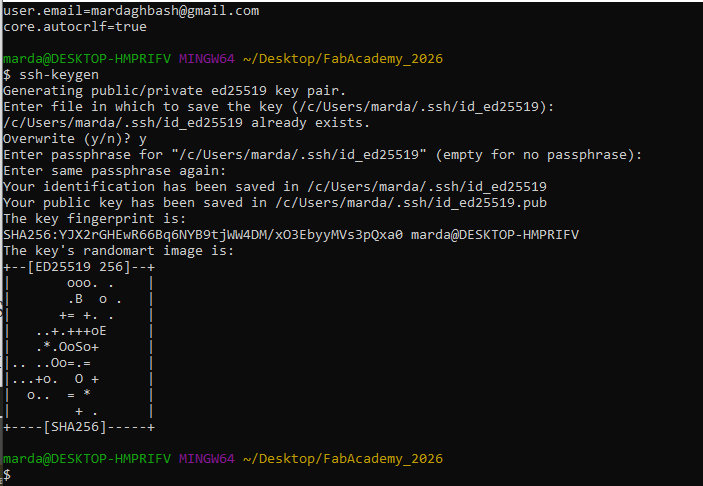
After generating the key, it needs to be copied and added to the Git servers account. The SSH key is located in the following directories: Windows (Git Bash): /c/Users/USERNAME/.ssh/id_rsa.pub Linux / macOS: /home/USERNAME/.ssh/ or /Users/USERNAME/.ssh/id_ed25519.pub.
The generated SSH key can be copied by opening the .ssh file in a text format and copying its contents. Alternatively, you can use the following command in the git-bash terminal to display and copy it:
cat ~/.ssh/id_rsa.pub | clip
After this step, my local machine was successfully authenticated with the remote Git server, allowing secure cloning, pushing, and pulling operations without repeatedly entering a username and password.
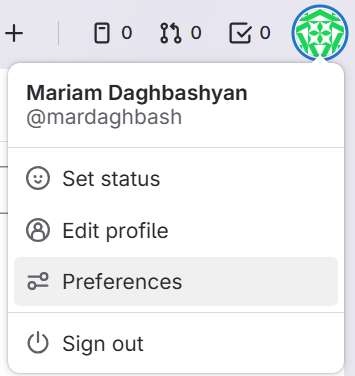
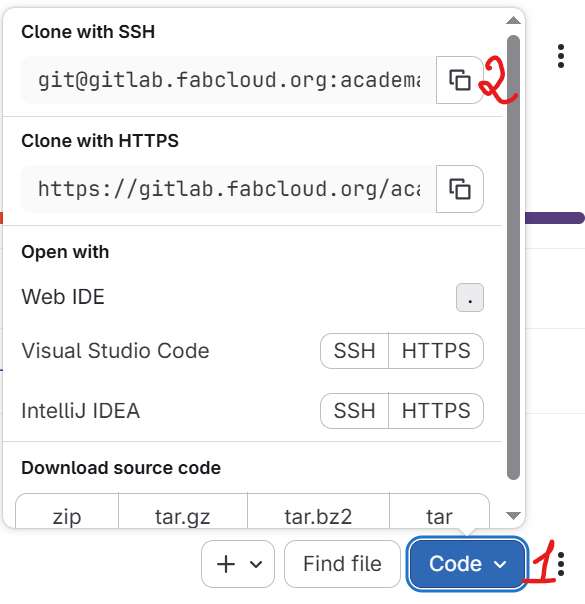
Now, using screenshots, I will demonstrate how I added the SSH key to my gitlab.


Now I can clone (with SSH) repository from Git account to my local machine using the following command
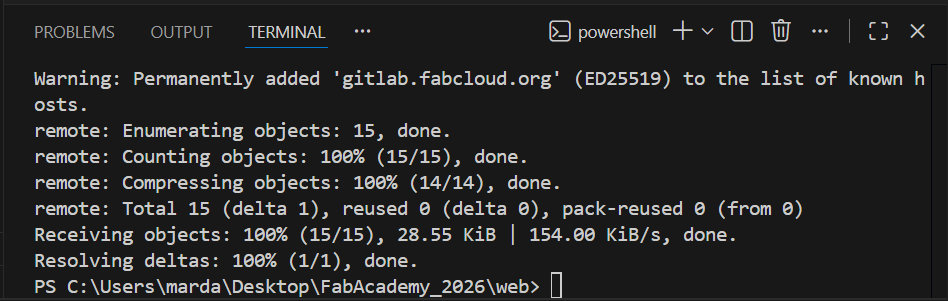
git clone [repository-url]And I opened that terminal directly inside Visual Studio Code. There are so many terminals available — we can use any of them 😄
Open Visual Studio Code go File -> Open Folder -> Choose my folder(FabAcademy_2026 > web), and chose from above Terminal.
Then I cloned project.

Development Environment Setup and Website Structure
I decided to work with Visual Studio Code, as I already have experience using this environment. First, I visited the official VS Code website and downloaded the installer.
I had already cloned my project repository from Git, the project was available on my local machine as mariam-daghbashyan.
then opened it in Visual Studio Code using:File → Open Folder → select project folder
The Git Workflow Explained
In our workflow, the following Git commands are required to transfer local changes to the Git repository. This process involves moving changes through the main stages: the working directory, the staging area, the local repository, and finally the remote repository.
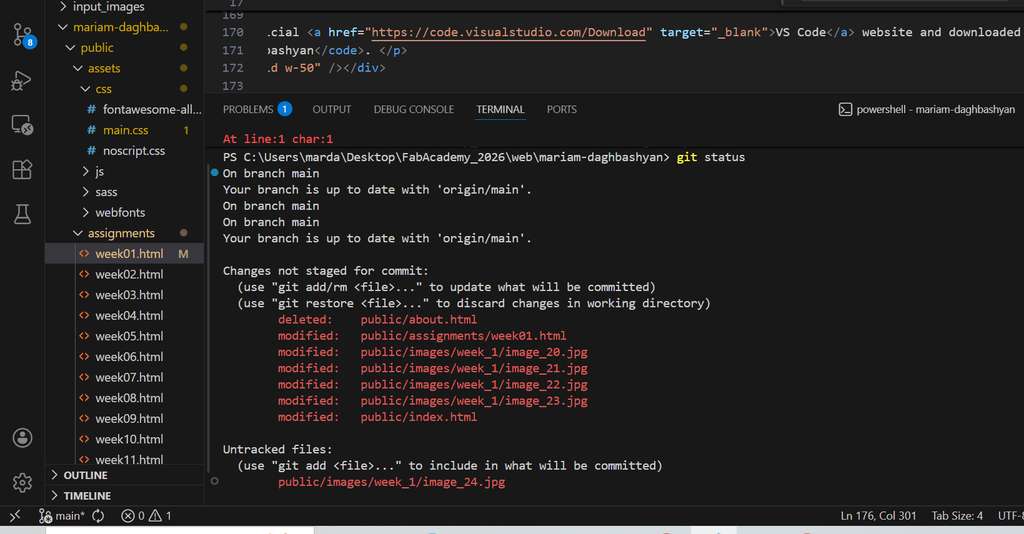
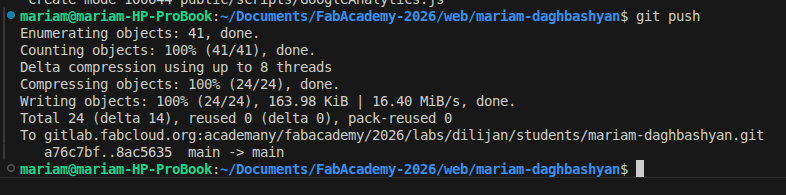
git status: This command is like a "health check" for a project. It tells which branch we are on, which files have changed, and which ones are currently in the staging area.git add.: This is a powerful shortcut that adds all new, modified, and deleted files in your current directory (and all sub-folders) to the staging area at once. It’s much faster than adding files one by one when you have a lot of changes.git add: This command adds changes from your working directory to the staging area. It tells Git which specific file modifications you want to include in the next commit.git commit: This command takes the snapshot of the changes currently in the staging area and permanently records it in your local repository history as a new commit object with a unique ID.git push: This command uploads the committed changes from your local repository to a remote repository (such as GitHub, GitLab, or Bitbucket), making them visible to others and providing a remote backup.
Below is an example of executing these commands in my project.
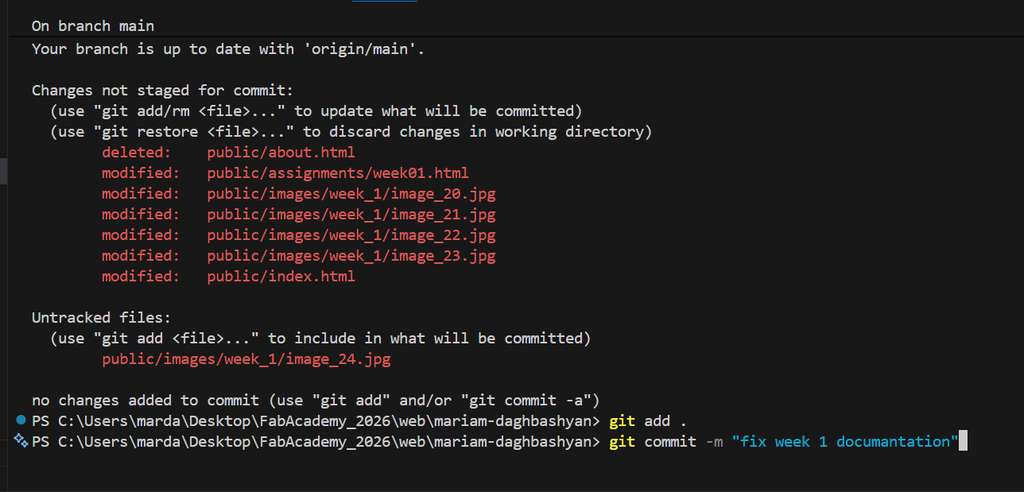
 I took this screenshot during Week 9 because I had forgotten to include it earlier. I should also mention that after Week 3, I changed my computer and operating system, which is why this terminal looks different.
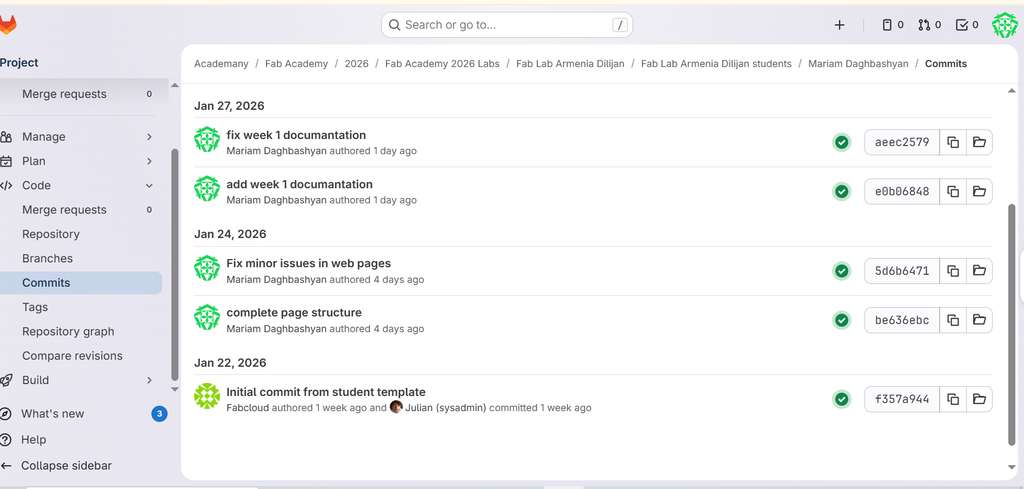
After pushing the changes, the new commit will appear in the Commits section with a success status icon, indicating that the update was completed successfully. At this point, we can already check and preview our website.
HTML/CSS Workflow and Template Usage
I also downloaded an HTML template (Massively), as I planned to work with pure HTML and CSS. This template helped me organize the layout and structure of my website more quickly and efficiently.
A minimal, valid HTML document for HTML5 requires specific tags to ensure proper structure and rendering by web browsers. The required components are:
-
<!DOCTYPE html>: This declaration is the very first line of any HTML5 document and is an instruction to the web browser about the version of HTML being used. It is not an HTML tag itself. -
<html>: This is the root element of the HTML document. All other elements are nested inside this container. -
<head>: This section contains metadata about the document that is not displayed on the web page itself, such as the page title, links to stylesheets, and script definitions. -
<title>: This tag defines the title of the document, which appears in the browser's title bar or page tab and is important for bookmarks and search engine results. -
<body>: This section contains all the visible content of the web page that users interact with, including text, images, links, etc.
To become more familiar with HTML and CSS structure and to improve skills in building web pages, I recommend the following resources: L I N K S
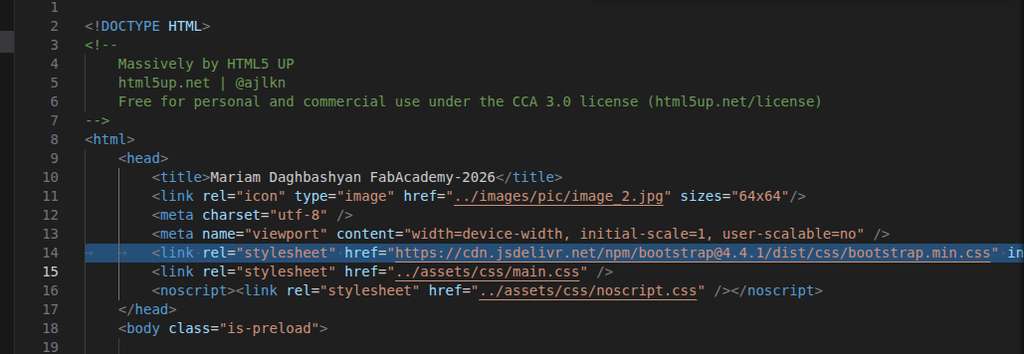
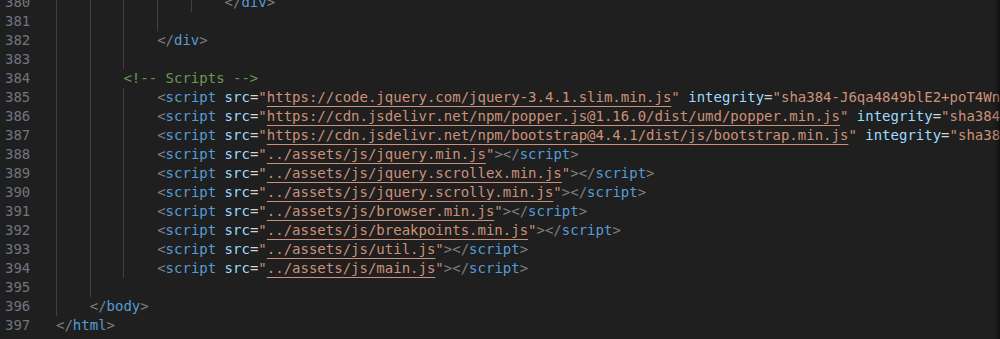
In addition, I used Bootstrap via CDN links in my website. The steps were:
- Go to the official Bootstrap website and click on Getting Started. There, I found the required CDN links.
- Copy both the CSS and JavaScript CDN links.
- CSS:
https://cdn.jsdelivr.net/npm/bootstrap@5.3.8/dist/css/bootstrap.min.css - JS:
https://cdn.jsdelivr.net/npm/bootstrap@5.3.8/dist/js/bootstrap.bundle.min.js - Insert the links into the HTML document:
- Paste the CSS link inside the
<head>tag, before any other stylesheets - Paste the JavaScript link before the closing
</body>tag
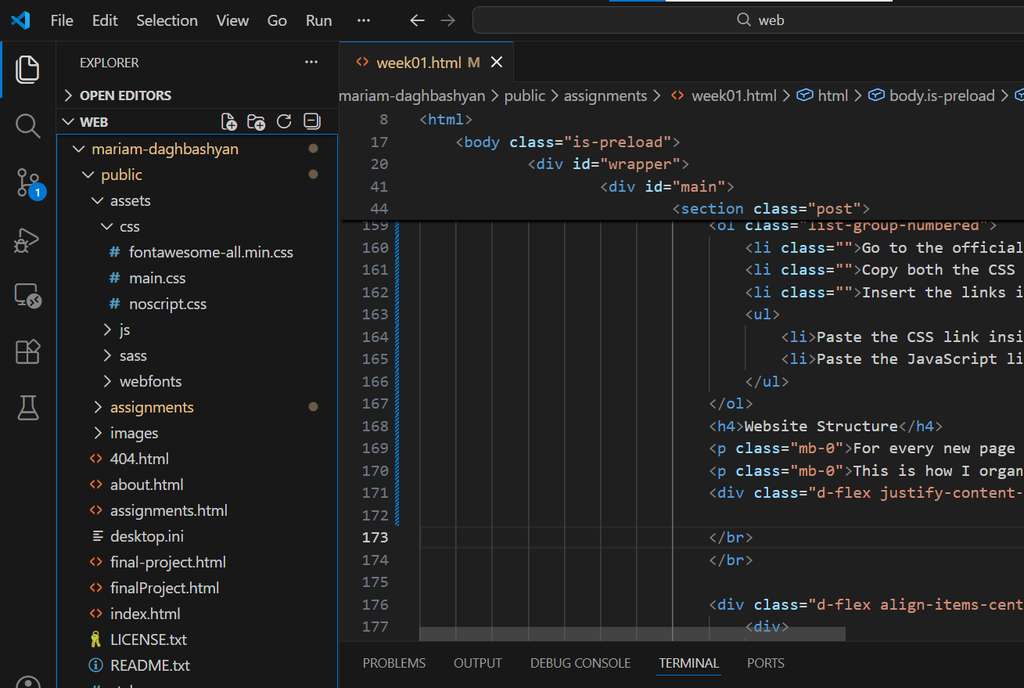
Website Structure
For every new page of the website, it is necessary to create a new .html file.
This is how I organized the overall structure of my project:
I would like to mention the main tags that I frequently used while creating my web page.
I mainly used <h1></h1>, <h2></h2>, and <h3></h3> tags for headings. These tags automatically increase the text size and make it bold. However, when I wanted the text to be bold but not appear as a heading, I used the <b></b> tag.
I placed regular text inside the <p></p> tag. When creating blocks or sections, I used the <div></div> tag.
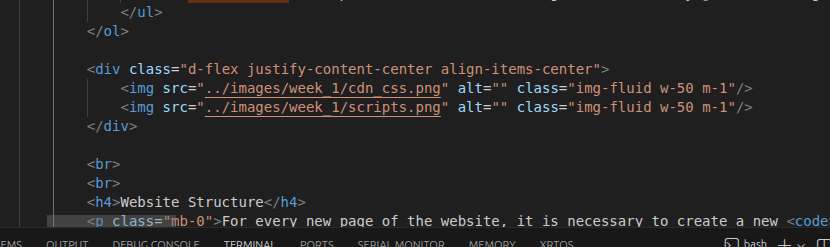
Now I will provide an example of a block that I frequently used when I wanted to place an image. First, I should mention that I insert images using the <img></img> tag by linking to the appropriate image directory. This example also demonstrates my use of Bootstrap classes. I simply assign a class with the appropriate name, which replaces the need to write additional CSS code.
When I want to include code snippets on my webpage, I use the <code></code> tag. For longer code sections, I use the <pre></pre> and <code></code> tags together to preserve formatting and structure.

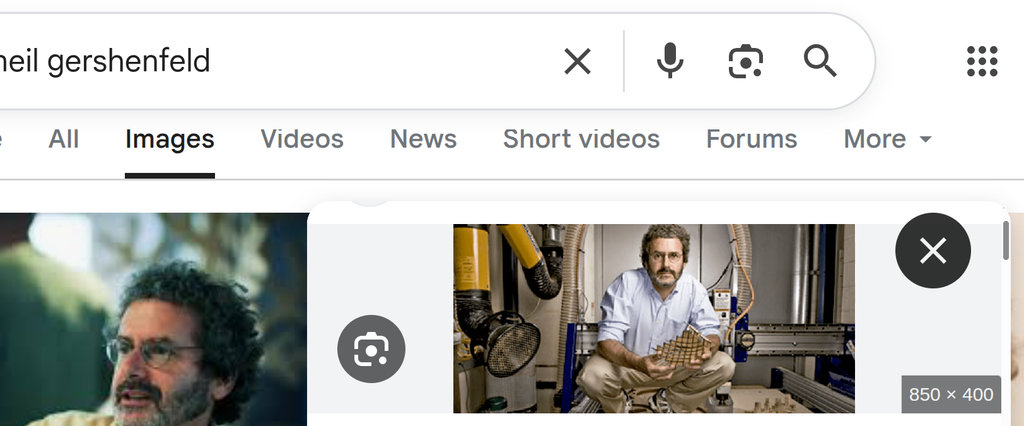
Now I will show the main change on my page — how I added a background image.
Since I already had the idea to use Neil Gershenfeld’s image as a background, I started searching and chose this specific picture. I also felt some Armenian vibes in this image, which is why I decided to go with it.
I have a css folder where I keep all the styles of my website. The main styles are written in the main.css file, while the other .css files came with the downloaded template.
Using the following CSS property, I set the background image by specifying the correct directory path:
background-image: url("../../images/pic/image_1.jpg"), linear-gradient(0deg, rgba(0, 0, 0, 0.1), rgba(0, 0, 0, 0.1)), url("../../images/pic/image_1.jpg");
conclusion
During Week 1, I set up my development environment and built a solid foundation for the upcoming assignments. I installed and configured all the required software tools, including Visual Studio Code and Git, and successfully cloned and organized my project repository. I also reviewed the website structure, practiced basic Git workflows, and ensured everything was functioning correctly.
This week helped me refresh essential skills in version control and development workflows, which will be critical for efficient documentation and project development throughout the course.
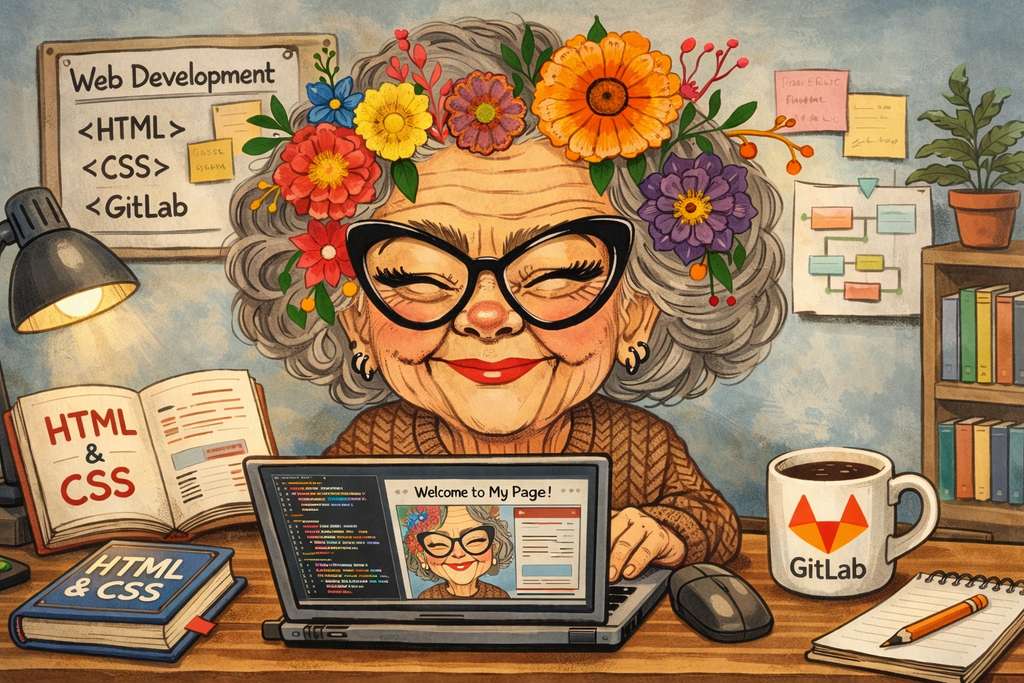
ChatGPT prompt:
“And when finished first week”