14. Mold and Casting
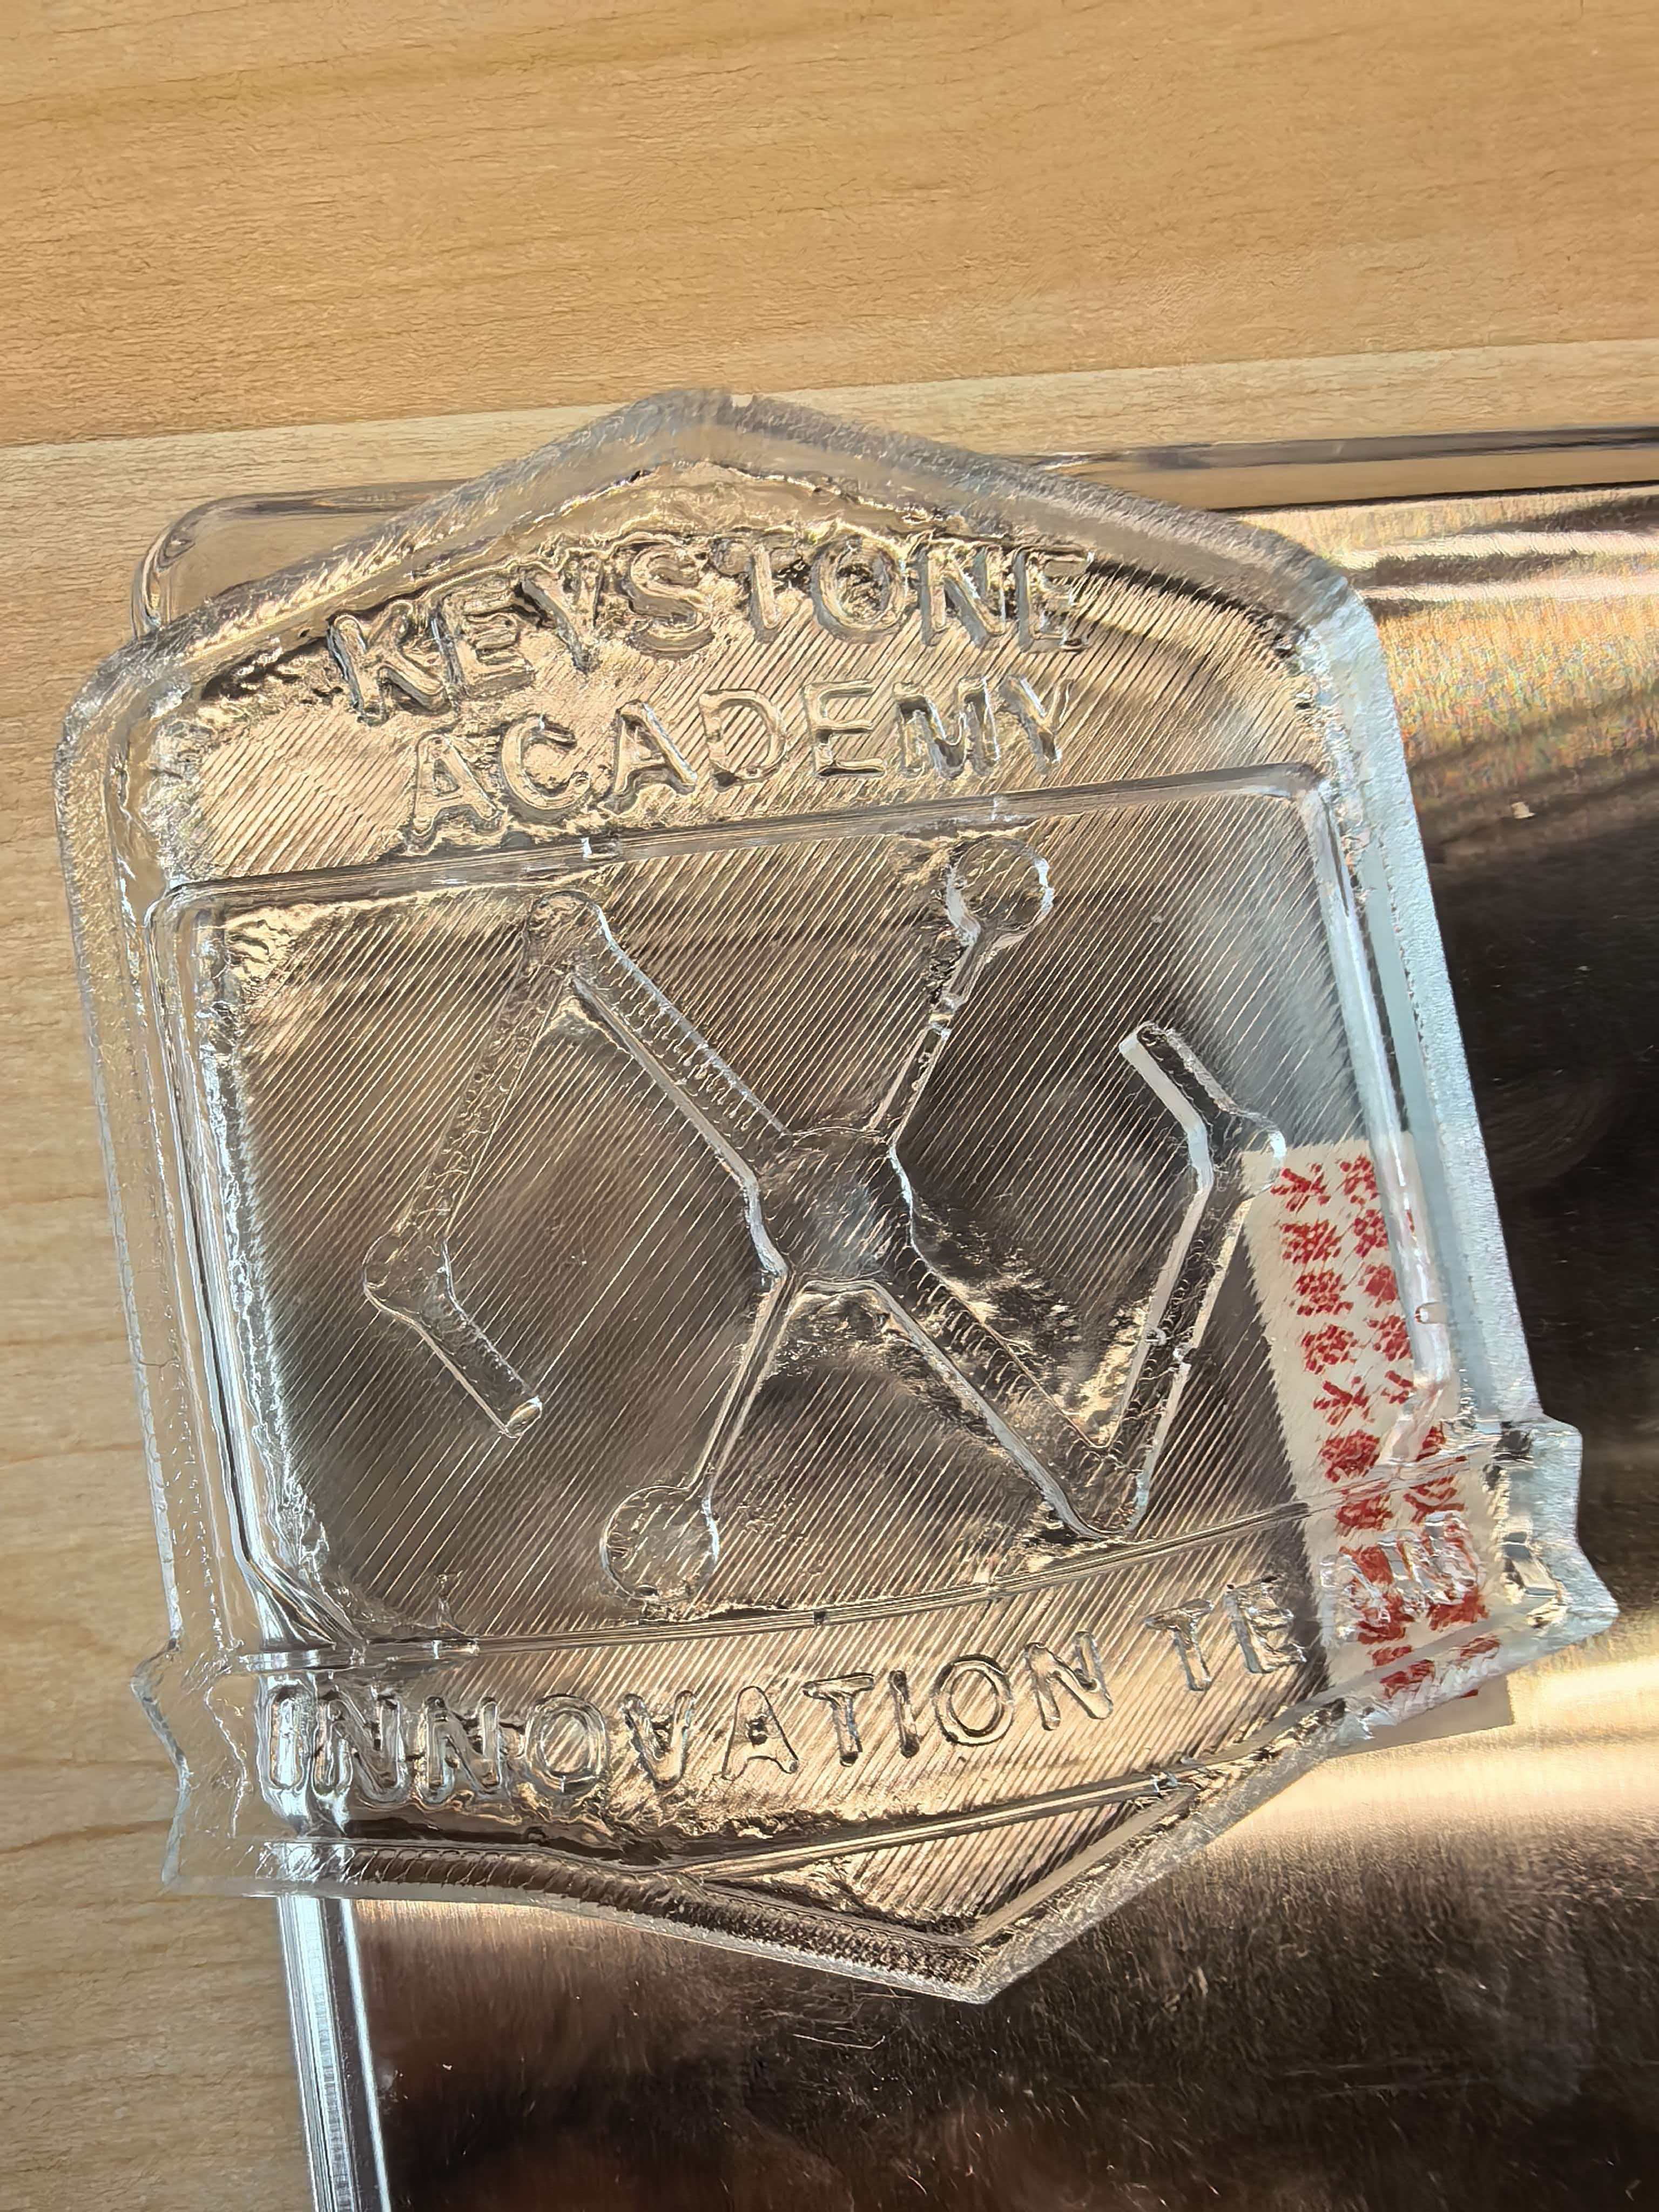
For this week, I designed an Innovation Department badge in Fusion 360, exported it as an STL file, and 3D-printed the master pattern for molding and casting.
Group assignment page: Chaihuo Lab Week 14 Group Assignment
Assignment checklist
- Linked to the group assignment page and reflected on group work
- Reviewed SDS for molding and casting materials and compared test casts
- Documented how I designed and made the 3D mold master pattern
- Documented how I safely made the mold and cast parts
- Described problems encountered and how I fixed them
- Included design files and hero shot(s) of the mold and cast object
Self Reflection (Based on Group Work)
During the molding and casting group assignment, I learned that material choice is not only about casting quality, but also about safety, handling workflow, and repeatability. By reviewing the SDS sheets and comparing HongDa and ShinBon silicone in real tests, I could see that small differences in viscosity and curing behavior directly affect mold detail and bubble formation. This helped me understand why test casts are necessary before committing to a final mold.
Working with AB glue also made me more aware of responsible lab practice. The two-part resin system is effective, but it has higher risks such as skin and eye irritation, harmful fumes, and potential chemical burns if handled carelessly. Through this process, I developed a stronger habit of preparing PPE first, checking ventilation before mixing, and planning disposal in advance. My key takeaway is that good fabrication is inseparable from good safety discipline: consistent protection and careful procedure lead to both better results and a safer team workflow.
3D-printed vs CNC-milled mold masters (group comparison)
As part of the group assignment we compared mold master fabrication methods — FDM/SLA printing versus CNC milling on the KEXU — using the same test geometry (coin and dice masters). The table below summarizes what we observed across surface finish, detail, cost, and time.
| Criterion | 3D-printed master (FDM / SLA) | CNC-milled master |
|---|---|---|
| Surface finish | SLA (Form 4) gave the smoothest mold surface; FDM showed visible layer lines unless filler, sanding, and primer were applied. | Open faces milled cleanly with a ball-end bit; V-bit pockets were rougher. Tight internal corners are hard to polish after milling. |
| Detail | SLA copied fine coin relief best; FDM lost detail on tight curves (layer stepping). Printed dice pips at 16 mm scale outperformed milled pips. | Detail limited by bit diameter and axis access — small recessed features (e.g. dice pips) were less crisp than a tuned FDM print at our lab scale. |
| Cost | Low material cost (filament or resin); main expense is machine time and occasional post-processing supplies. | Stock (wax/foam) plus tool wear; hybrid workflows (printed body + milled pockets) add setup effort without always improving the result. |
| Time | Slicer setup, then several hours of mostly unattended printing (longer for FDM than SLA). | G-code and fixturing upfront; once at the machine, each feature cuts quickly and parameters can be retuned in minutes. |
Group takeaway: SLA produced the smoothest silicone molds for fine relief (our coin master), whereas FDM was quicker for larger geometry but left layer lines that copied into the rubber unless we sanded or primed the print. CNC milling gave clean open faces on wax stock, yet small recessed features — dice pips at 16 mm — came out rougher than a tuned FDM print.
Workflow and Notes
I started by designing the badge in Fusion 360 and 3D-printing the master pattern.
Step 1: Design the badge outline in Fusion 360.
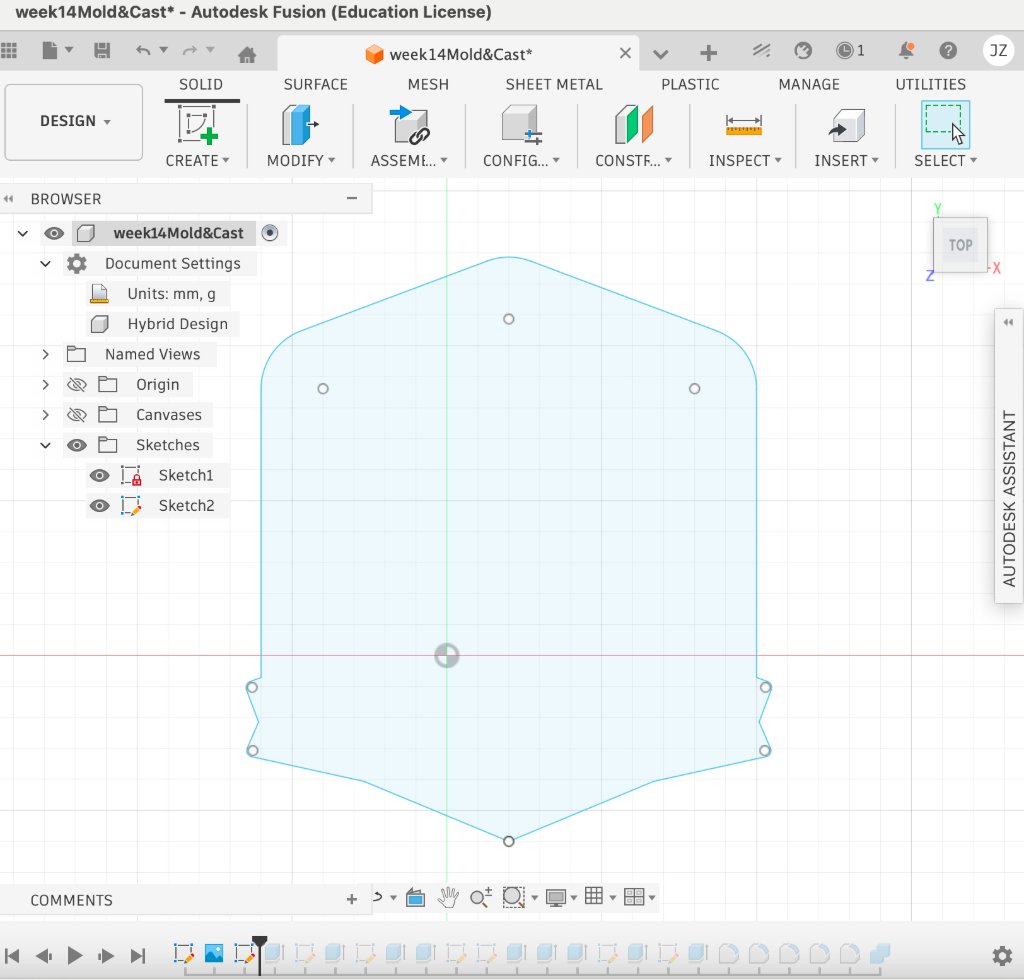
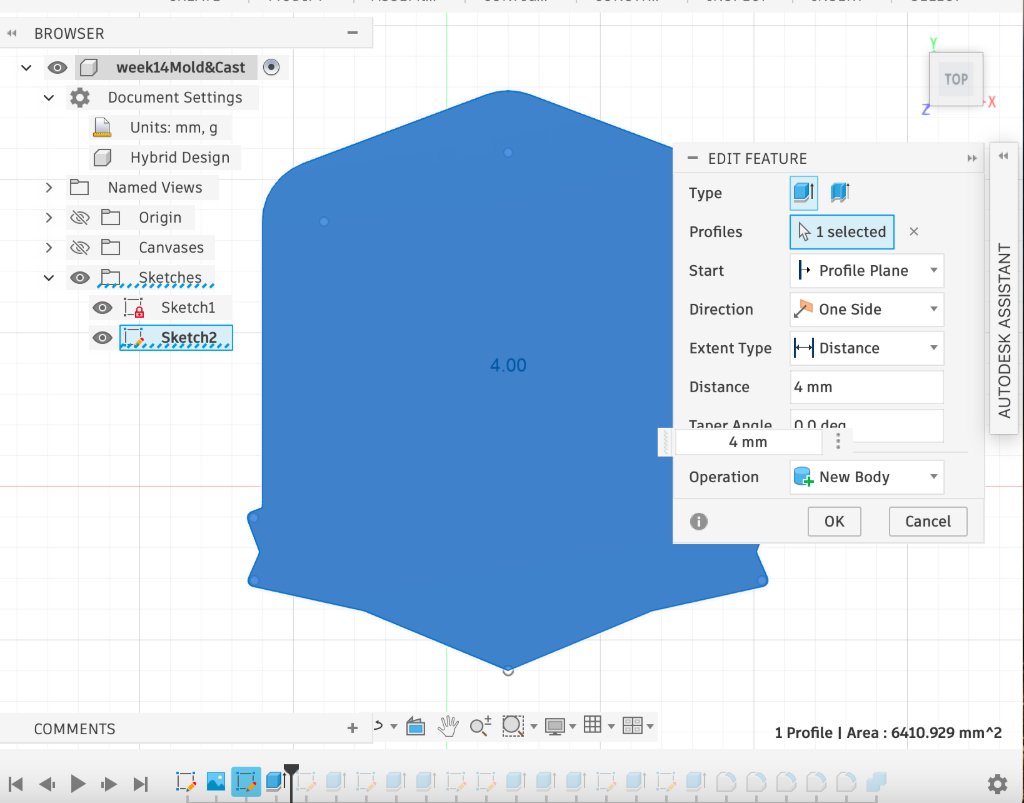
Step 2: Extrude the outline to the target thickness.
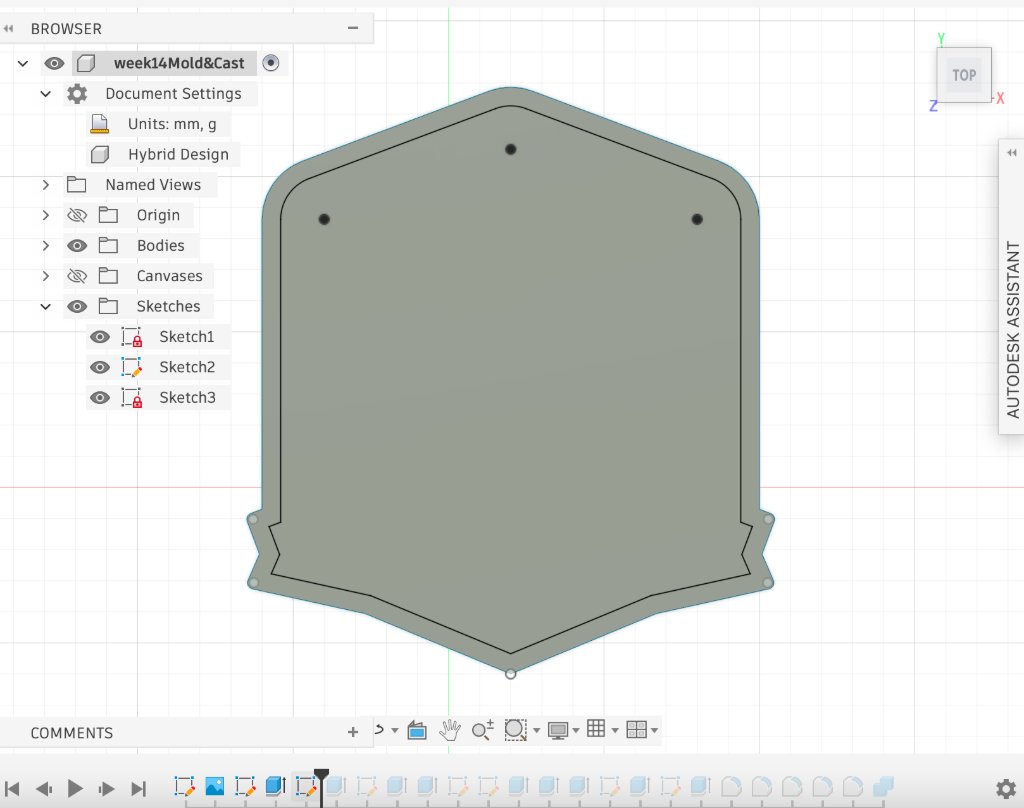
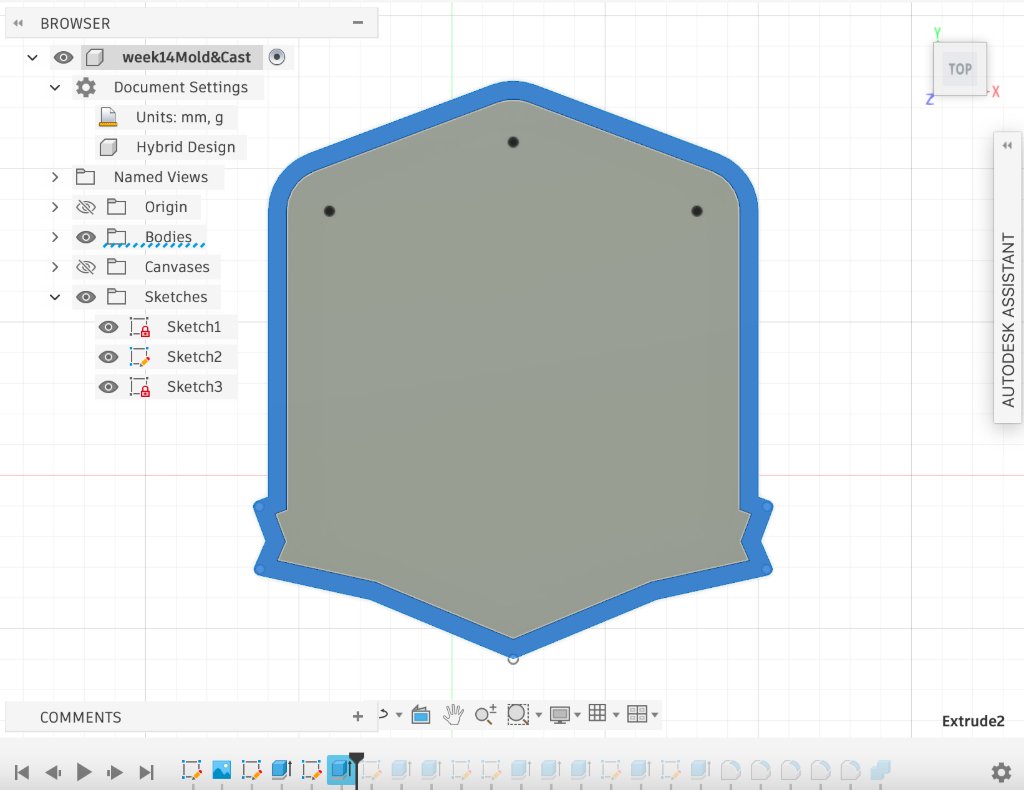
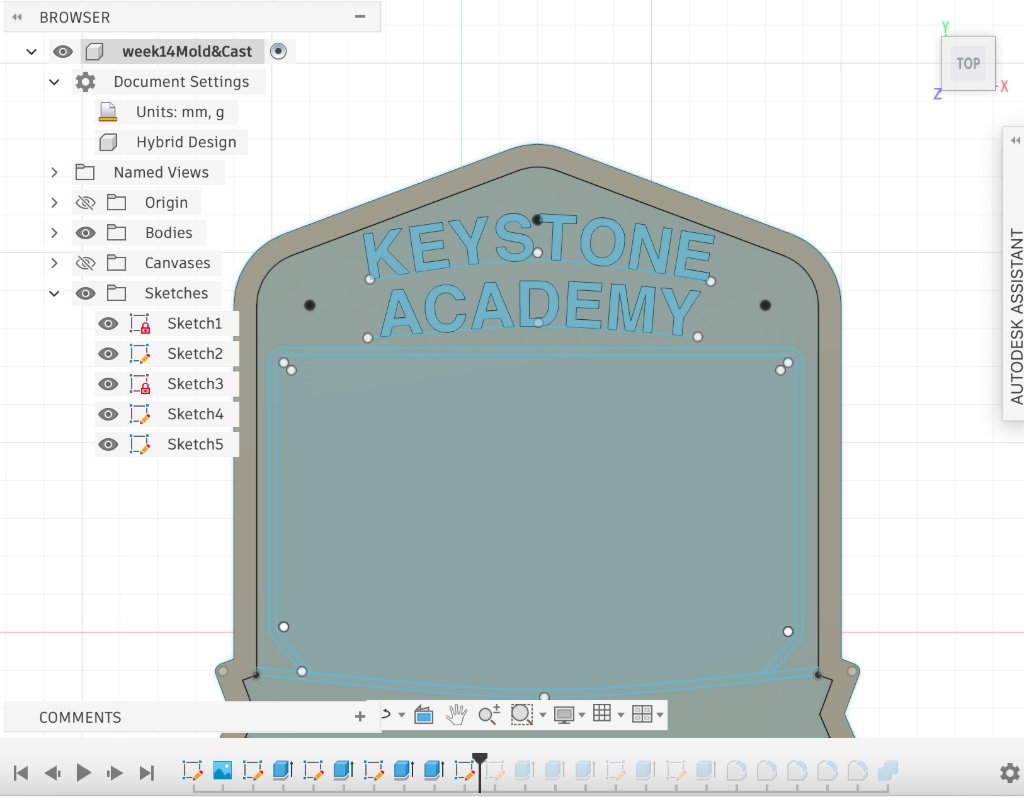
Step 3: Use the offset tool to create the inner and outer badge edges.
Step 4: Extrude the edge profiles to the required thickness.
Step 5: Add the text using the Text tool.
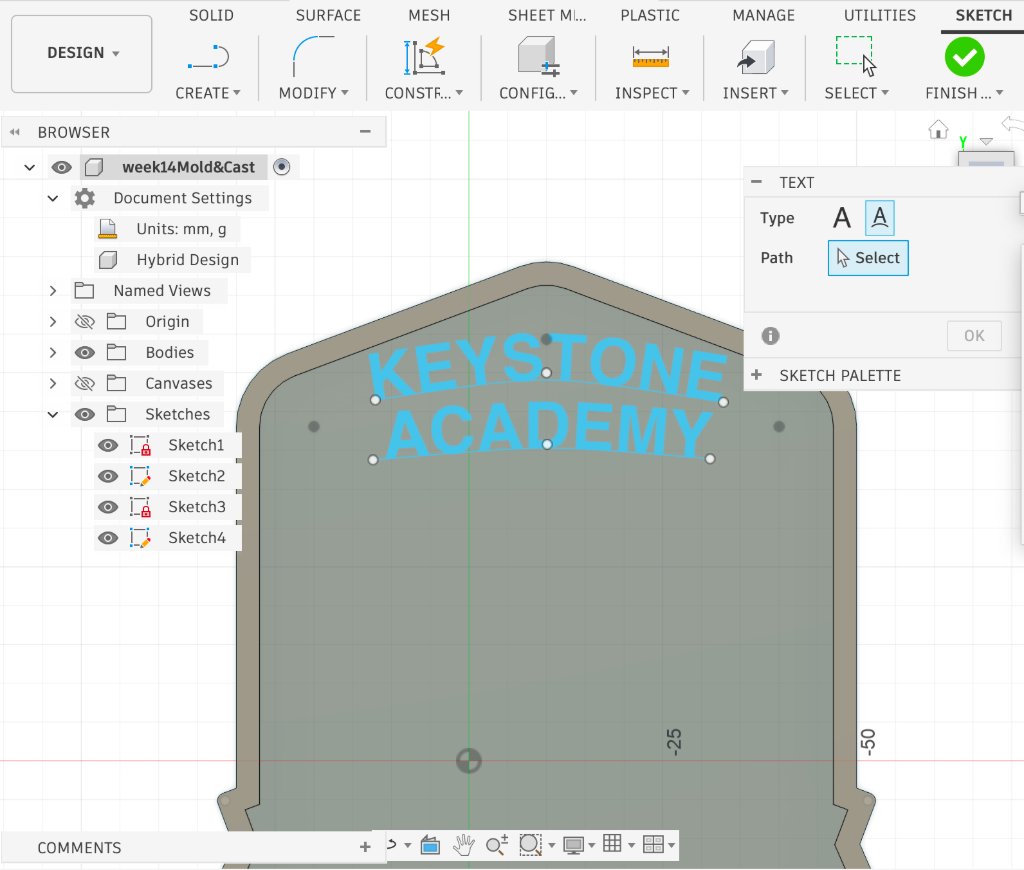
Step 6: Use a conic curve to define the path used to align the text.

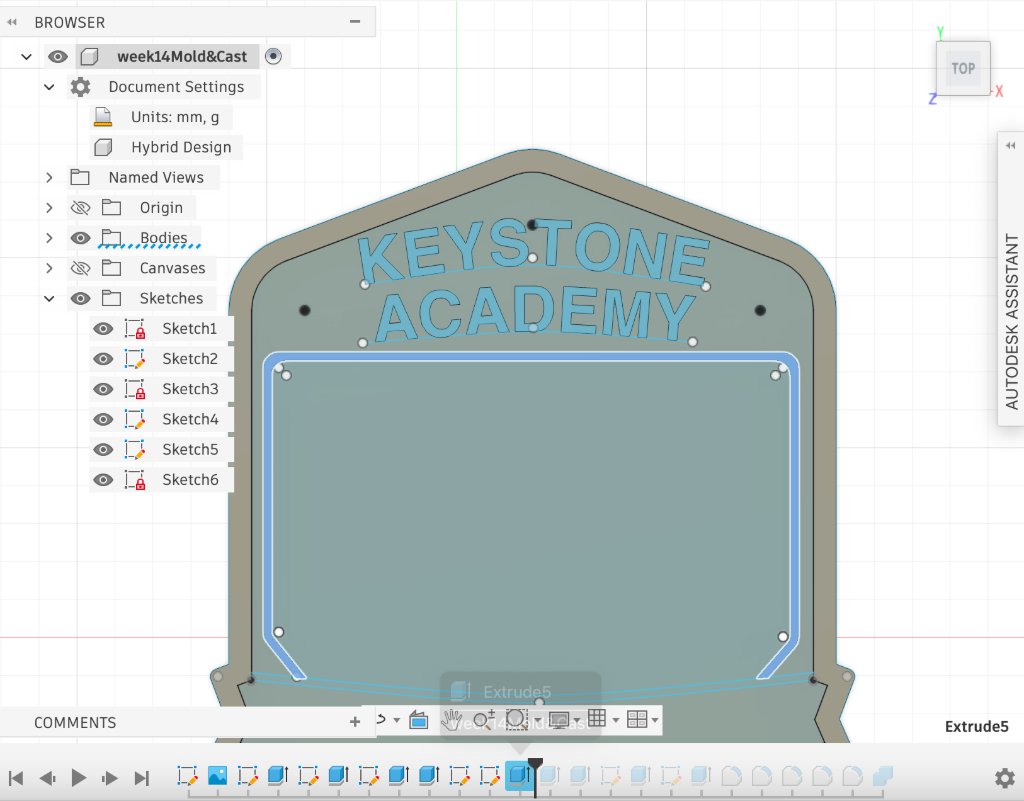
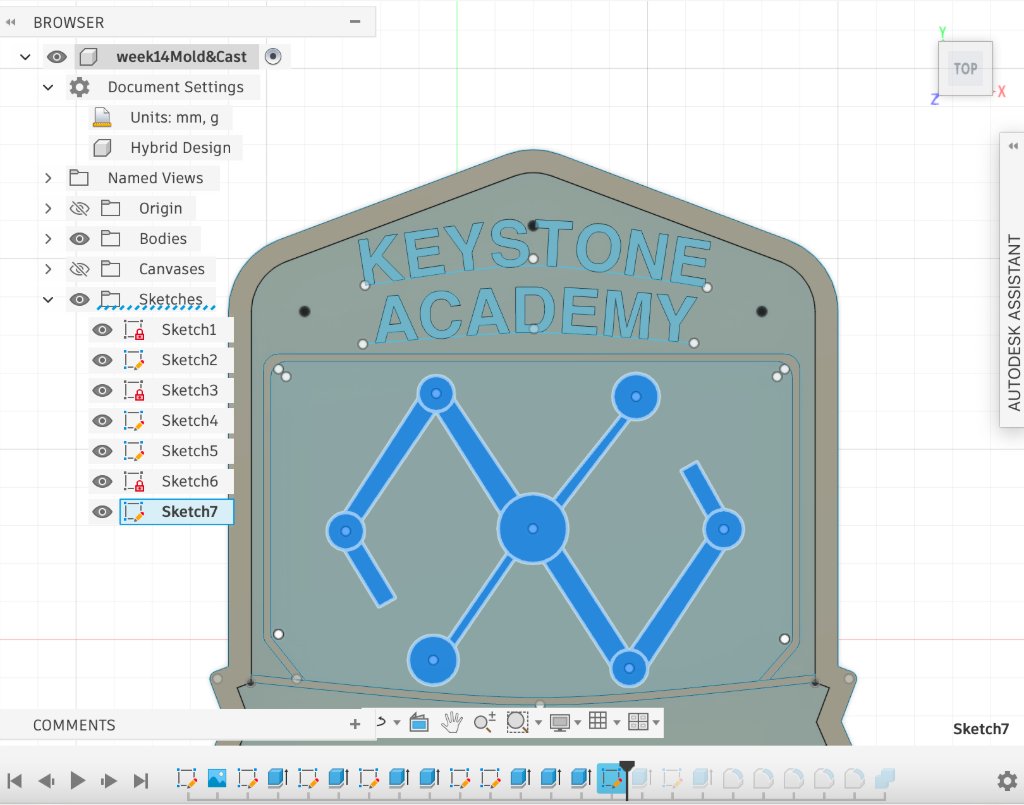
Step 7: Build the bottom base and add the Innovation Department logo.
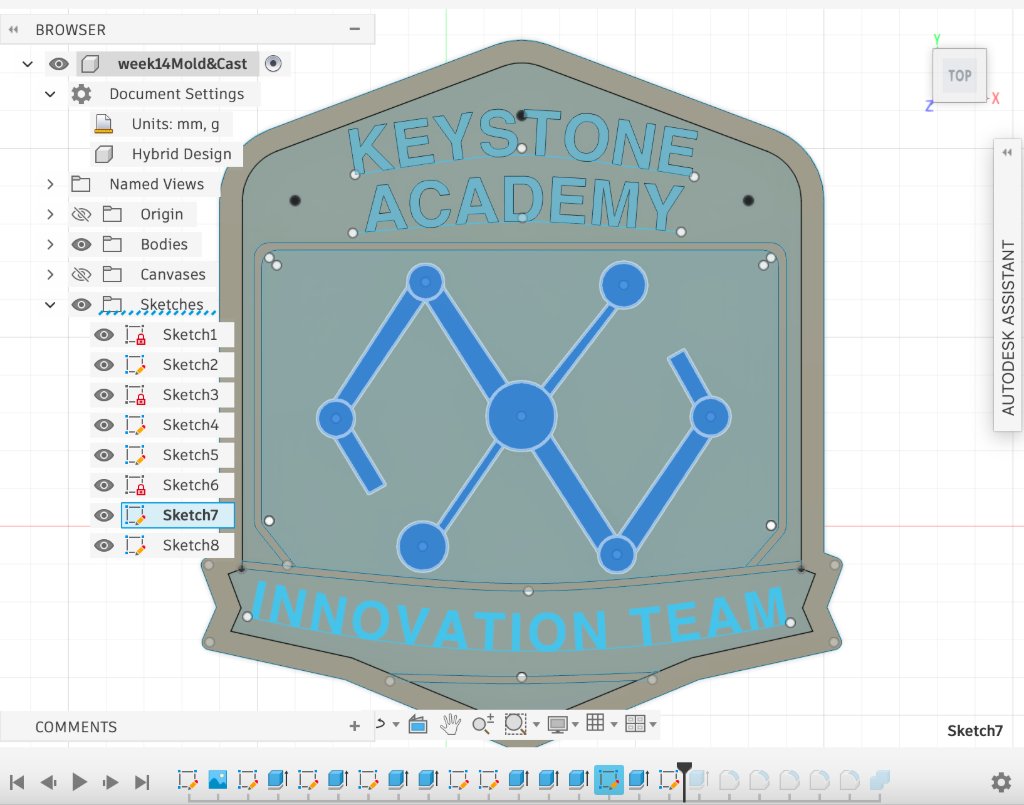
Step 8: Apply fillets to sharp corners, including text edges and box corners.
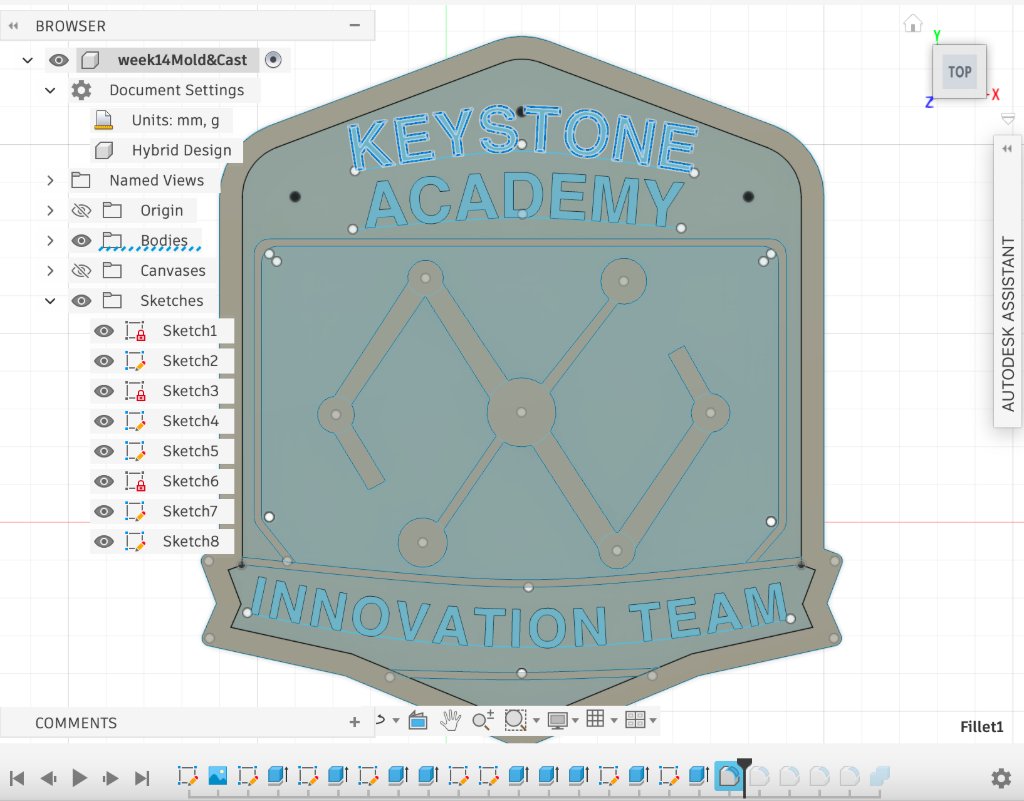

I printed the badge master with a 0.4 mm nozzle because a 0.2 mm nozzle was not available. The printed surface shows visible layer lines. I was concerned that these lines might affect molding and casting quality. In practice, they can transfer to the mold surface, so post-processing (such as light sanding or primer) is helpful when a smoother final cast is required.
For silicone use, I followed the label instructions: mix silicone and curing agent at a 100:2 ratio, stir thoroughly, and complete the operation within about 5 minutes. After pouring into the mold box, wait until fully cured before demolding. I also learned that testing a small batch first is very useful for understanding curing speed and avoiding material waste.
Bubble Reduction Methods
- Use a slightly lower curing-agent ratio to extend curing time, allowing more bubbles to escape naturally.
- Stir in one consistent direction to reduce additional air entrainment.
- Brush a thin first layer of silicone onto the master, wait for bubbles to disappear, then pour the rest.
- Use a vacuum machine after mixing to degas the silicone.
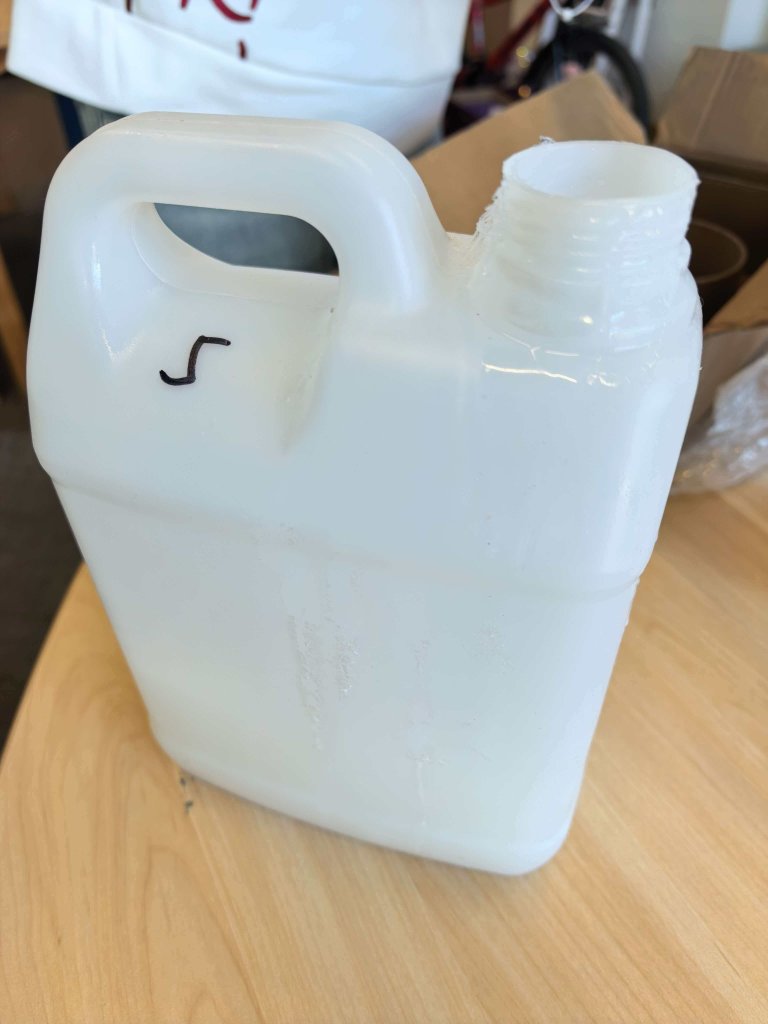
Material reference: Dongguan Lixing Technology Co., Ltd. (shelf life: 6 months).
Problem and Fix
In my first attempt, I forgot to add the curing agent. Even after 24 hours, the silicone was still liquid.
I have not completed the second trial yet. In the next attempt, I will remake the batch using the correct 100:2 ratio and mix thoroughly before pouring. The key lesson is to prepare a clear pre-pour checklist and verify each step before mixing, because I can become careless when rushing. I will also do a small test batch first to confirm curing before pouring the full mold.
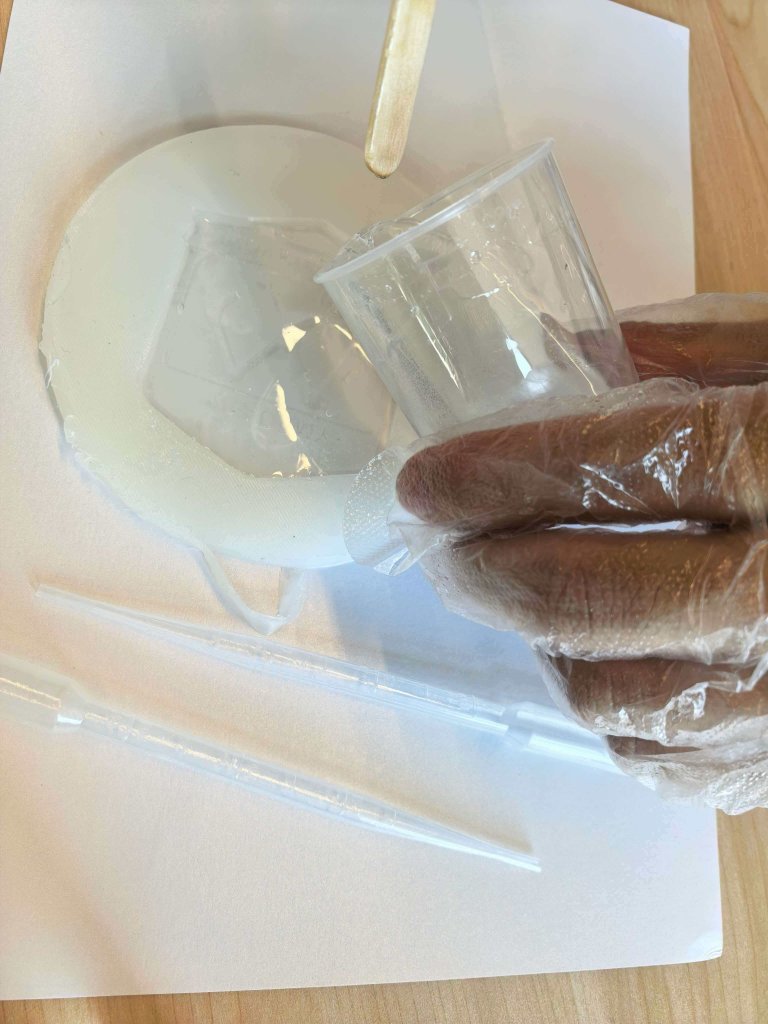
Casting (AB Resin)
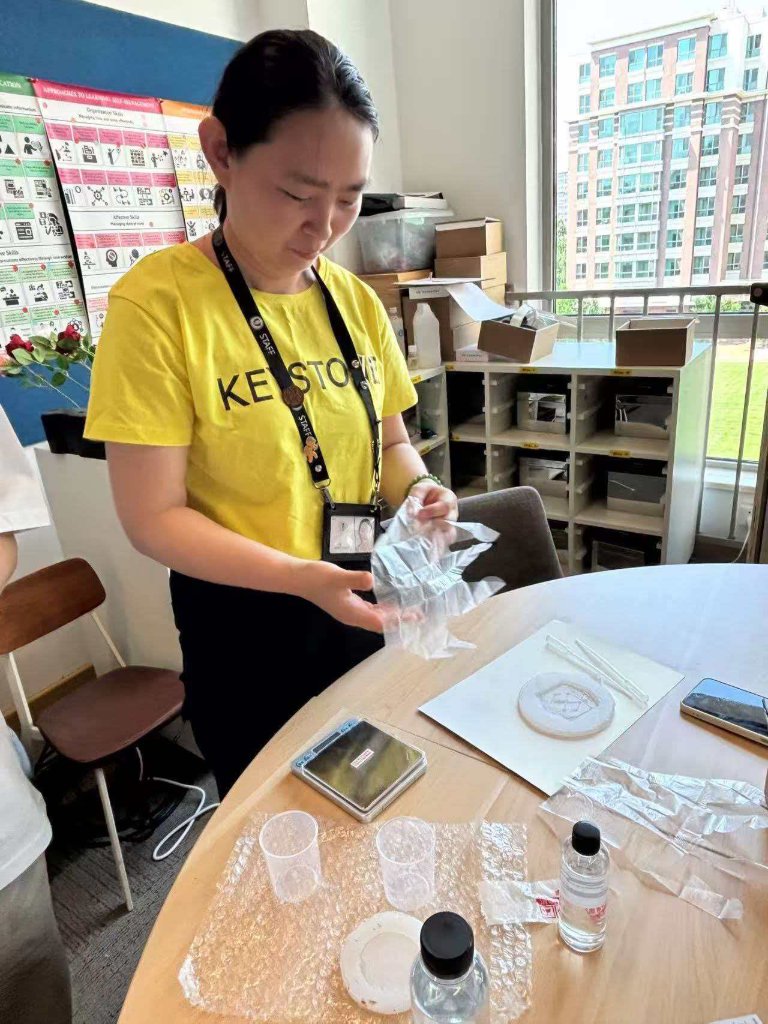
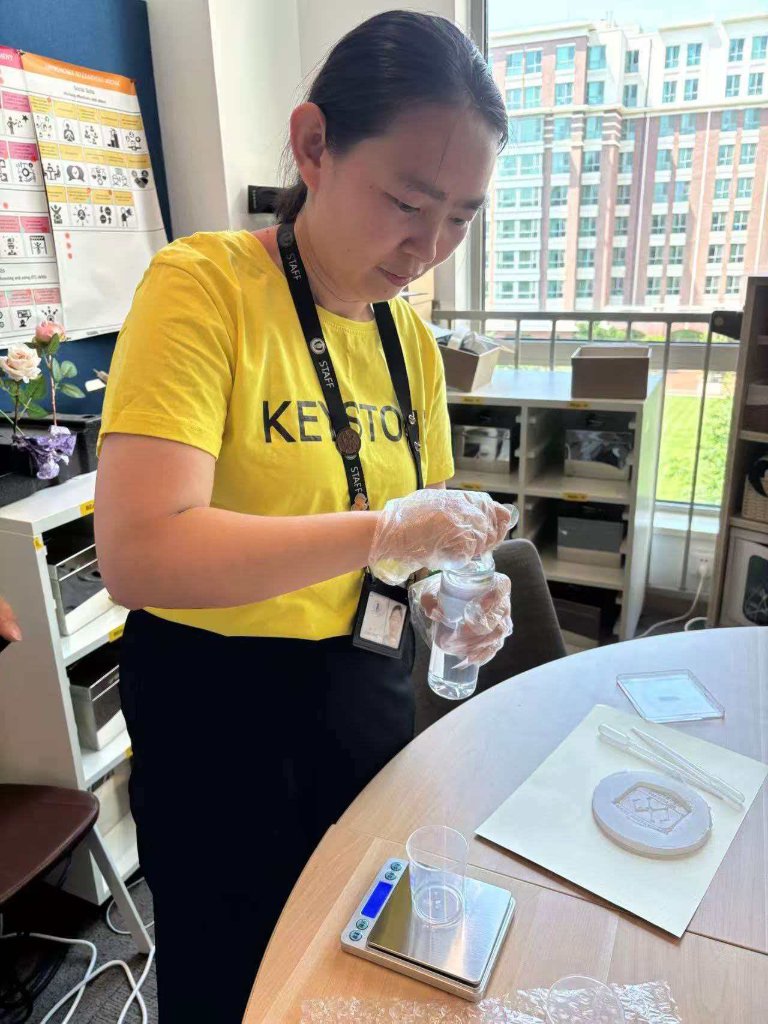
After the silicone mold cured, I cast the badge using a two-part crystal resin (AB glue). The manufacturer recommends a 3:1 weight ratio (Glue A : Glue B). I wore gloves, worked near ventilation, and kept pigment and mixing tools ready before opening either bottle.
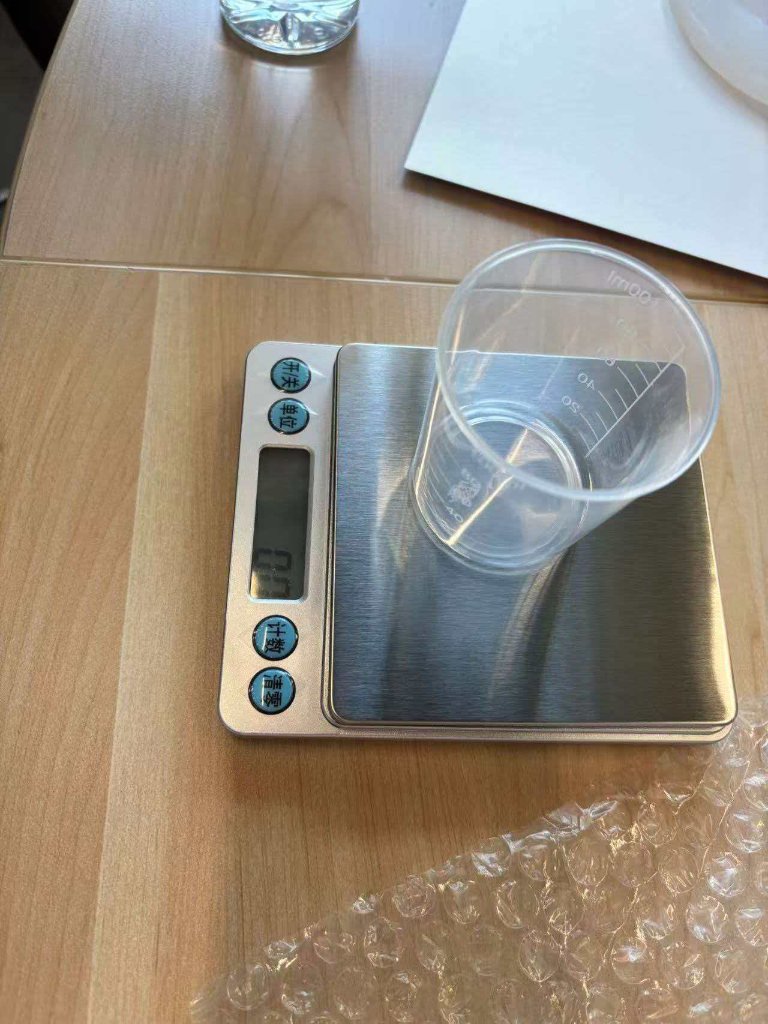
1Weigh Glue A.
Place a clean cup on the digital scale, tare to zero, and pour Glue A to the target weight.
2Weigh Glue B.
Tare the scale again and add Glue B until its weight is one third of Glue A (3:1 by weight).
3Mix thoroughly.
Stir gently in one direction (clockwise) for 3–5 minutes until the mixture is fully transparent
and no visible "silk" streaks remain.
4Add pigment.
Add colorant drop by drop and stir evenly. If bubbles appear, remove them with a needle
or a brief pass on a heating pad before pouring.

5Pour and cure.
Pour slowly into the silicone mold to minimize trapped air. At about 25 °C, wait roughly
15 hours before demolding; lower room temperature requires longer cure time.
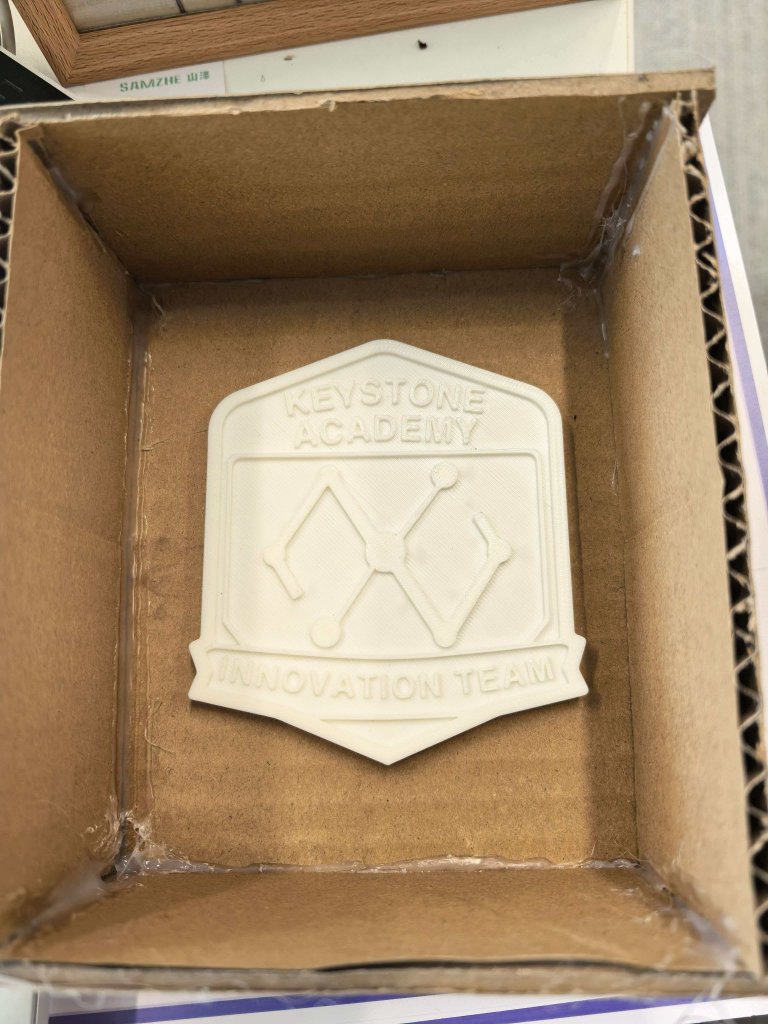
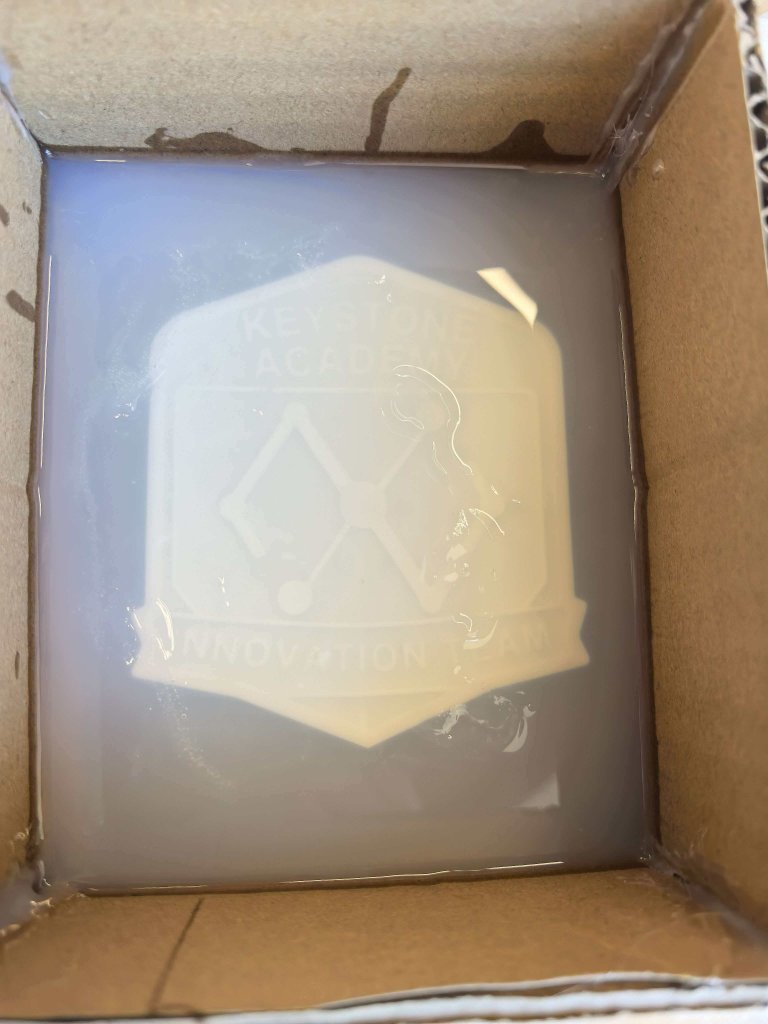
Hero Shots
Finished Innovation Department badge cast in clear AB resin, alongside the 3D-printed master, silicone mold, and demolded part from the full molding workflow.
Demolded cast — clear AB resin copy of the badge master.
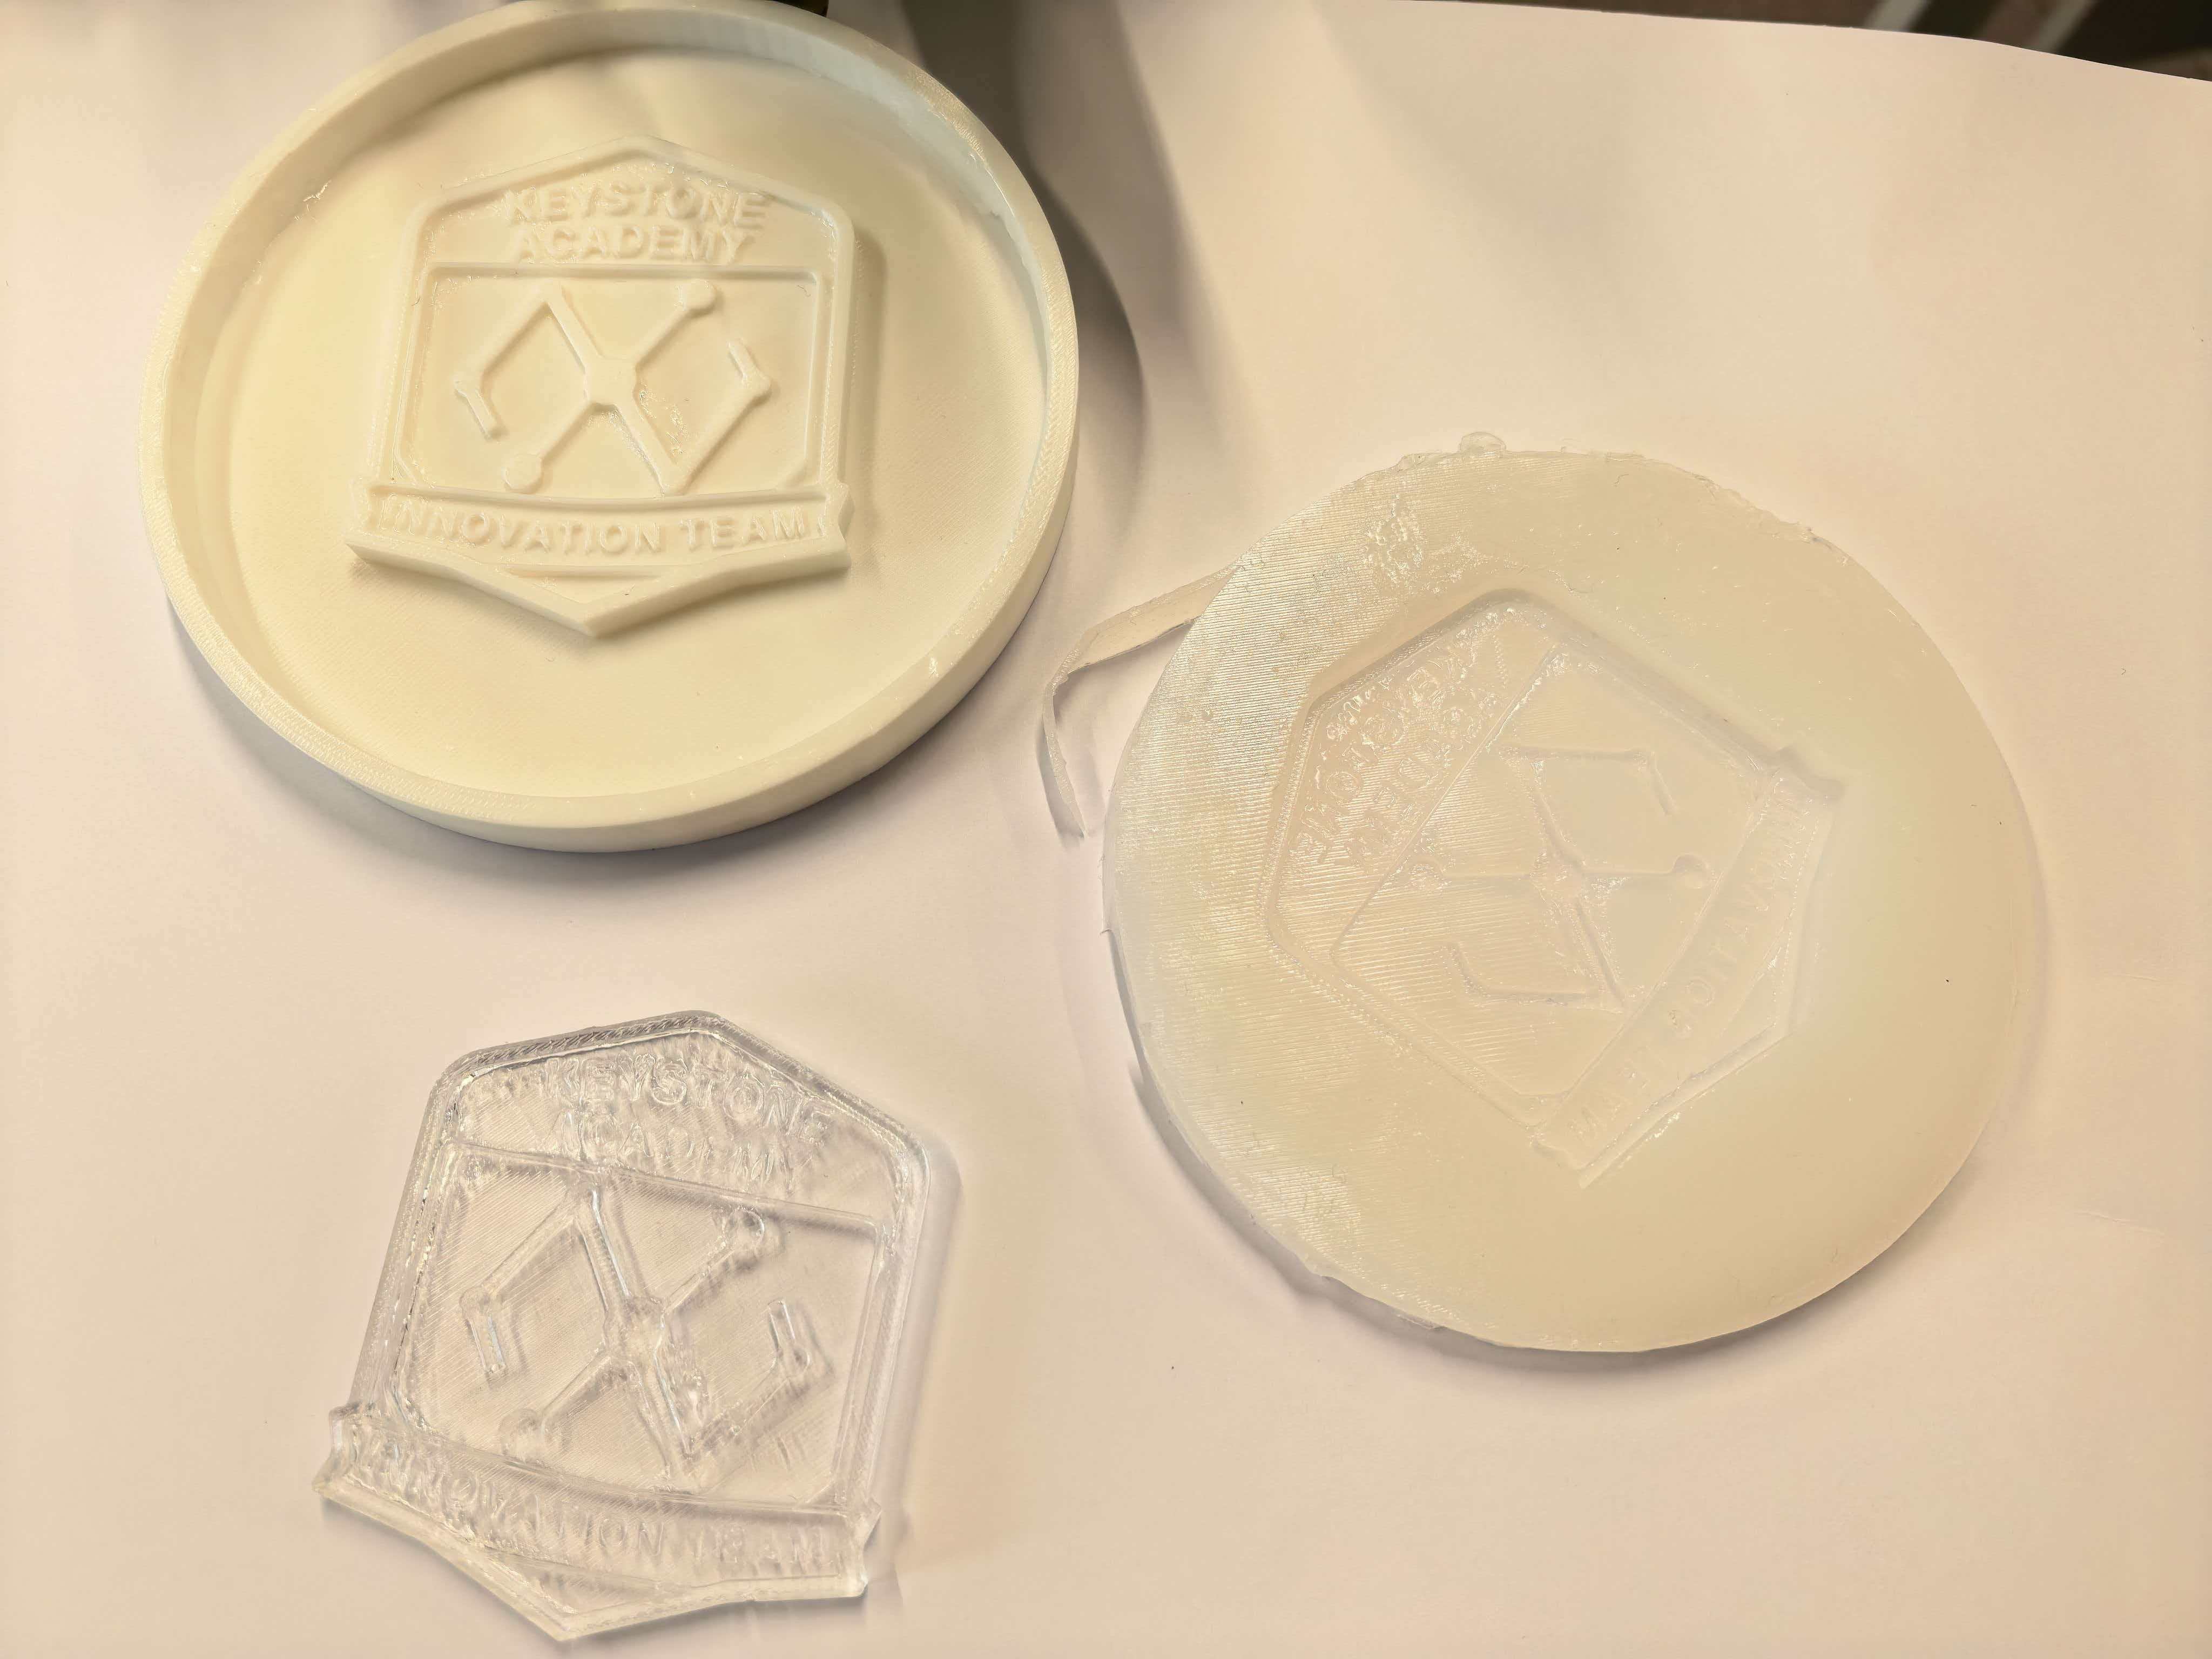
Master pattern, silicone negative mold, and finished cast side by side.
Reflection — Mold and Casting
This week made me see mold-making and casting as two linked but distinct processes. The mold is a negative copy of the master; the cast is a positive copy of the mold. Quality at each step limits what the next step can recover. A badge designed with sharp text and thin features needs a smooth master and a bubble-free silicone pour, or those details are lost before resin ever touches the mold.
Designing the master in Fusion 360 felt familiar, but preparing it for molding was new. The 0.4 mm nozzle left layer lines on the printed badge, and I realized those lines are not cosmetic — they can print through to the silicone and then to every cast. Next time I would sand or prime the master, or print with a finer nozzle, before building the mold box.
Silicone molding taught me that timing and ratios matter as much as technique. Forgetting the curing agent once was enough to waste a full batch and a day of waiting. That mistake pushed me toward a simple pre-pour checklist: measure both parts, mix completely, pour within the working time, and label the cup. Small habits like brushing a thin first coat of silicone onto the master also helped me understand why degassing and slow pouring are worth the extra minutes when fine detail matters.
Casting with AB resin added another layer of precision. Weighing Glue A and Glue B on a scale (3:1 by weight) is slower than eyeballing volumes, but it removes guesswork and makes results repeatable. Stirring until the mix is fully clear, adding pigment gradually, and pouring slowly all connect back to the same lesson from silicone: most defects — bubbles, streaks, soft spots — come from rushing the mix or the pour, not from the mold itself.
Overall, mold and casting feel less like a single “pour and wait” task and more like a small production pipeline. The master pattern, mold material, mix ratio, temperature, and demold time all interact. Documenting each step and doing test batches first saved material and gave me confidence to iterate. For my Innovation Department badge, the process was as important as the object: I now think about whether a part should be 3D-printed directly, molded once for many casts, or redesigned to cast more reliably — and that design-for-fabrication mindset is what I will carry into the final project.
Design Files
- Fusion 360 model —
week14Mold-and-Cast.f3d— Innovation Department badge master pattern - STL export —
week14Mold-and-Cast.stl— 3D-printed master for molding