10. Output Devices
This week I worked on learning about Output devices
Circuit
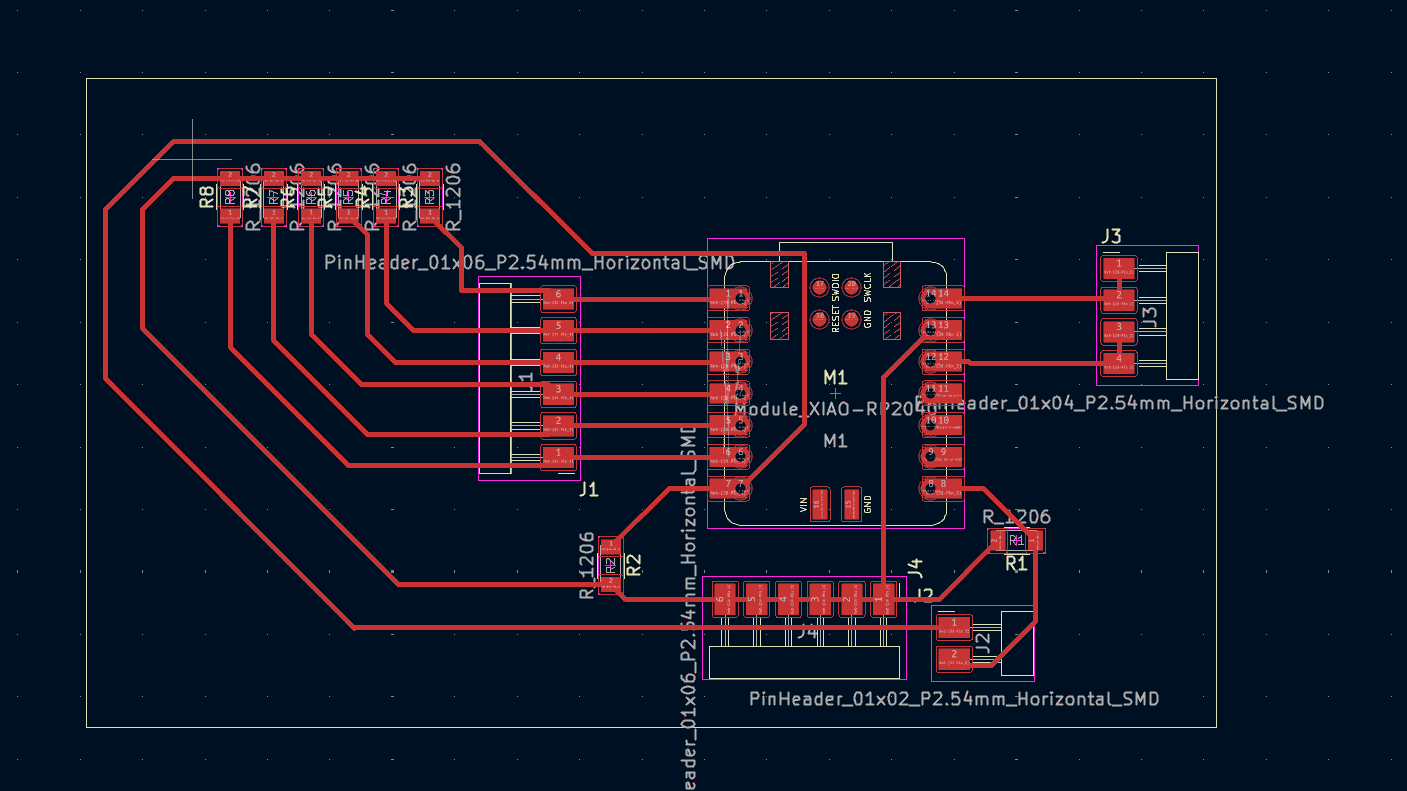
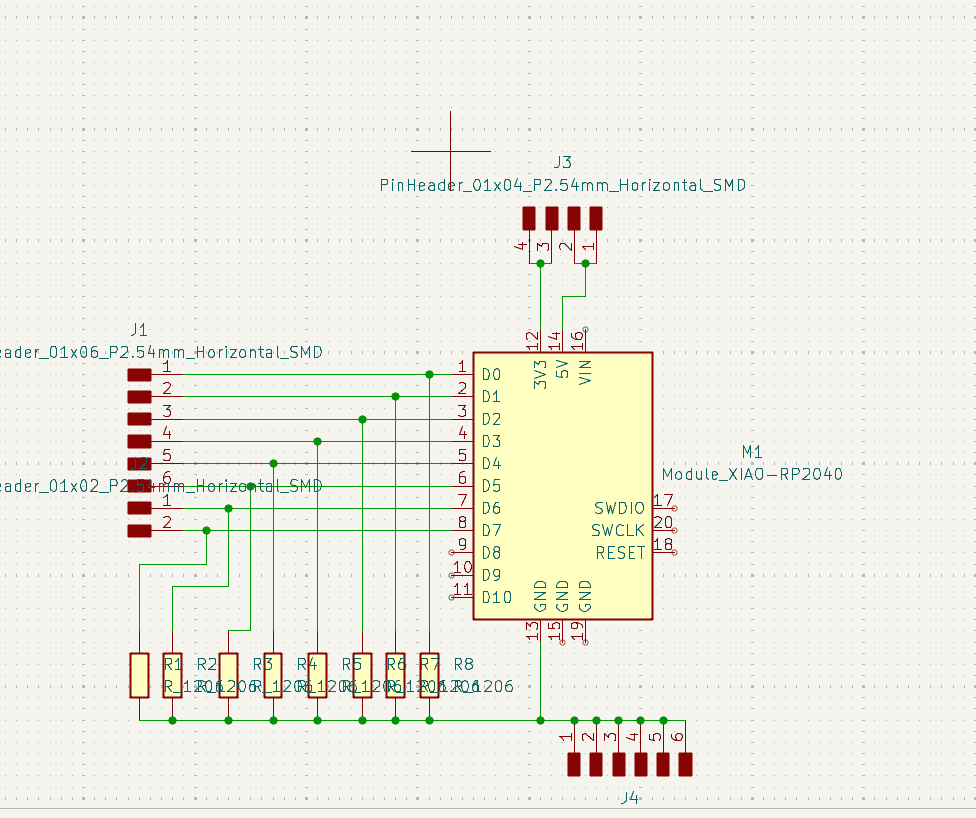
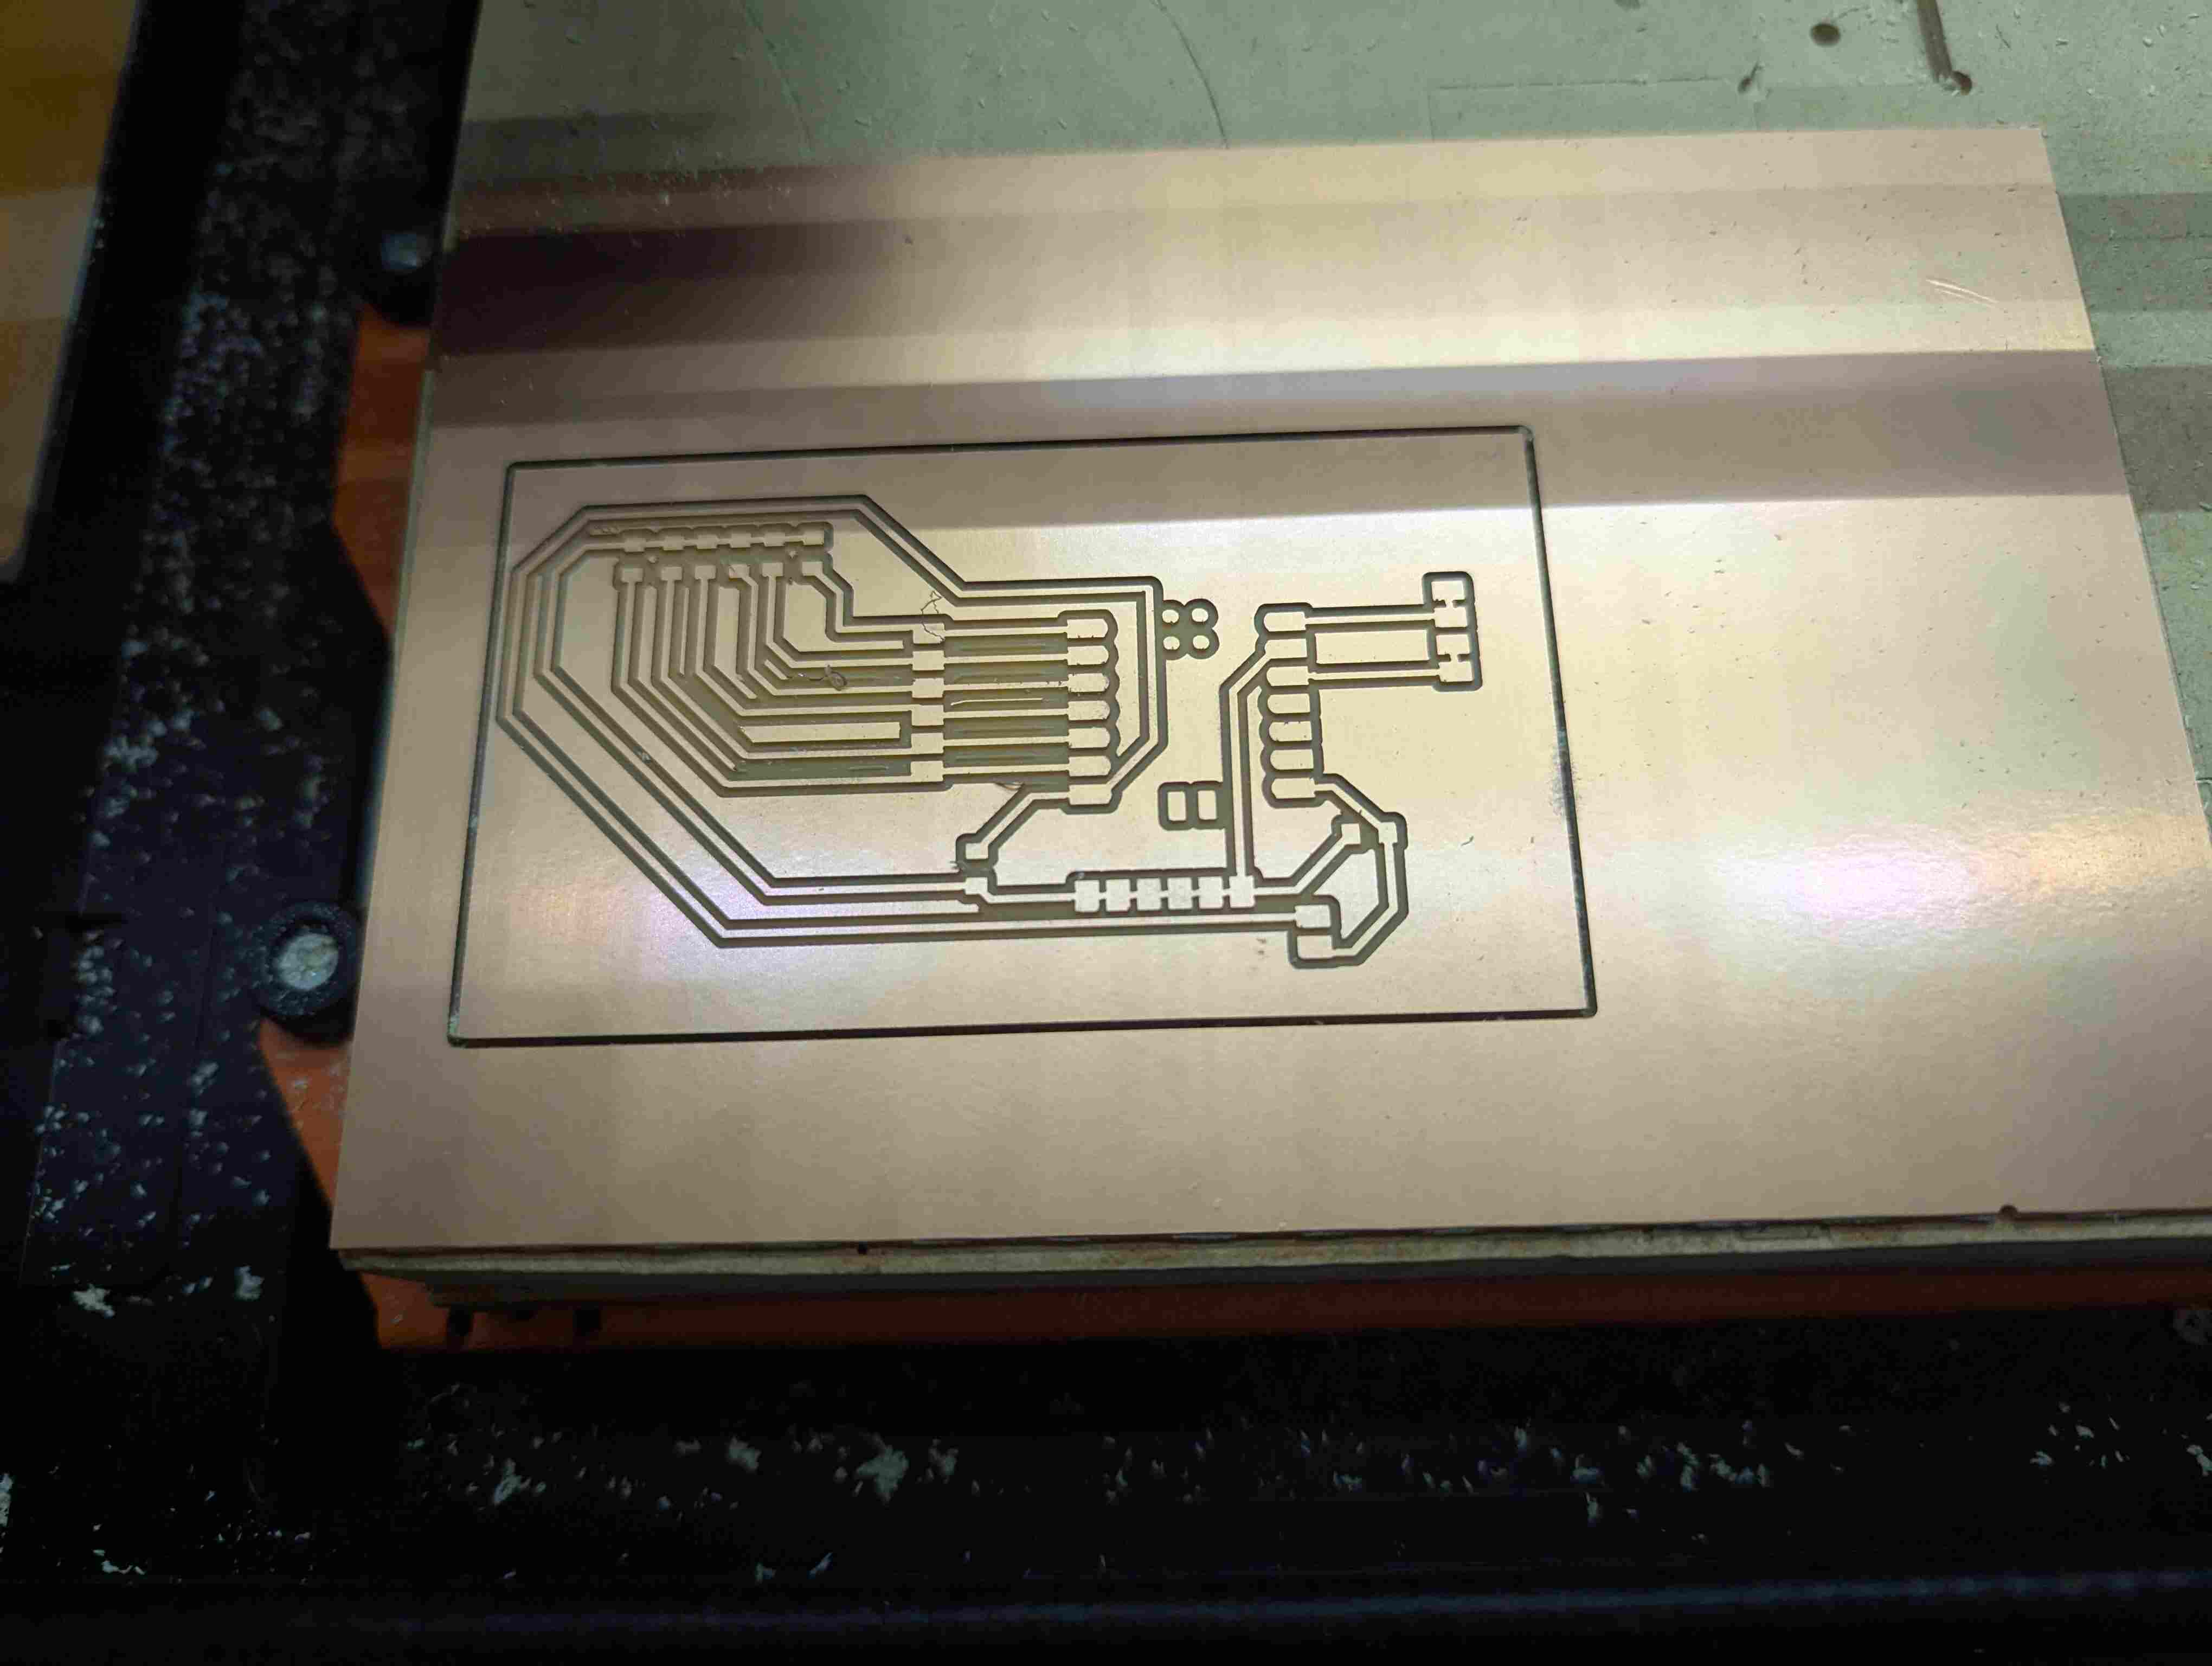
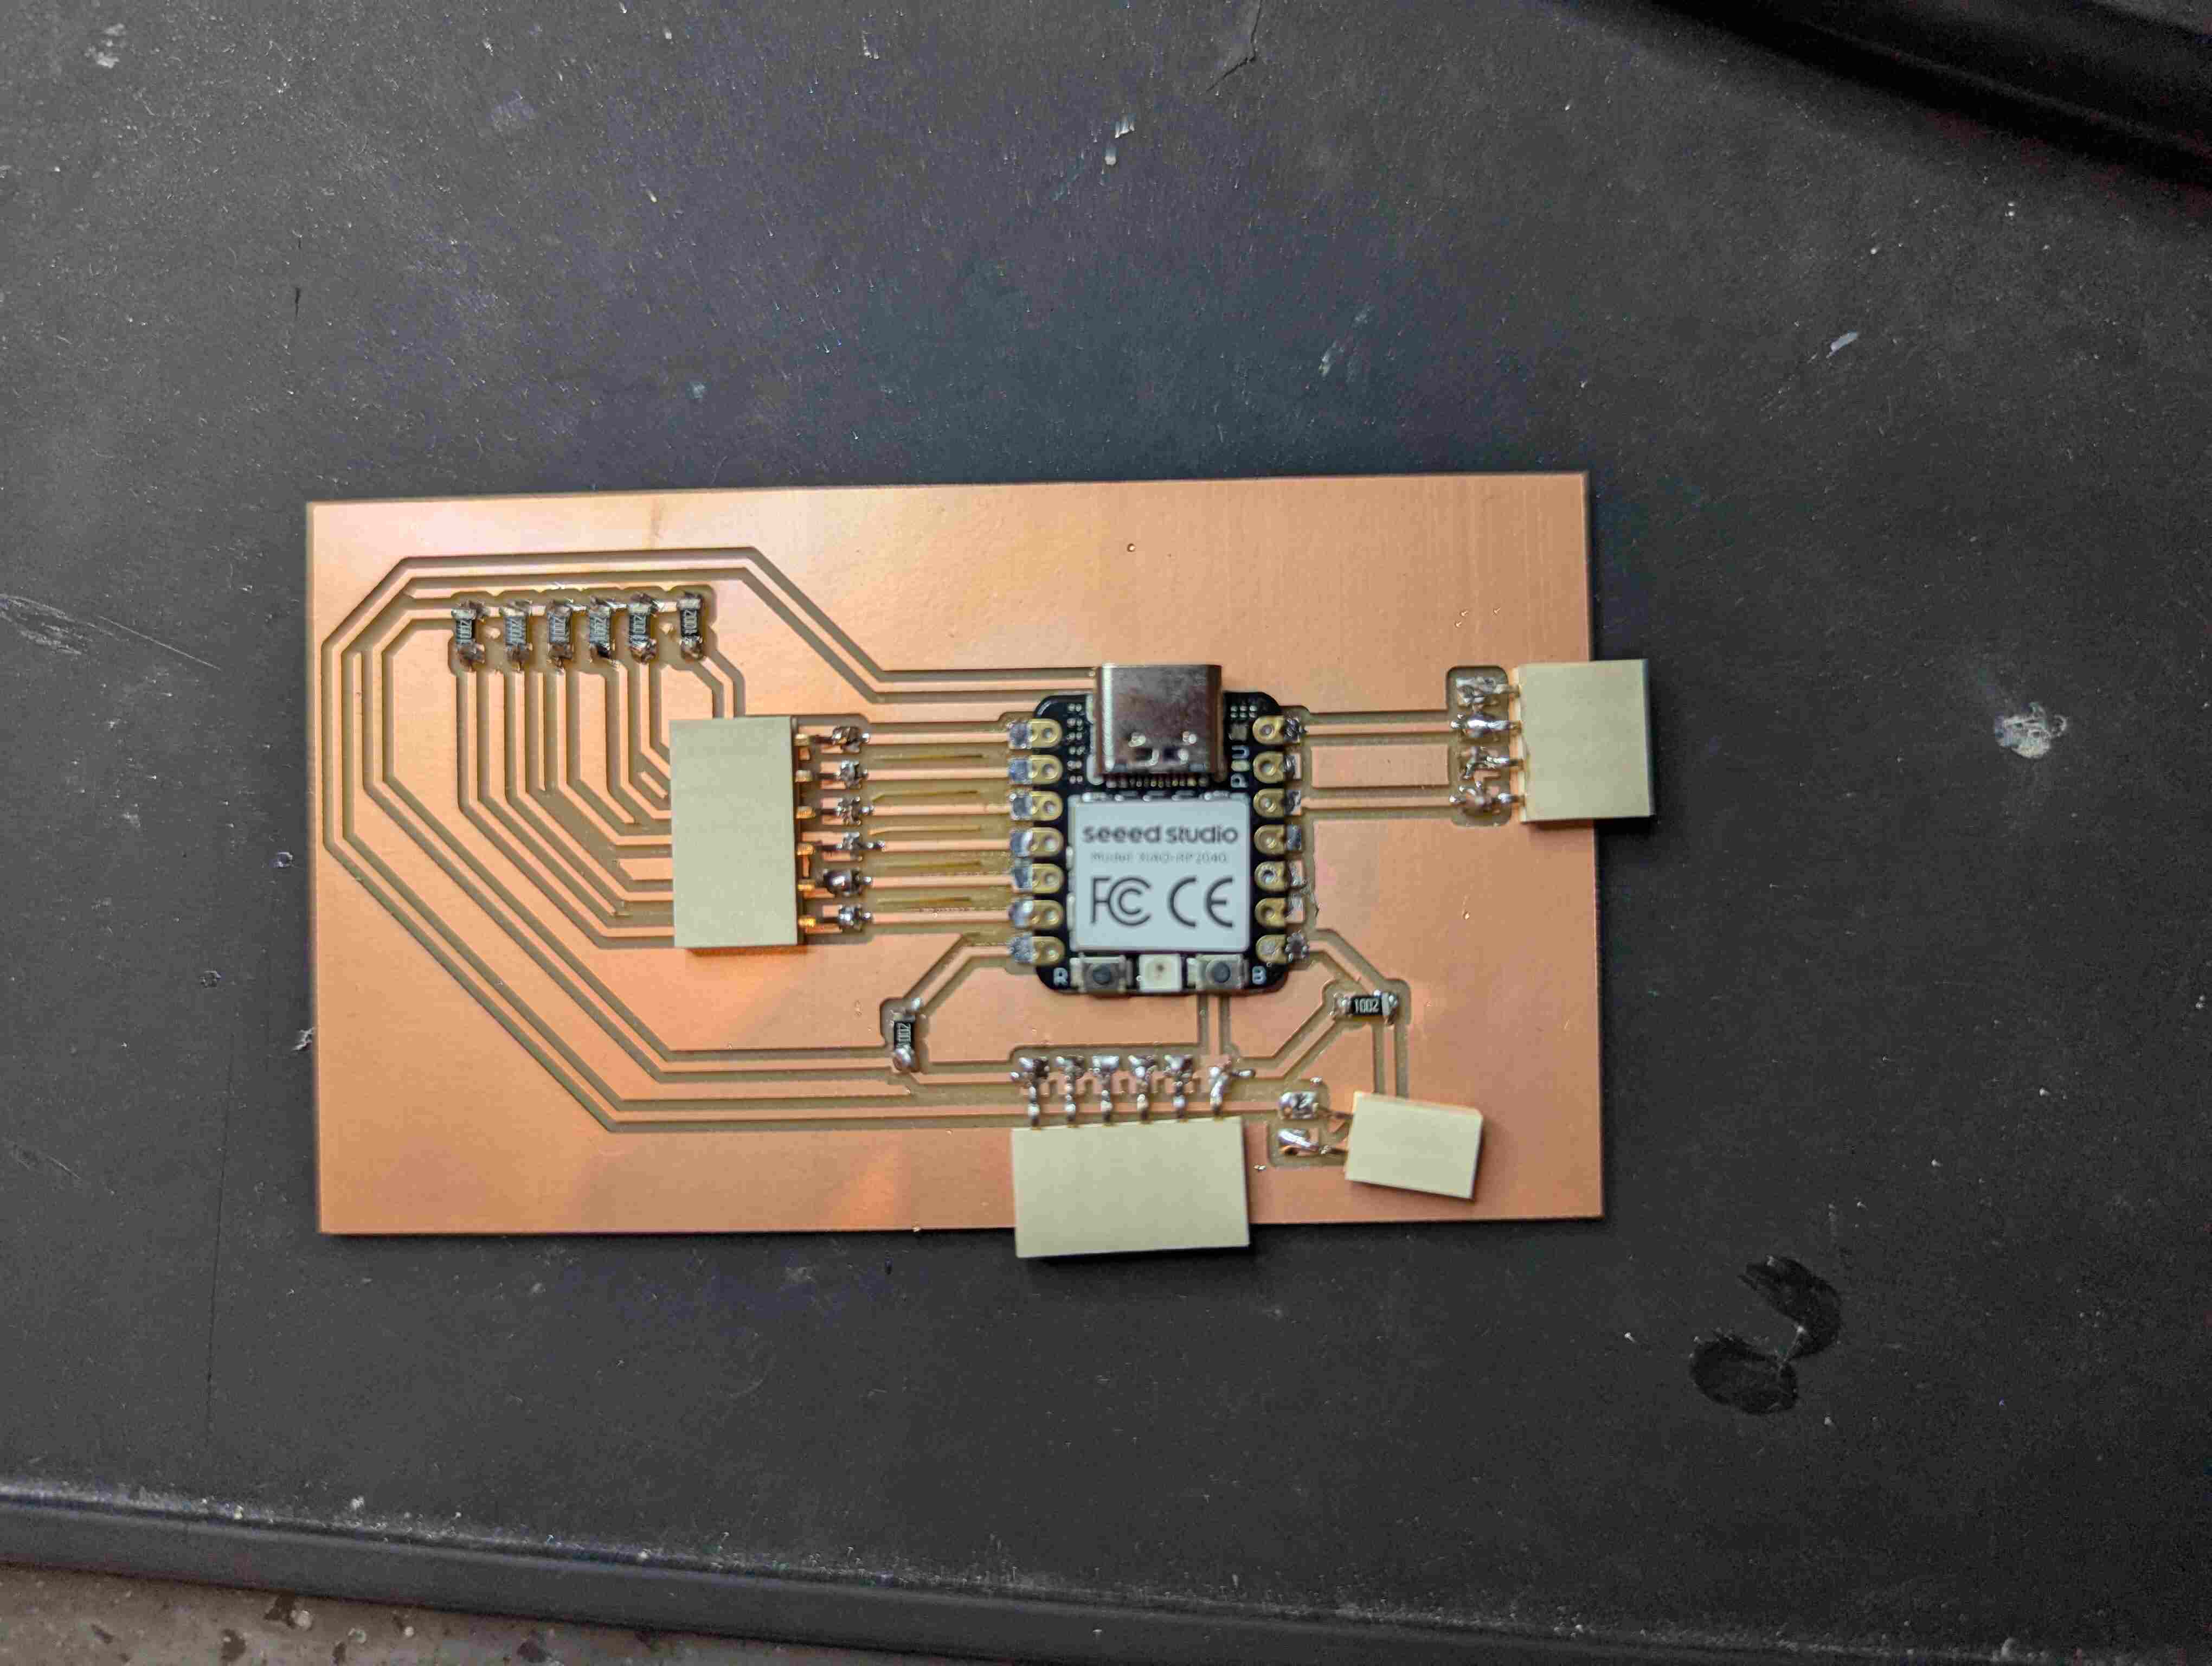
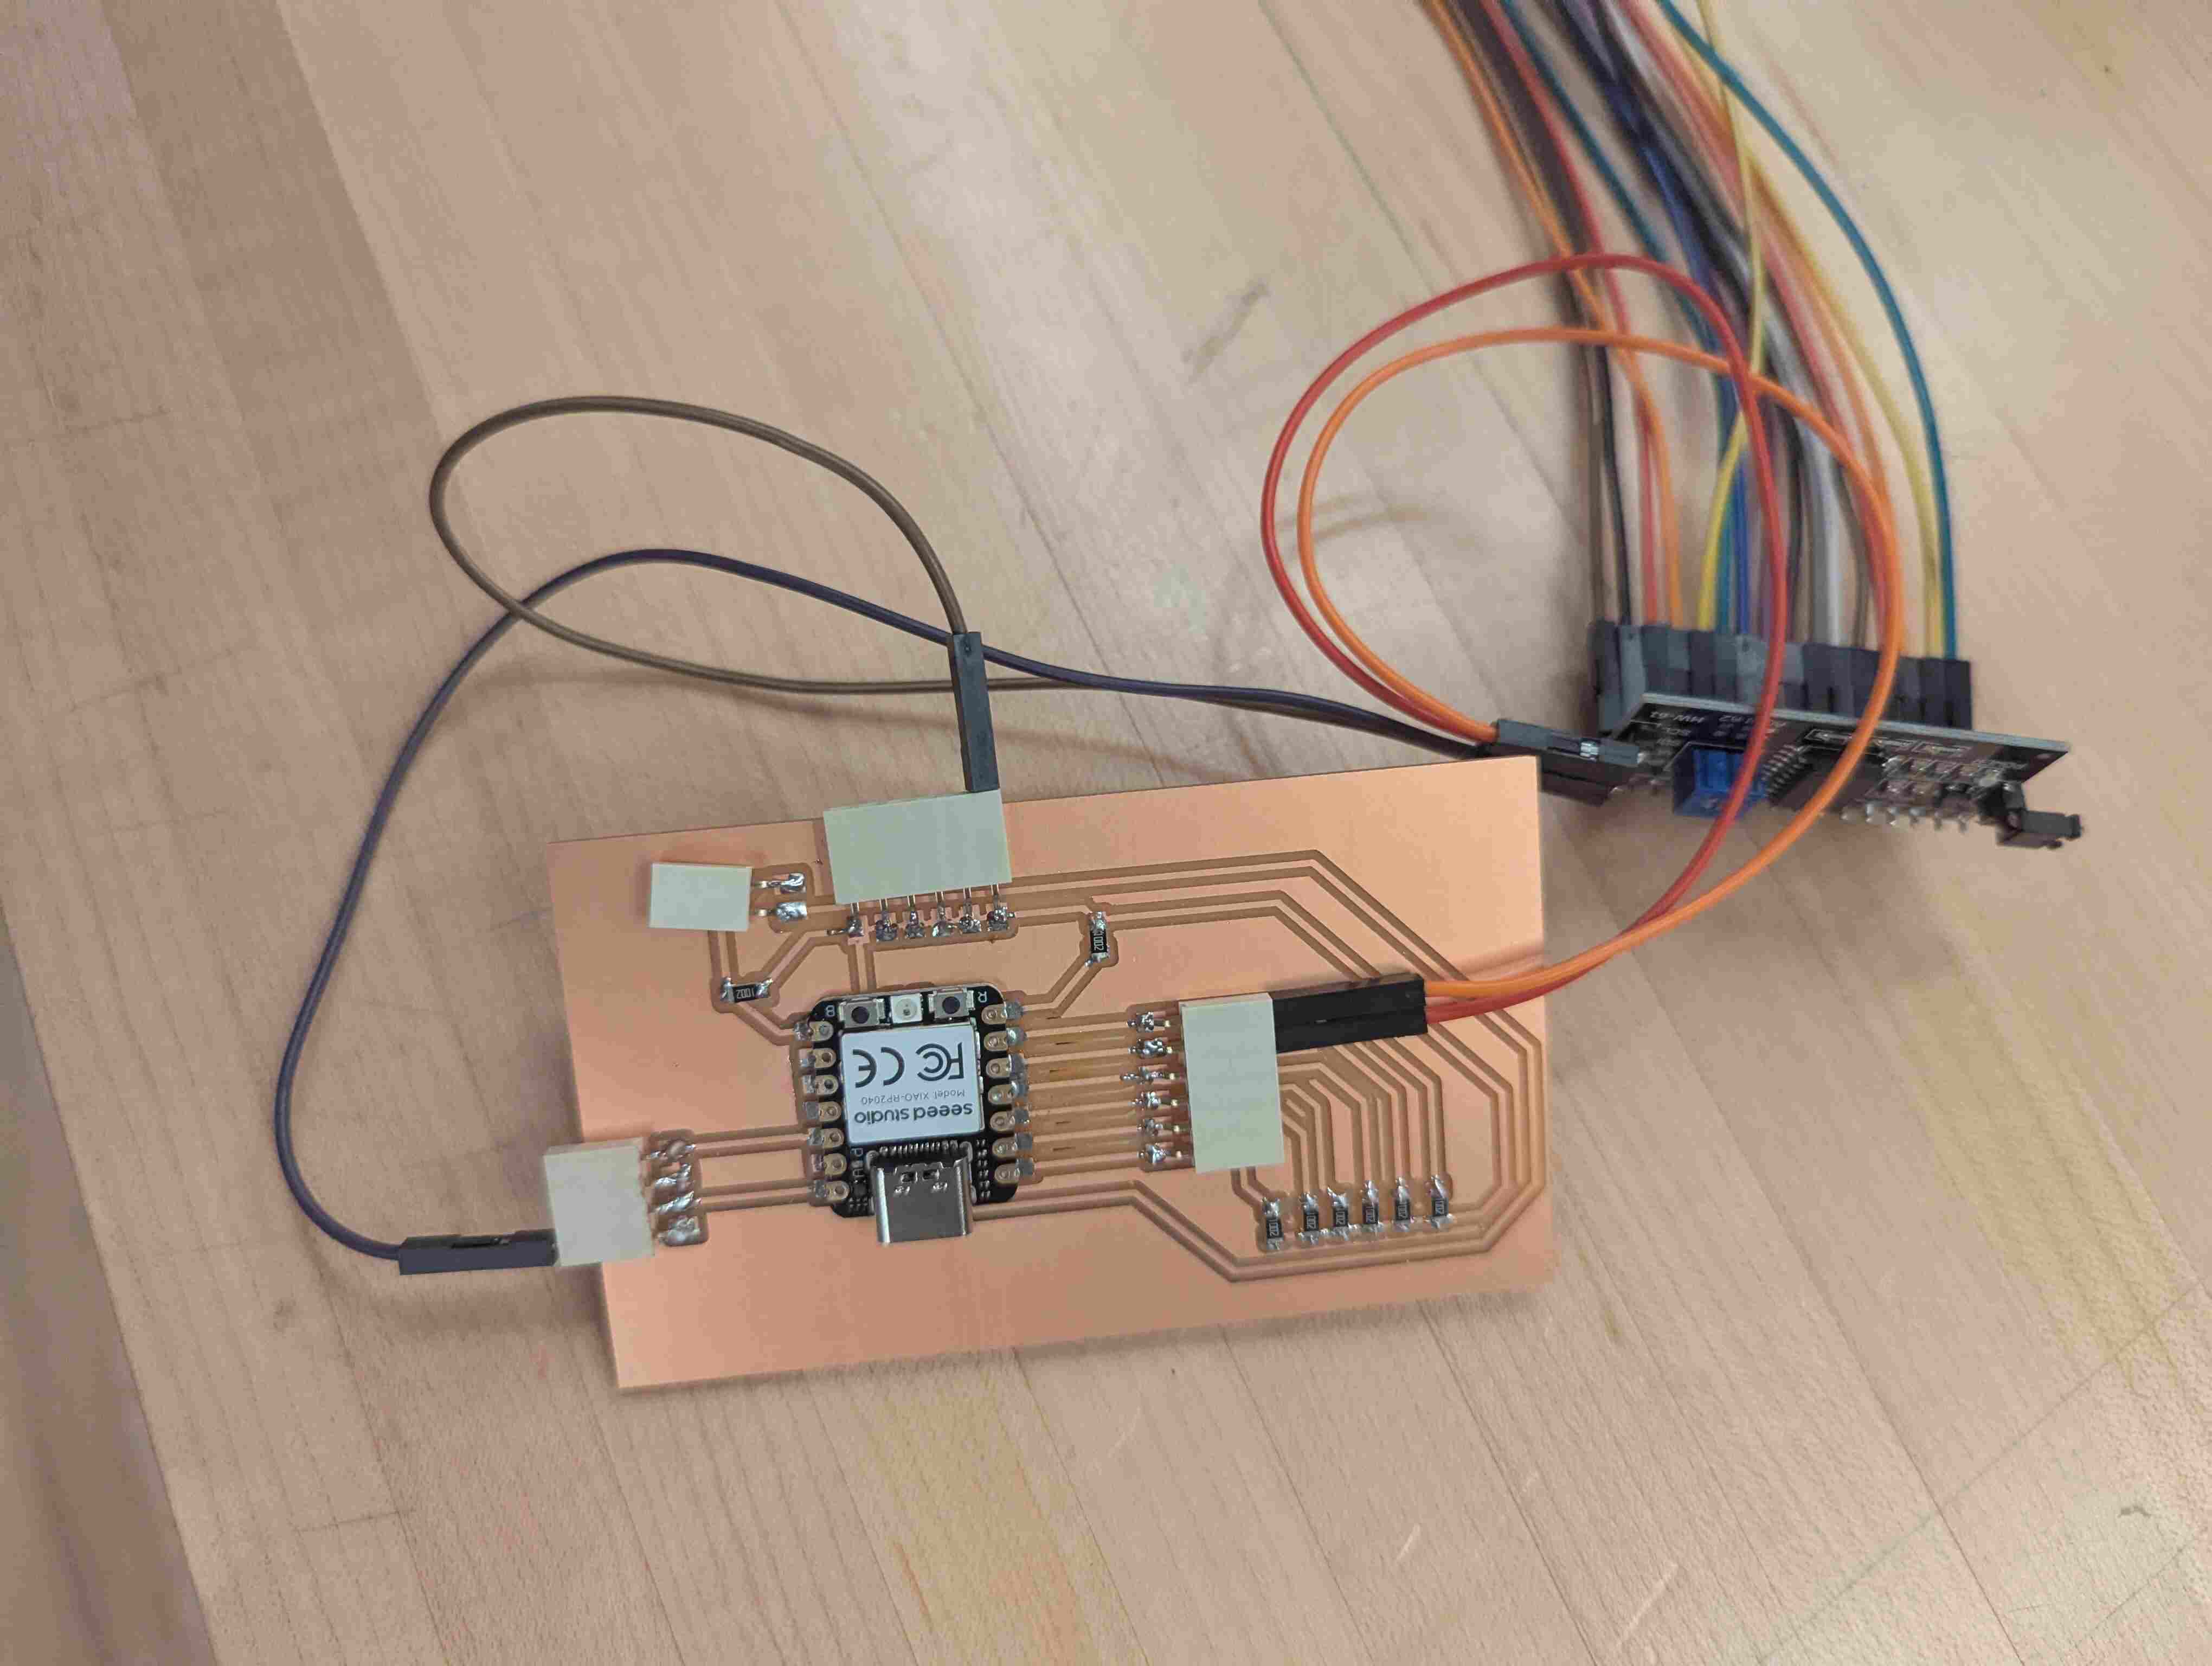
For this week, I made another circuit board that had alot of pins available so I can use it for different things in the future. I basically tried to make it more versatile by having a lot of pins available. The hard part was trying to figure out how to wire everything so it wouldn’t cross over each other. I did this by making connections under the microcontroller and making almost rainbow-shaped connections next to each other. I repeated the same things I did in week 8.
Putting Everything Together
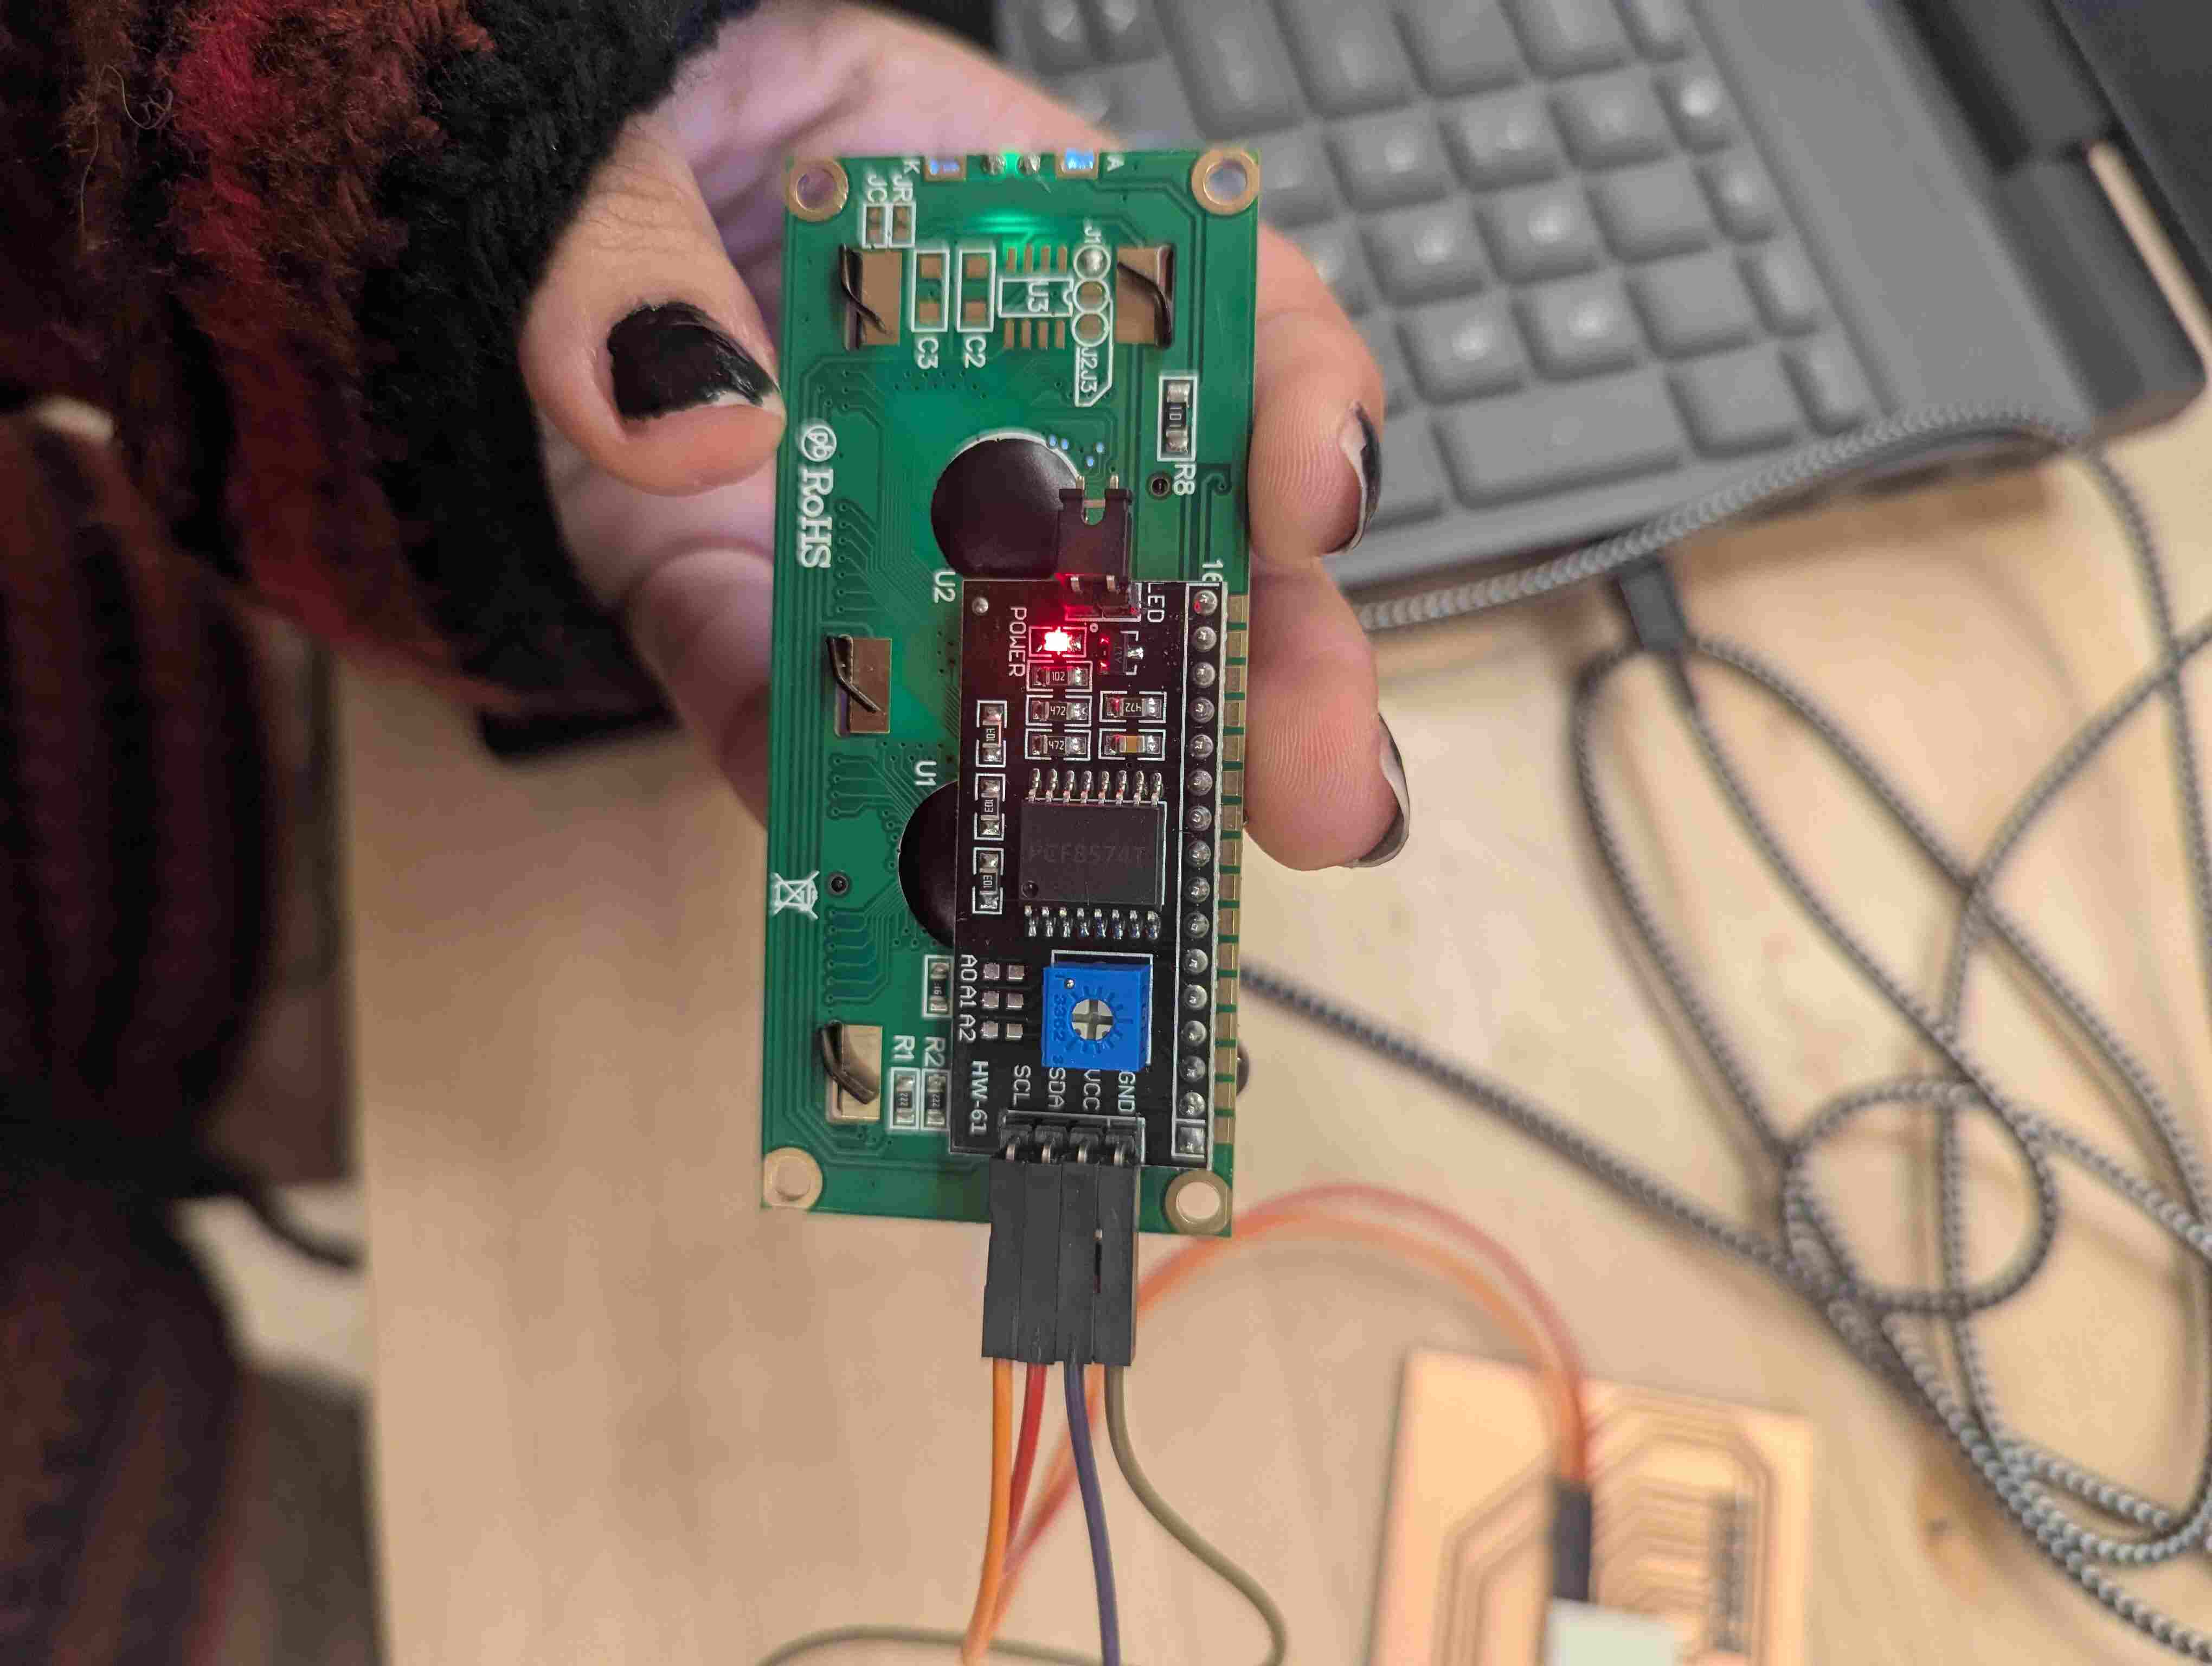
After my board was made, I got an LCD screen and a backpack for it. I used wires to connect the backpack to the LCD screen, and I connected the backpack to my circuit board. For the code, I looked at my peer’s documentation and changed the code to fit my needs. I put it into Arduino and had to download the LiquidCrystal_I2C library so I could use the code. When I first tried the code, my display screen wasn’t working, it just showed white square, so I used a different LCD with a backpack already soldered on it.
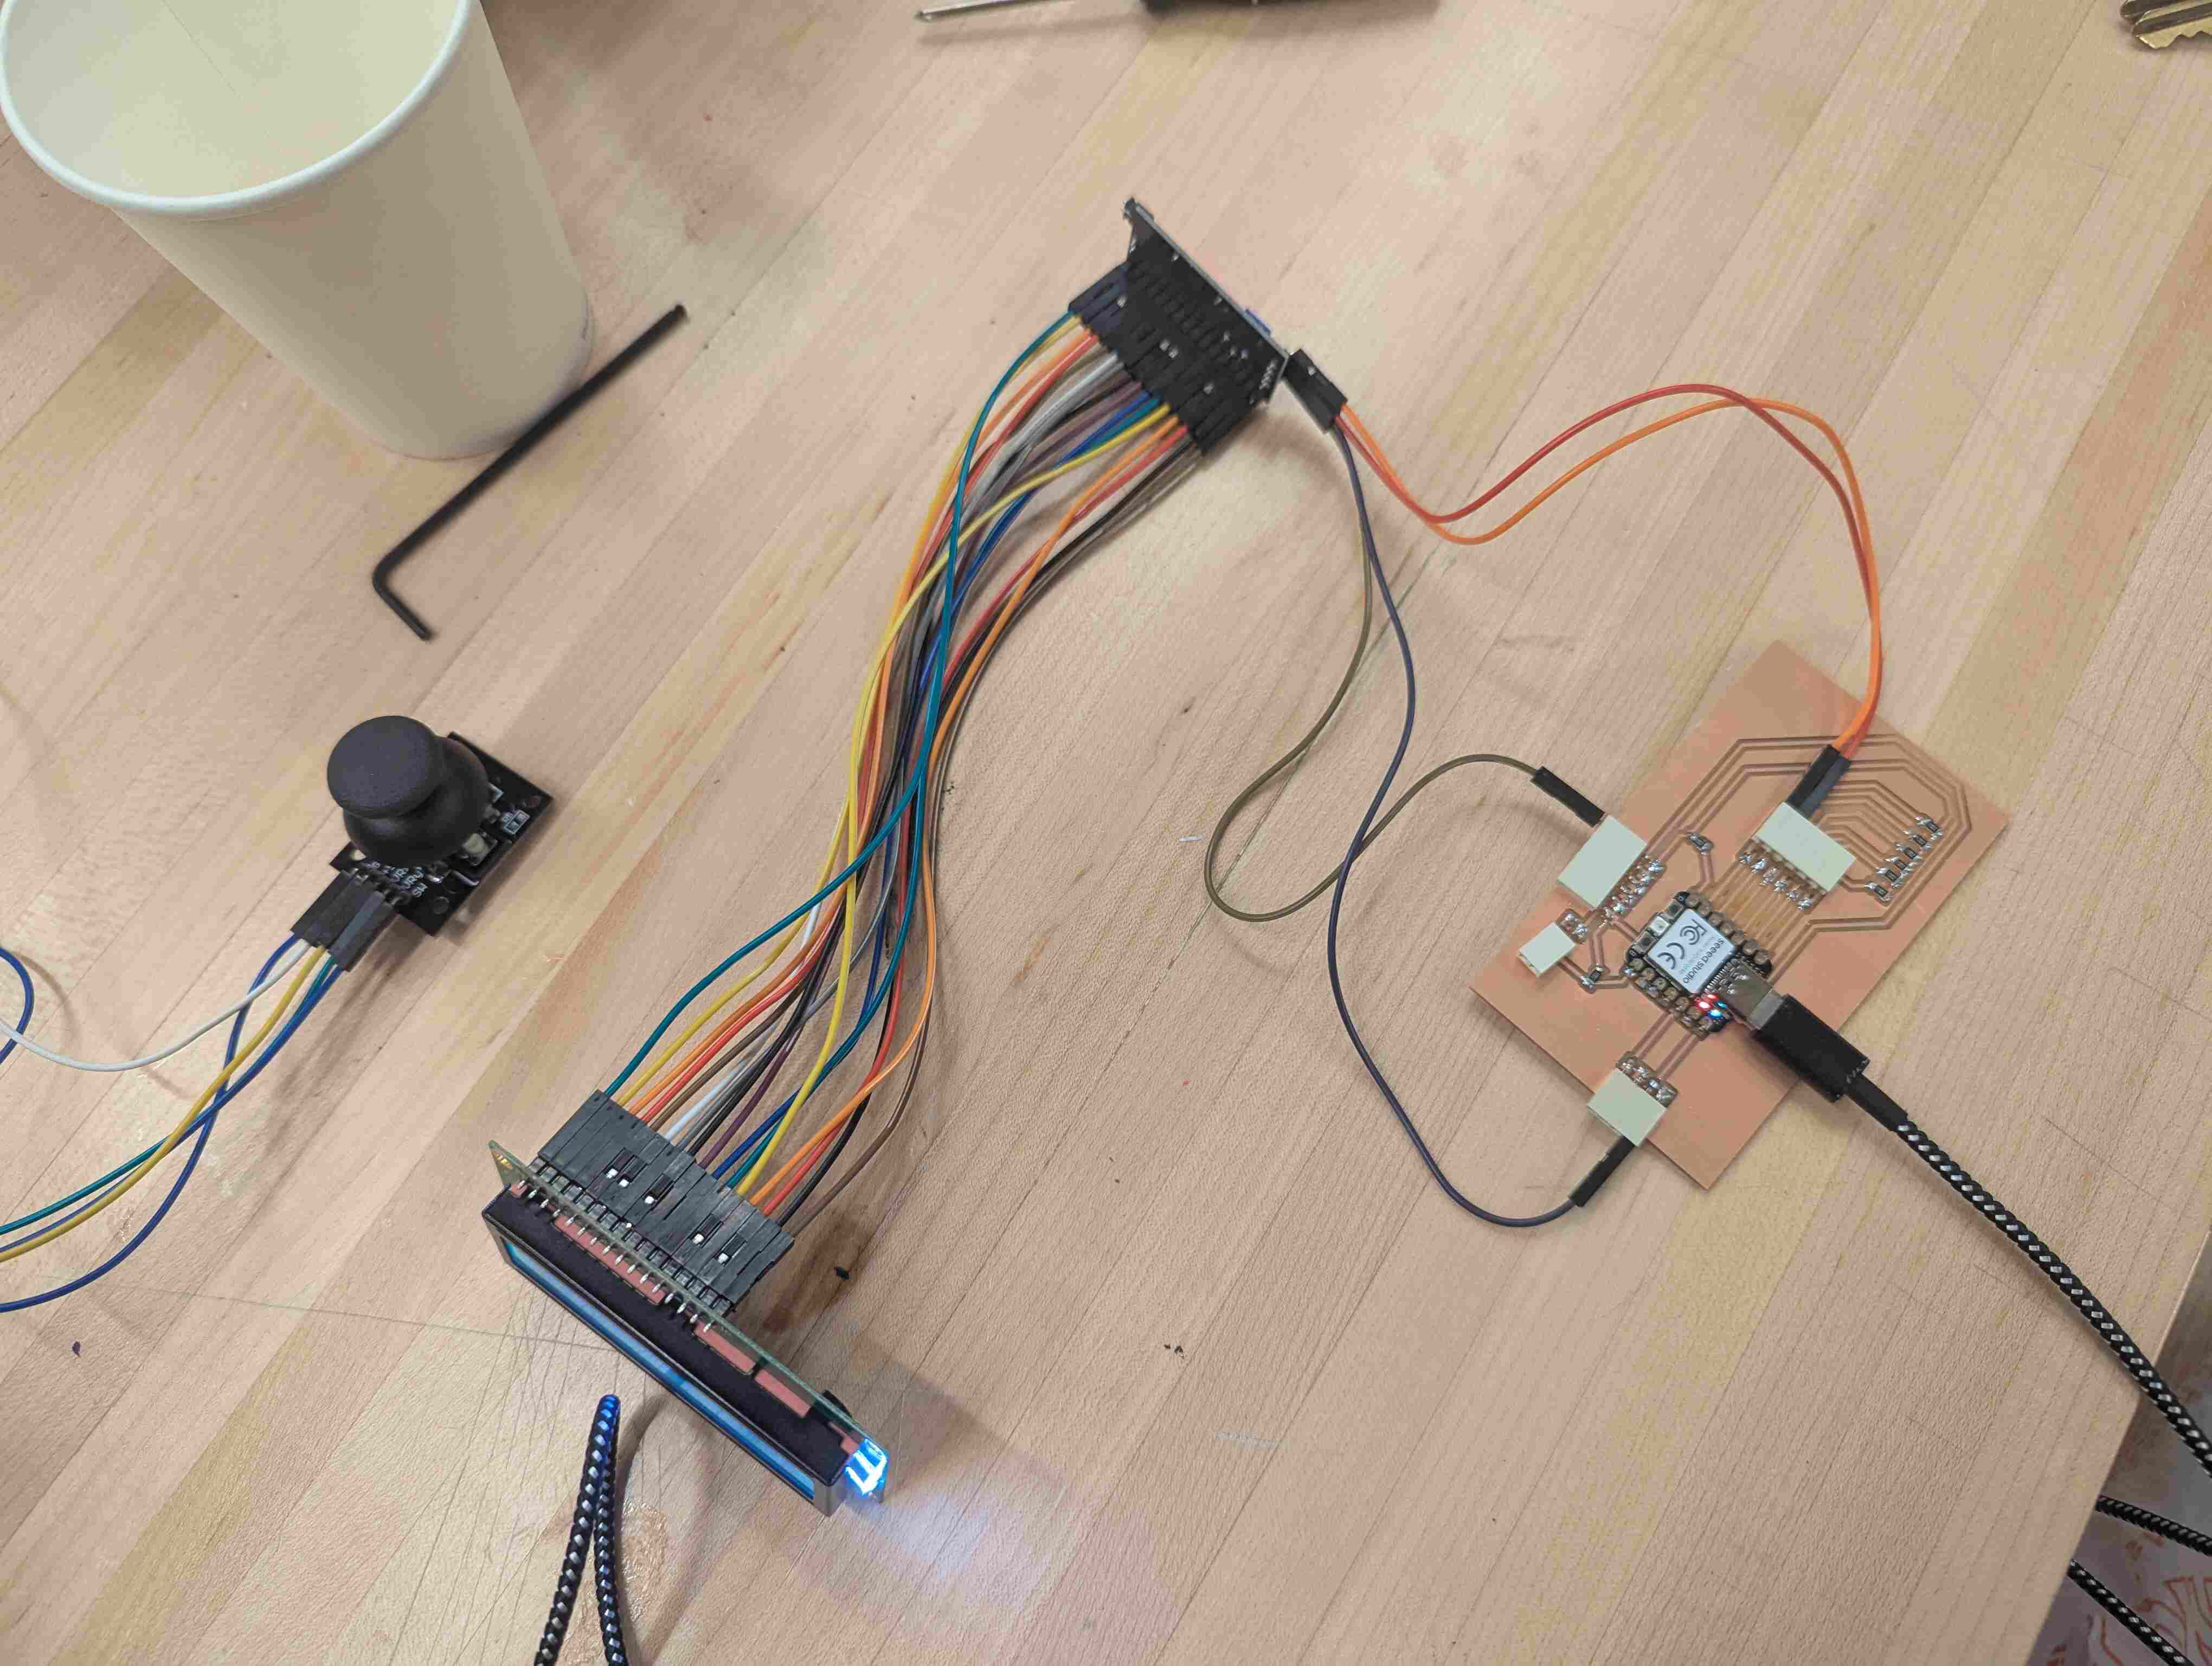
When I used the new LCD screen, it also wasn’t displaying the text, but on the back, you can use a screwdriver to change the brightness of the backlights on the display, so I did that until I could see the text.
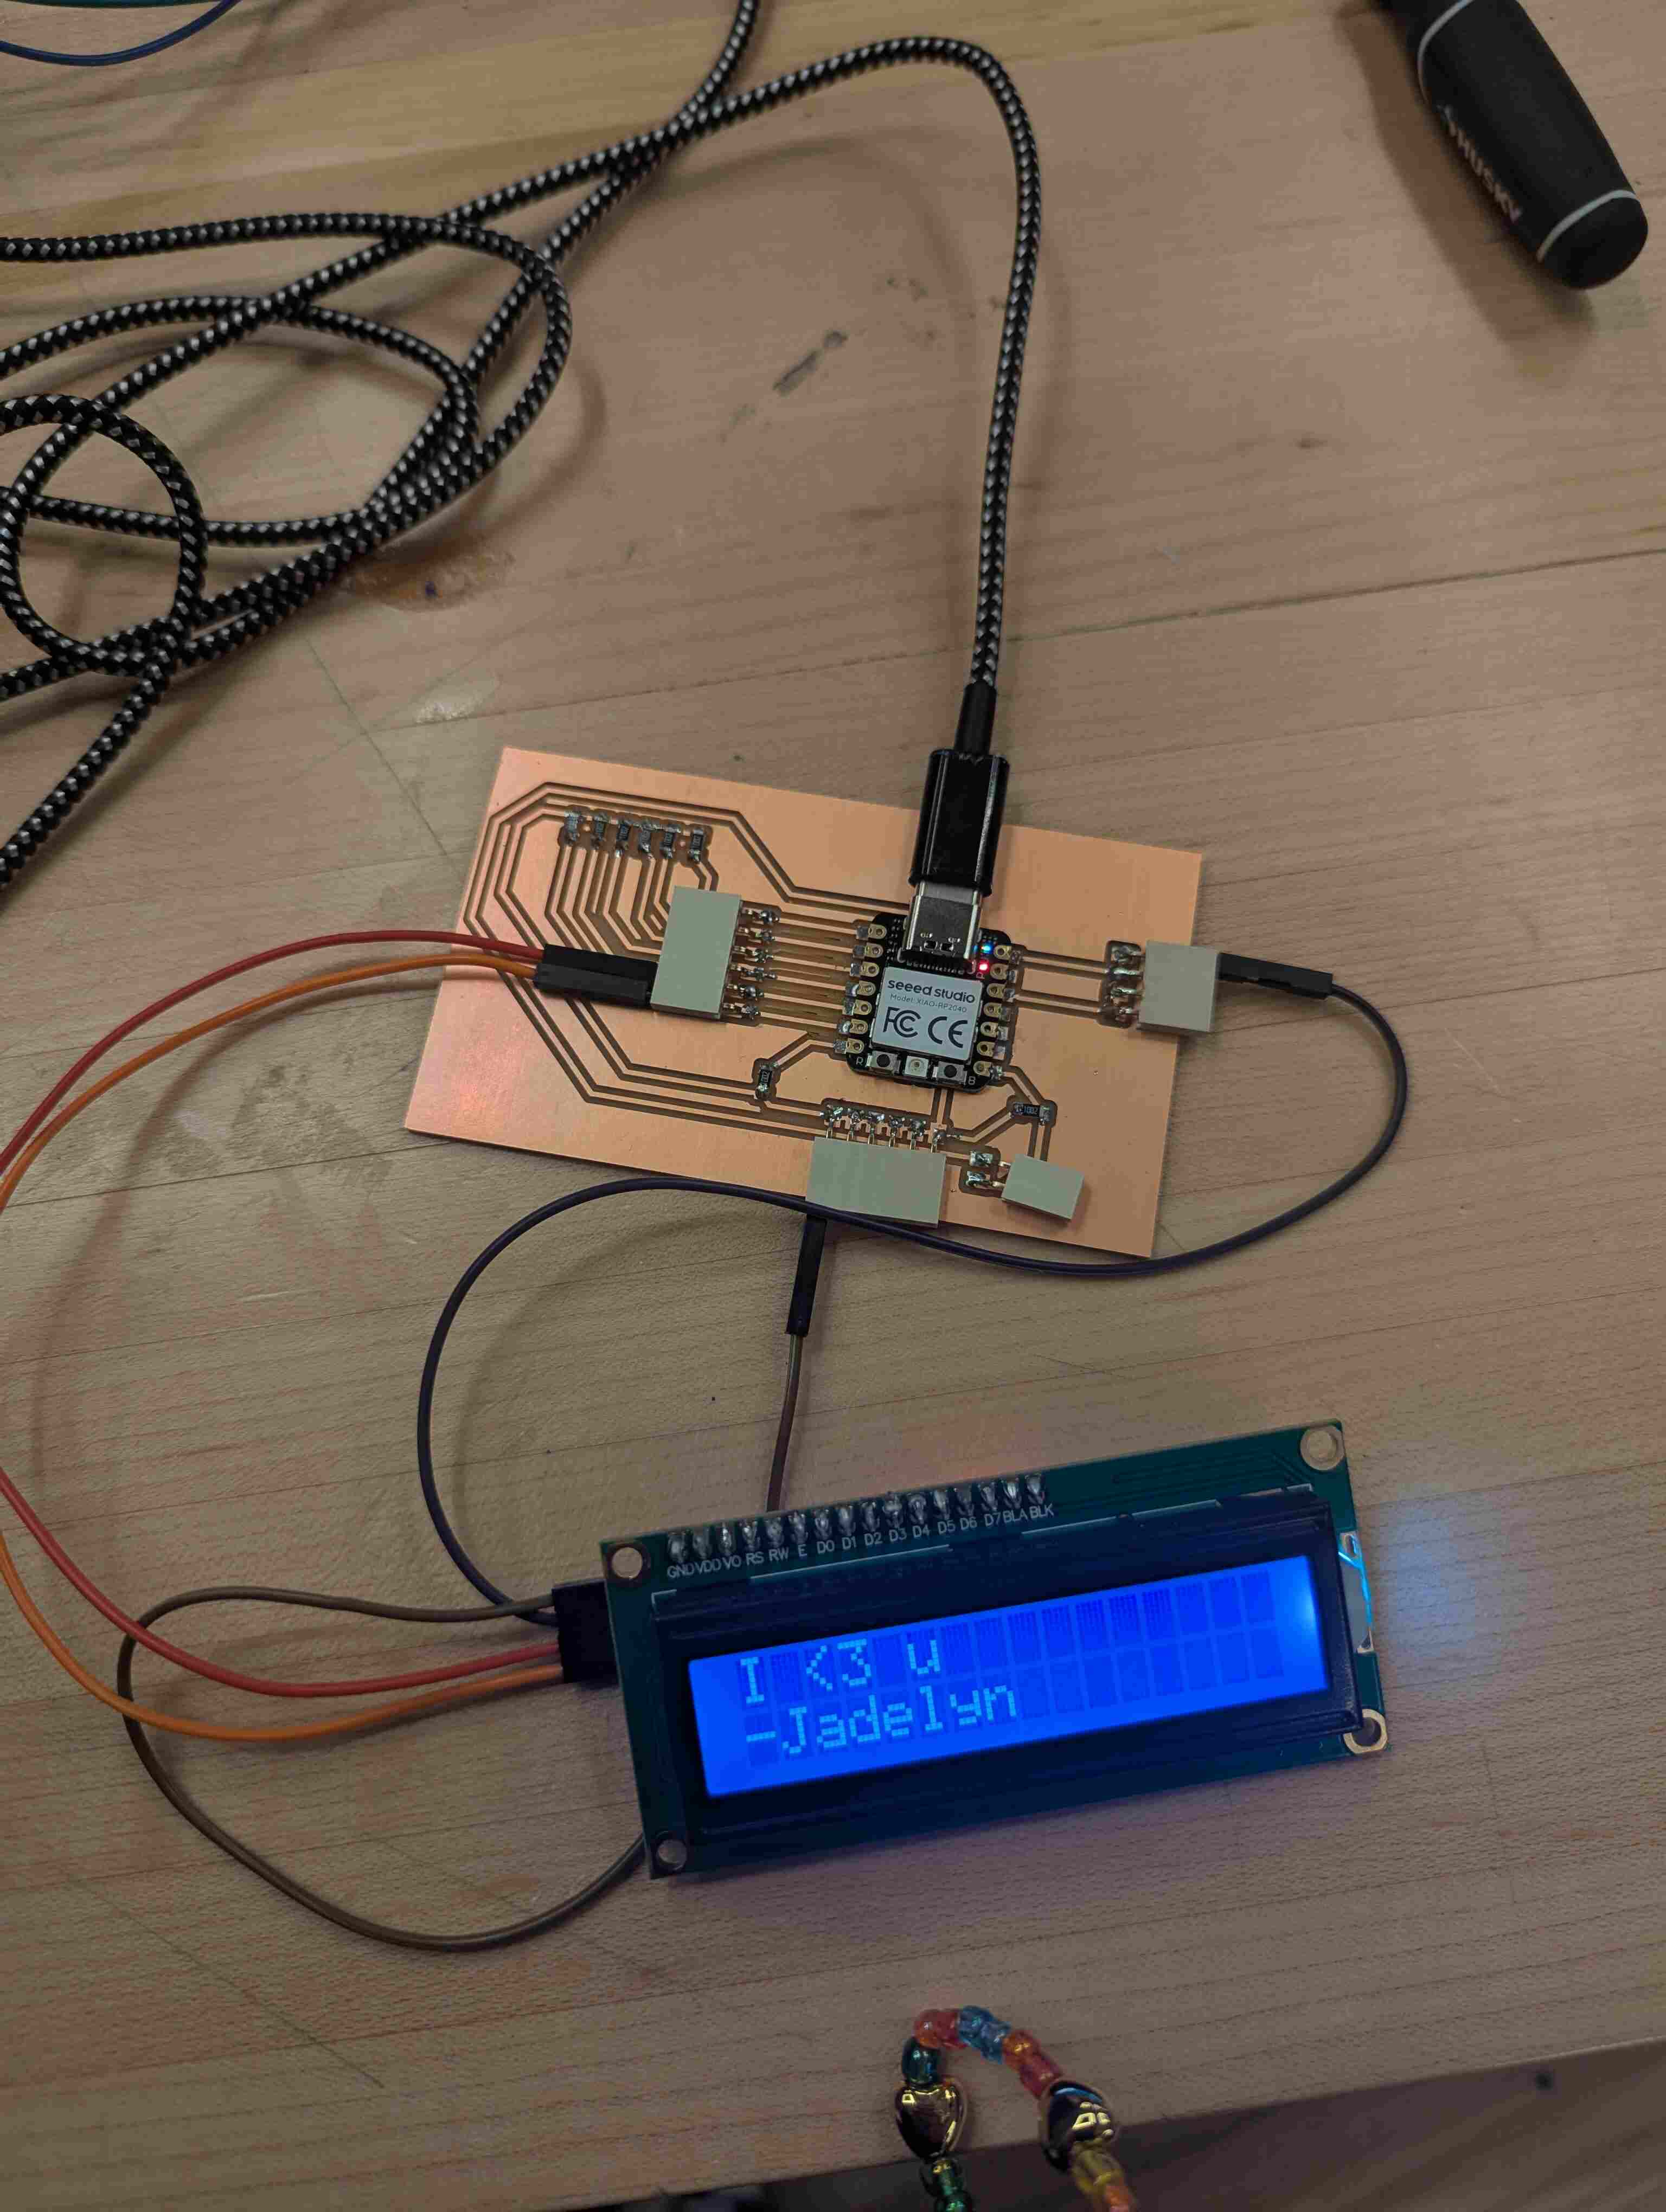
I wanted my screen to say “I <3 u - Jadelyn” so I changed the lines that controlled the words on the screen.
                #include   // Include the Wire library for I2C communication
                    #include   // Include the LiquidCrystal_I2C library for LCD control

                    // Initialize the LCD with the I2C address and screen size (16x2 in this case)
                    LiquidCrystal_I2C lcd(0x27, 16, 2); // Change 0x27 to your LCD address if it's different

                    void setup() {
                      // Start the I2C communication on the default pins (SDA and SCL)
                      Wire.begin();  // No need to specify D4 and D5

                      // Initialize the LCD
                      lcd.begin(16, 2); // Set up the LCD's number of columns and rows

                      // Turn on the LCD backlight
                      lcd.backlight();

                      // Print a test message
                      lcd.setCursor(0, 0); // Set cursor to the top-left corner
                      lcd.print("I <3 u");

                      lcd.setCursor(0, 1); // Set cursor to the second line
                      lcd.print("-Jadelyn");
                    }

                    void loop() {
                      // Add functionality here if needed
                      // For now, let's just add a small delay to keep the display running.
                      delay(1000); // Wait for 1 second before refreshing the LCD
                    }
Groupwork
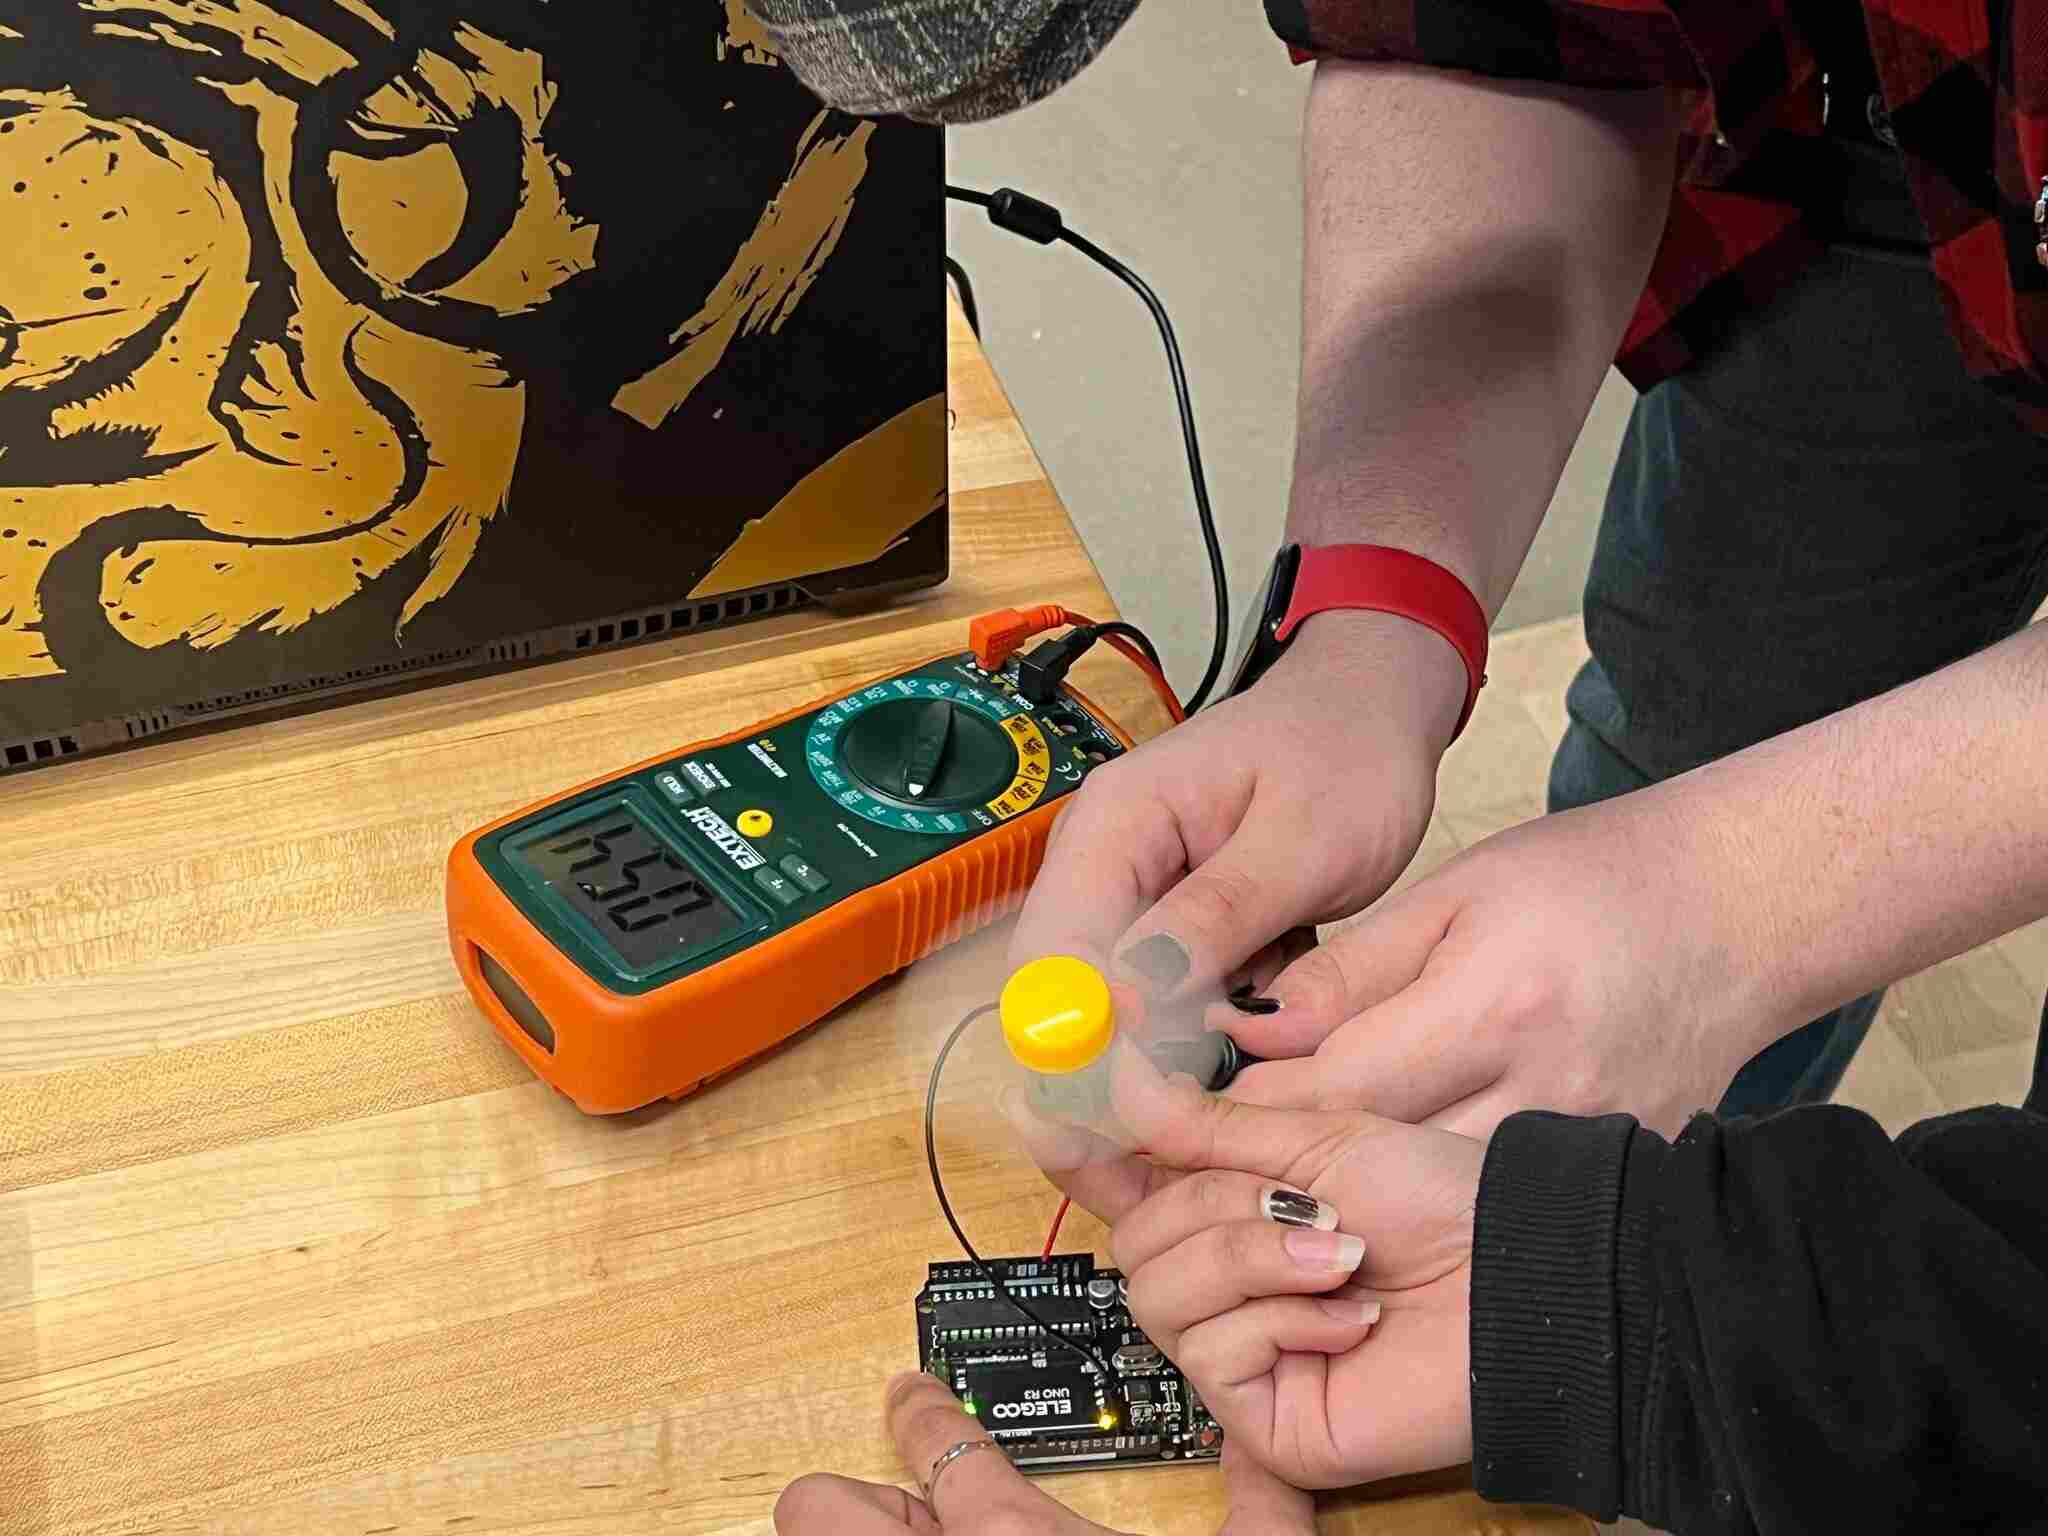
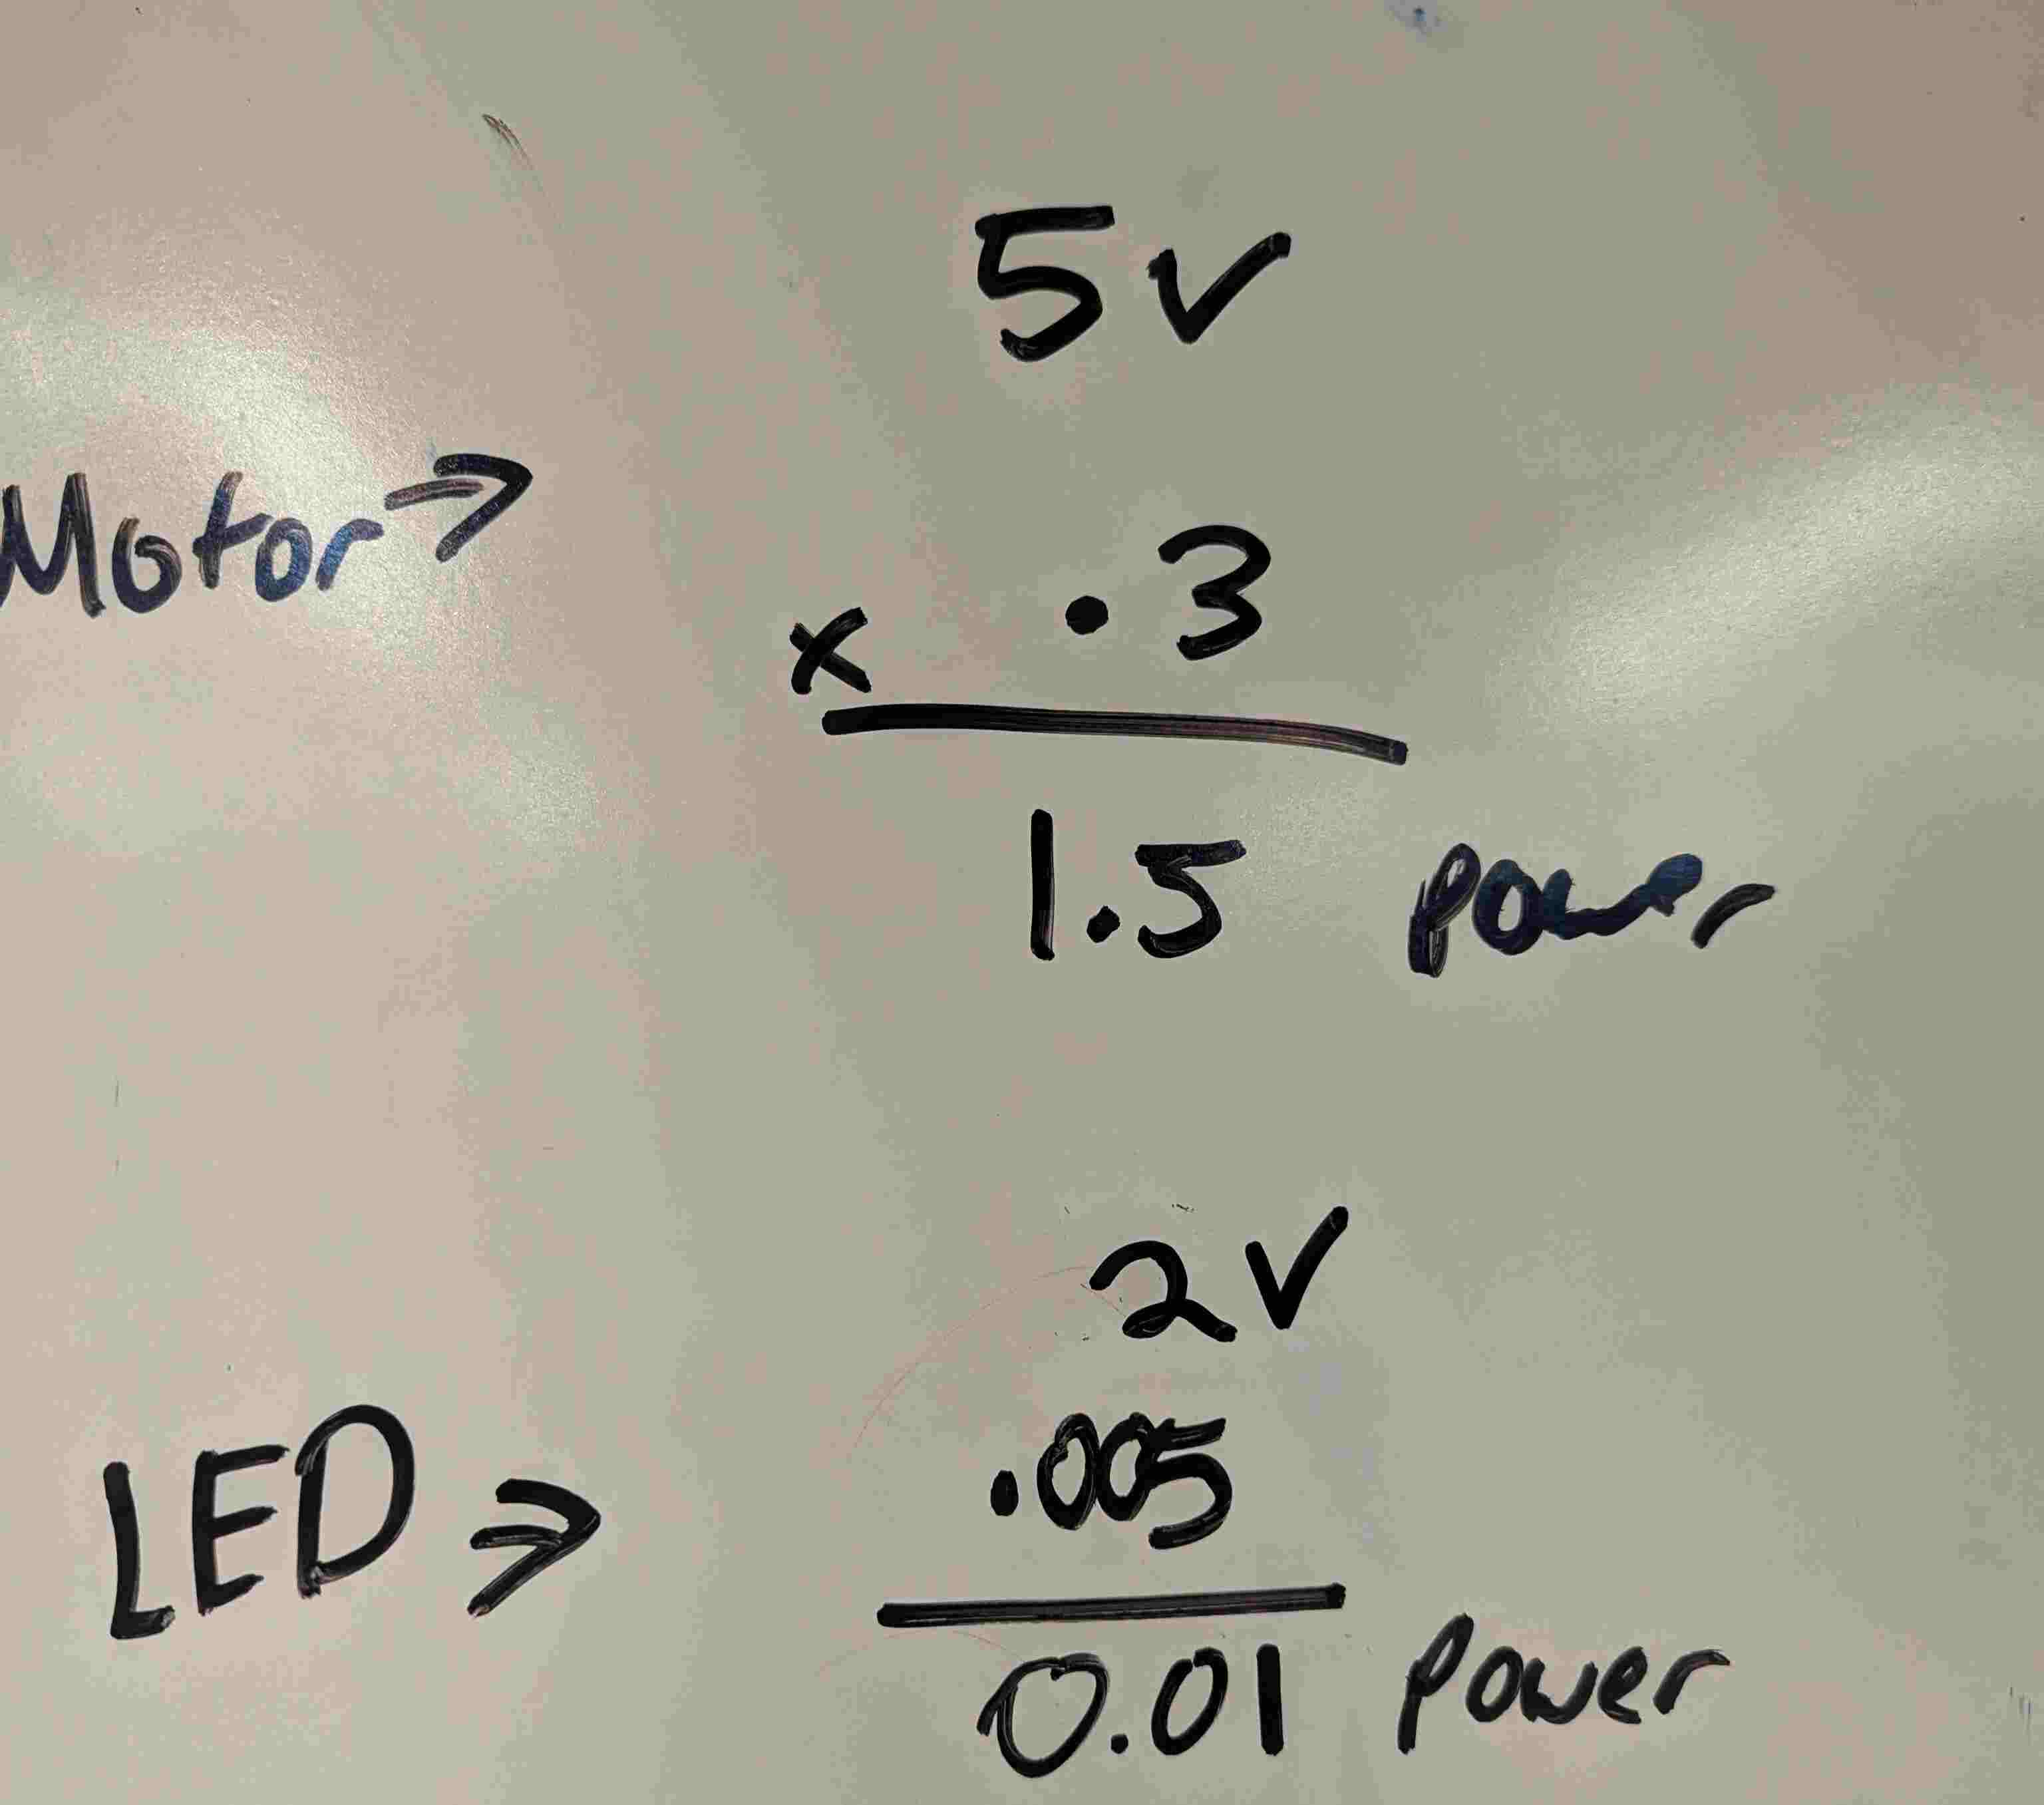
For our group work, we studied how to measure the power consumption of an output device. We did an experiment where we measured the volts and currents of an output device so we could measure power. The output device used was a motor with a fan, and we measured volts and currents with a multimeter. We found out that a motor takes more power than an LED would, and if you hold the motor, it would take more power to use because it's trying to push on so it can move, which takes more power.
Useful links