Week 12: Mechanical Design & Machine Design
Group Assignment
My group decided to make a machine that sometimes drops a toy spider on someone when they walk under it. The group documentation is here.
Making a Box
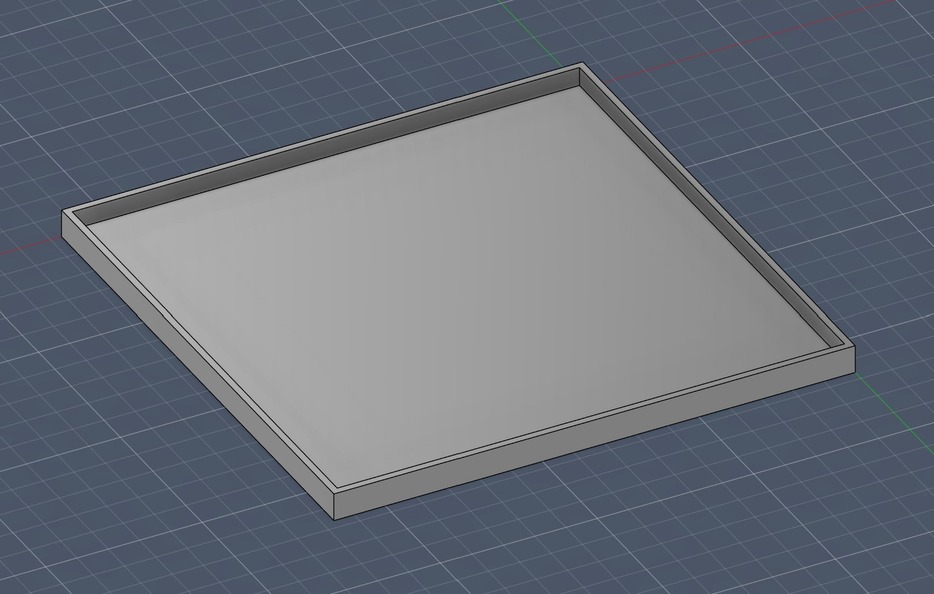
Box Design
Latch on Lid
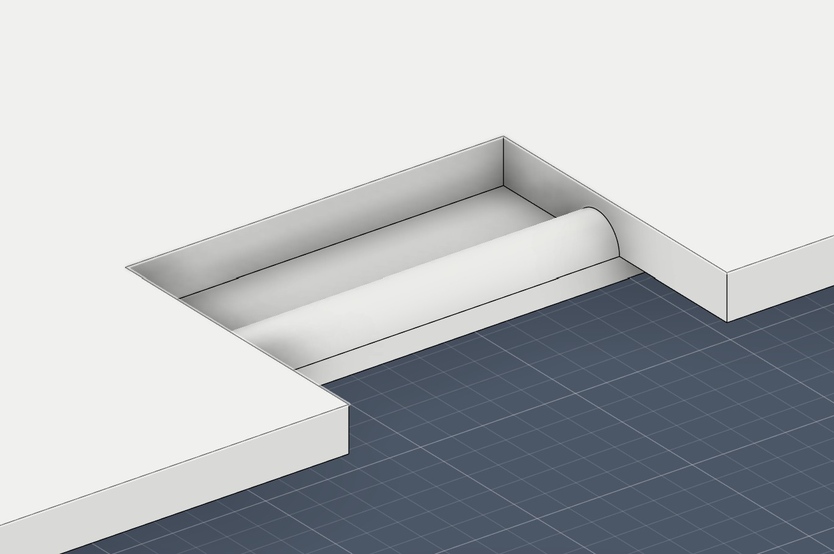
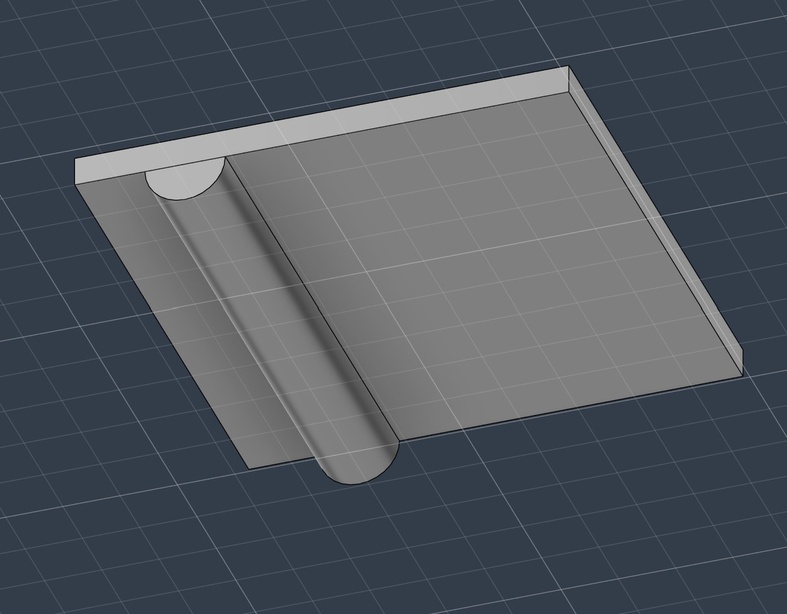
Indent for Latch on Box
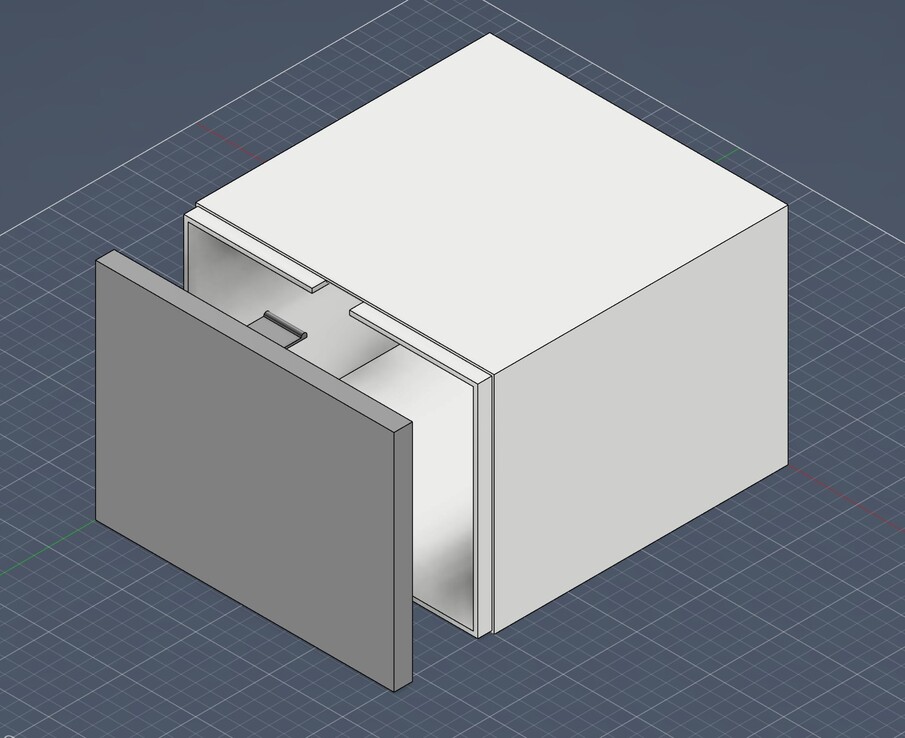
Box and Lid Design
I had the task of making the housing for our machine. I decided to go with a box that had a lid on the side for easy access to the battery. I started by modeling my own design in Fusion with a lid that had a latch to hold it in place. I’m just going to cover a general overview of how I made it. For more detail on some of the Fusion check out weeks 2, 3, 5, and 7. I started by creating a box that had a lip that the lid could fit over by combining two rectangle shells. I then added a hole for the string using the hole tool under Create -> Hole. Using the measurements of the sensor, I created a rectangle hole for the sensor to fit through. I then created the lid by using the shell tool on a rectangle. The latches and holes for them were the most complicated part. For the latches, I created a rectangle and attached a half cylinder on the end of it. I then centered the rectangle on the lid and attached latches to the top and bottom of the lid. The half cylinder is facing the wall of the box to catch on the indent in the box. The indent in the box was created in a similar way. I cut out a rectangle that didn’t go all the way through the box to create indents. I then place half cylinders at the top of the indents to create a wall that the latch could go over but would hold it in.
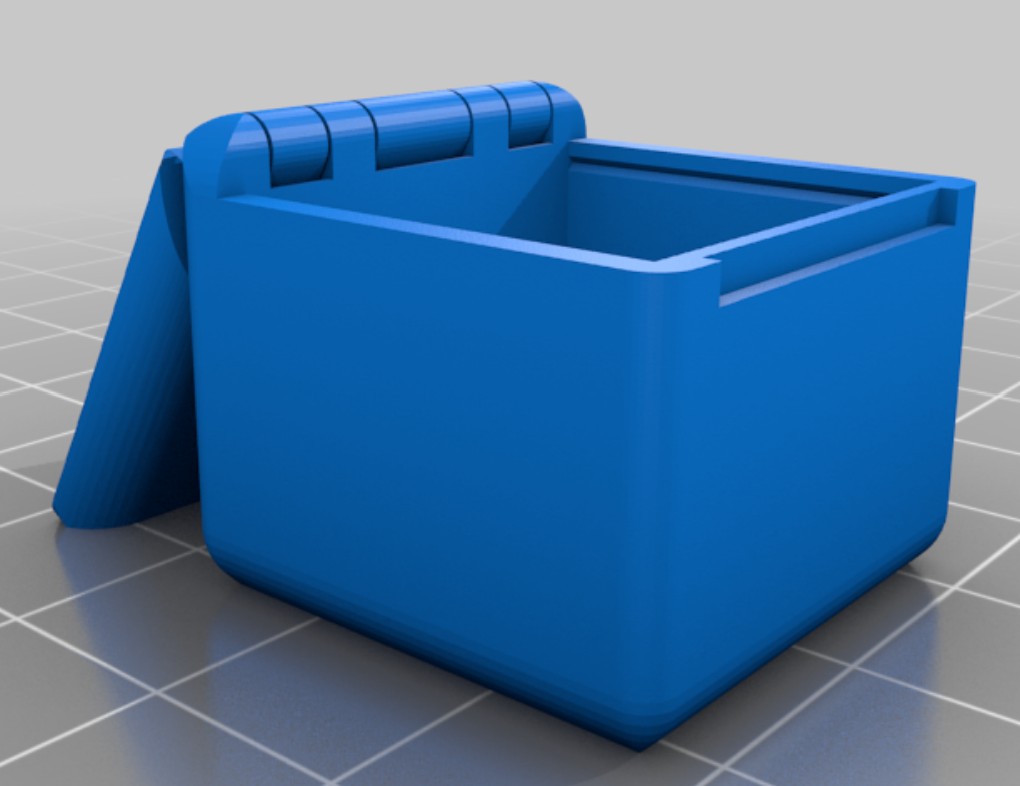
Hinged Box Model
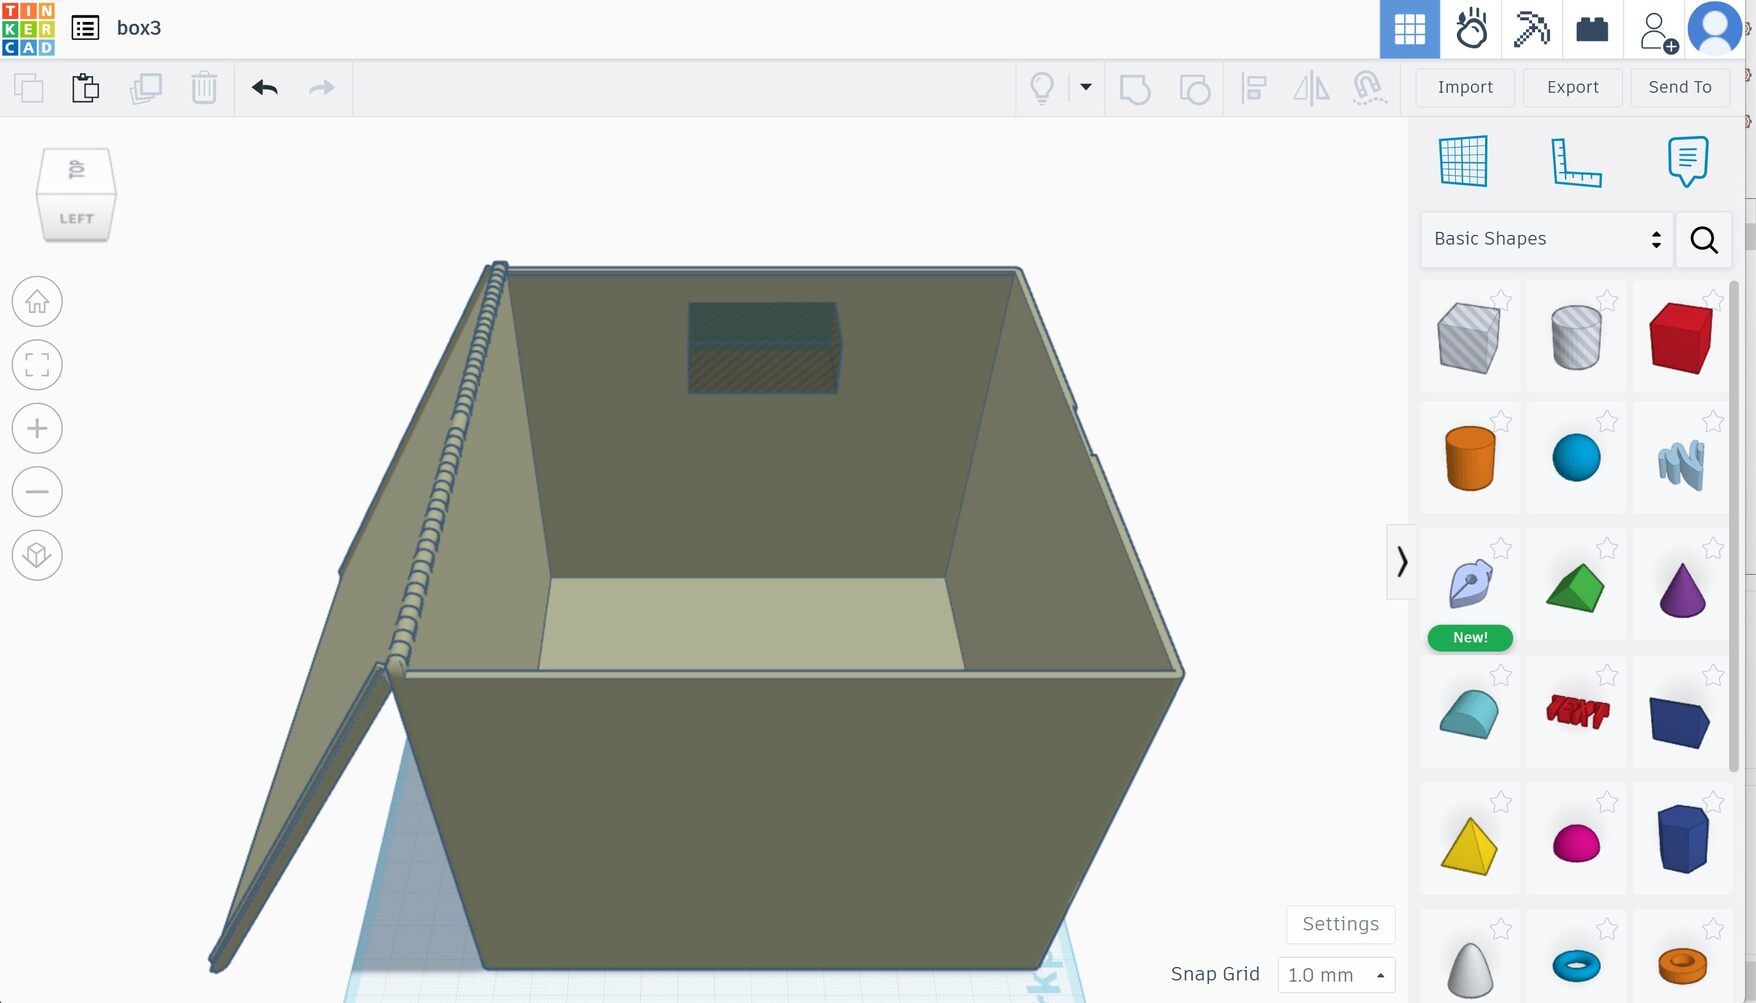
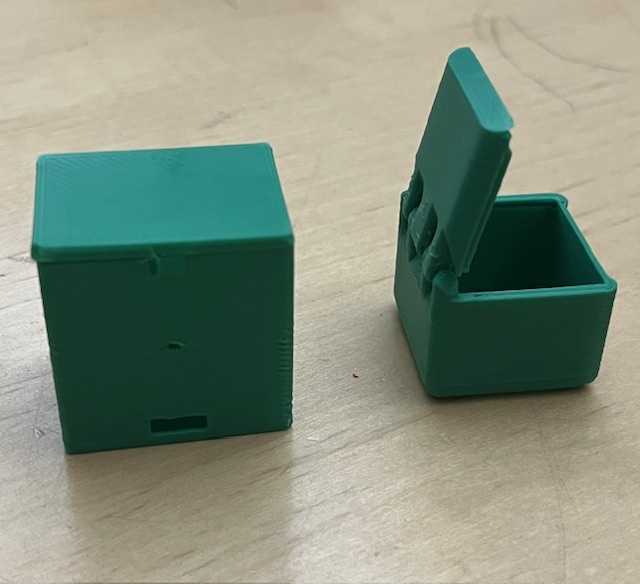
Adding Holes
I also wanted to try a hinged design. I found a design for a print-in-place hinged box by povsky on Thingiverse. I printed a 1”x1” version of this box as well as a scaled down version of my design to test the designs. Both worked, though the latches didn’t quite work on my design since it was scaled down significantly. The hinged box was the group's favorite so that’s what I continued with. To add holes to the hinged box I actually uploaded the 6”x6” design into Tinkercad. This is so I didn’t have to deal with converting the mesh that is the STL file into a body that I could then edit in Fusion. There are rectangular and circle tools in Tinkercad that I could easily make holes on the side of the box.
3D Printing
Test Boxes
Box Print Attempt 1
Box Print Attempt 2
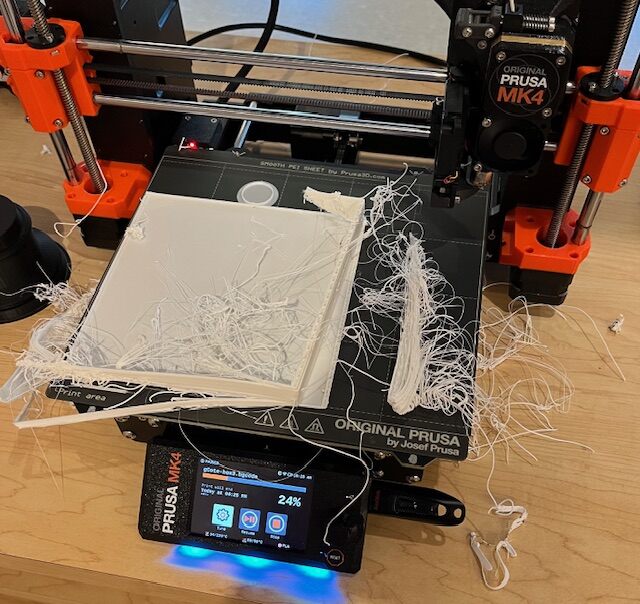
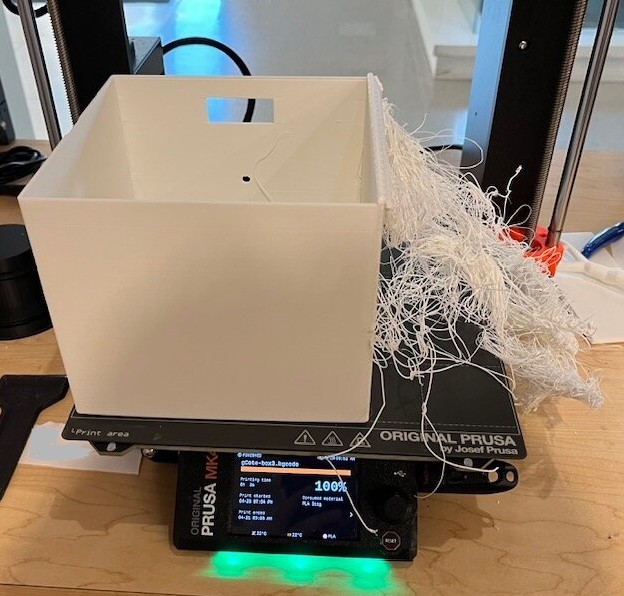
I printed my prototypes and box on a Prusa MK4. For more information about slicing models and printing check my week 5 page. I did not add support to the design because the creator of the hinged box design said they were not needed and I didn’t want to mess up the hinges. In hindsight, I should have added supports to the bottom of the lid but not the hinged part. The first print failed after 25% completion because both the wall and lid turned into spaghetti. The second attempt finished printing, however the lid was spaghetti-ed and there were some strands sticking out of the box.
Lid Model
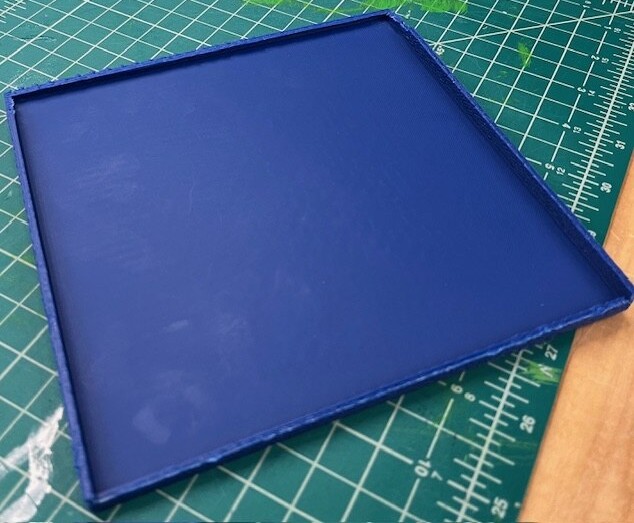
Printed Lid
With minimal time left and to reduce waste, we decided to print a shoebox style lid that would fit over the box once the hinge was cut off. I quickly made a lid in Fusion by making a box and then using the shell tool. For some reason, one side of the lid didn’t print properly, so we decided to make holes in the lid so that it could be attached with a hinge.