Project management
Overview of week 1
Principle and Practices
- To sketch a final project idea which in our mind.
Project management
- Work on gitlab for our version control.
- Build a portfolio website and do the proper documentation then commit in the git repos.
- Signing a student agreement.
Final Project idea
Project sketch
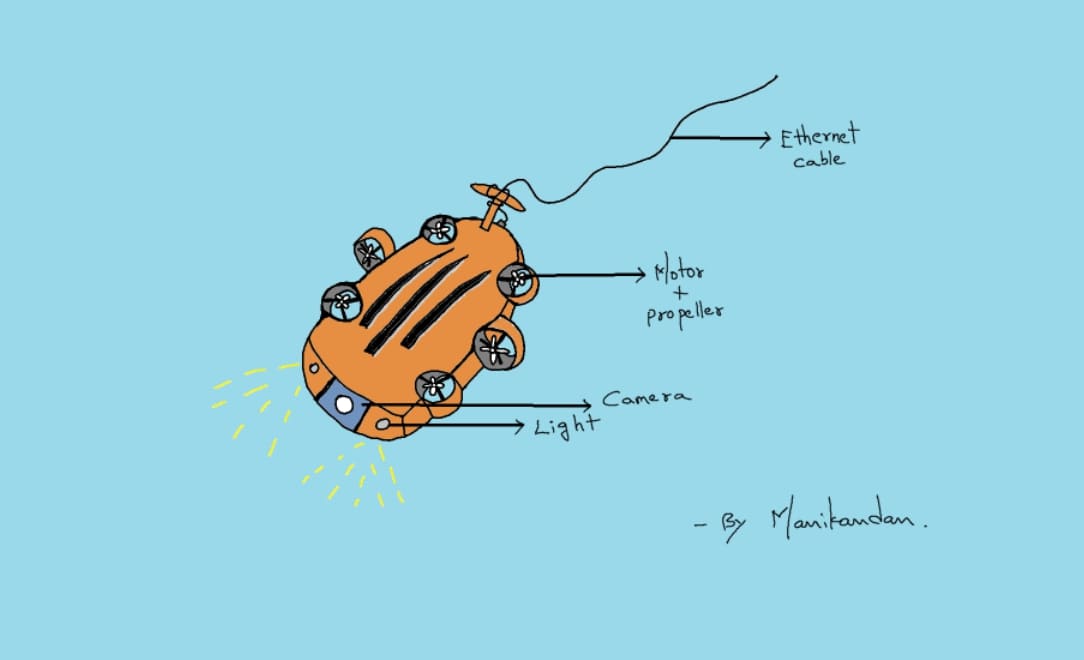
To create the underwater drone for the sea exploration. The drone has the camera and it capture the live video for the operator who is operating the drone movement. The Drone has the arms like octopus, is used to work the underwater environment versatilely.
- 6 motors for 8 DOF
- Tethered wire connection
- External hand - Octobus hands
- Camera Integration with lights
By using paint software in Windows I draw it.
Project management
Learning HTML and CSS
This is the first time I am going to make a website, at first, I don’t have no idea how to start and what are the things need to do and what are the things I should learn to build a website.
I refer some online tutorials for how to do make the website and end up with some basic ideas with how to code the HTML. Every file should save in .html format.

HTML is the bone structure of the webpage, by using it we can do the format we want. Further making it into colourful page we just need to dive into CSS.
CSS is the stylesheet of webpage, by using it we can create and manipulate the webpage which is we want. For CSS file the format should save as .CSS

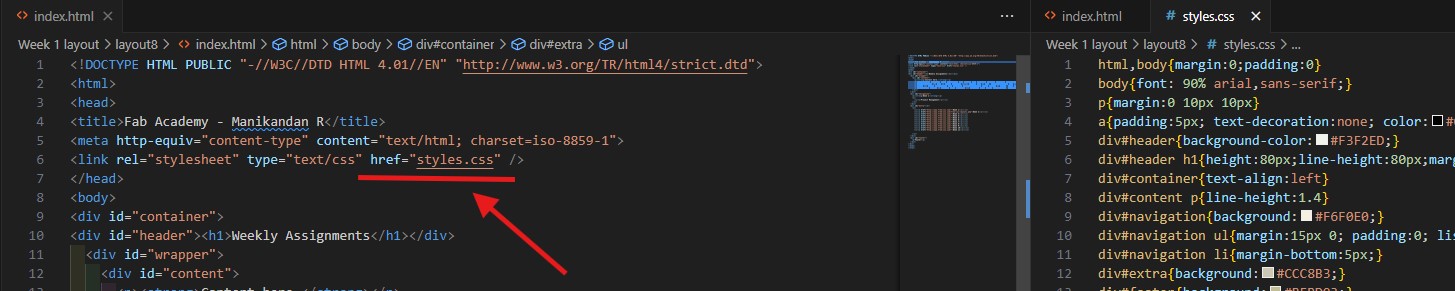
We need to connect the two files for final webpage creation, by coding it into the HTML file.
Further I learnt the codes by w3schools website, it really very useful for the beginners like me. Its practices are very standart to do and explore the multiple possible ways.
HTML :
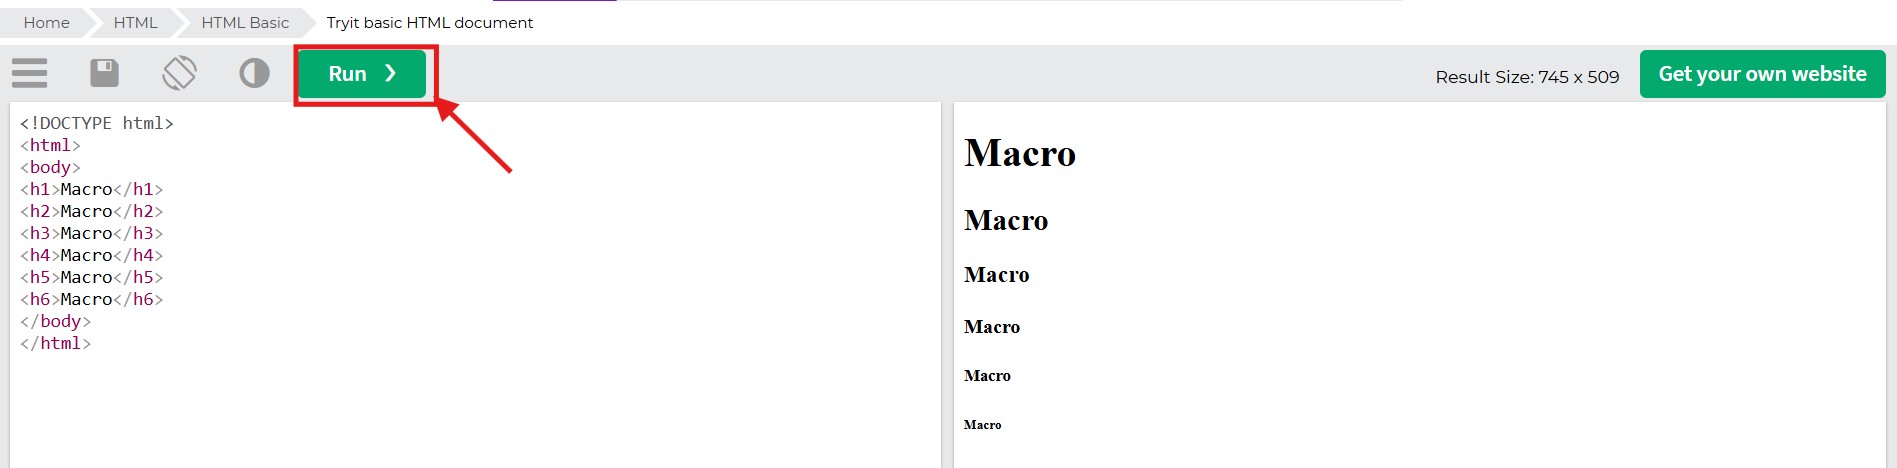
1.Heading
<h1>Macro</h1> … <h6>Macro</h6>
we can see the differnce if we give the h tags from 1 to 6 the text size will change accordingly.
2.Paragraphs
<p>Time is what the clock says</p>
by using this we can normally documented our website in text.

3.Links
<a href="https://fabacademy.org/2025/labs/trichy/students/manikandan-r/">Manikandan Index page</a>
this is the link tag, we can go to the others website just by reffer it.

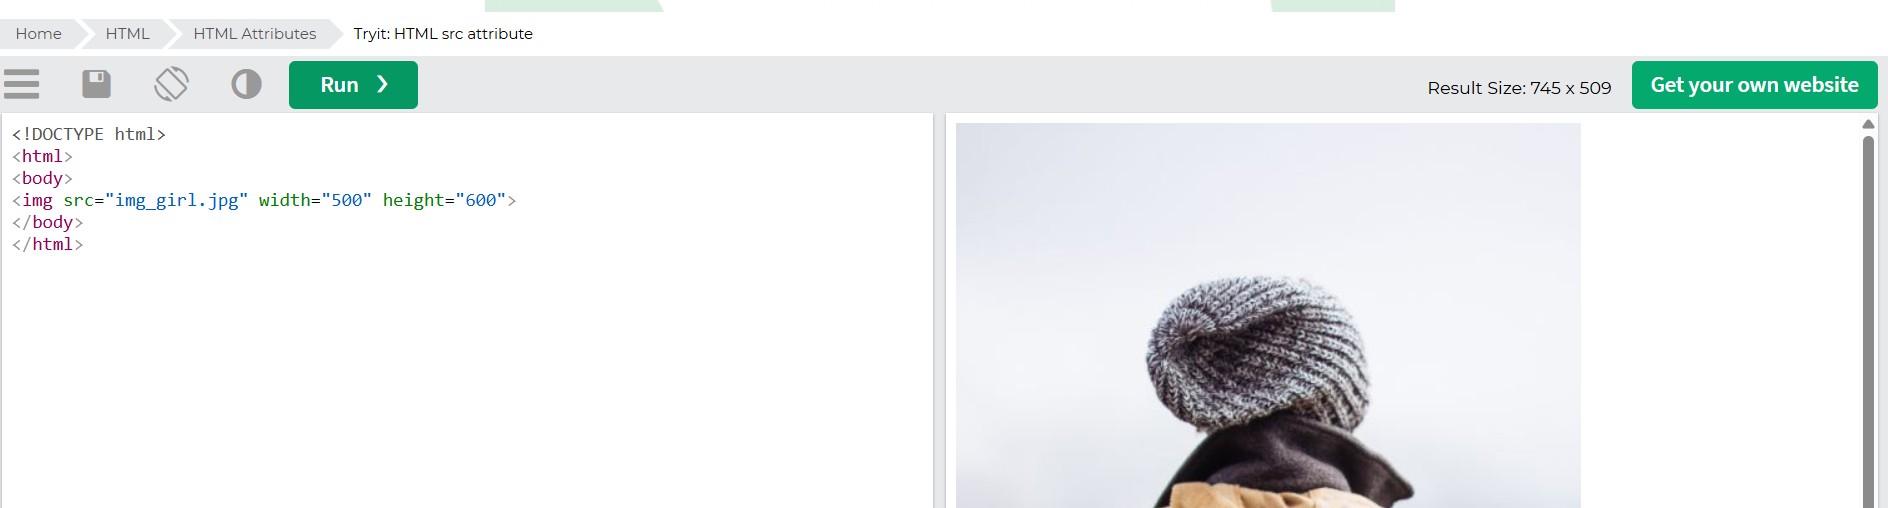
4.Images
<img src="img_girl.jpg" width="500" height="600">
we can import the images by refering it.
5.Break
<br>
we can break the line inbetween the paragraph by using it.

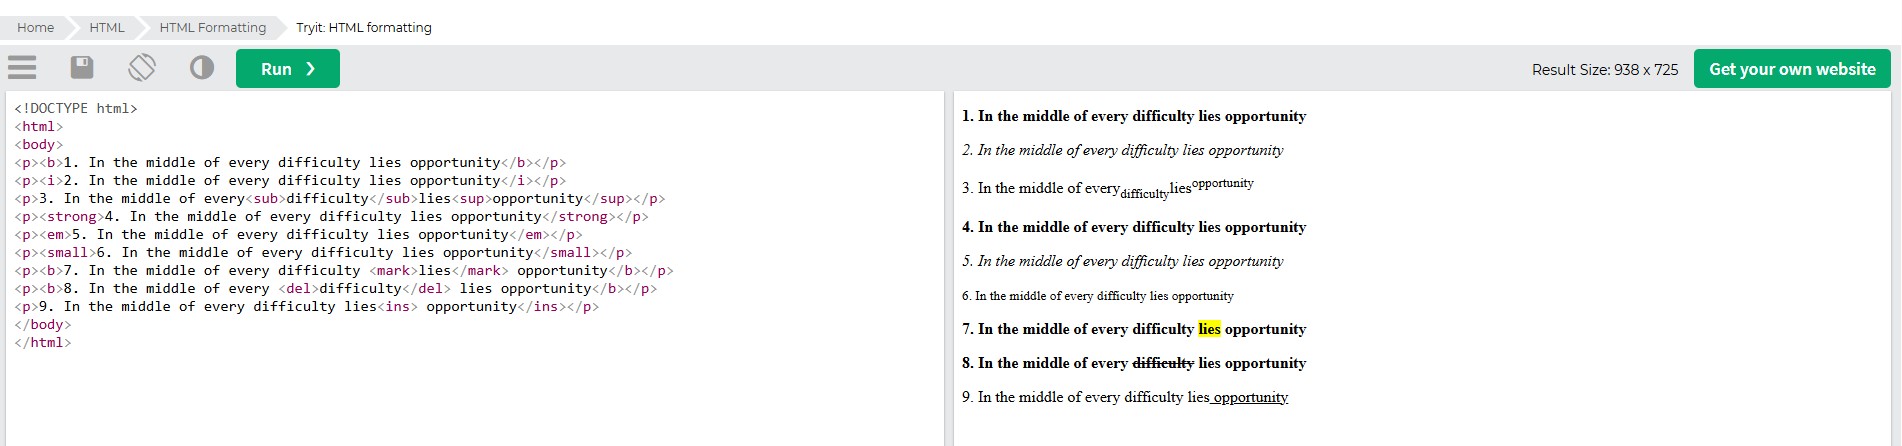
6.Formats
<b> - Bold text
<strong> - Important text
<i> - Italic text
<em> - Emphasized text
<mark> - Marked text
<small> - Smaller text
<del> - Deleted text
<ins> - Inserted text
<sub> - Subscript text
<sup> - Superscript text
These all are the tags we can edit the text by using it.
These are the basic commands we often used for the HTML code, except this there are lot of codes still available, you can study easily from w3schools HTML
CSS :
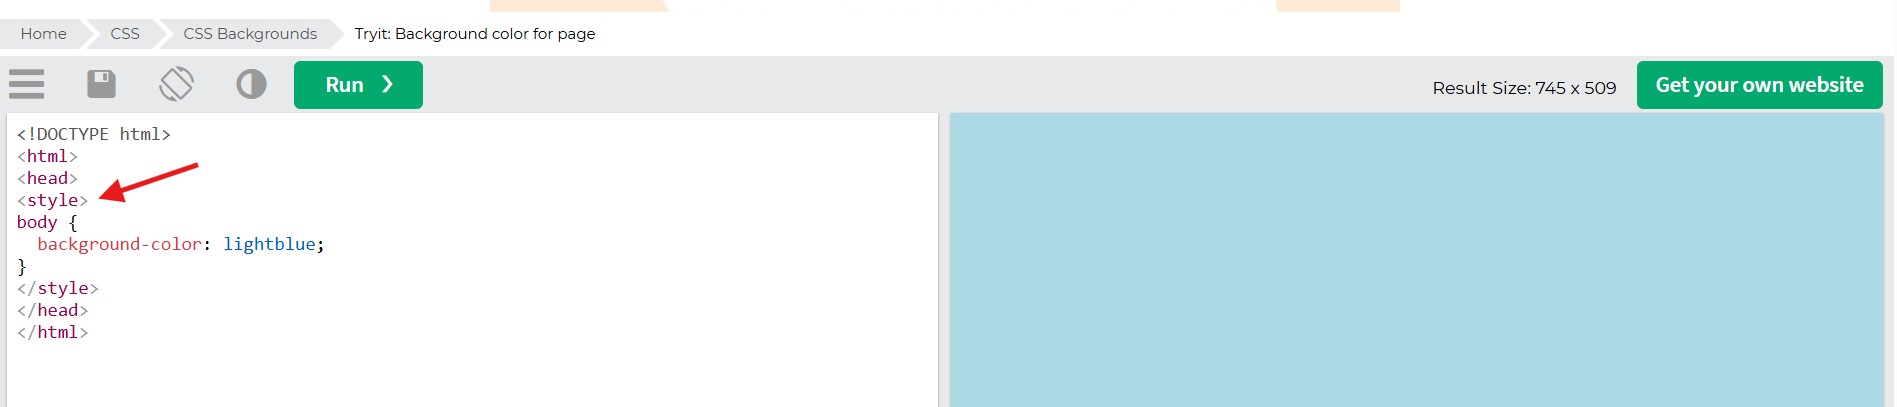
1.Background colour
body {background-color: lightblue;}
We can give the background colour which one we want
2.Text colour
<h1 style="background-color:DodgerBlue;">Macro</h1>
h1 {background-color:rgb(255, 99, 71);"}
We can give the text colour by using it, some colours are default by name, still want it to change more precisely we can use the RGB

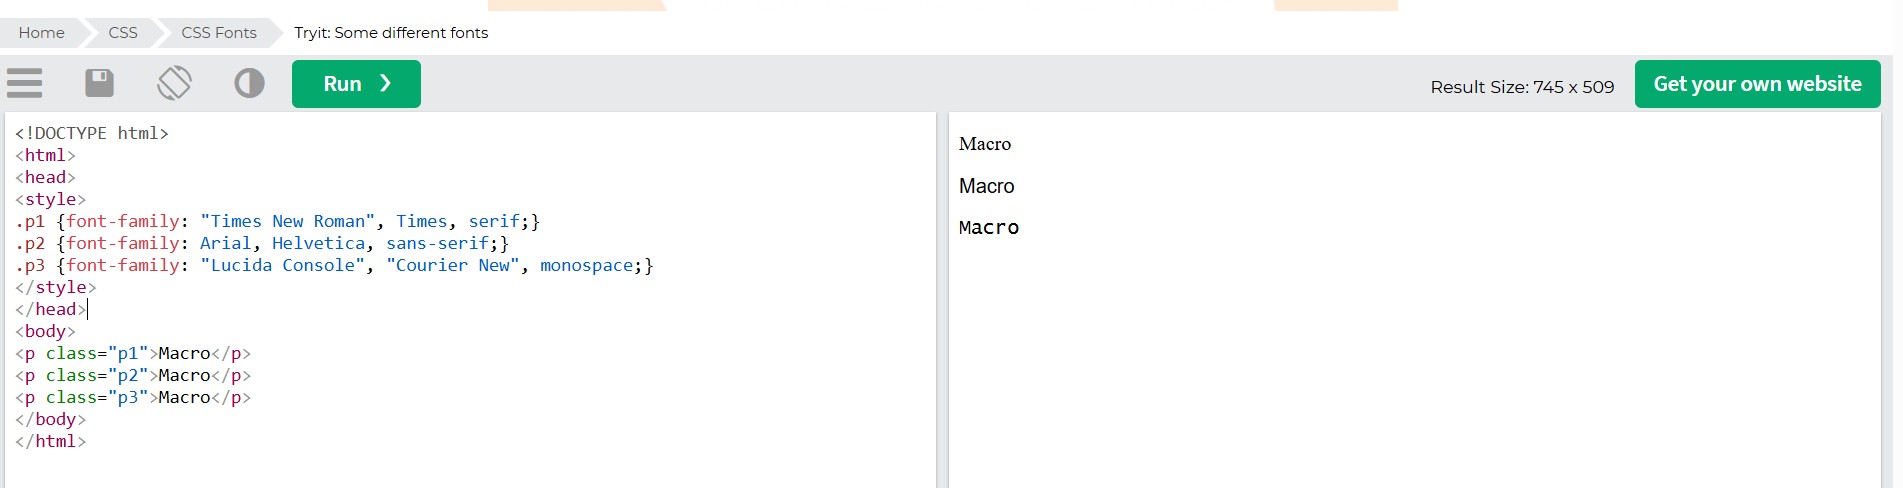
3.Font
p1 {font-family: "Times New Roman", Times, serif;}
We will stylish and edit the size by using this command
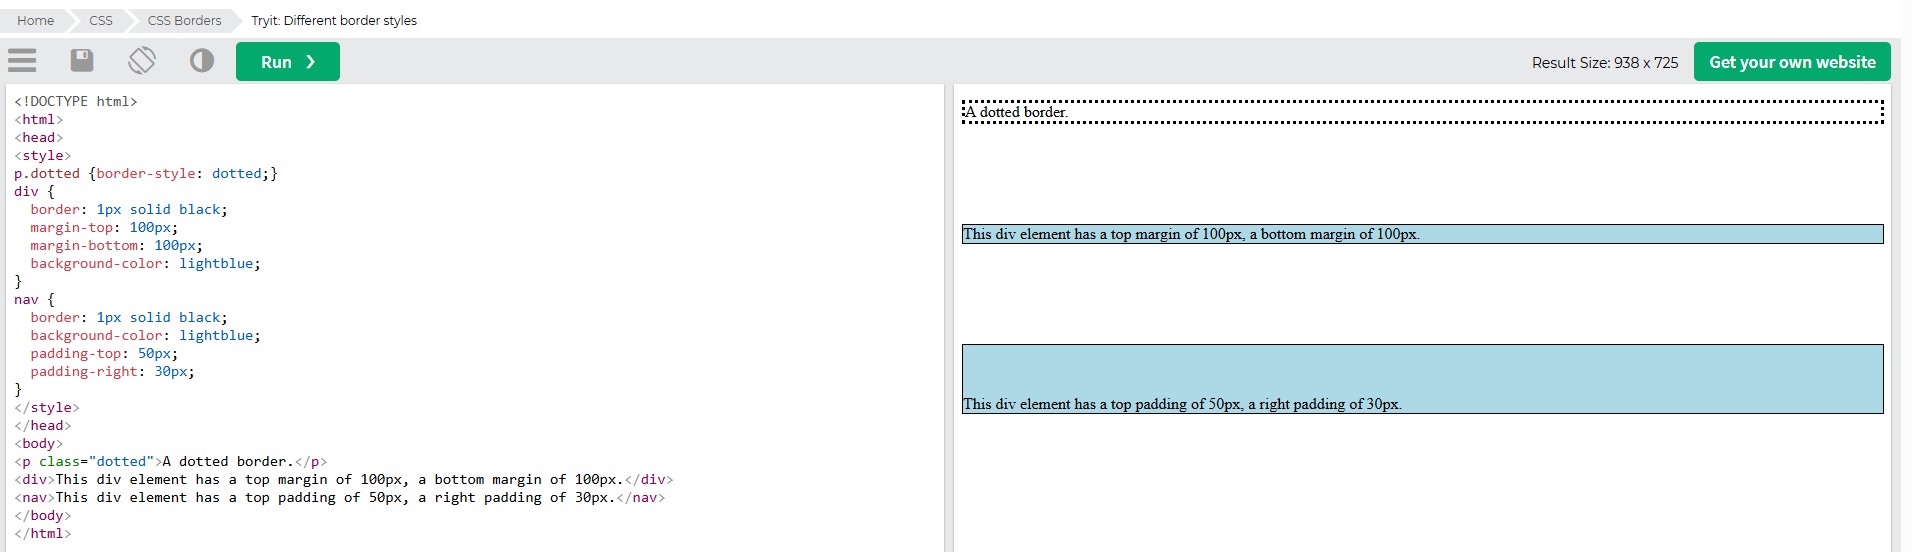
4.Border, Margin and Padding
p {border-style: dotted;}
p {margin-top: 100px; margin-bottom: 100px;}
p {padding-top: 50px; padding-right: 30px;}
These are the outer structures of our content, by using it we can manipulate the location and distance between the other content easily.
These are the basic CSS commands we often use in the code, though there are so many codes are available, you can learn by reading and practicing it w3schools CSS
For editing the code I use the VS code.
Visual Studio Code (VS Code)
VS Code is a open source code editor developed by Microsoft. It is very useful for develop the variety of programming codes.
I have the vs code already in my system, if you want to download it here is the
link . I did the practice by following the tutorial instructions in vs code software.
Then I create my own website with the knowledge of what I learnt by those tutorials. First I created a Folder in my file explorer, and came back to vs code and open the folder and created the files name as index.html and stylesheet.css
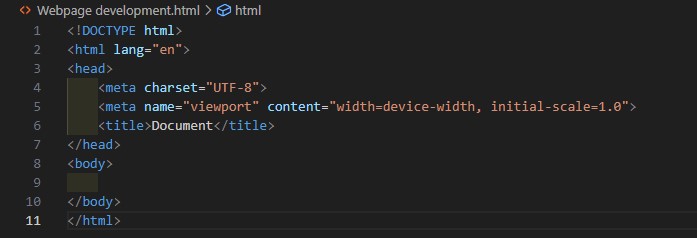
I create the boiler plate and start to written the title, paragraphs, navigation bars which is I want in my web design. Further code a css file too, I set the colours, text tyle, text size, margins, background, etc…
I did lot of codes to make a website, I feel first it more complex but after getting practice I code more fluently, but some cases end up with some constraints, I work on how to rectify the errors most cases.
Finaly I create this web design which is I planned for my portfolio profile in Fab academy, but I ended with one problem later, that is the windows size is changing according to our display which is we used. I notice this problem in my design and know about the bootstrap, whether I can’t use that within this time frame so I faced the problem often.
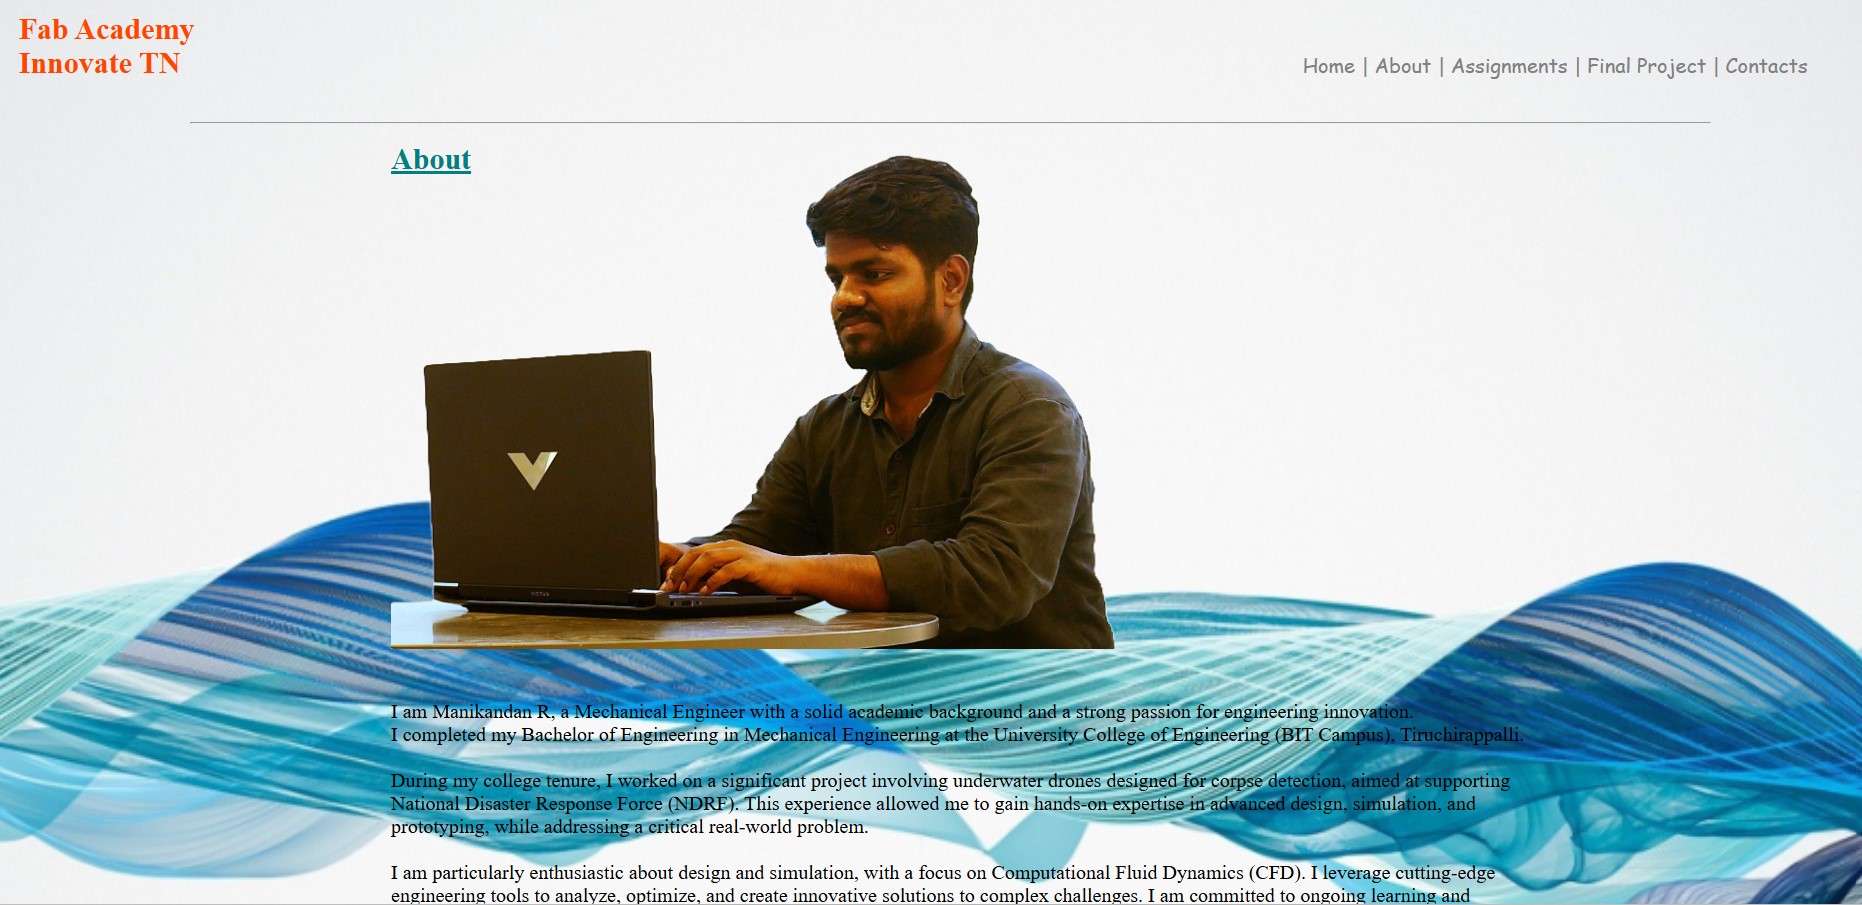
Though I have no time to do the changes in my web design according to the bootstrap, at that time I feel low. After get the idea form my instructor then I have the temporary solution for this problem.
I download the existing free templates from the online and do the changes according to my idea which is I preplanned, here is the
link of free template I consumed for my webpage.
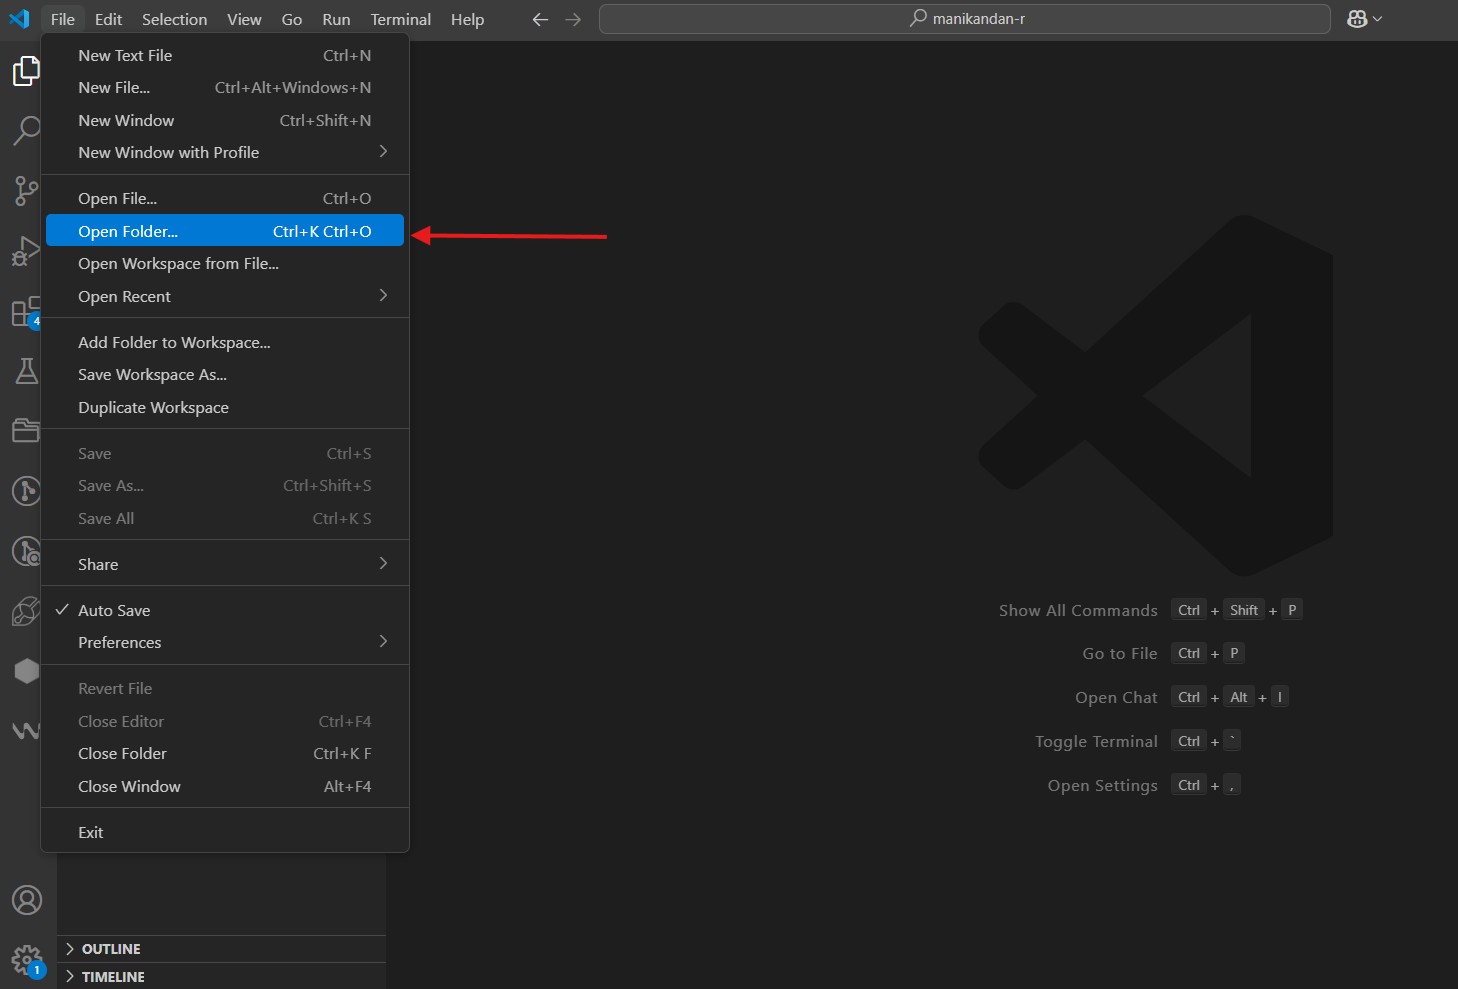
We frist open the right folder in the vscode instead of opening the single code.
By using this code <!— —> I can off the code function instead of deleting that completely, because may be in the future I will use that depends on the additonal requirements instead of creating the new one.
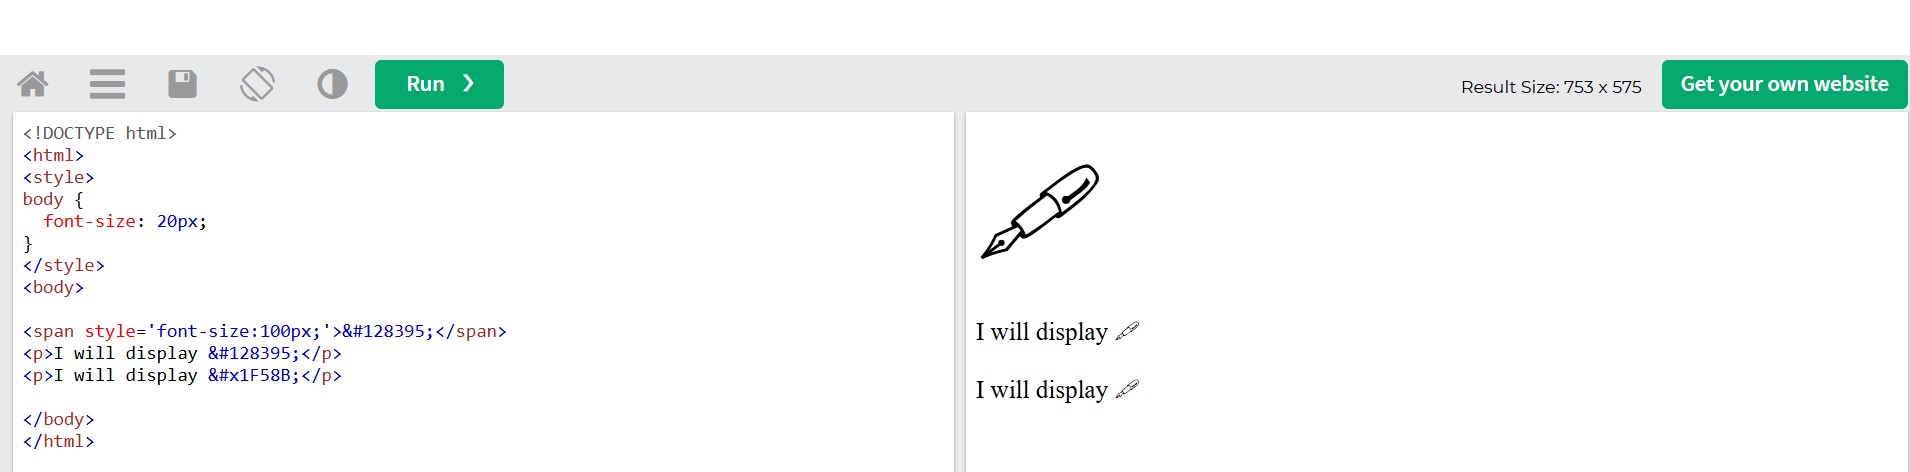
I add on some emojis from w3schools in the html code for good impression to my webpage.

Notion
Notion is an all-in-one productivity and collaboration software used for note-taking, project management, task tracking, databases, and documentation.
I create the weekly assignment page by using
Notion, with the help of that I’m able to do the webpage design as joy part. There are many options in the Notion, we can create the templates whatever we want and can get the html format regarding what the designs we done.
we have lot of option in Notion to do the documentation, I would highly recommend the new persons who want to document the things properly and easily.
By using the / command we can use all the options in Notion.
Gitlab:
Gitlab is a web based platform, we can use to store our data in online.
We have a maximum storage limit upto 10GB, files like Documentation files (.txt, .pdf, .docx), Source code files (.c, .py, .java, .html, .css), Images (.png, .svg, .jpg), Design files (.step, .stl), etc….
It mainly useful for developers to changes their codes often with the help of version control.
I ues the Git Bash to commit and upload my code in gitlab.
Git Bash
GitBash is a command-line interface that allows Windows users to run Git commands.
To start with Git bash, for the windows command line to communicate with Git.
First I create the ssh key, by using that I commit my gitlab repository and download it in my local.
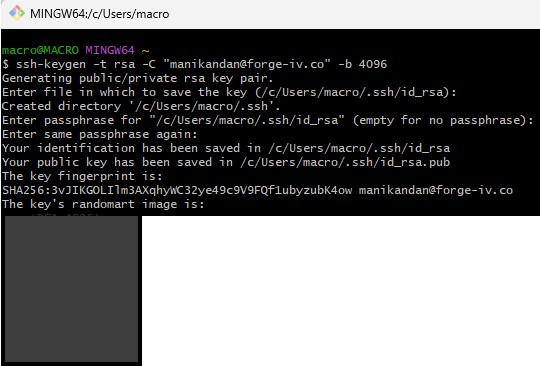
Create the SHH key in the Git lab to commit the Git bash to the local repos.

Then in our system we have the access in our Gitlab repository, from now what are the change we need to do just edit the code and push it to the git.
Here are the commands we used in the gitbash
- git clone <link>
- git pull
- git add - - all
- git commit -m”message”
- git push
These are the key commands we should know how to operate the gitbash for host our files into the respective repo at gitlab and our local files.
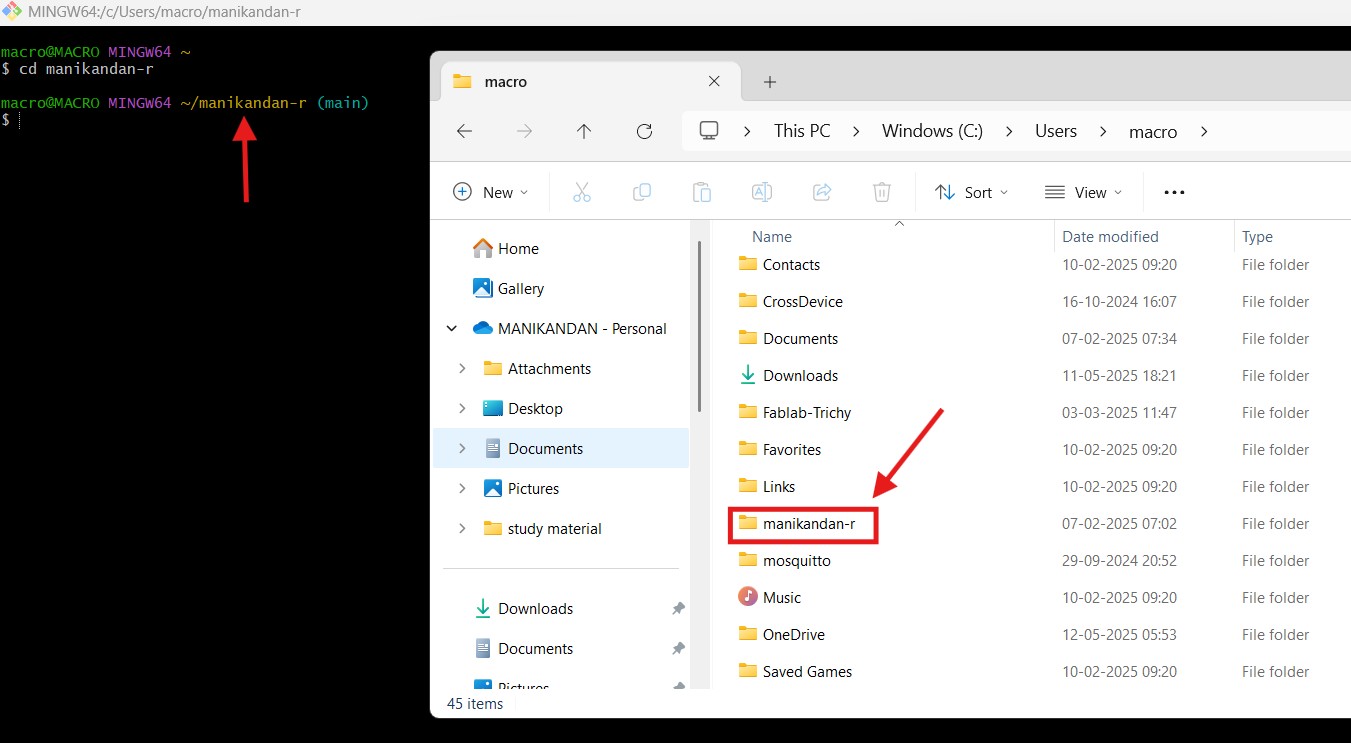
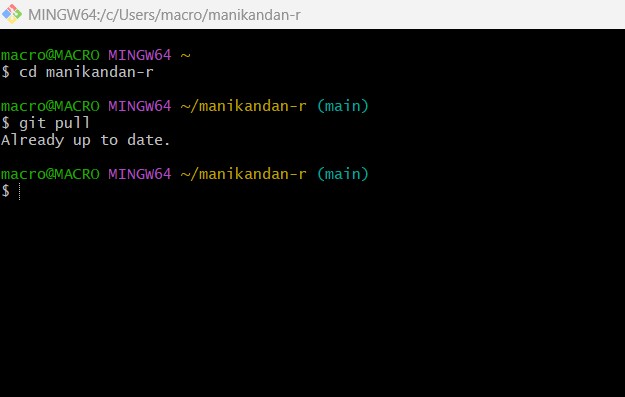
Open the git bash after you done the coding, at first we need to change the repo which can navigate your local rep.
Type the git pull, it will pull the all documents from the gitlab repo.
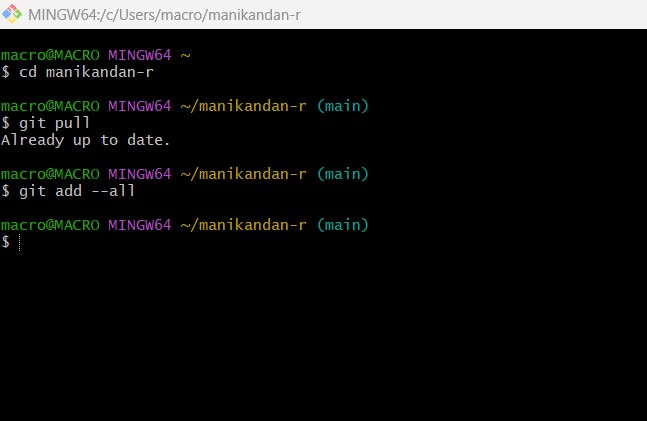
Then type the git add —all, it will add all the new codes and files in your repo still it will not show in gitlab because it is only the staging point where the codes only store in your local repo file destination.
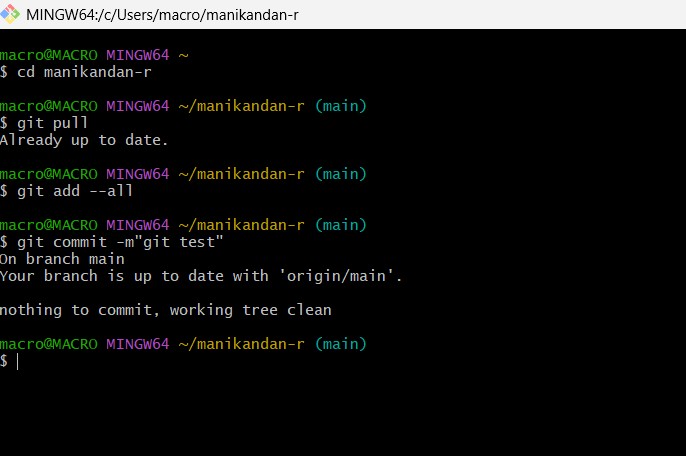
Type git commit -m”Here type anythings”, after did it your code are ready to commit in the gitlab repo, its nothing but path from the local to gitlab.
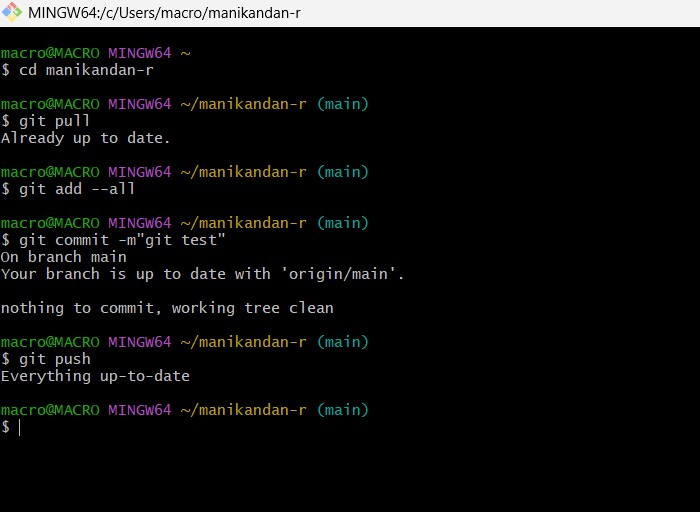
After completlying all type git push, then all of your changes and newly added things will upload in the gitlab.
Though we have some limits to push our files in gitlab, because the Fab lab they set the git in only 10mb per push and for the another push we should wait more or less 10 minutes.
But if you only upload only around 1mb to 2mb you can further able to push will instantly.
Conclusion
Learning outcomes
- I learnt about Gitlab - why it is need, how it will work, who all are can use, advantage in version control,etc..
- Learnt the HTML and CSS codes for webpage creation and modification of already existing one.
- Know about the proper project management in websites.
- In Documentation how the Notion will help with more useful and attractive and essential tools.