2. Group Assignment
Group Assignment PageGroup Assignment Molding and Casting Visit our Week 13 group link
3. Individual Assignment
3.1 Design a Cake Mold
Objective: Design a cake mold for casting casting with candle and with chocolate
- Create Master in SolidWorks:
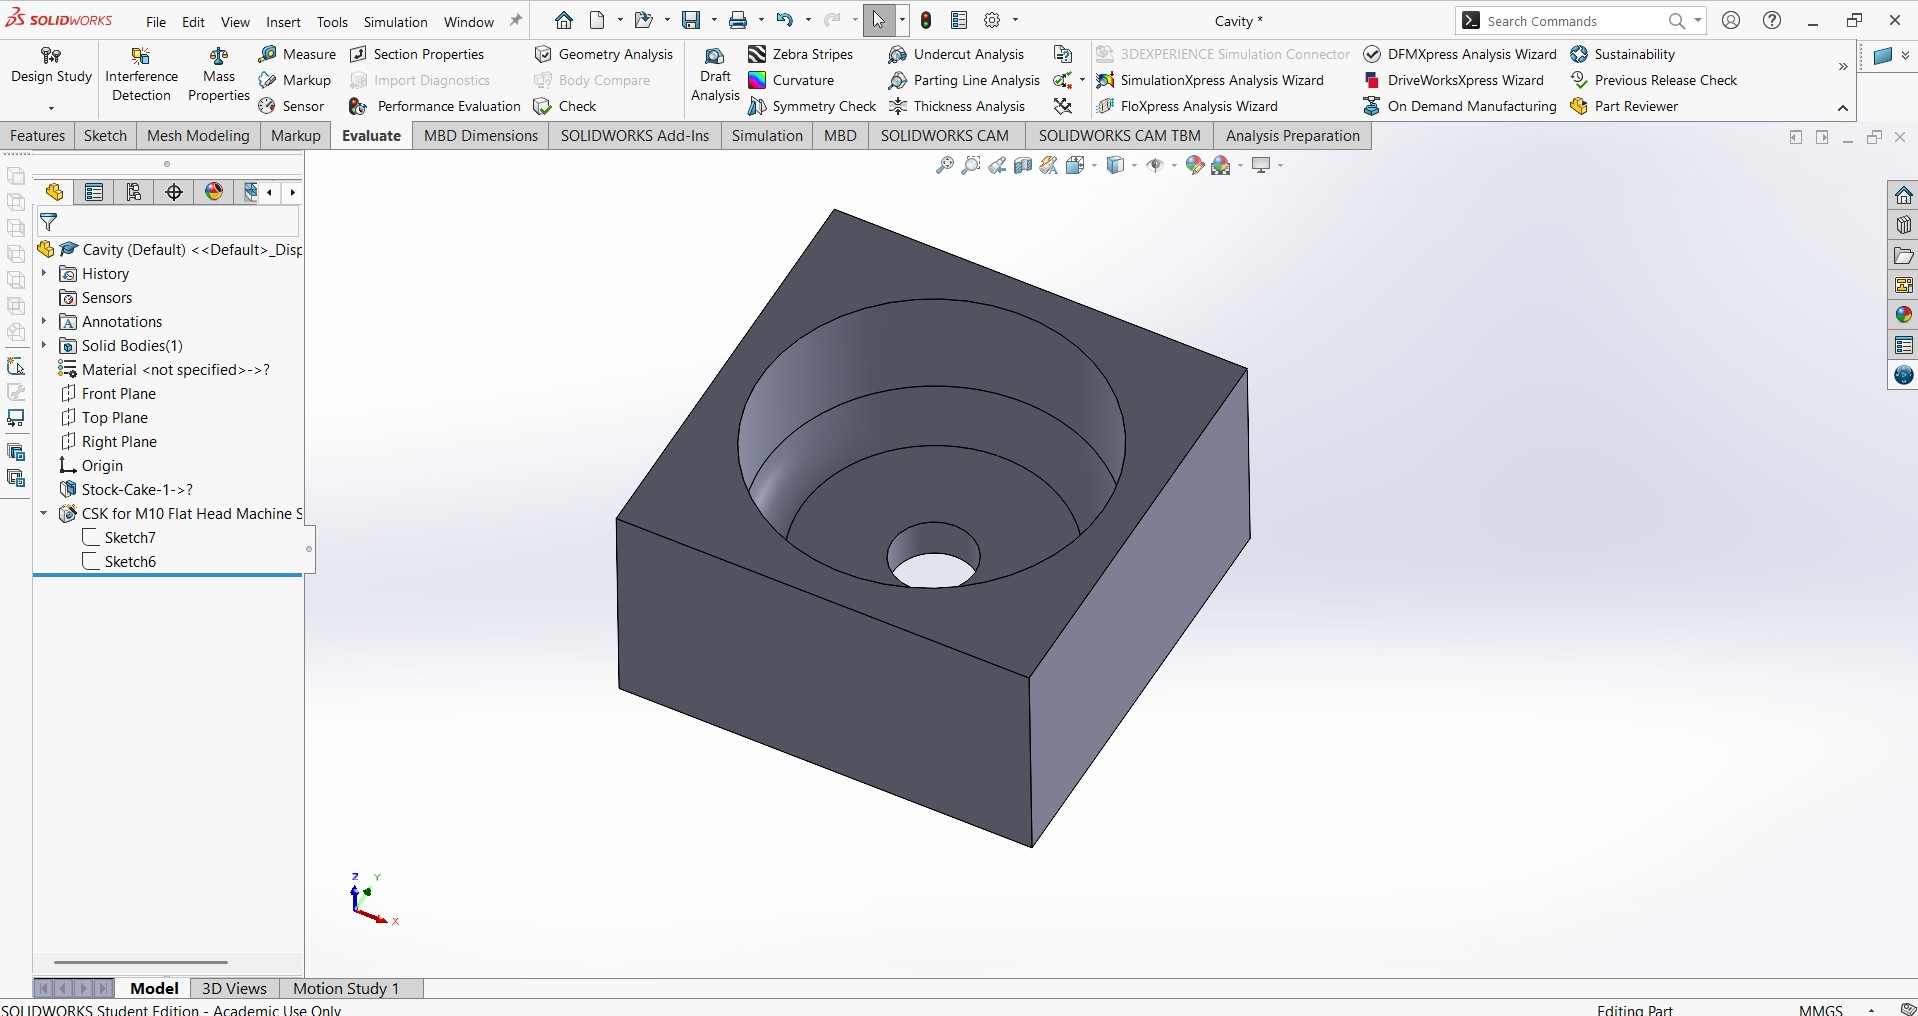
- Design a 55 mm x 55 mm x 30 mm cube with a 45 mm diameter and depth of 18mm hollow center.
- Add a 10 mm diameter hole on one side with a couter sunk of 20mm for pouring.
- Create a base of 55 mm x 55 mm x 20 mm cube with a 45 mm diameter core and height of 18mm.
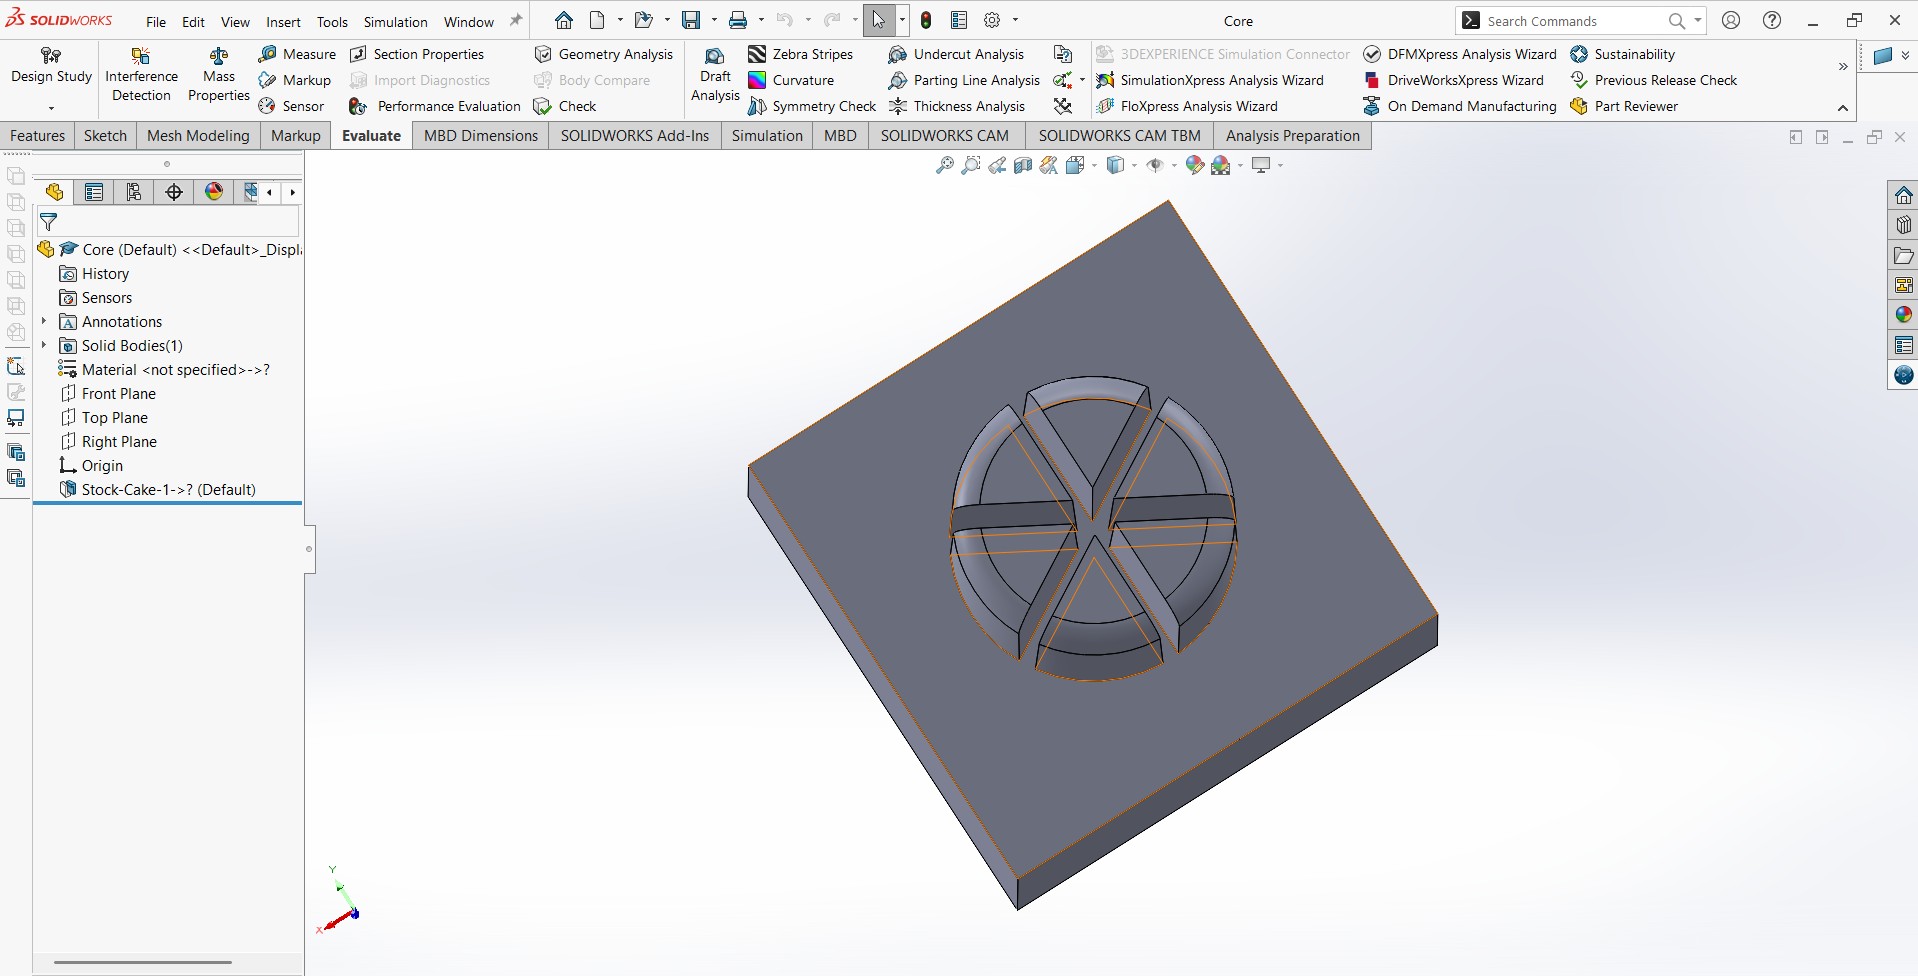
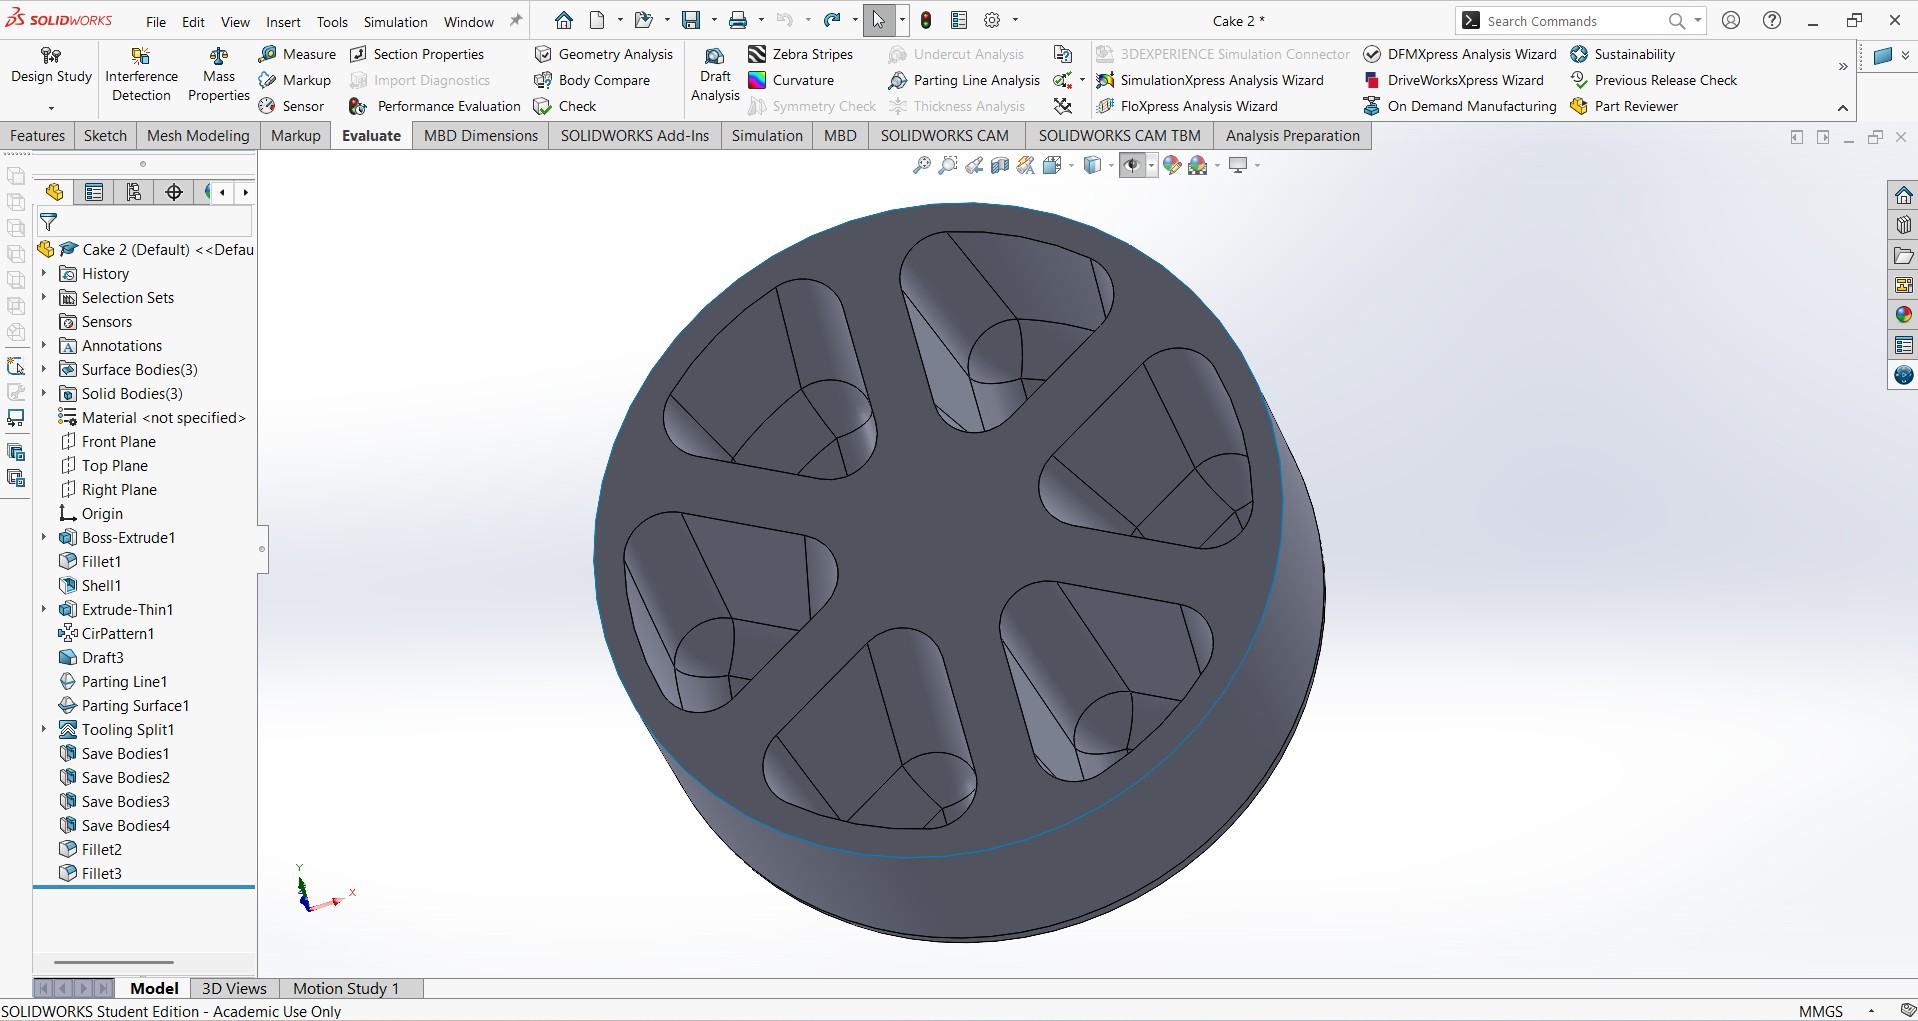
- Create a cake of diameter 45mm and a height of 18mm. It should have hollow shells slip five times at a thicknes of 4mm
- Create Assembly of core and Cavity:
- Align parts using pins/holes for precise assembly.
- Sectioned parts ofethe Assembly to view internal
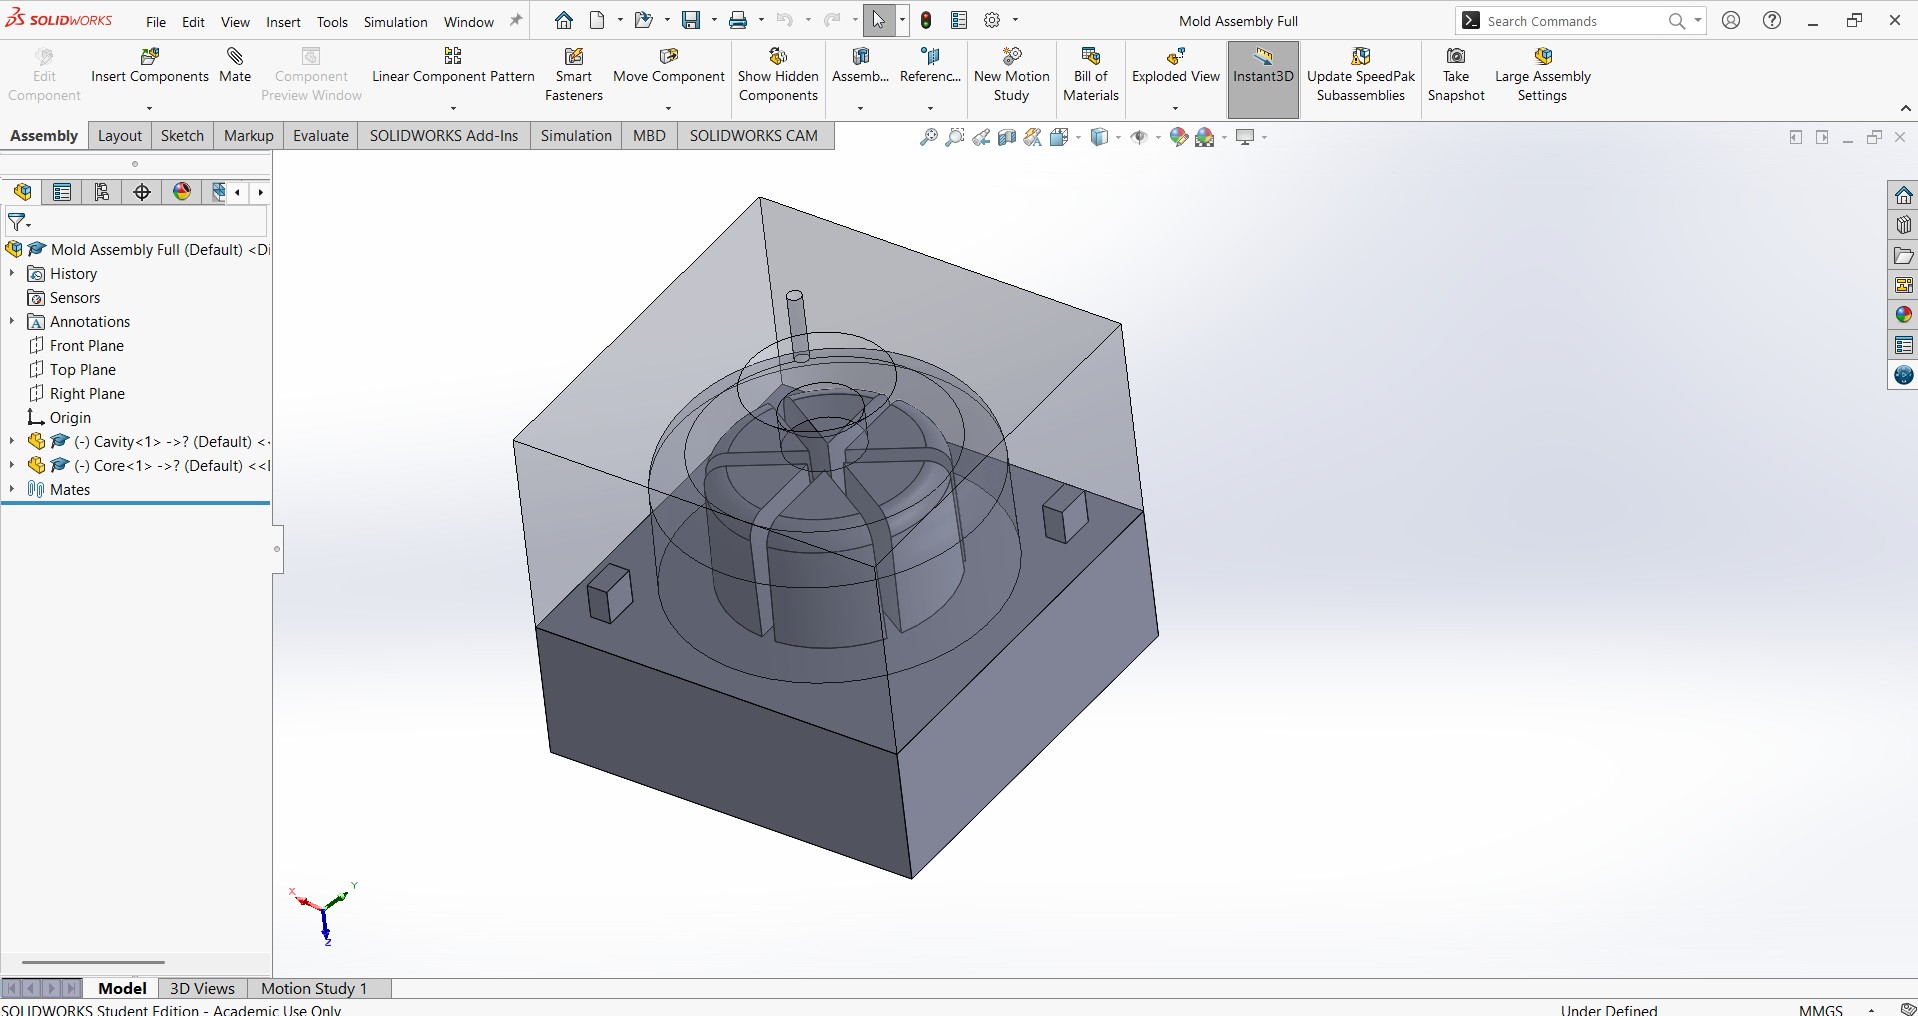

- Add Sprue and Vent:
- Include a 10 mm x 20mm contersink diameter sprue channel for resin pouring.
- Add a 2 mm diameter vent for air escape.
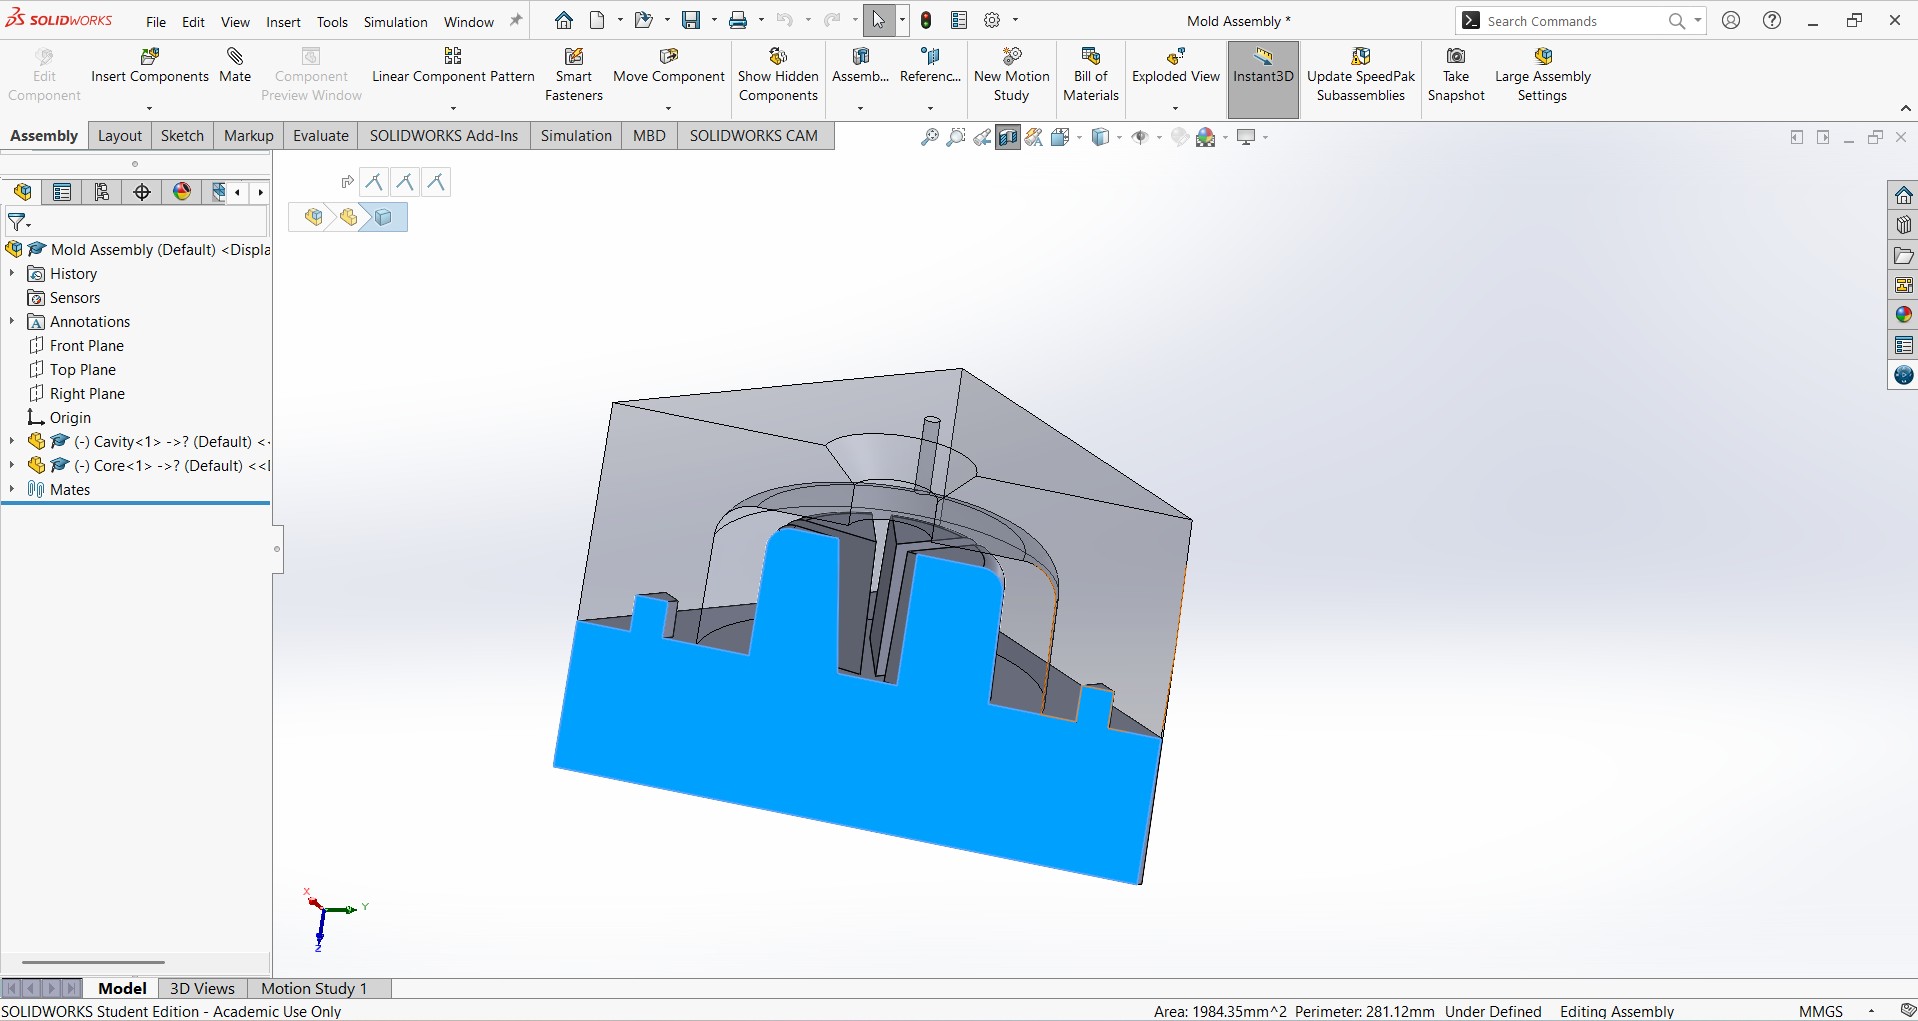
- Verify:
- Ensure smooth surfaces and tight tolerances for alignment.
- Export as STL files: Cake 2.STL, Cavity.STL, Core.STL.
Design Files for Download
Moulding Zip
3.2 Mold Production
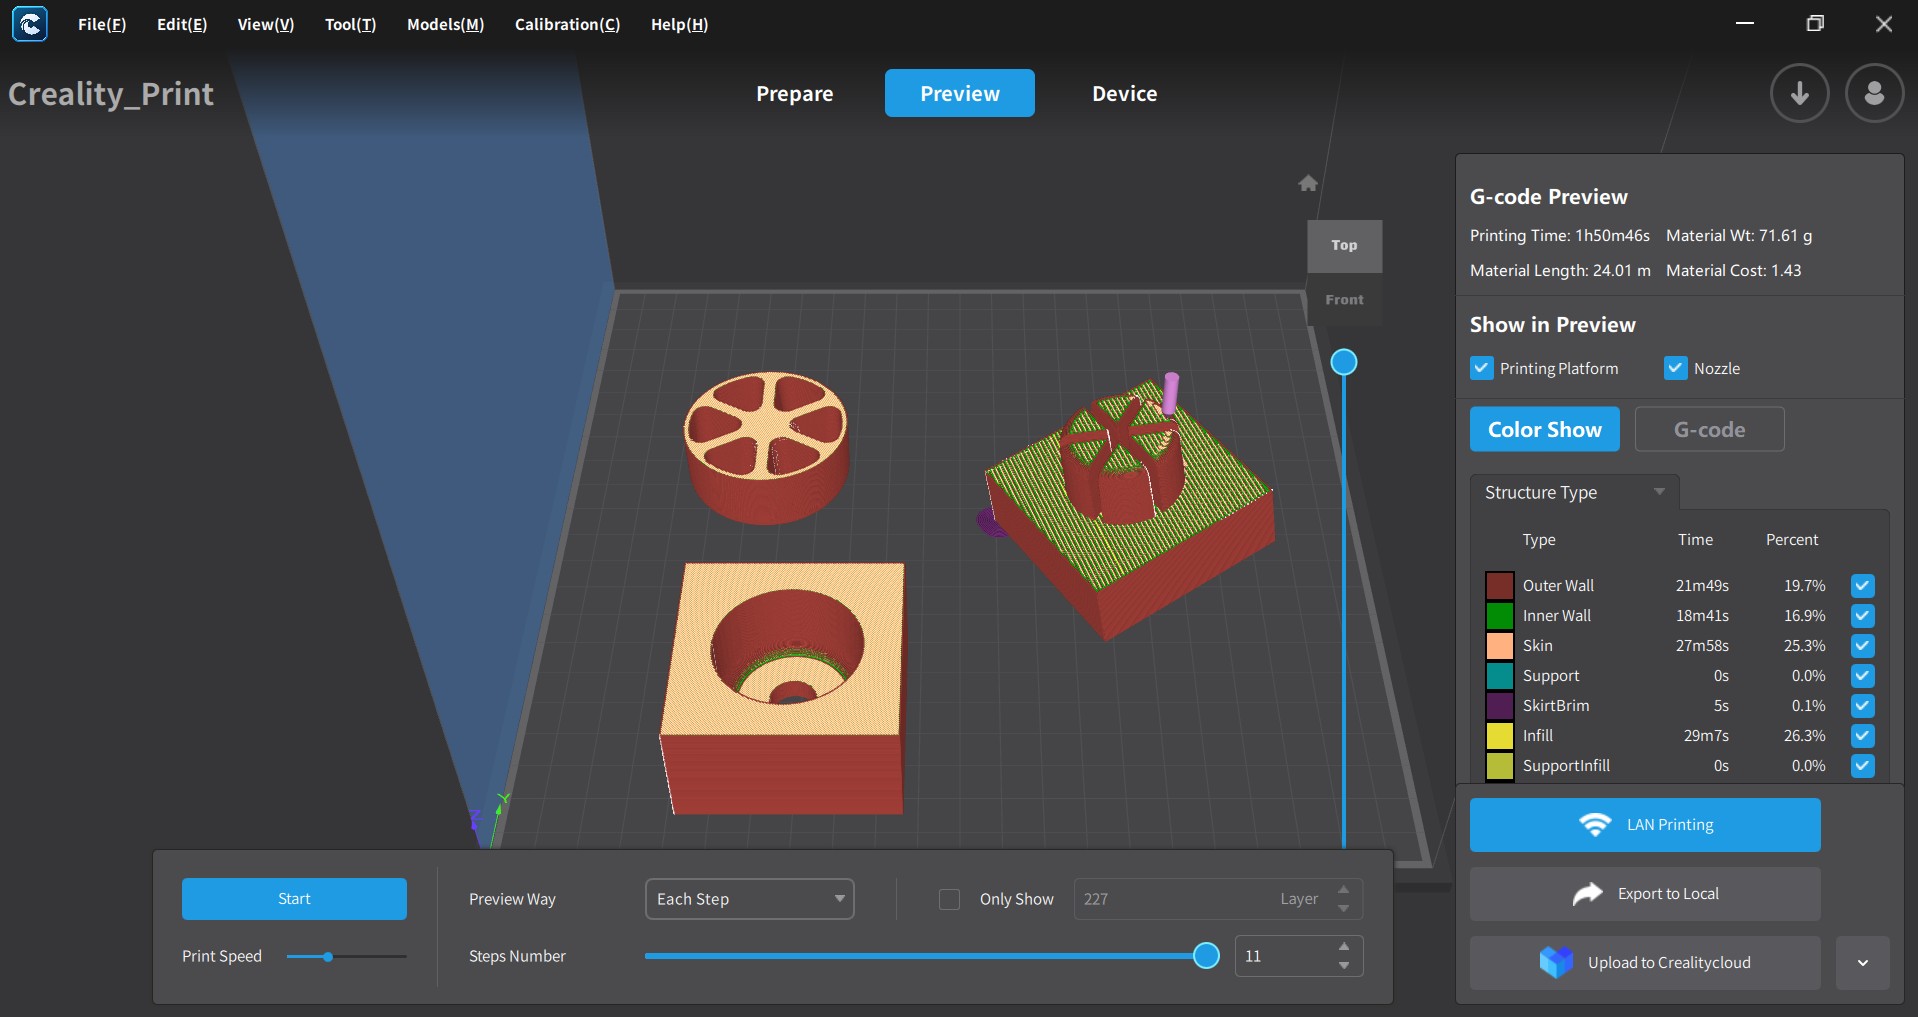
- 3D Printing:
- Import STL files into Cura.
- Settings:
- Printer: FDM CR.
- Material: PLA (1.75 mm).
- Layer height: 0.1 mm (for smoother surfaces).
- Infill: 20%.
- Supports: Not Needed.
- Build plate adhesion: Brim (5 mm).

- Slice and export G-code: mold_base.gcode, mold_top.gcode, mold_insert.gcode.
- Print time: ~1 hrs 50min 46 sec for all the parts
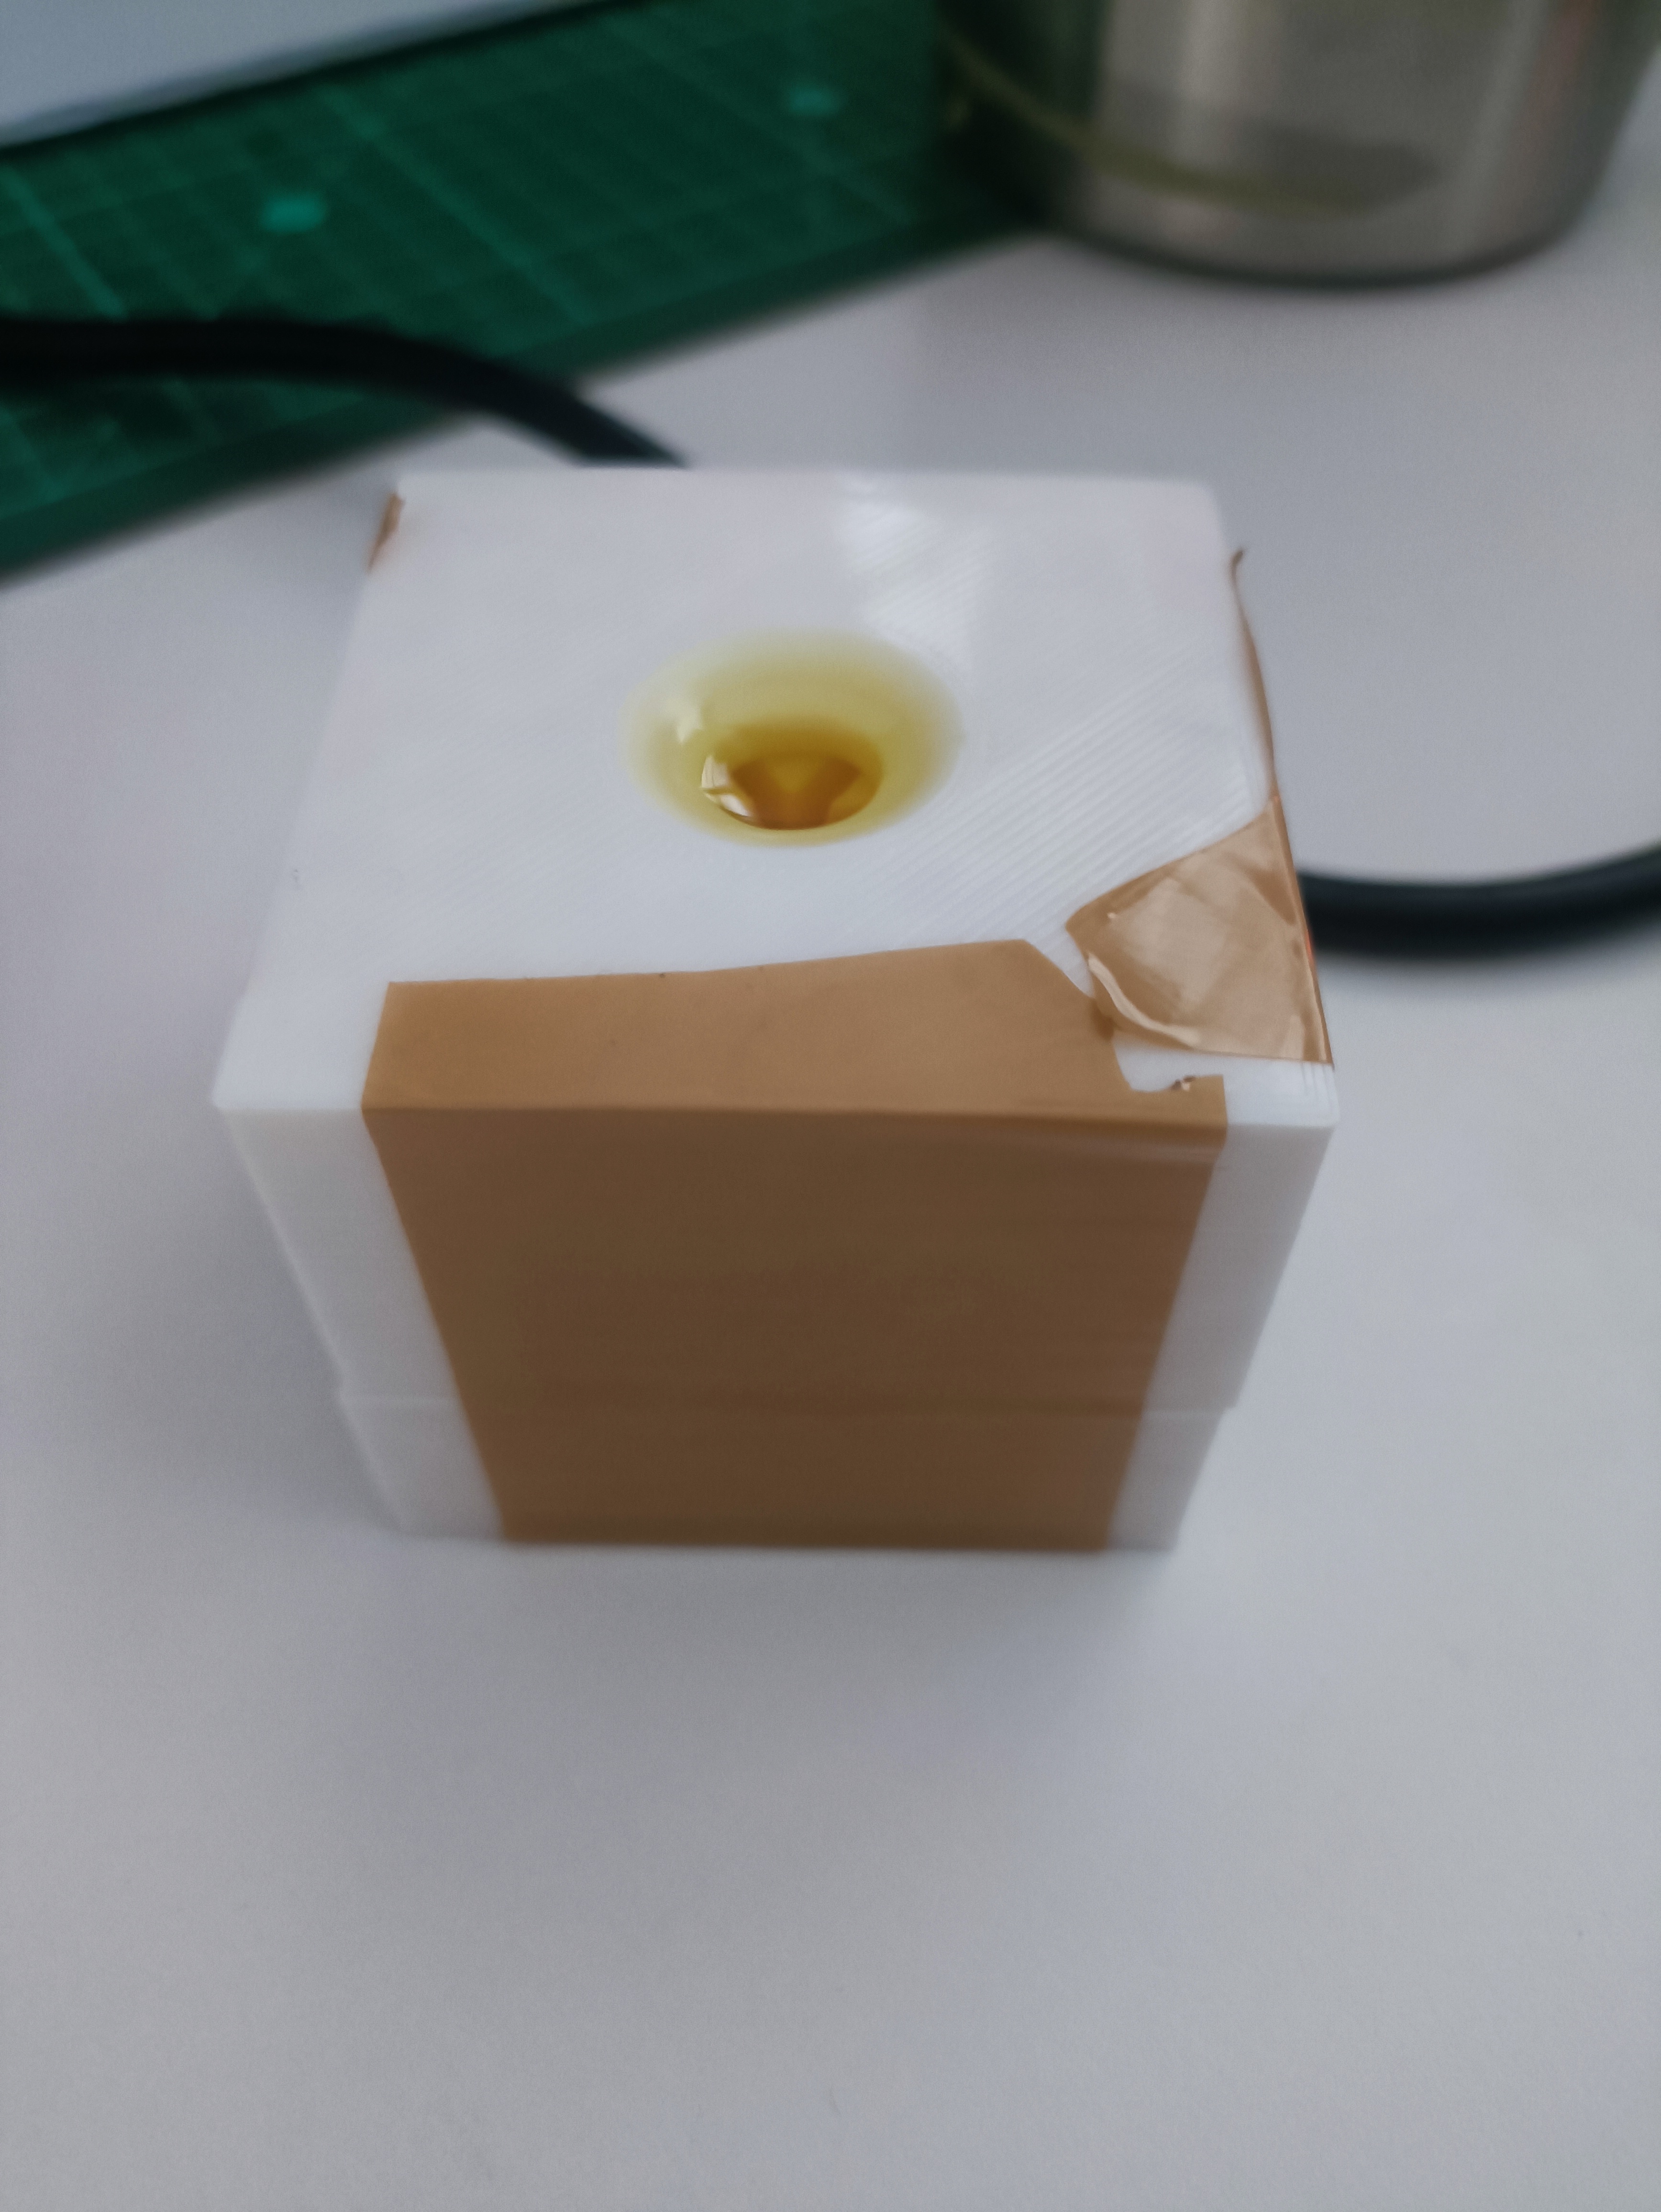
- Prepare Mold:
- Assemble two mold parts, ensuring alignment via pins.
- Secure with tape.
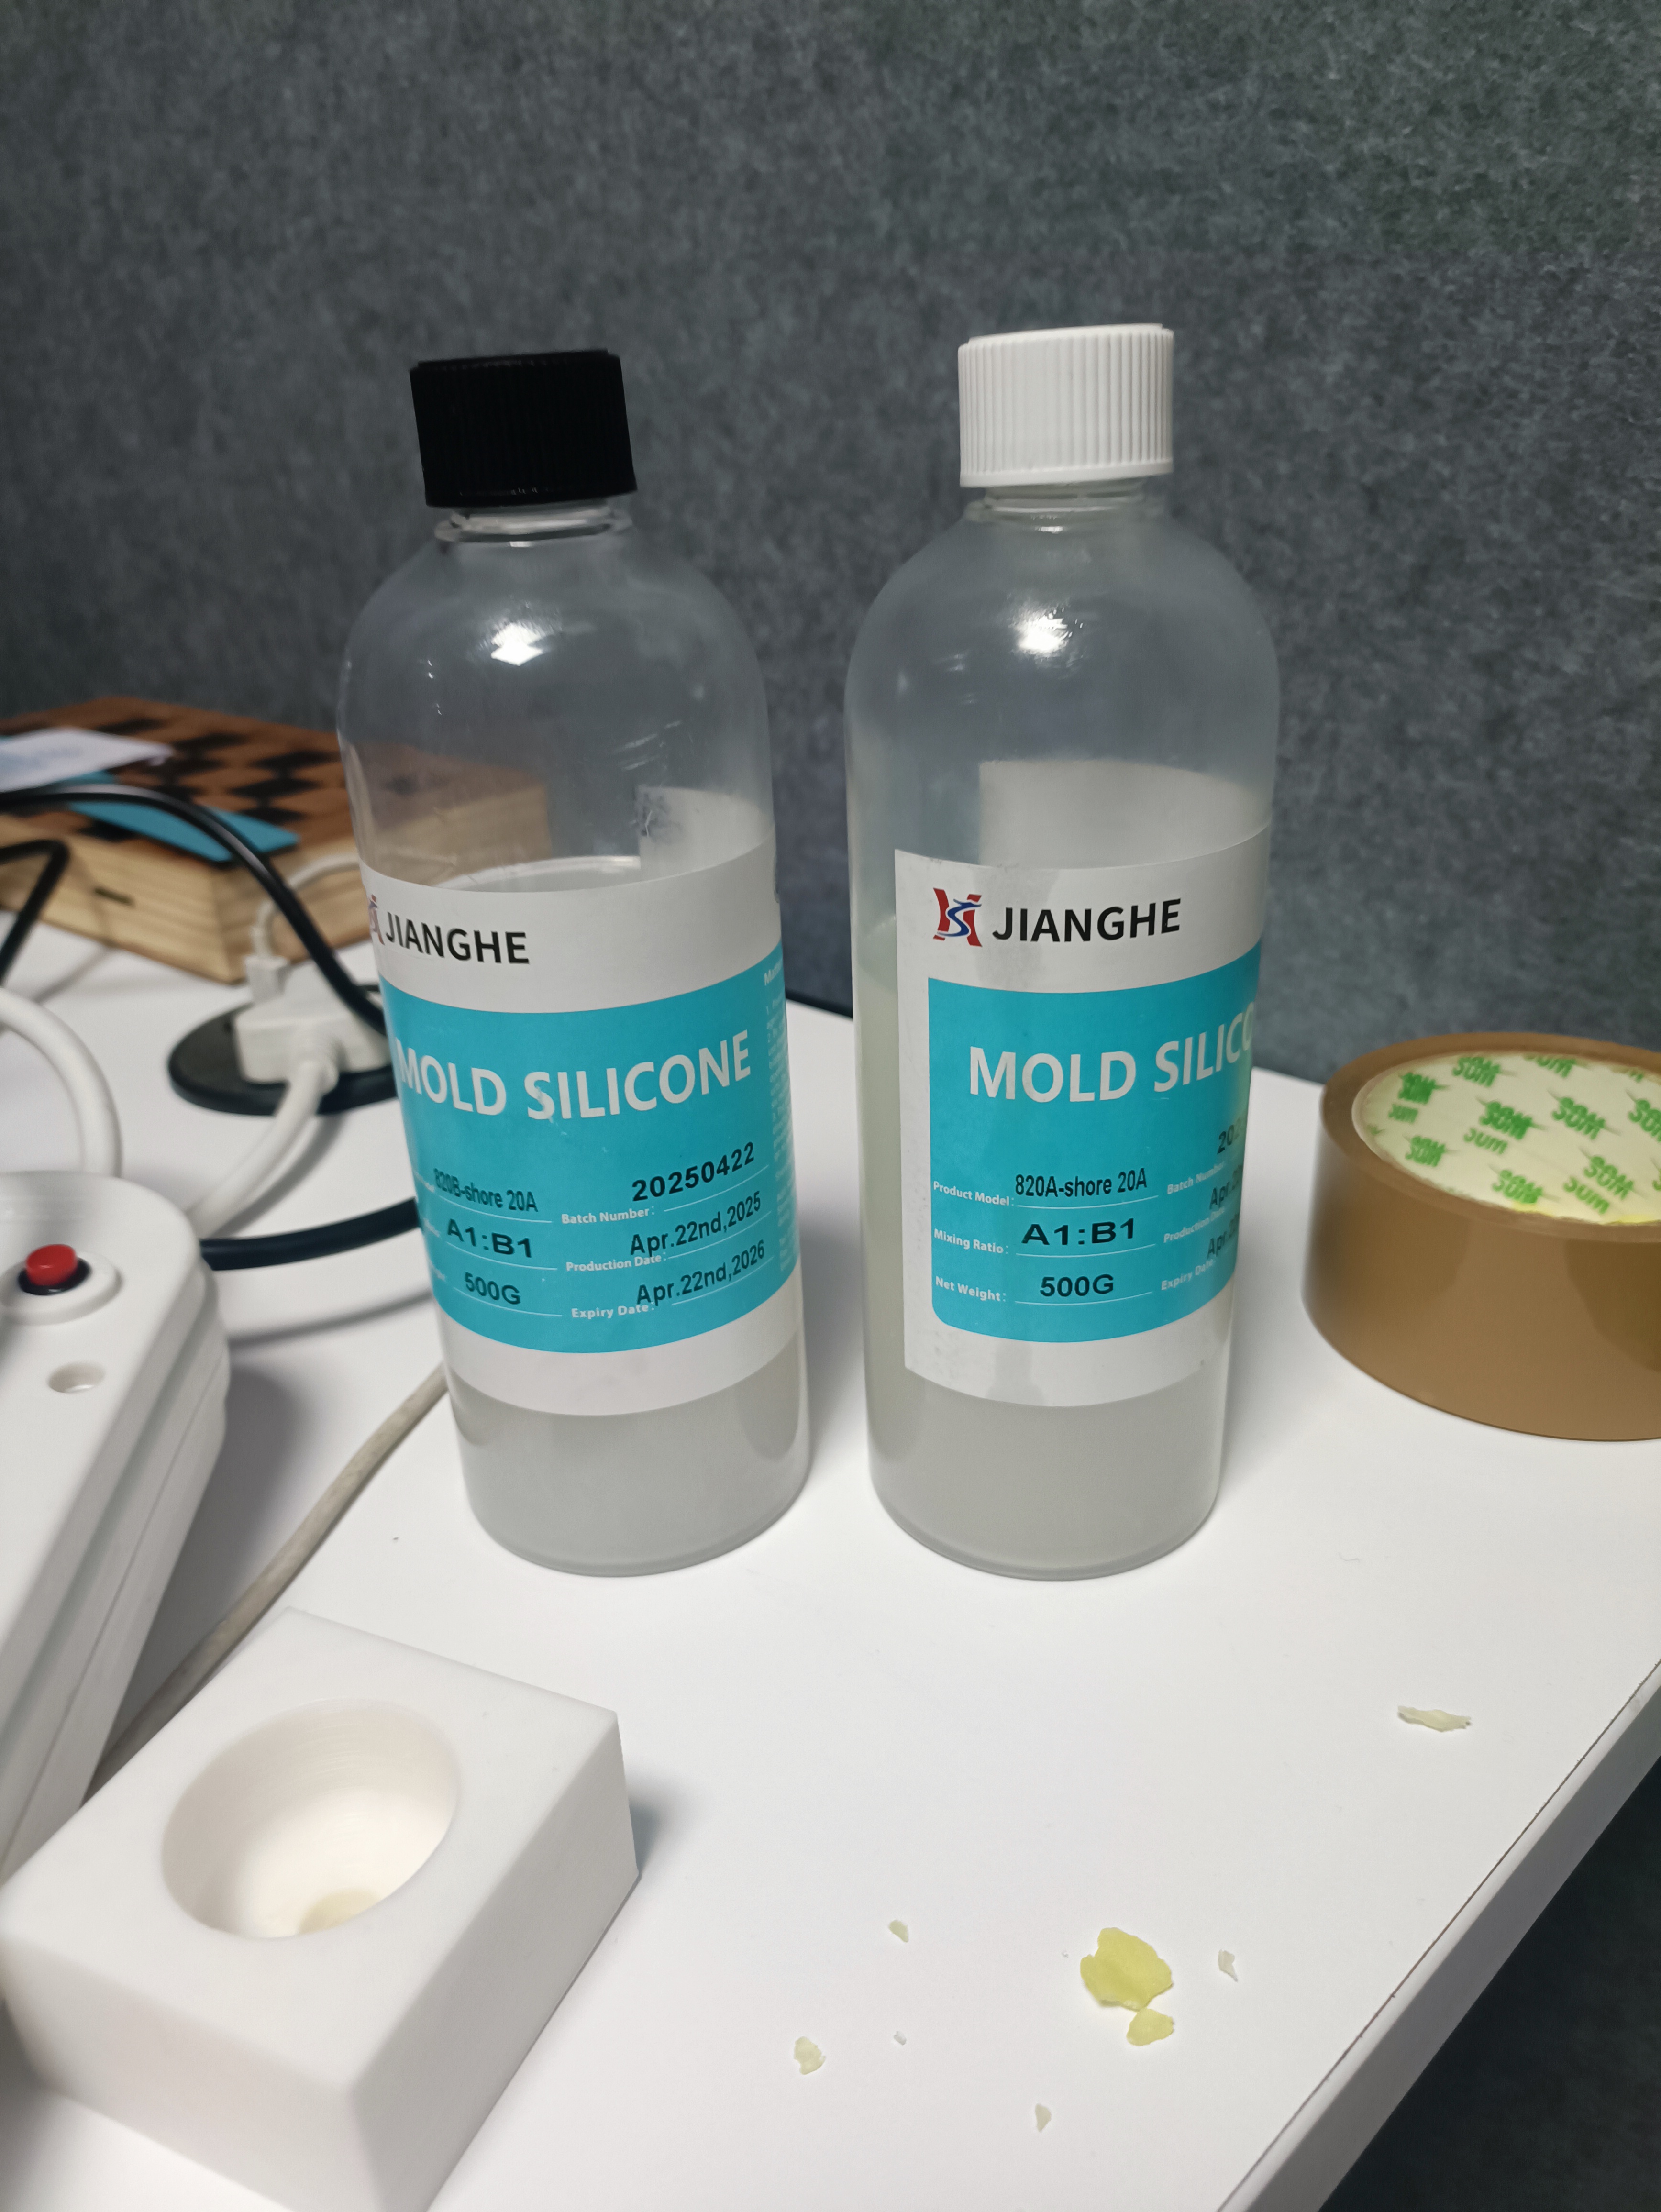
- Mix Resin:
- Mix epoxy resin and hardener (1:1 ratio, per TDS).
- Work in a well-ventilated area, wearing gloves, safety glasses, and N95 mask (per SDS).
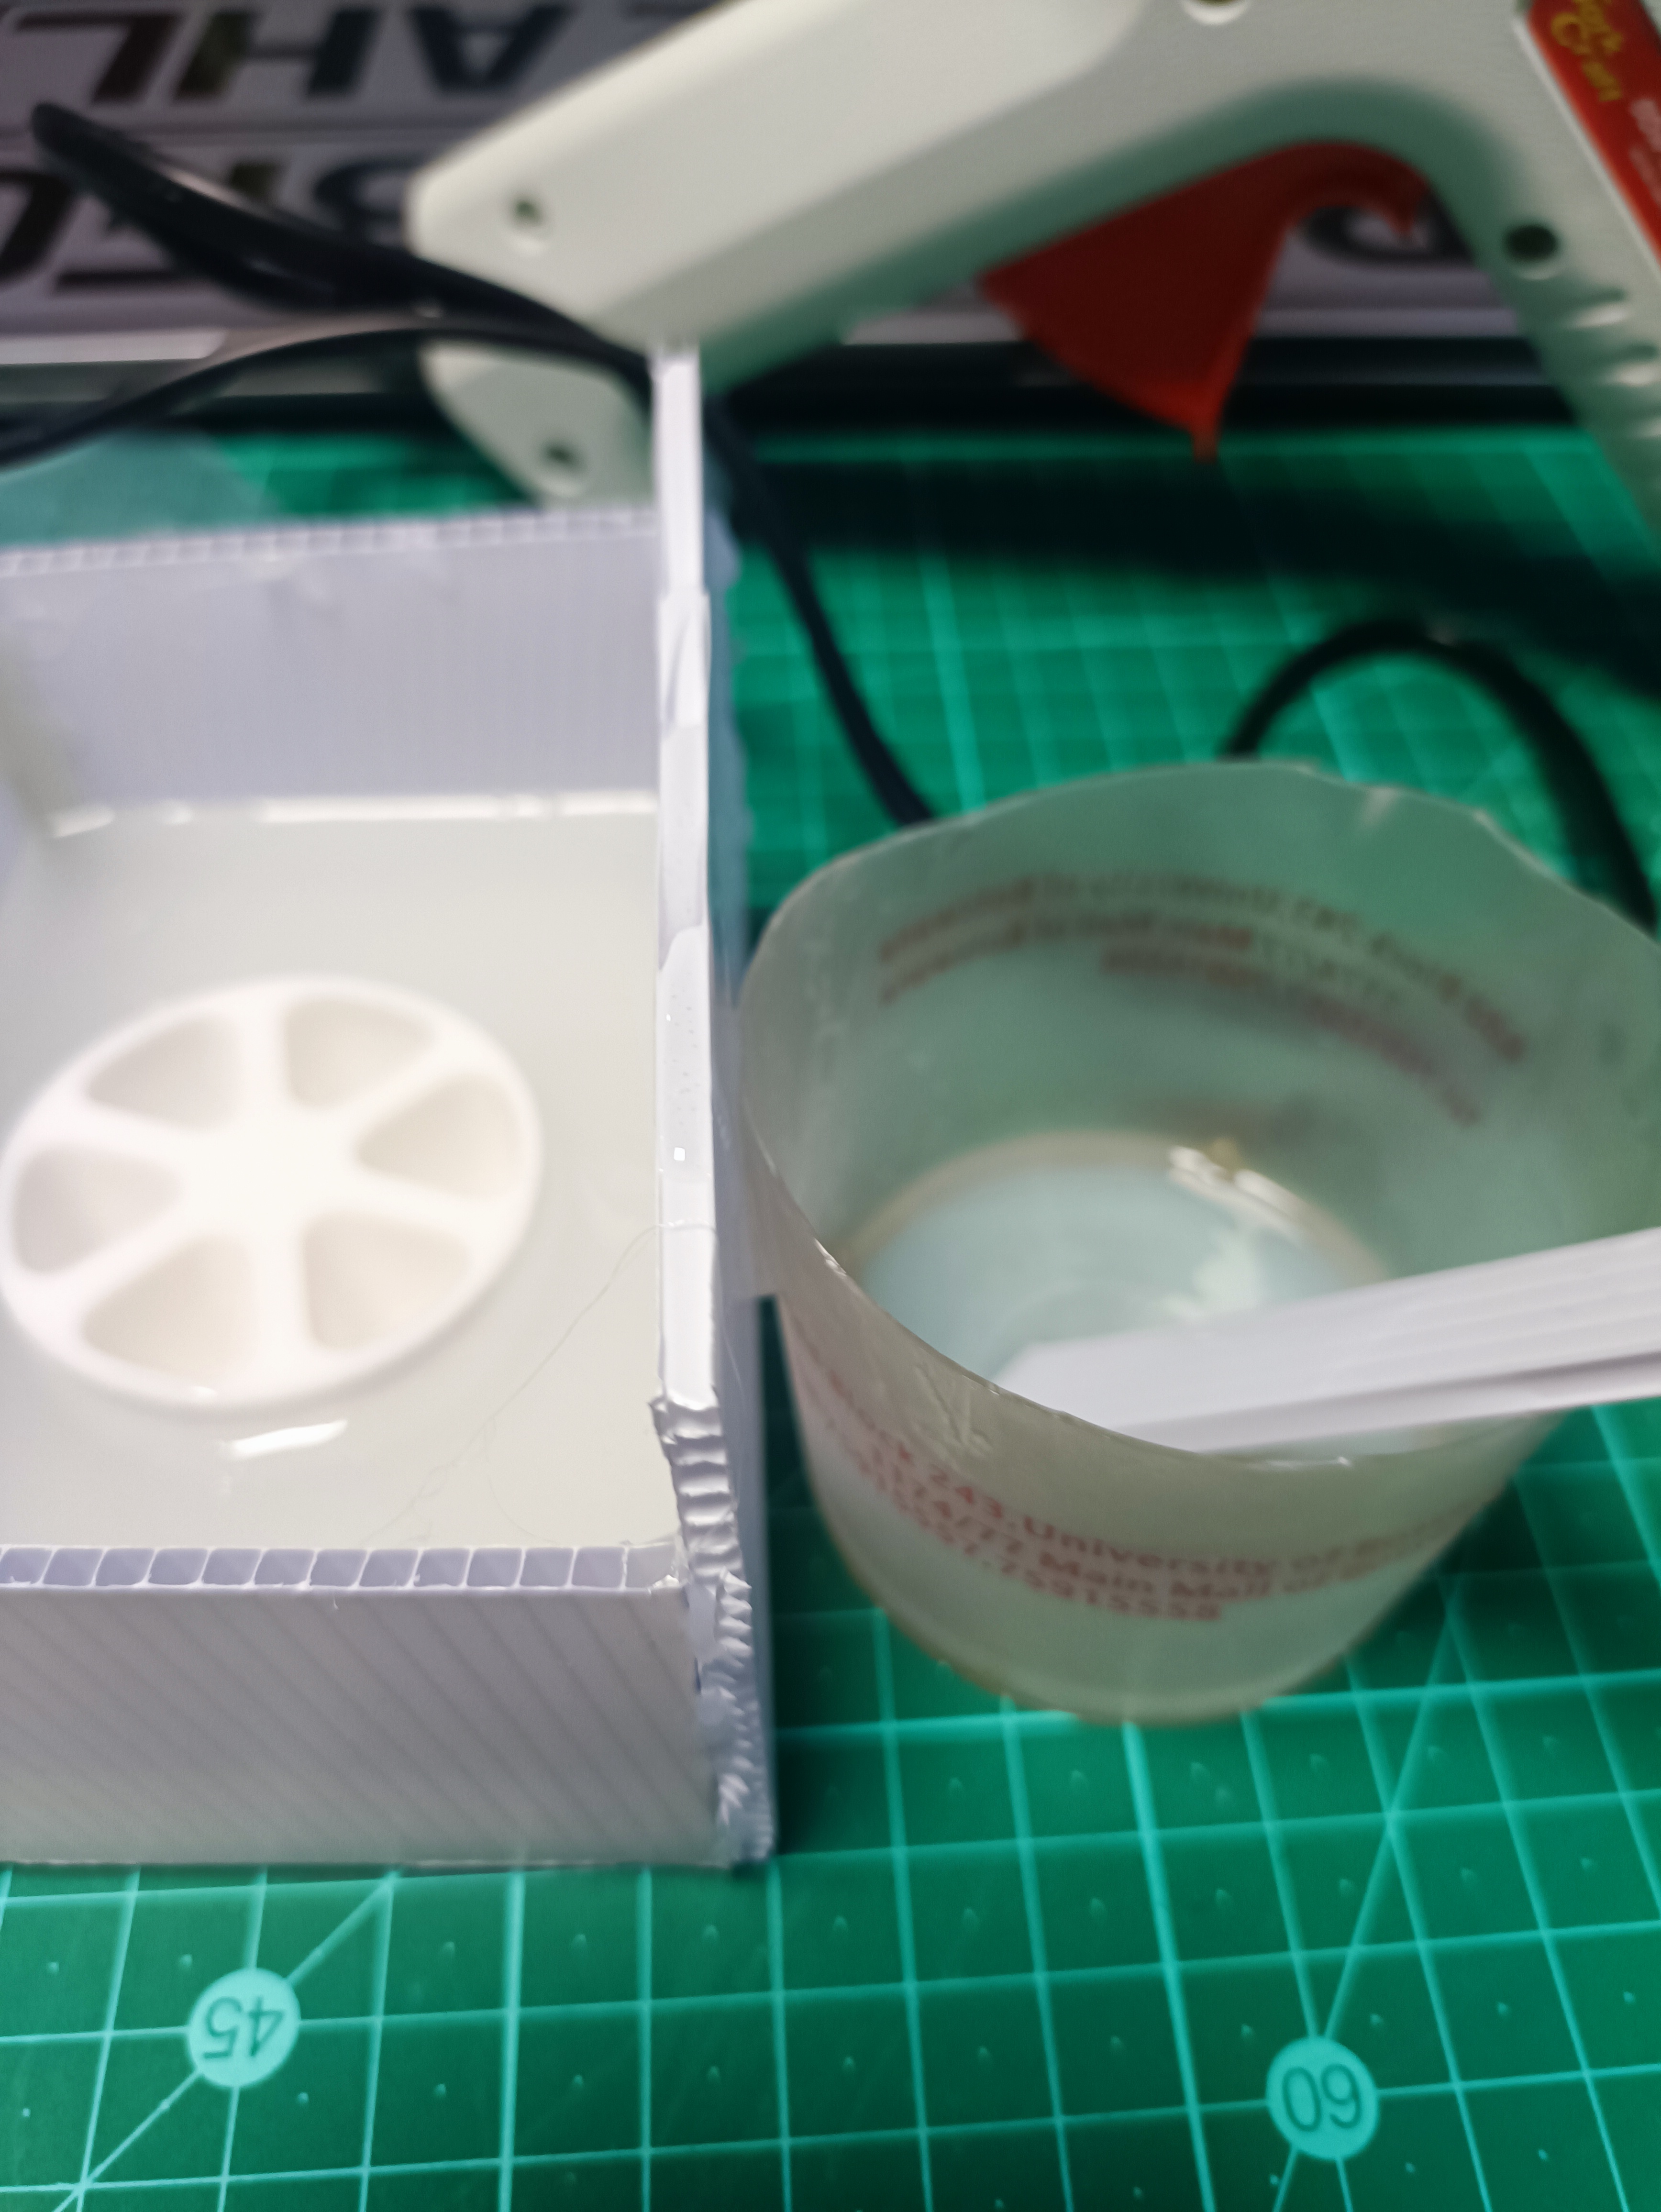
- Cast Part:
- Pour resin into sprue until mold is filled.
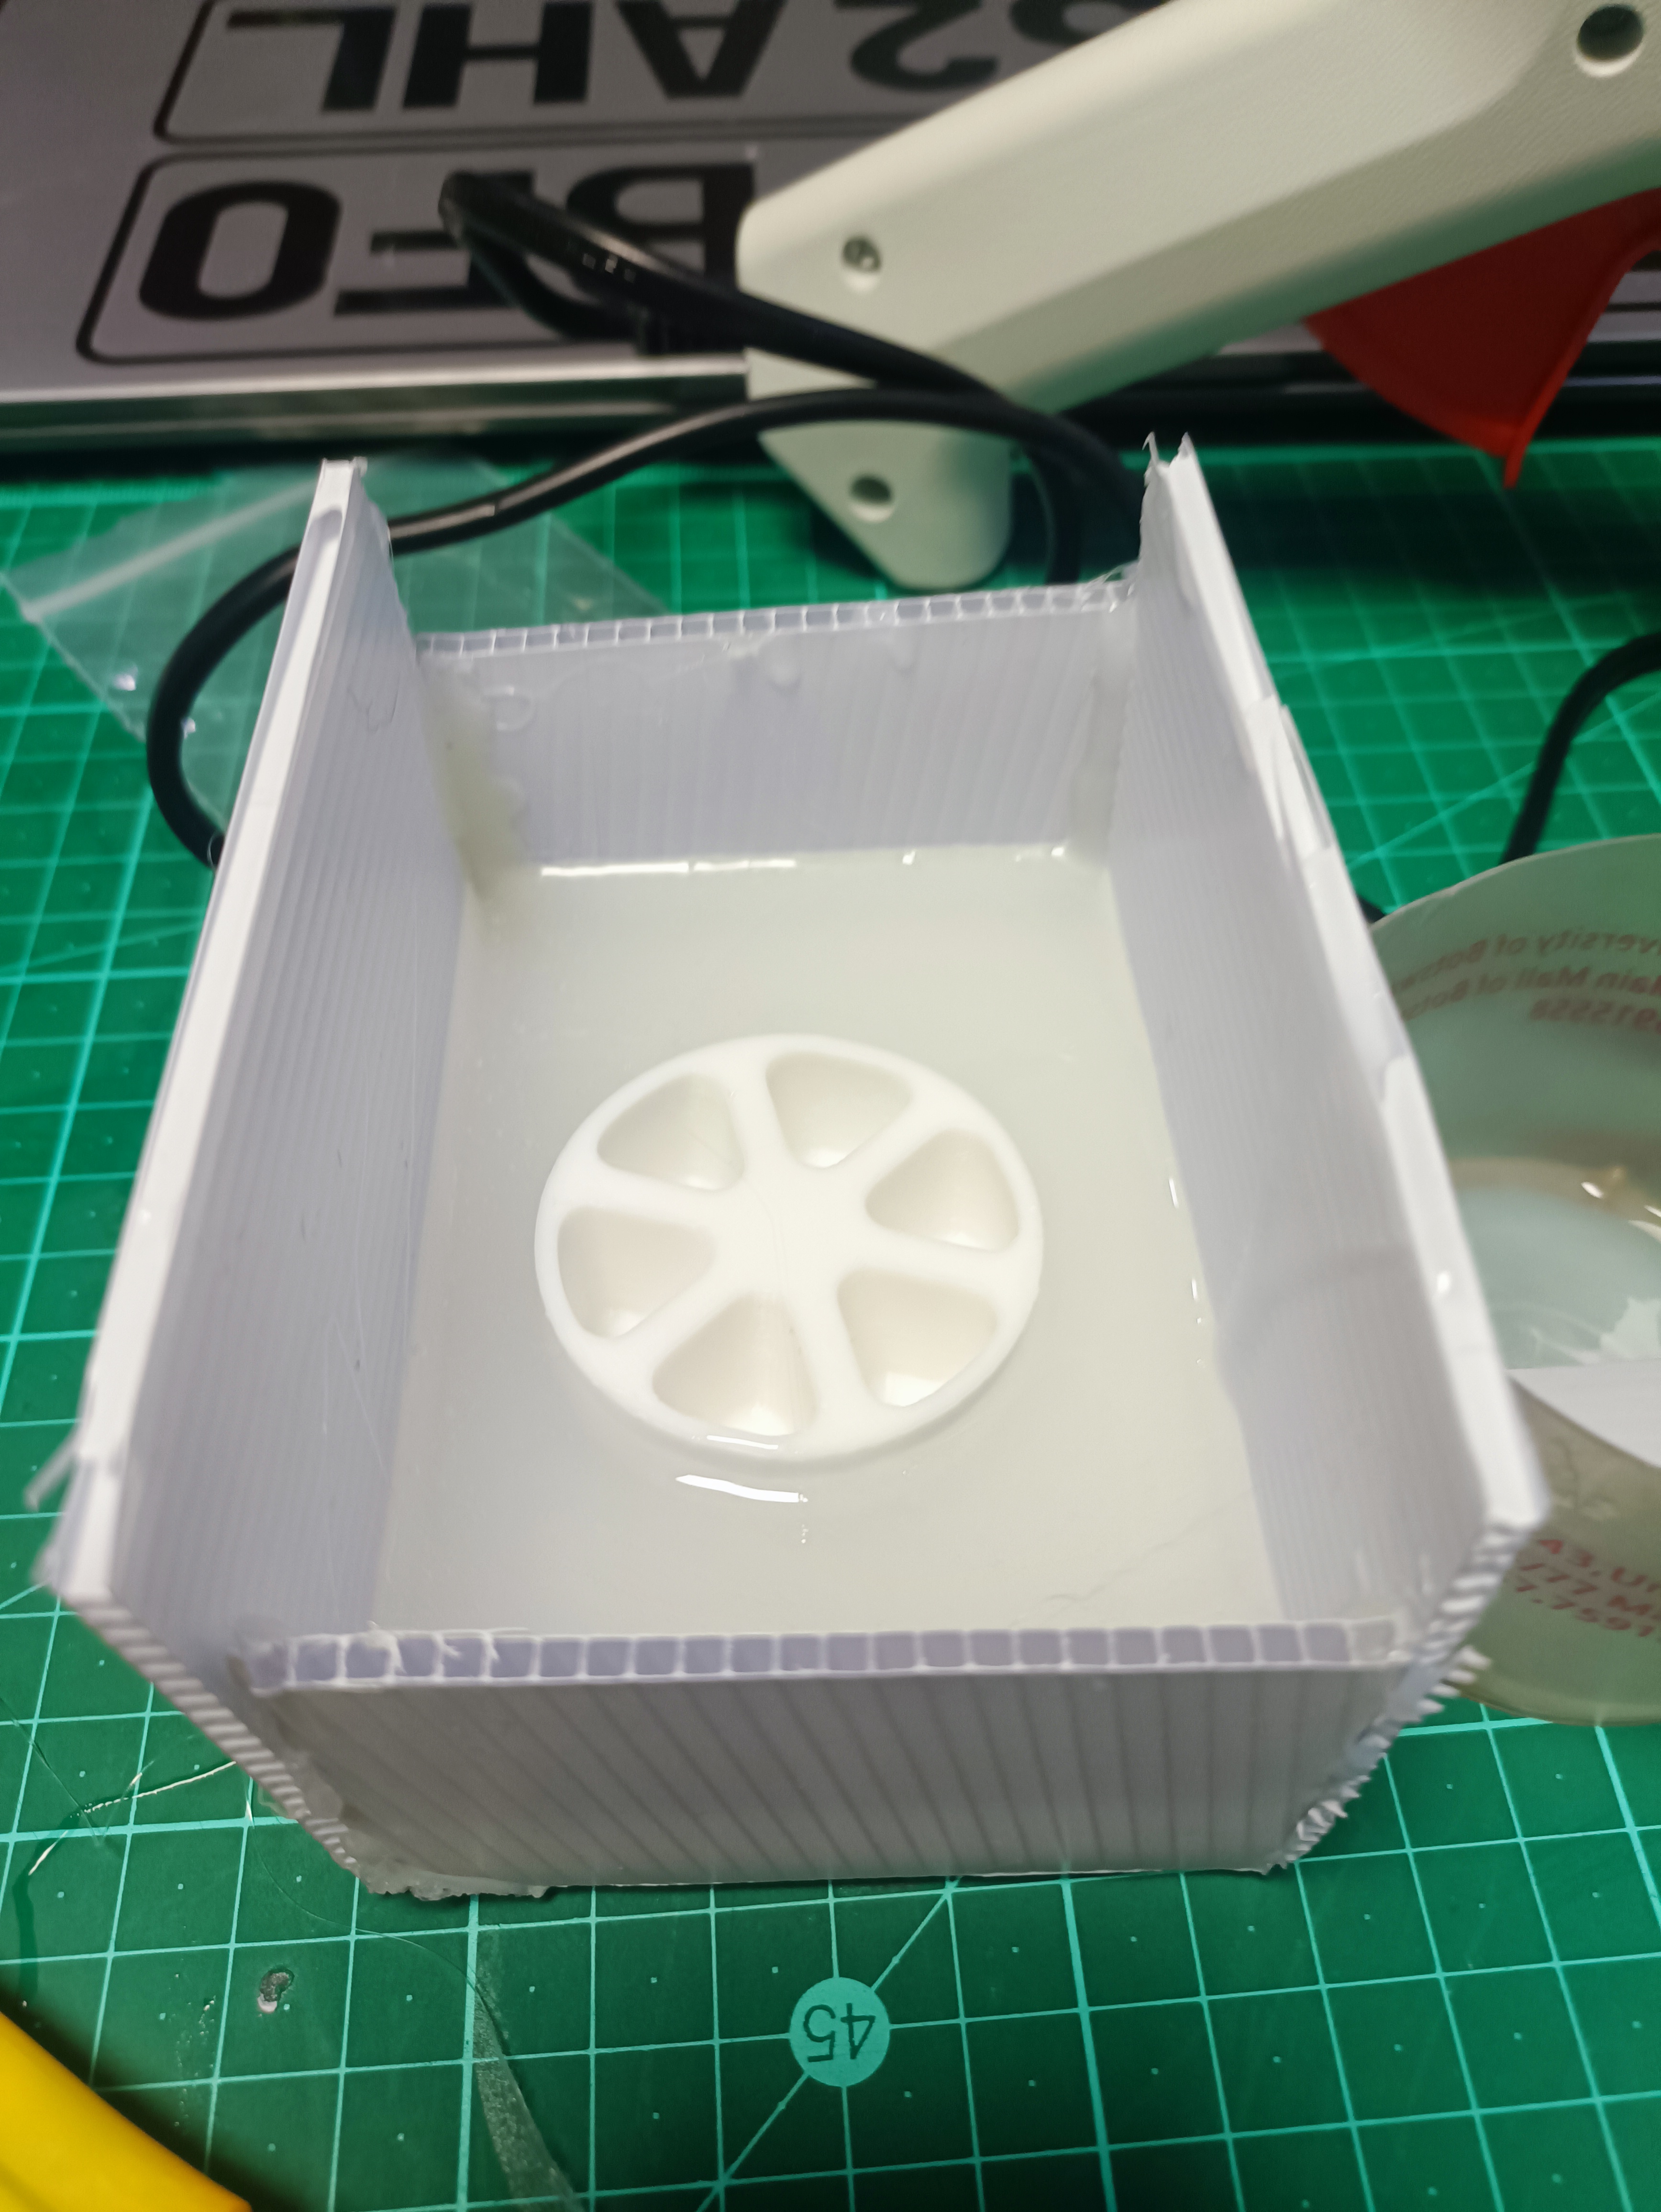
- Cure for 24 hours at 25°C.
- Demolding:
- Disassemble mold parts carefully.
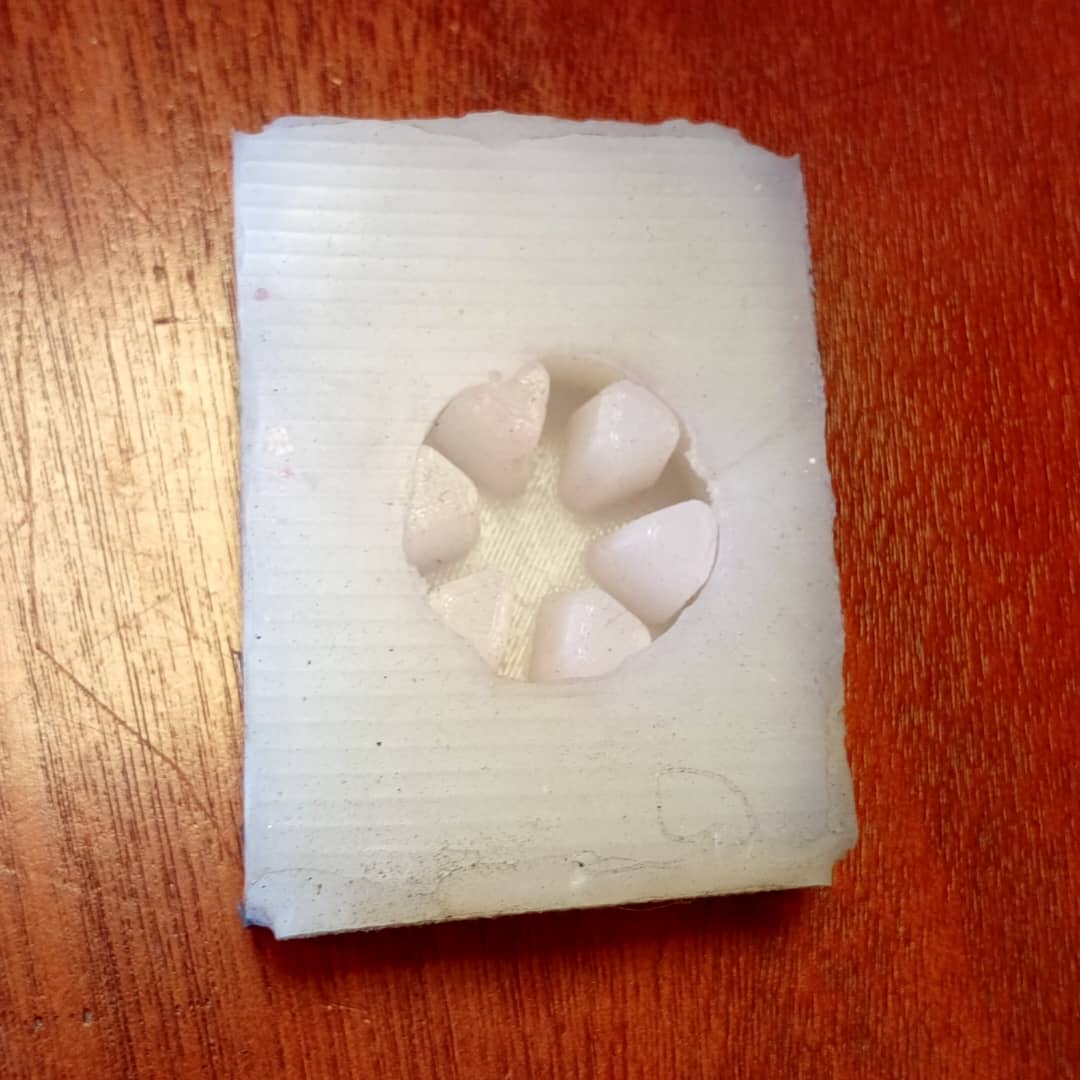
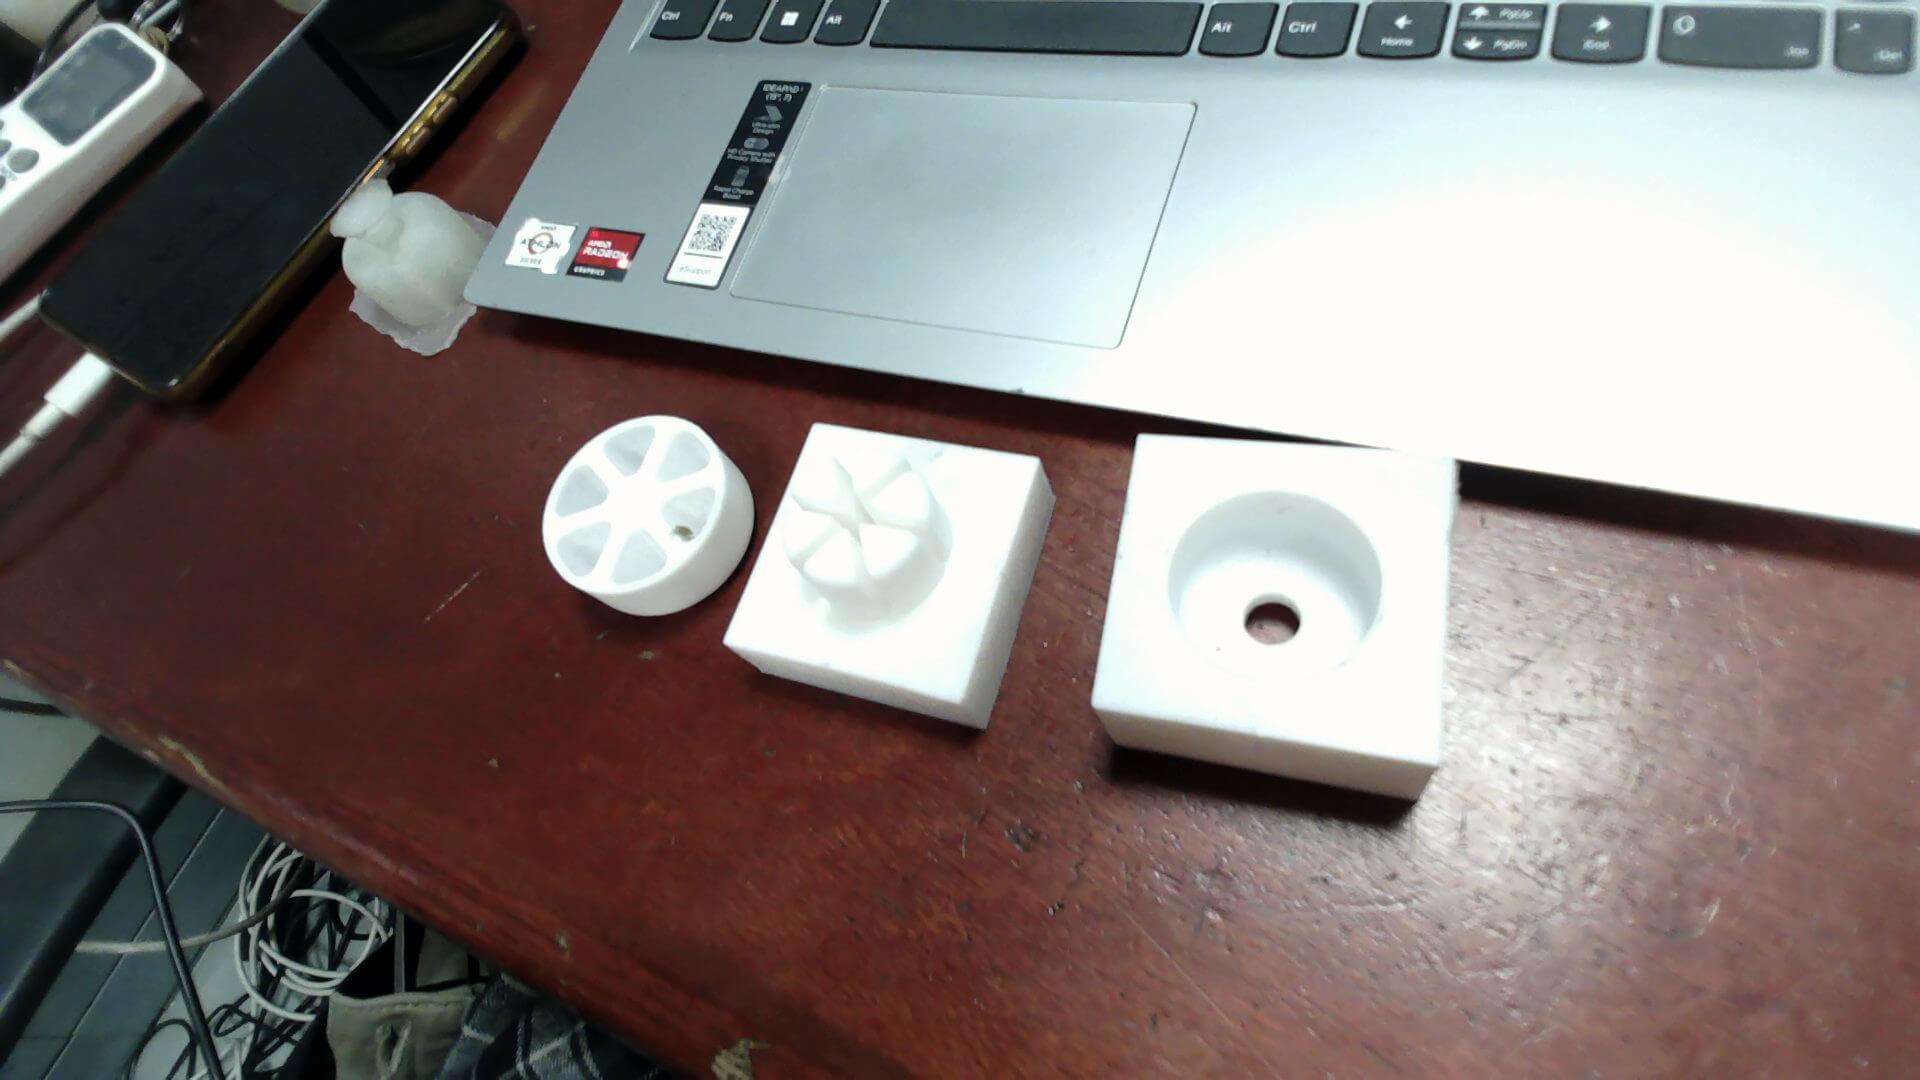
- 3D Printed PartsCake, Core and cavity
- Files for Download:
Zip Files for Downloads
STL files
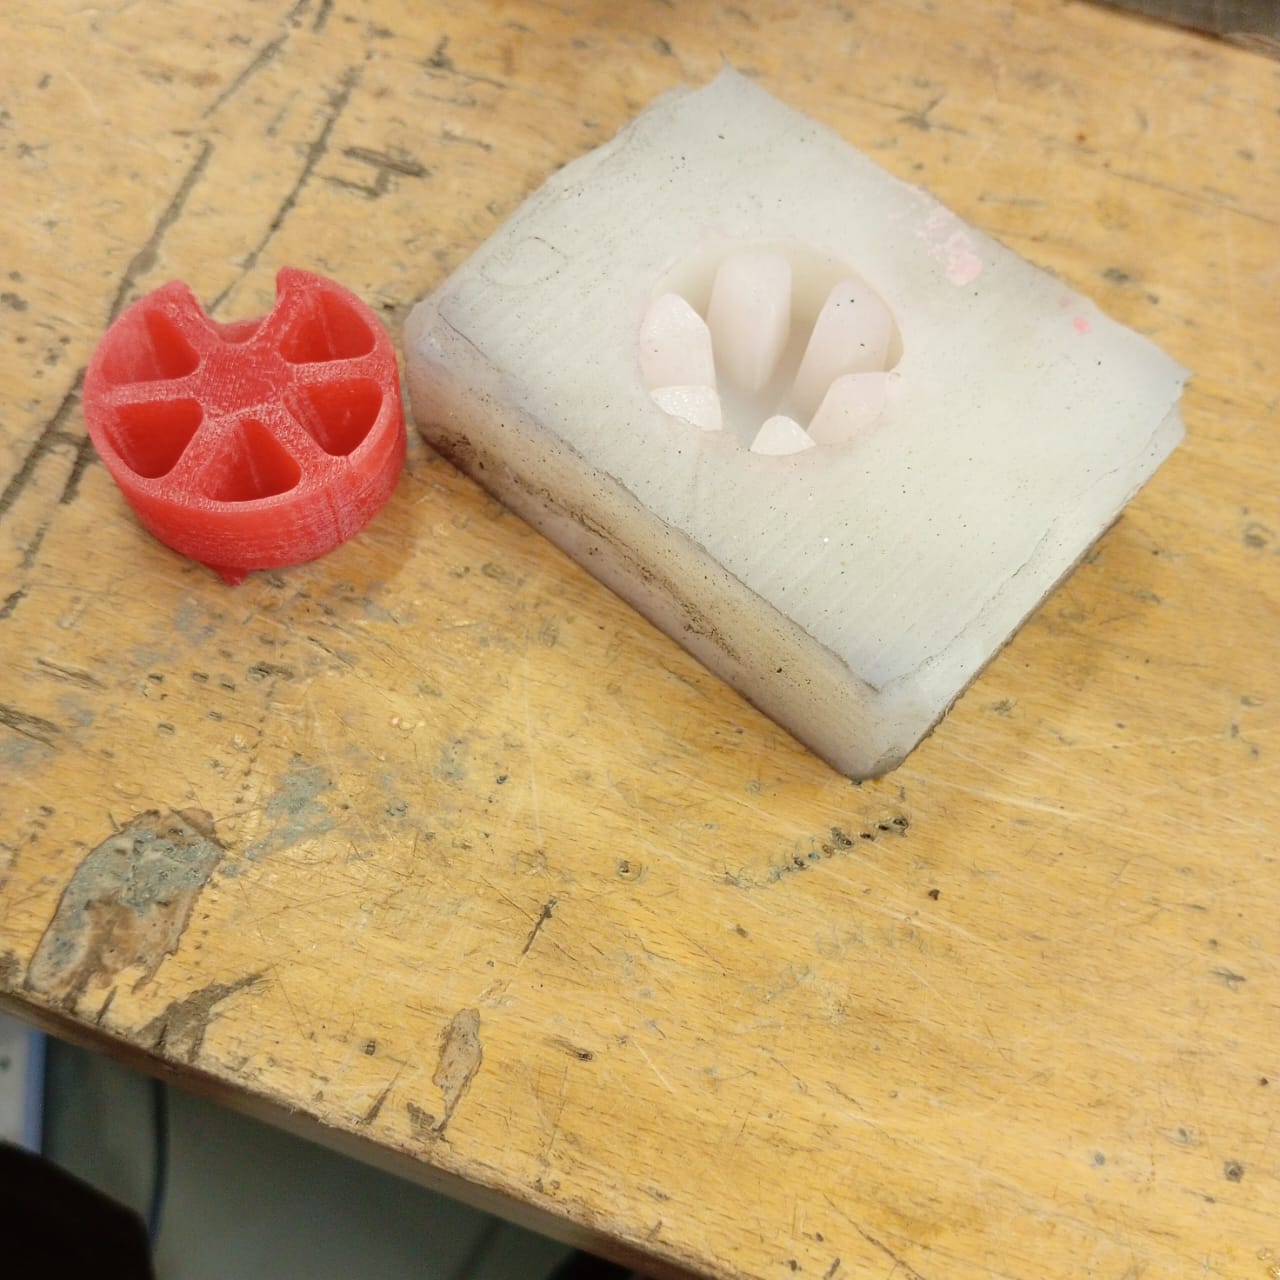
3.3 Casting Process
3.4 Design Output
4. Reproduction Instructions
- Cast Parts:
- Source epoxy resin, mold release, and safety equipment.
- Casting Candle
- Final Product
- Candle cake from Silicon mold
5. Conclusion
The group assignment provides a comprehensive comparison of molding and casting materials and processes, highlighting trade-offs in flexibility, durability, and ease of use. The individual assignment demonstrates mastery of mold design and production, achieving a smooth three-part mold for casting.