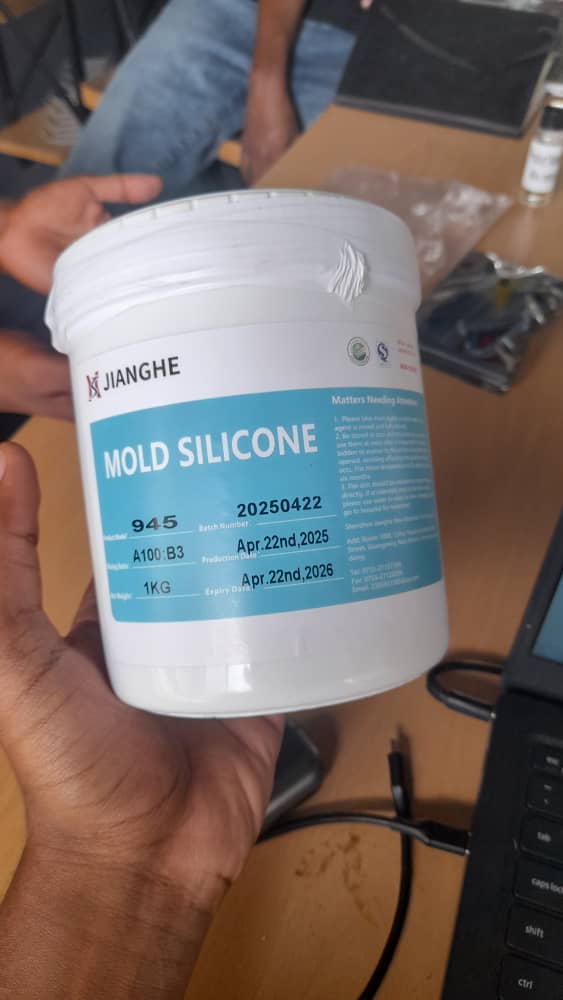
For our group assignment, we began by reviewing the safety data sheets for each of the molding and casting materials we used. We then made and compared test casts using silicone with its hardener and wax. To create the molds, we used two different methods: 3D printing and CNC milling. This allowed us to compare the outcomes and effectiveness of printing versus milling molds.
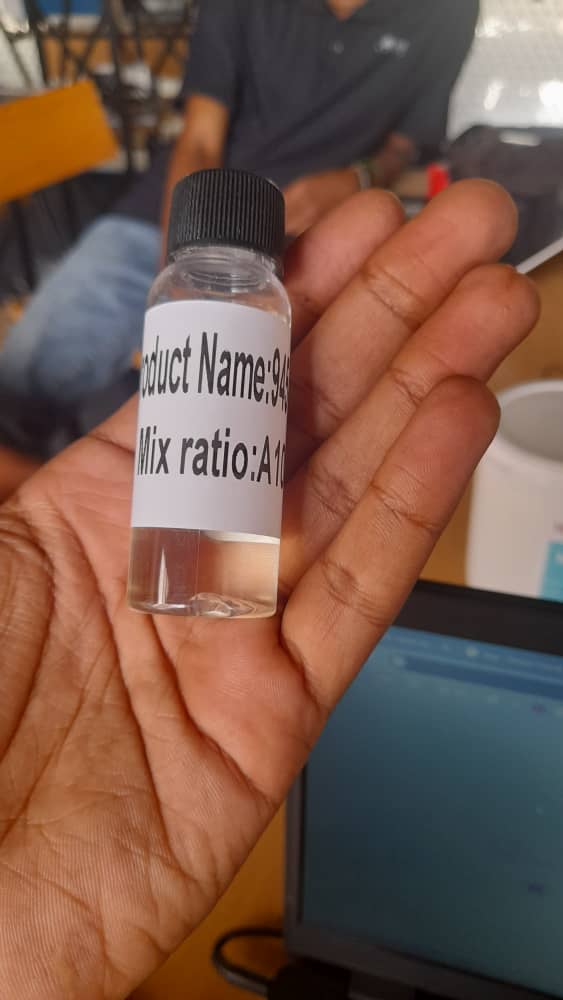
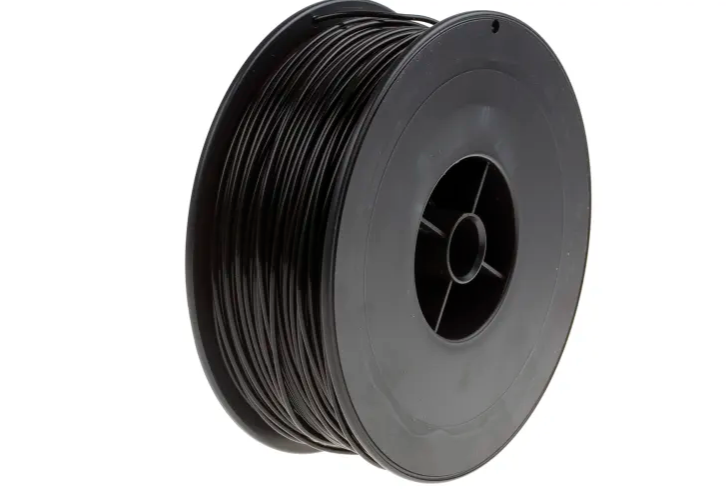
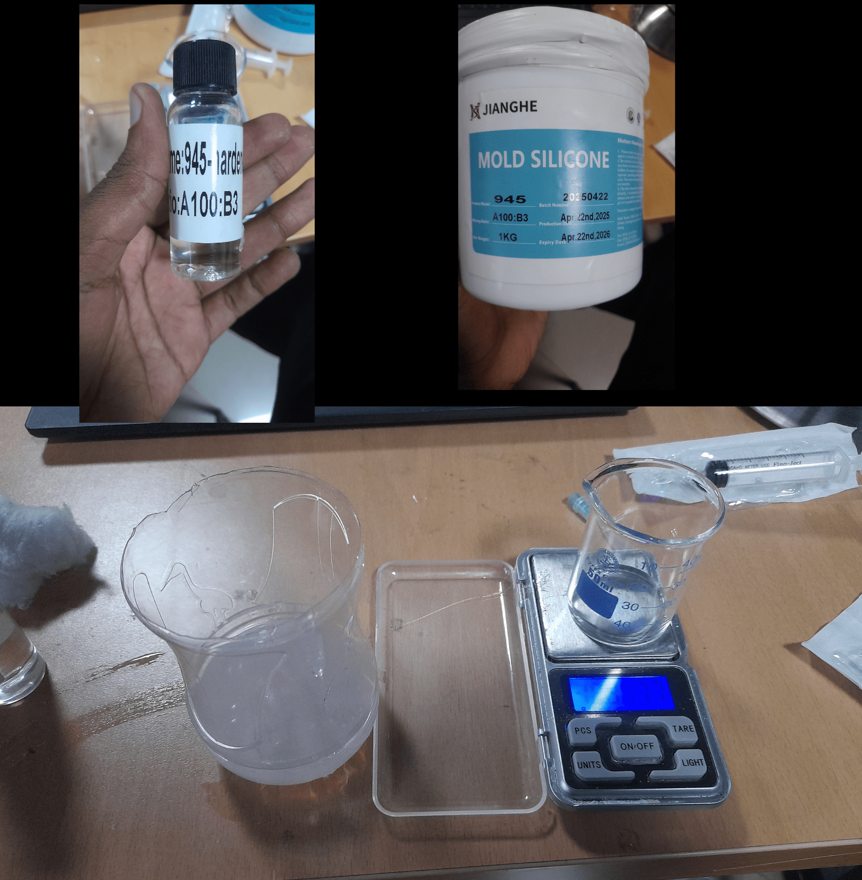
For the 3D printing and silicone casting process, the plan was to design and print a mold using a 3D printer with PLA filament. Once the mold was ready, we poured silicone mixed with its hardener into the printed mold to create the desired cast. This method allowed us to test the compatibility of 3D printed molds with silicone casting and observe the level of detail achieved in the final product.
For the CNC milling and wax casting process, the plan was to first create a design and use the CNC machine to mill the mold into MDF material. Once the mold was ready, we heated the wax until it melted and then poured it into the mold to form our cast. This method allowed us to explore the precision of CNC-milled molds and the casting behavior of wax in MDF molds.
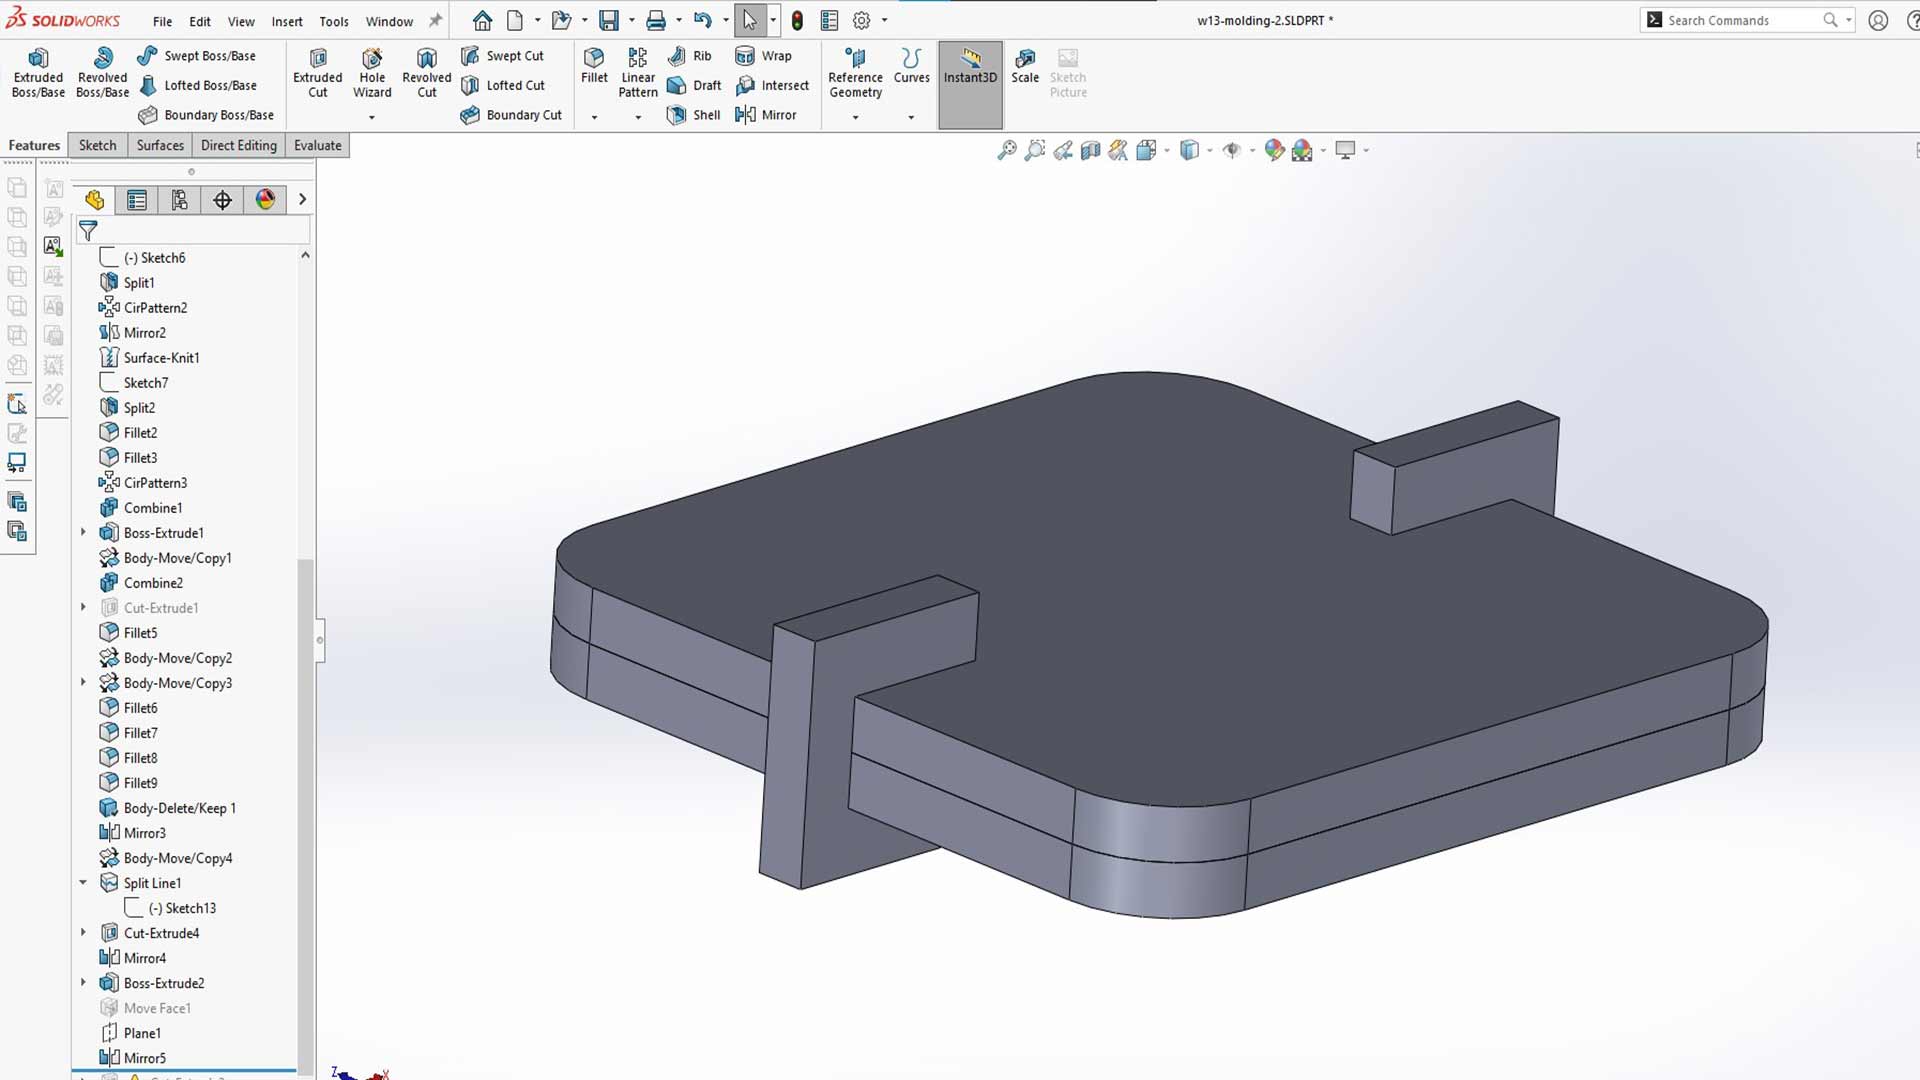
We started off with the design of star shape body
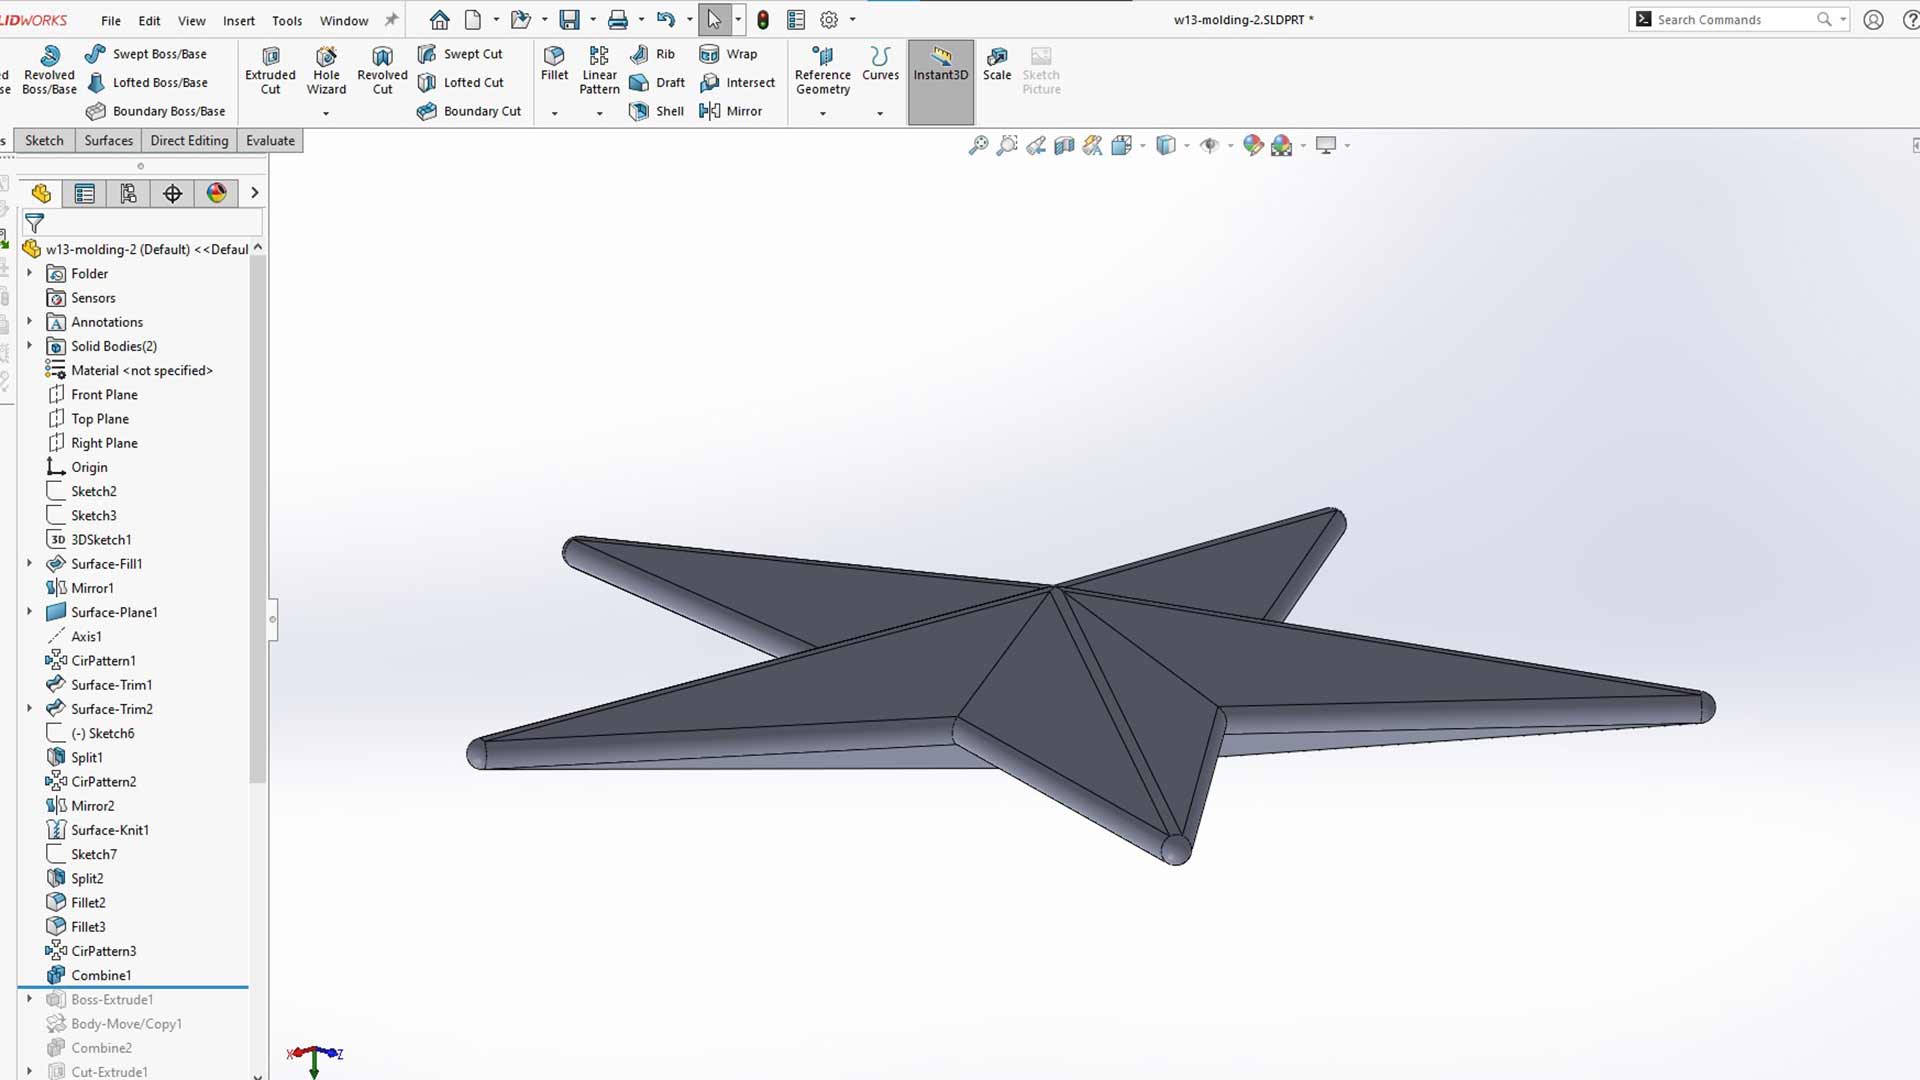
Then after, we made solid body around shape.
Note: This body must be bigger than that volume since we are using the combine tool to make cavity.

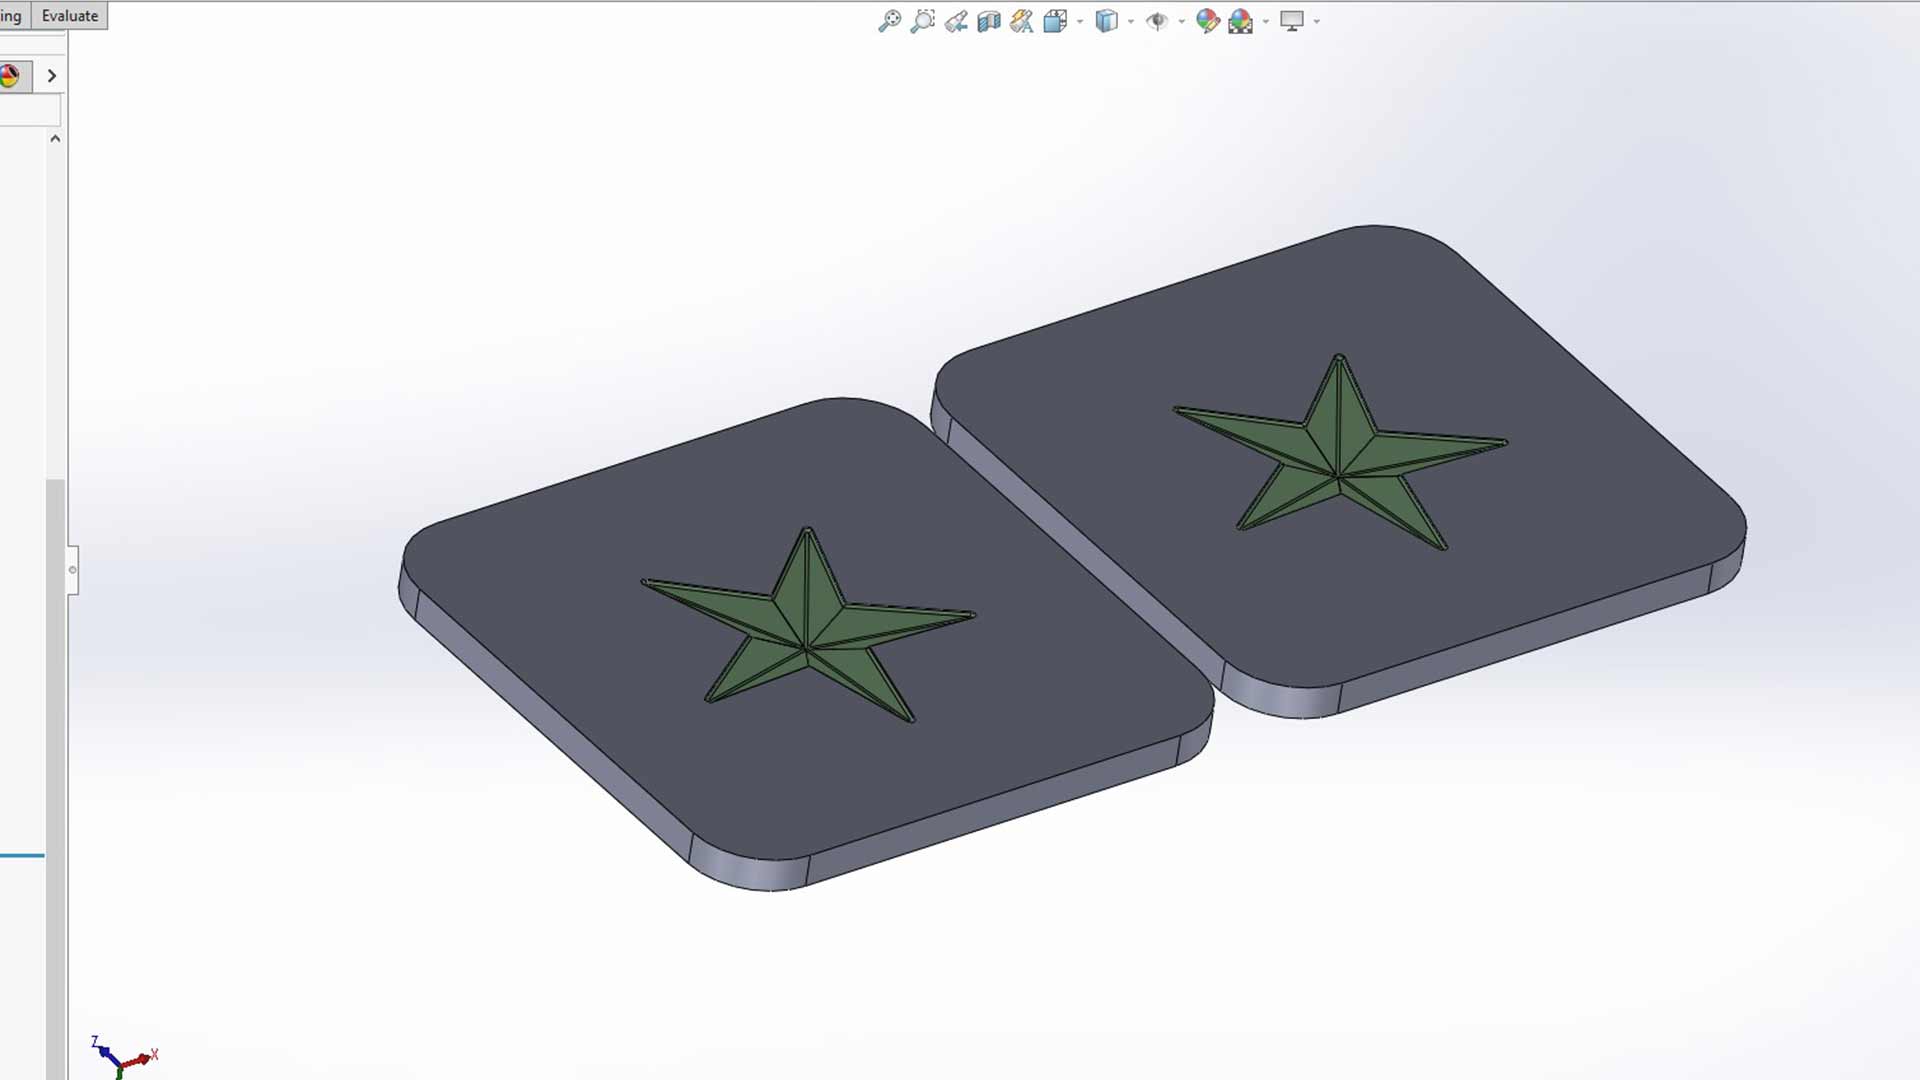
We then used combine tool (substraction) to form cavity.

And then we duplicated the body using SolidWorks mirror pattern.
The two sides are the same; only is that one is mirror of another.
Lastly, we designed holders. These will hold mold parts together.
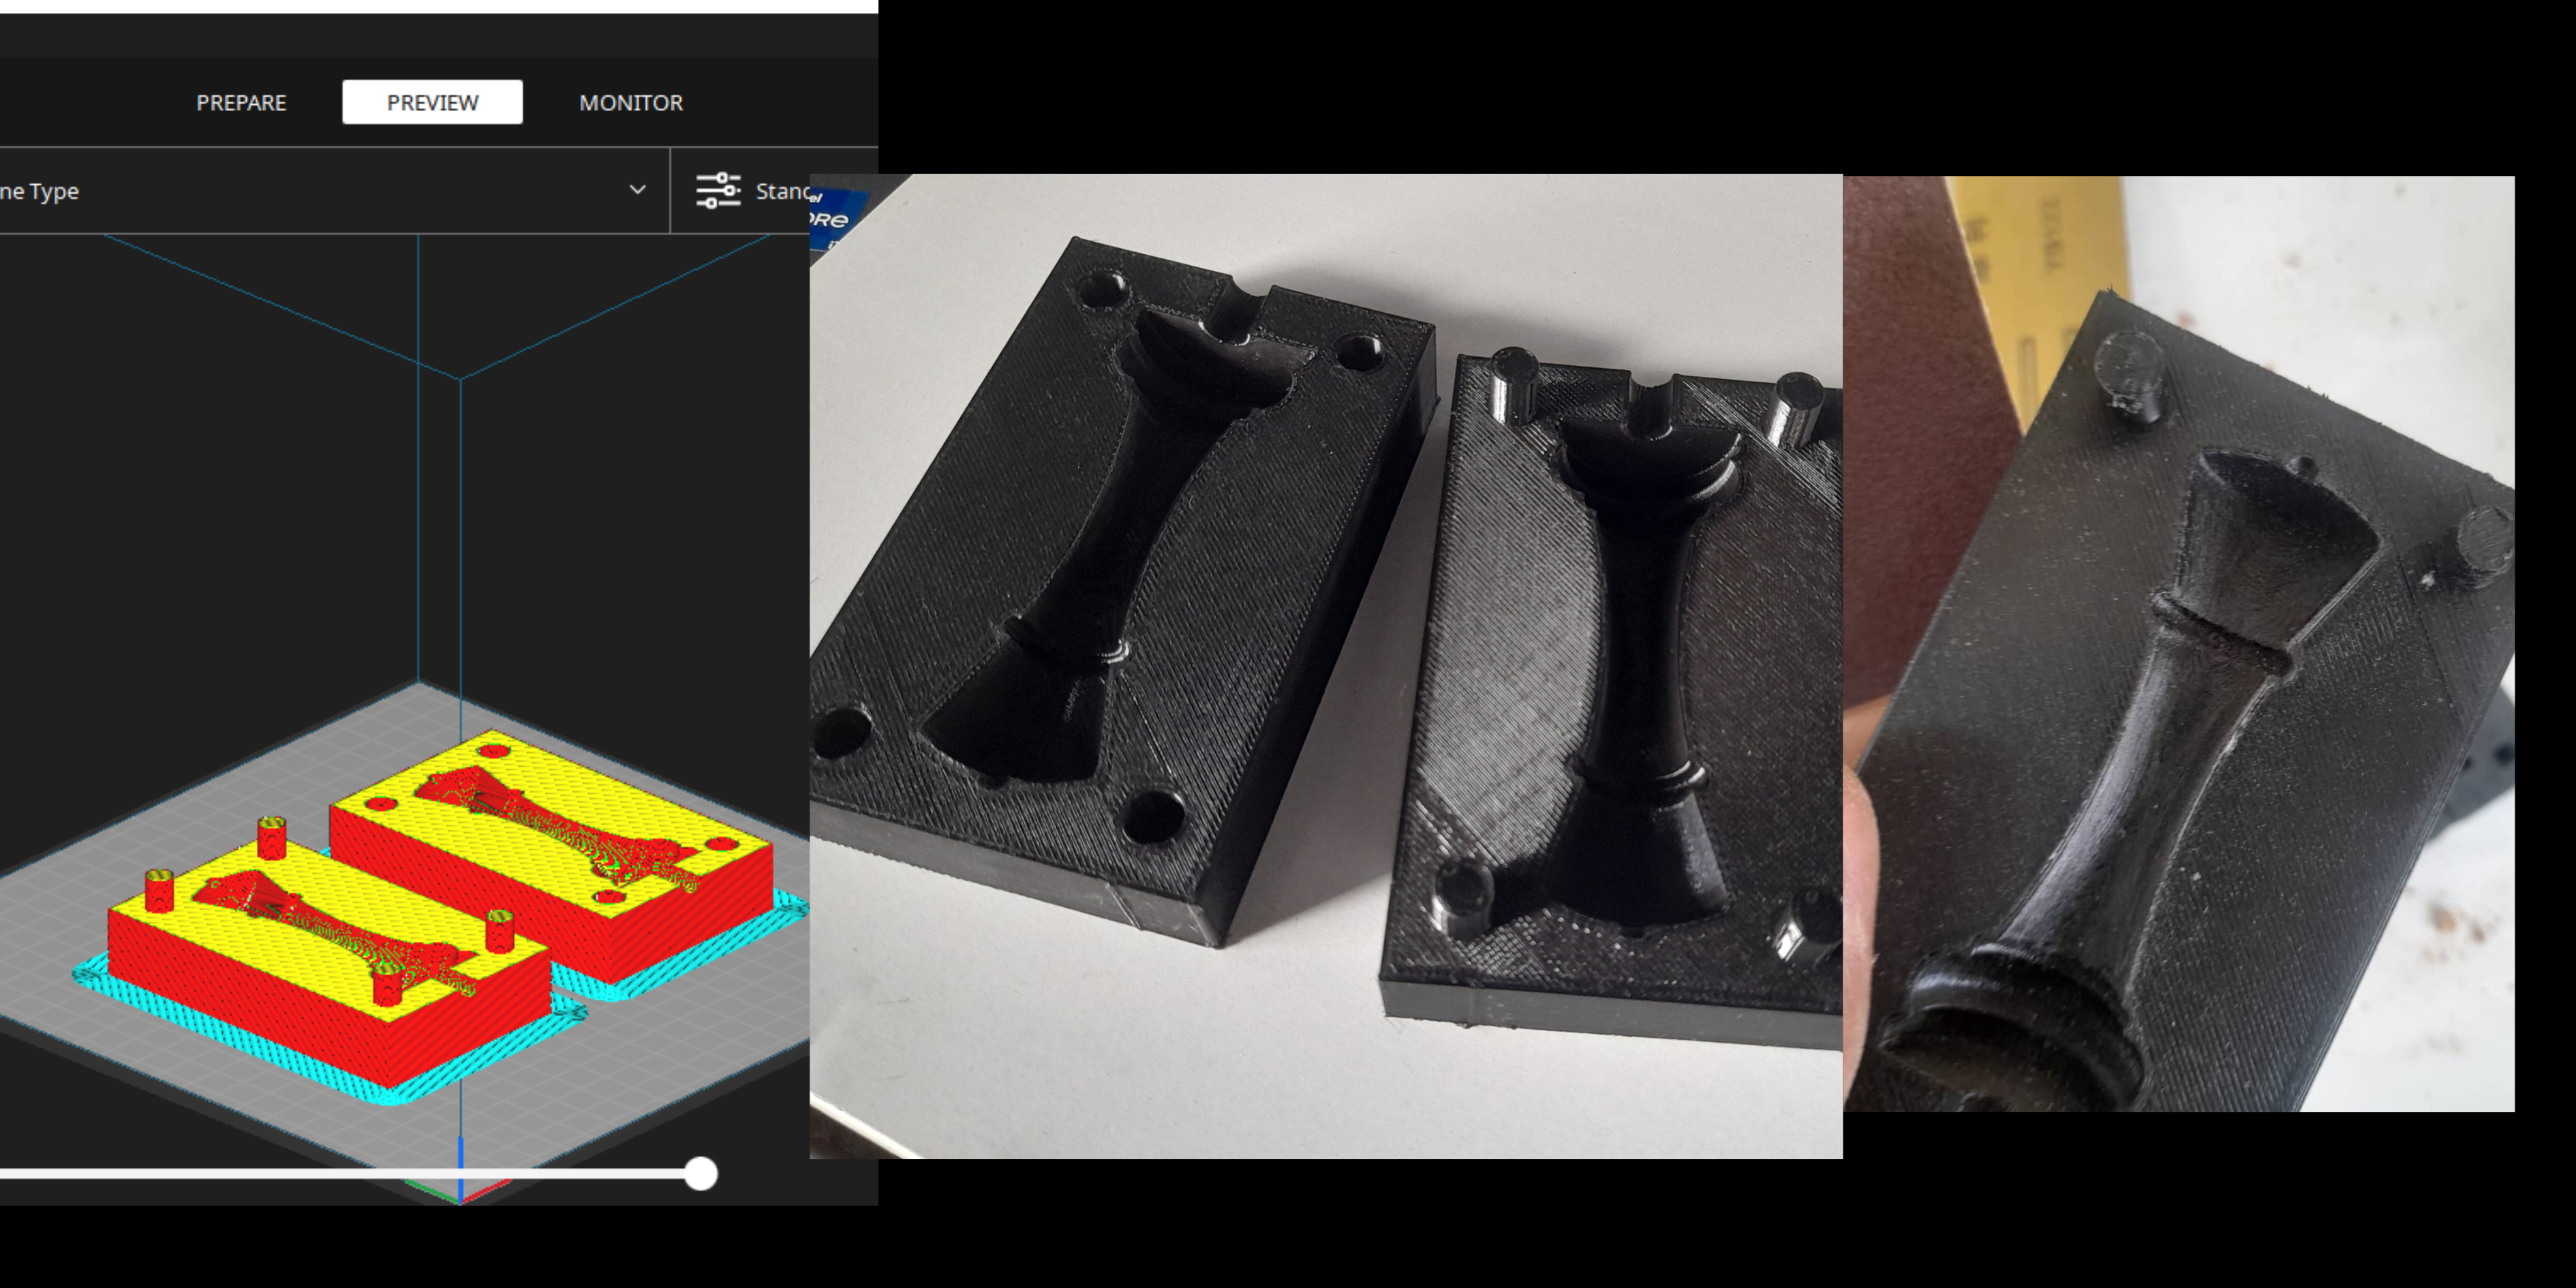
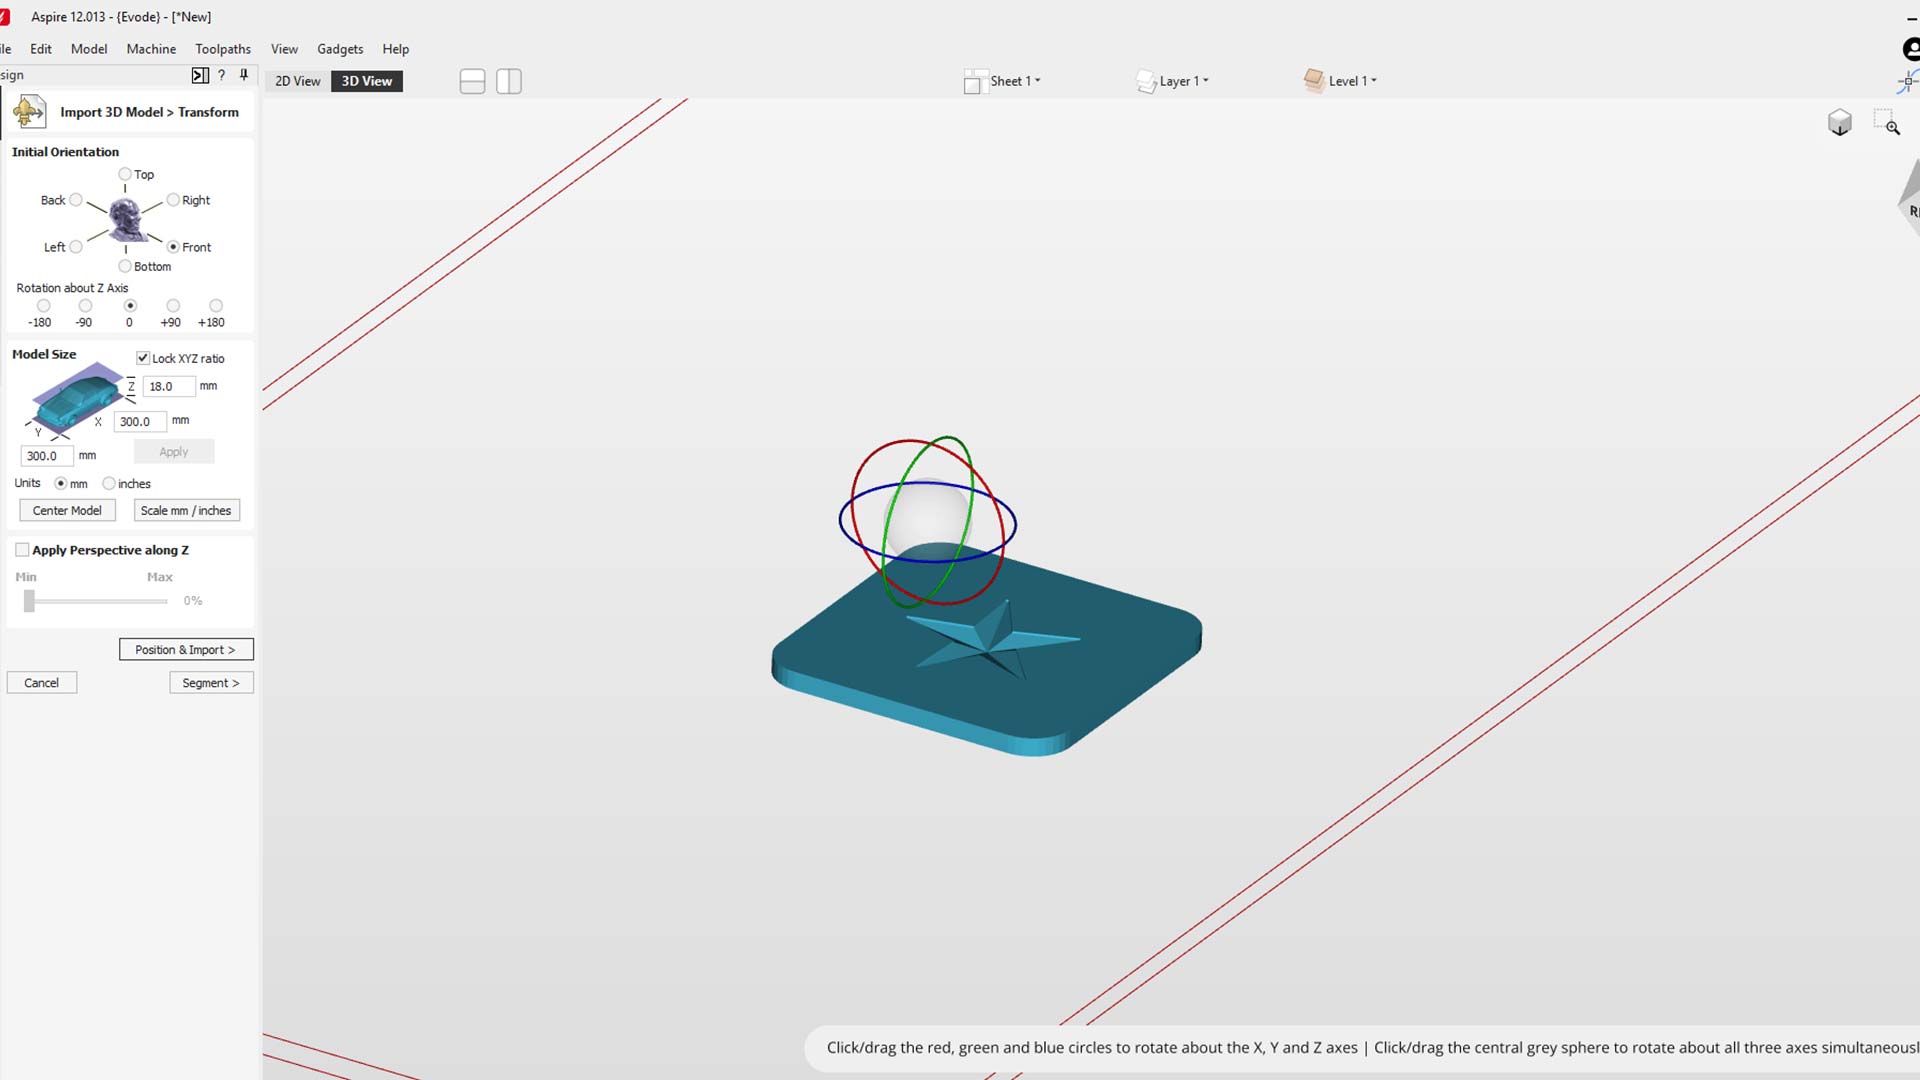
We exported STL file and then imported in Aspire.
We started with 3D roughing
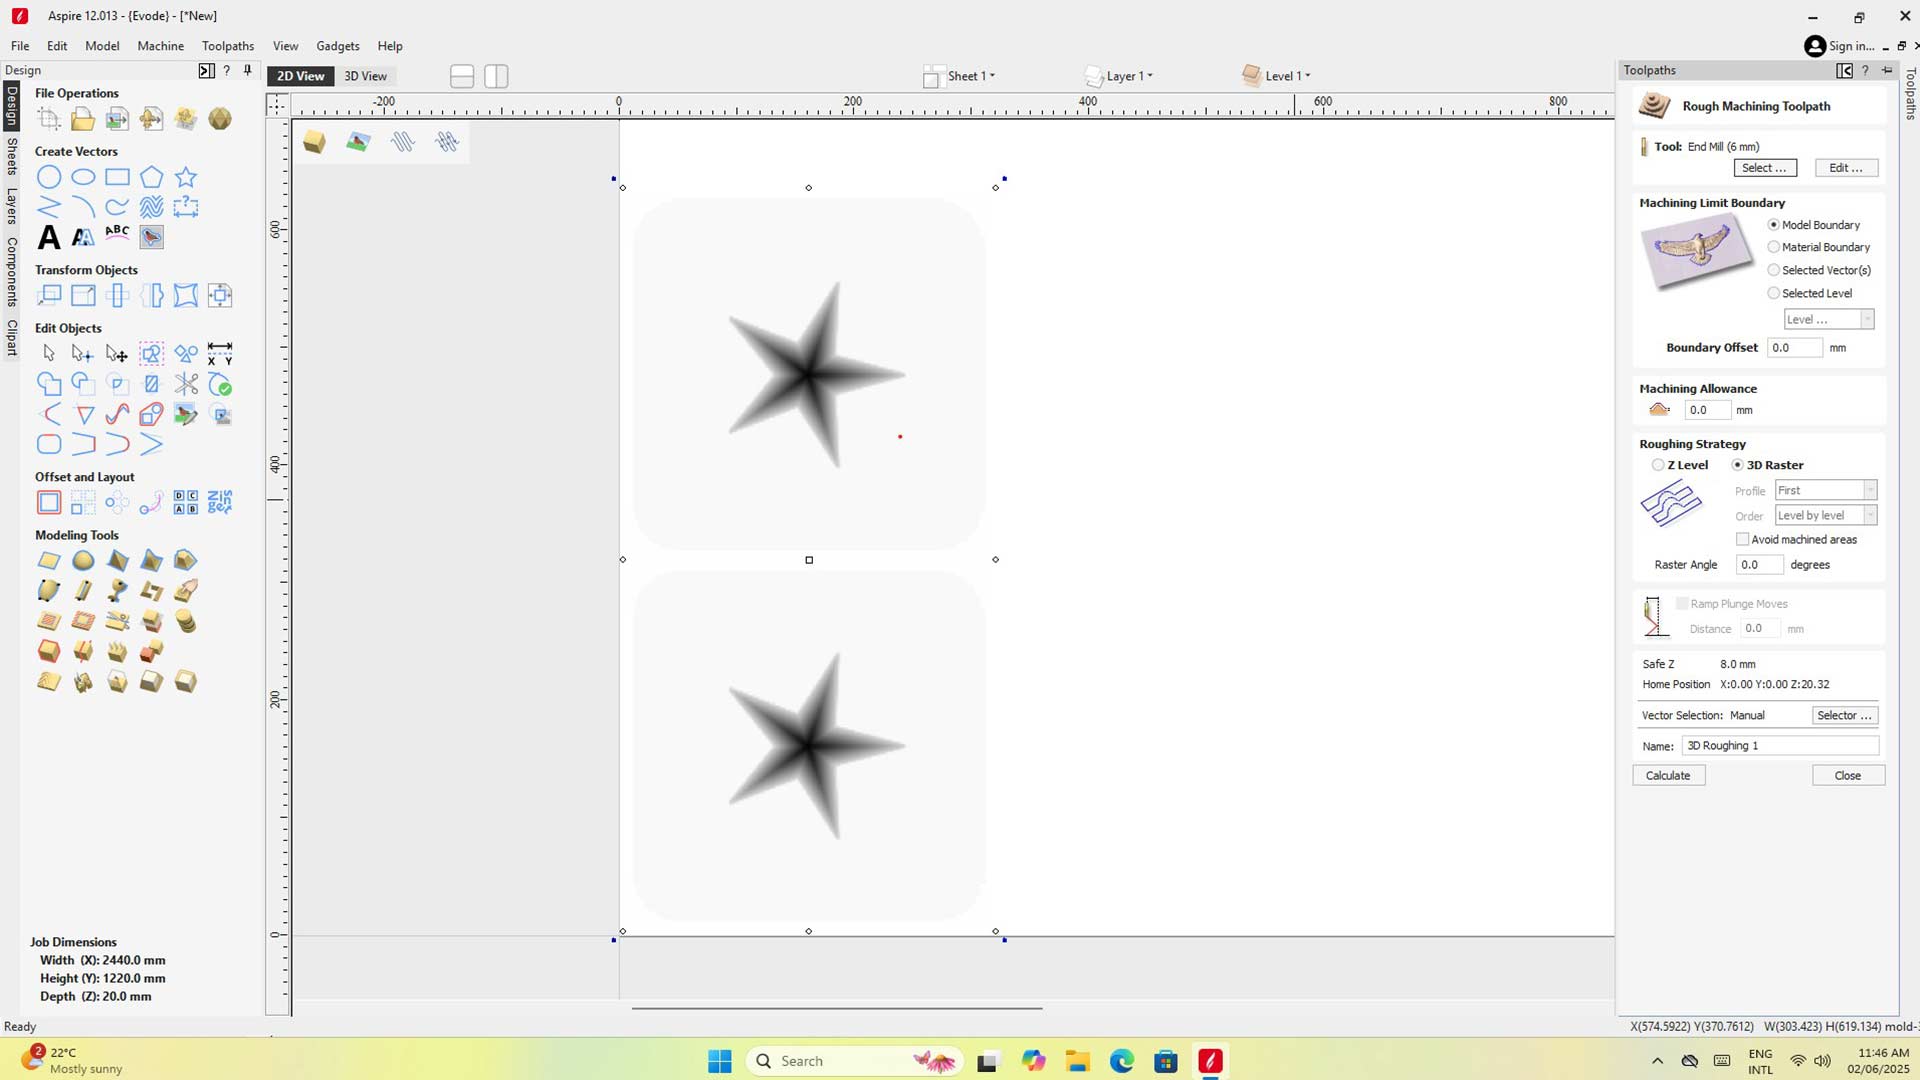
After 3D roughing, we followed with 3D finishing. This to make mold as smoth as possible.
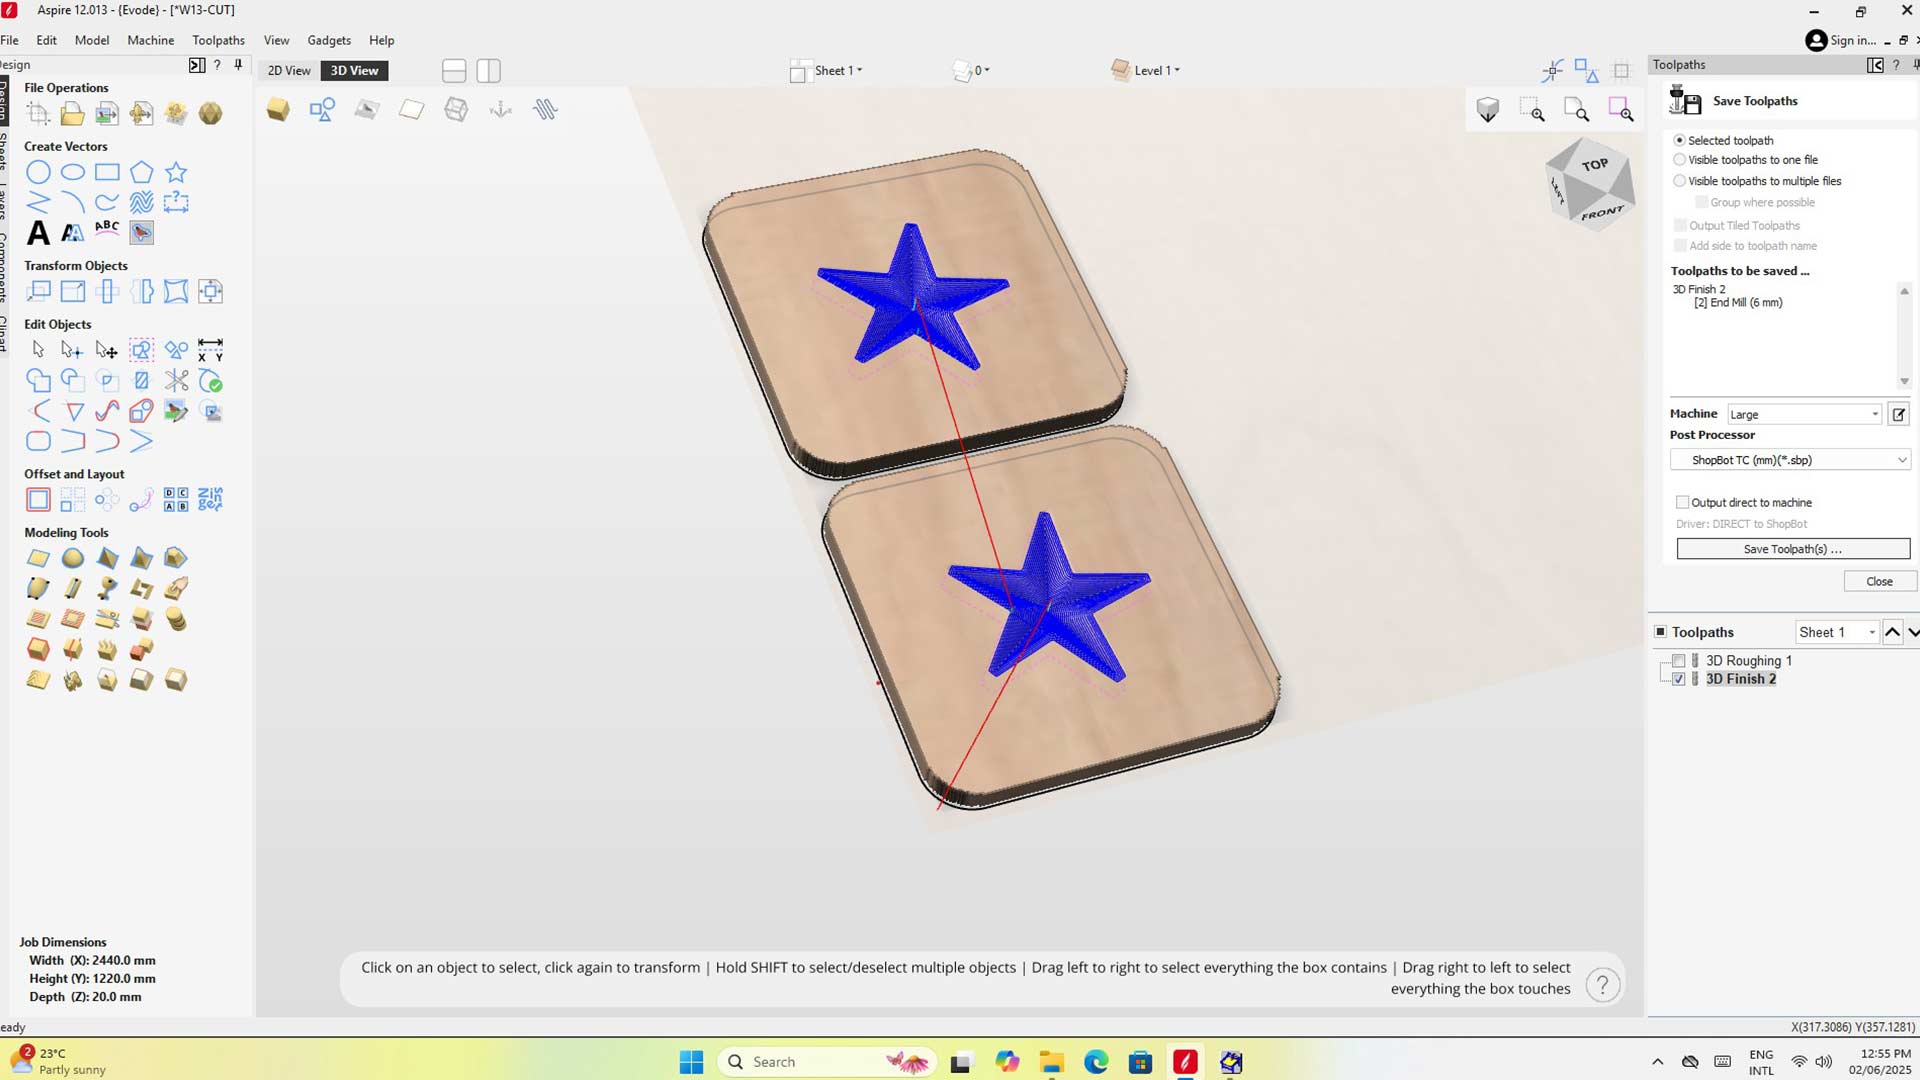
This is a video of CNC machine milling (3D finishing)
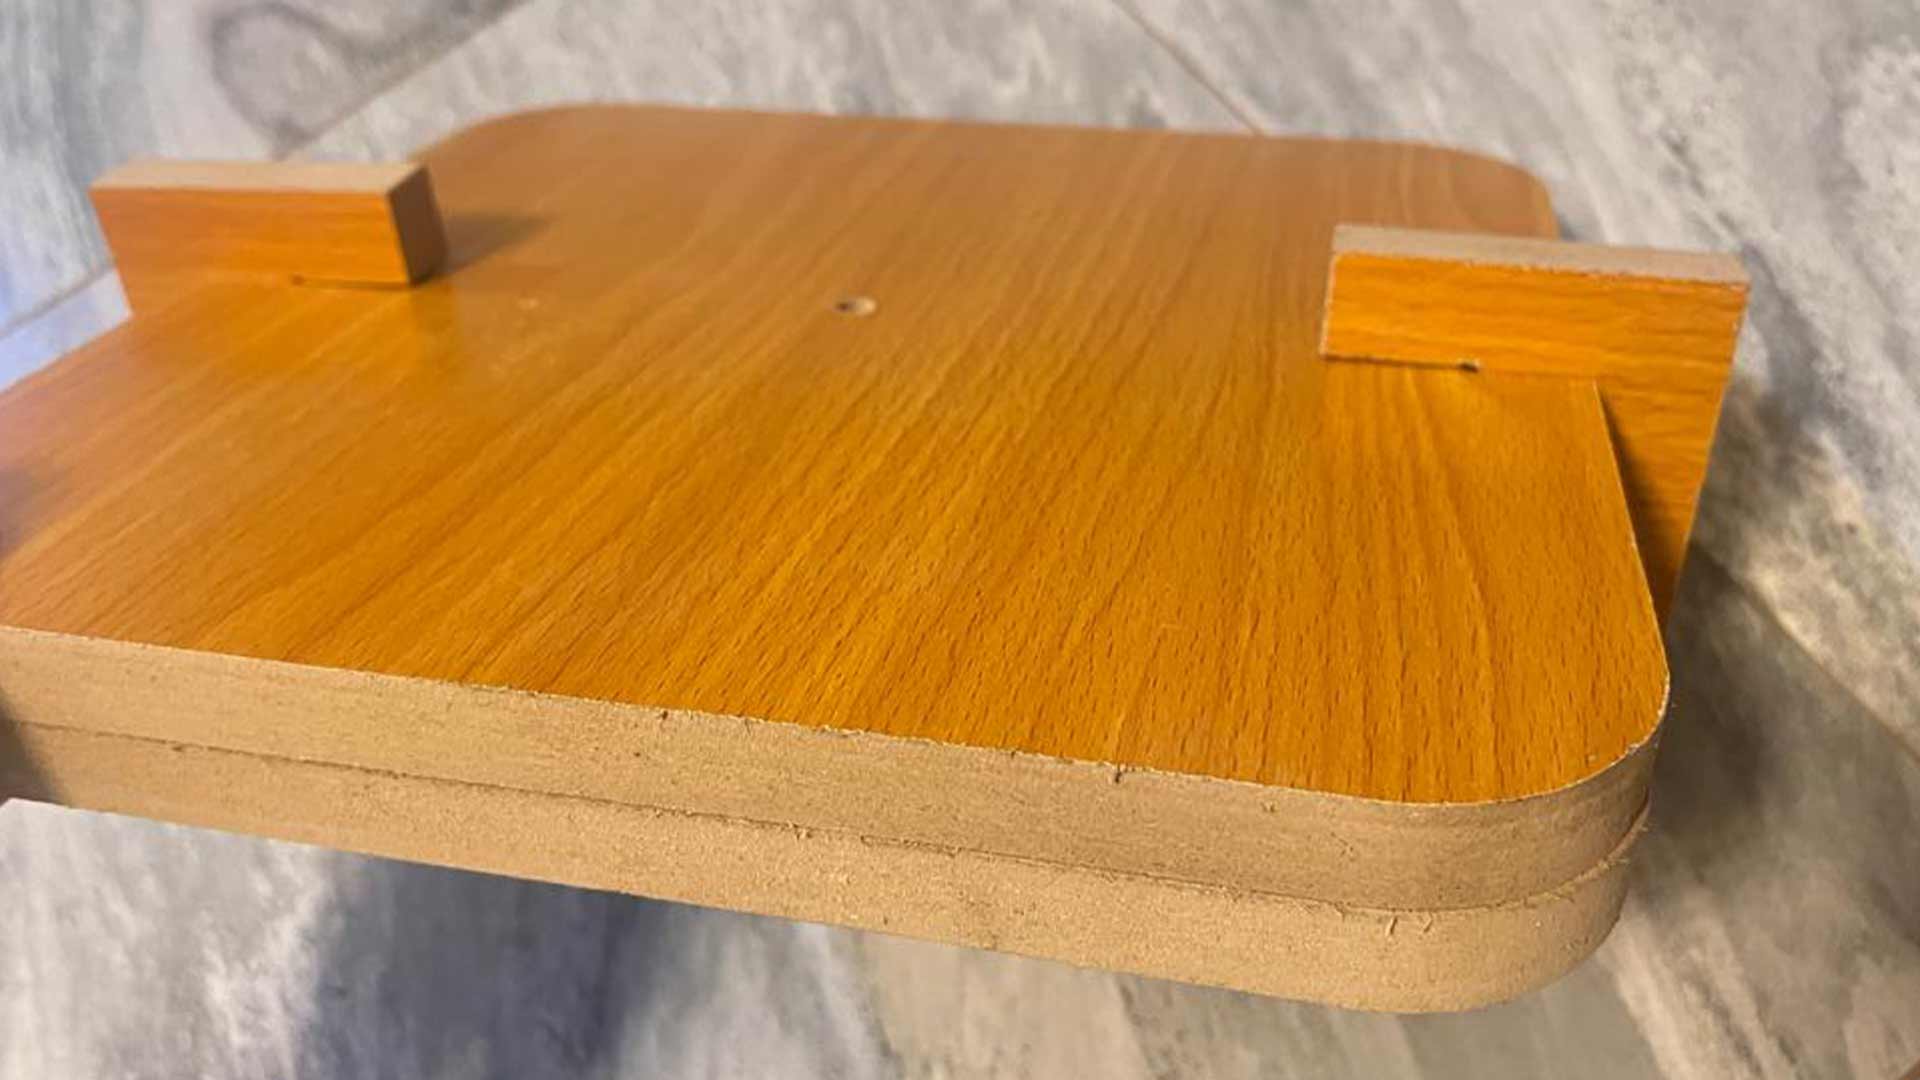
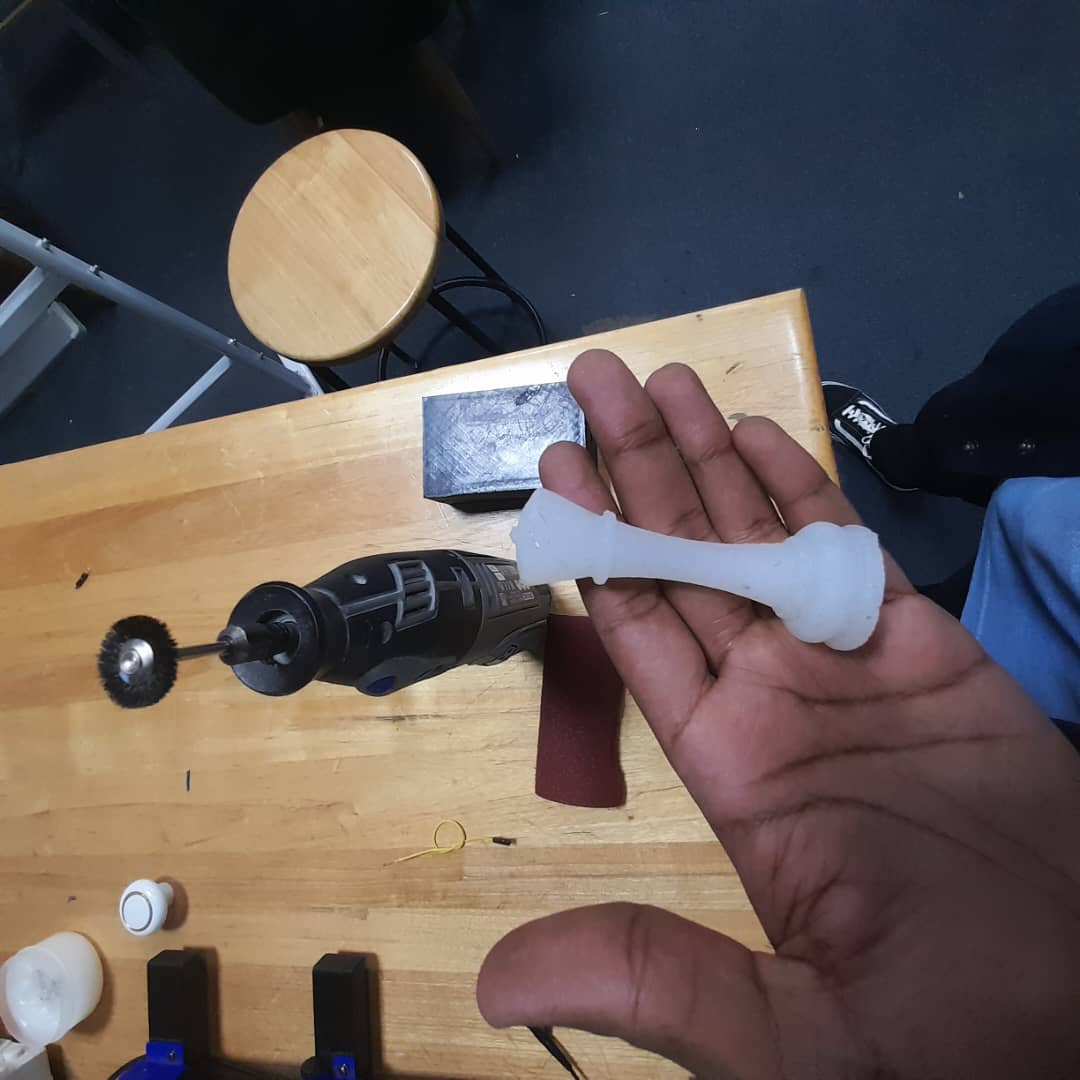
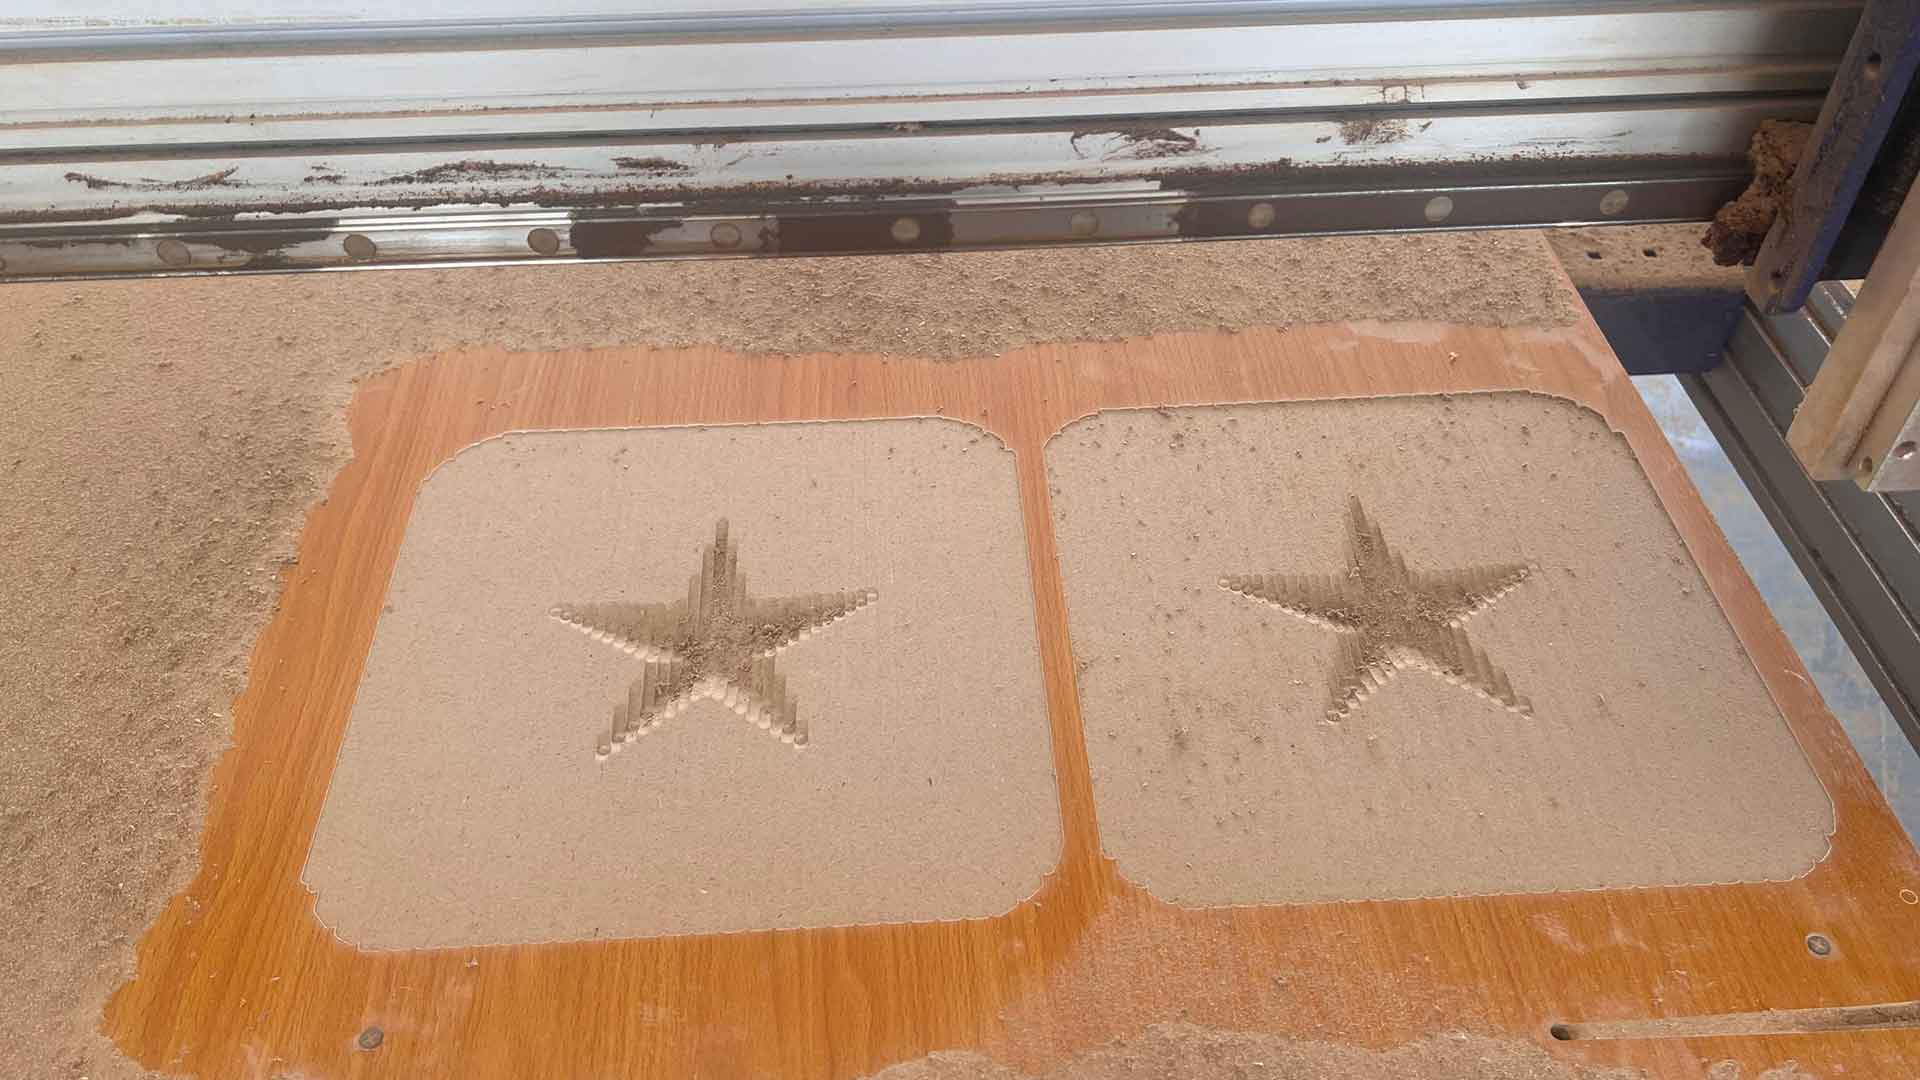
All parts after milling
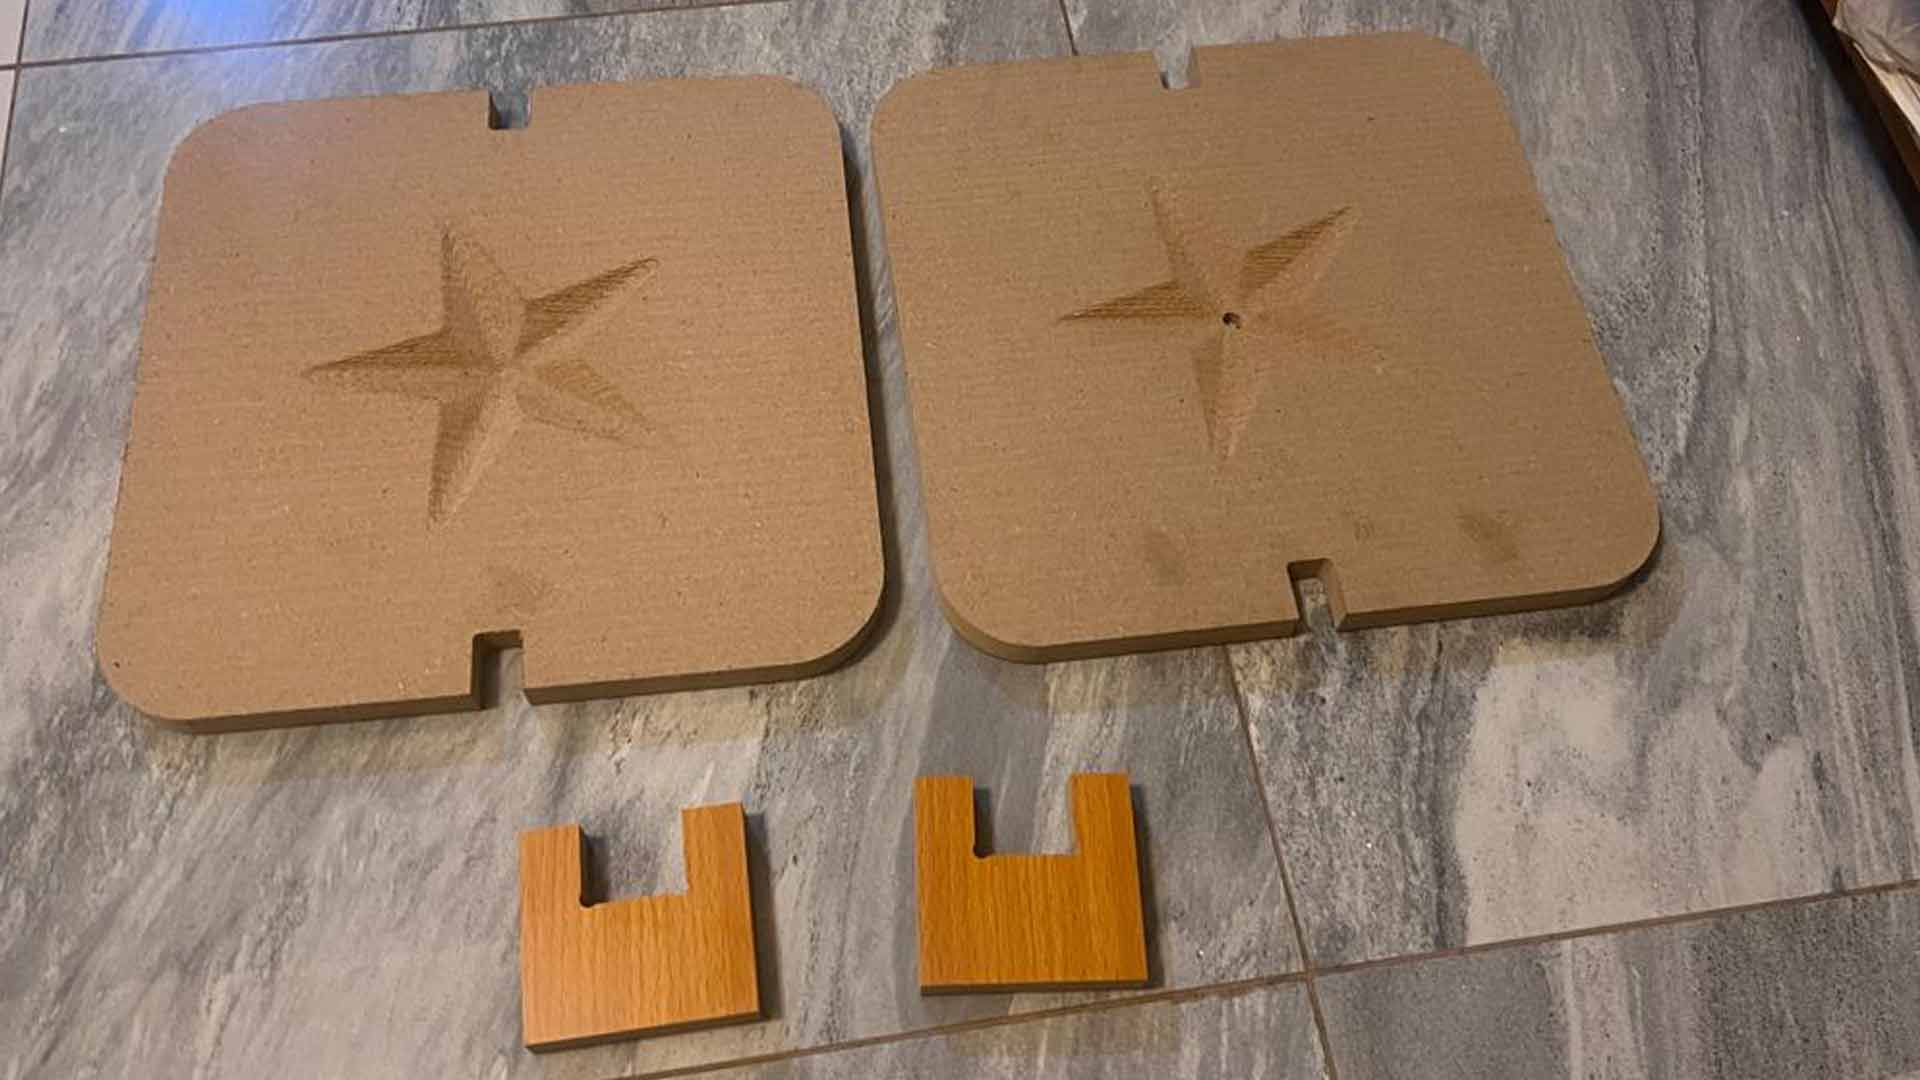
We made sanding on rough surface and then applied oil. This facilitate mold release afterward.
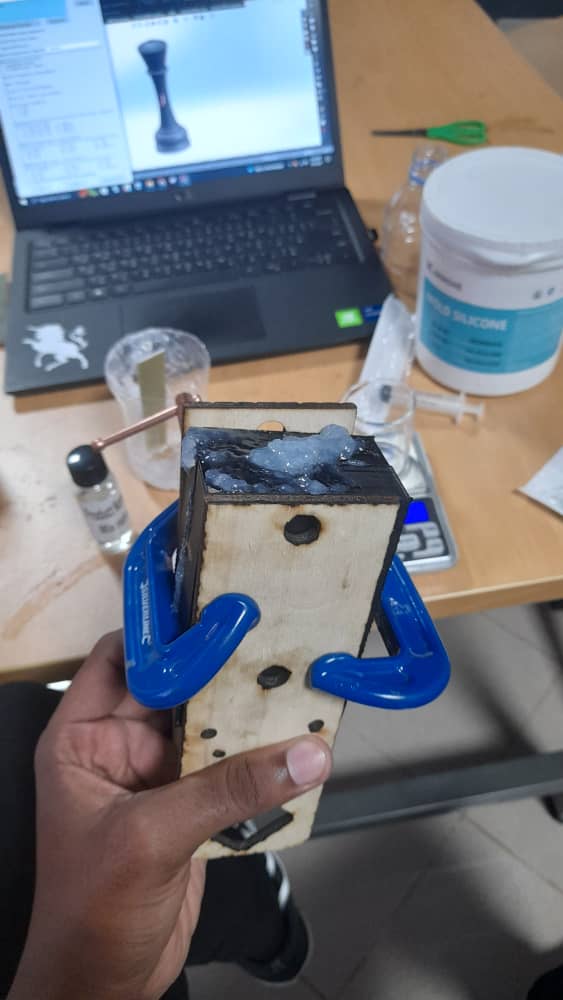
We then holded all parts together will adapters.
We used bee wax as molding material
We then melted bee wax on flying pan
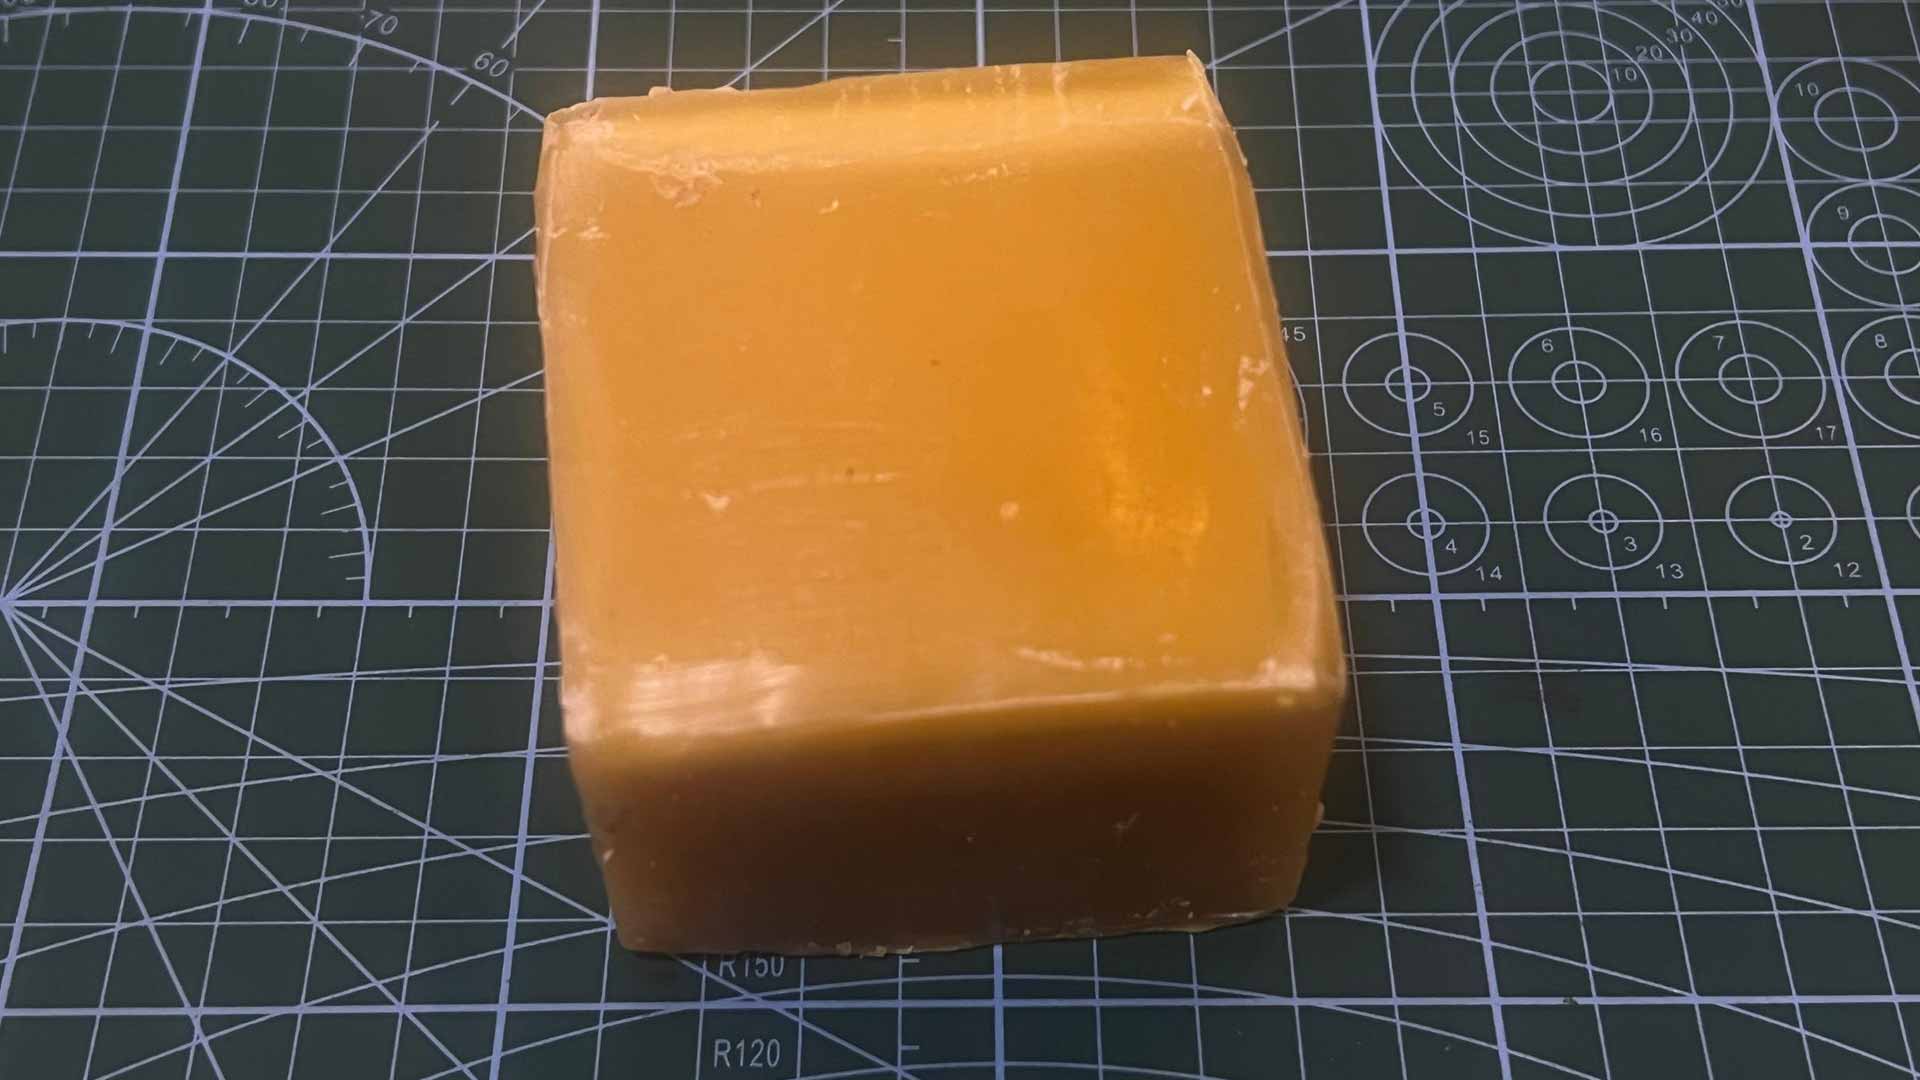
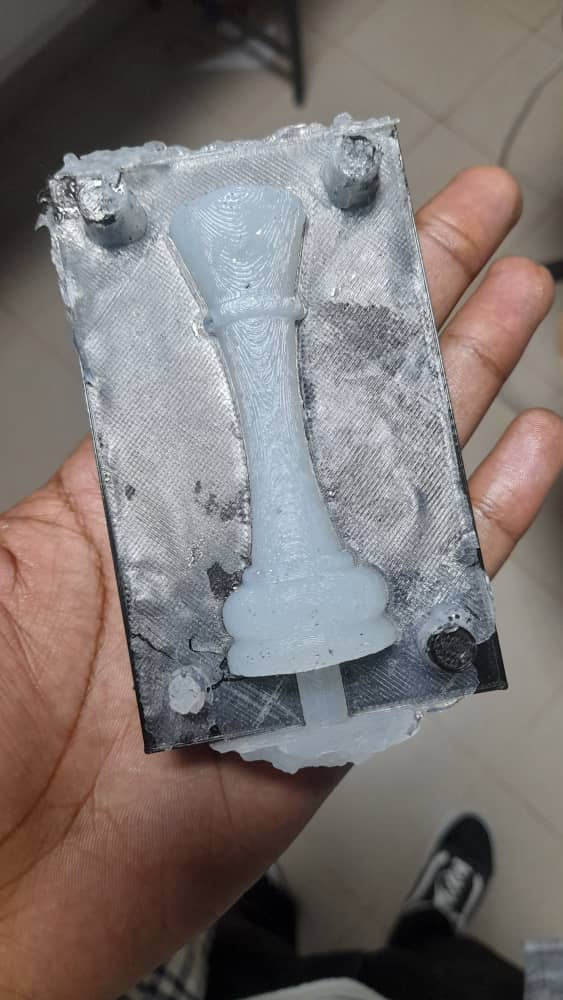
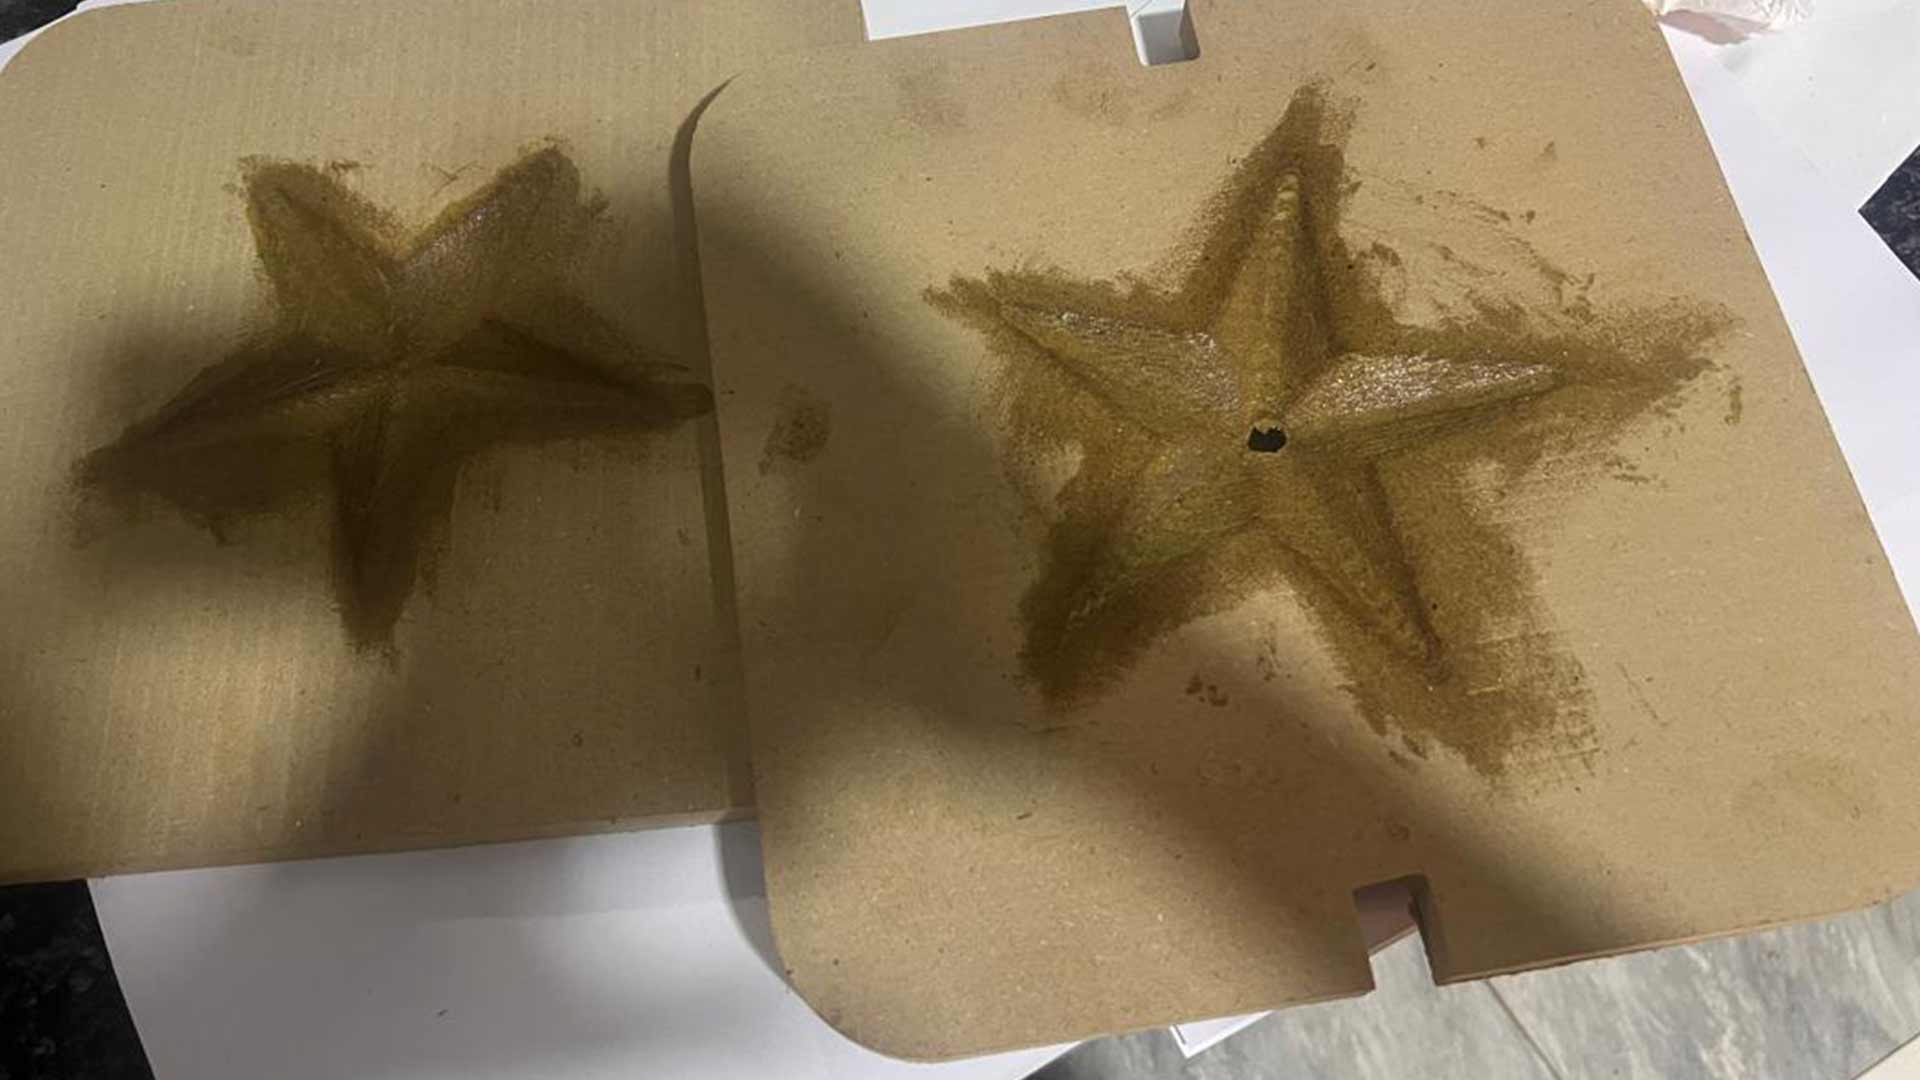
We then poulled molten wax into the mold and let it for 2 hours to harden.
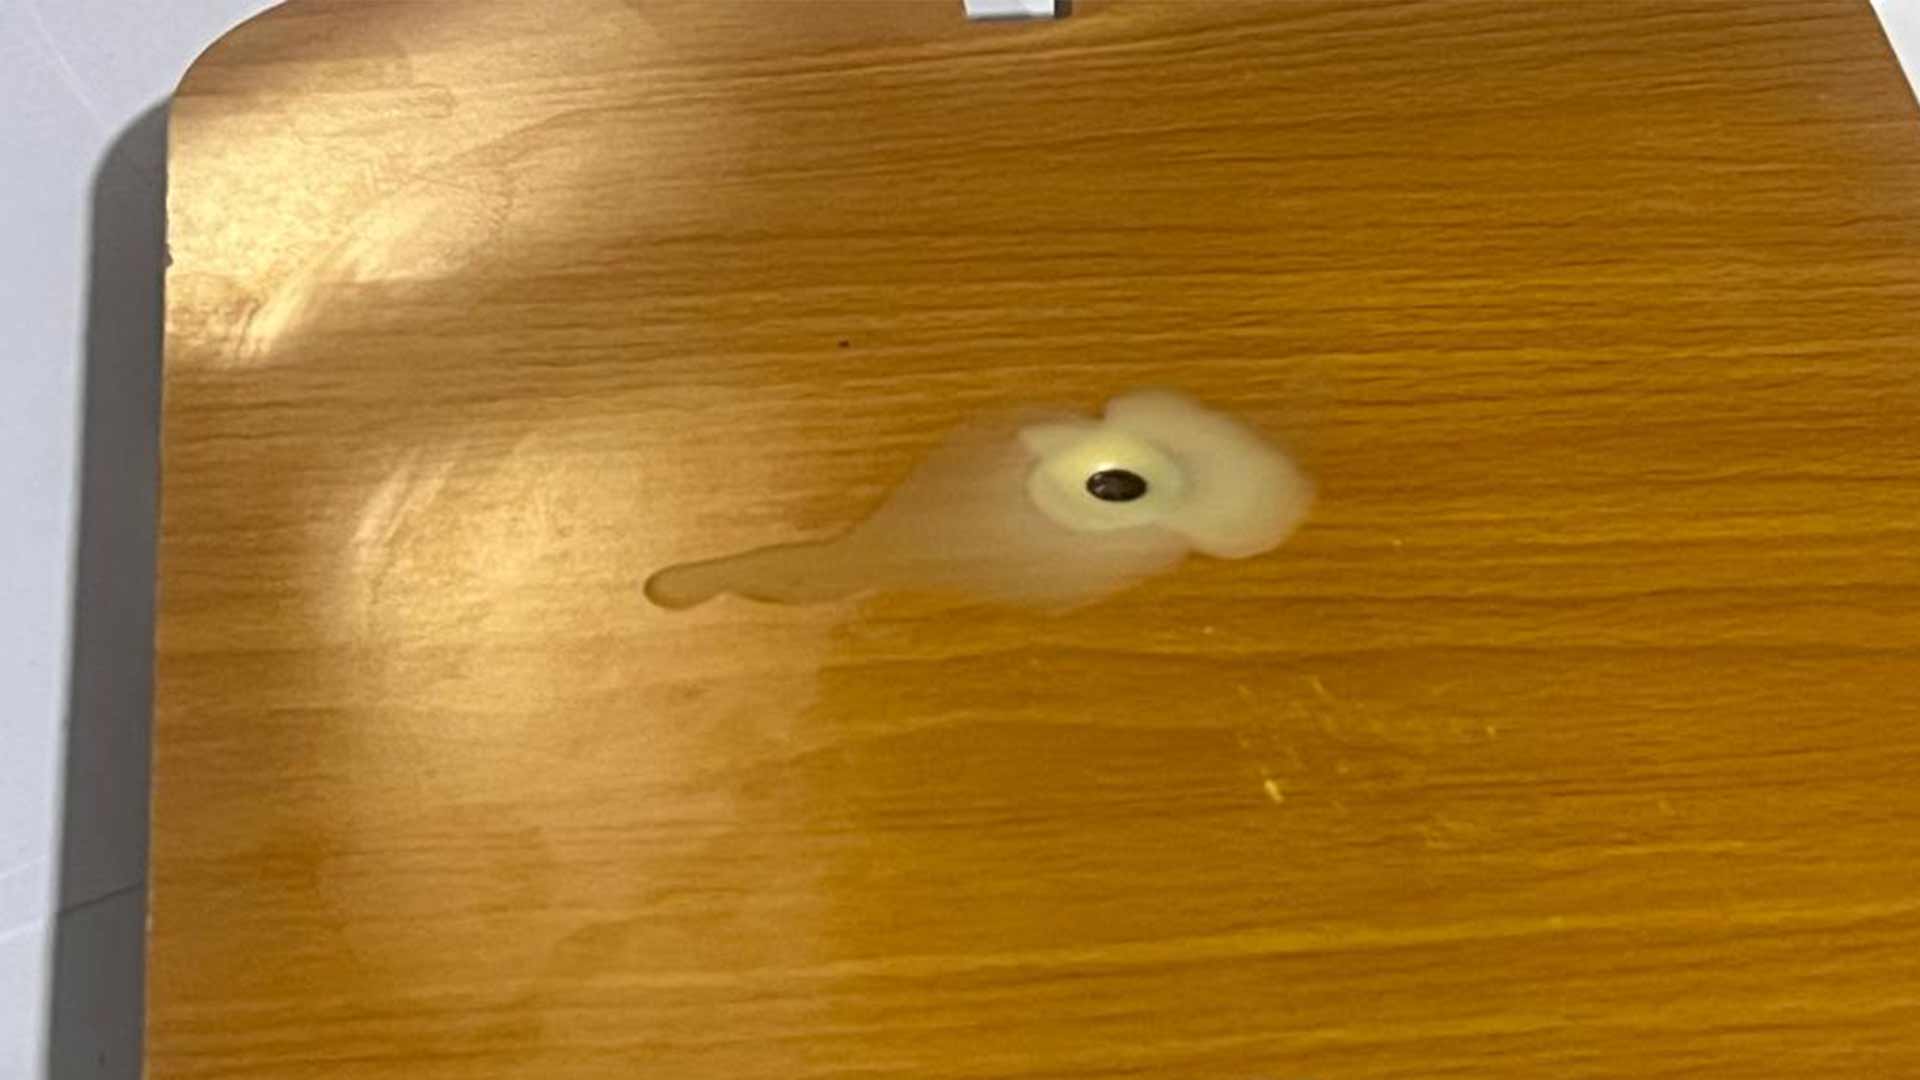
Afterwards, we separated the two halves.

The mold and part did not sepate correctly. Part just broke in half. This could be caused by sevearal factors such as applied oil, and mainly we are using hard part and hard mold.
First, reviewing the safety data sheets helped us understand the proper handling and potential risks of the materials we used. Through the casting tests, we learned how different materials behave—how silicone flows and cures in 3D-printed molds, and how melted wax interacts with CNC-milled MDF molds. We also saw the strengths and limitations of each mold-making method: 3D printing allowed for complex shapes but required more time, while CNC milling was faster for simple designs but had some surface roughness. Overall, we gained hands-on experience in choosing suitable materials and methods for molding and casting based on design needs and available tools.