Assignment Overview
Group assignment:
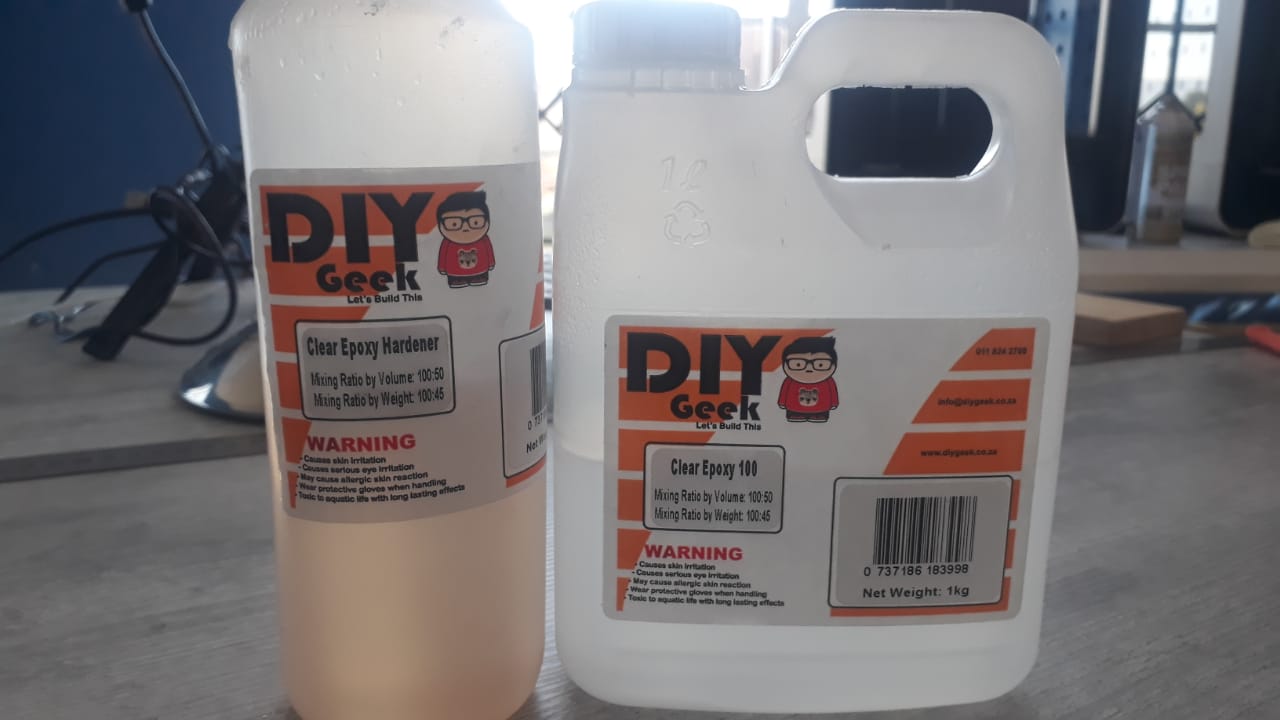
-Review the safety data sheets for each of your molding and casting materials, then make and compare test casts with each of them
compare mold making processes
Group-Molding and casting
Group-Molding and casting
Individual assignment:
-Design a mold around the process you'll be using,
-produce it with a smooth surface finish that does not show the production process toolpath,
and use it to cast parts
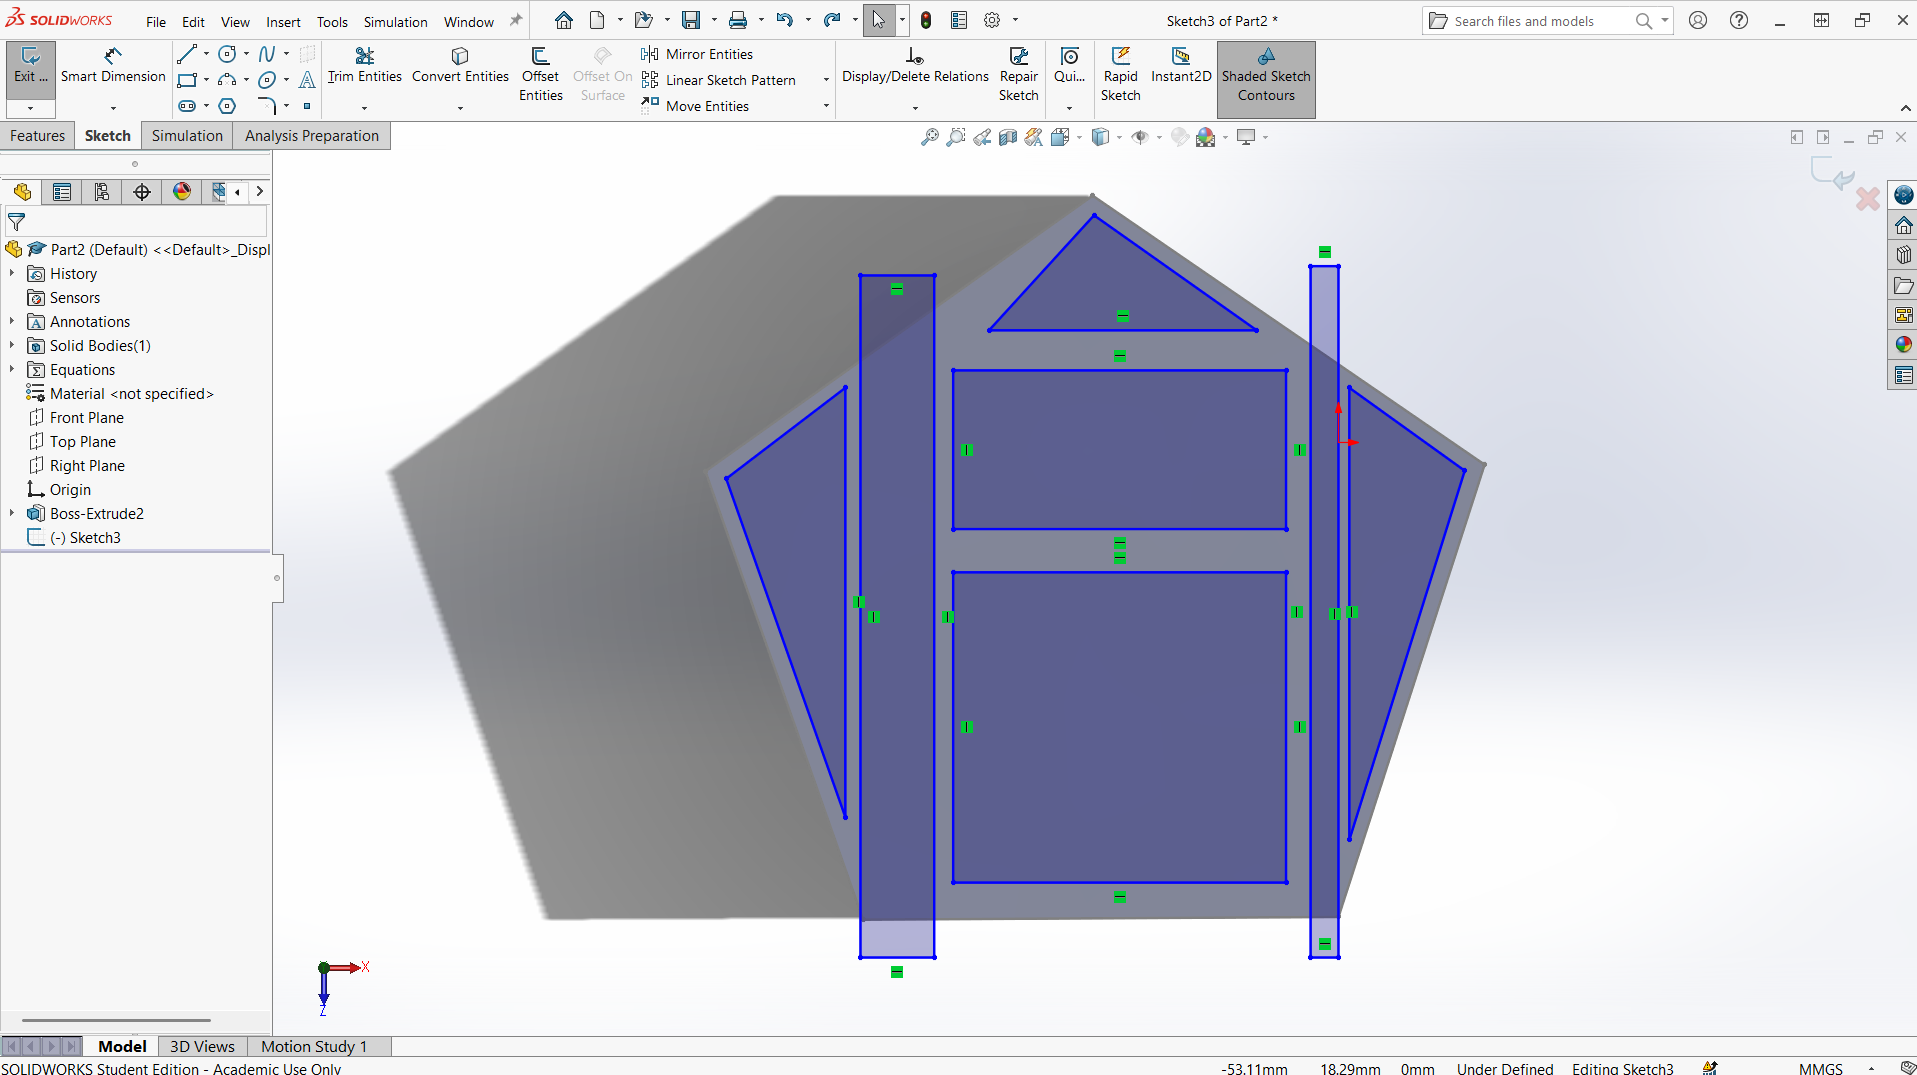
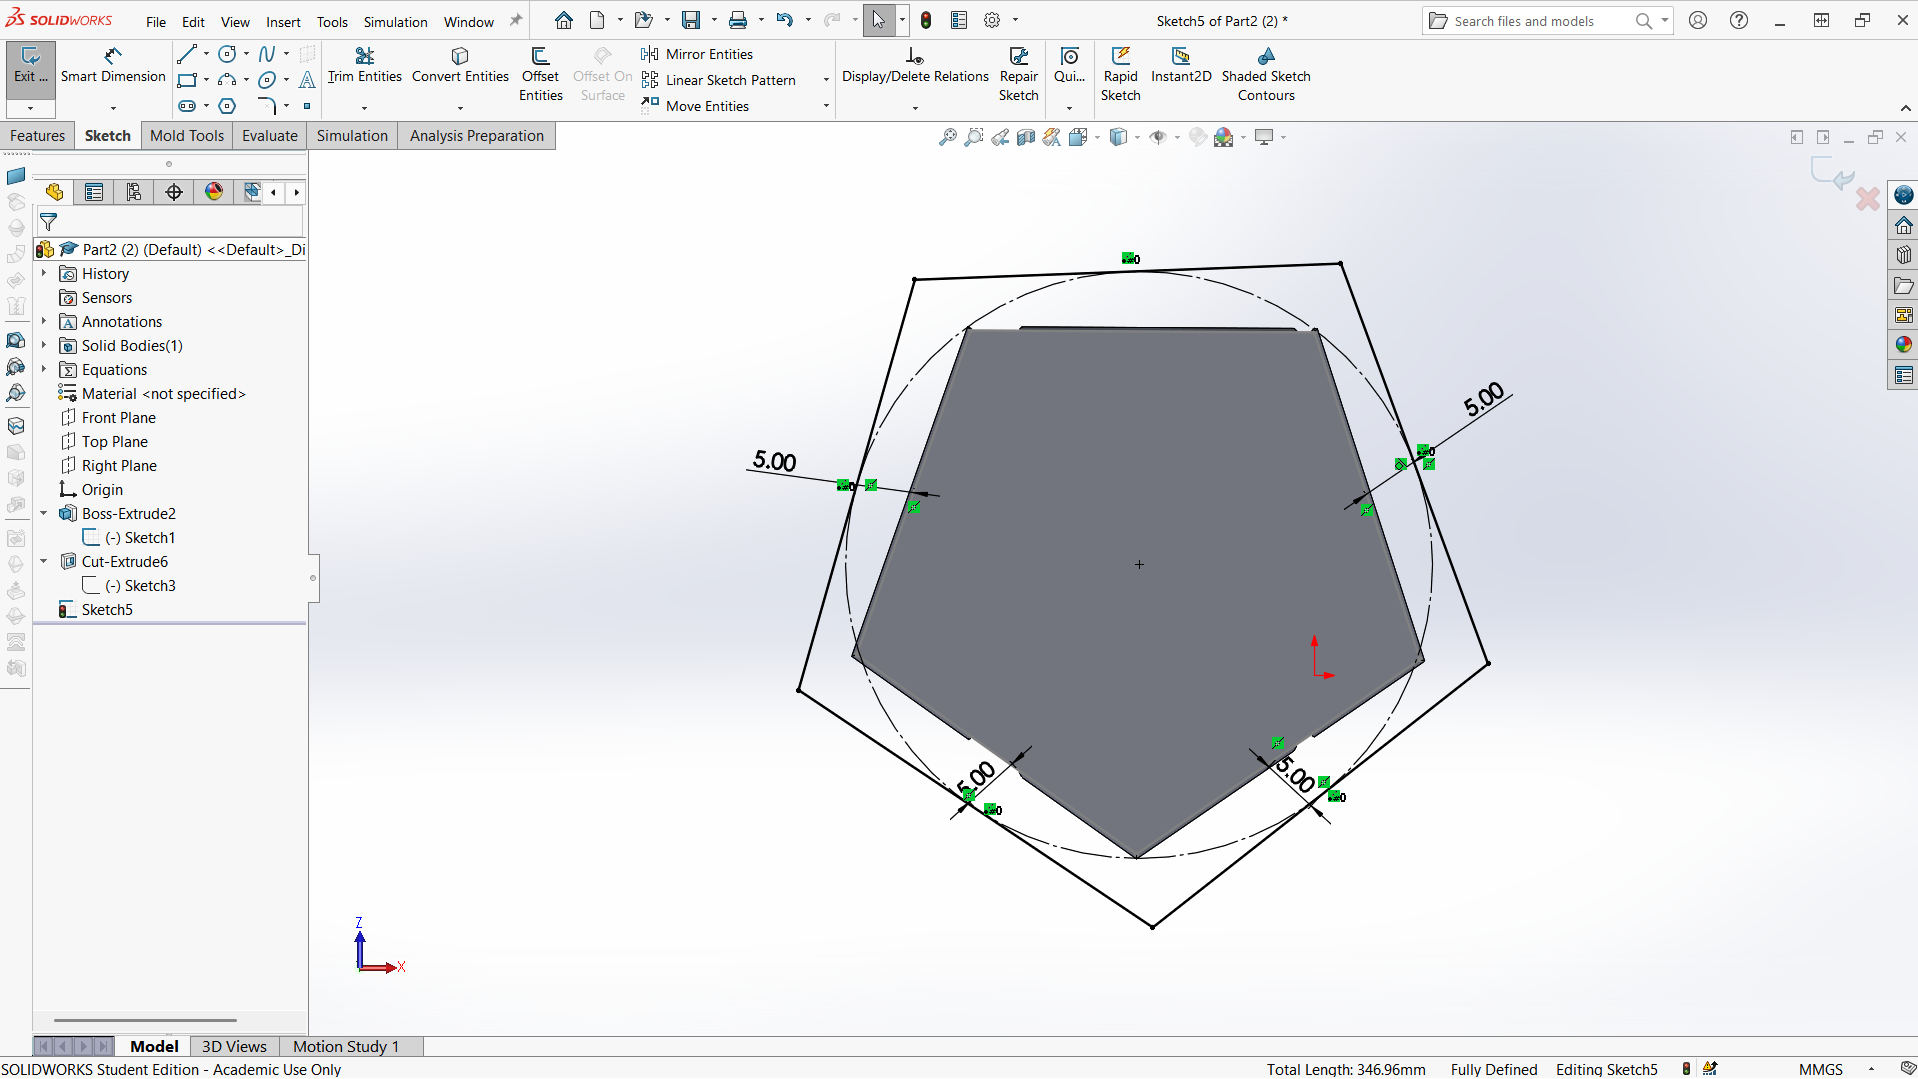
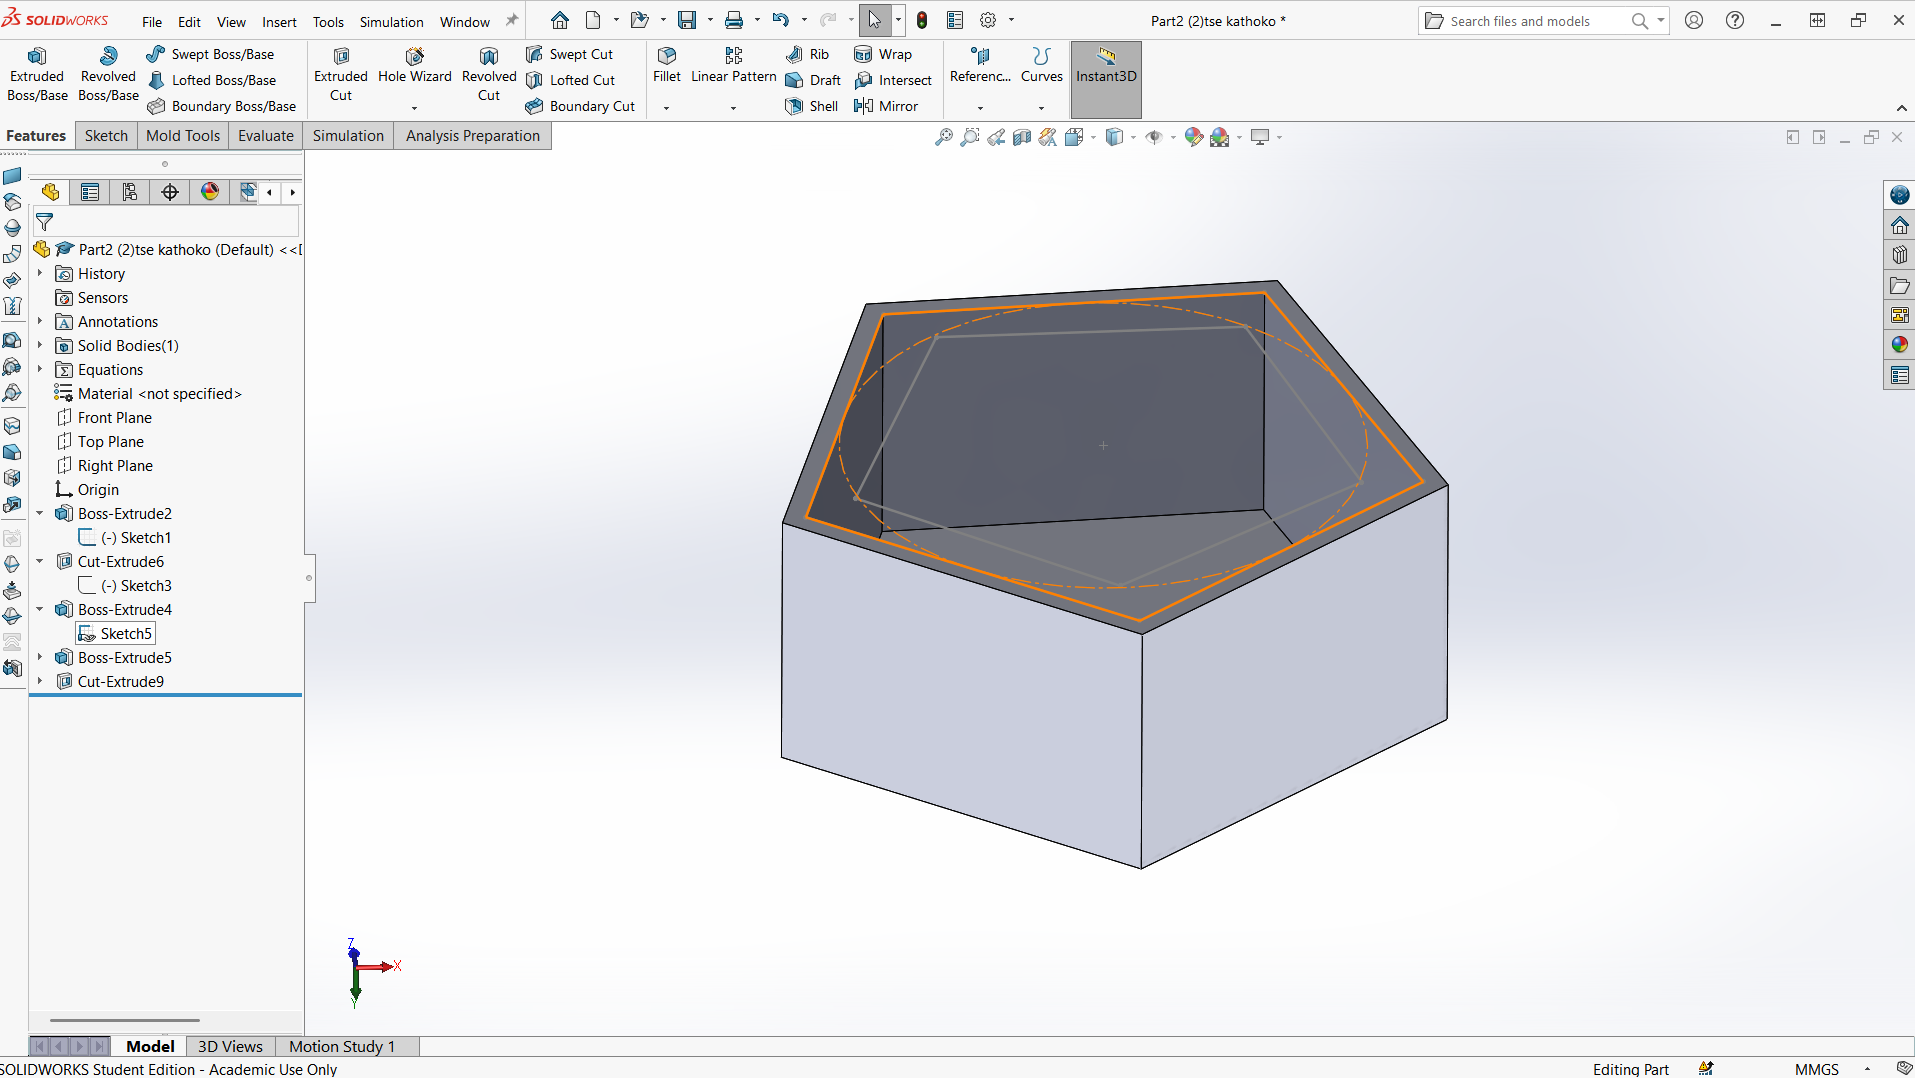
3D mold design
Steps to make a mold
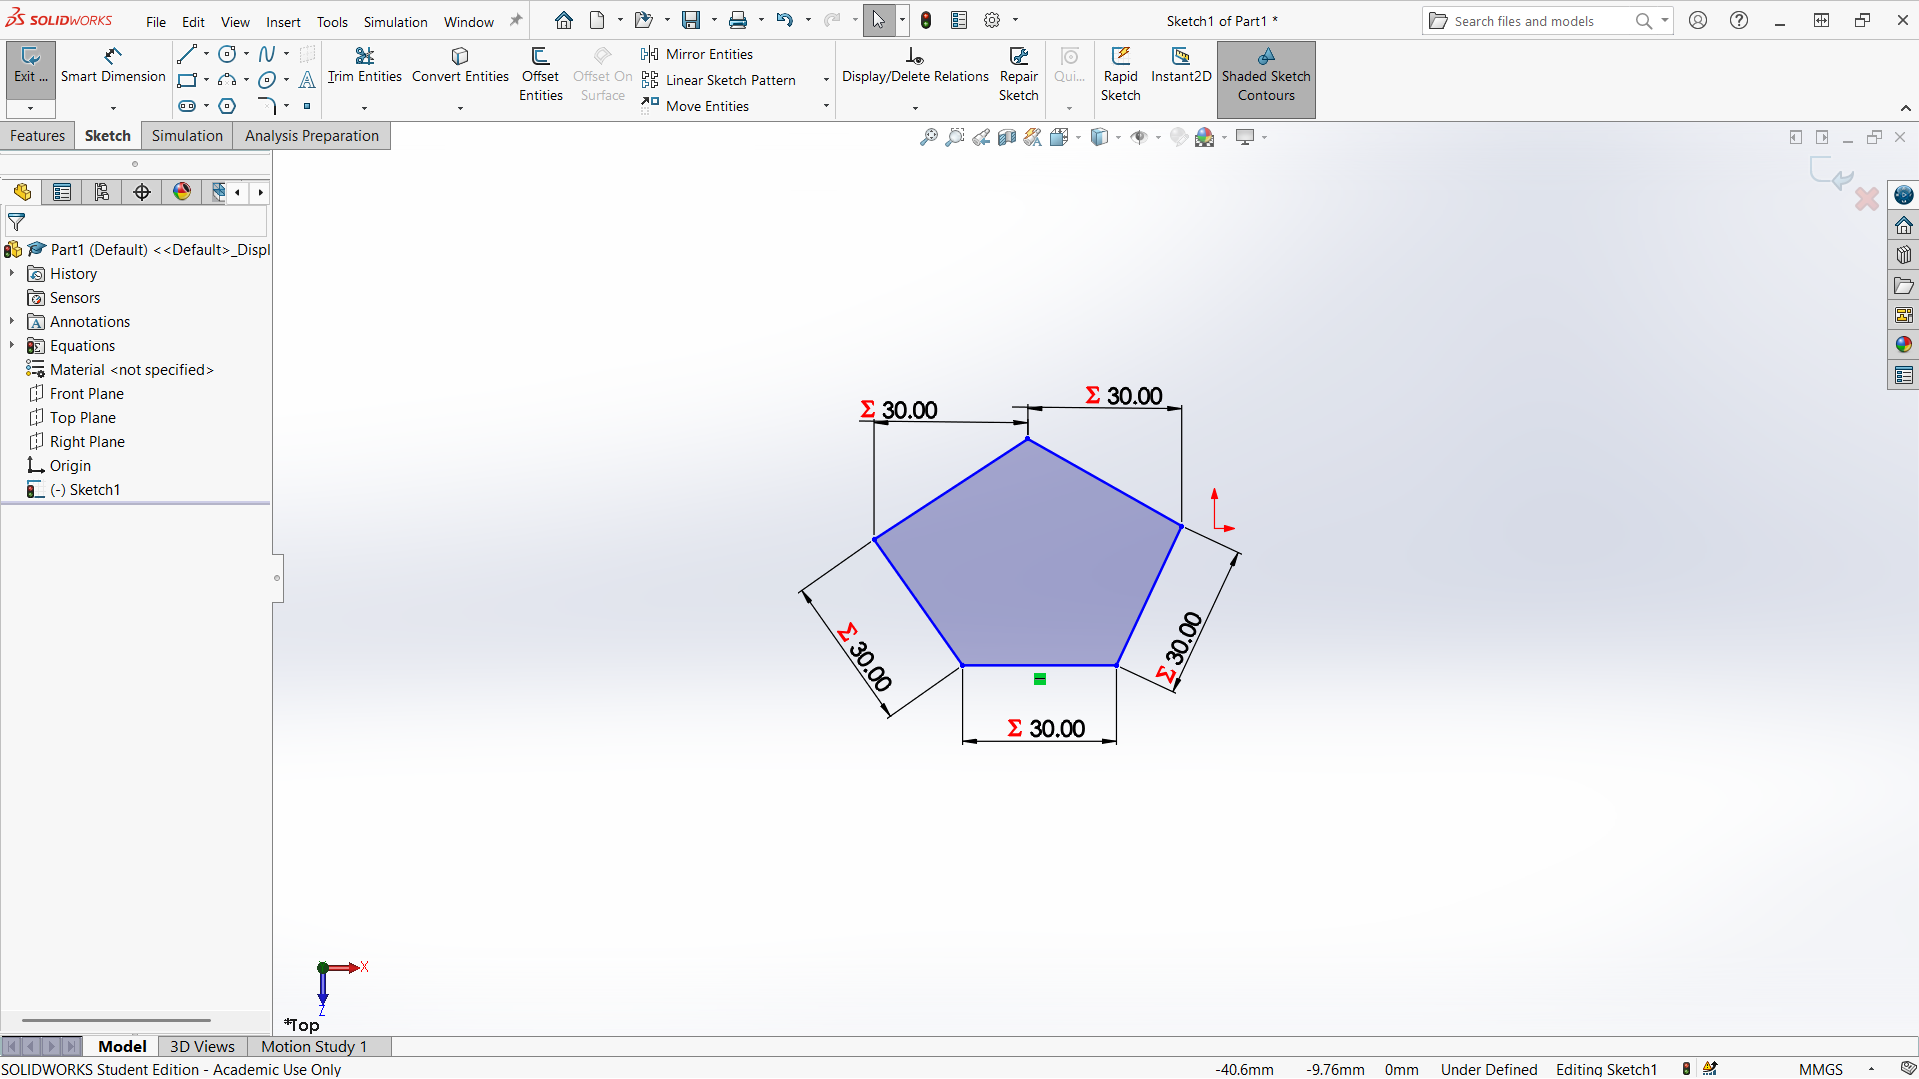
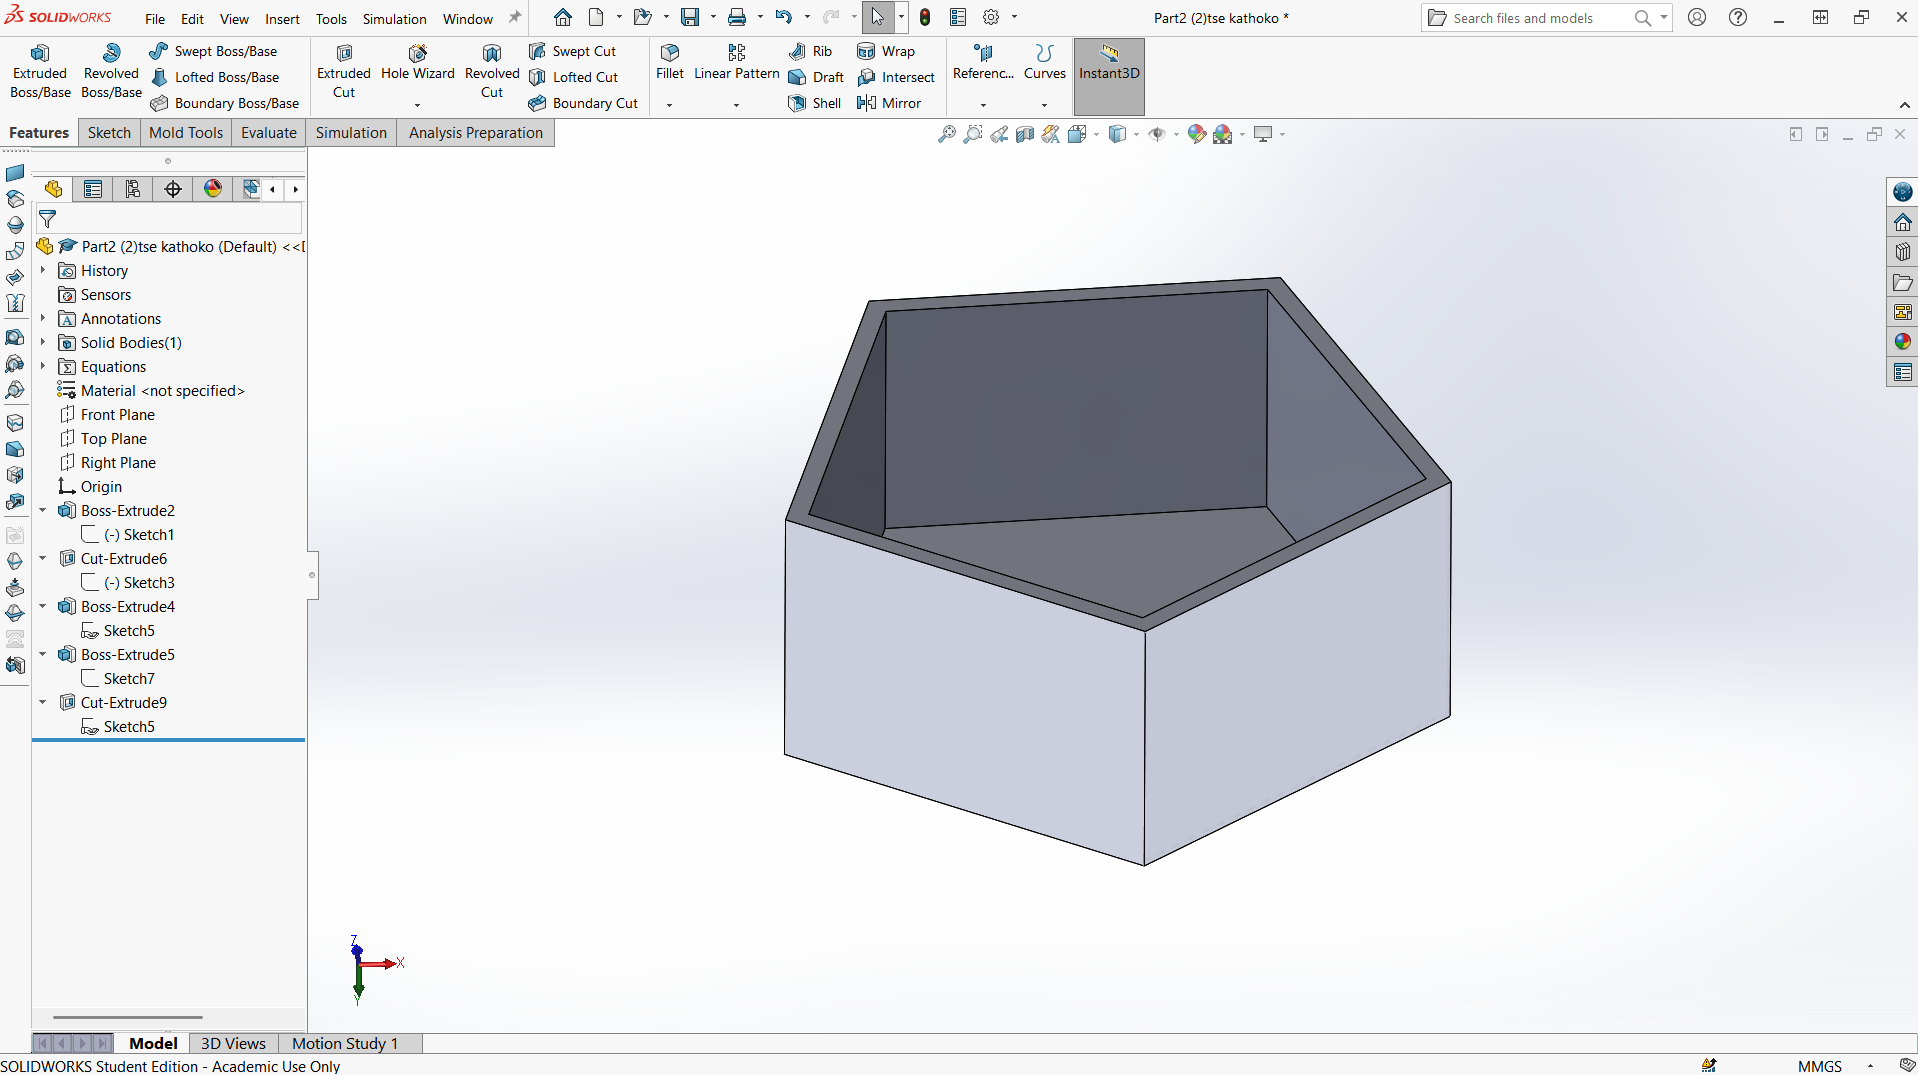
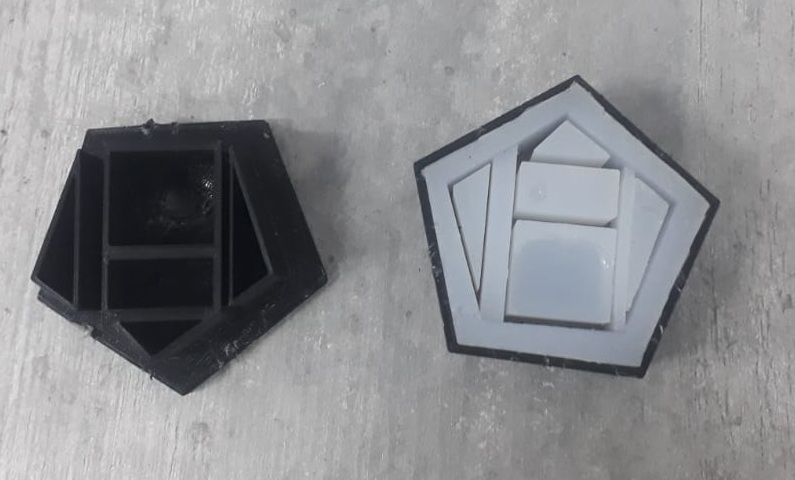
1. Designed the Master Model
- Design an object to mold and 3D printed it
- Ensure surface is clean and smooth
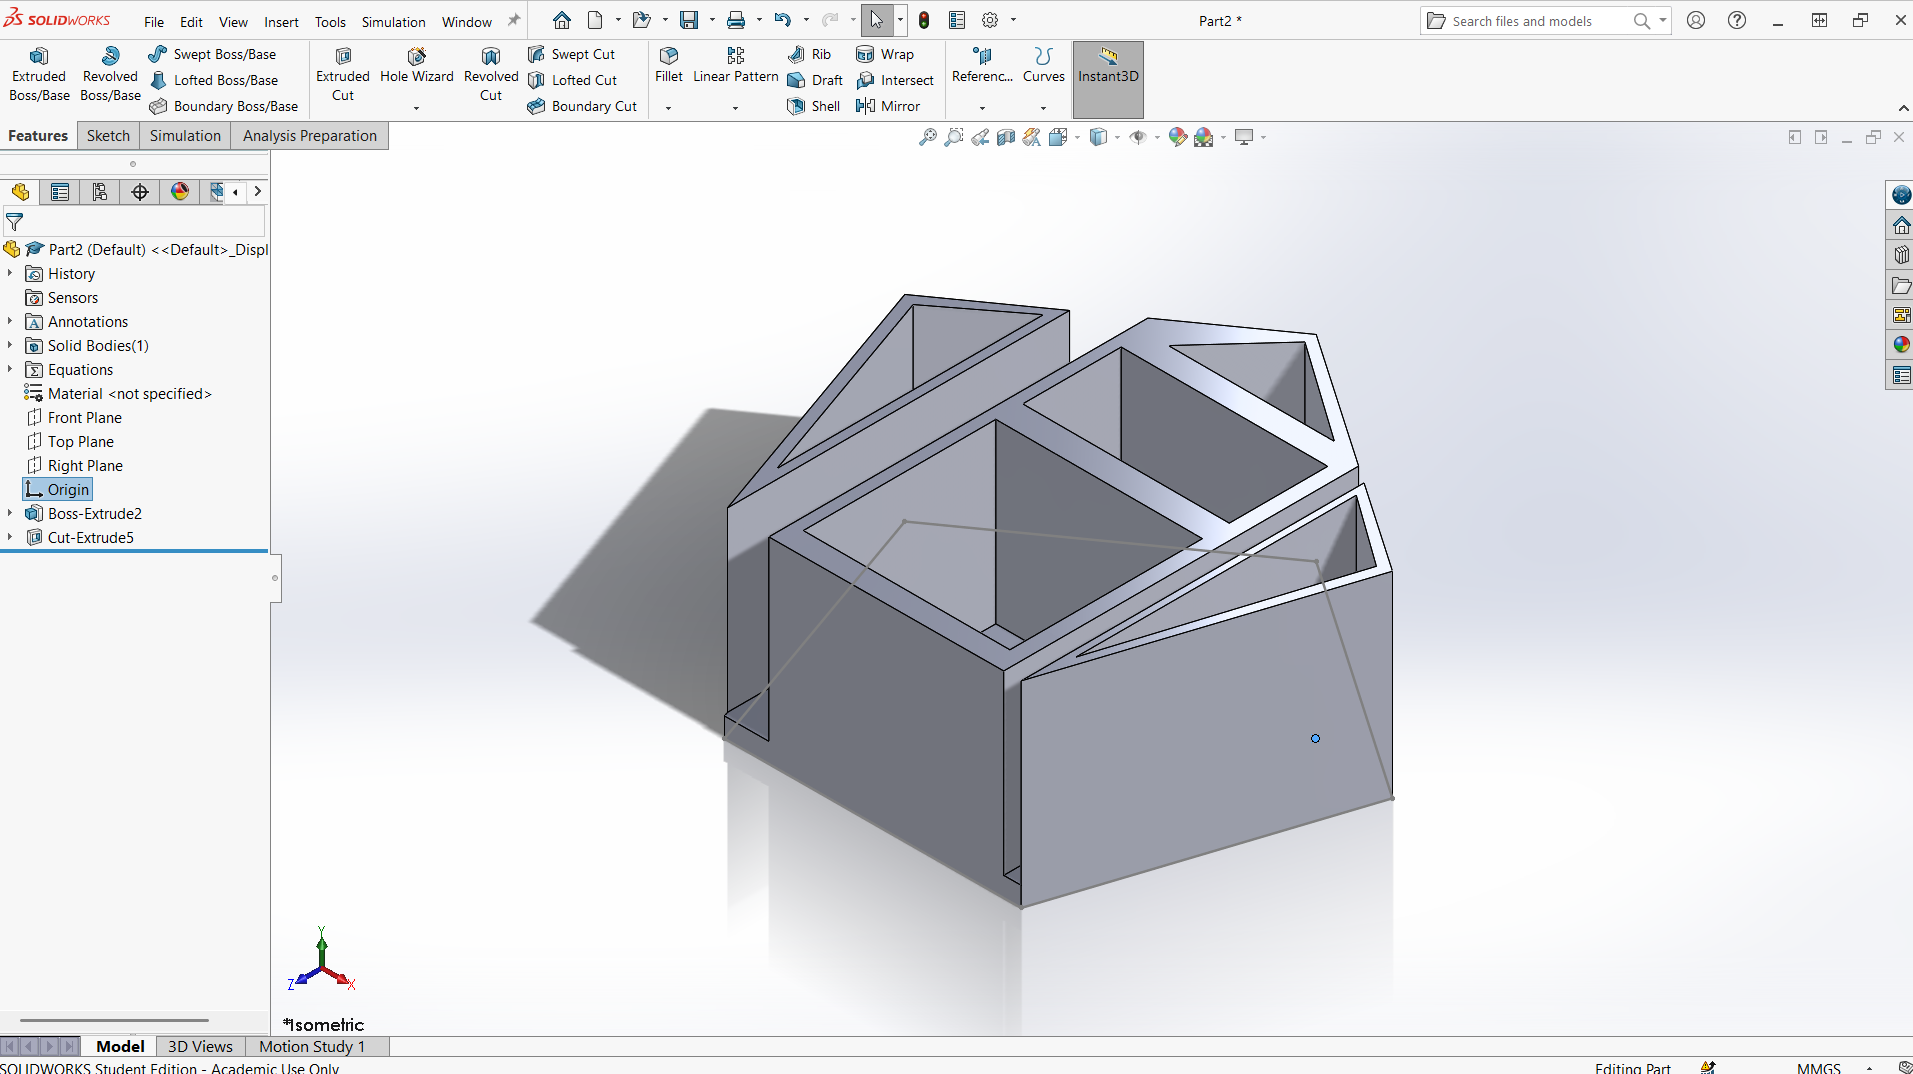
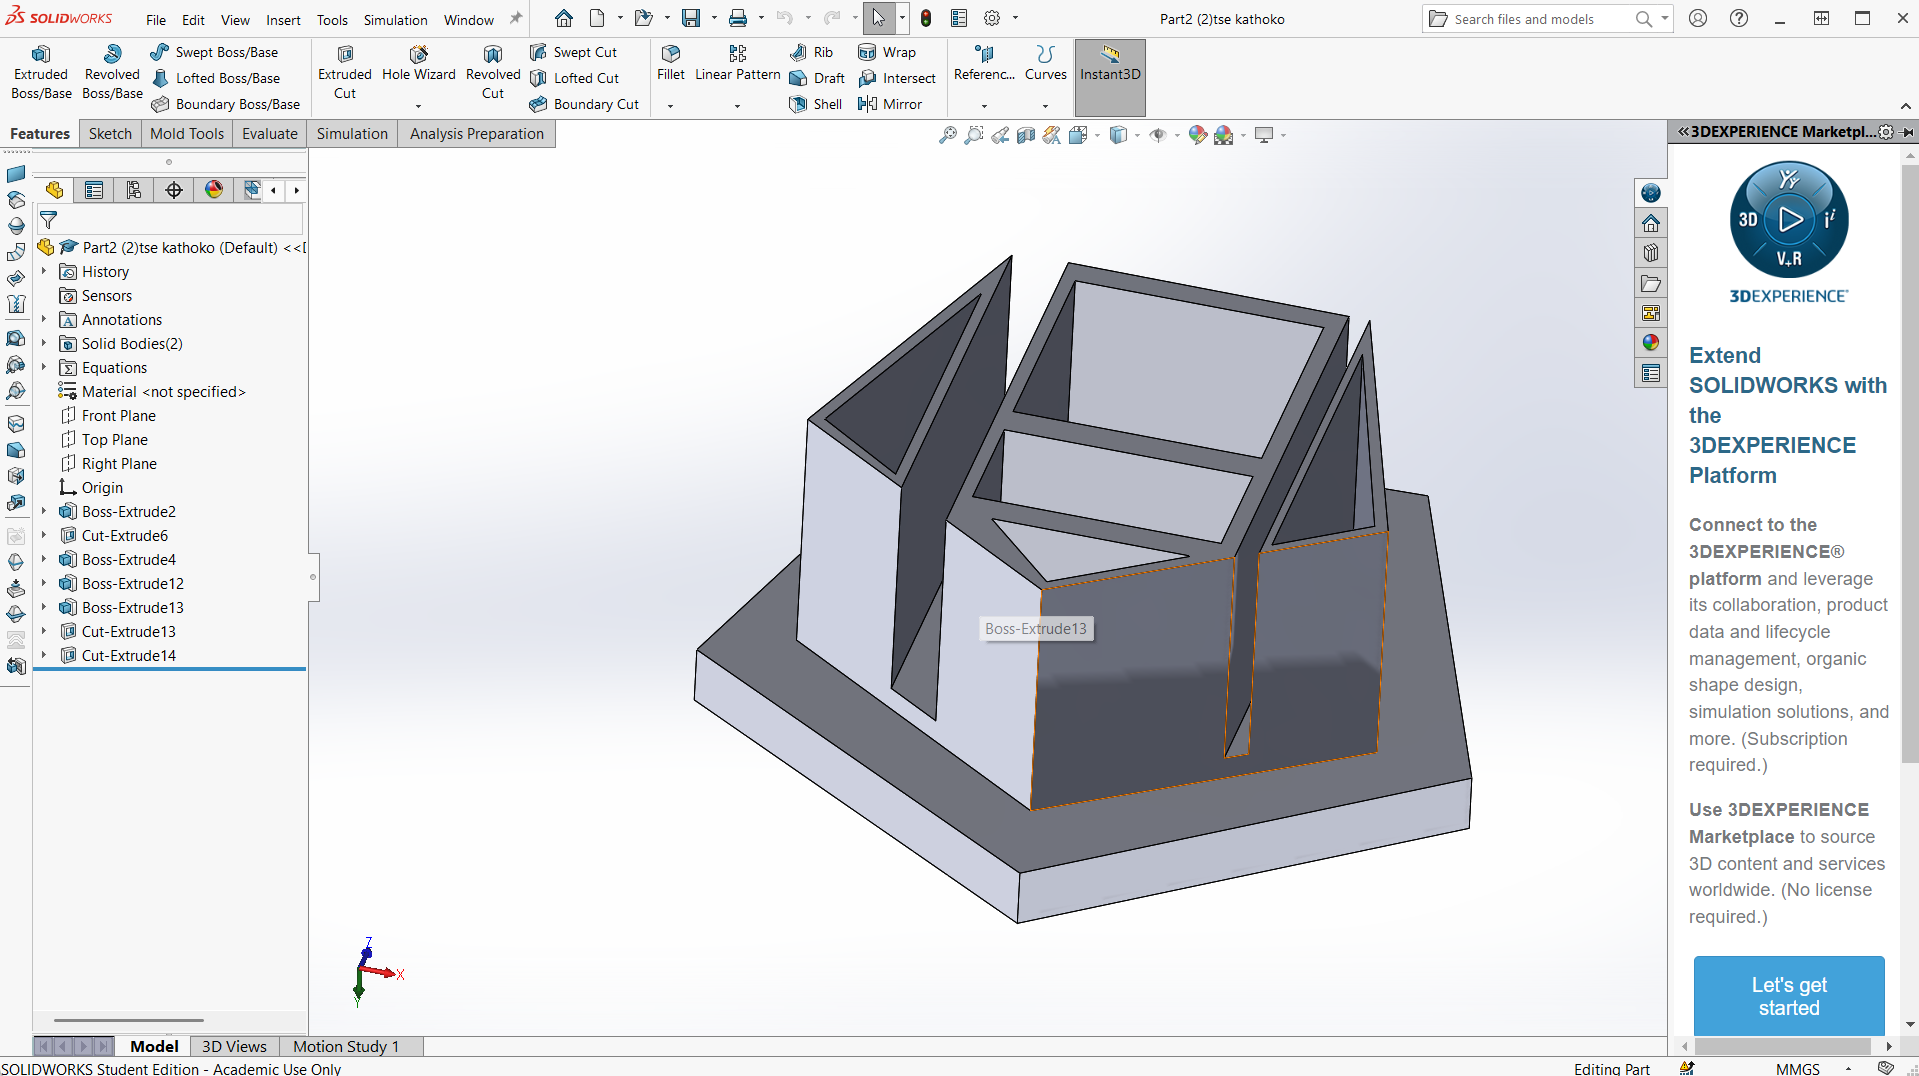
2.Prepare the Master and Mold Box
- Printed the mold box to be used
- Clean the object and apply silicone mold
- Put it on the flat surface to avoid imbalance
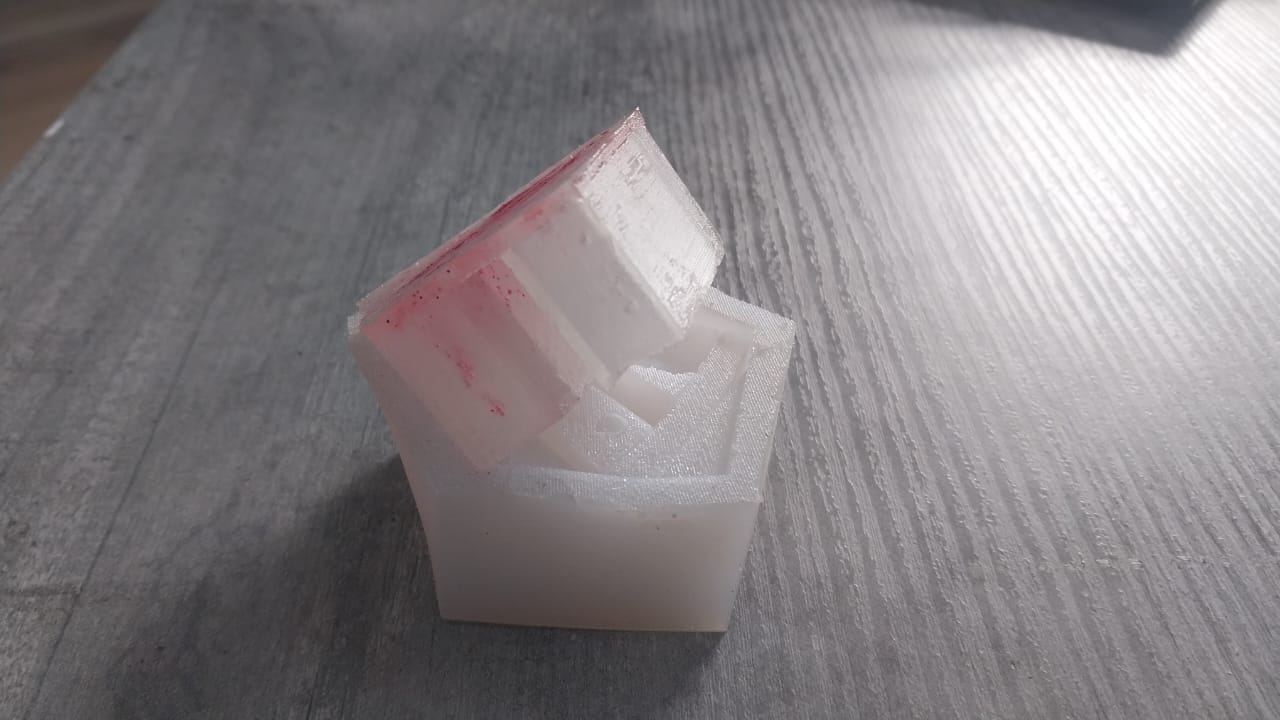
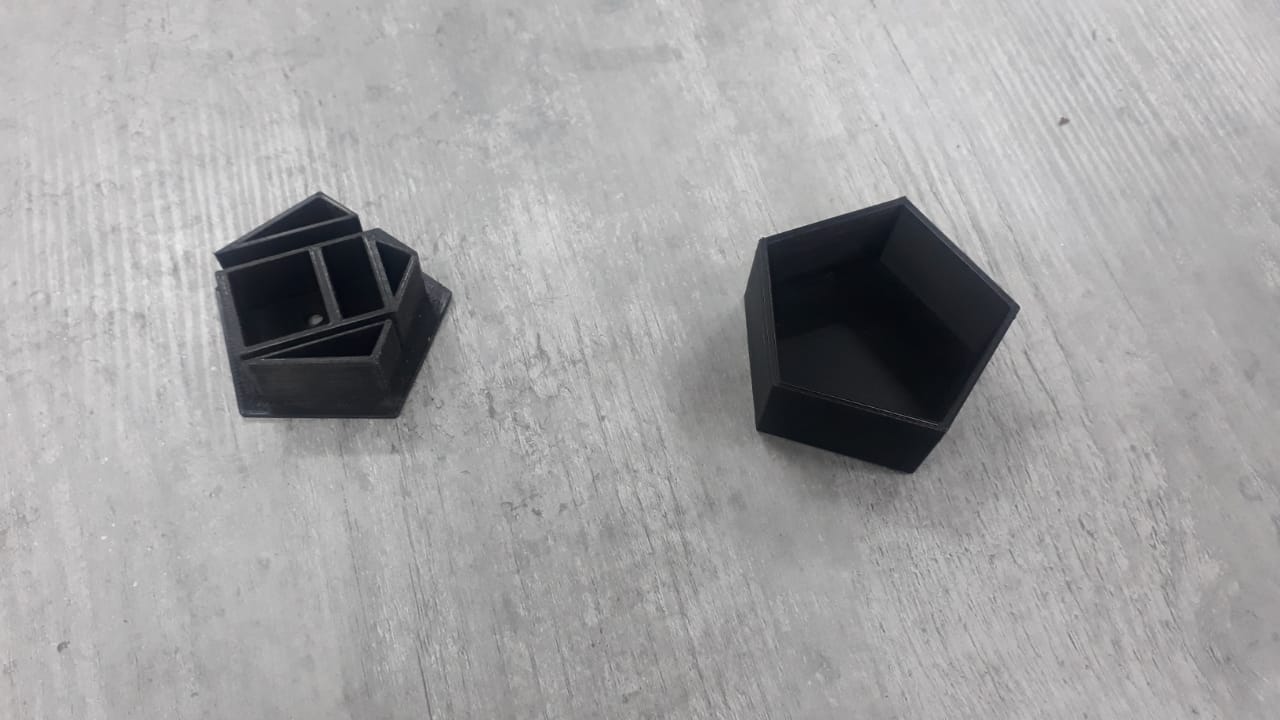
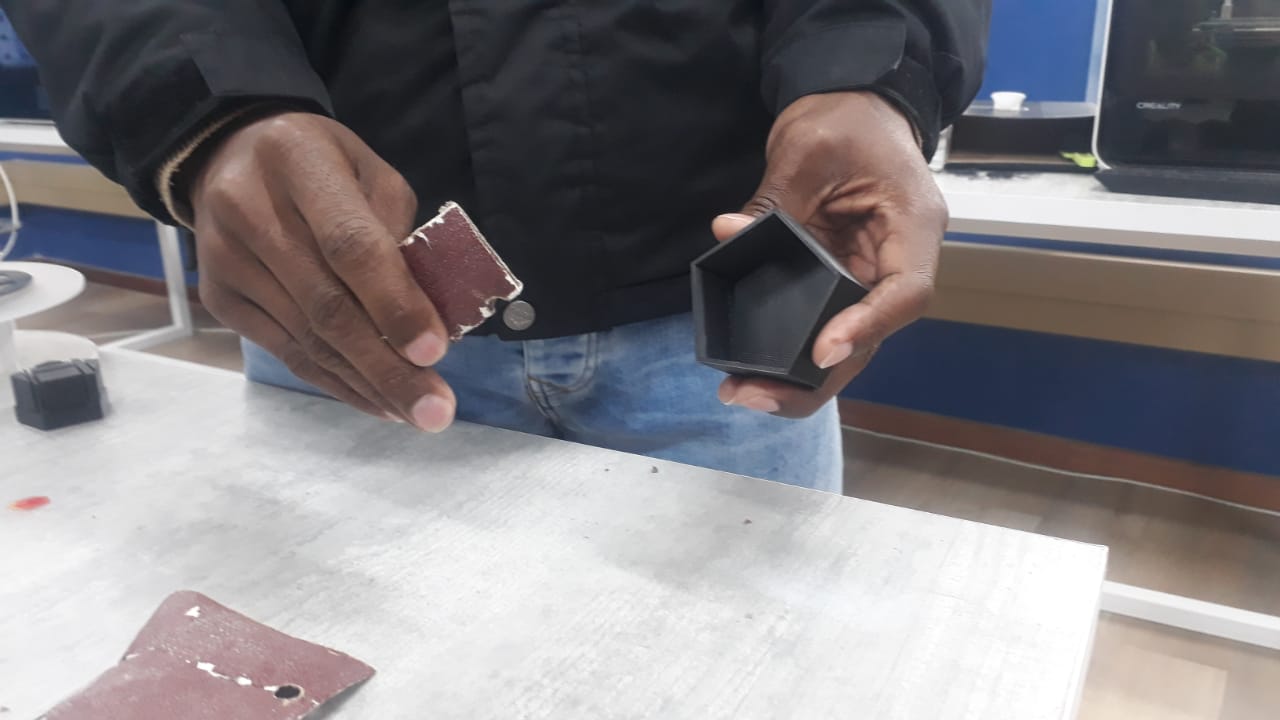
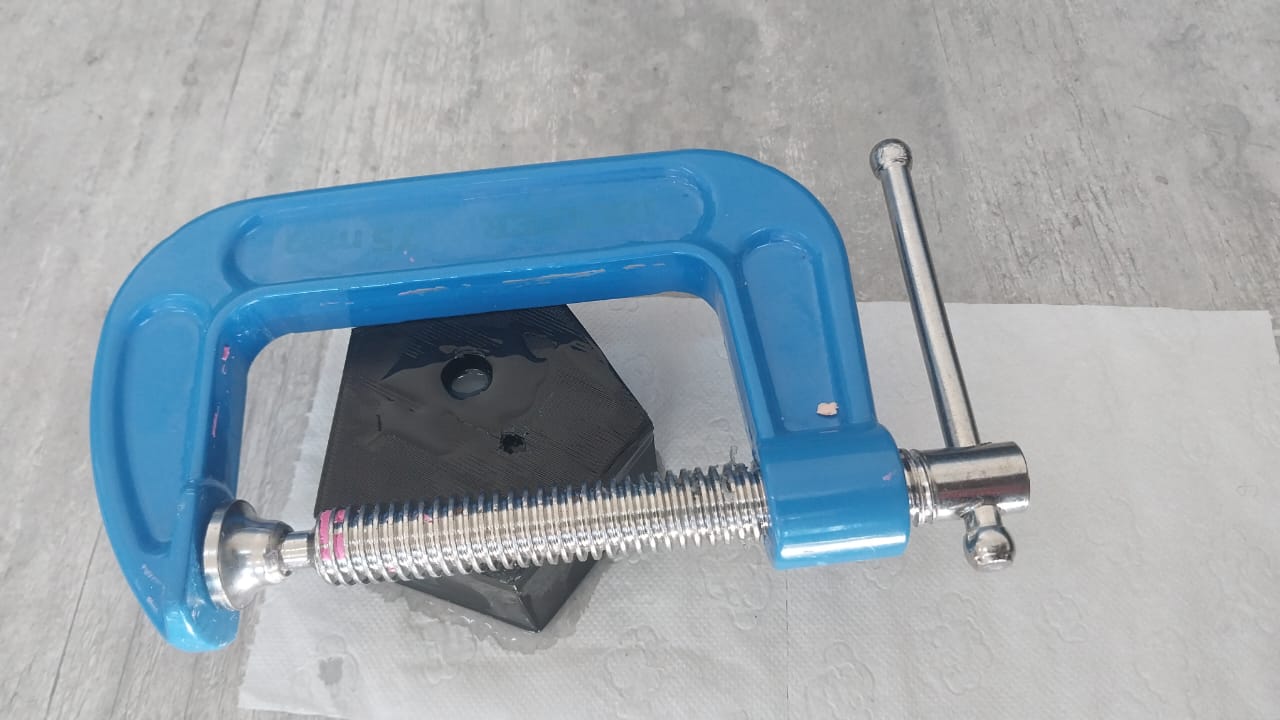
- My mold is 3D printed, and below are the post processing done.
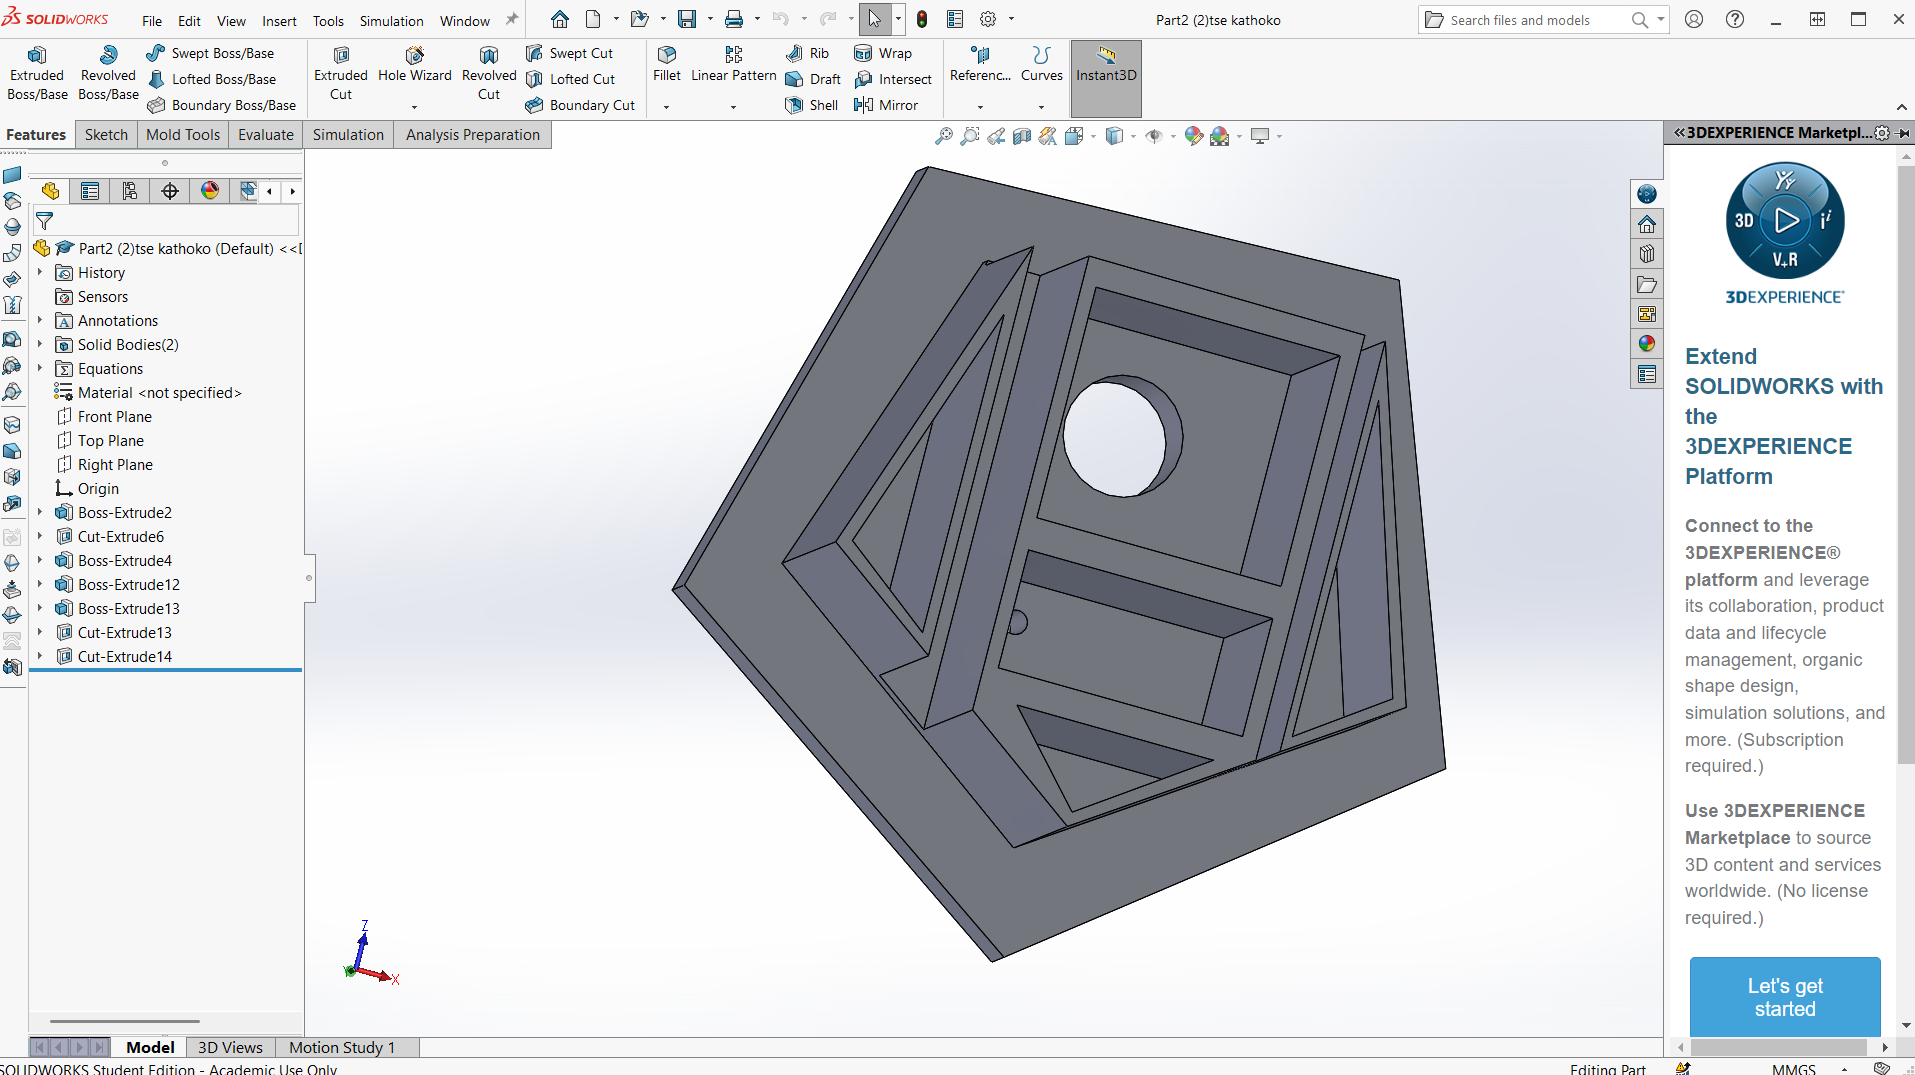
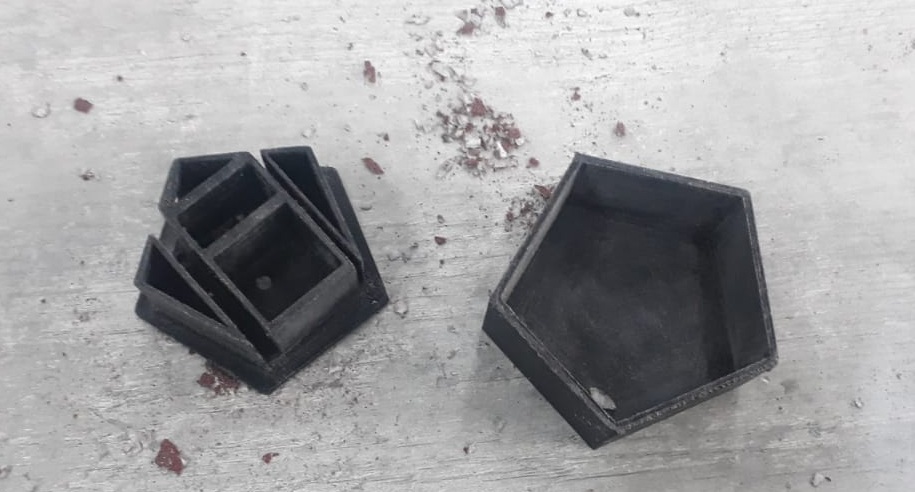
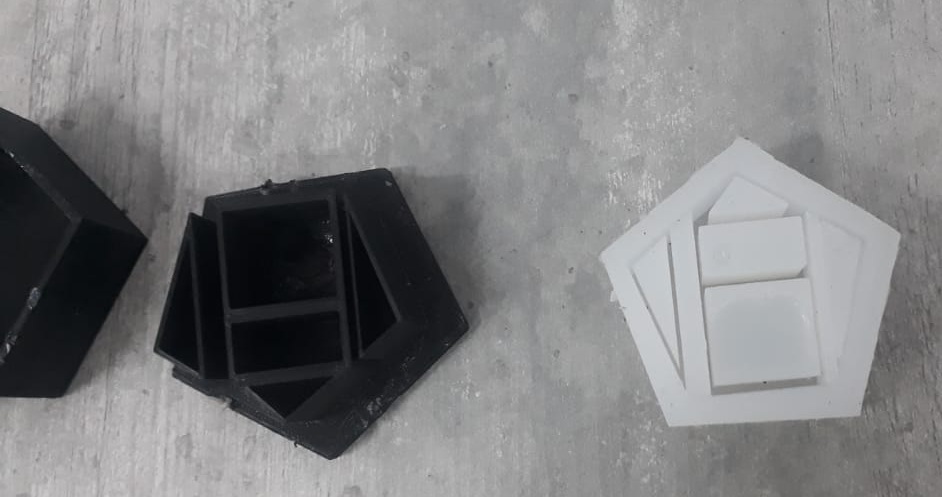
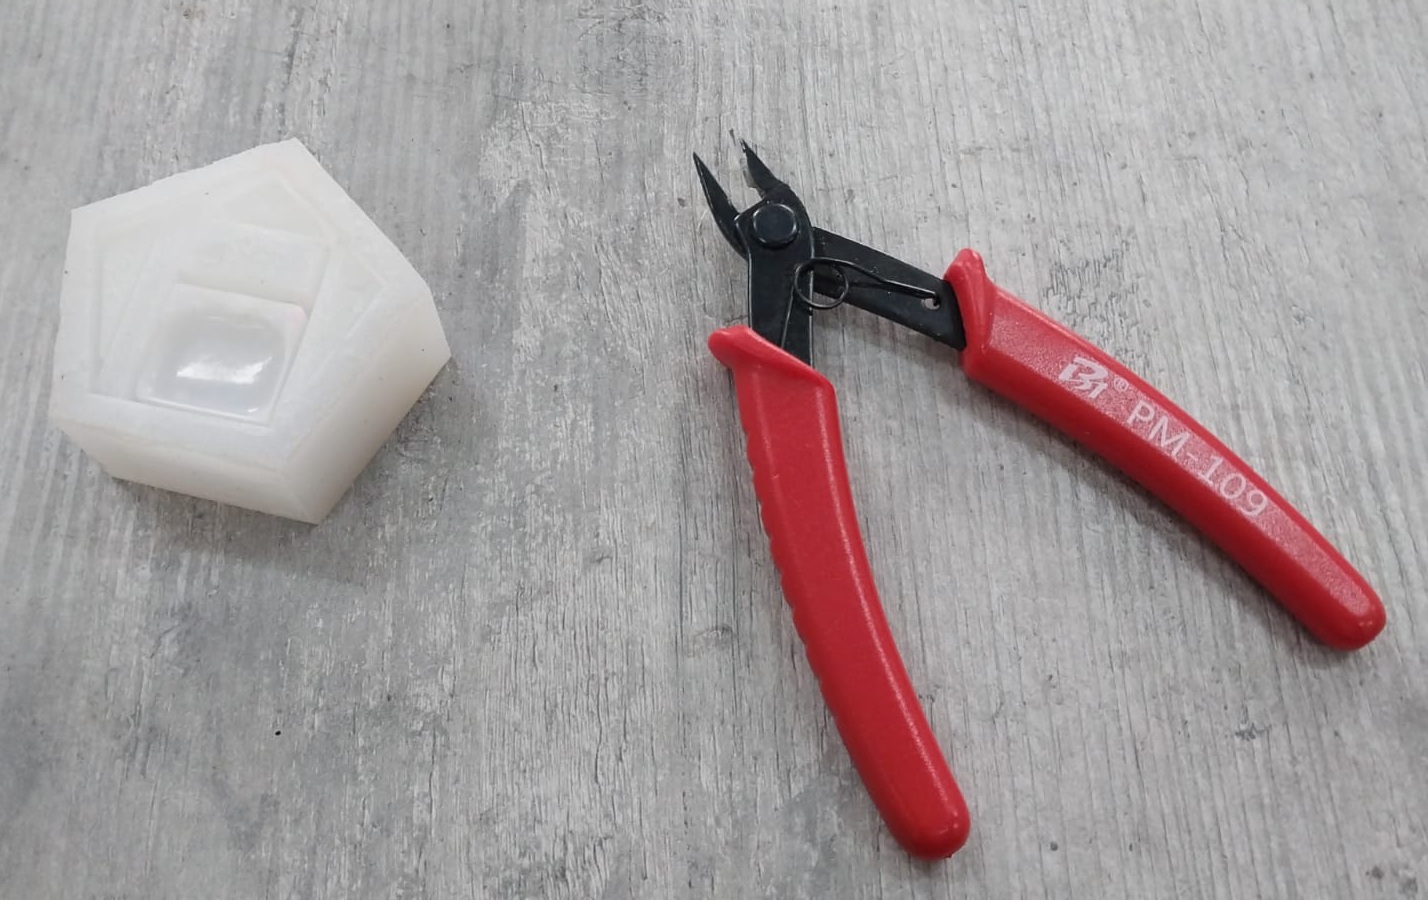
- The mold pieces to post process
- Tools used to smoothen the mold pieces
- The video demostrates how the smoothening of the mold is done.
- Before cleaning
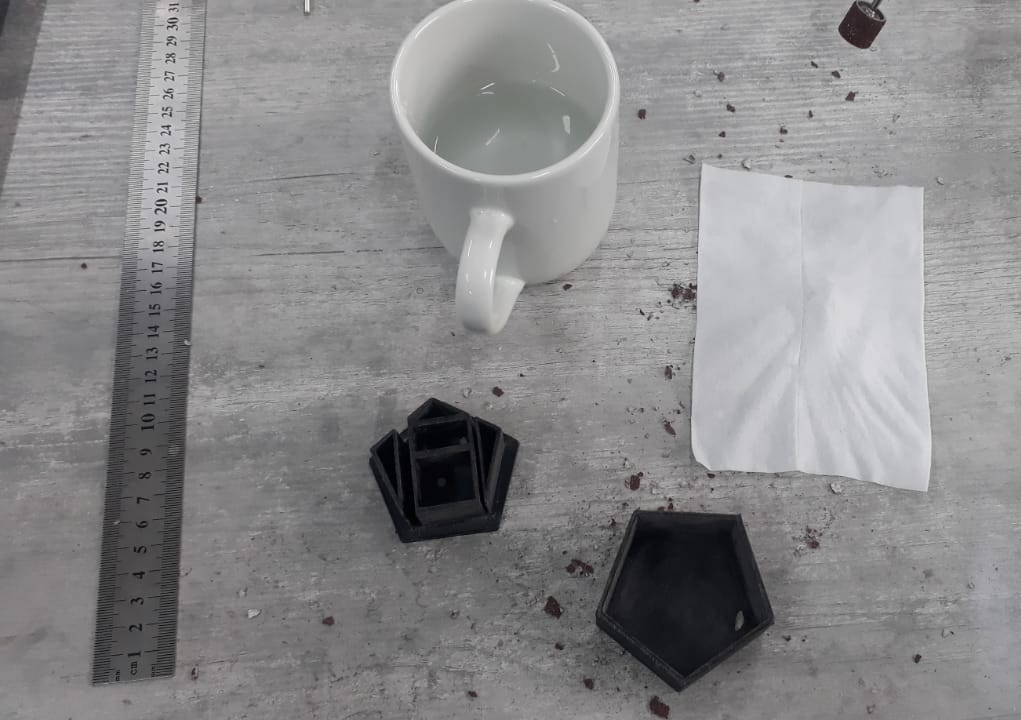
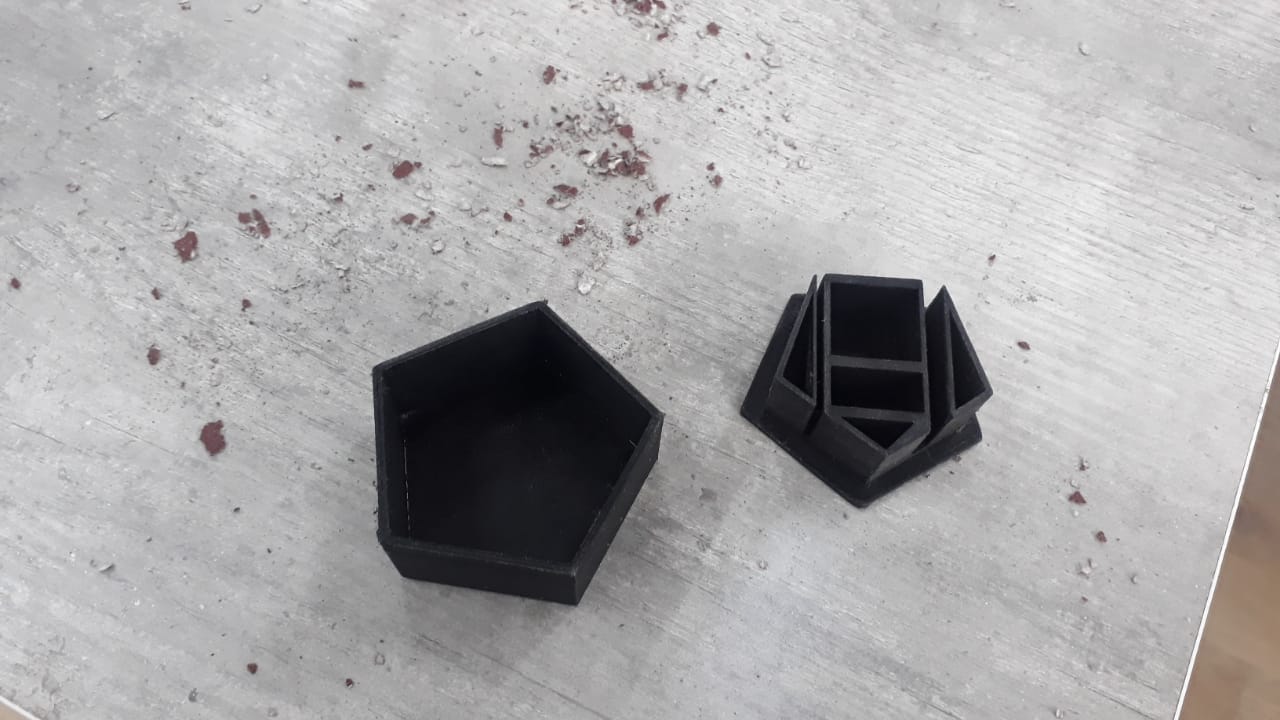
- After cleaning with water
I used Rotary tool IDE grinder and sand paper to smoothen the mold

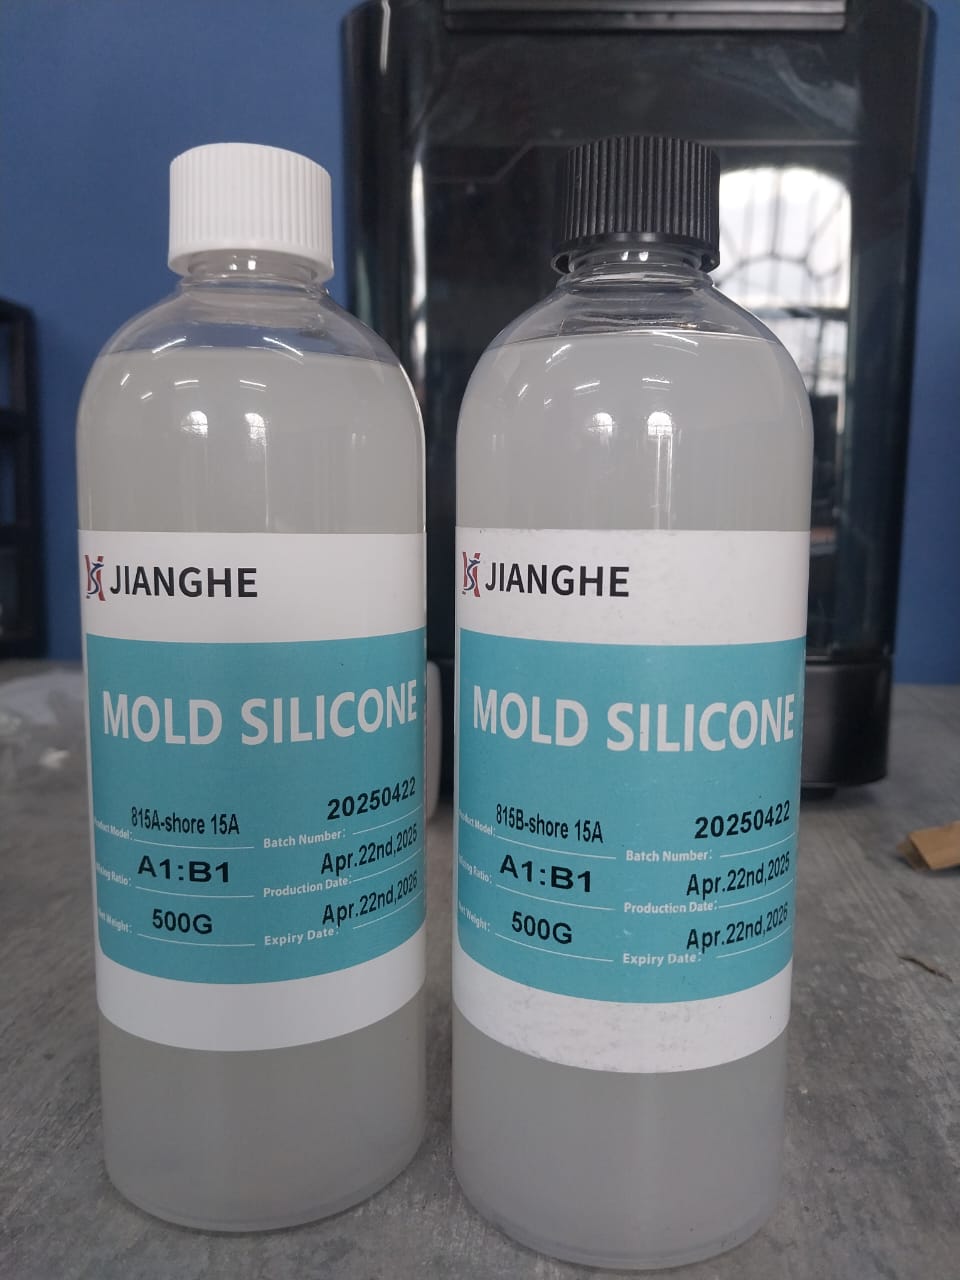
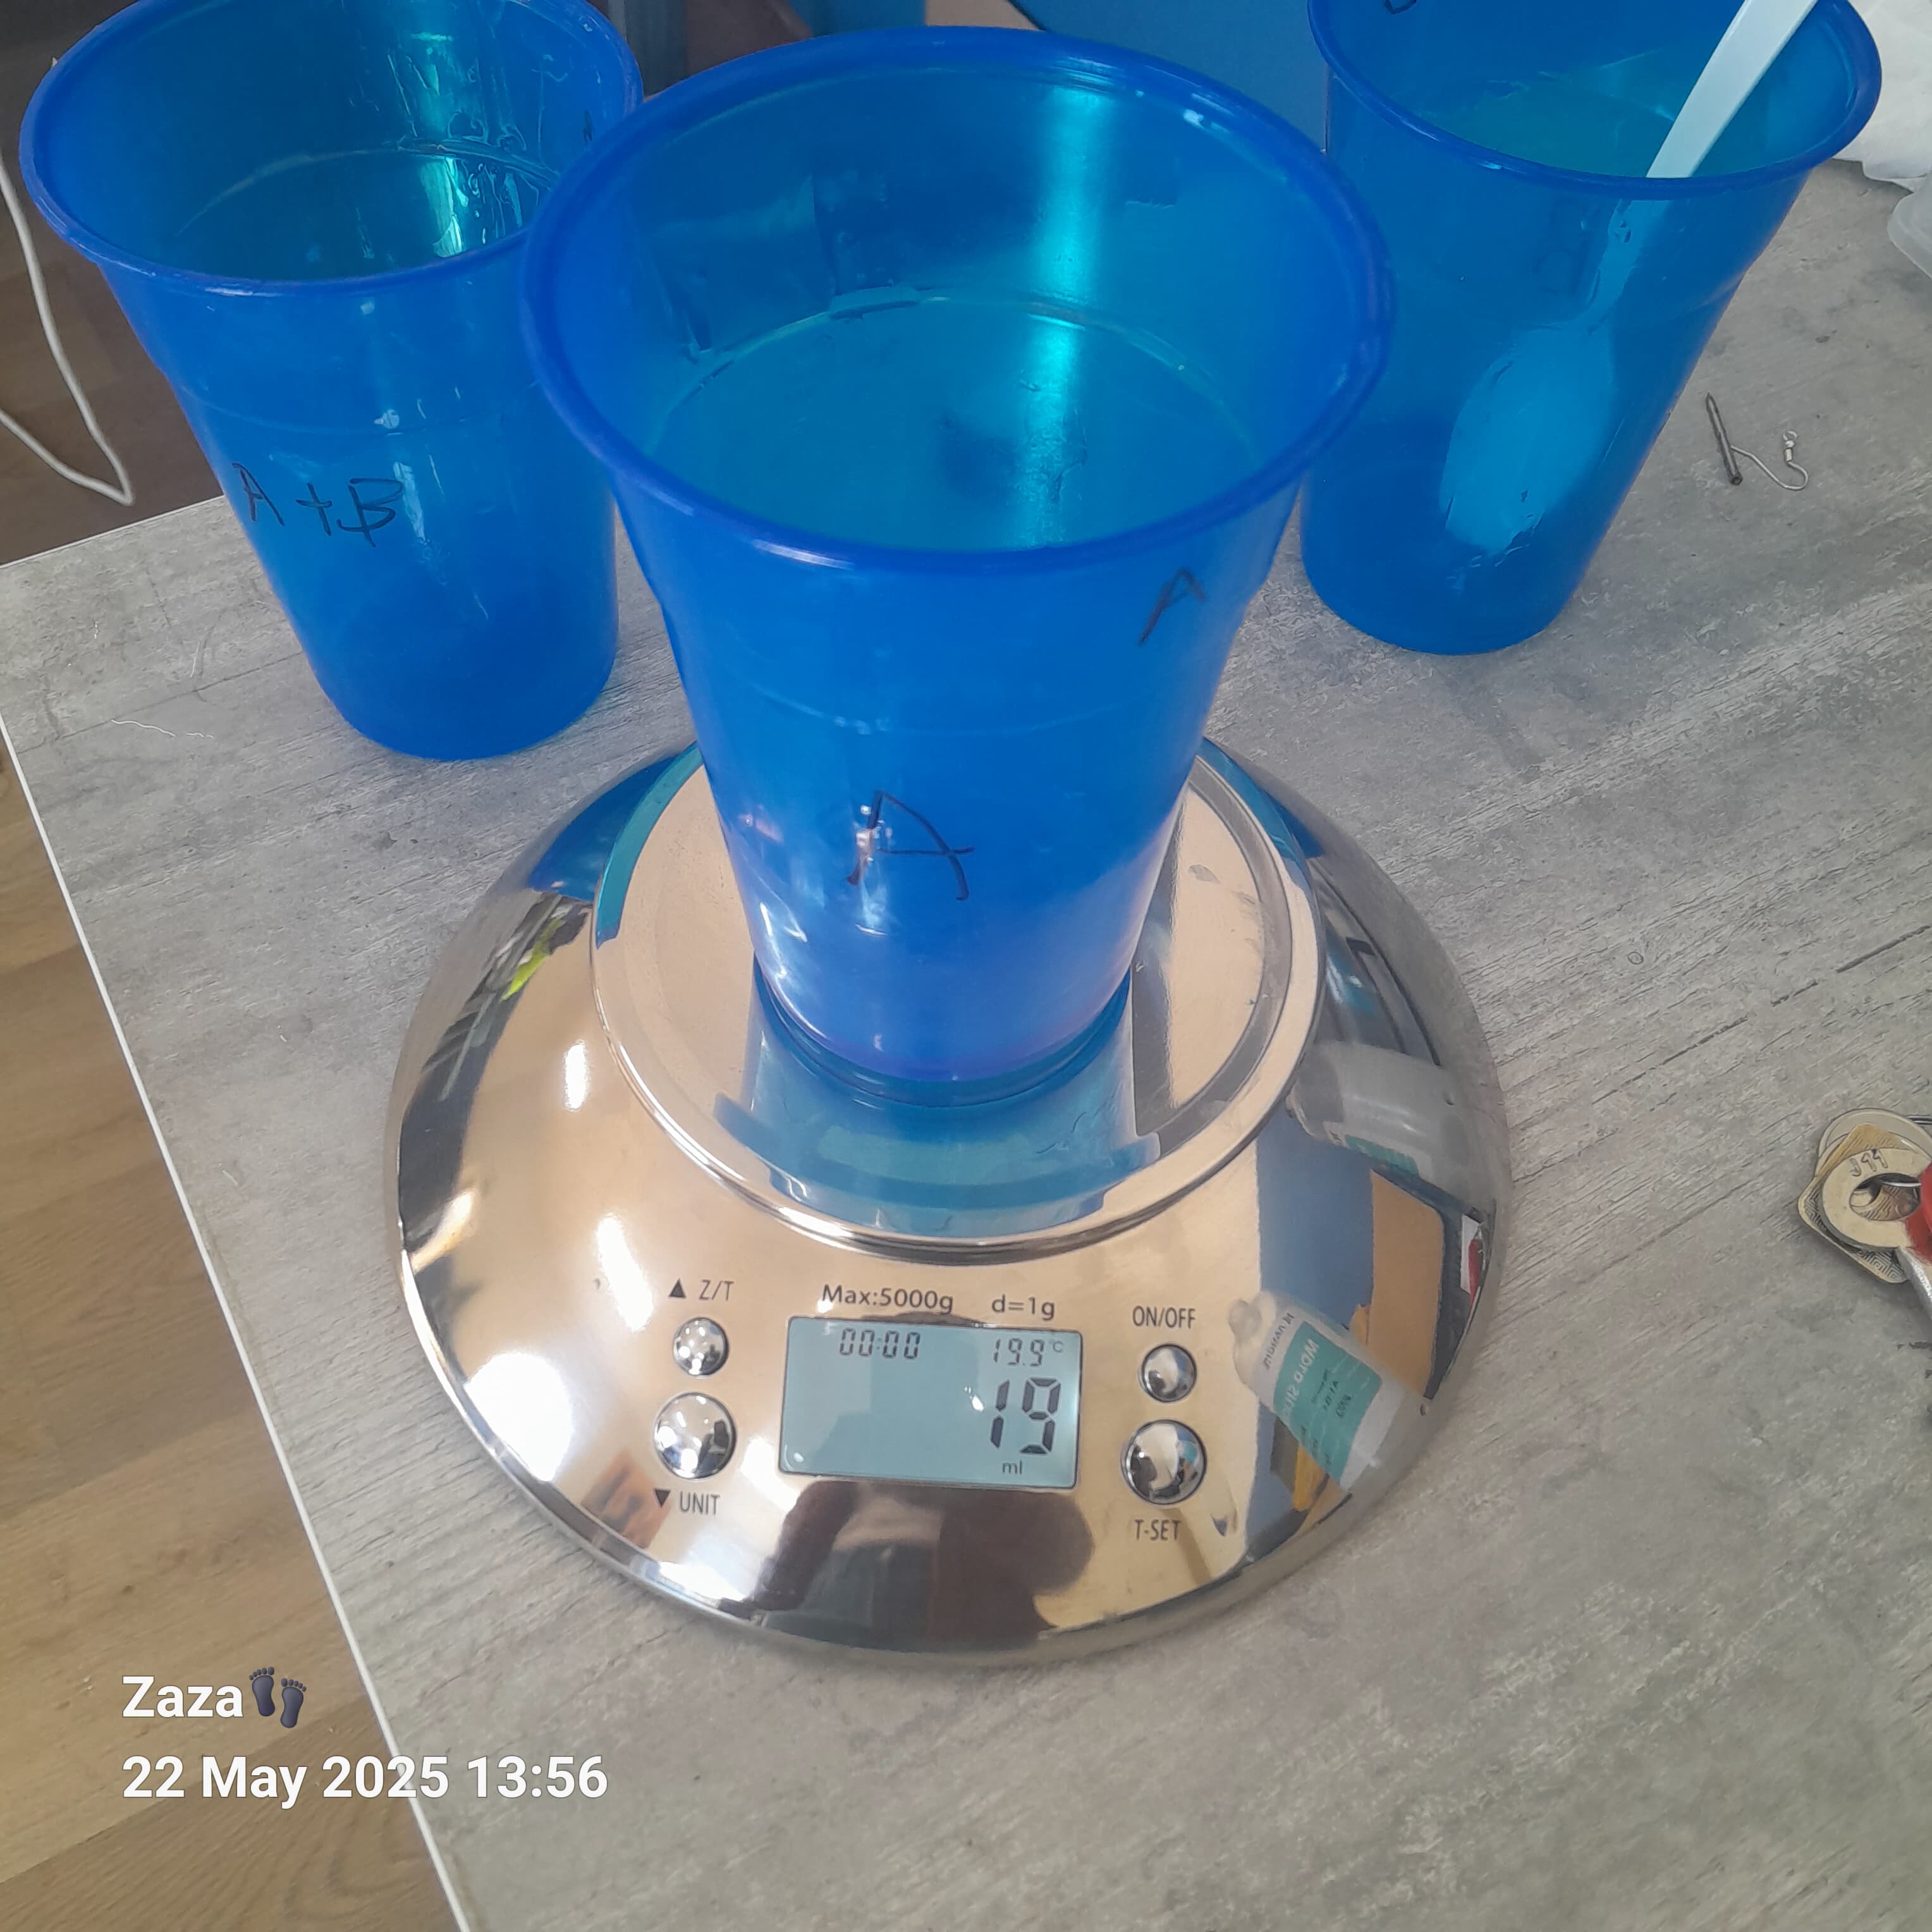
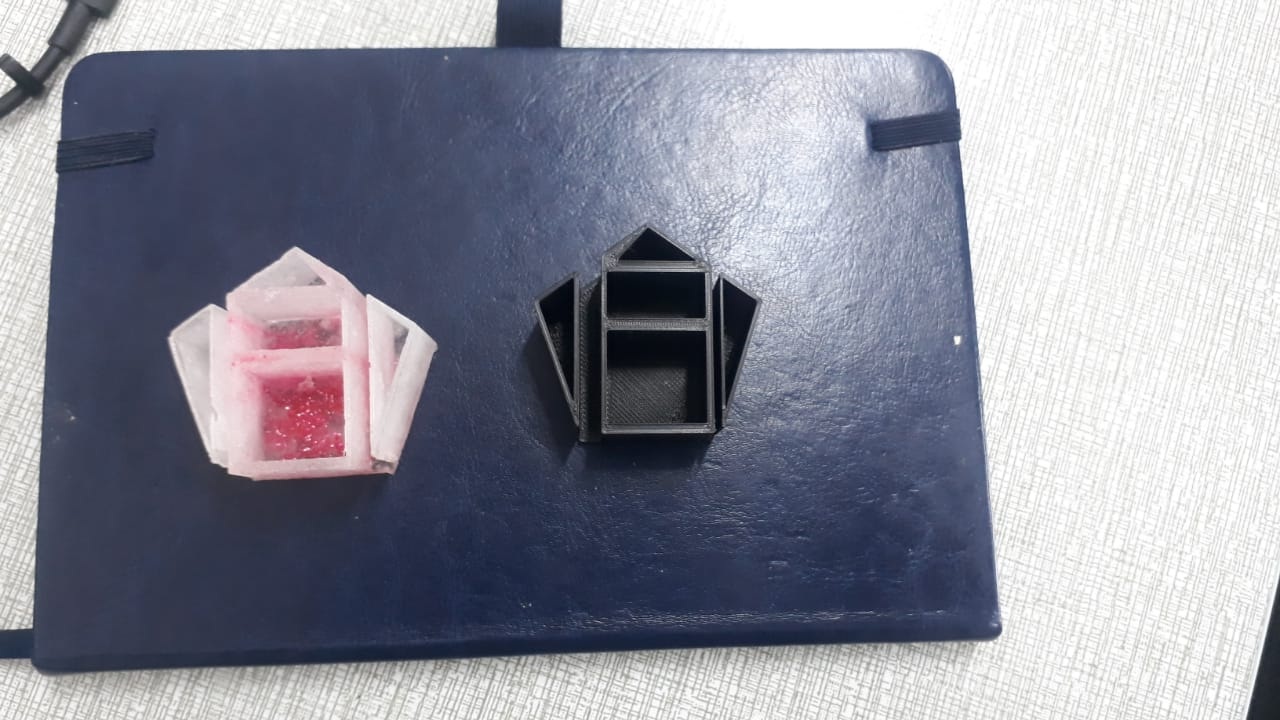
3.Measure and Mix Silicone Rubber
- Use a 2-part silicone rubber kit
- Mix Parts A and B thoroughly with the ratio: 1:1
- Stir slowly to avoid air bubbles
- Use a vacuum chamber for 2 minutes
- Let bubbles rise and collapse before pouring
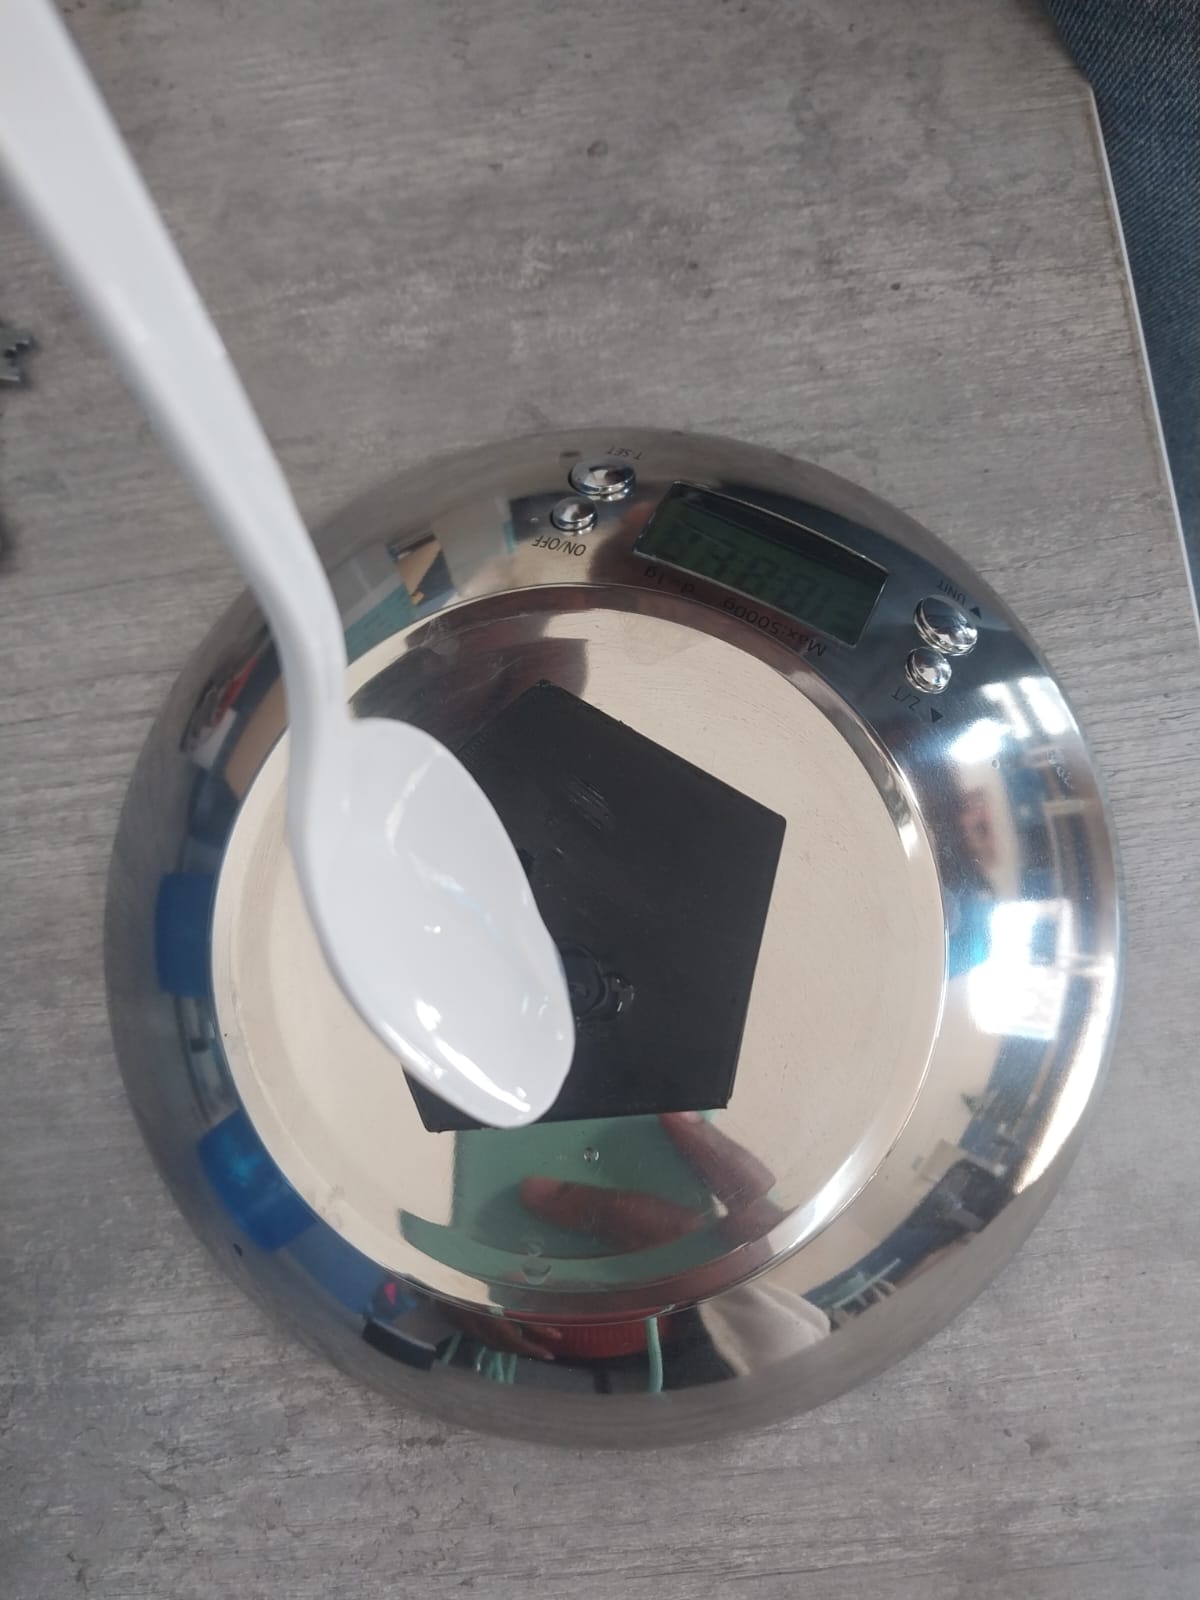
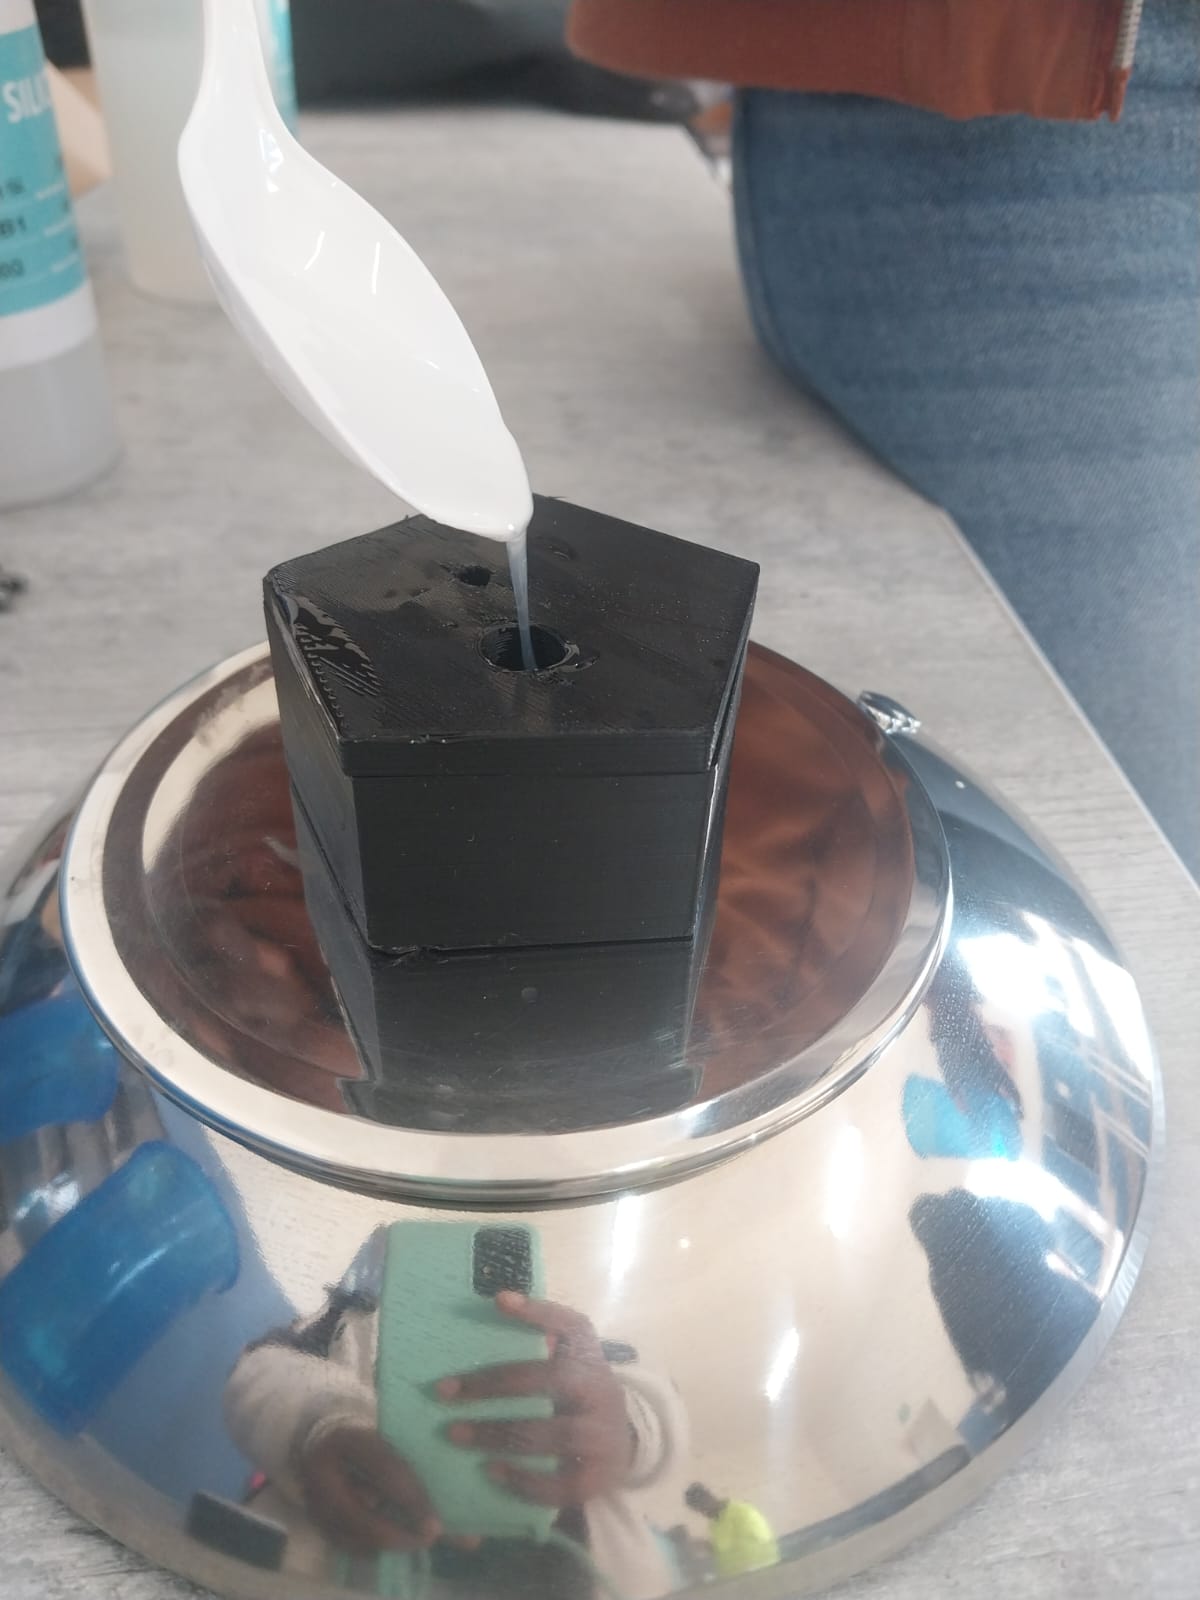
- Pour slowly from the opening stream
- Let silicone flow around the object naturally
- Tap or shake mold box gently to release bubbles
- Let the silicone cure undisturbed for 4–24 hours
- Time depends on product and room temperature
- Remove mold box
- Carefully extract the master
- Trim excess material or flash
Molding post processes
-
Post-Processing on Silicone Molds
- Peel off any flash around seams.
- Wash with warm soapy water.
- Use isopropyl alcohol for stubborn residue.
- Use sharp blades to clean edges.
- Trim pour spouts and air vents cleanly.
- Apply mold release spray before casting.
- Check for air bubbles or tears.
- Ensure mold alignment and tight seams.
- Use a quick material like hot glue or clay.
- Evaluate detail capture and demolding.
- Store flat and away from UV light.
- Avoid contact with sulfur-based materials.
- Apply mold release before each casting
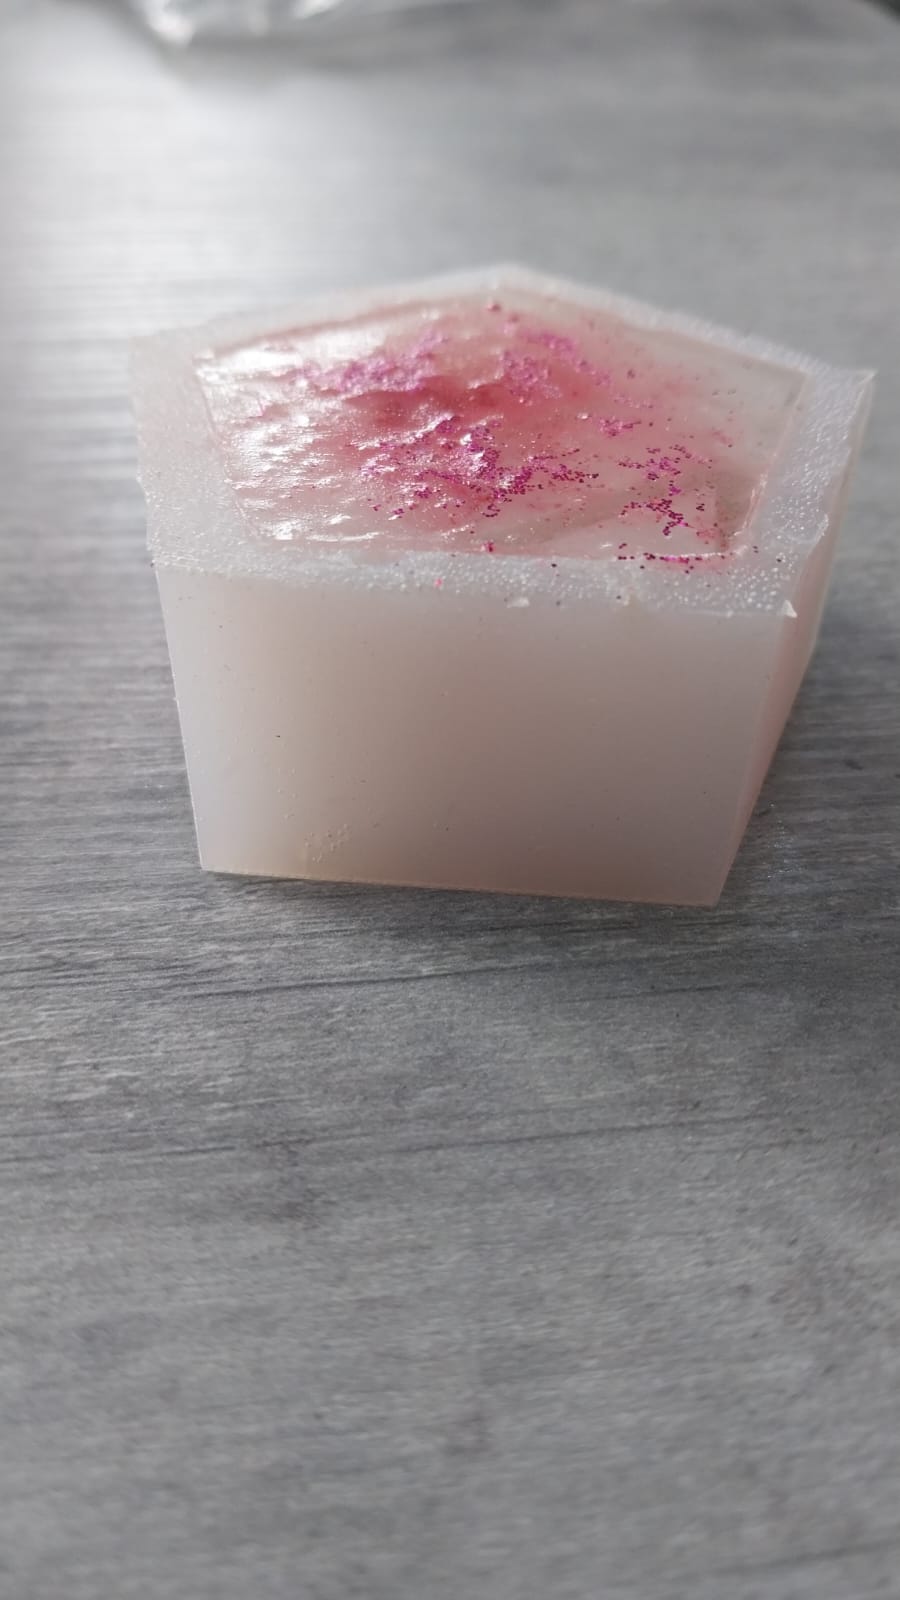
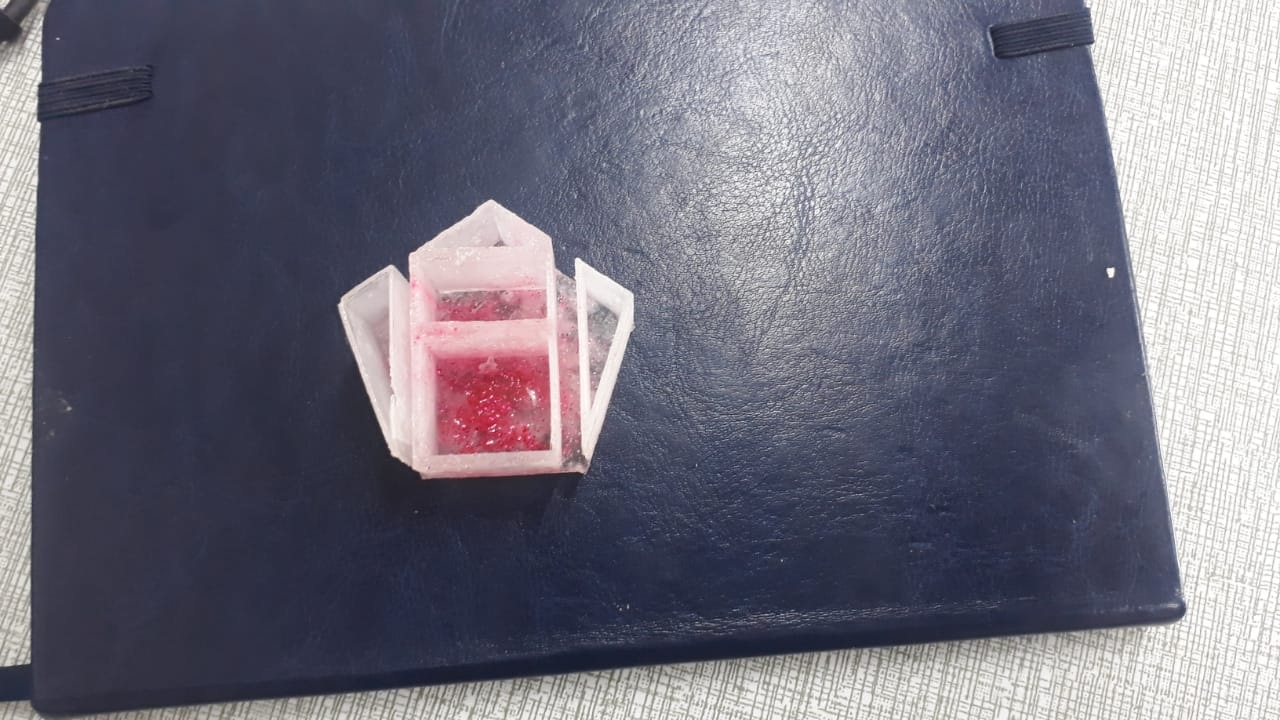
- Pour resin, wax, soap, or other materials, here I used epoxy in a ratio of 100:45g
- Allow curing before de-molding the final part
- The master piece and the Copy
1. Cleaning & Flash Removal
Here I used cooking oil to apply on the mold
Mold Ready for Casting