This opens the GitLab and its Web IDE, make changes as needed.
Changes on the Fab site after making changes on the Web IDE on Gitlab.
Learning Coding
As I was not very familiar with coding,
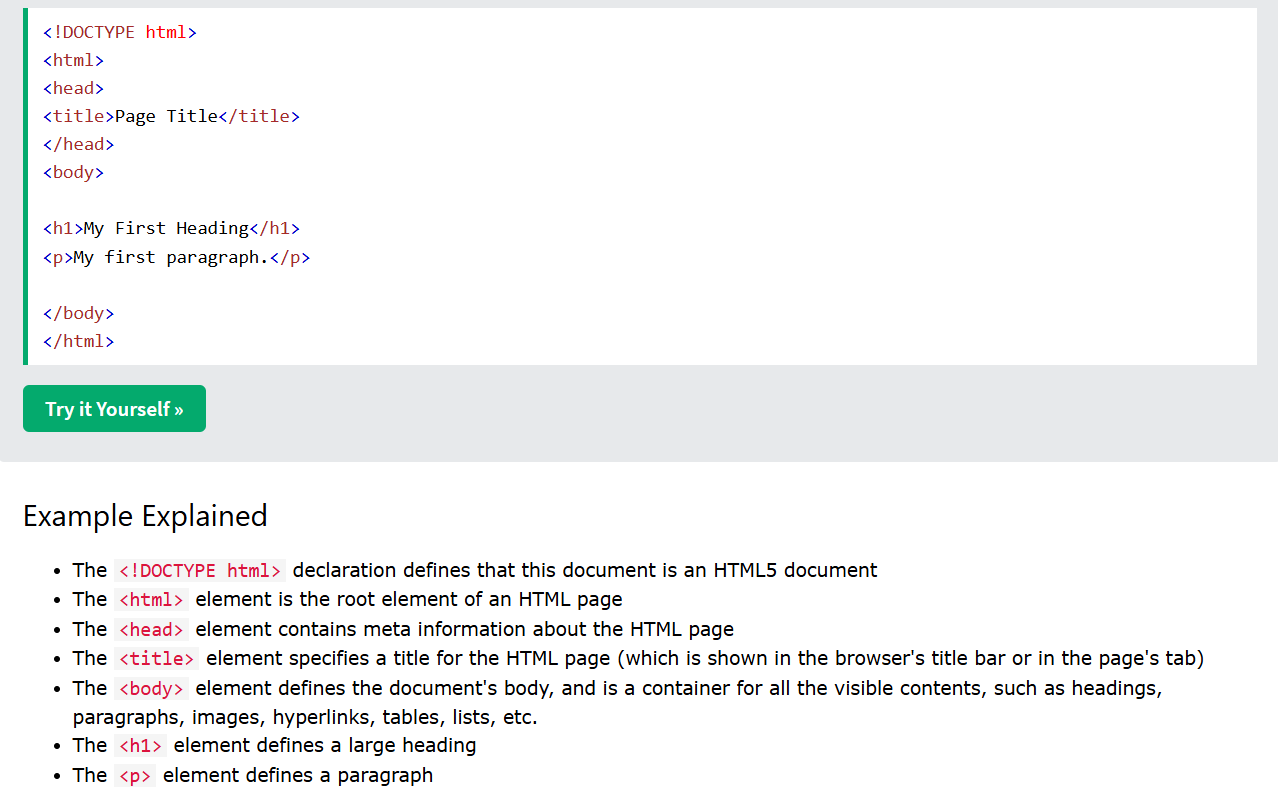
I decided to start with HTML basic, the
foundational tool for building and documenting projects. The topic was exciting and engaging for me.
I referred to the
W3 HTML schools
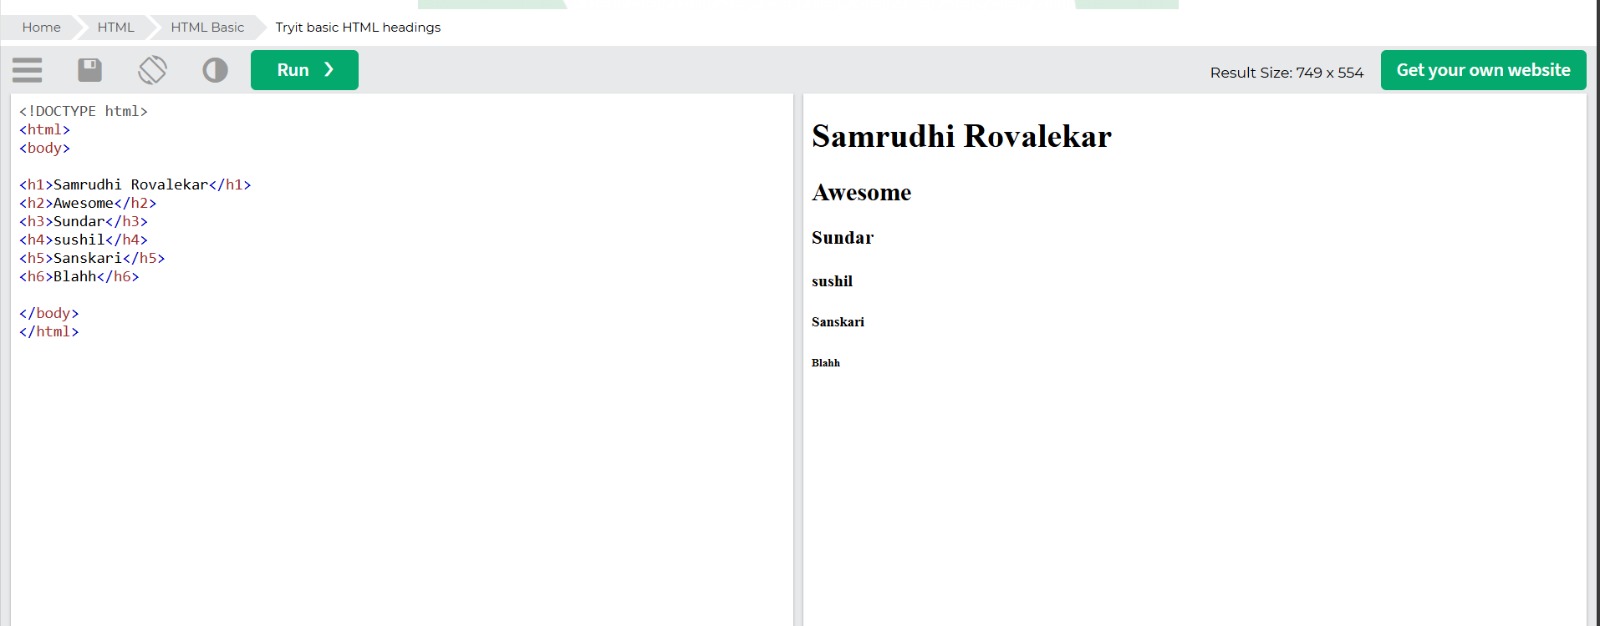
HTML guide to learn and practiced some HTML syntax. Practising this gave a hands on experience on understanding
the
very basics
of the lecture and the expectations of the week.
Setting Up Git Locally: A Hands-On Adventure
The most critical and adventurous part of my learning was setting up Git.
As mentioned earlier in my documentation, I needed to install Git on my computer
to clone my repository from the GitLab platform to my local device.
I began by downloading and installing Git, ensuring it was properly configured.
Here’s how I approached it step by step:
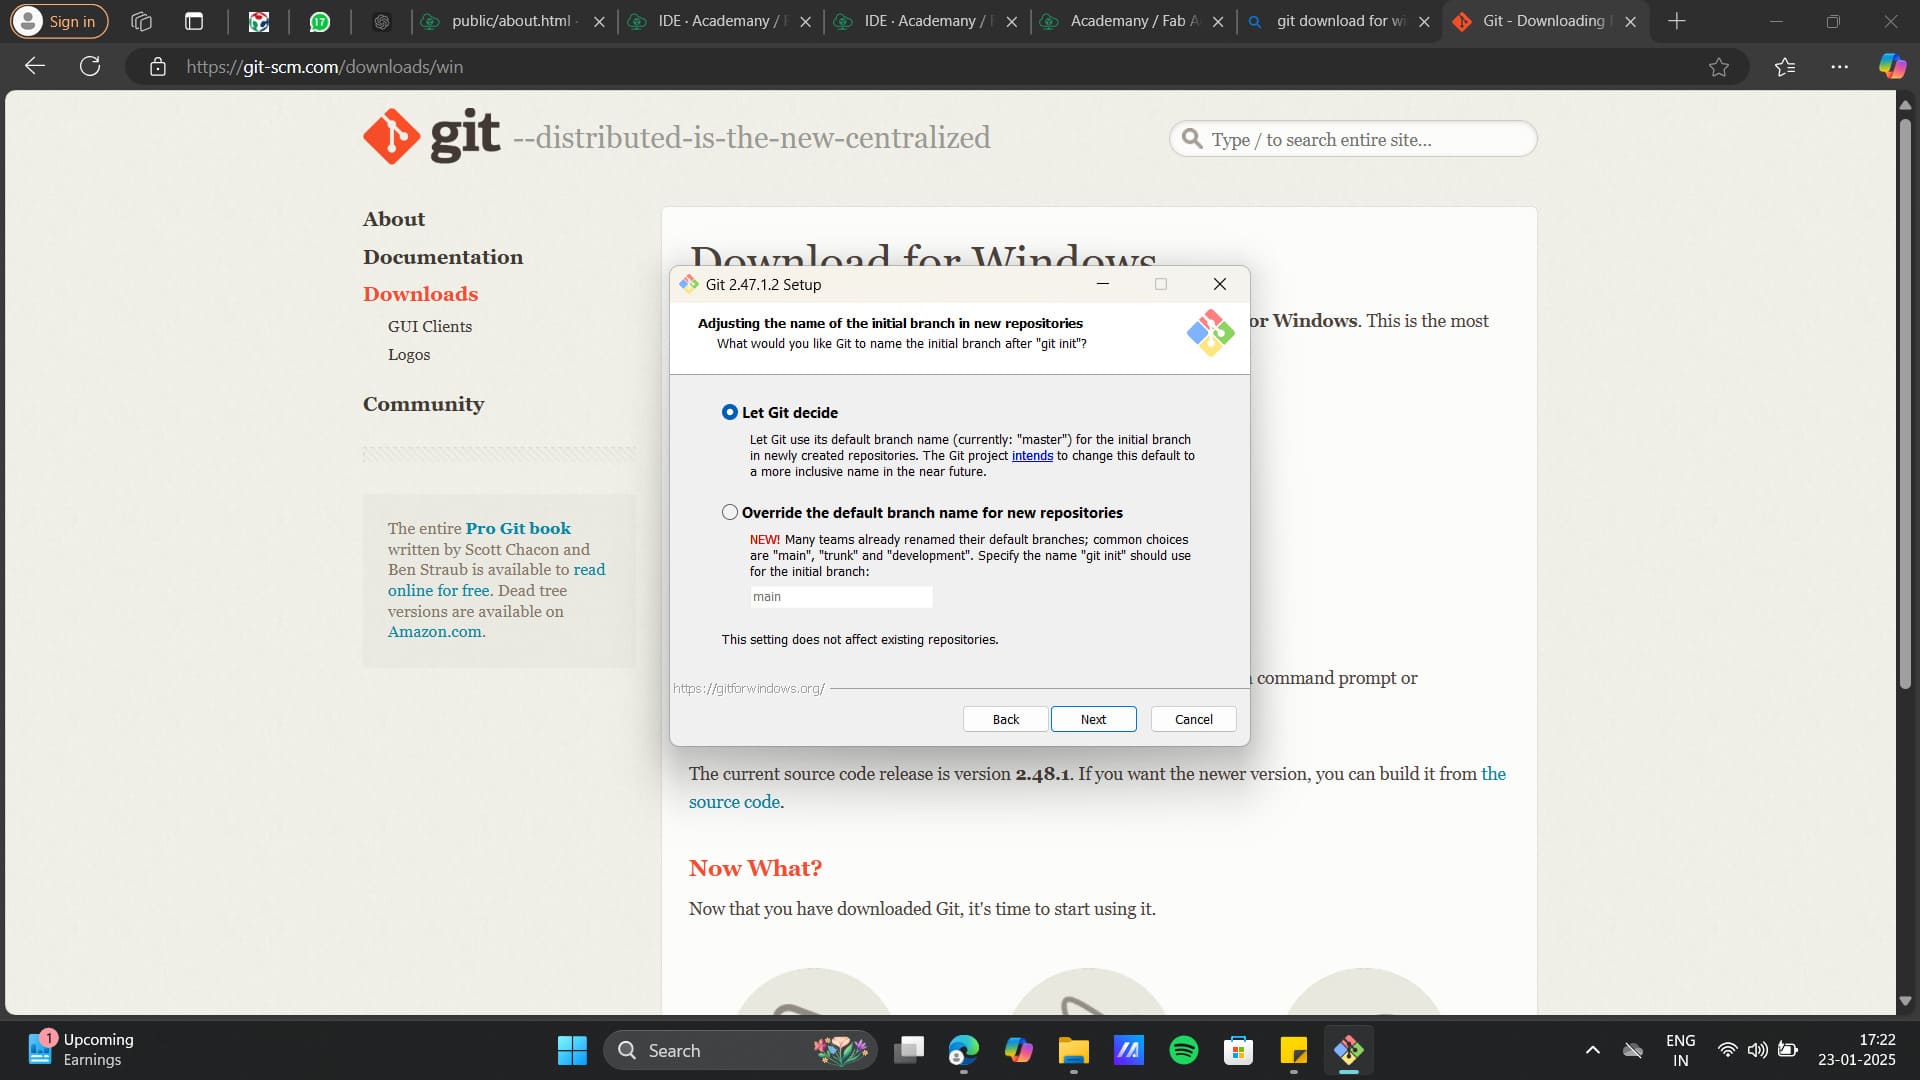
1.Install Git
Installed Git on my system to enable local repository management.For downloading Git click
here
1. Download for windows. Incase you want to download for Mac refer to
Mihir's page , my
fellow
Fab Academy friend.
2. Then git set up will ask multiple questions, for most of which you click over next.
However there were a few questions on which u will have to change the default settings.
Adjusting the name of the initial branch in new repositories: would u like Git to name
the initial branch after "git init"- LET GIT DECIDE.
3. Configuring the terminal emulator to use with Git Bash: which terminal emulator
do u want to use with your Git Bash? USE WINDOWS DEFAULT CONSOLE WINDOW.
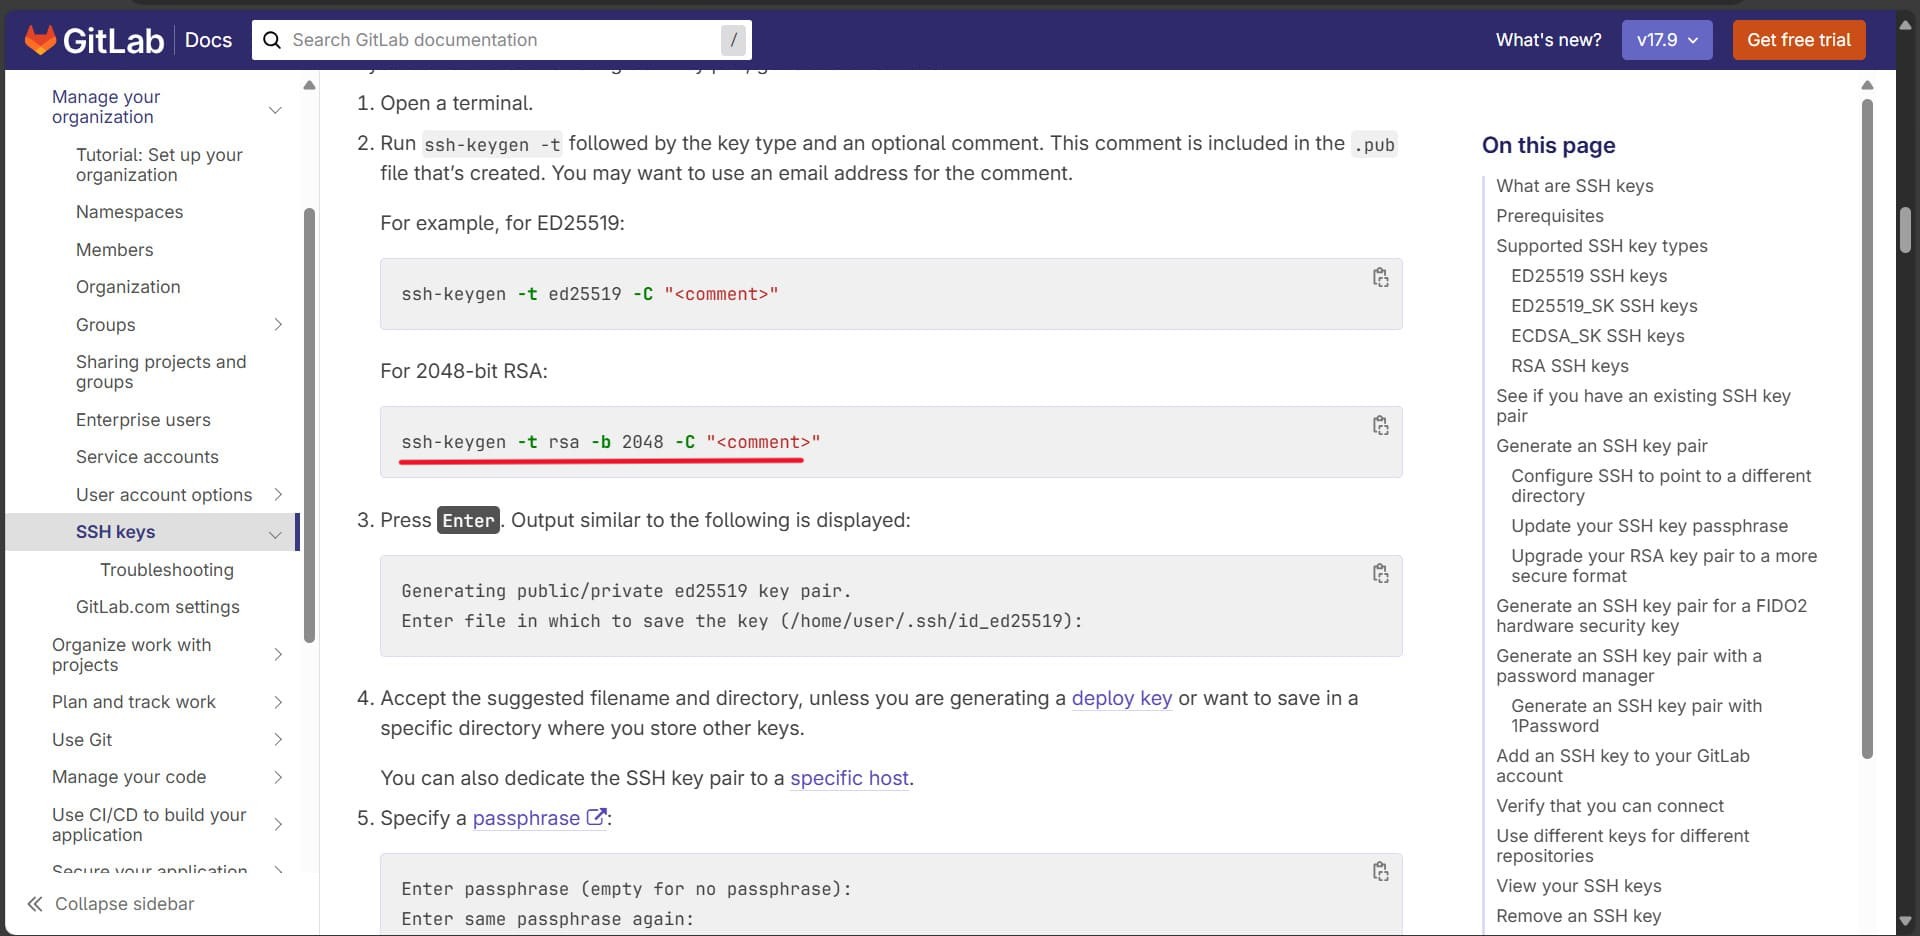
2.Generate SSH Key
An SSH key is like a digital passkey used to securely connect to computers
over the internet without needing a password. It comes in two parts:
Private Key (your secret key, stored on your computer)
Public Key (shared with the server you want to access)
When you try to connect, the server checks if your private key matches the public key.
If they match, you get access! It's used for secure logins, especially for servers and cloud services.
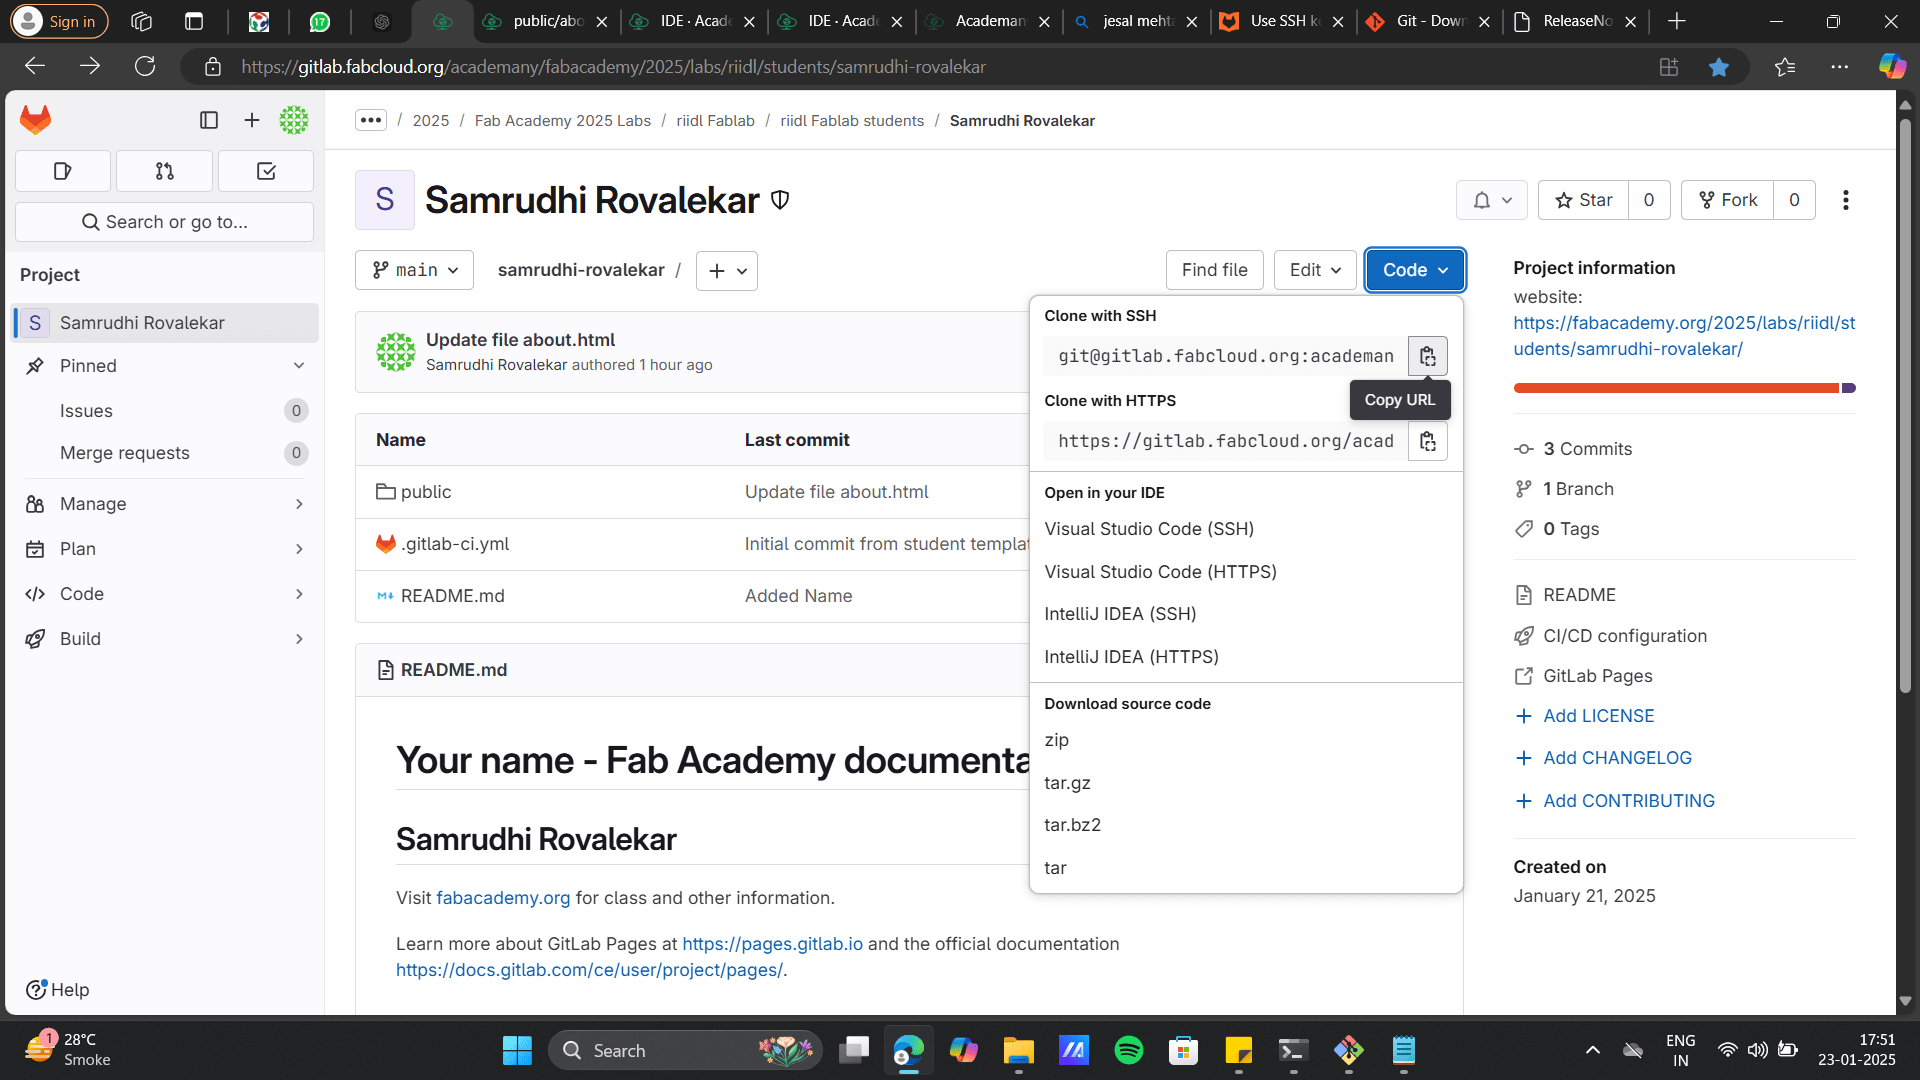
In GitLab, an SSH key is used to securely connect your computer to a GitLab repository without needing
a username and password every time you push or pull code.
I got help from my mentor Jesal Mehta
,who guided me to generate the SSH Keygen code from
GIT Lab Website .
To understand the further steps:
1) Use the command prompt( You can find it in your system explorer panel).
Command Promt: A Command Prompt is a command-line interface (CLI) in Windows
that allows users to execute text-based commands to perform system tasks, manage files, and configure
settings.
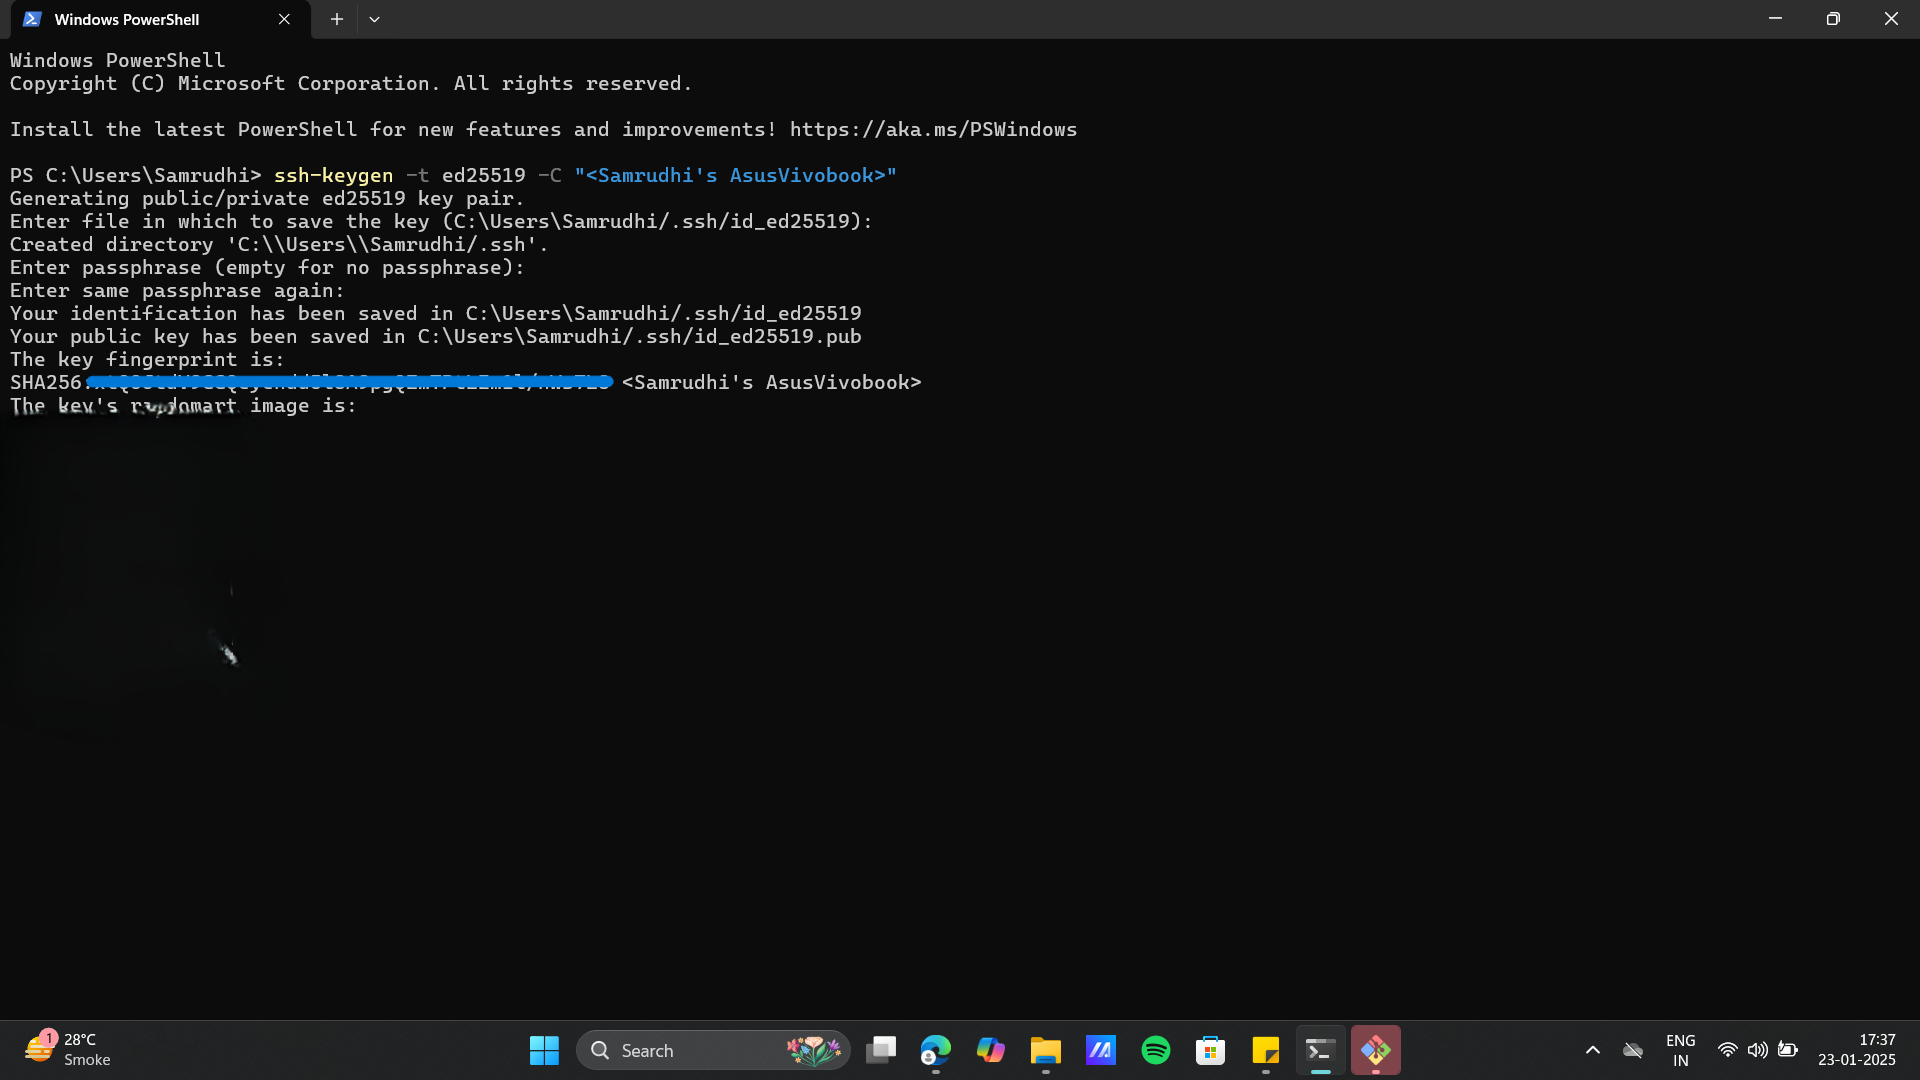
2) Copy SSHKey gen: Copied The SSH KEYGEN-ssh-keygen -t rsa -b 2048 -C "" from above mentioned Git Lab
website.
3) Paste to Command Prompt: Git+ Key+ Enter.This Connect Git to my local machine. Using the command prompt, I
generated the SSH key.
4) Add to my account: Added the generated key to my GitLab account under Preferences.
3.Authorize Git
Once the SSh key is set, I used the command promt to authorize Git by cloning: In Git, cloning refers to
creating a copy of a remote repository on your local machine. It includes all project files, branches, and
commit history.
Thus to clone the repository from GitLab into my local system using the command prompt I used the following
steps on Command Prompt:
1) Authorizing: Git+ Enter (This command shows the current state of your repository,
including changes that are staged, unstaged, or untracked.)
2) Authorizing Local drive: Cd(Change directory)+ enter (cd path/to/your/directory); he command prompt will
navigate to the specified local directory.
3) Git clone: git clone + repository url ie.
SSH Key Authentication Warning:
Git displayed a security warning:
The authenticity of gitlab.fabcloud.org (IP: 13.59.248.79) cannot be verified.
It provided the SSH key fingerprint which the
system did not recognize this key from any previous connections. Thus, an
user confirmation was required.
Git asked: Are you sure you want to continue connecting (yes/no/[fingerprint])?
This is a security check to prevent man-in-the-middle attacks.
If the user types yes, Git will save this fingerprint and continue cloning.
If no is entered, the connection will be aborted. I typed "Yes" and the cloning continued.

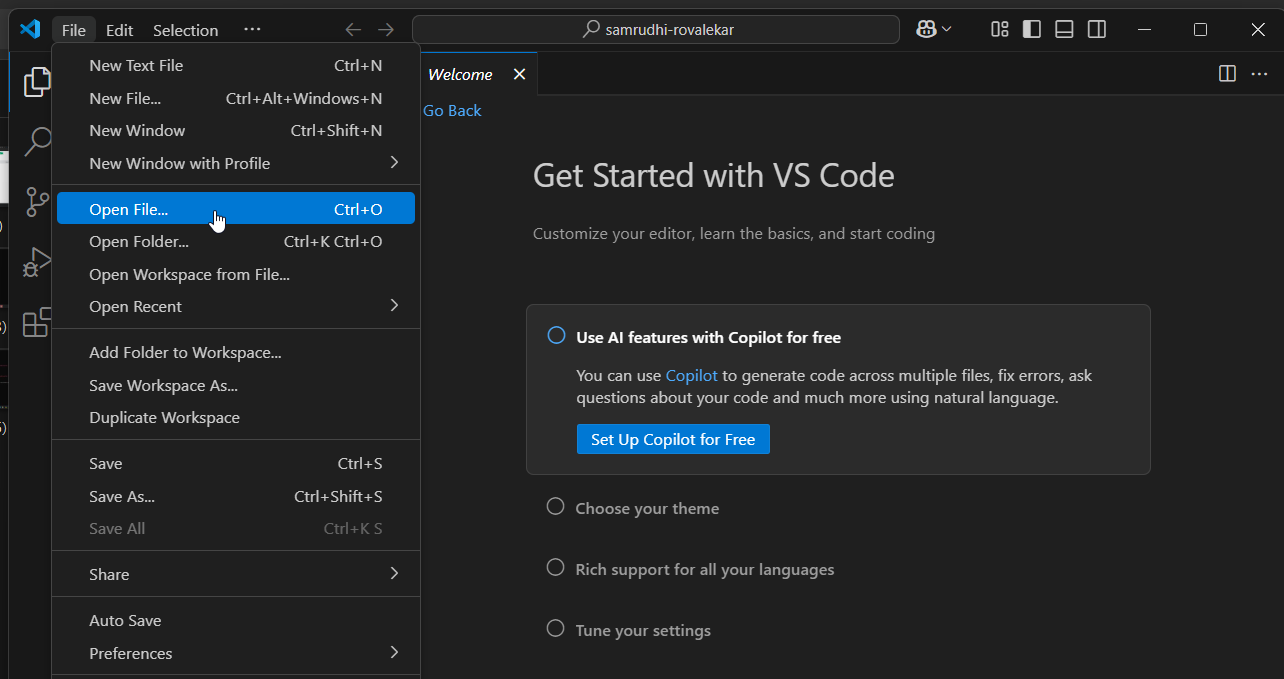
4.Set Up VS Code
I downloaded and installed Visual Studio Code, (VS Code)-VS Code (Visual Studio Code) is a code editor that
integrates with Git,
allowing you to manage your Git repositories directly within the editor. Download VS Code
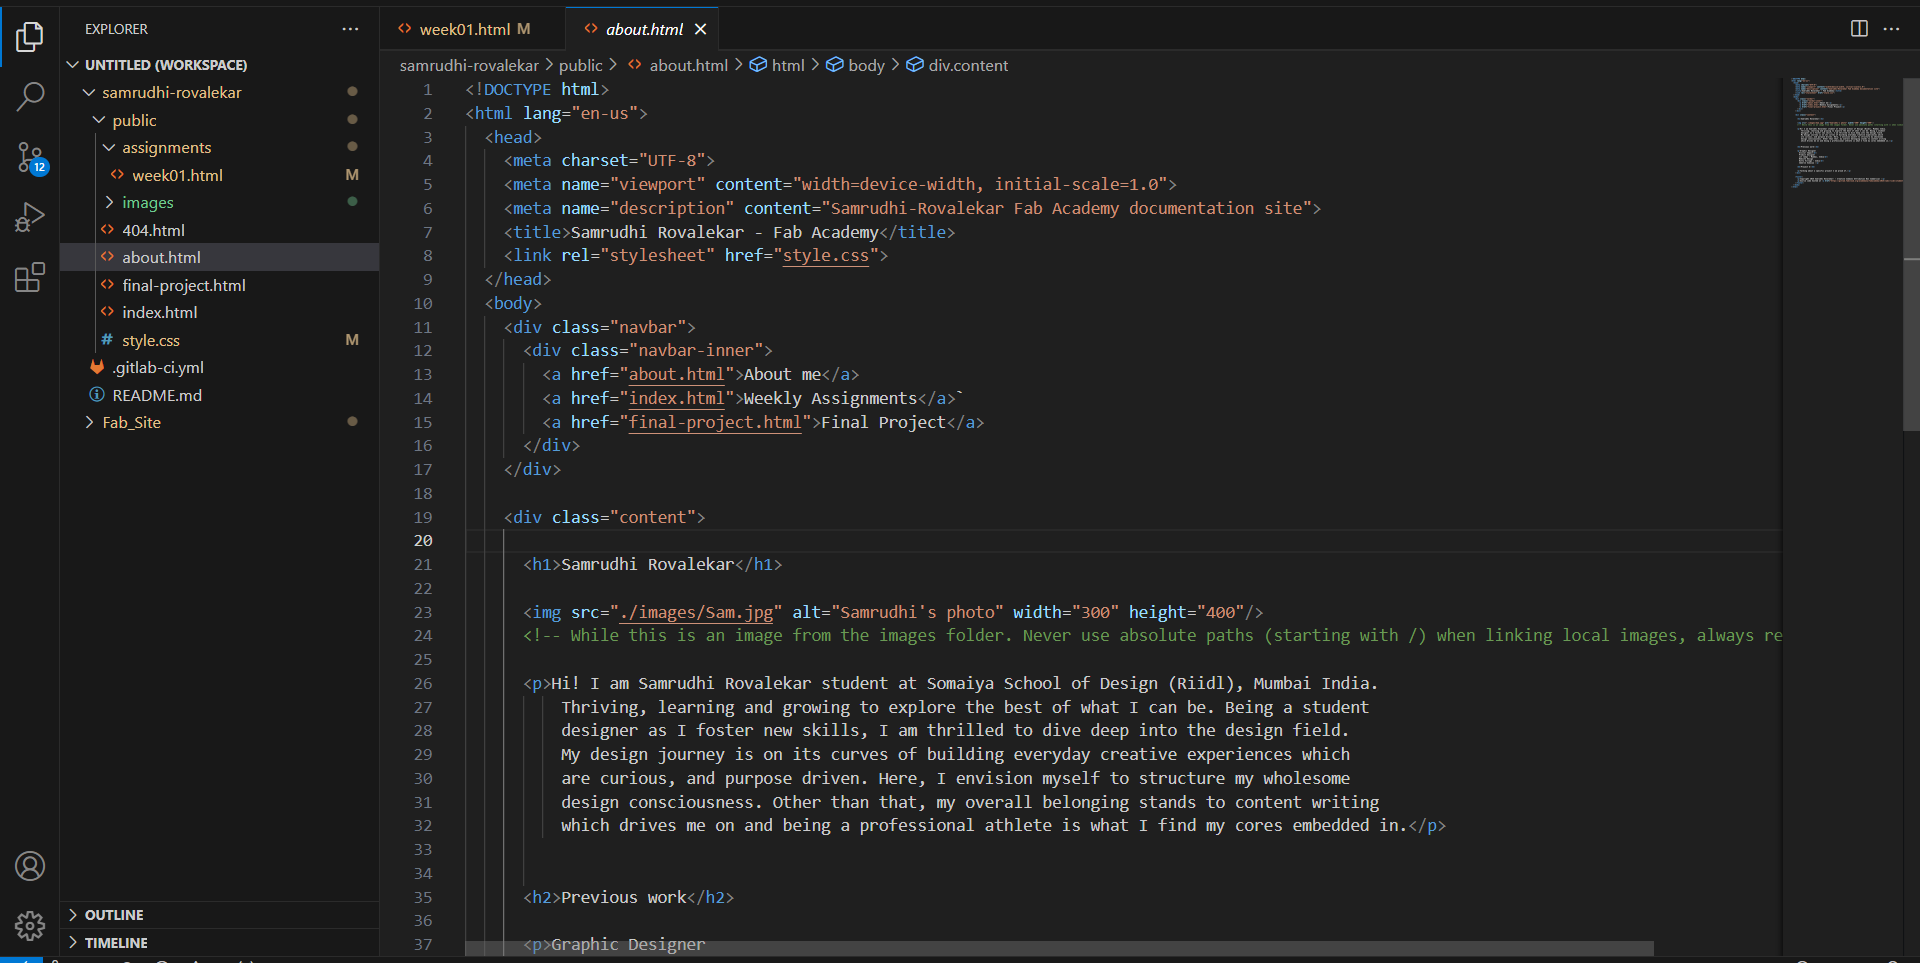
to open and manage your local files. This helped me view and edit the repository files, including HTML files.
In the repository open the file directory which will be the local folder ie. repository for your Global
Website.
VS Code Interface
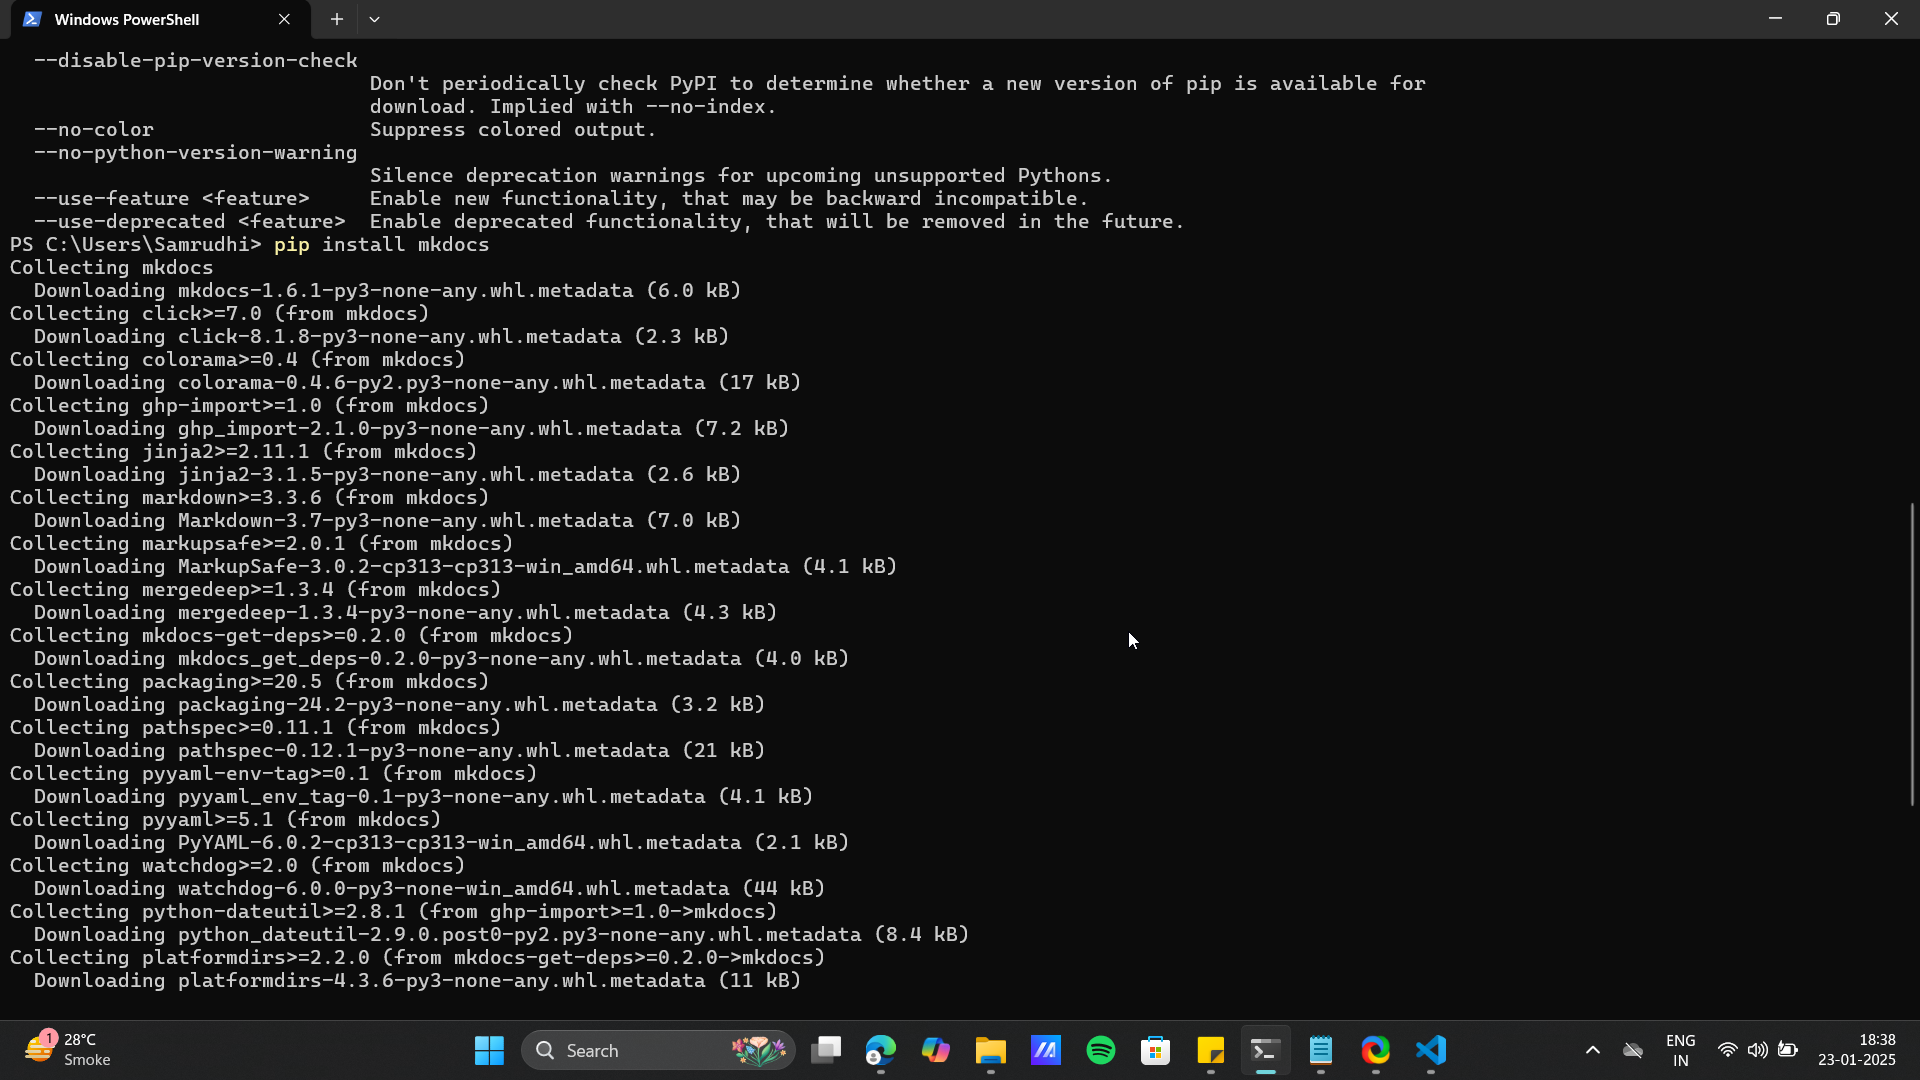
5. Install MkDocs
Install here
After installing Mkdocs, I authorized it to my device along with vs code with the following setps:
1)Install PIP(Python’s package installer): Pip+ Enter, this helps to authorize the pip language.
2)Pip Install Mkdocs: Pip Install Mkdocs+ enter,
Pip will download the MkDocs package from the Python Package Index (PyPI) and install it on your system.
Once installed, you can use MkDocs to generate and serve project documentation locally or deploy it to a
server.
3) Change Directory: CD+ Enter: This helps to define the specific local directory.
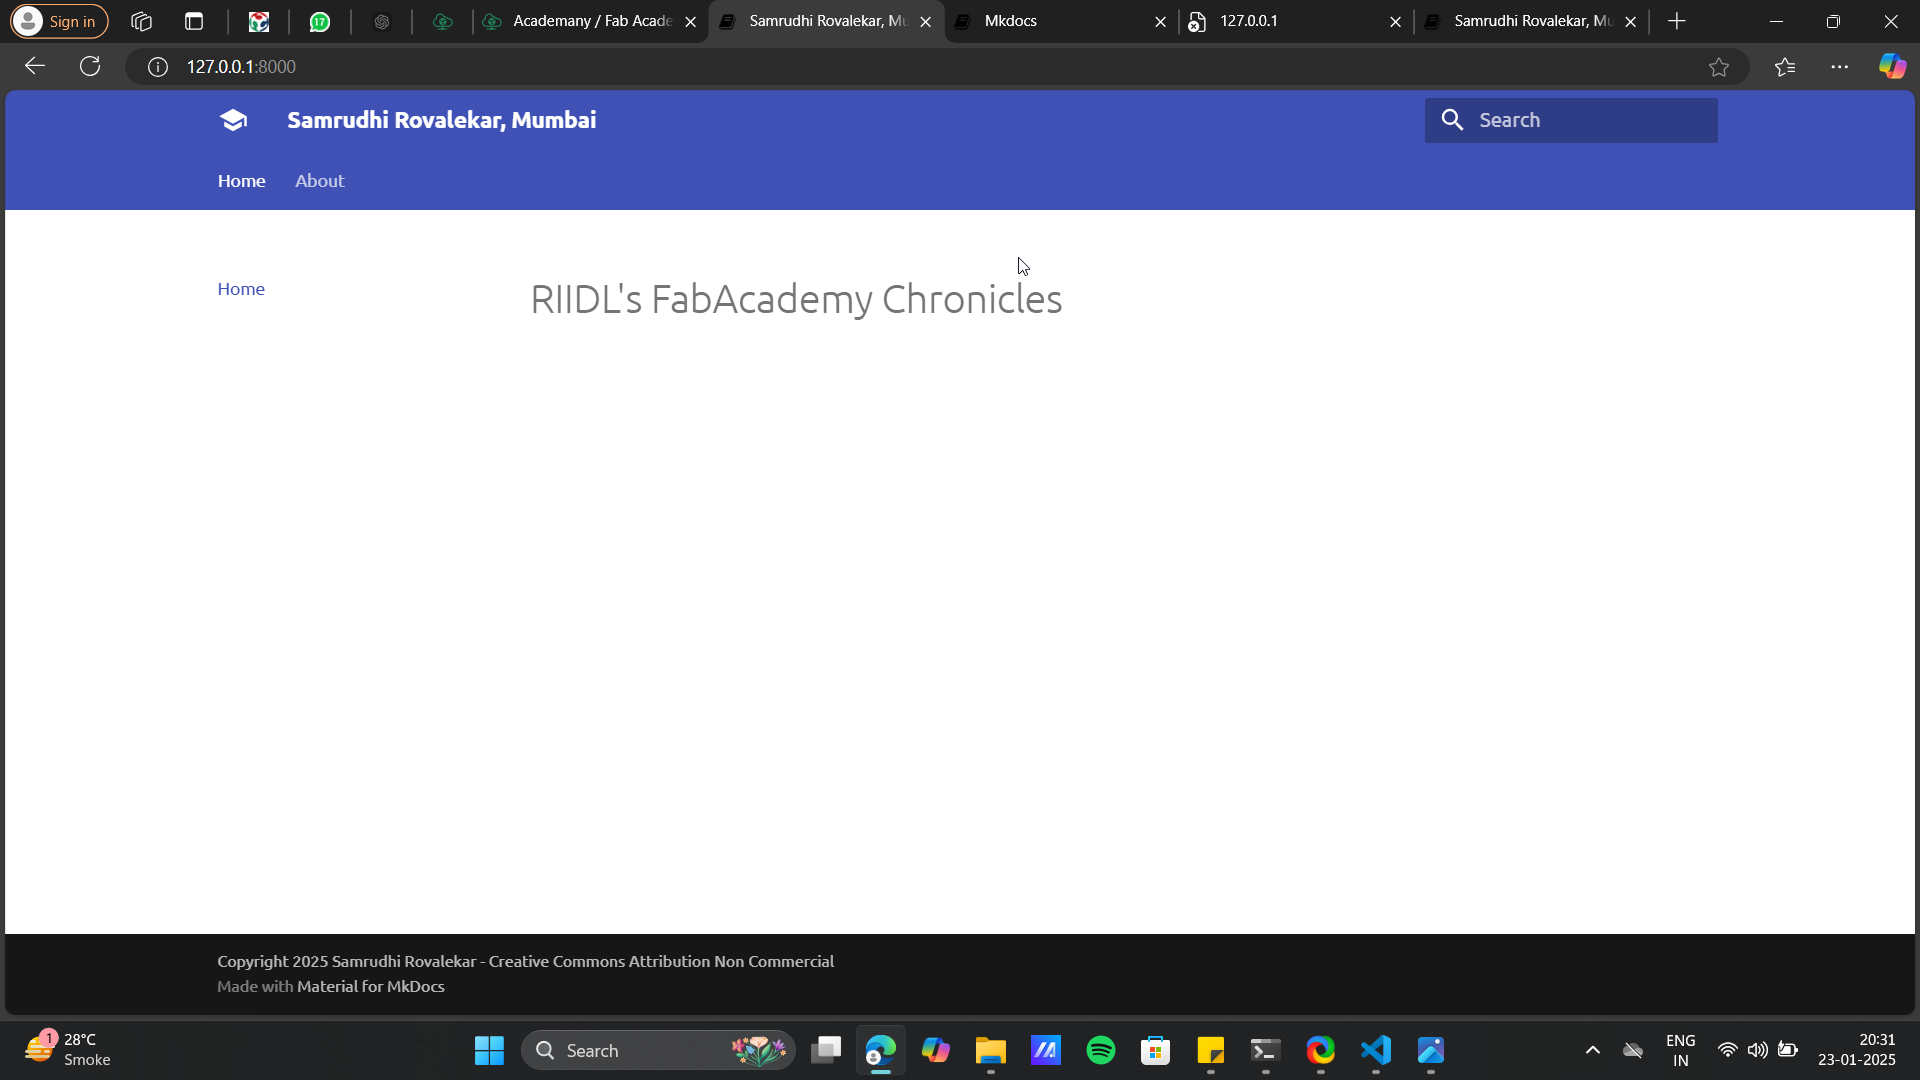
I created a trial project using MkDocs and customized the default template.
I manipulated the text, edited project files, and removed unnecessary content.
Additionally, I installed the MkDocs Material theme to enhance the design and improve the visual appeal of the
documentation.
Mkdocs Coding:
Mkdocs Material:
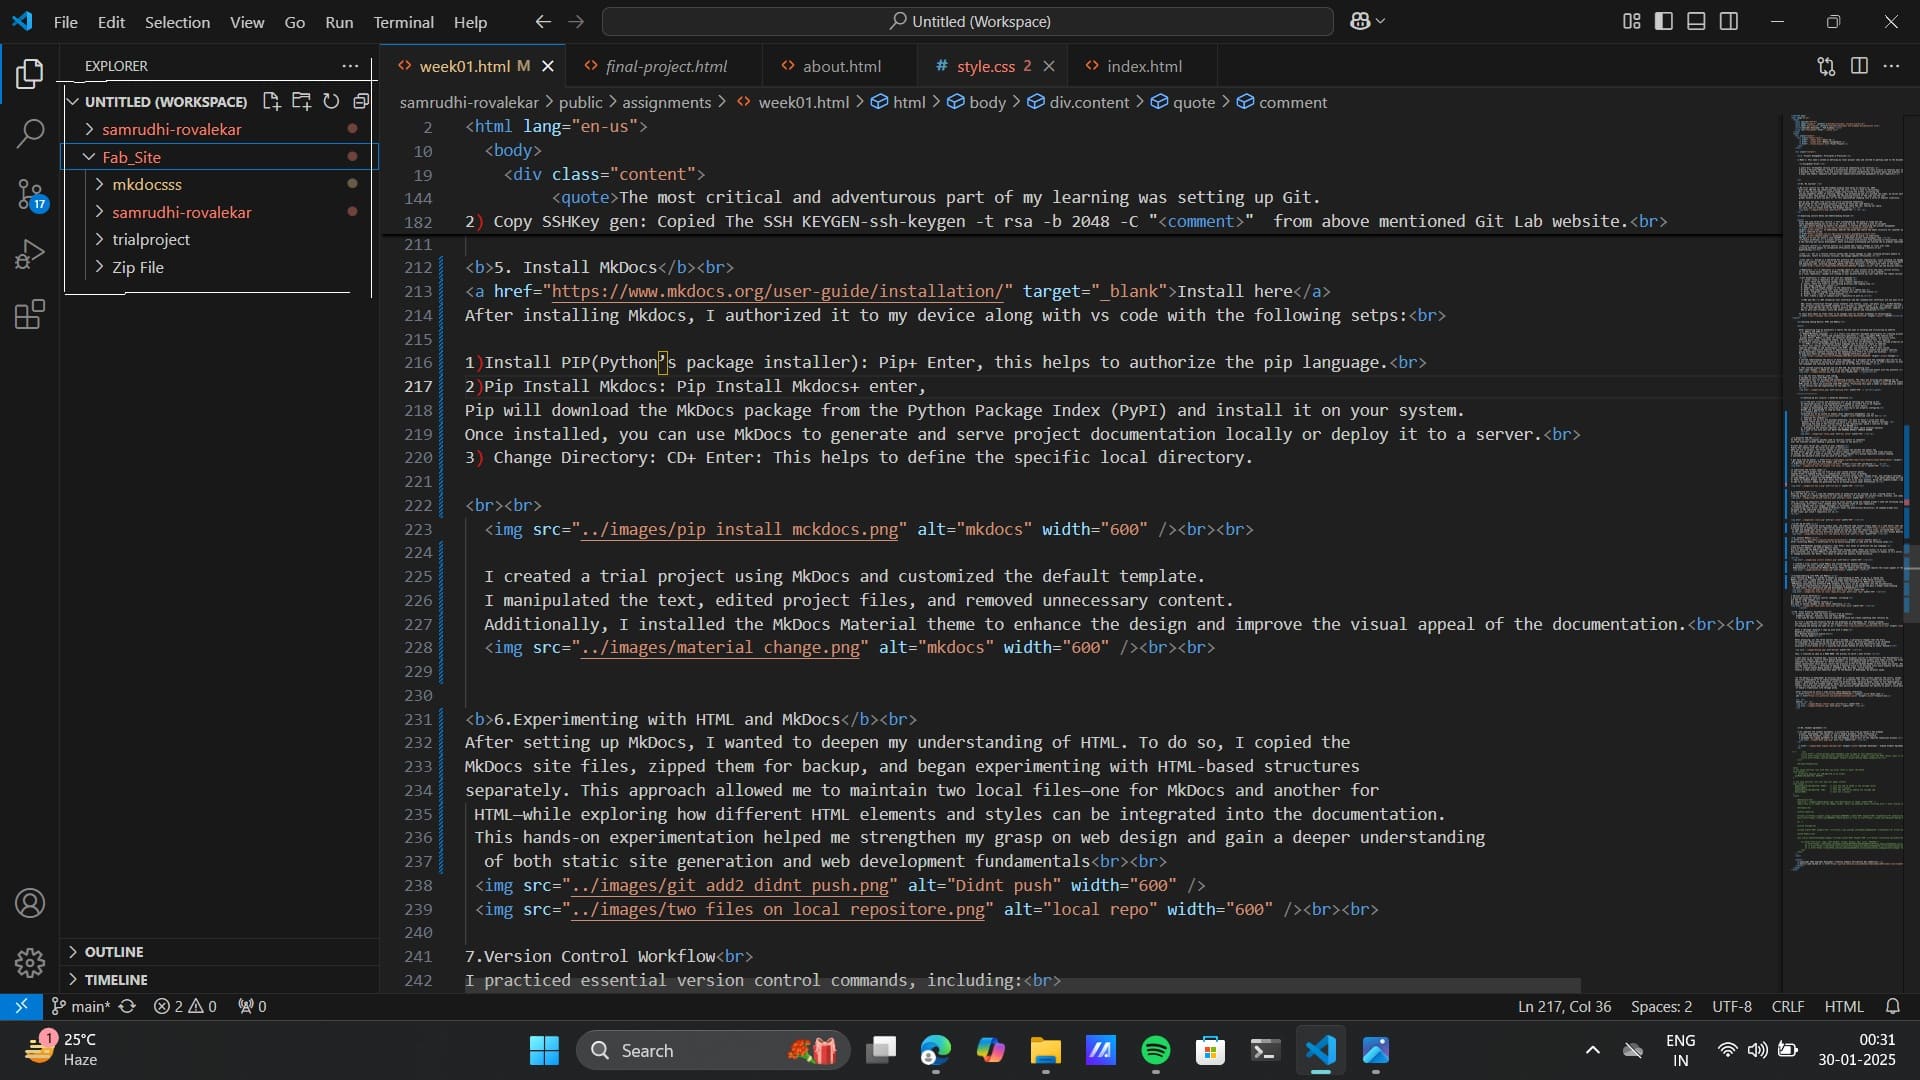
6. Experimenting with HTML and MkDocs
After setting up MkDocs, I wanted to deepen my understanding of HTML. To do so, I copied the
MkDocs site files, zipped them for backup, and began experimenting with HTML-based structures
separately. This approach allowed me to maintain two local files—one for MkDocs and another for
HTML—while exploring how different HTML elements and styles can be integrated into the documentation.
This hands-on experimentation helped me strengthen my grasp on web design and gain a deeper understanding
of both static site generation and web development fundamentals
Vs Code Local zipped folder for Mkdocs and global folders for html:
Local built different folder for Mkdocs and global folders for html:
Experimenting with HTML alongside MkDocs gave me valuable insights into web development and static site
generation. By maintaining two local files—one for MkDocs and another dedicated to HTML—I could freely explore
various HTML structures, styles, and elements without affecting my primary documentation. This hands-on
approach
allowed me to experiment with different design components, refine layouts, and understand how HTML interacts
with CSS and JavaScript for a more dynamic web experience.
Ultimately, I chose HTML as my primary coding language because it gives me the liberty to enhance my site
visually. Unlike MkDocs, which primarily relies on Markdown and predefined themes, HTML allows for full
control
over structure, design, and interactivity. With HTML, I can integrate CSS for custom styling, use JavaScript
to
add interactivity, and experiment with different frameworks to optimize user experience. Additionally, HTML
provides better flexibility for embedding multimedia elements, customizing layouts, and ensuring responsive
designs that adapt seamlessly across different devices. This level of creative control and customization
convinced me that HTML was the right choice for building and enhancing my site.
Updates to the html Code
My Prefessor, Avinash
Patil helped with his coding skills to help me understand and build my website. In my
updated HTML structure, I made significant improvements to the navigation bar by transitioning from a
basic inline navigation layout to a more structured and visually appealing website. You can also click, cntrl+
u
on you keypad to learn about my html code. Some basic code changes are:
- Replaced
<div> with <nav> → Improved semantic clarity and structure.
- Added a Brand Section → Includes a brand icon and name ("Sam") for a personalized touch.
- Used
<ul> for Navigation Links → Makes styling and layout adjustments easier.
- Introduced Social Media Icons → Added Facebook and Twitter links with
aria-labels for
accessibility.
- Better Readability & Maintainability → The new structure is more modular and user-friendly.
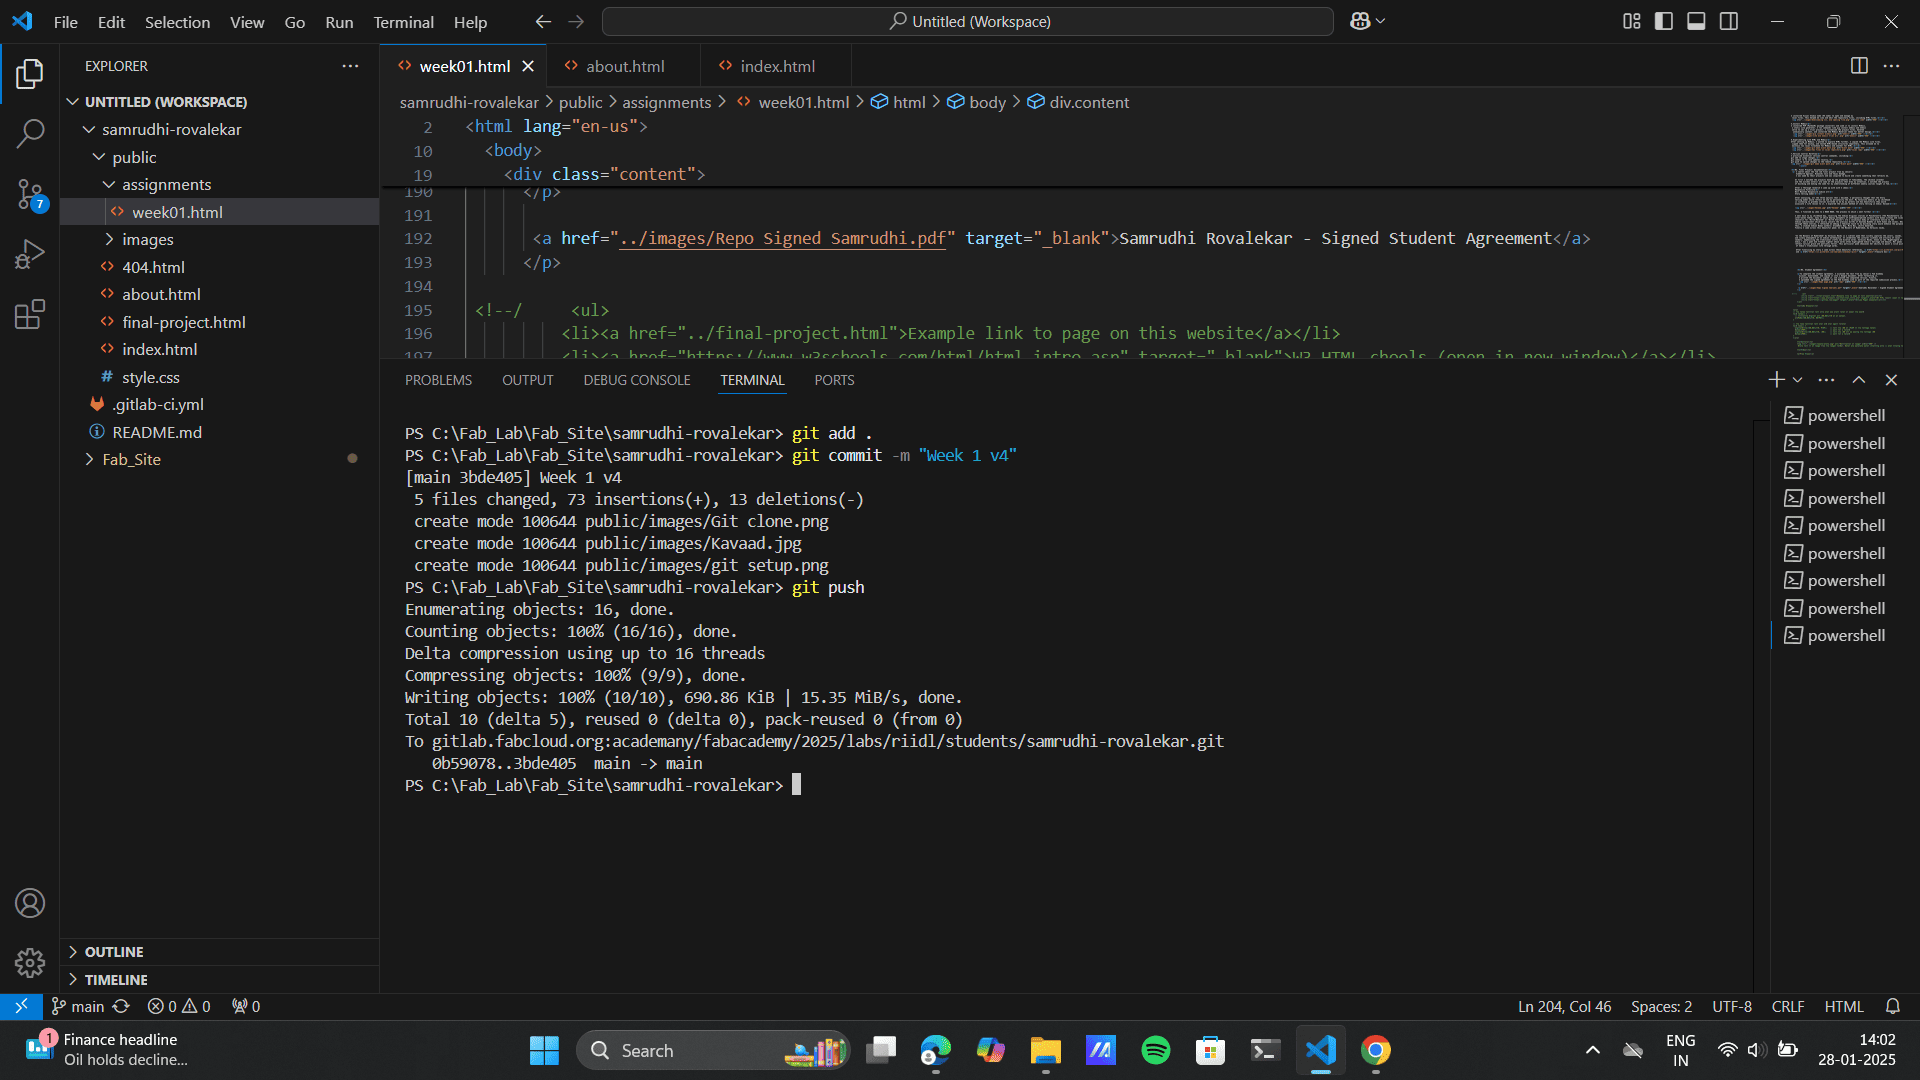
7. Version Control Workflow
I practiced essential version control commands, including:
git add: Stages specific changes for the next commit, preparing them to be recorded in the repository.
git add . :stages all modified and new files in the current directory for the next commit..
git commit -m "Week1 v6": creates a commit with the staged changes and assigns the message "Week1 v6" (to
describe the update).
git push: Uploads committed changes from the local repository to a remote repository (e.g., GitHub,
GitLab).
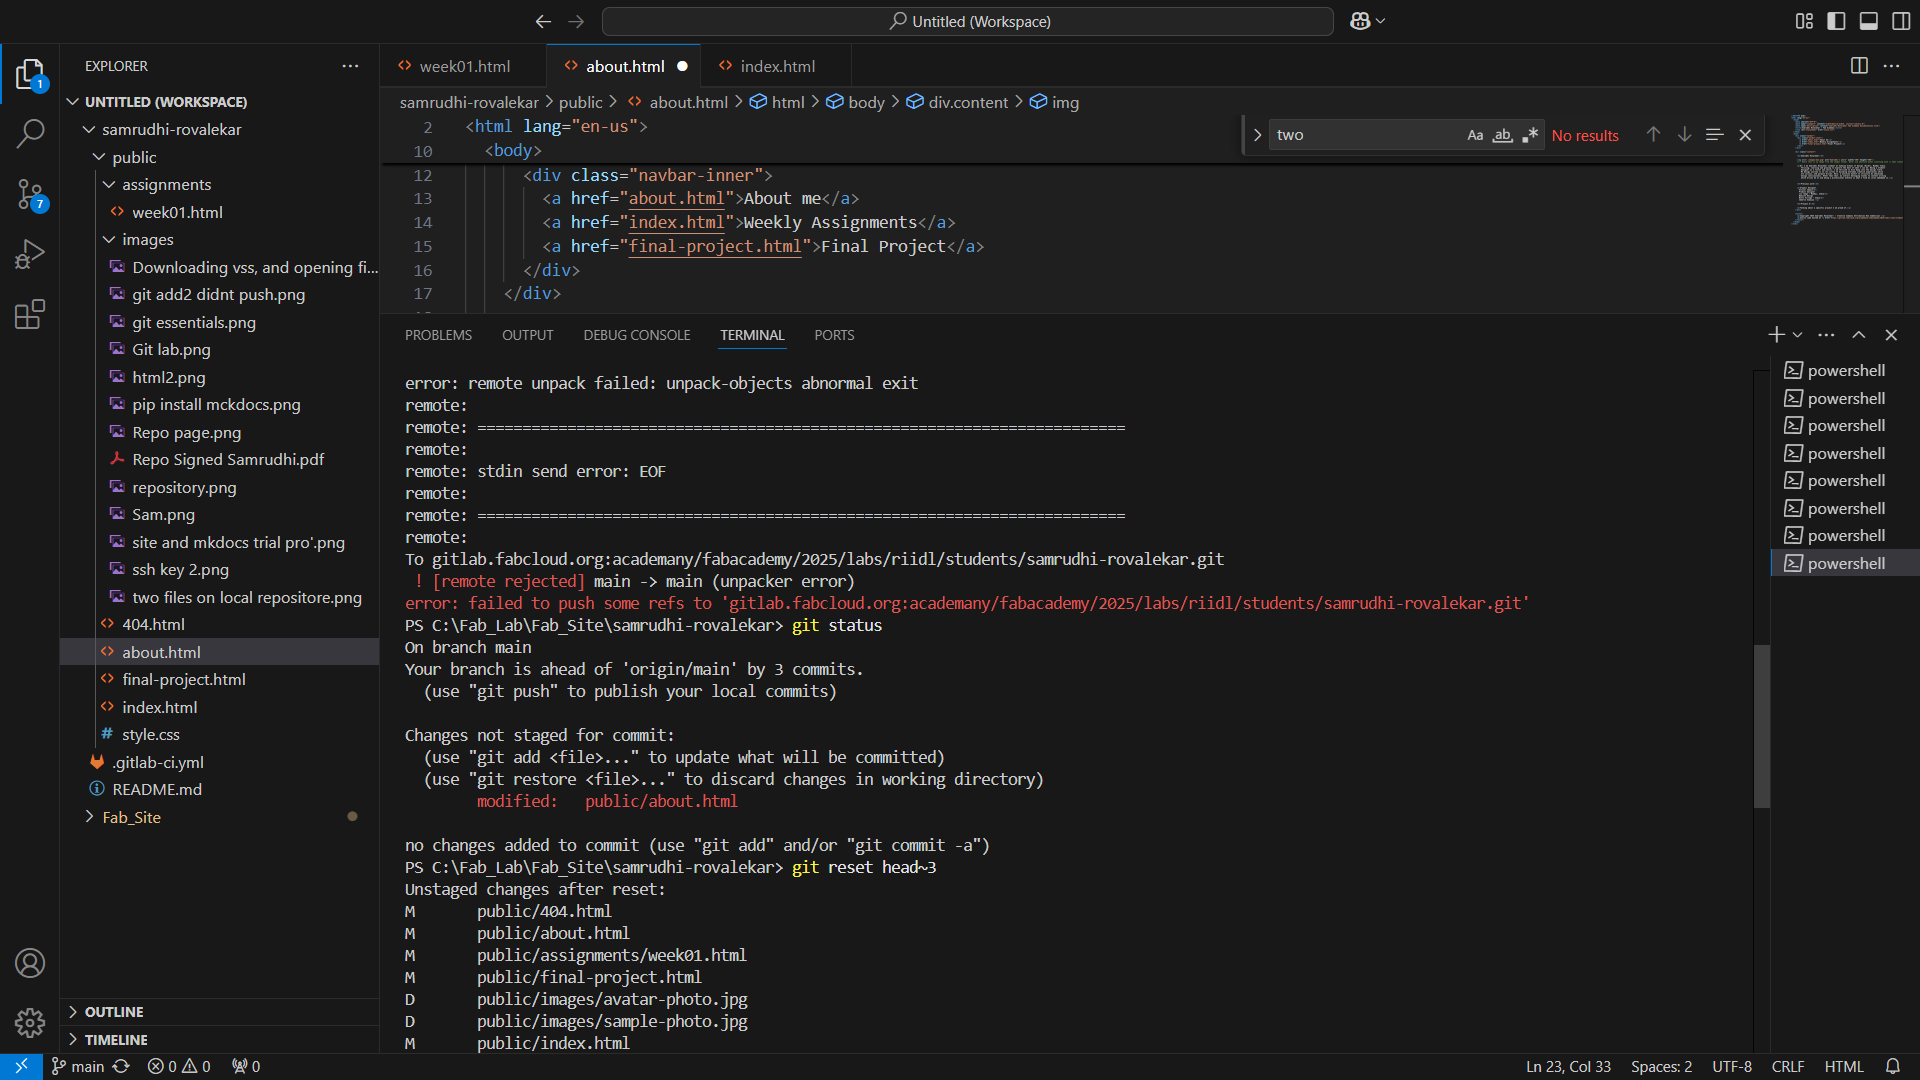
8. Oops: File exceed over limit. On my first attempt,
I uploaded all the PNG files without compressing them, causing the
file size to exceed the 10MB limit, reaching 11MB. When I tried to
git push, the error highlighted the importance of optimizing file
sizes for efficient version control. This experience taught me the importance
of compressing images and managing file sizes to avoid push errors and improve overall project
efficiency.
I reduced the image sizes and pushed the code, however the same error occured.
On debugging I found the solution from the fab lab documentation page of my senior,
Himanshi Jain.
The solution to which was
1) git status: Shows the current state of your working directory and staging area (e.g., changes to be
committed, untracked files).
2) git reset head ~x: x= no of status errors. Unstages files that were added to the staging area, but keeps
the
changes in the working directory.
3) git push: Uploads local commits to a remote repository, updating the remote branch with your changes.
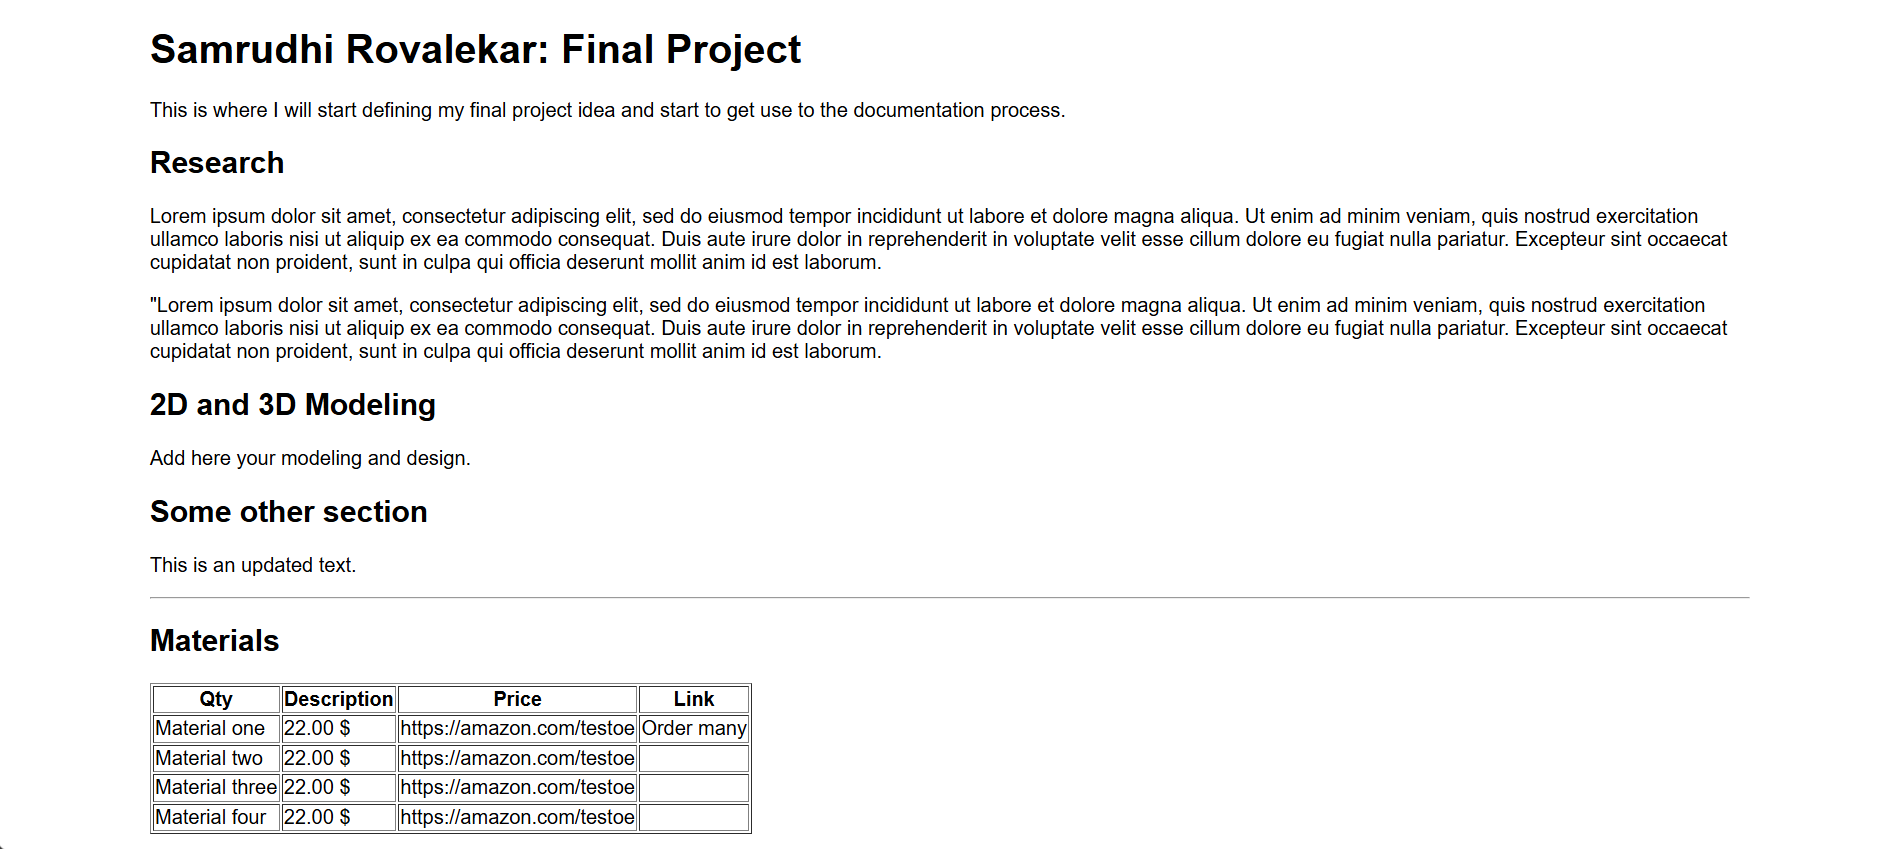
#3. Final Project: Documentation
I first learned about the Fab Lab final project from my seniors,
Siddharth Agarwal.
Himanshi Jain.
Tejas Dandge.
Their impressive projects
left me in awe and motivated me to create something that truly reflected my own
vision. To gain deeper insights, I began exploring projects by Fab Academy graduates.Projects like:
The Witches Antler and
Chinese Calendar.
are some of the projects that particularly caught my attention.
I carefully studied the processes behind these creations, which helped me
understand the weekly courses taught in Fab Lab thus shaped my approach to building and making.
After a Thorough research I came up with with 3 ideas. I defined the structure and overview of the three ideas and
used chatgpt to generate iamges and descriptions
to describe my inital ideas as a reference to move forward with and deciding the final idea:
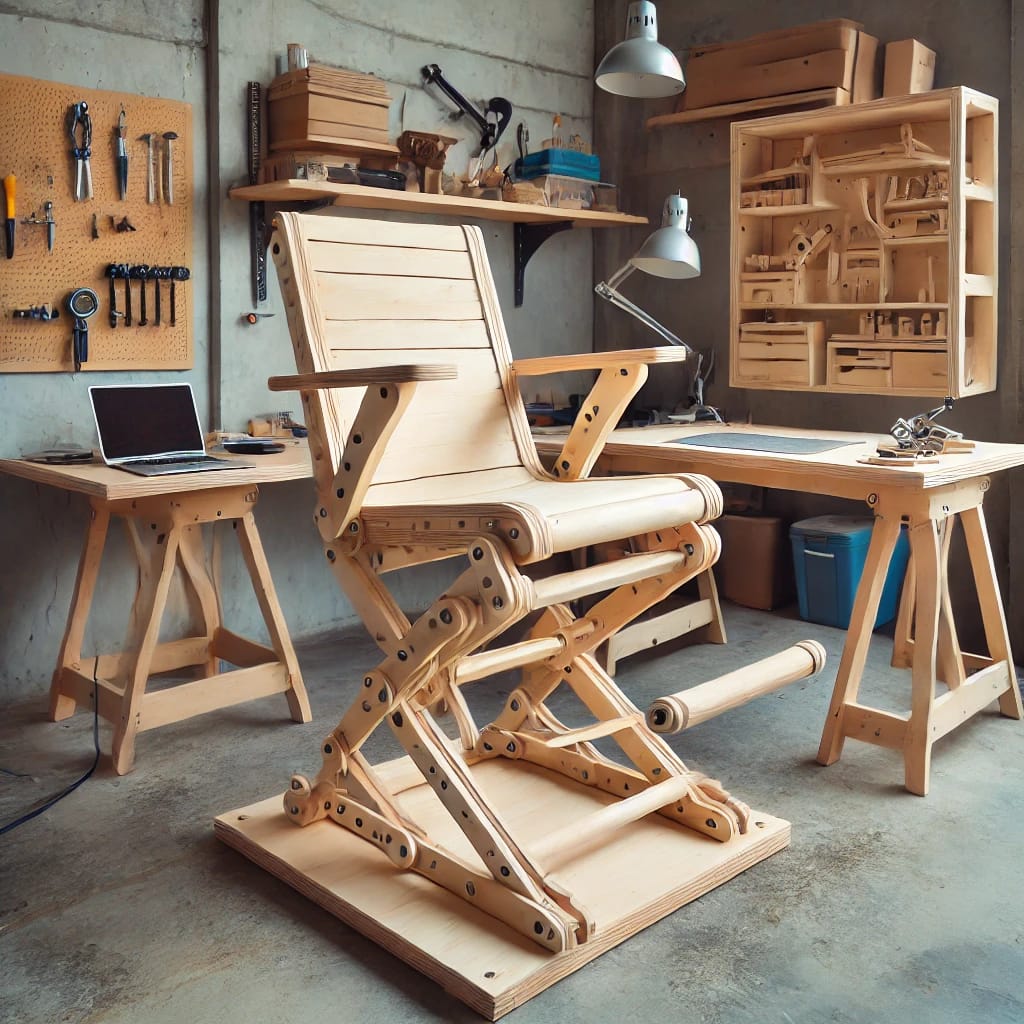
Responsive Furniture: Furniture that interacts with users based on
their presence, movement, or actions. This could include chairs,
tables, or shelves that change shape, light up, or adjust their form dynamically.
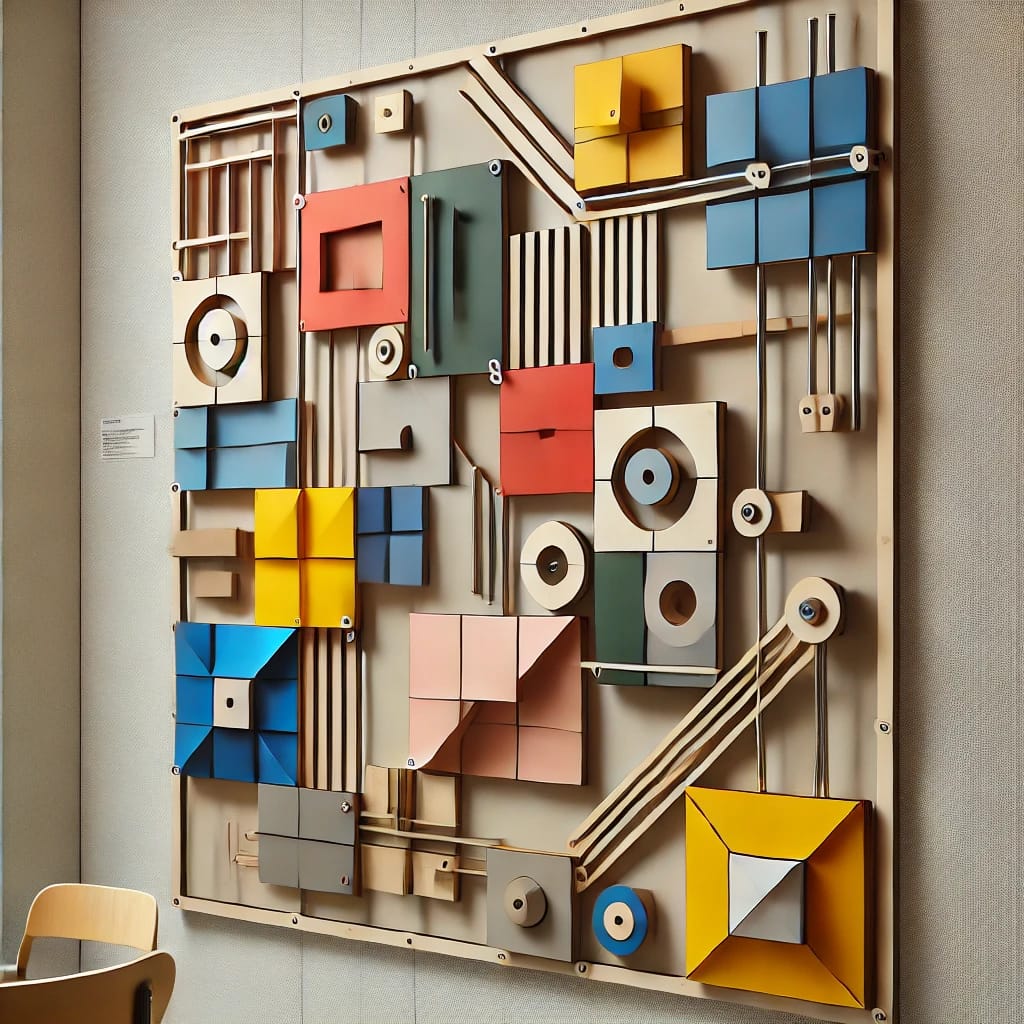
Wall Mounted Responsive Cubism art: A dynamic, interactive wall art piece inspired by
cubism, where geometric shapes shift, change colors, or move based on external inputs like touch, sound, or
proximity.
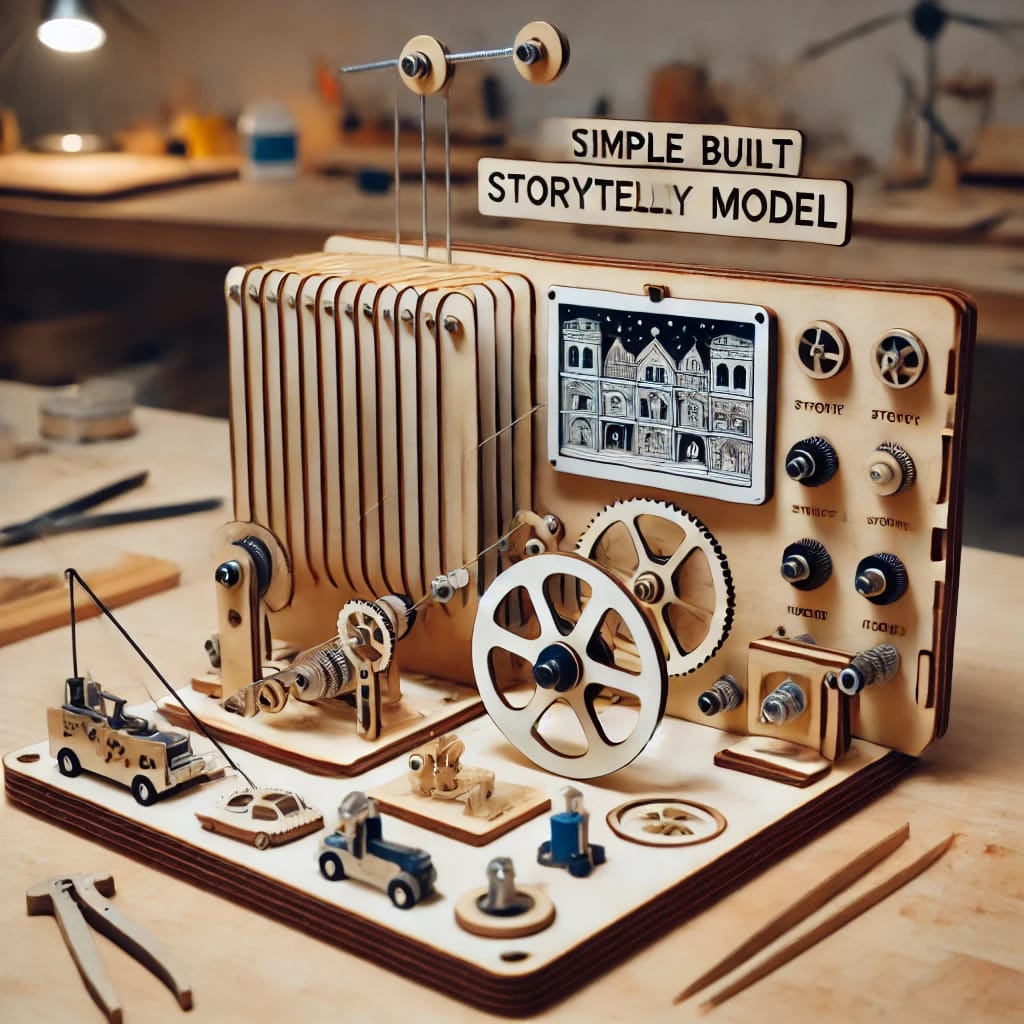
Story telling model: A physical storytelling device that responds to user input
to reveal different narratives, either through mechanical movement, projection, or sound.
After analyzing, all the three options that i decided, I personally thought that the Story
telling model would reflect me and my personality the most. My favourite memory of my childhood
is listening to grandma stories narrated to me by my parents and how beautifully they would
associate a life lesson to it. I explored the ancient method of story telling in India: Kavaad
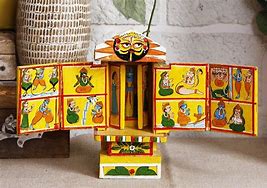
Thus, I finalzed my idea to a BOOK NOOK. The process to which i went furthur
I went back to my childhood day, recalling The Indian Original stories of Panchatantra (The Panchatantra is a
series of
inter-woven fables, many of which deploy metaphors of anthropomorphized animals with human virtues and vices.) and
Jataka
(Sanskrit for "Birth-Related" or "Birth Stories") are a voluminous body of literature native to the
Indian subcontinent which mainly concern the previous births of Gautama Buddha in both human and animal. While
browsing
through these stories, I reflected on adding a feminine touch to my building story would enhance the purpose and
motivation.
Thus, I studied Indian Woman authors: Arundhati Roy, Mira Bai, chitra banerjee.
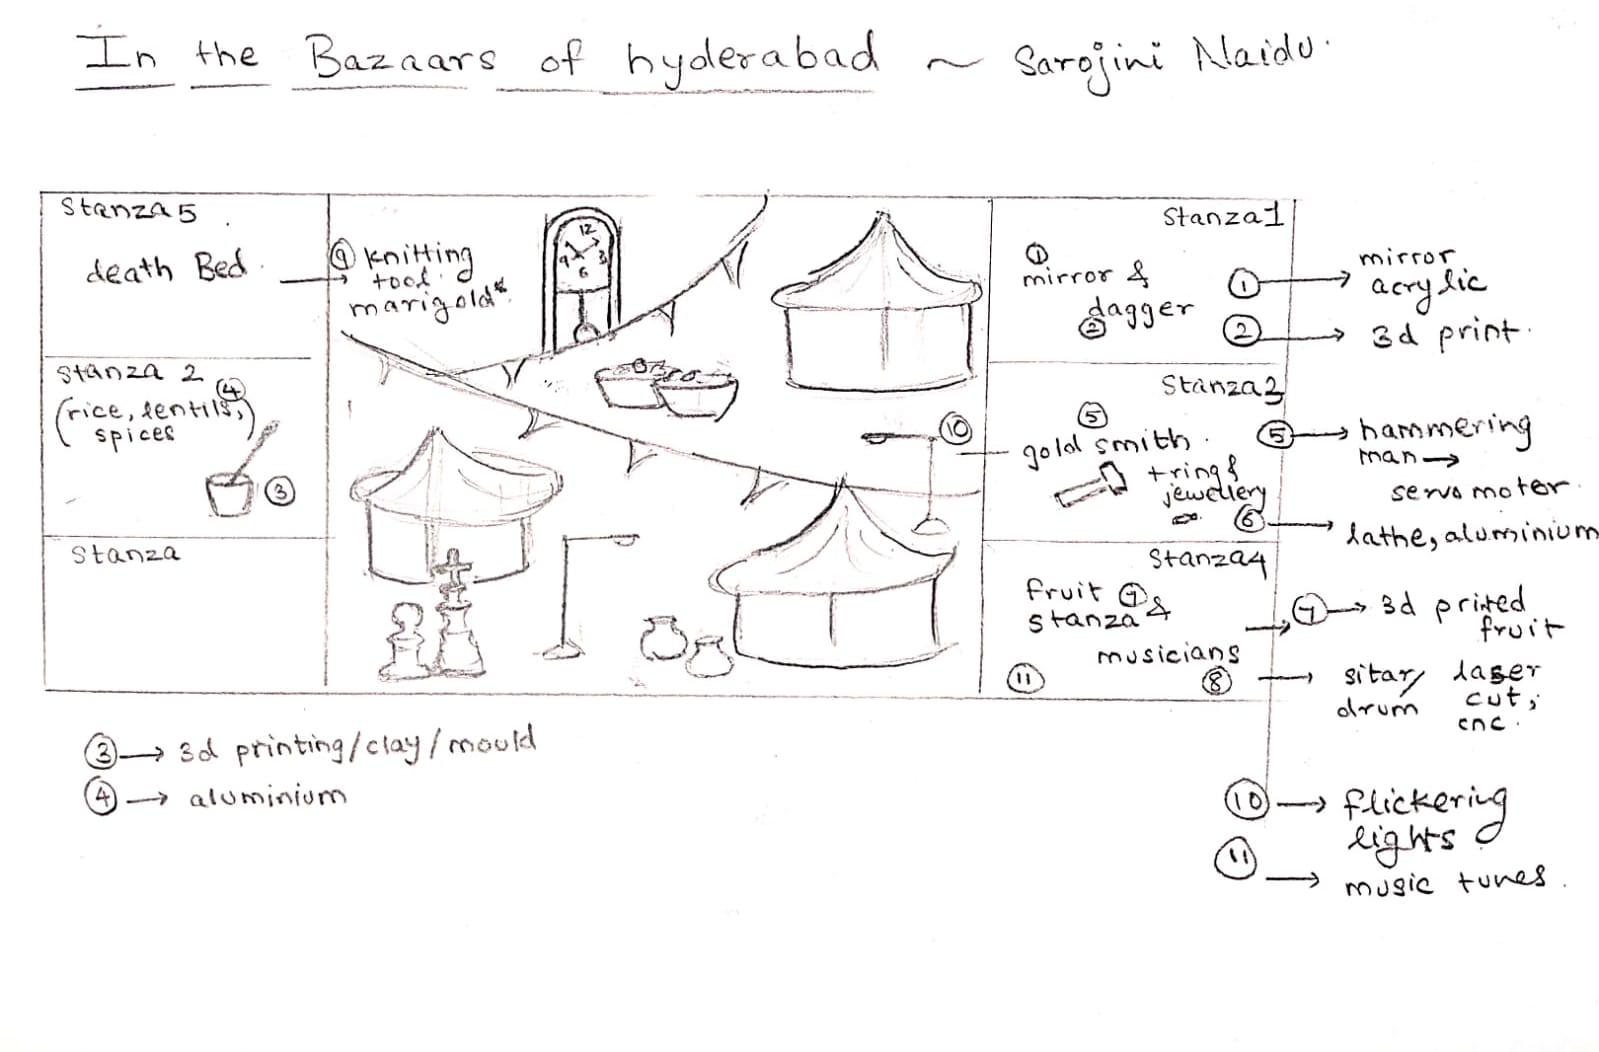
Finally I came across this beautiful peom: In the Bazaars of Hyderabad, by Sarojini naidu.
"In the Bazaars of Hyderabad" by Sarojini Naidu is a vibrant poem that vividly captures the colors, sounds,
and lively atmosphere of an Indian marketplace. It celebrates the cultural richness and artistry of local
vendors, emphasizing the traditional crafts and diverse wares. Sarojini Naidu, known as the "Nightingale of
India," was a poet and freedom fighter whose works often highlighted India's heritage and beauty. Her poems
reflect lyrical grace and patriotic fervor. This particular poem showcases her ability to paint a vivid picture
of India's traditional life through words.
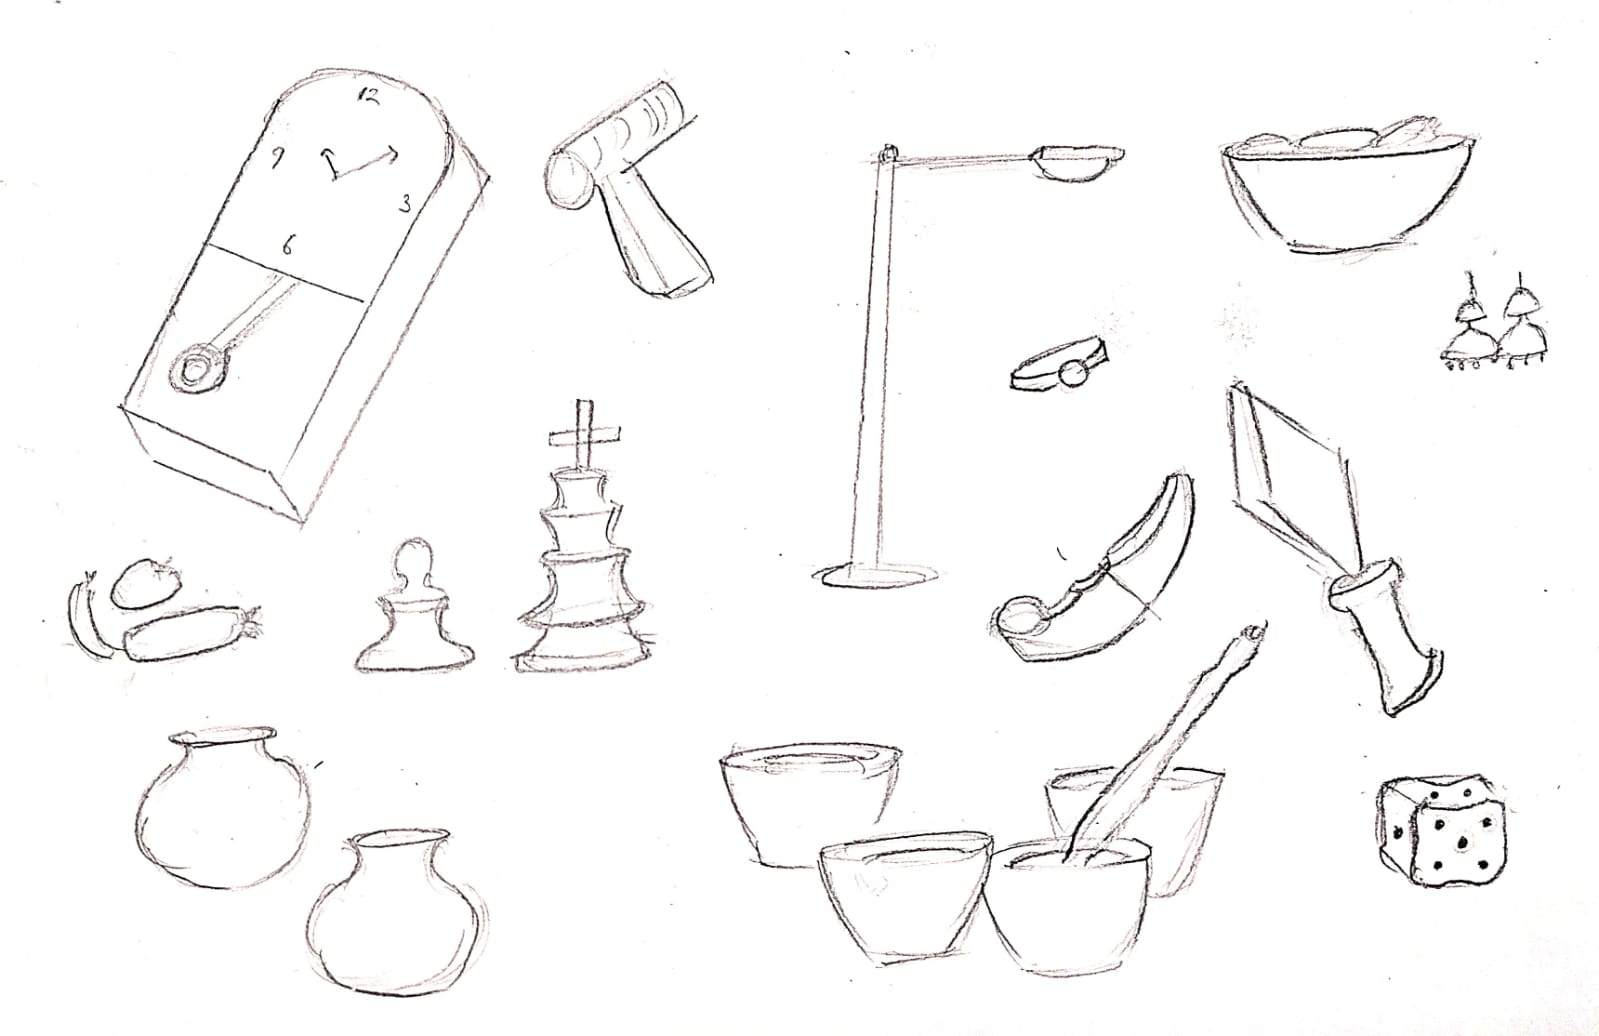
After finalizing my story I came across these beautiful references,
Book nook
and Treasure box
Sketch:
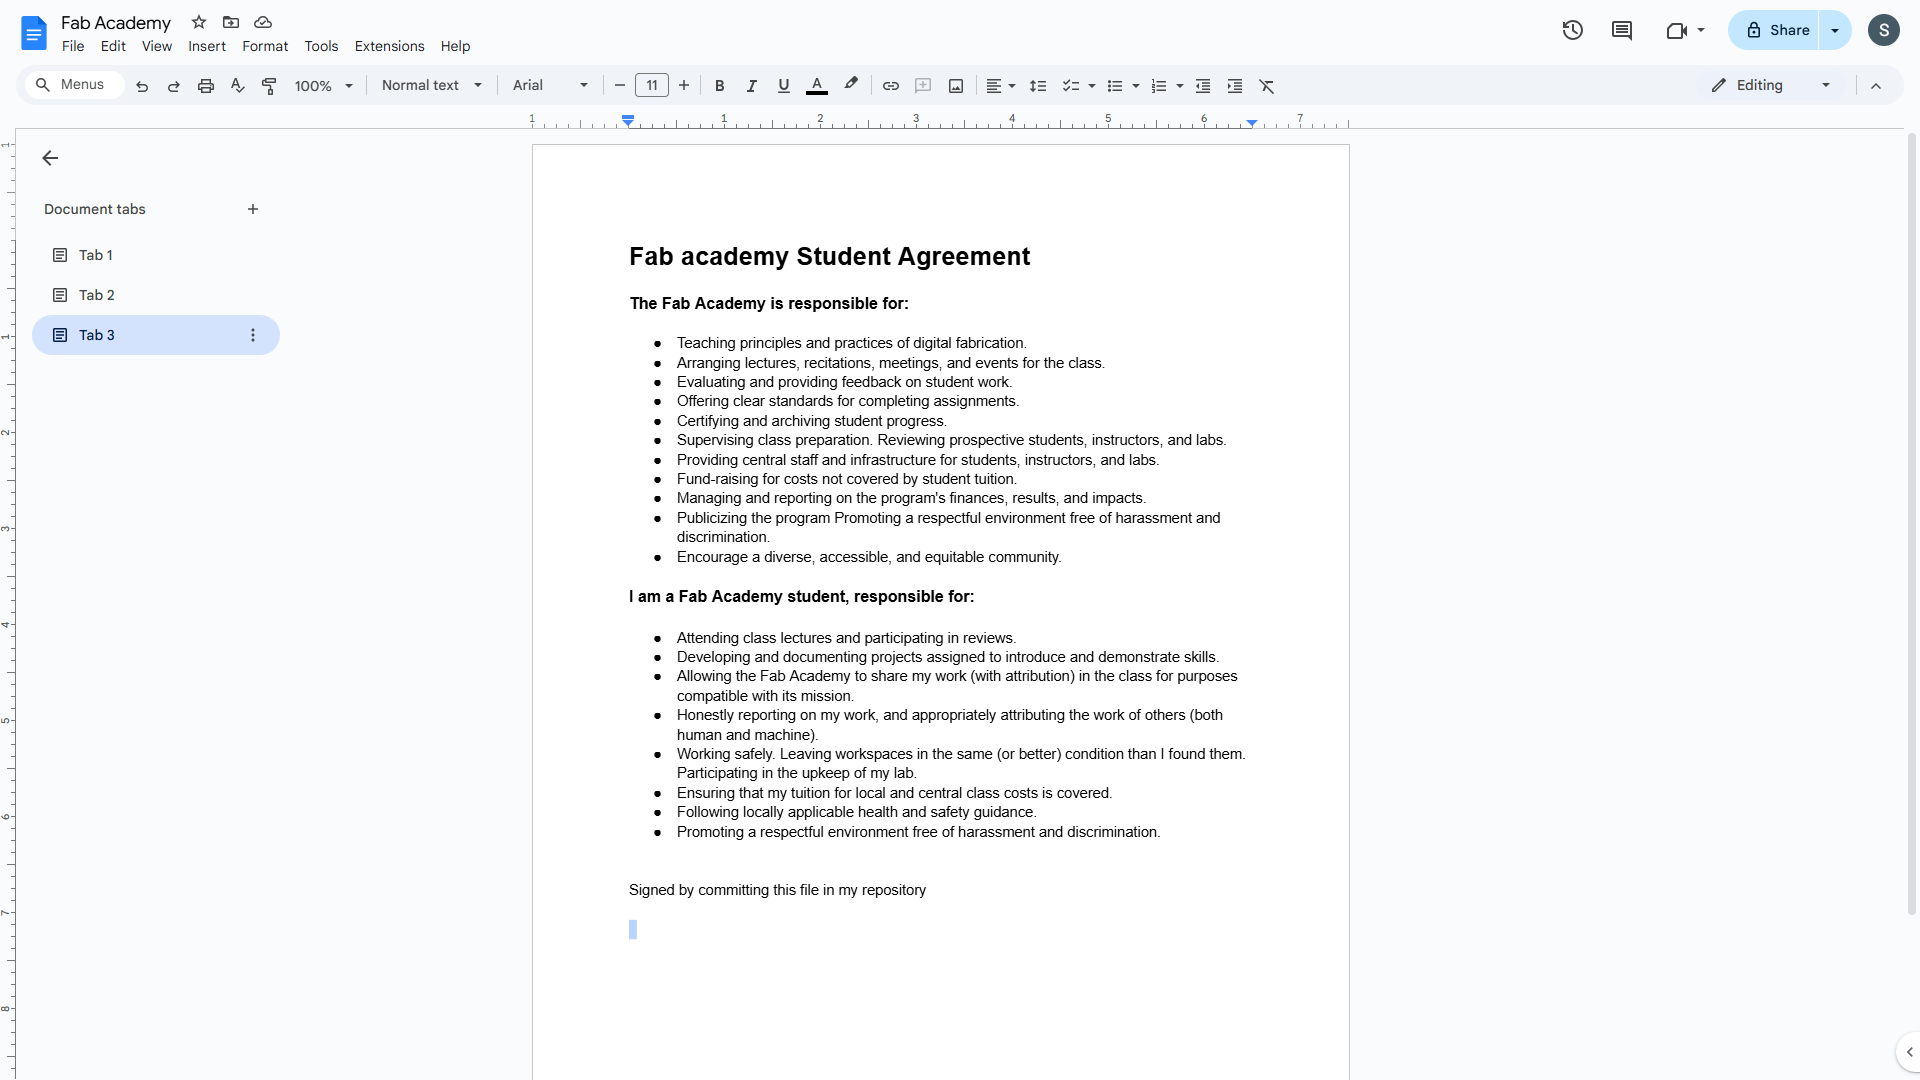
#4. Student Agreement
To complete the student agreement, I accessed the text from my senior's Fab Academy
account, downloaded, and copied it into a Google document. After formatting it,
I printed the document, signed it, and scanned the completed version. Finally,
I uploaded the signed agreement to the Fab Academy site as part of the required submission process.
Samrudhi Rovalekar - Signed Student Agreement