01. Project Management and Version Control
Summary
This week we made webpages, our own Fab Academy sites for the purpose of recording and publishing our advances throughout the entire duration of Fab Academy. In this week's report, I will explain the process that I followed to set up this webpage.
We also defined our initial ideas for our final projects and created a sketch that you can find in the final project page.
1. Setting up our accounts
The very first step is to set up our Fab Academy accounts. You'll want to use the link provided by Fab Academy to get started. Once that's done, we'll head over to the GitLab webpage and sign in the FabLabs portal using these newly created accounts. Here we can find the remote repositories that FabAcademy have set up for us.
2. Git Bash basics
We download the Git Bash software, which is a command-line program that we will be using to interact with our repository. After downloading the installer, we select our options for personalizing our install, one of which will determine the predetermined software that we'll be using to edit our HTML code. Our software of choice will be Visual Studio Code.
When we start Git Bash, we'll get a display of a terminal where we can input commands to manipulate our repositories and local files.
Let's get familiarized with some of these commands;
- cd <name-of-folder> : Change directory (open a folder).
- cd .. : Go back one folder.
- git clone : Clone a repository into our personal computer.
- code . : Open a folder in our predetermined code editor.
- git add <name-of-file> : Add a new specific file or modifications to an existing file to our local repository's staging area.
- git add . : Add all new files or modifications to existing files to our local repository's staging area.
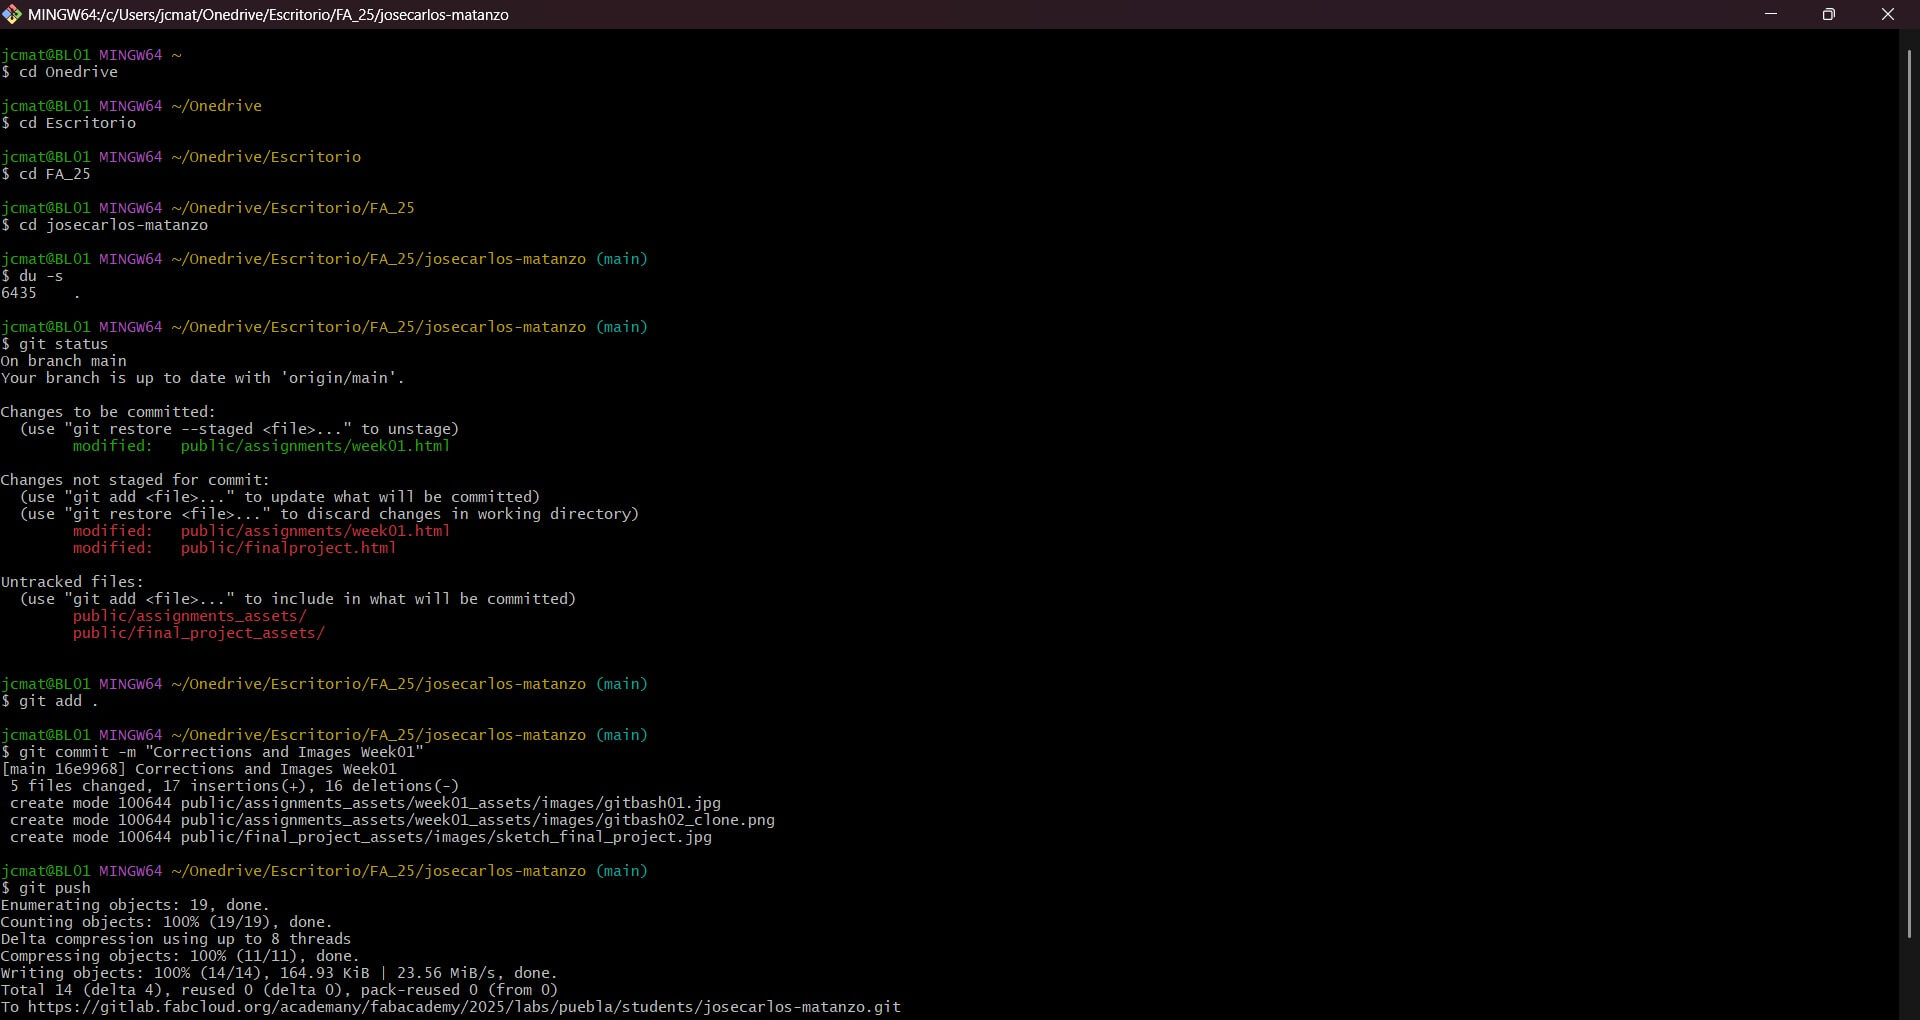
- du -h : Shows the repository's size in a readable format, this will be useful to me since FabAcademy asks us not to commit more than 10MB per week.
- git commit -m "descriptive-message": Commit the added files to our local repository, the descriptive message should be useful for you to identify what changes you committed.
- git push : Transmit the commits of our local repository to the remote repository, this will integrate the changes into the webpage.
3. Making our way to our chosen folder.
After you have determined which folder you want to use to store your local repository, we have to establish a route in Git Bash in order to get to said folder. It is advised that you don't choose a very long route in order to avoid possible confusion in the future.
In my case, I followed this route;
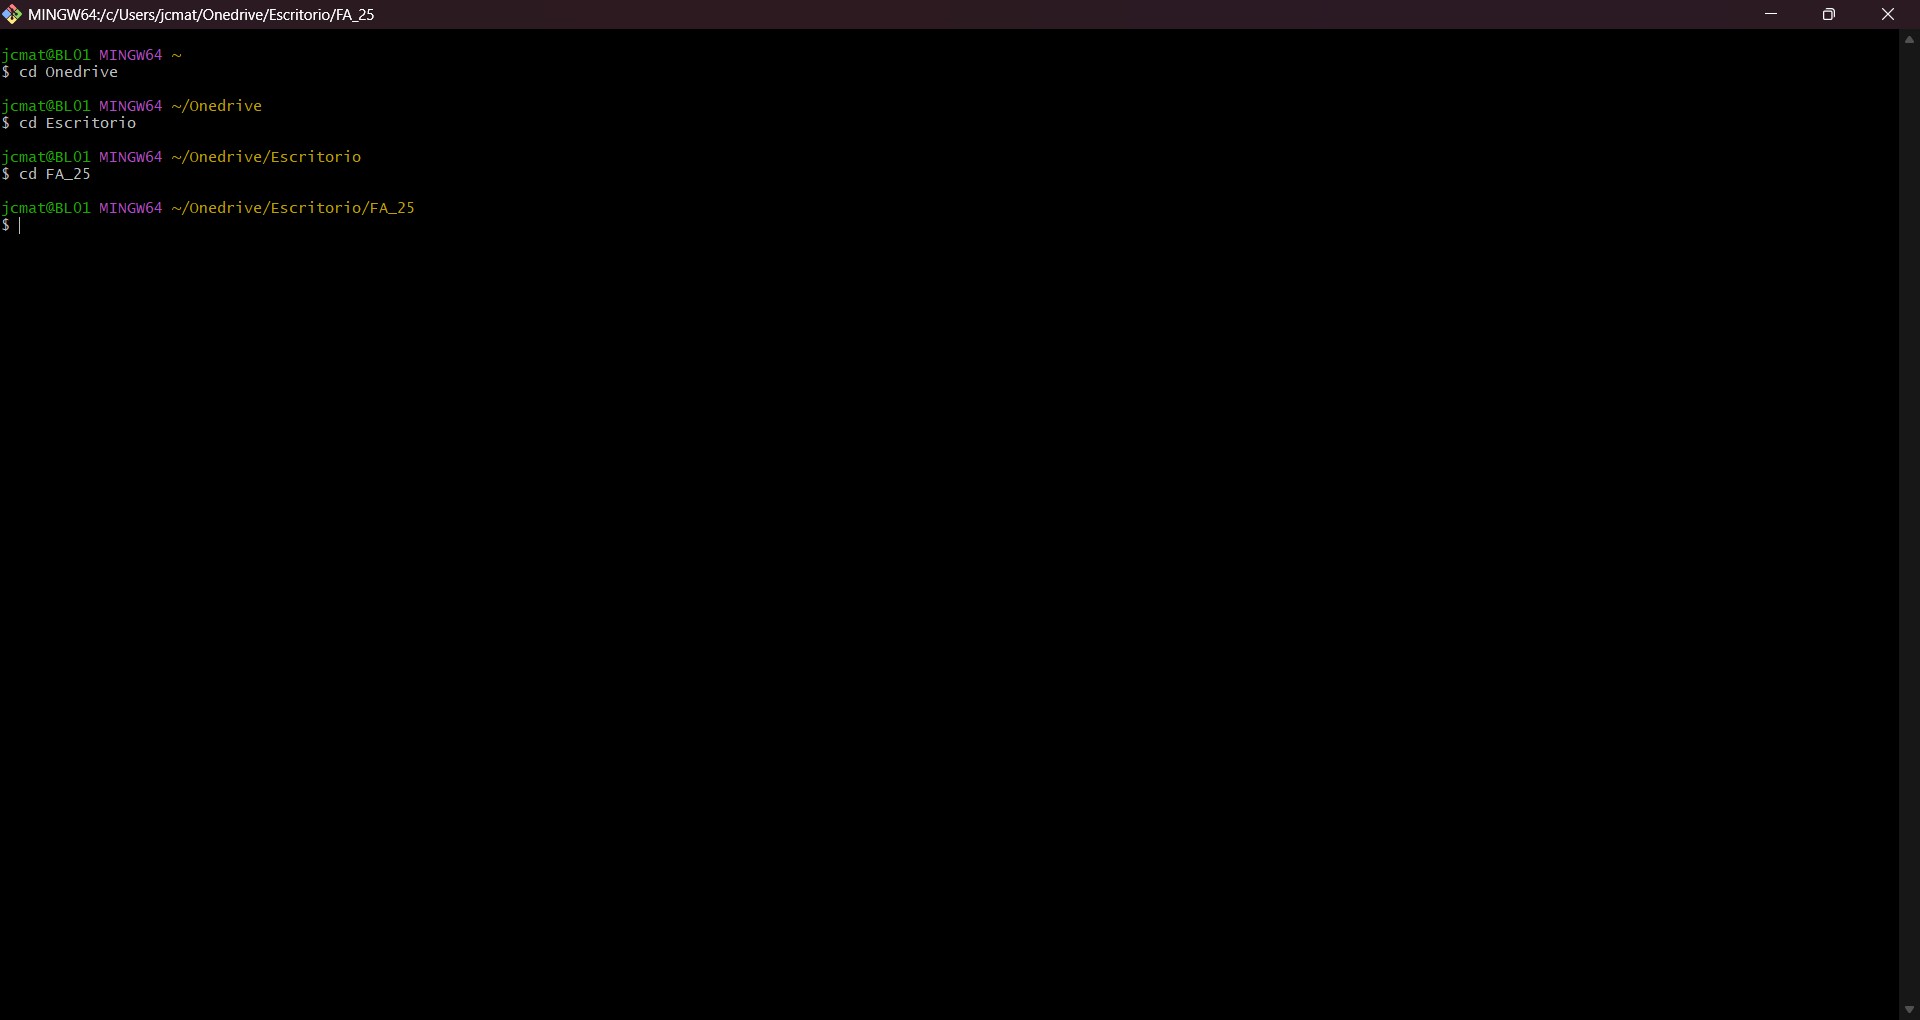
- I start Git Bash, and input "cd Onedrive" into the terminal.
- Once in my Onedrive folder, I input "cd Escritorio" into the terminal.
- Once in my Escritorio Folder, I input "cd FA_25" into the terminal, this is the folder that I will clone my repository into.
4. Cloning our repositories
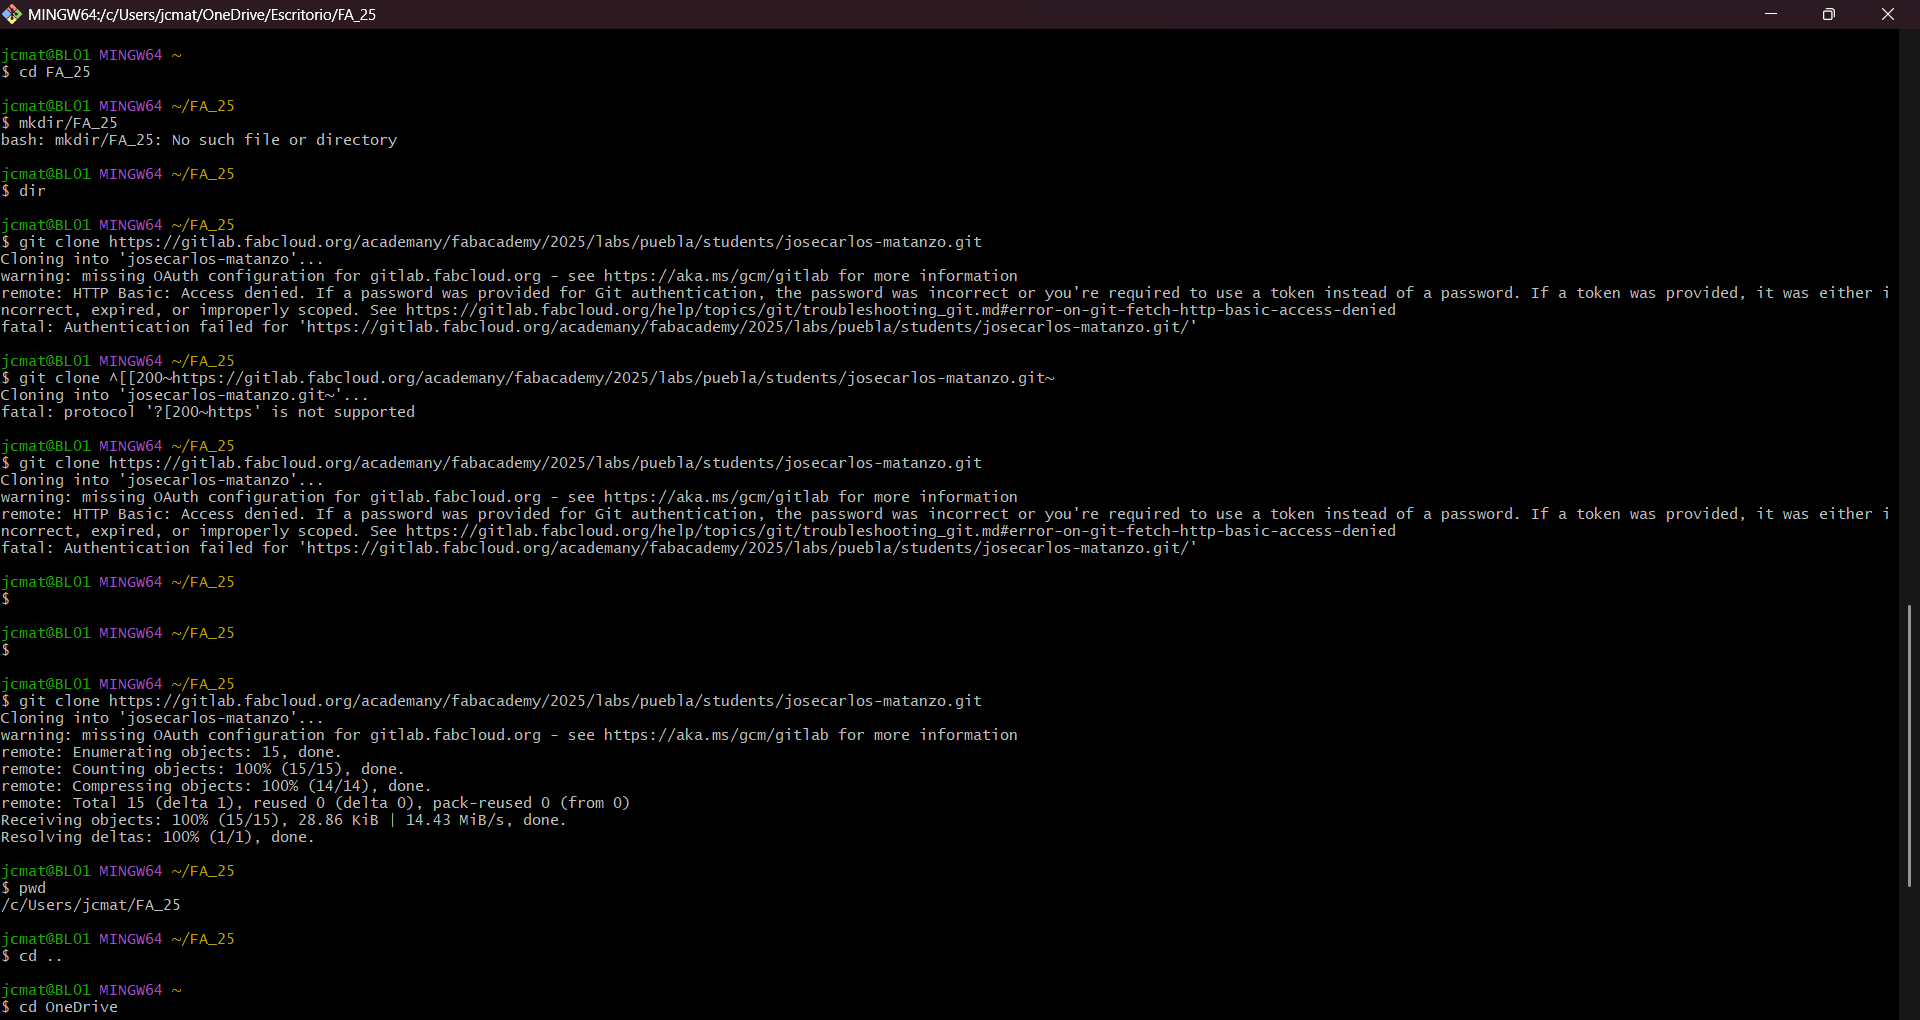
This step is usually very simple, but we as a group encountered a small setback that I will get into in a moment.
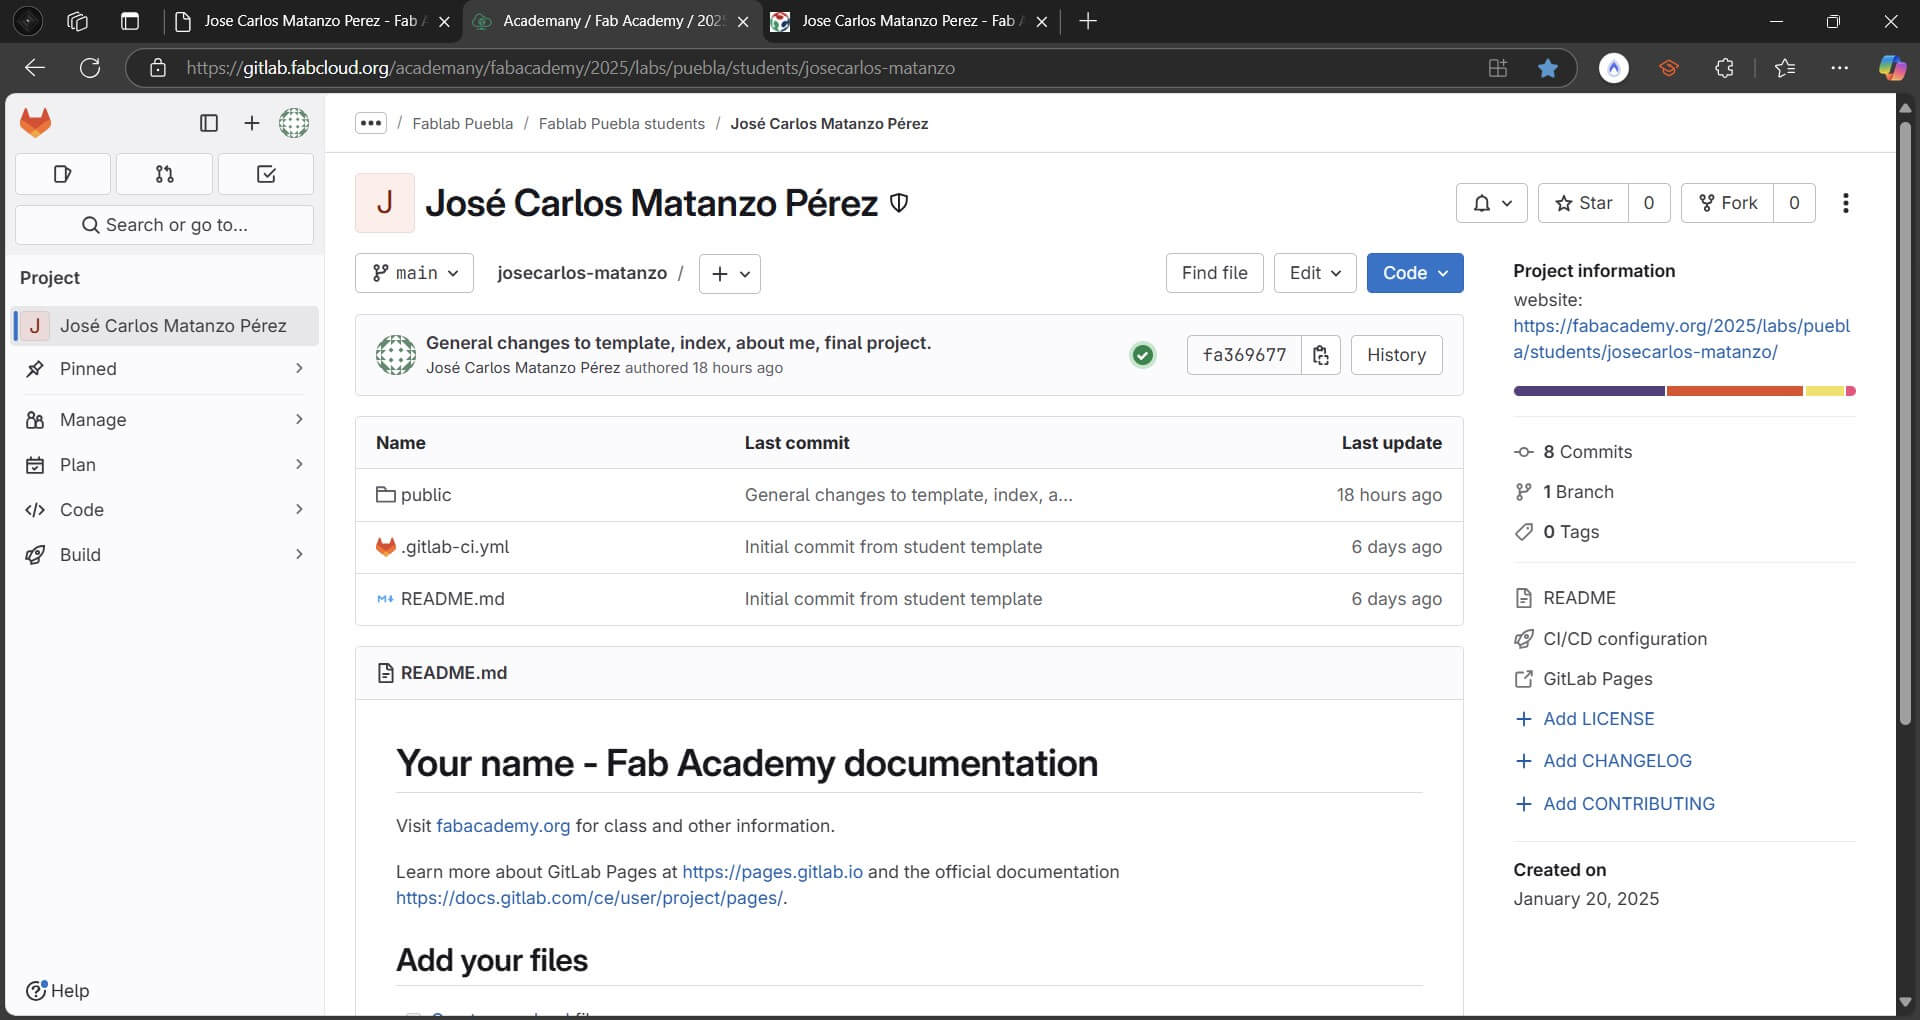
- Once in our chosen folder, this being FA_25 in my case, we input "git clone <link-to-remote-repository>". You can get this link from your remote repository at GitLab; go to your repository, click on the blue box with the word code in it, and copy the link bellow the clone with html option.
- After using the previous command, a window will open asking you for your GitLab username and password. After inputting these data, the cloning should begin normally, but this is where the previously mentioned setback came up;
Git Bash indicated that our access had been denied due to a failed authentication. After some time trying to repeat the process, our chief local instructor suggested changing our GitLab passwords. This solution proved to be effective and the repository was cloned as intended. - To verify that my repository was successfully cloned, I navigated to the FA_25 folder in my file browser. As expected, a new folder named josecarlos-matanzo was now present, and inside it are all the folders and files that make up this webpage.
5. Establishing new route and opening our code editor
- This is the same as step 3, but after navigating to the FA_25 folder, I use the cd command again to open the josecarlos-matanzo folder.
- Once in the josecarlos-matanzo folder, we will use the command "code .", this will open our local repository folder in our predetermined code editor, this being Visual Studio Code in my case.
- When we open Visual Studio Code, we can see the files and folders belonging to our local repository on the left side of our screen, we can also find and interact with these files in our file browser.
It is imperative to take into consideration that of these files, we should only interact with the one named "public", completely avoiding any and all modifications to the .gitlab-ci.yml file.
6. Template integration
Our local instructors were kind enough to provide us with the template that I'm currently using, templates help our webpage look more aesthetically pleasant and most times come with functionalities, such as the navigation bar on the top of the page. We are free to use and modify this template as we see fit. You can also find many templates in the internet, which is a huge help to rookies in web design such as myself.
To download and integrate this template, I followed these steps:
- Create a new folder to store the template, I did this to avoid any confusion with my personal repository.
- Start Git Bash and navigate the route to the folder where I wish to store the template, to do this we use the cd command as it was explained in step 3.
- Open the link provided by my local instructor to the GitLab repository that stores the template.
- Clone the template repository as in step 4, it's worth noting that I didn't encounter any authentication problems this time.
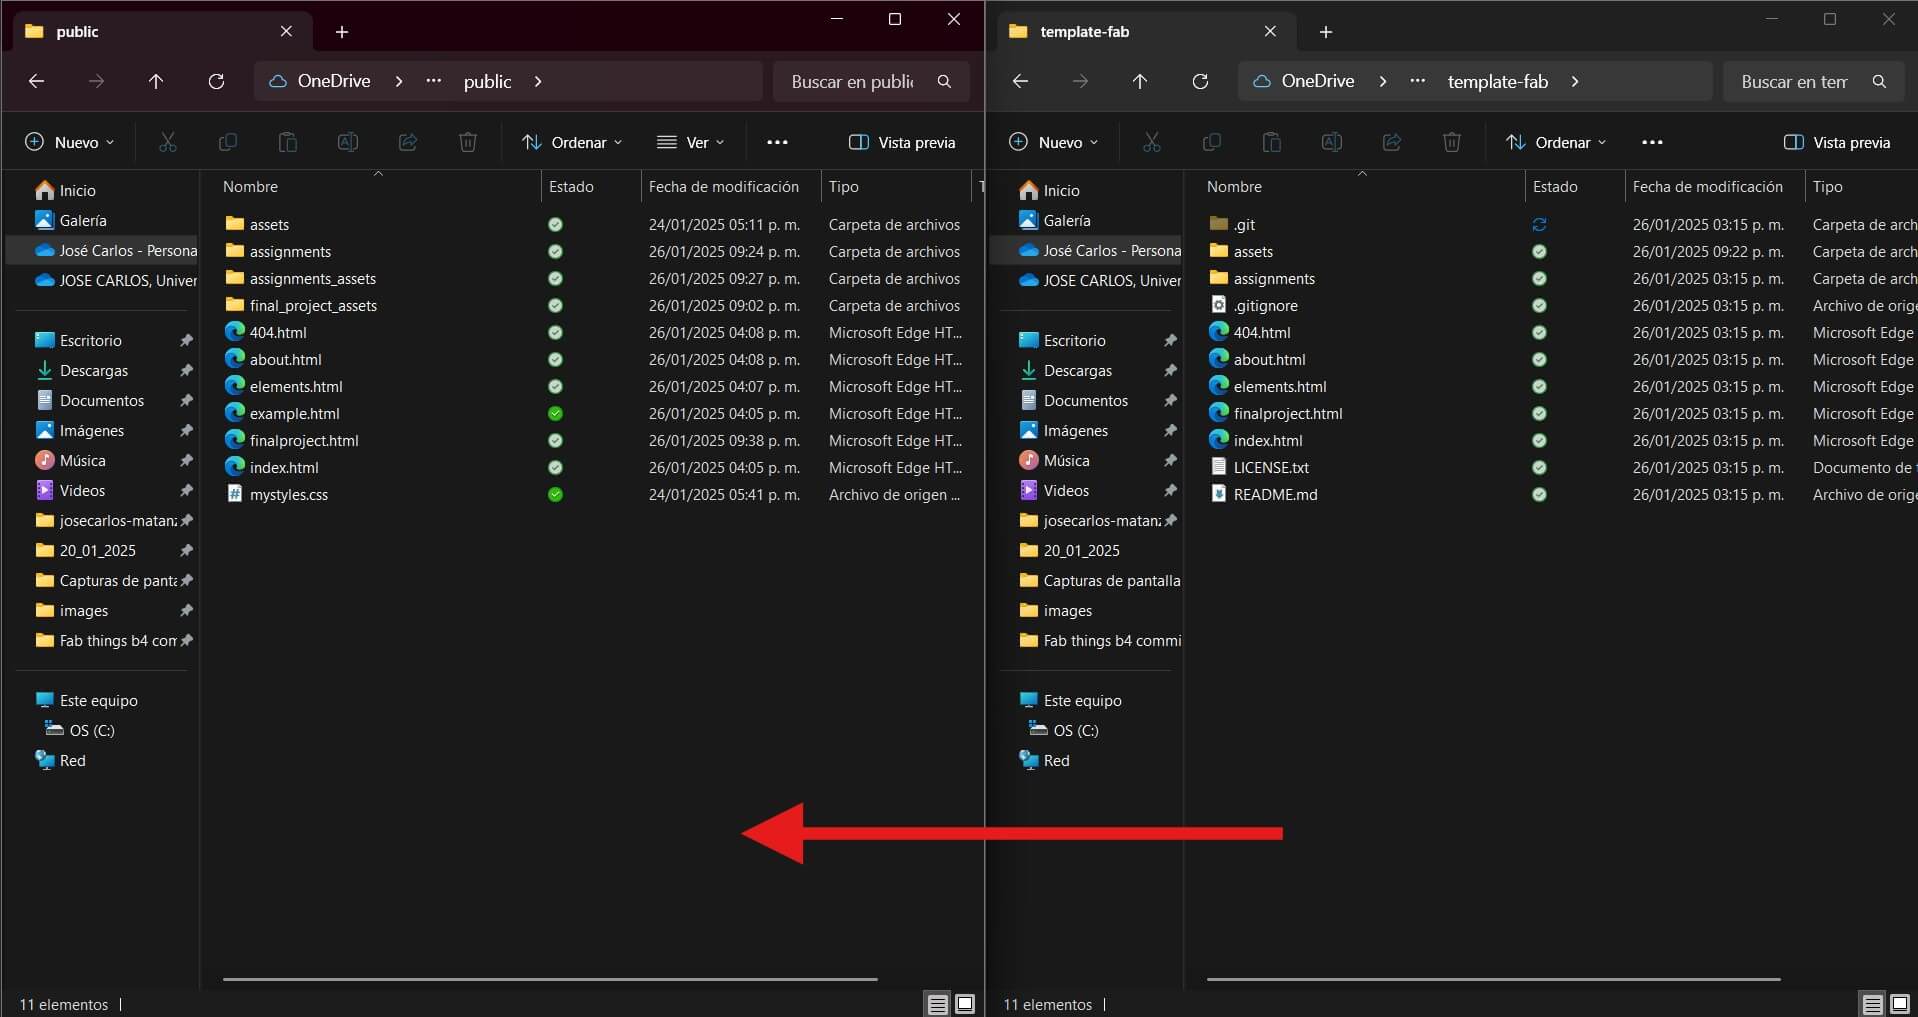
- Open the newly cloned repository in your file browser, now you can see the files and folders that make up the template.
- Out of these files, we only want to take the HTML files and assets and assignments folders, we copy them and paste them over all the files in our personal repository's public folder.
7. HTML basics
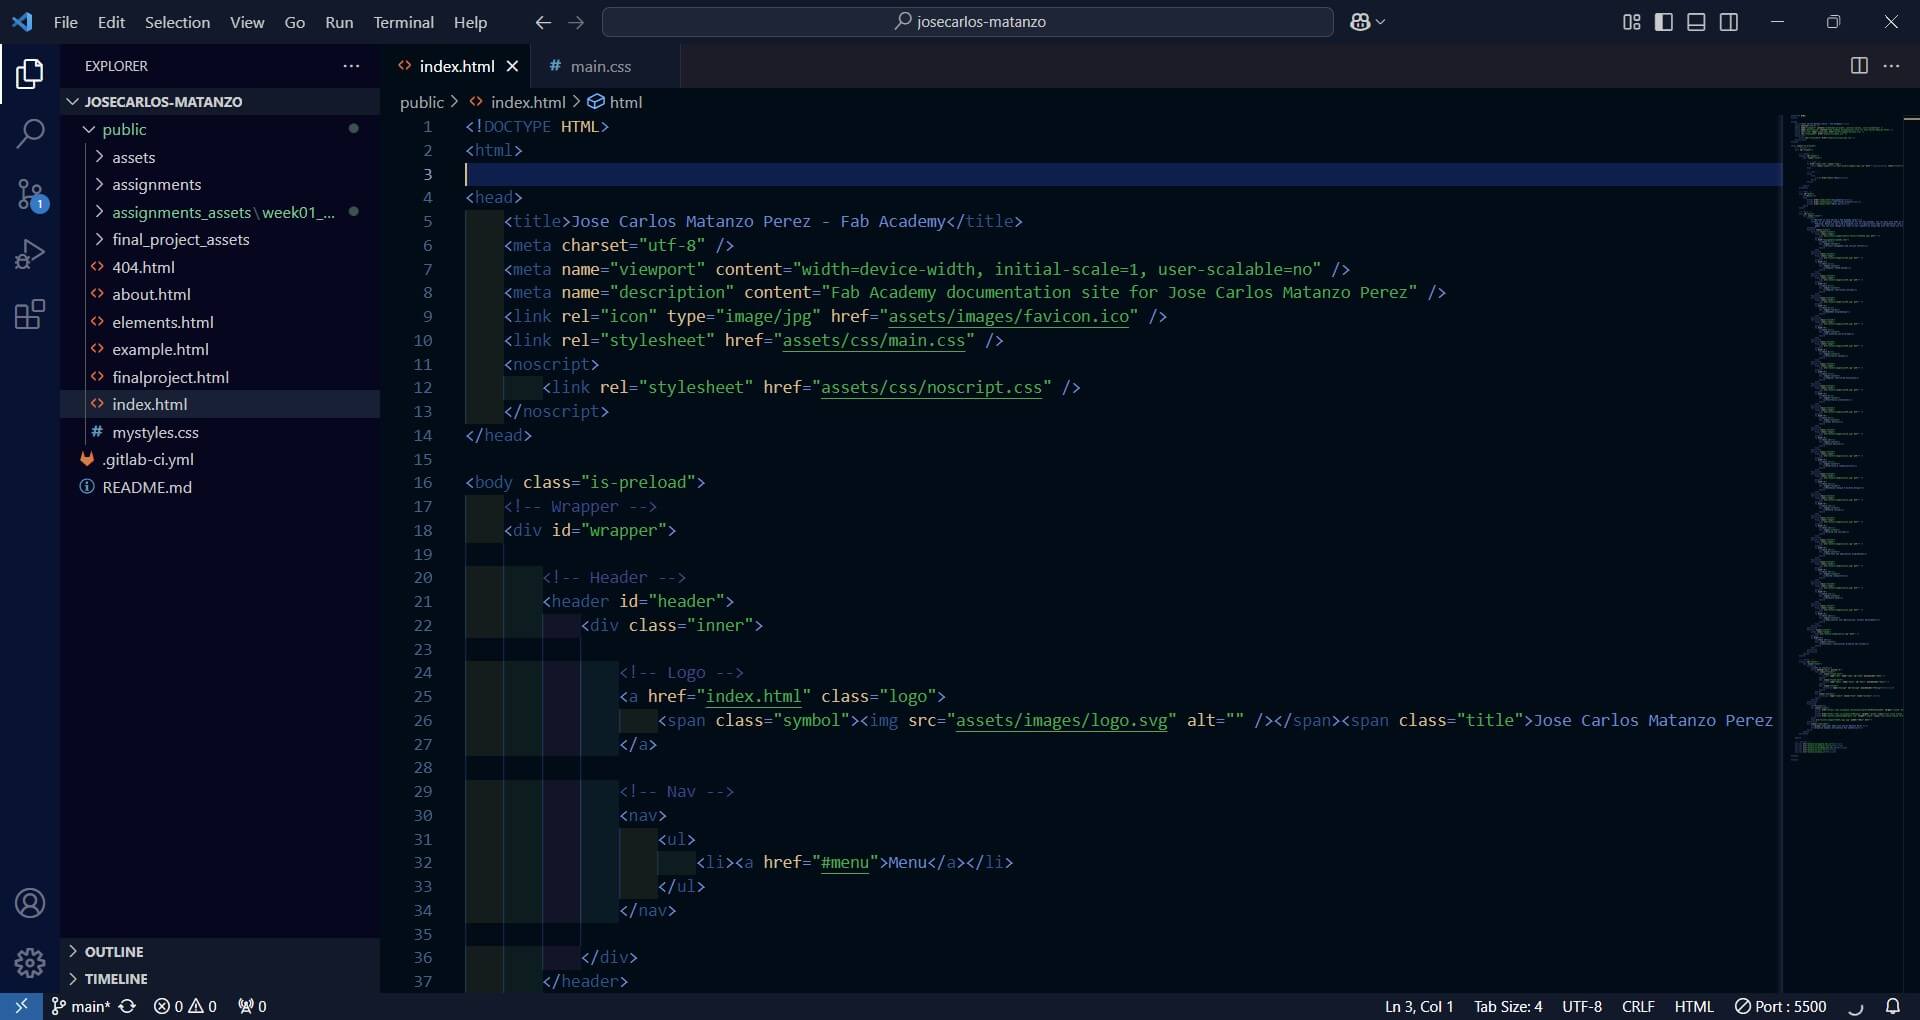
HTML or HyperText Markup Language is the very backbone of modern web content, we use this language to provide the structure, layout and content to our webpages. When you open a webpage in your browser, the browser reads the HTML code and renders it as a visual interface.
The structure of an HTML document is comprised of elements, these elements are the building blocks of HTML pages, they are represented by tags, which are enclosed in angle brackets. Most of these tags come in pairs, the first one being the opening tag and the second one being the closing tag, you can't have one without the other.
Here are some of the most common tags that you will use in HTML:
- <!DOCTYPE html> : Indicates the version of the HTML document. This is usually the very first tag in your document.
- <html> : This tag is the root element of your document, and contains all the other elements in the document except the <!DOCTYPE html> element.
- <head> : Contains metadata about our document. These data are also established using tags, in my case these include;
- <title> : The title of our document, this is what appears in the browser tab.
- <meta charset="utf-8"> : Declares the character encoding for our document.
- <meta name="viewport" content="width=device-width, initial-scale=1, user-scalable=no"> : Sets the viewport to the device's width and scale.
- <meta name="description" content="description"> : Provides a description of our document.
- <link rel="stylesheet" href="path-to-css-file"> : Links our document to a CSS file.
- <noscript> : Provides an alternate content for users that have disabled scripts in their browser.
- <body> : Contains all of the content of our document, such as text, images, links, etc. To insert content into our document we use tags within the body. Some of these tags include:
- <div> : We can use this tag to group content together as a unit.
- <header> : Defines the content inside of this tag as the header of our page.
- <nav> : Defines the content inside of this tag as a navigation menu inside our page.
- <h1> to <h6> : Define headings and subheadings, starting from <h1> as the main heading.
- <p> : Defines a paragraph.
- <br> : Inserts a line break, this one doesn't require a closing tag.
- <ul> : Creates an unorder list, such as this one.
- <ol> : Creates an ordered list.
- <li> : Defines a list item inside one of the previous two lists.
- <a> : Defines a hyperlink, this tag requires an href attribute that contains the URL of the link.
- <img> : Inserts an image, this tag requires a src attribute that contains the URL of the image.
- <video> : Inserts a video, this tag requires a src attribute that contains the URL of the video.
- id : Identifies the element with a unique name.
- class : Identifies the element with a class name.
- style : Provides inline CSS to the element.
- src : Provides the URL of the image or video.
- href : Provides the URL of the link.
- target : Controls how a link will be opened, this can be the default "_self" to open the document in the same window, or "_blank" to open a new window.
- title : Provides a title for the element.
- width : Provides the width of the element.
- height : Provides the height of the element.
- controls : Adds video controls.
- download : Makes the link download the linked file.
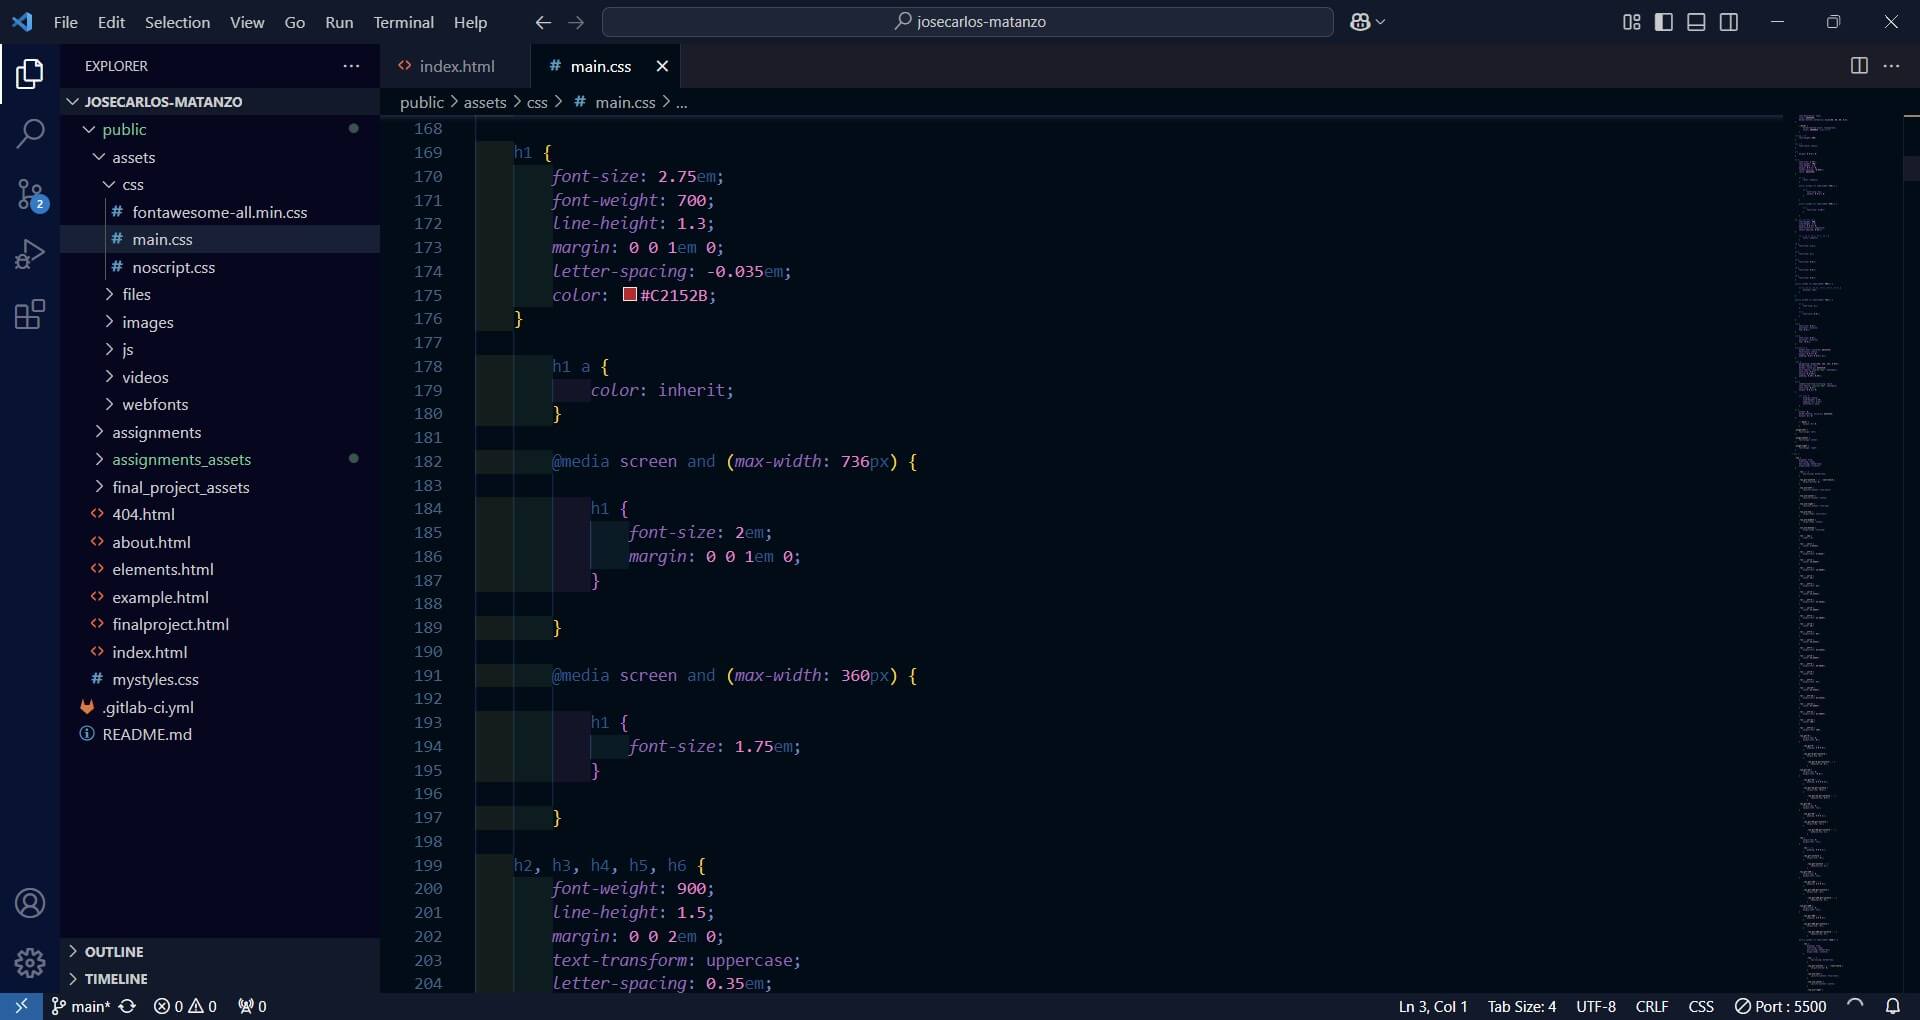
- To use CSS, we have to link our HTML document to a CSS file, this is done by using the link tag in the head of our HTML document, as I explained in the HTML basics section.
- Once linked, we can go to our # main.css document.
- Inside the CSS document, we can see the aesthetic characteristics that are given to the elements of the HTML code. In my case, the CSS document that came with the assets folder of my template has already been extensively worked on, giving this webpage it's nice presentation.
- Now we can manipulate any specific element's presentation. Let's say we want to change our main title's color to blue, to do this, we write "h1{color: #0000FF}".
- We add all of the desired properties to the element by writting them within the curly braces.
These properties include but are not limited to:- font
- font-size
- font-weight
- line-height
- color
- background color
- margins
- Add: we input the <git add .> command to add all of our files and changes to our local repository's staging area.
- Commit: we input the <git commit -m"descriptive-message"> command to commit the files and changes to the local repository, remember to write an identifiable name for your commit.
- Push: we input the <git push> command, this will upload our local repository's modifications to our remote repository. After some time processing the new files, our webpage is ready and on the world wide web for everyone to see.
Attributes are used to provide additional characteristics to our elements, and are always written inside the opening tag of the element.
The ones that I consider most important for our purposes are:
By correctly using and combining these and more tags and attributes we can give the intended structure and content to our webpage.
I encourage you to right click in any point of this page and choose the inspect option, this will allow you to read the HTML code of my webpage and give you a better understanding of the correlation between elements, attributes and their visual representation.
8. CSS basics
CSS or Cascading Style Sheets is a style sheet language that we use to control the presentation of our HTML document. CSS describes how elements should be rendered on your screen. It can save you a lot of work by allowing you to control the layout of multiple web pages all at once.
Let me take you through the steps necessary for the effective use of CSS;
We repeat this process with any number of properties and with as many elements that we can think of until we reach the desired presentation of our webpage.
9. Adding, commiting and pushing.
This is the final step in our webpage development journey. To upload our files to the internet, we have to go back to the Git Bash terminal and use the "mantra".
Every subsequent time that you modify your webpage's files, remember the mantra; add, commit, push.
10. Comments and recommendations
Your first experiences with web design are going to be tricky and you will feel confused often, thankfully, most of the things that you'll be doing have already been done innumerable times by people all around the world. You can go to websites such as Stack Overflow and GeeksforGeeks to find suggestions for your code and learn new, specific concepts when you need to.
We developed a webpage from zero following the directions of our local instructor, you can find the link to this example page in the links section below. It's nothing pretty but you can inspect it to get a look at the relation between code and displayed content.
Finally, one piece of information from wednesday's recitation that I found particularly interesting is that Git Bash is not in fact a just a terminal for manipulating repositories, but rather, a Bash type shell, which is a type of program that acts as a command line interface between ourselves and the operating system of our device, interacting with even the core parts of our OS.
11. Learning outcomes.
This wasn't my first experience working with webpages and repositories, having worked in a webpage to archive my introduction to mechatronics class last semester, using GitHub to manage the repository.It was however, my first with GitLab and Git Bash, and I can say without a doubt that these new tools are absolutely amazing.
Git Bash allows you to interact with your repository in a very direct way, and the GitLab platform allows you to keep your repository neatly organized. This combined with my experience in HTML documents has given me a good foundation to build upon my webpage in the following weeks.