4. Embedded programming
Forth week and coding.
For this week we had to simulate a code on the page WOKWI which is a simulation app where we can build a project with code and hardware to test if it works before building it in real life. I started by thinking about the code I wanted to do. After thinking about my options, I realized I wanted to start doing a part of the code for my final project. And this will fit perfectly for this week's assignment.
So, I started developing the code. The code will move 2 Nema's when a bottom is pushed. Originally the idea was that when an infrared sensor detects an interruption it will move the motors, but because the software doesn't count with infrared sensors, I had to change the idea a little.
I haven't decided which microcontroller to use, so I compared 2 of them, the basic one which is an Arduino uno and a ESP32 which is increasing popularity among developers. This comparation is also between old technology and new. Although Arduino is really popular, it's kind of out of date and the newest Esp, in this case the C6 is updated and with newest features.
Group assignment Week 4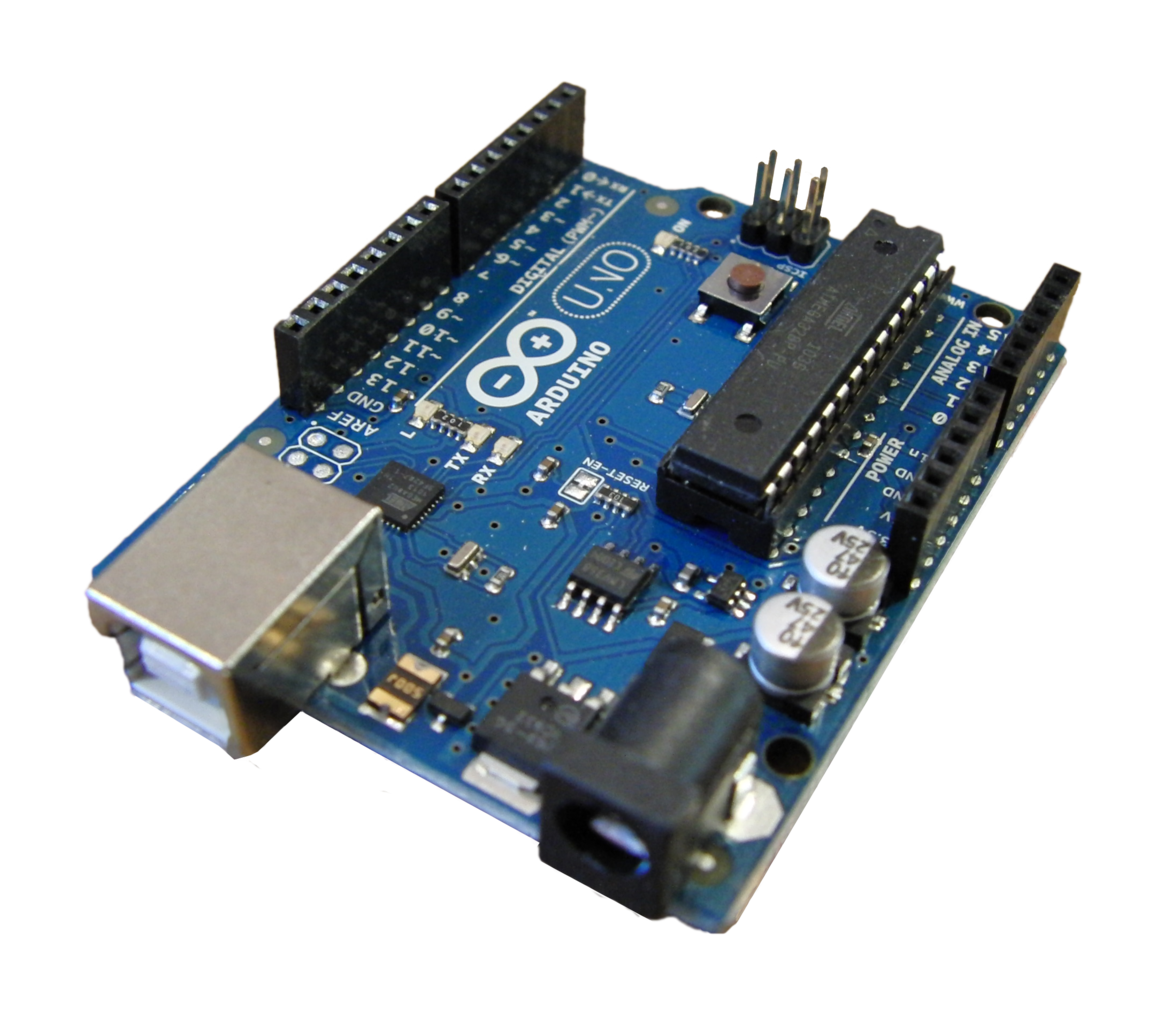
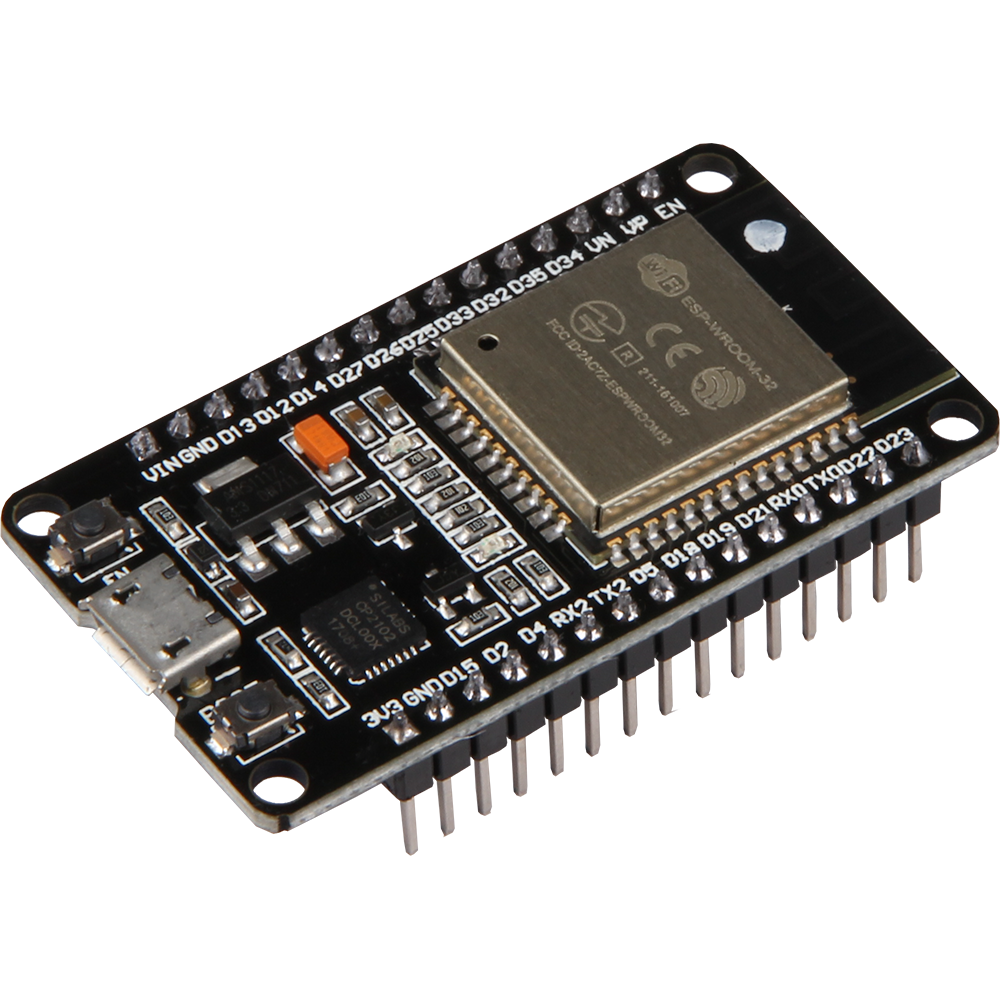
Arduino Uno vs ESP32 C6
| Characteristics | Arduino Uno | ESP32 C6 |
|---|---|---|
| microcontroller | ATmega328P | RISC-V single-core |
| Clock Frecuency | 16 MHz | Up to 160 MHz |
| Flash Memory | 32 KB | 320 KB ROM, 512 KB SRAM |
| Inputs/Outputs | 14 Digitals, 6 Analogs | 30 o 22 GPIOs |
| Connectivity | Non | Wi-Fi 6, Bluetooth 5 (LE), Zigbee |
| Voltaje | 5V | 2.4 GHz |
| current for pin | 40 mA | Variable |
| supported protocols | I2C, SPI, UART | I2C, SPI, UART, I2S, RMT, TWAI, PWM |
| Energy consuption | Mid | Ultra-low |
| Aproximate price | $20 USD | $5-10 USD |