Wildcard: Digital Embroidery Process with Brother Machine and Ink/Stitch
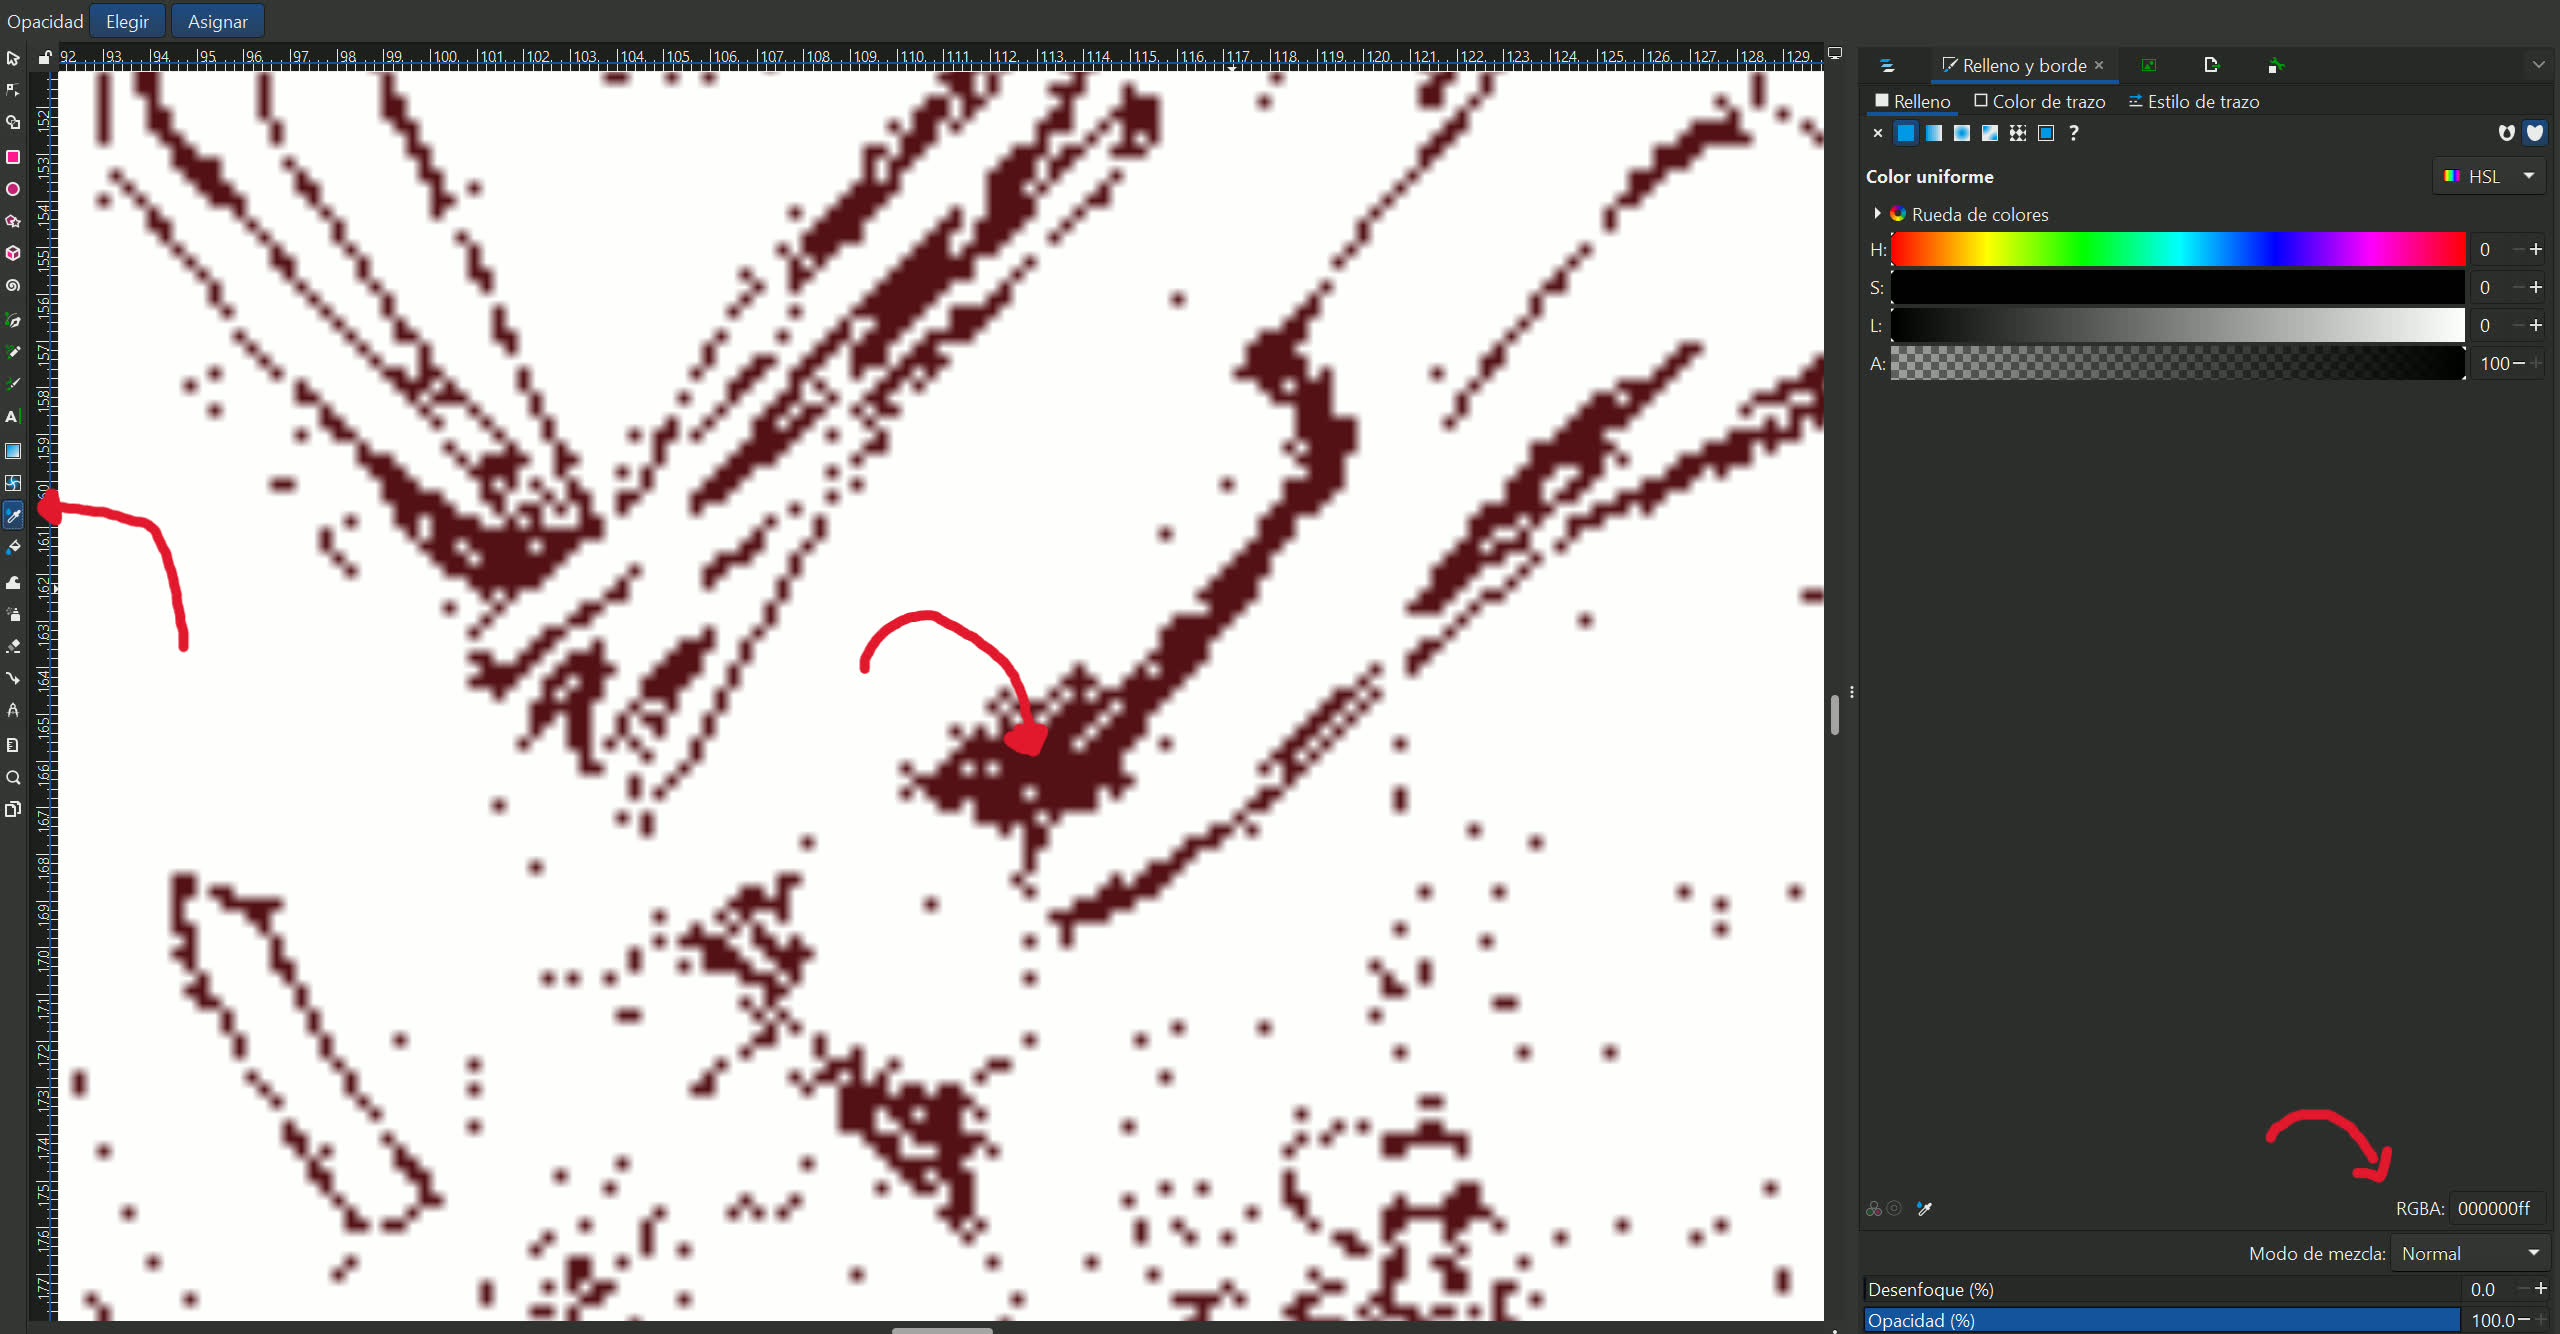
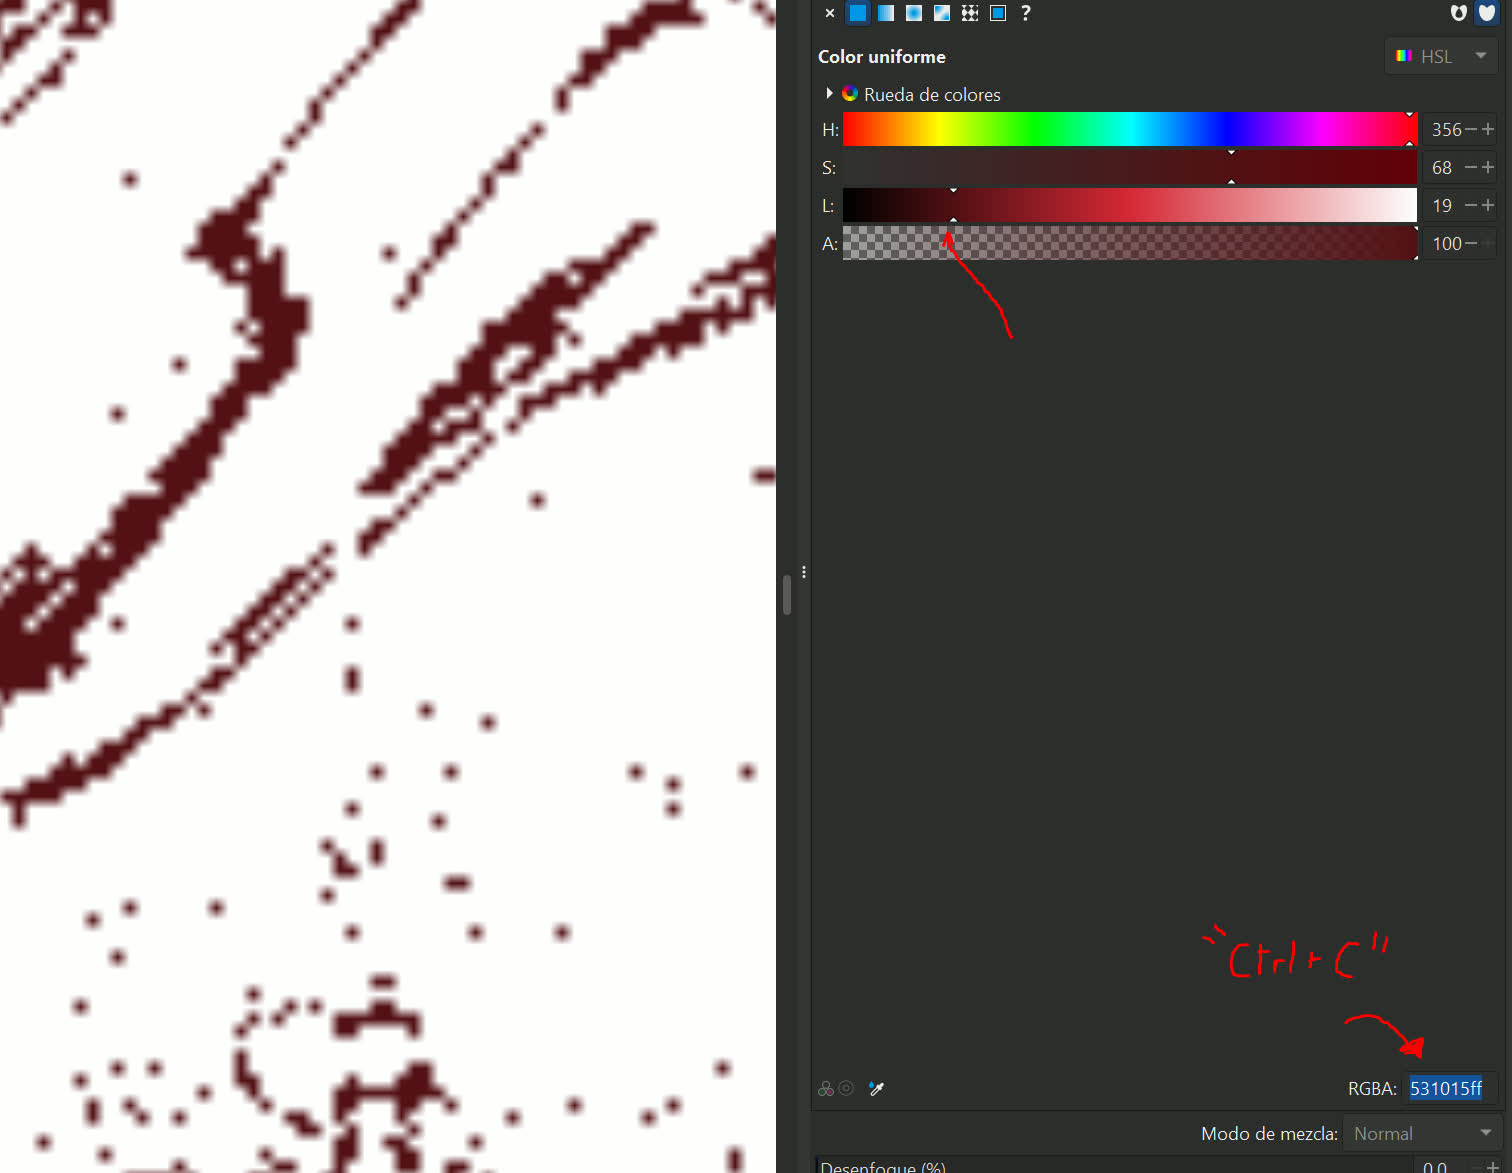
If Inkscape itself already seemed like an excellent tool to me, I never imagined that something like Inkscape could end up being a full-fledged tool for generating embroidery files. The moment I realized that it was possible to assign stitch types, simulate outputs, and export ready-to-use formats from a vector design, I knew I had just unlocked a new creative potential.
Working with a Brother embroidery machine, the NS1850L, requires an understanding of both the digital design process and the physical setup. This week, I explored the complete path from digital creation to fabric output, using Inkscape enhanced with the Ink/Stitch extension. Below, I share an overview of that workflow and the key steps and insights gained along the way.
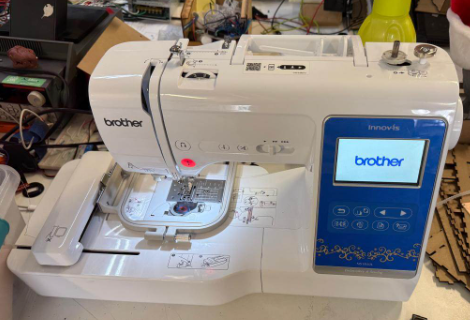
Figure 1: Brother embroidery machine (NS1850L)
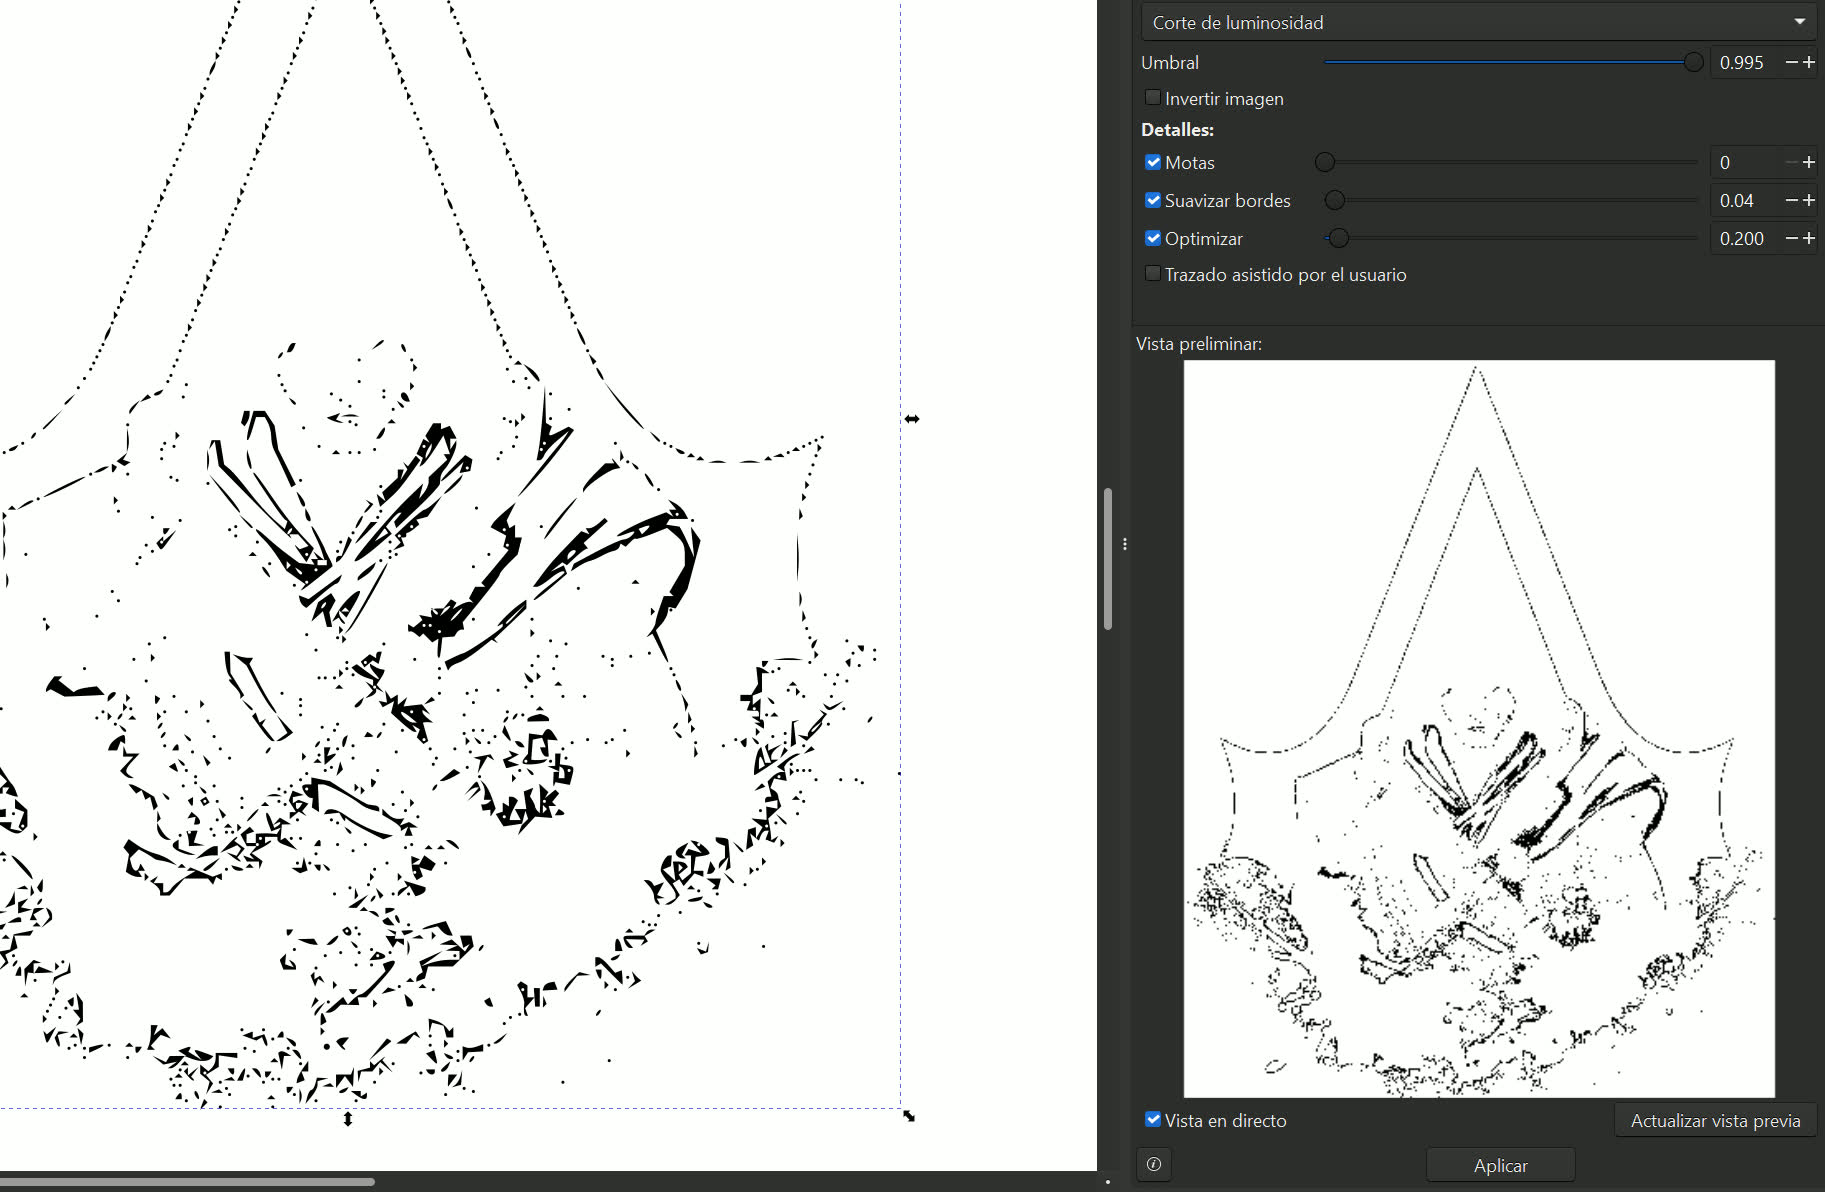
The process begins in Inkscape, where a design can either be created from scratch or imported from a raster image. If you start with a PNG or JPEG, it needs to be vectorized using the 'Trace Bitmap' tool under the 'Path' menu. This allows the design to be converted into paths that can later be assigned different stitch types.
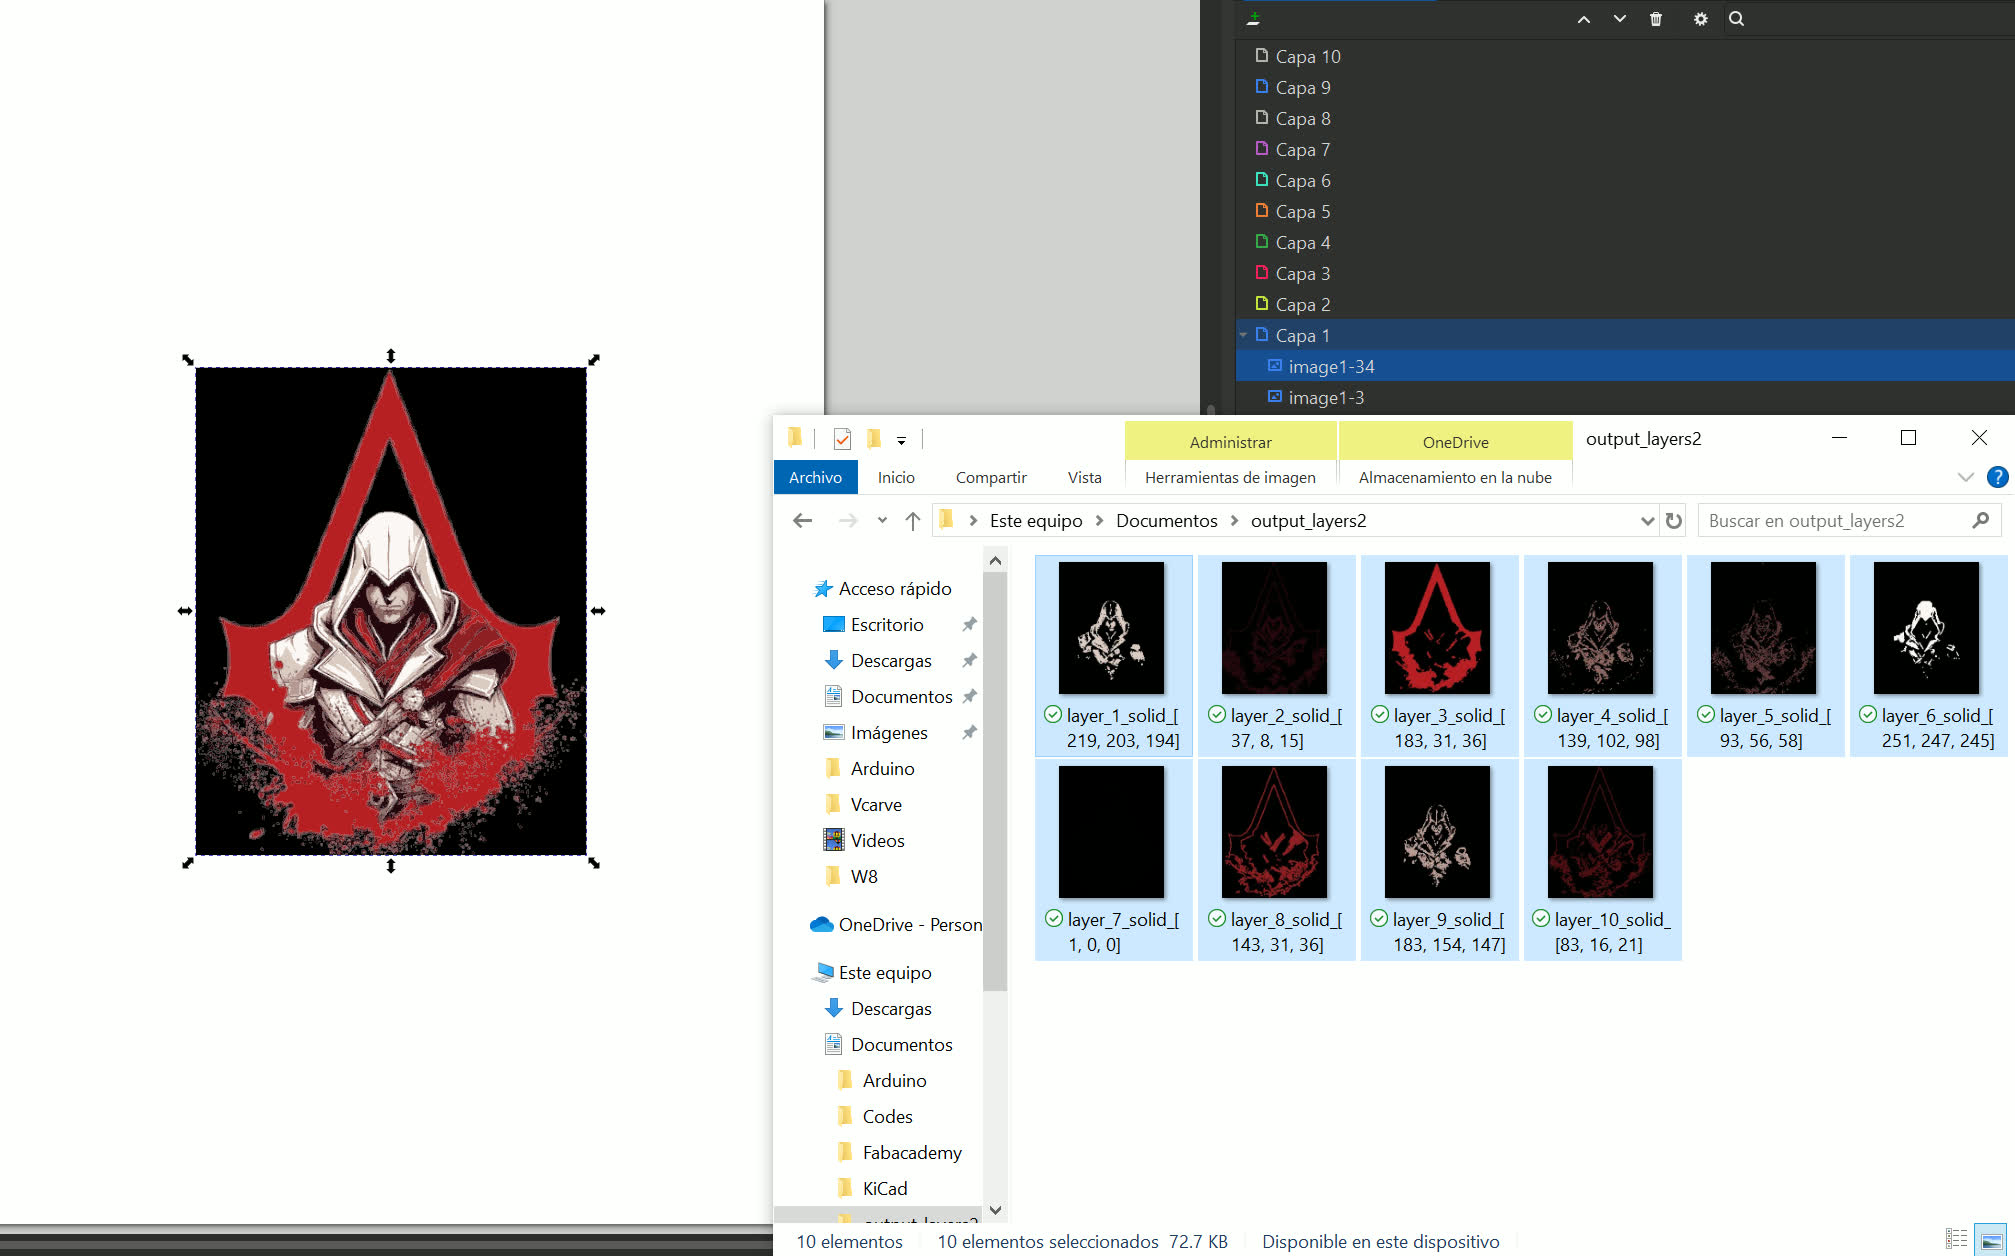
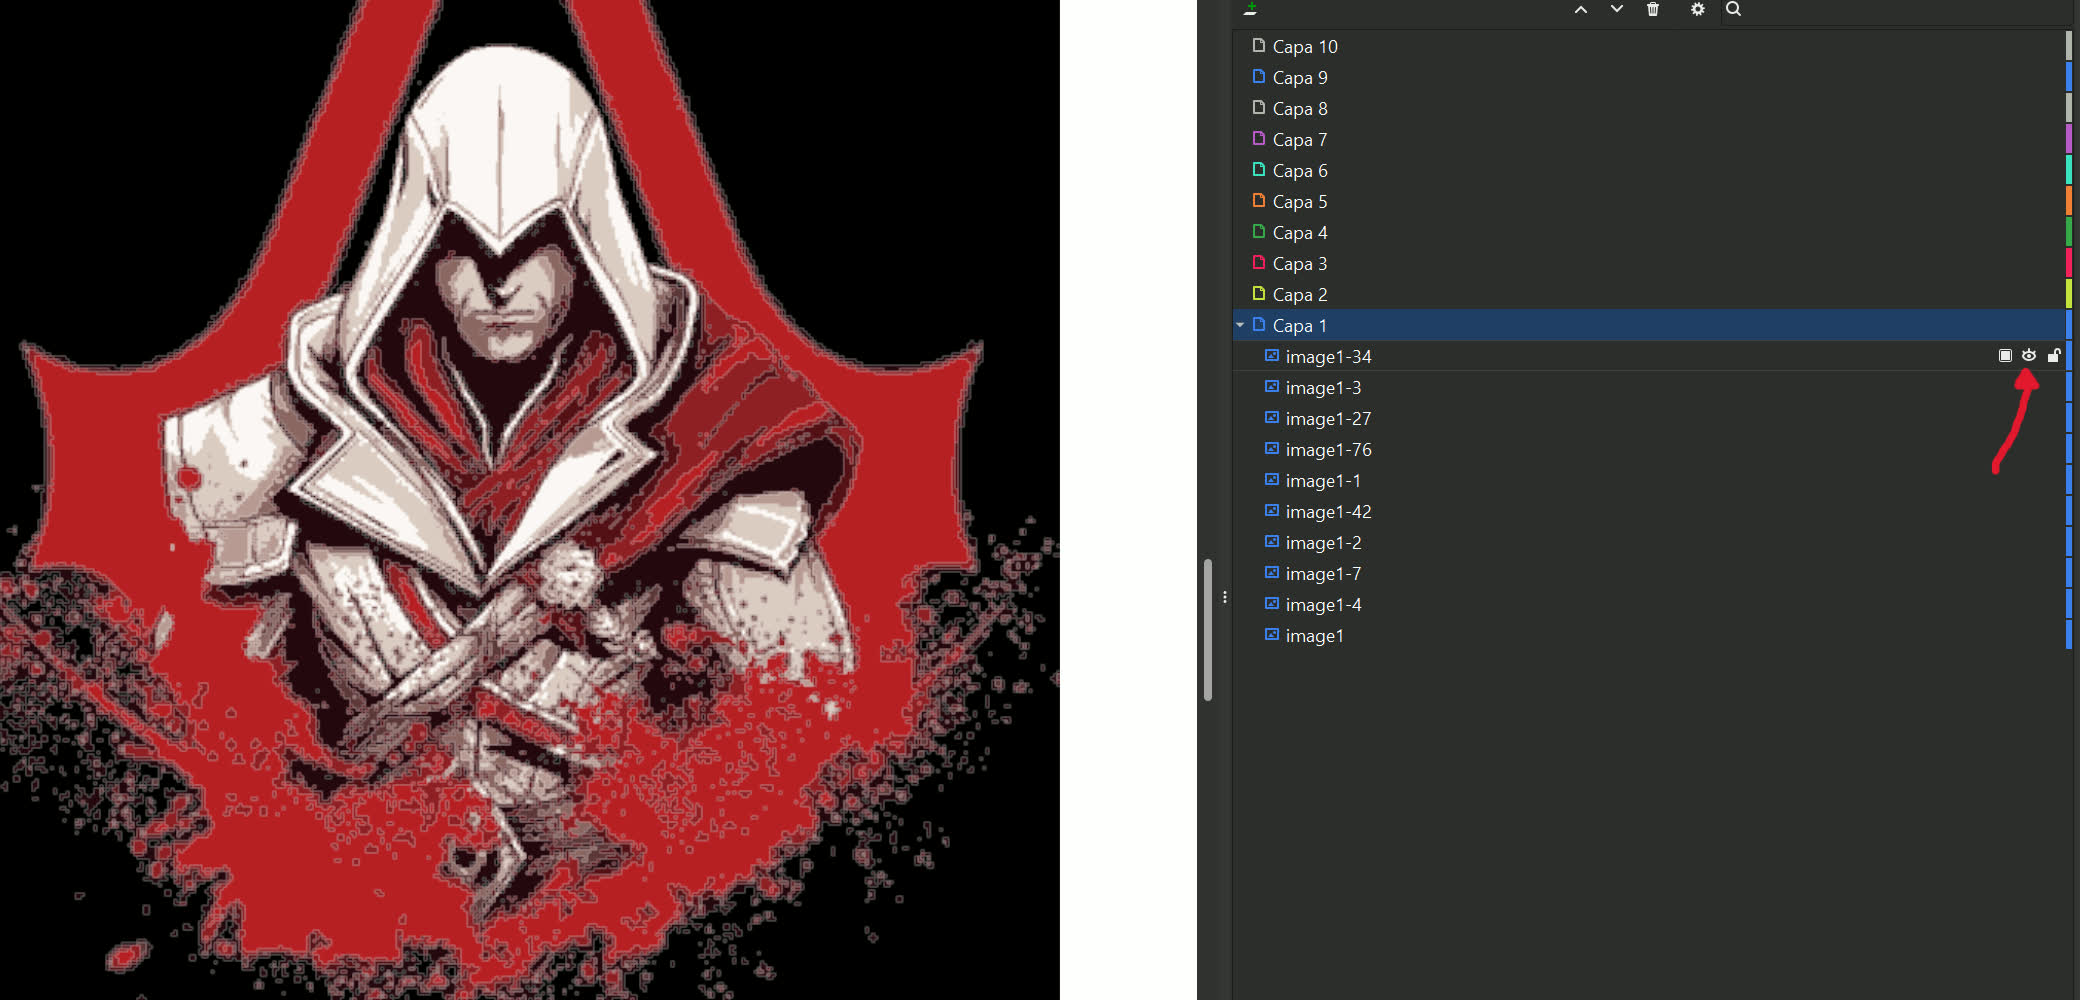
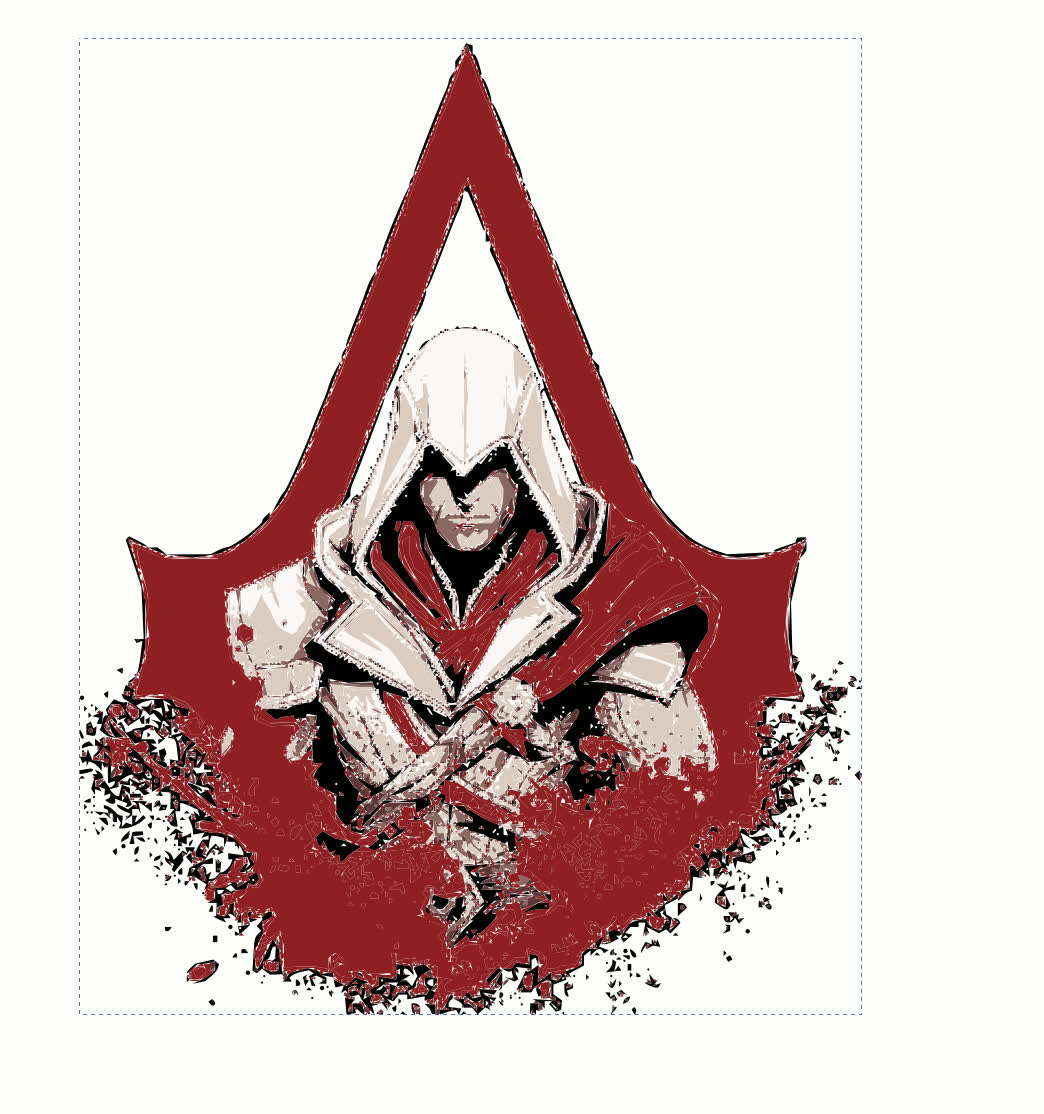
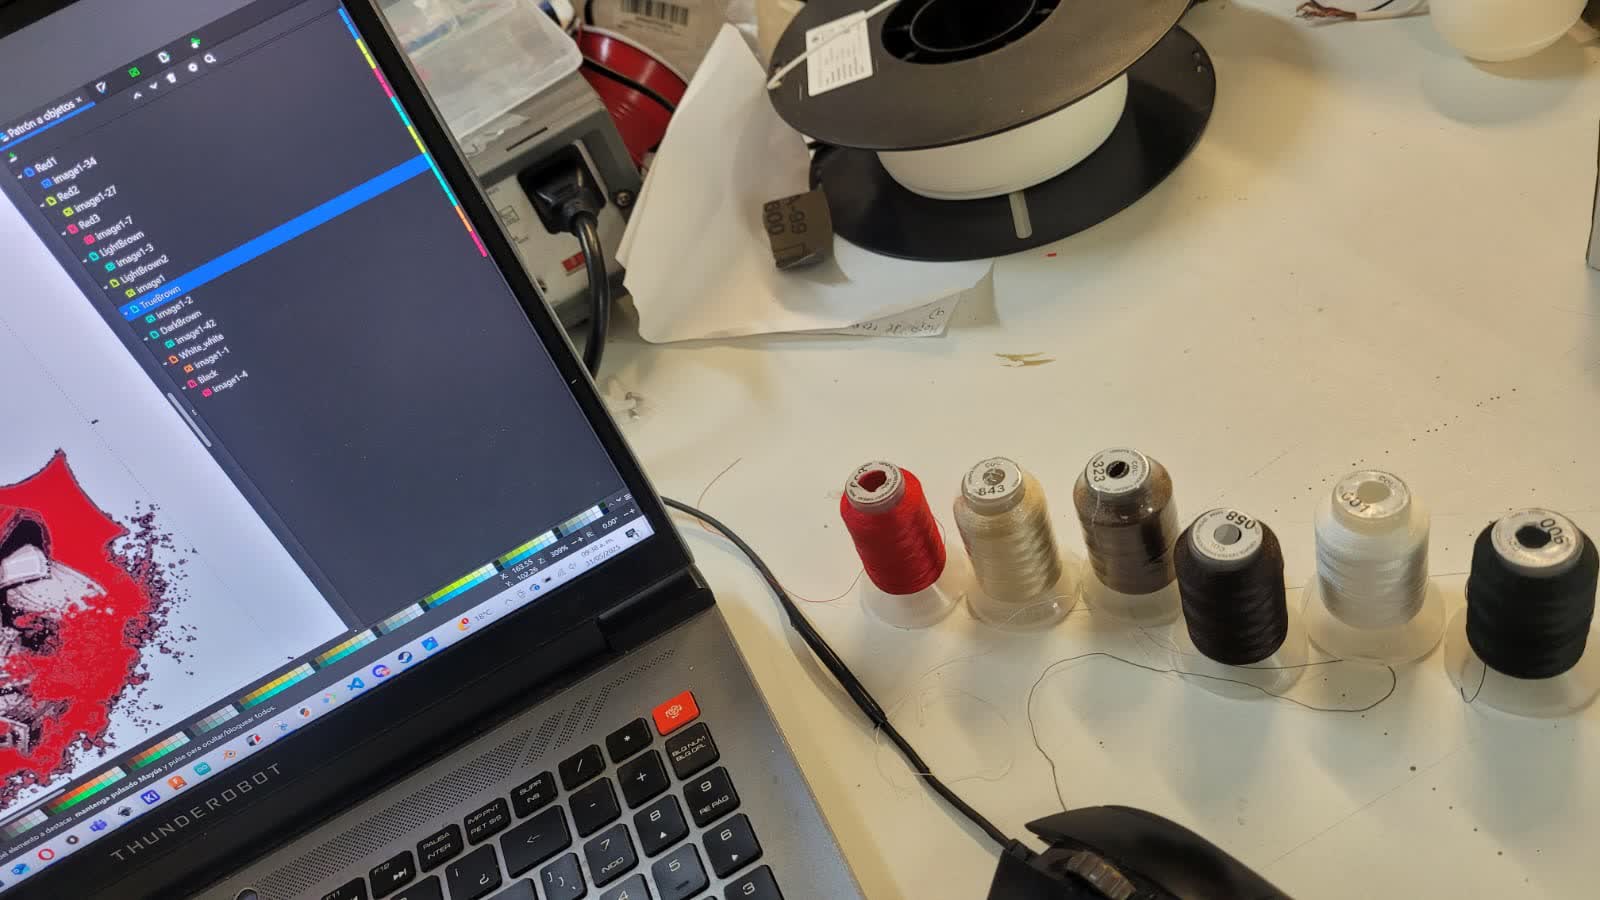
While learning to use the embroidery machine, Leonardo Zamora and I quickly realized that stitching any type of image required separating it into individual color layers — a process that can be quite time-consuming if done manually. To streamline this step, we collaborated with ChatGPT to develop a Python script that automatically segments an image based on its color regions, making the layer separation process much faster and more efficient. That script allowed us to isolate parts of a design by dominant color and generate individual SVGs for each layer.
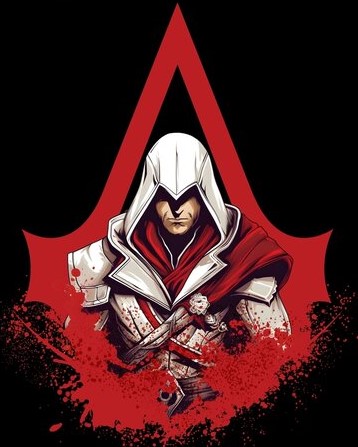
Image im gonna use
Script used:
  import cv2
  import numpy as np
  from sklearn.cluster import KMeans
  from PIL import Image
  import os

  def extract_dominant_colors(image, num_colors=5):
      # Convert to RGB and reshape for clustering
      img_rgb = cv2.cvtColor(image, cv2.COLOR_BGR2RGB)
      reshaped = img_rgb.reshape((-1, 3))

      # Apply KMeans clustering
      kmeans = KMeans(n_clusters=num_colors, random_state=42, n_init='auto')
      kmeans.fit(reshaped)

      # Get dominant colors and labels
      colors = kmeans.cluster_centers_.astype(int)
      labels = kmeans.labels_
      return colors, labels.reshape(image.shape[:2])

  def create_color_mask(label_mask, cluster_idx):
      # Create binary mask for the specified cluster
      return (label_mask == cluster_idx).astype(np.uint8) * 255

  def create_solid_color_layer(mask, color, size):
      # Create transparent RGBA image
      layer = np.zeros((size[1], size[0], 4), dtype=np.uint8)

      # Apply the solid color where mask is 255
      for y in range(size[1]):
          for x in range(size[0]):
              if mask[y, x] == 255:
                  layer[y, x] = [color[0], color[1], color[2], 255]  # R,G,B,A

      return layer

  def extract_color_layers(image_path, output_dir="output_layers2", max_layers=10):
      # Load original image
      image_bgr = cv2.imread(image_path)
      image_rgb = cv2.cvtColor(image_bgr, cv2.COLOR_BGR2RGB)
      height, width = image_rgb.shape[:2]

      # Create output directory
      os.makedirs(output_dir, exist_ok=True)

      # Detect dominant colors
      colors, label_mask = extract_dominant_colors(image_bgr, num_colors=max_layers)

      # Generate each color layer with a solid color fill
      for i, color in enumerate(colors):
          mask = create_color_mask(label_mask, i)
          layer = create_solid_color_layer(mask, color, (width, height))

          output_path = os.path.join(output_dir, f"layer_{i+1}_solid_{color.tolist()}.png")
          Image.fromarray(layer).save(output_path)

      print(f"Generated {len(colors)} solid-color layers in '{output_dir}'.")

  #File
  extract_color_layers(r"C:\Users\Pingu\OneDrive\Documentos\Codes\Assasins_creed_image.jpg")
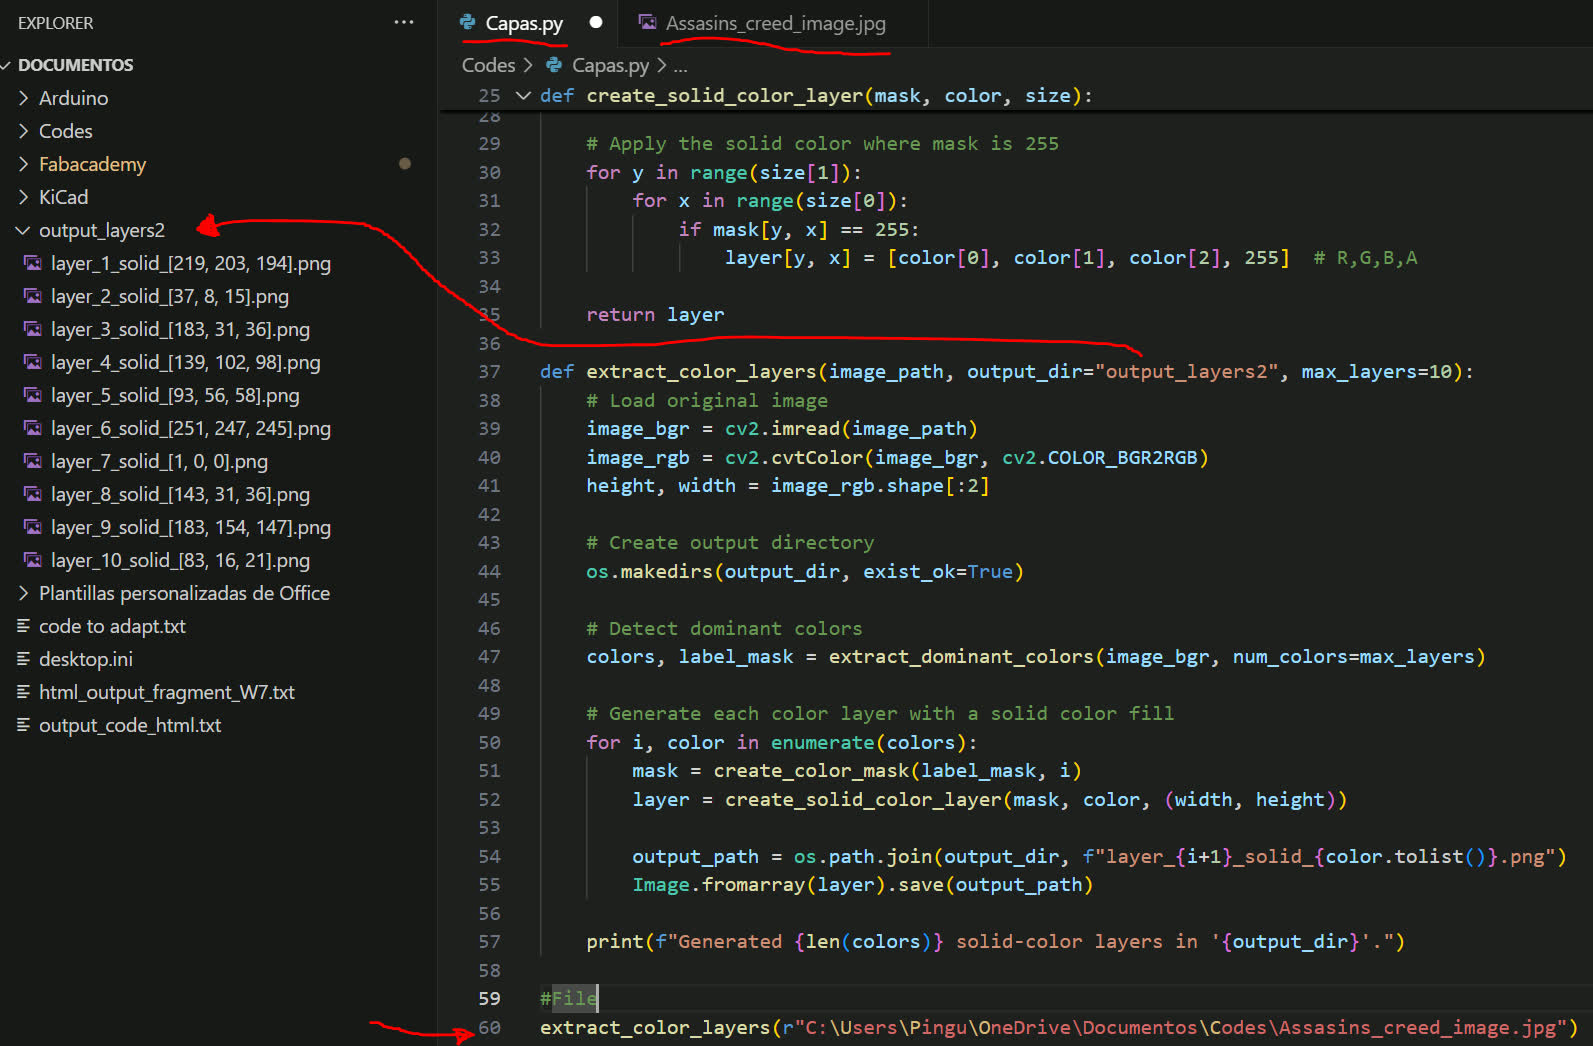
Figure 2: Layer generator from image


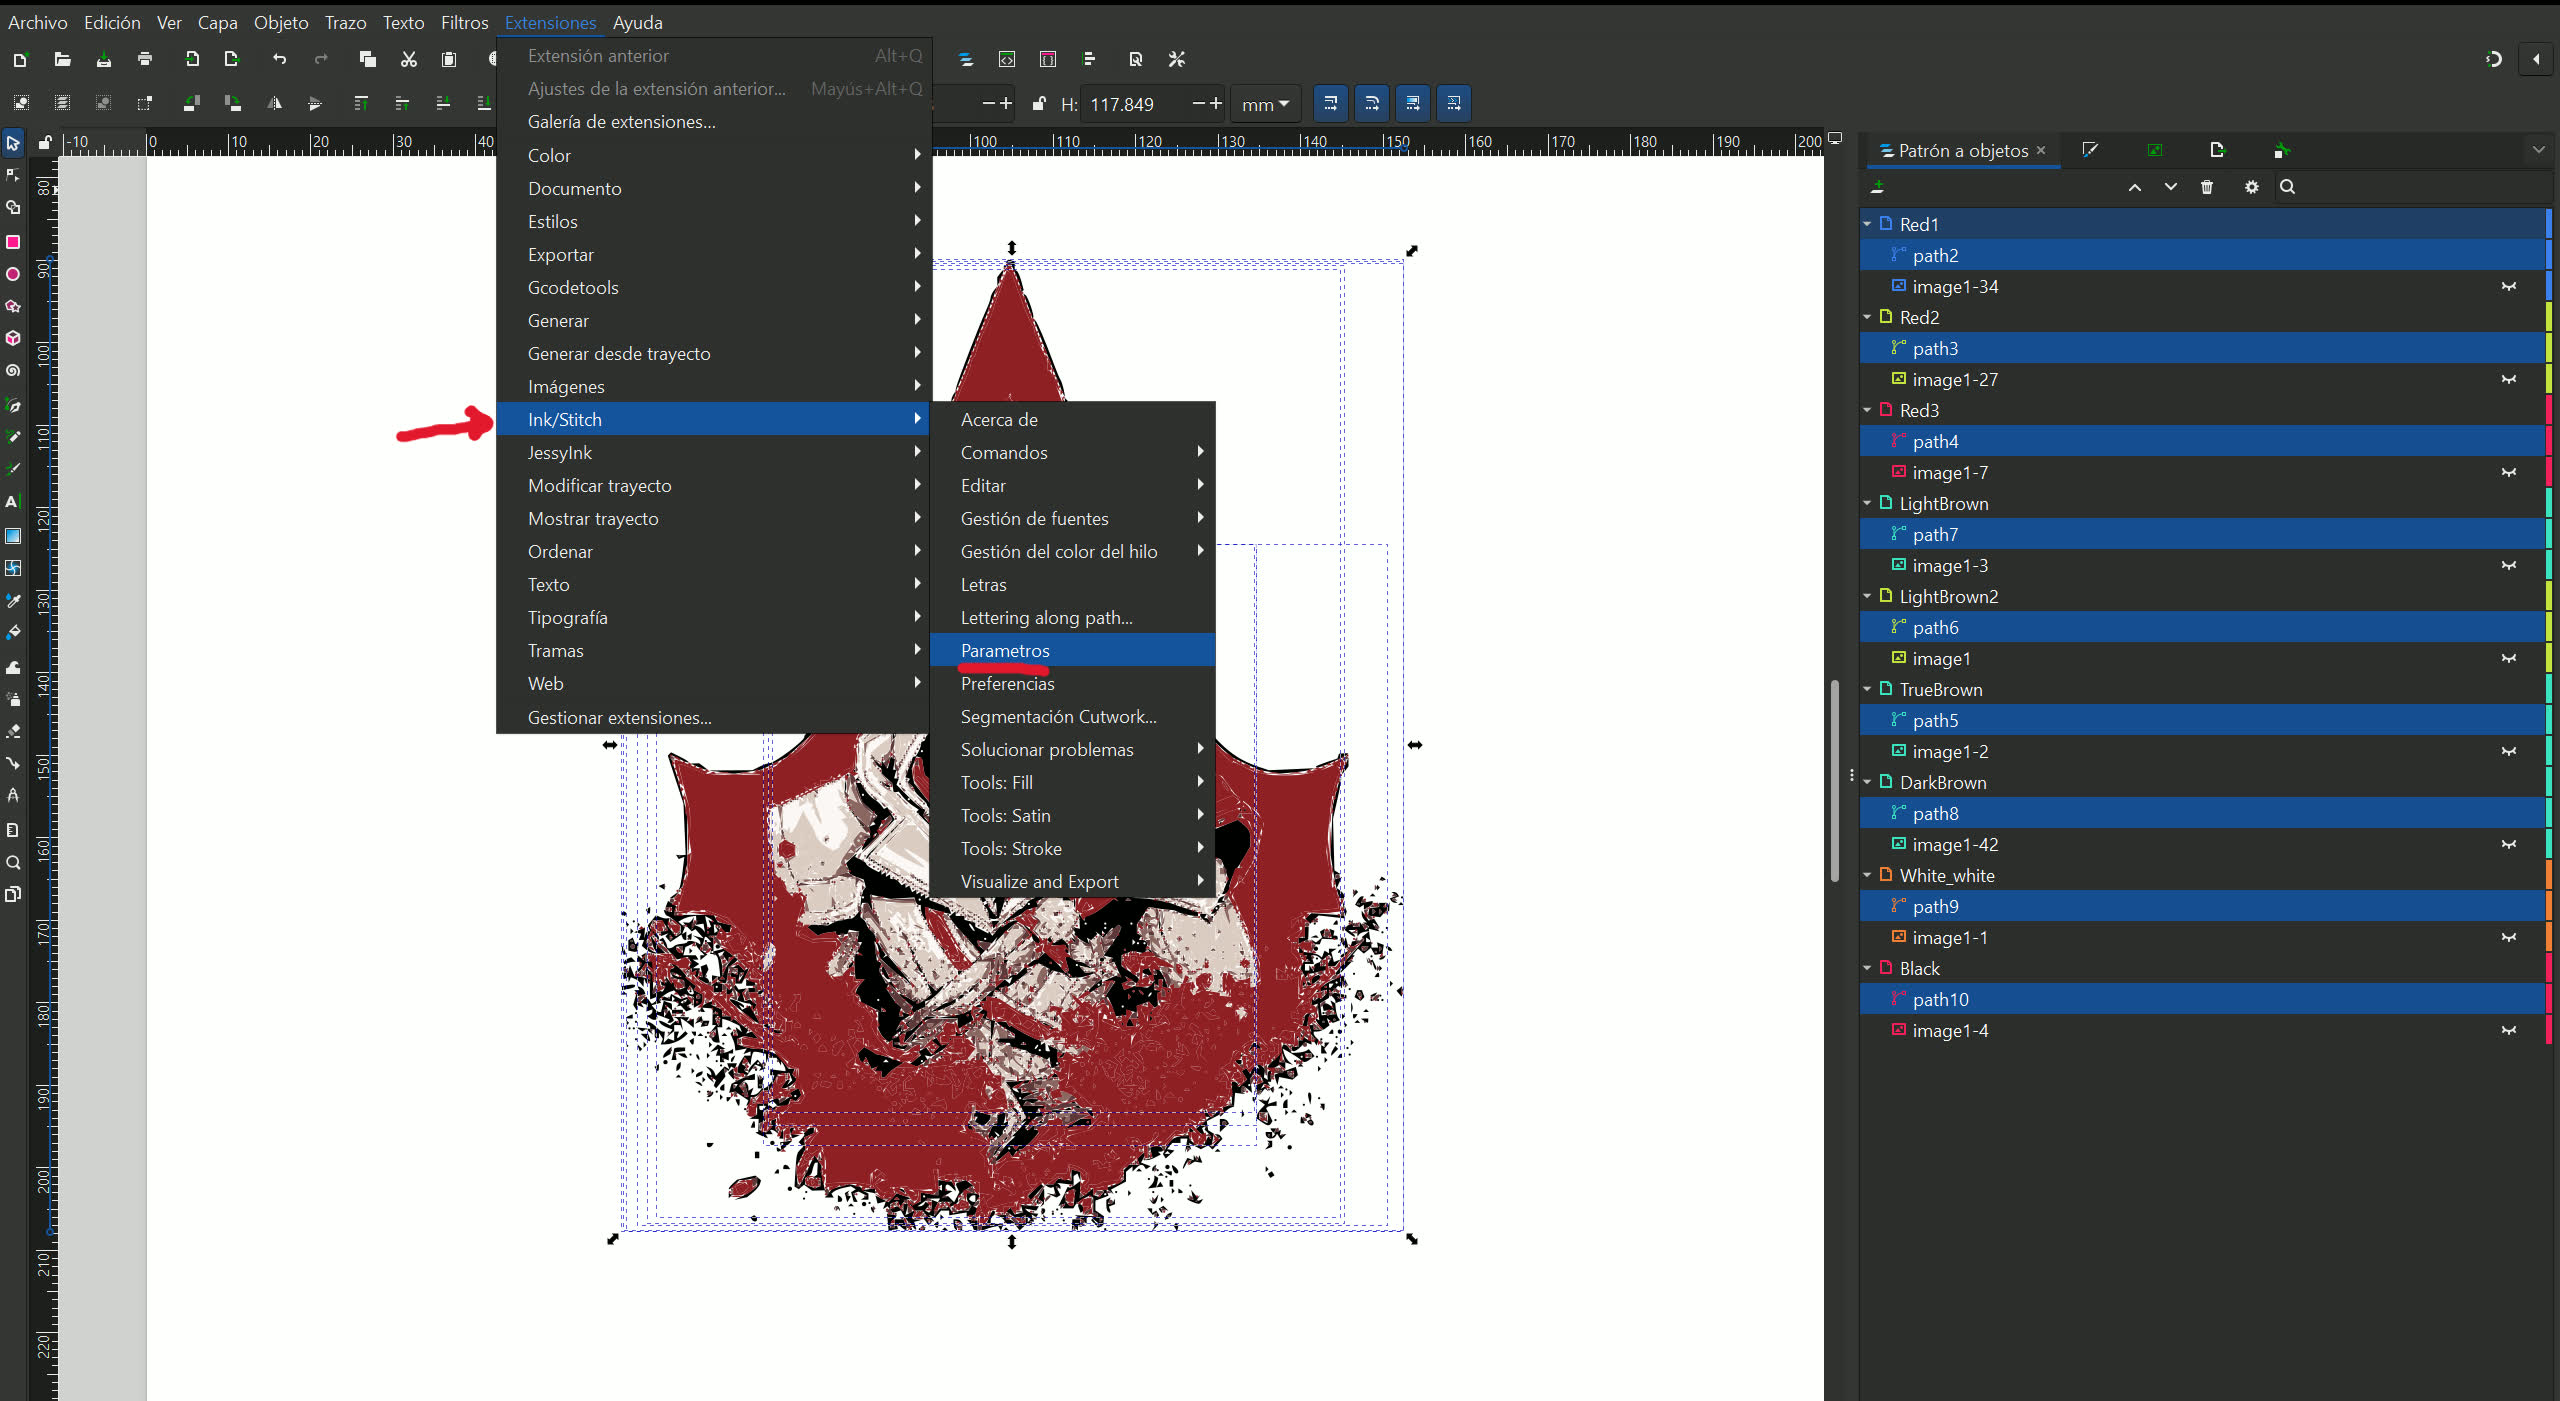
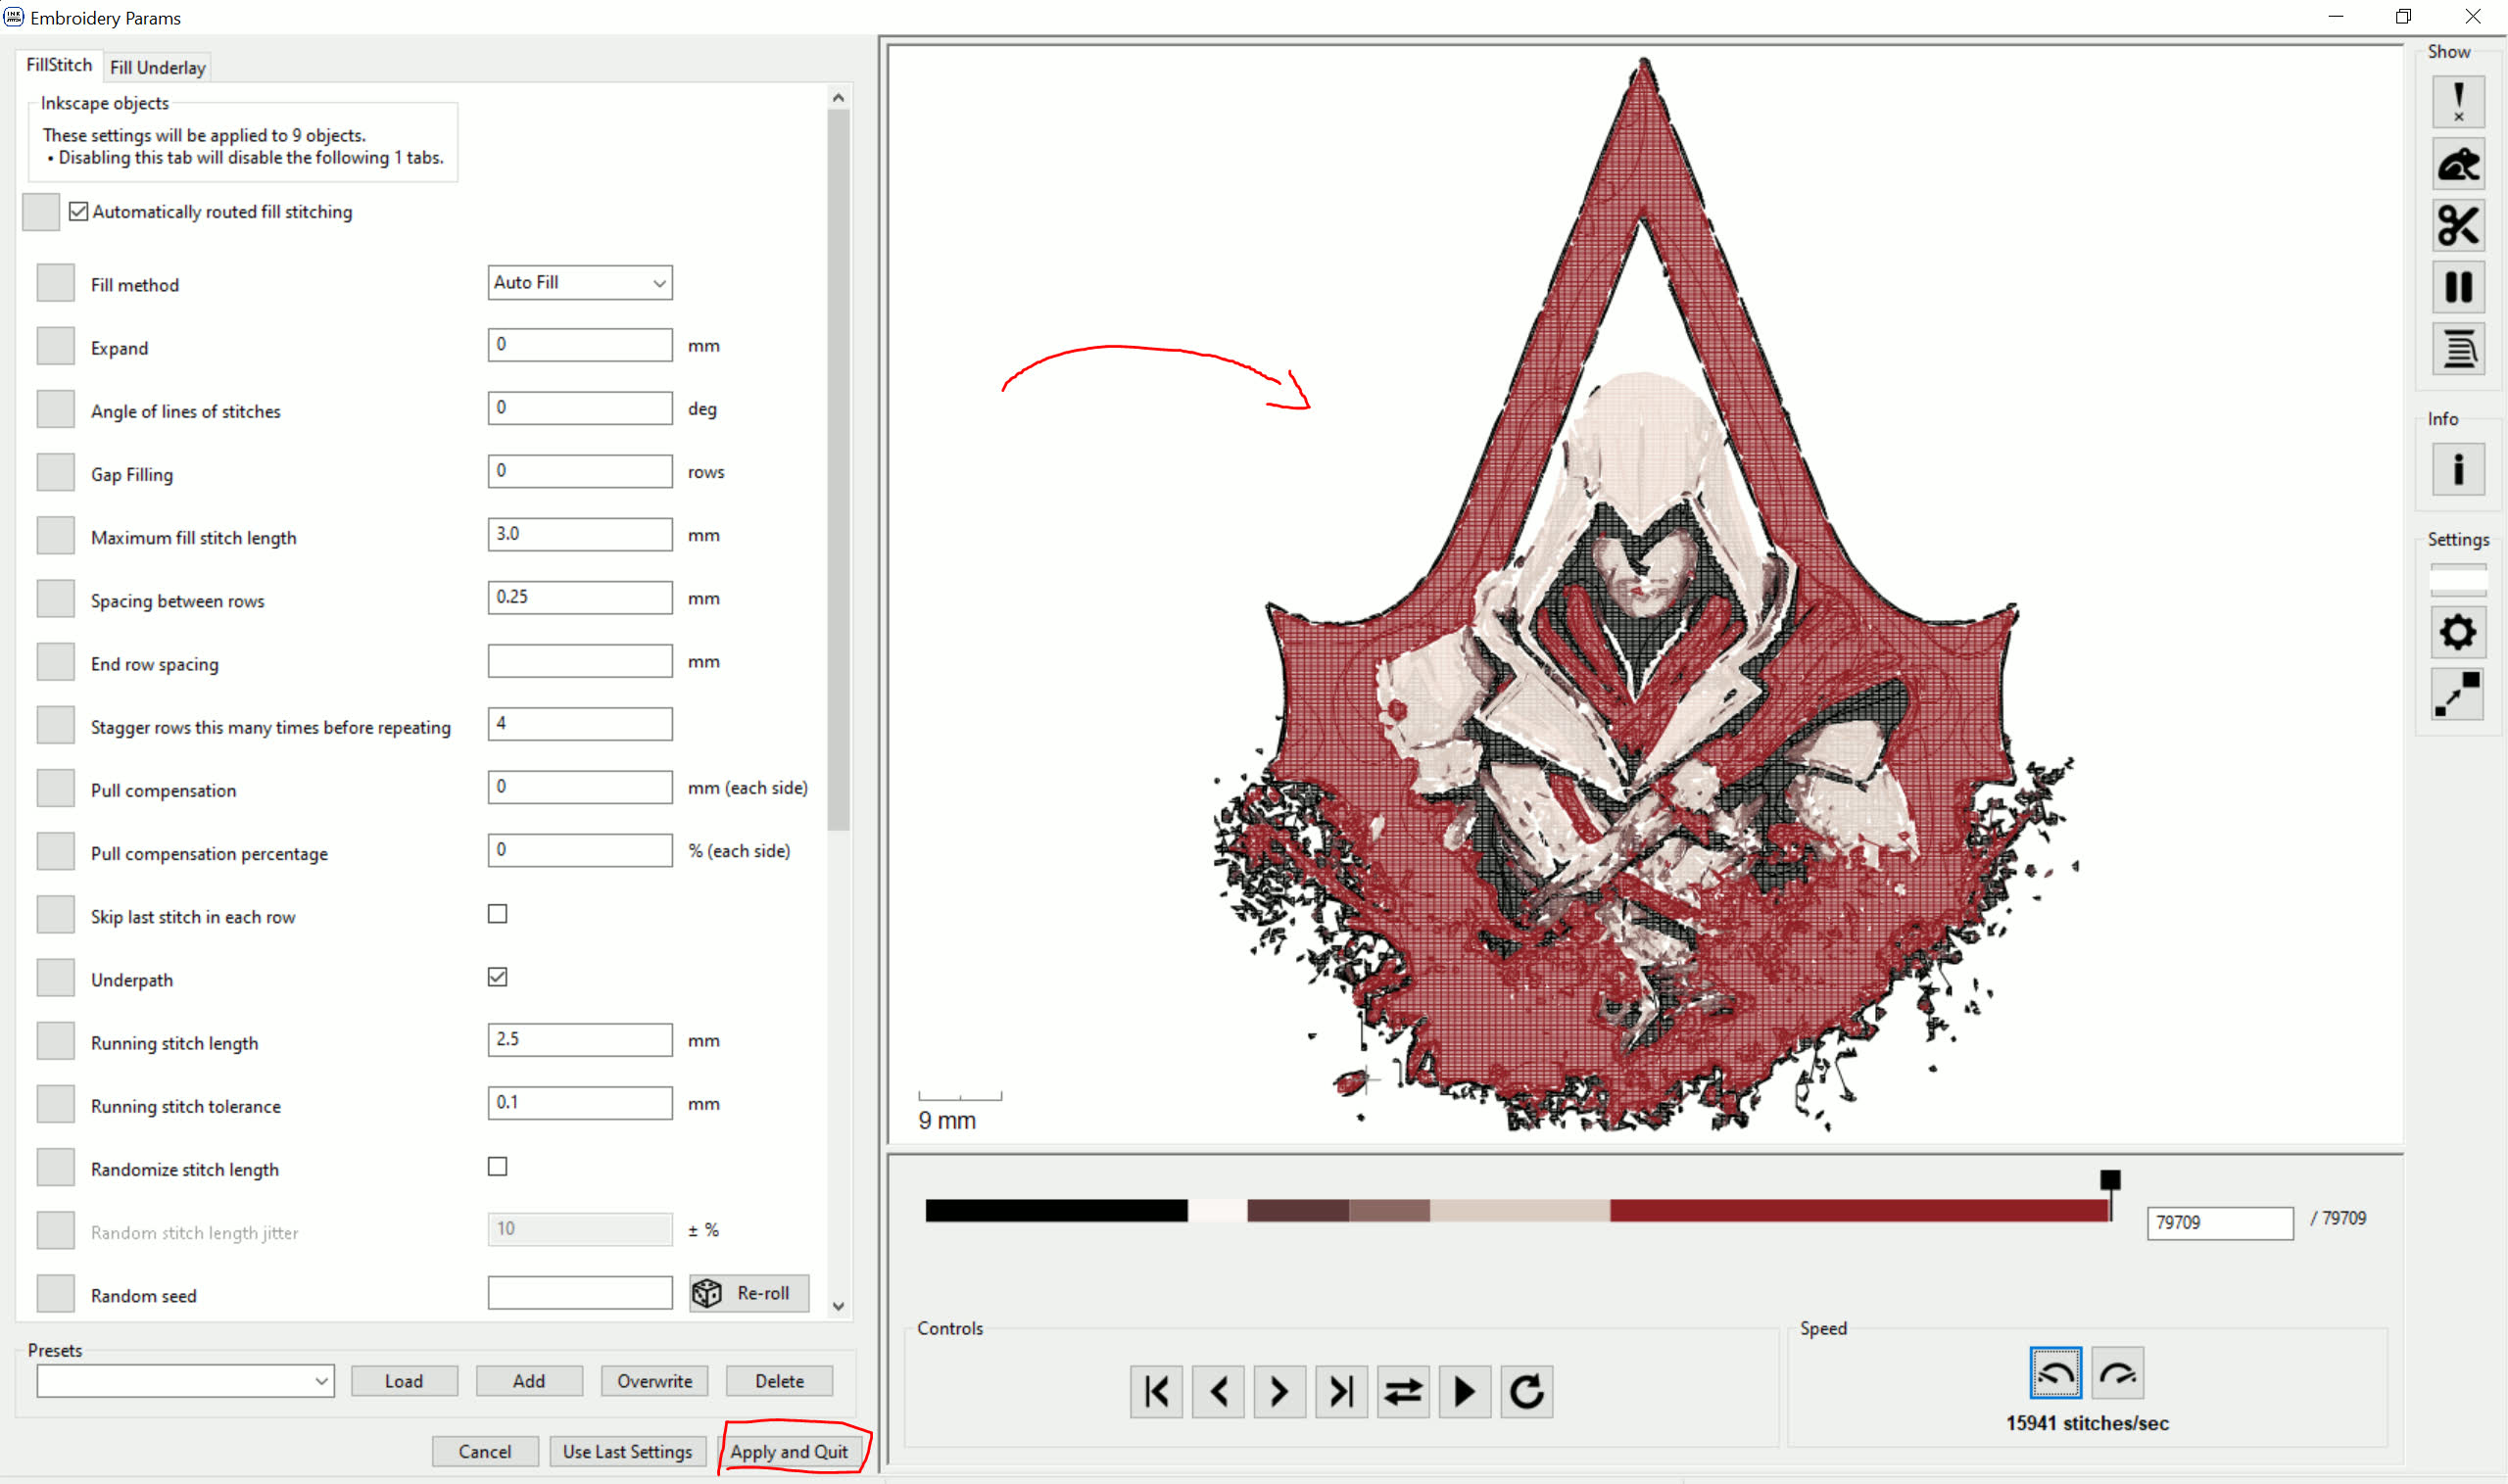
Once the vector shapes are in place, the Ink/Stitch extension (click to go to the official page) allows each shape to be configured with specific embroidery parameters. You can apply running stitches, satin stitches, or fills — all of which have customizable settings like angle, density, and compensation. To be honest, I experimented with adjusting some of the parameters, but in several tests, I didn’t notice any significant differences in the output. If you’re unsure about making changes, I’d recommend sticking with the default settings — they work well enough in most cases.
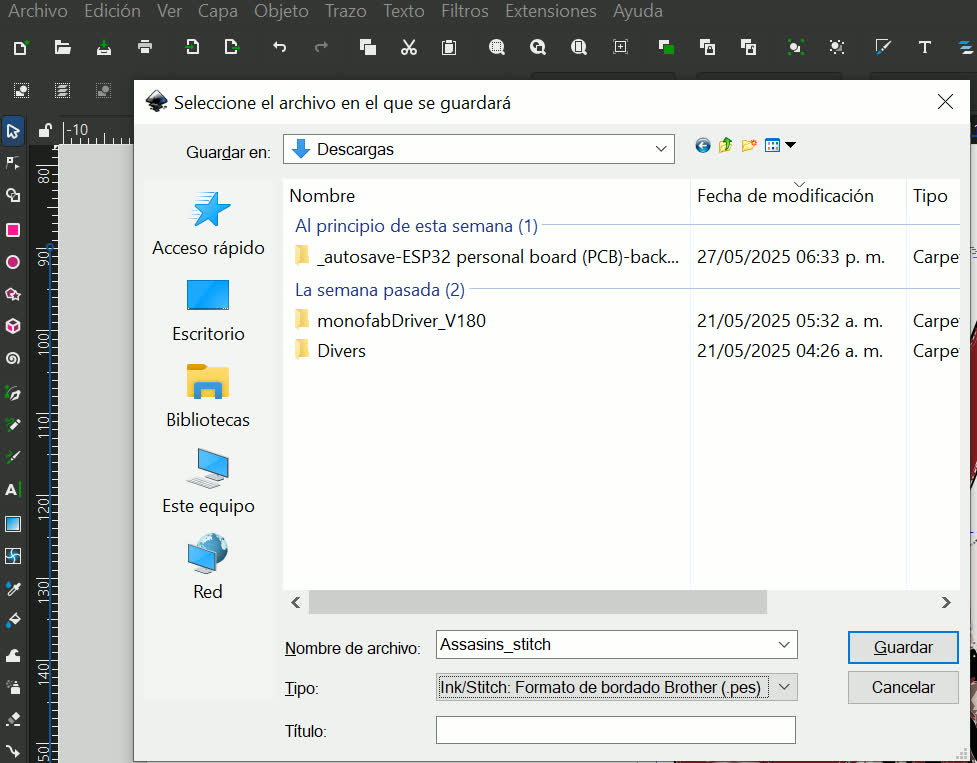
After setting everything up, the next step is to export the design in a format the machine can read — in this case, “.pes”. This is done directly from Inkscape via 'File > Save As'. Just plug a USB into your computer, save the design to it, and plug the drive into the embroidery machine.
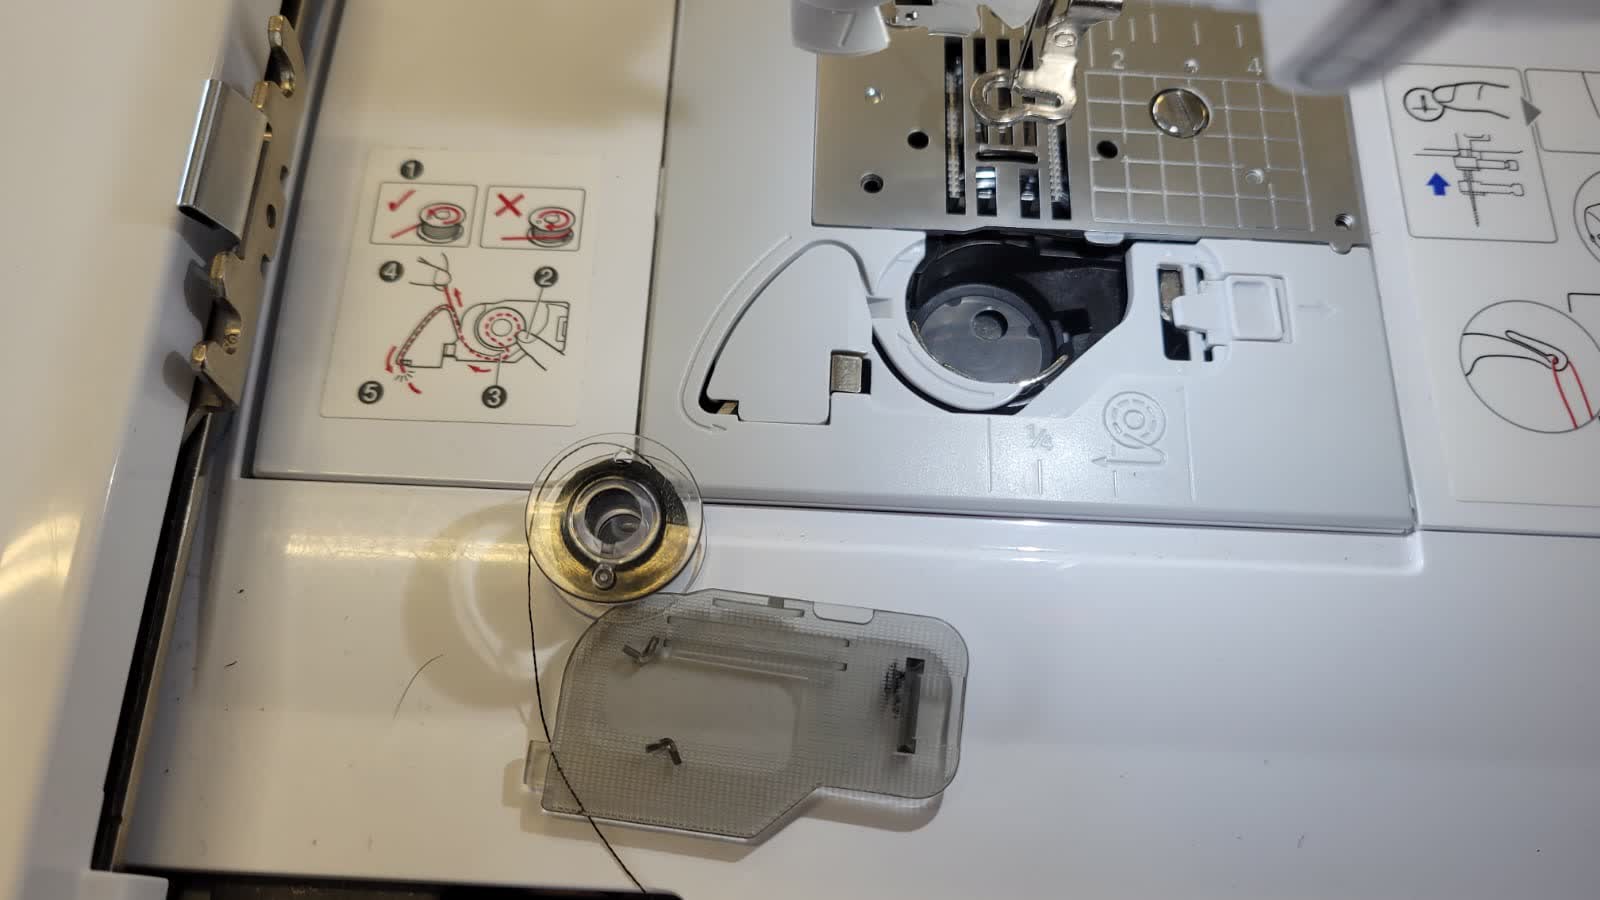
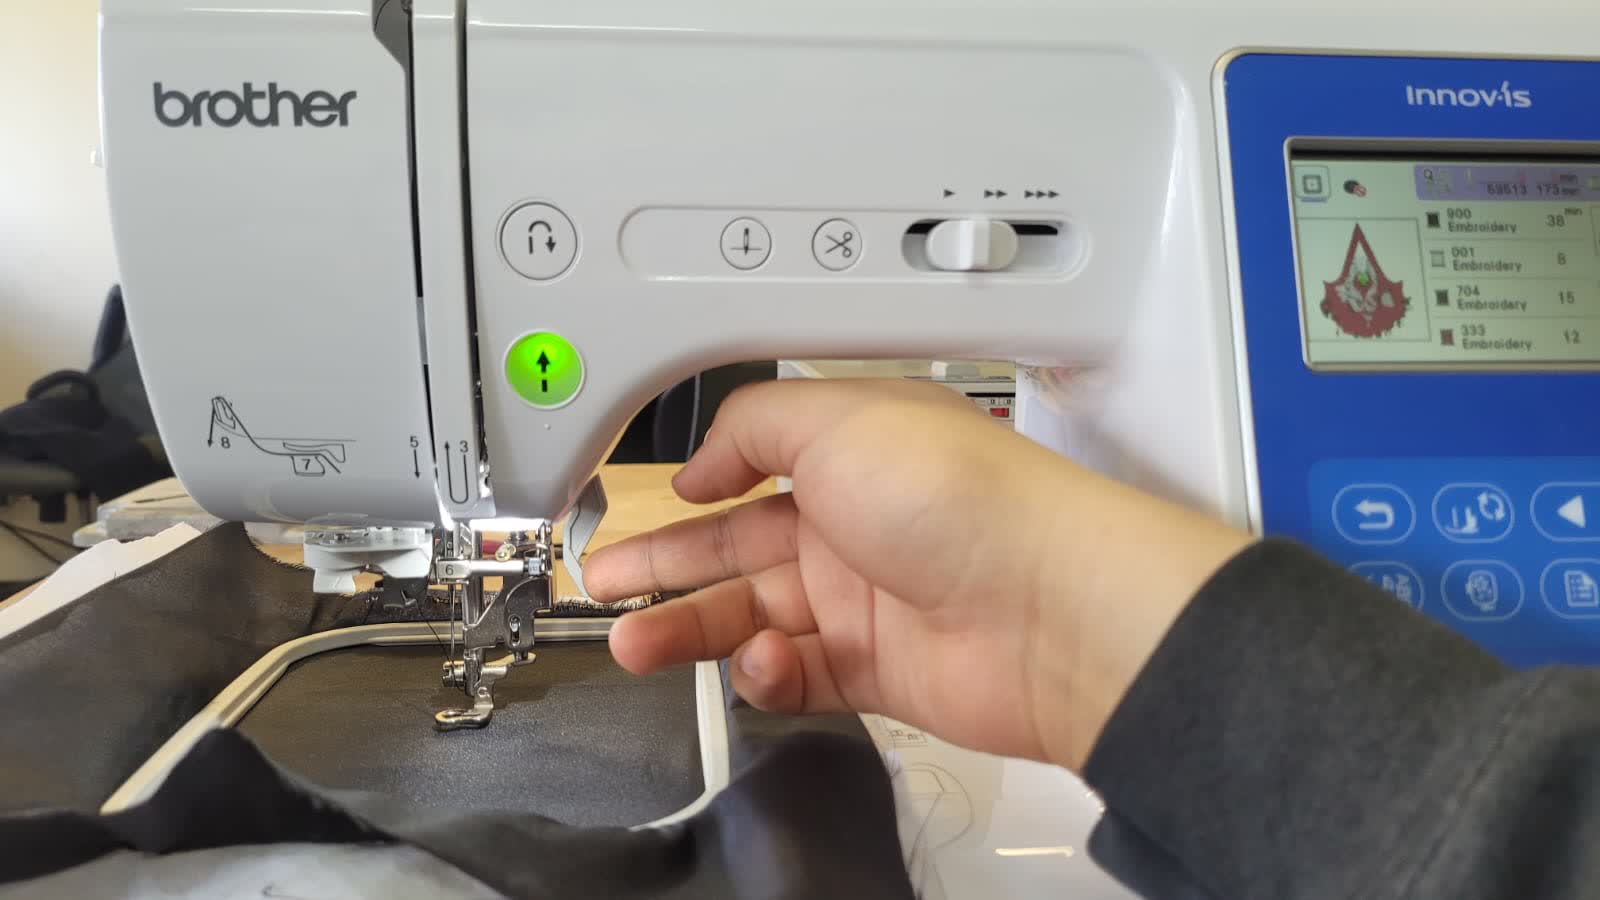
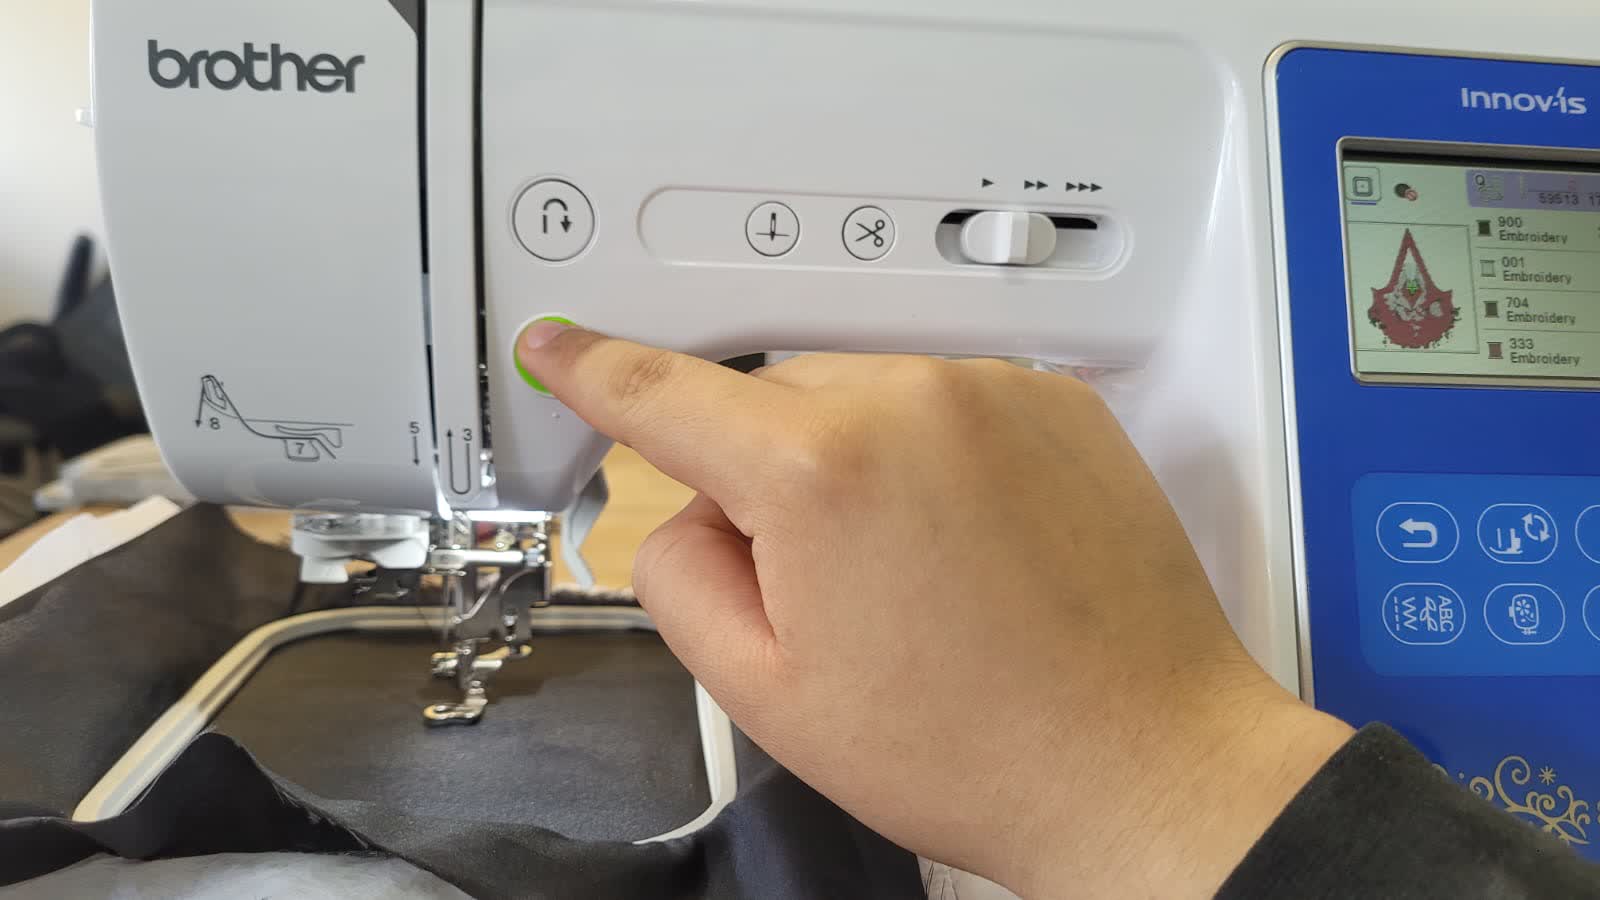
From here, it’s all about fabric preparation and machine setup. The basic requirements are simple: load your upper and bobbin thread, stabilize the fabric with the appropriate backing, and properly align it on the hoop. The Brother NS1850L provides a straightforward interface for loading the file and adjusting final settings like thread colors or position.
 to the appropriate size12.jpg)
 to the appropriate size22.jpg)
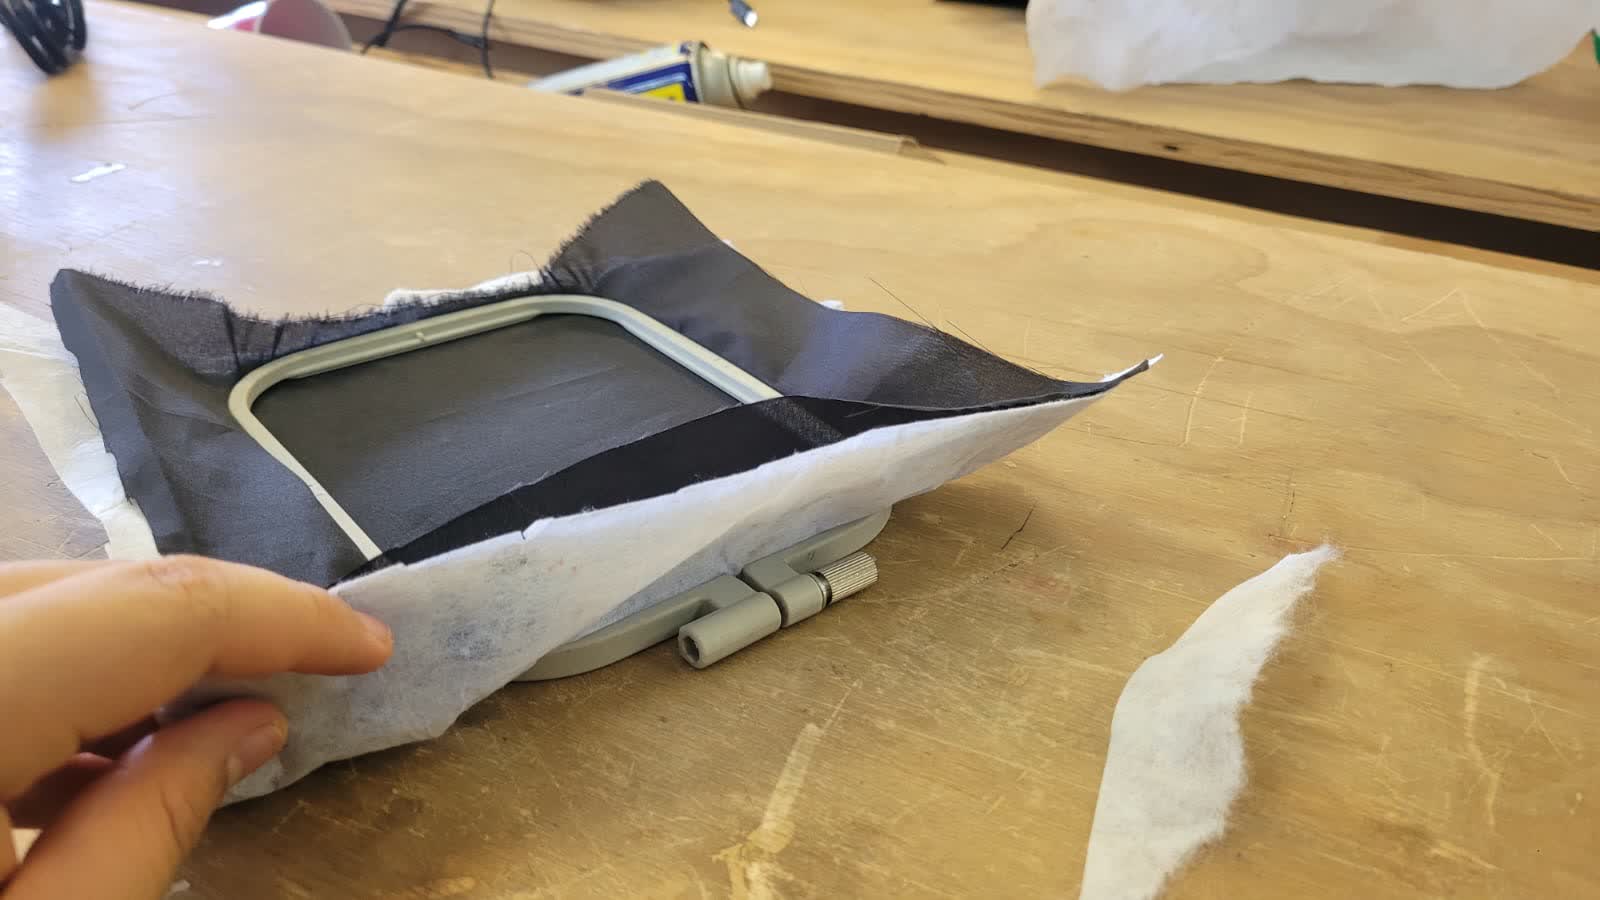
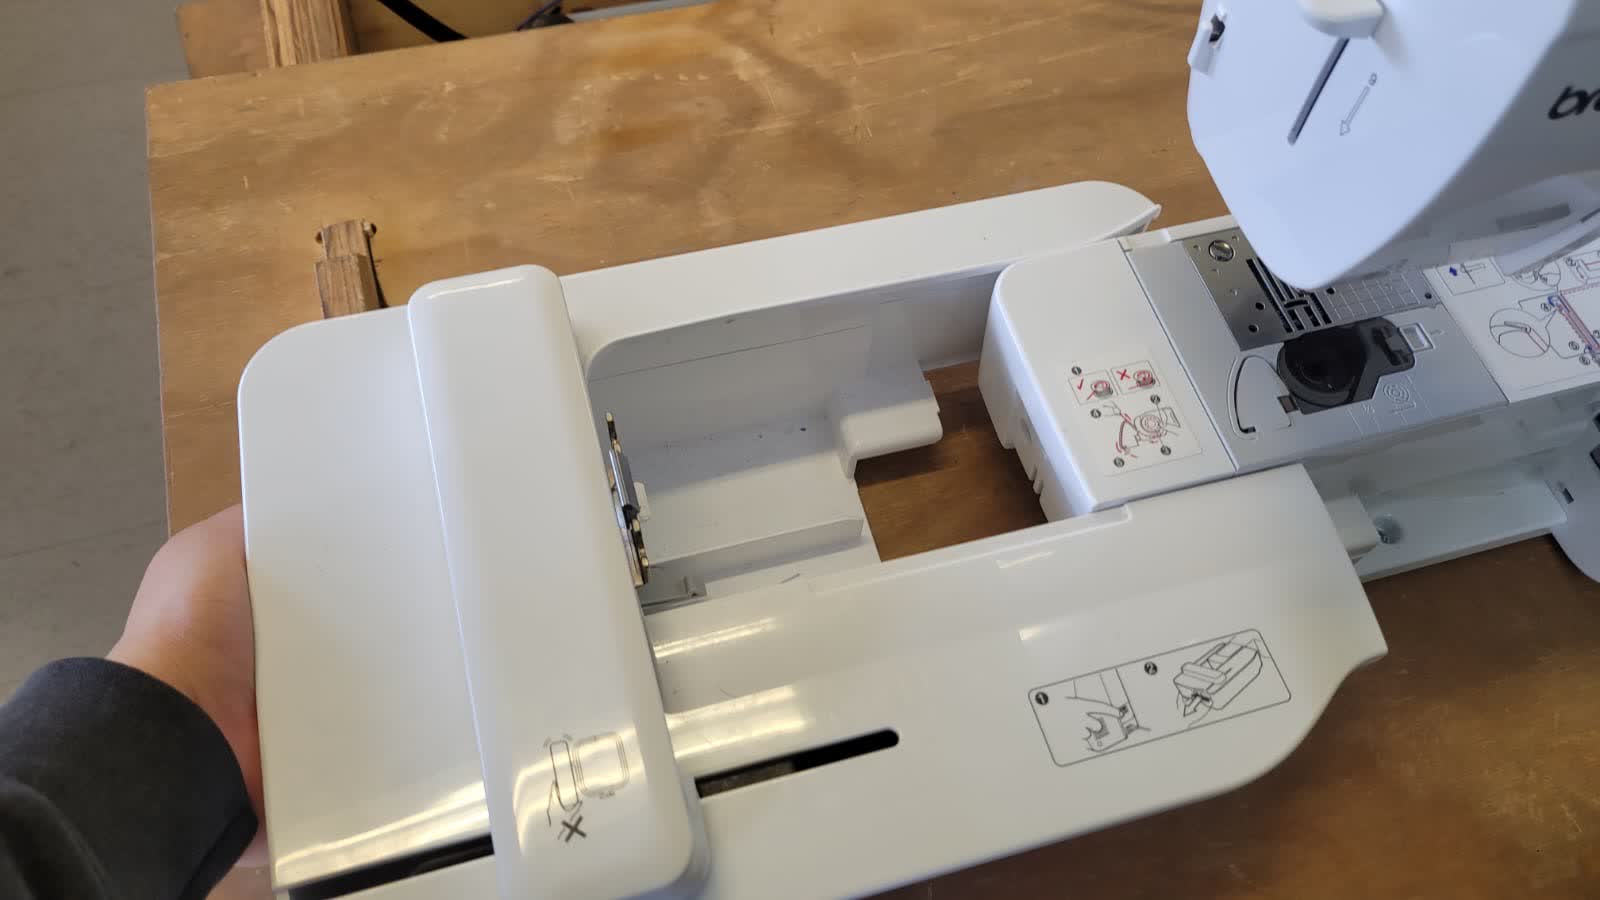
Figure 21: Remove the side carriage to properly position the piece to be embroidered
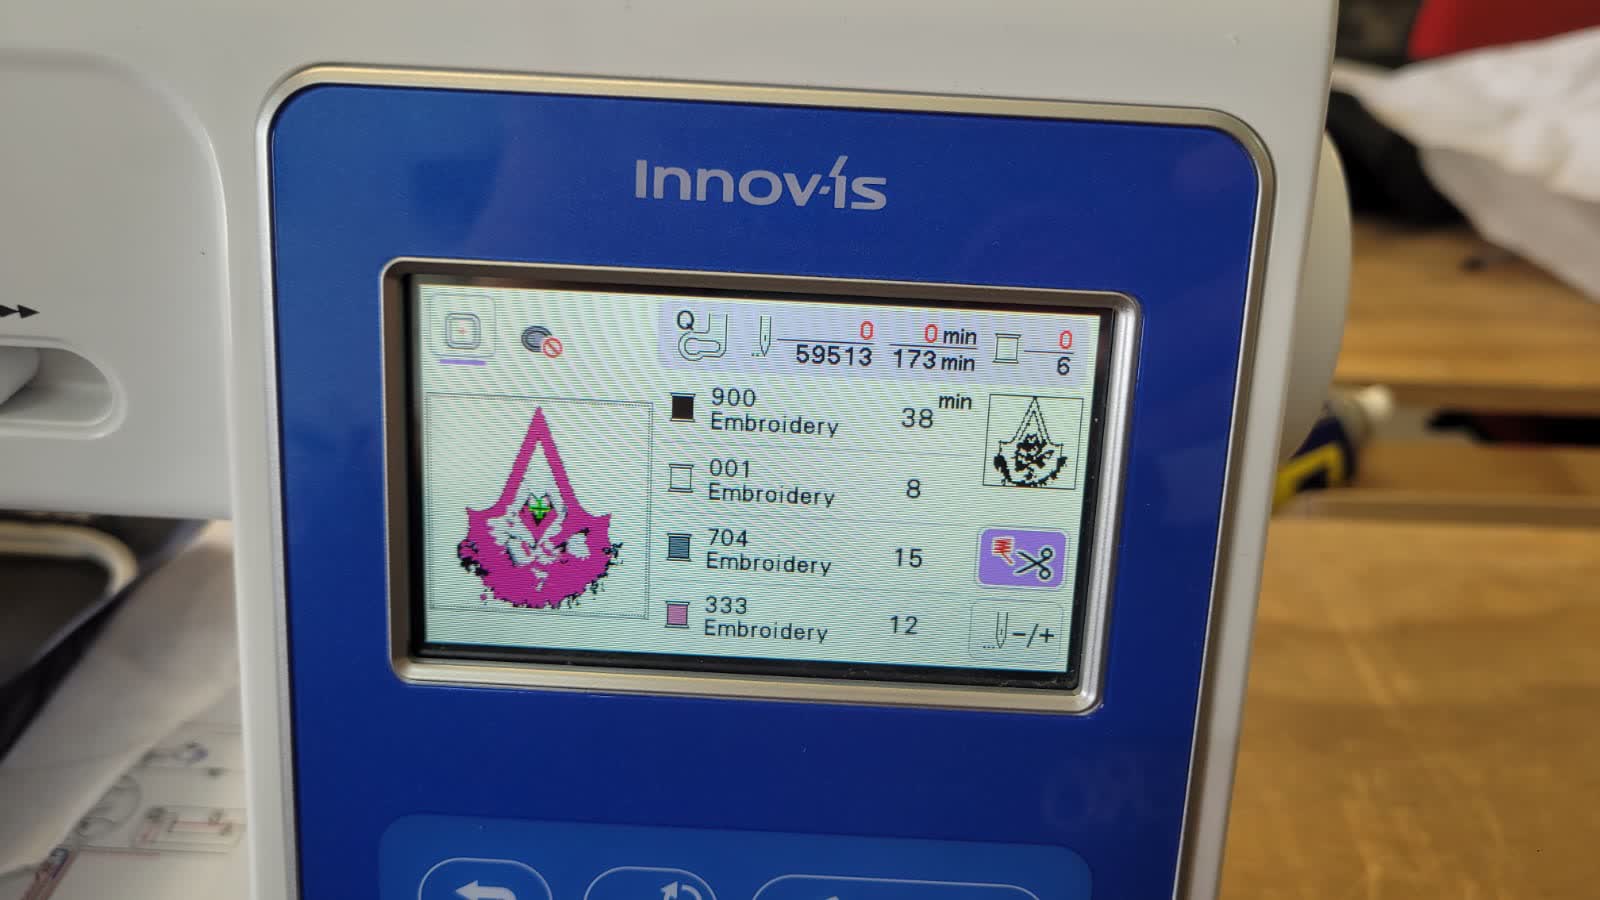
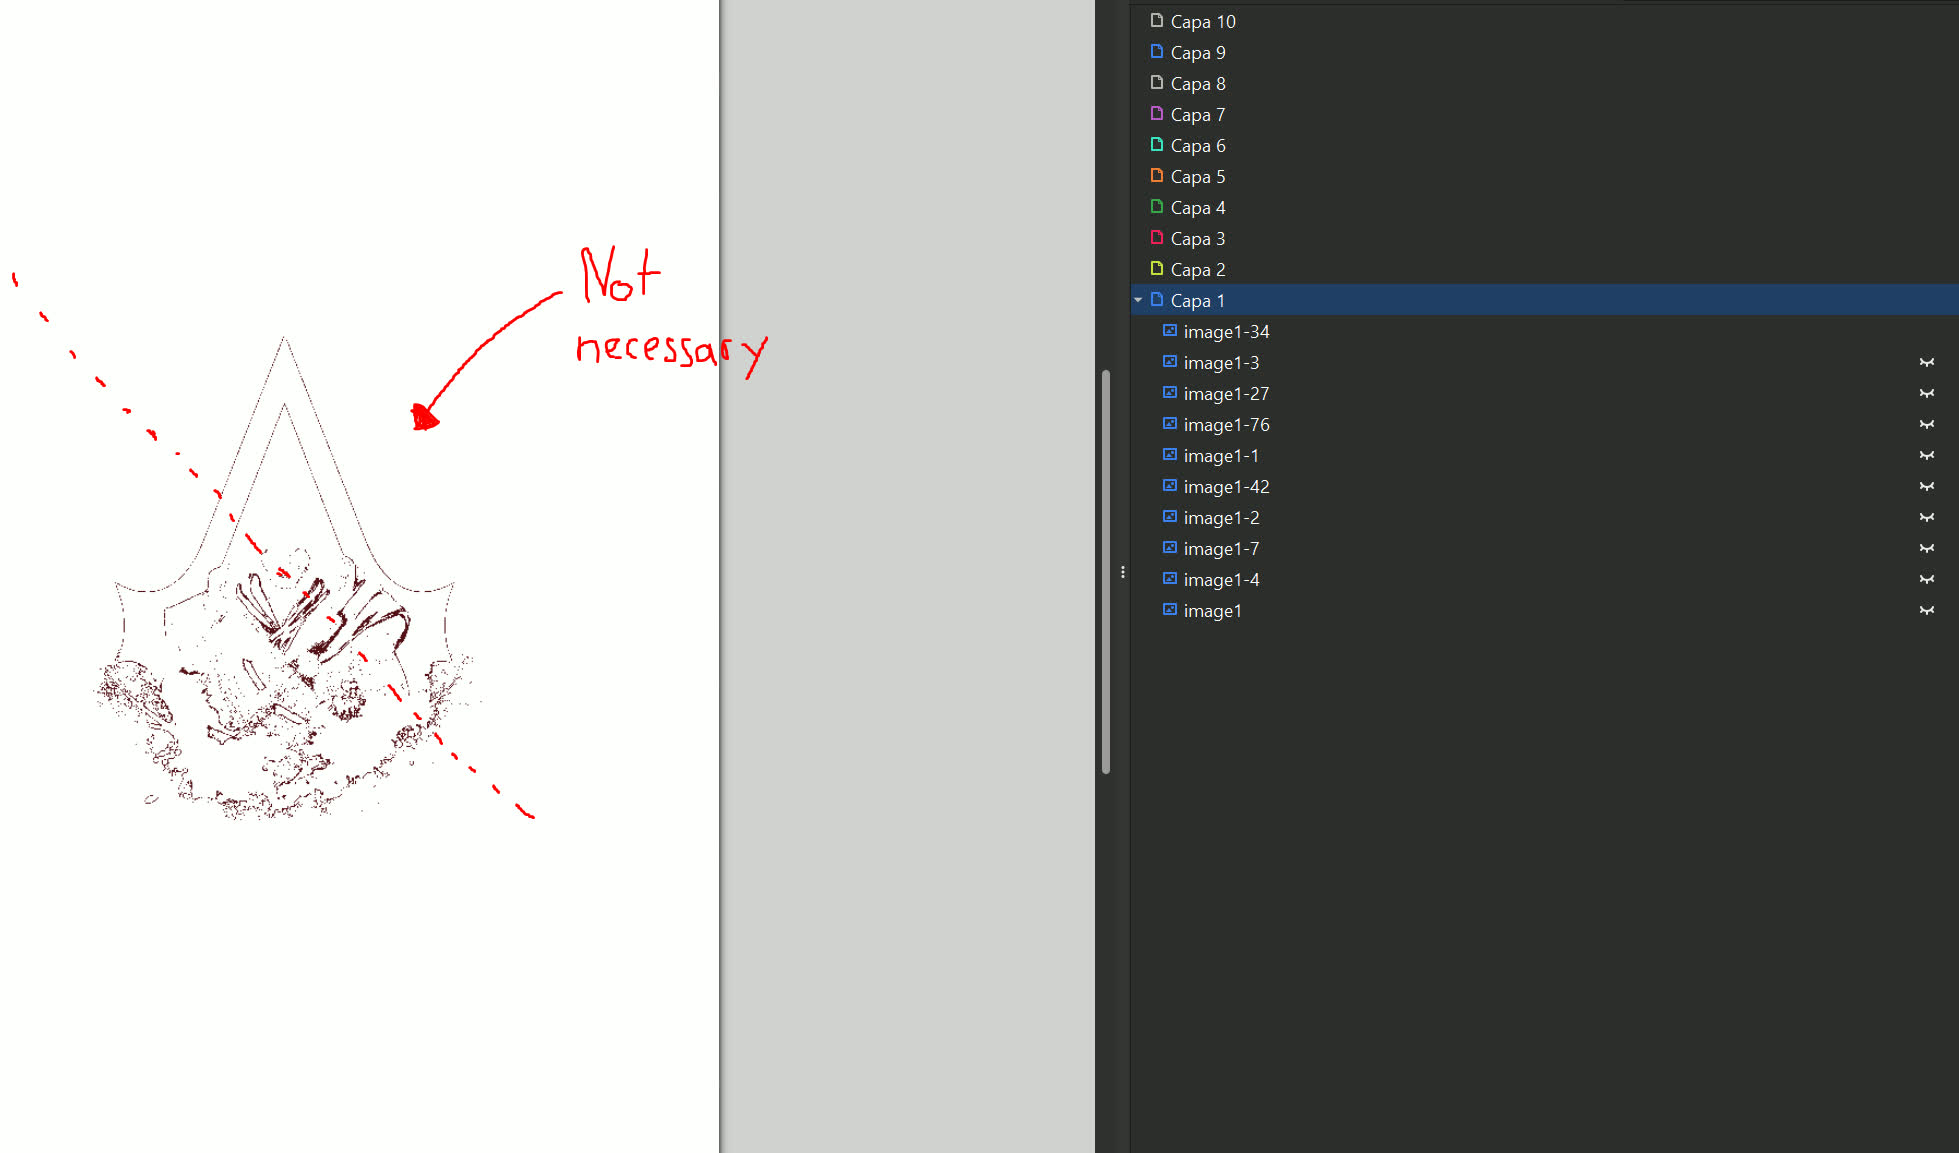
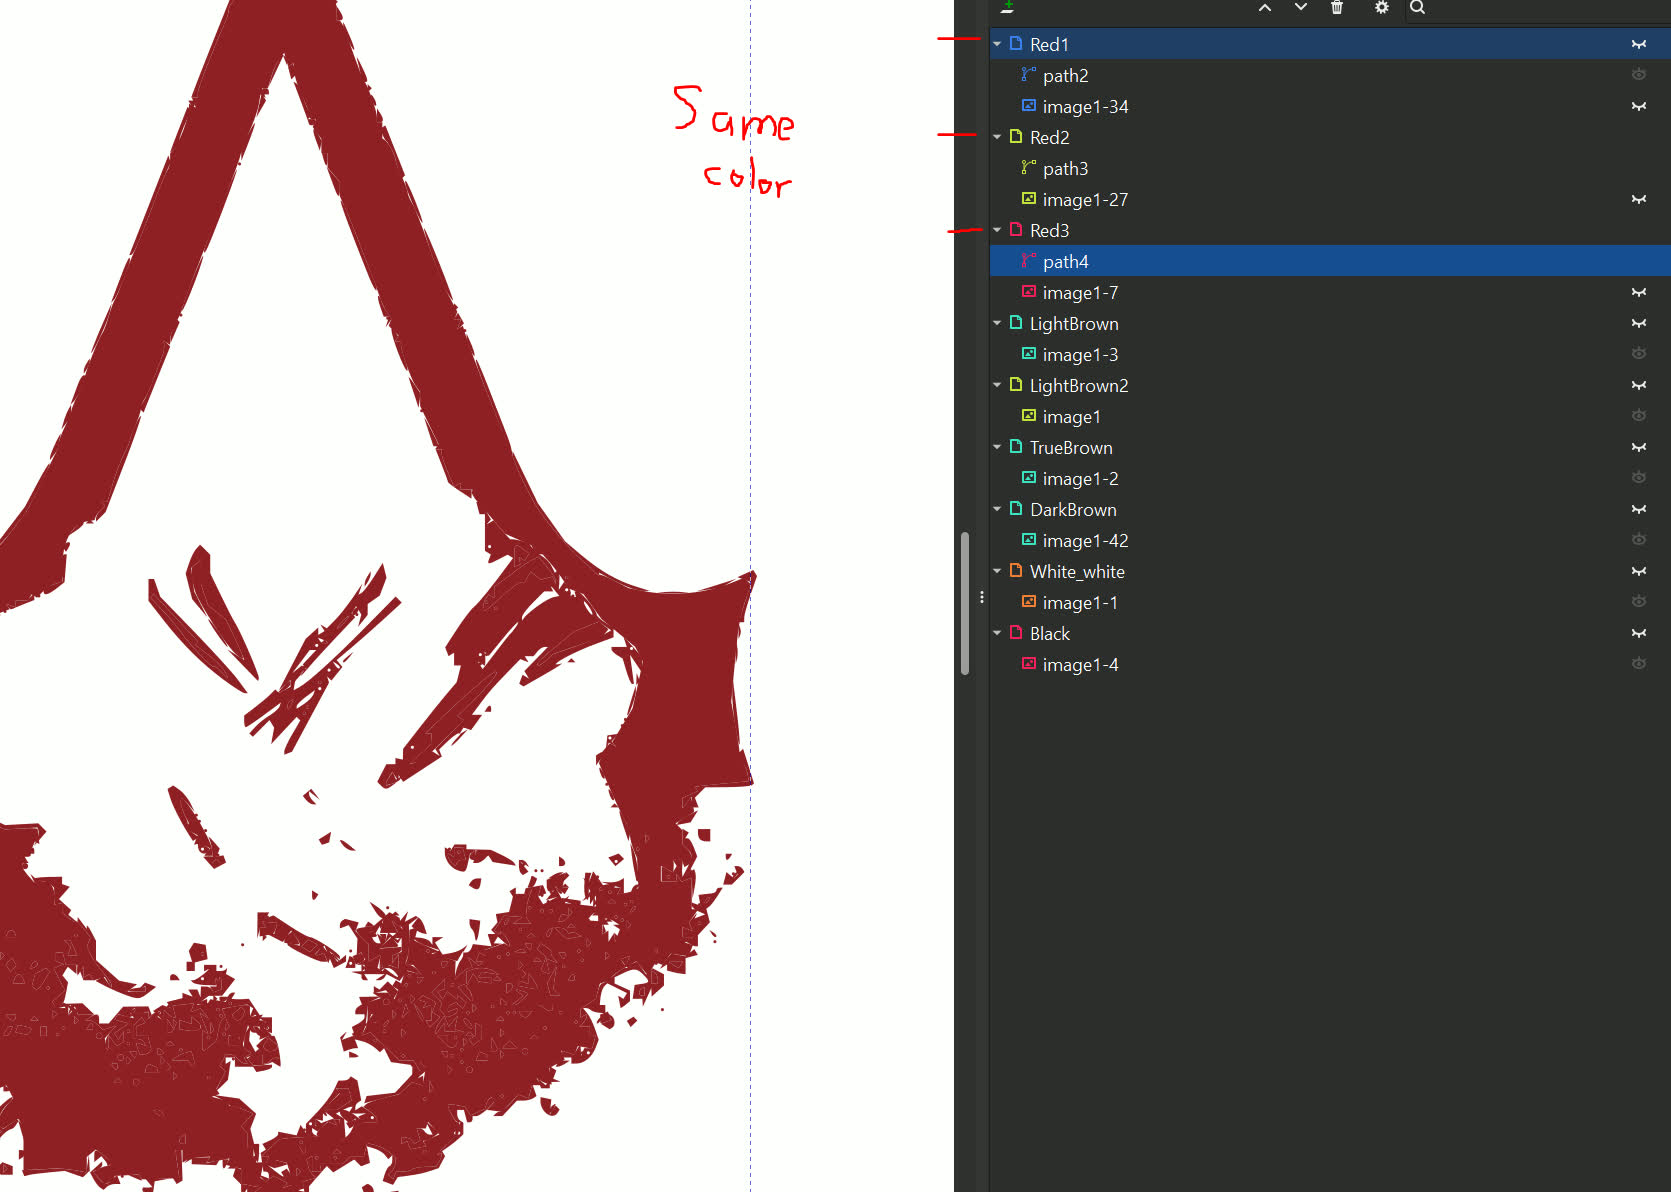
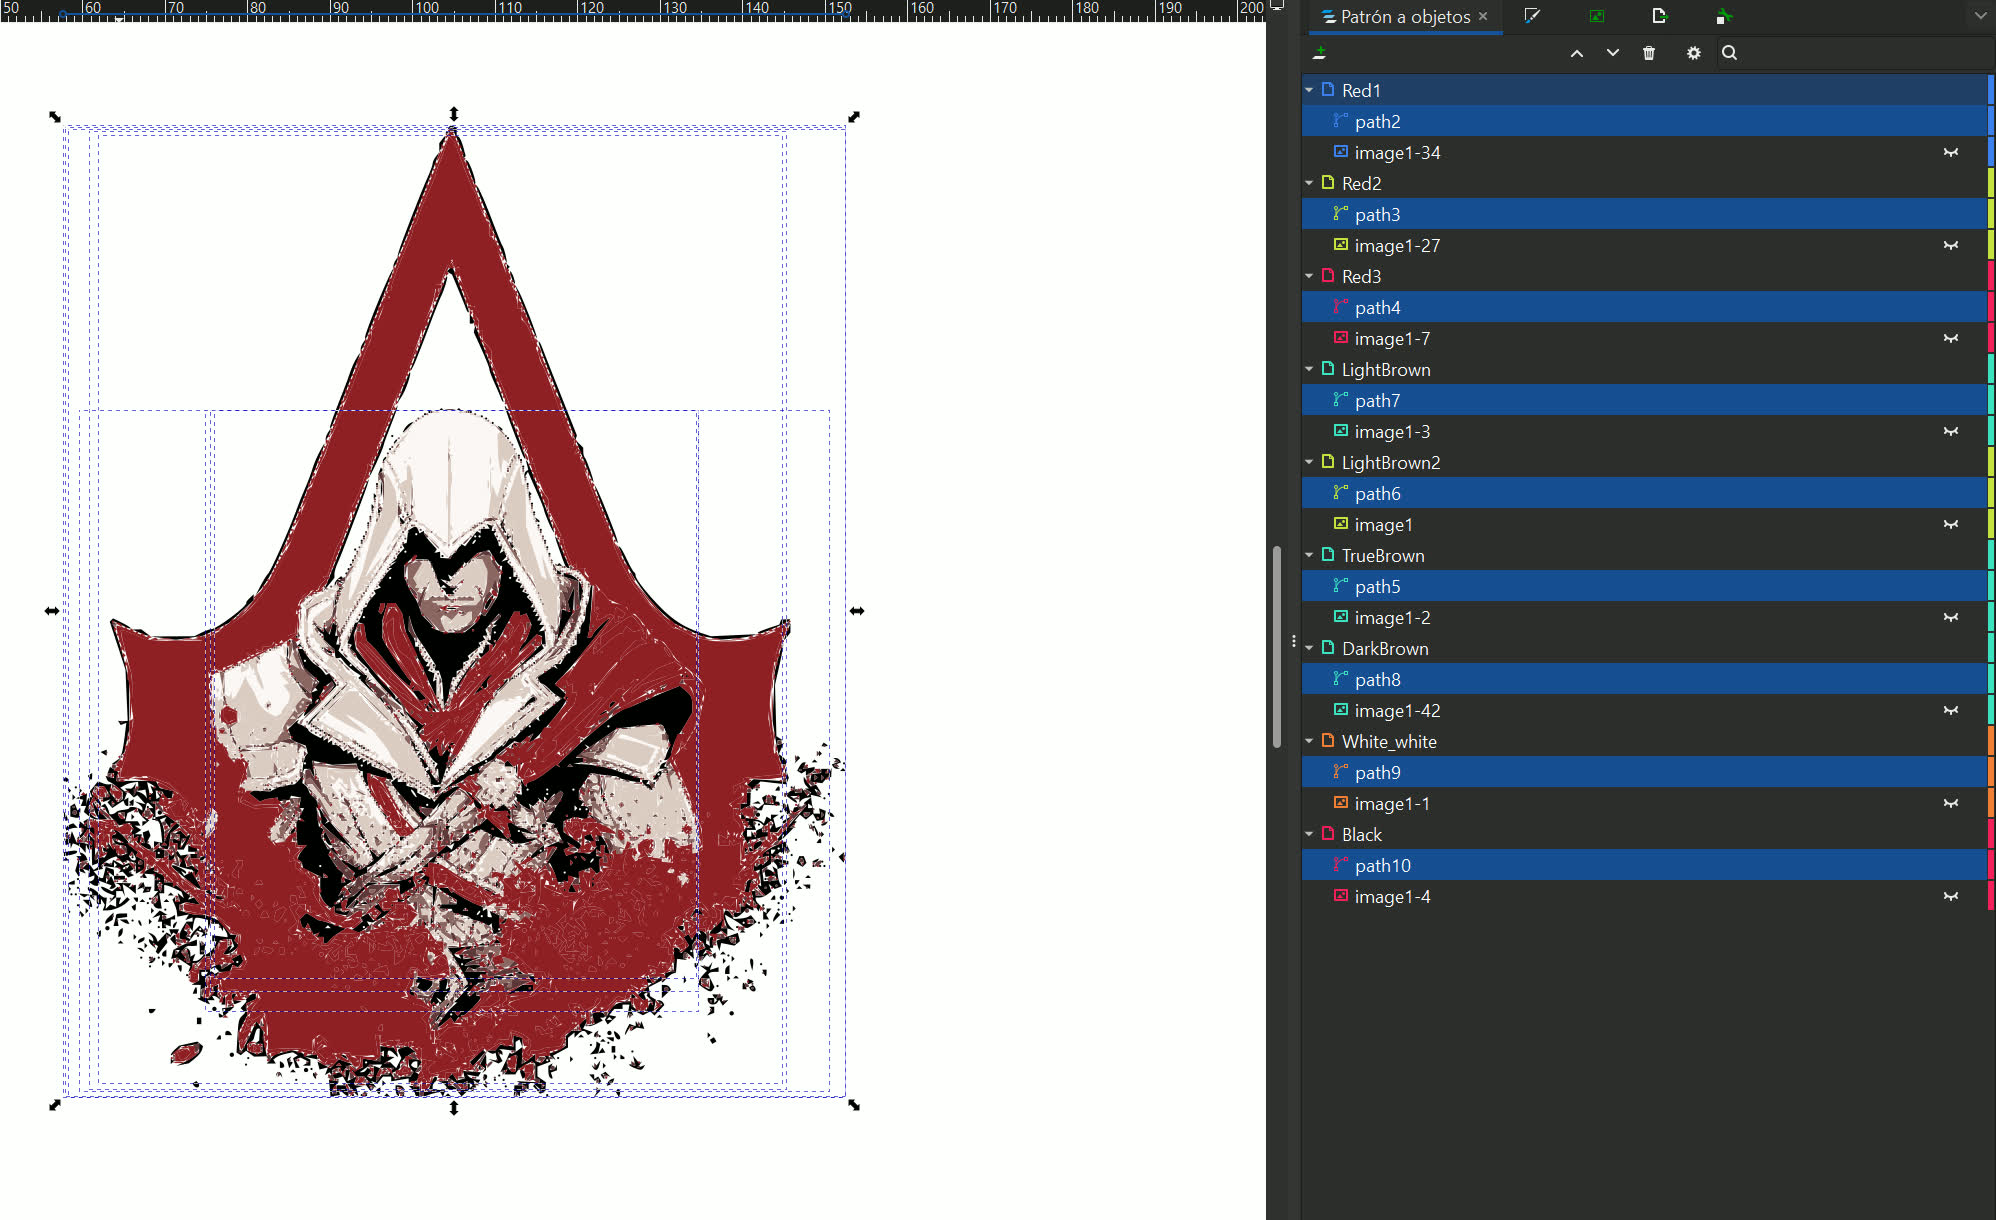
To be honest, I wasn't disappointed with the sewing process itself—but I may have overestimated the capabilities of the Brother machine. The Python script I worked on with Leo is truly impressive when it comes to separating images into color layers. It's very precise—almost too precise. It can capture extremely fine details, down to tiny dots, which is great in theory. However, this level of precision became a challenge during stitching, as the machine attempted to sew even the smallest details. While these aren't inherently difficult for the machine, the accumulation of layers and fine elements made the overall process more time-consuming and complex than expected.
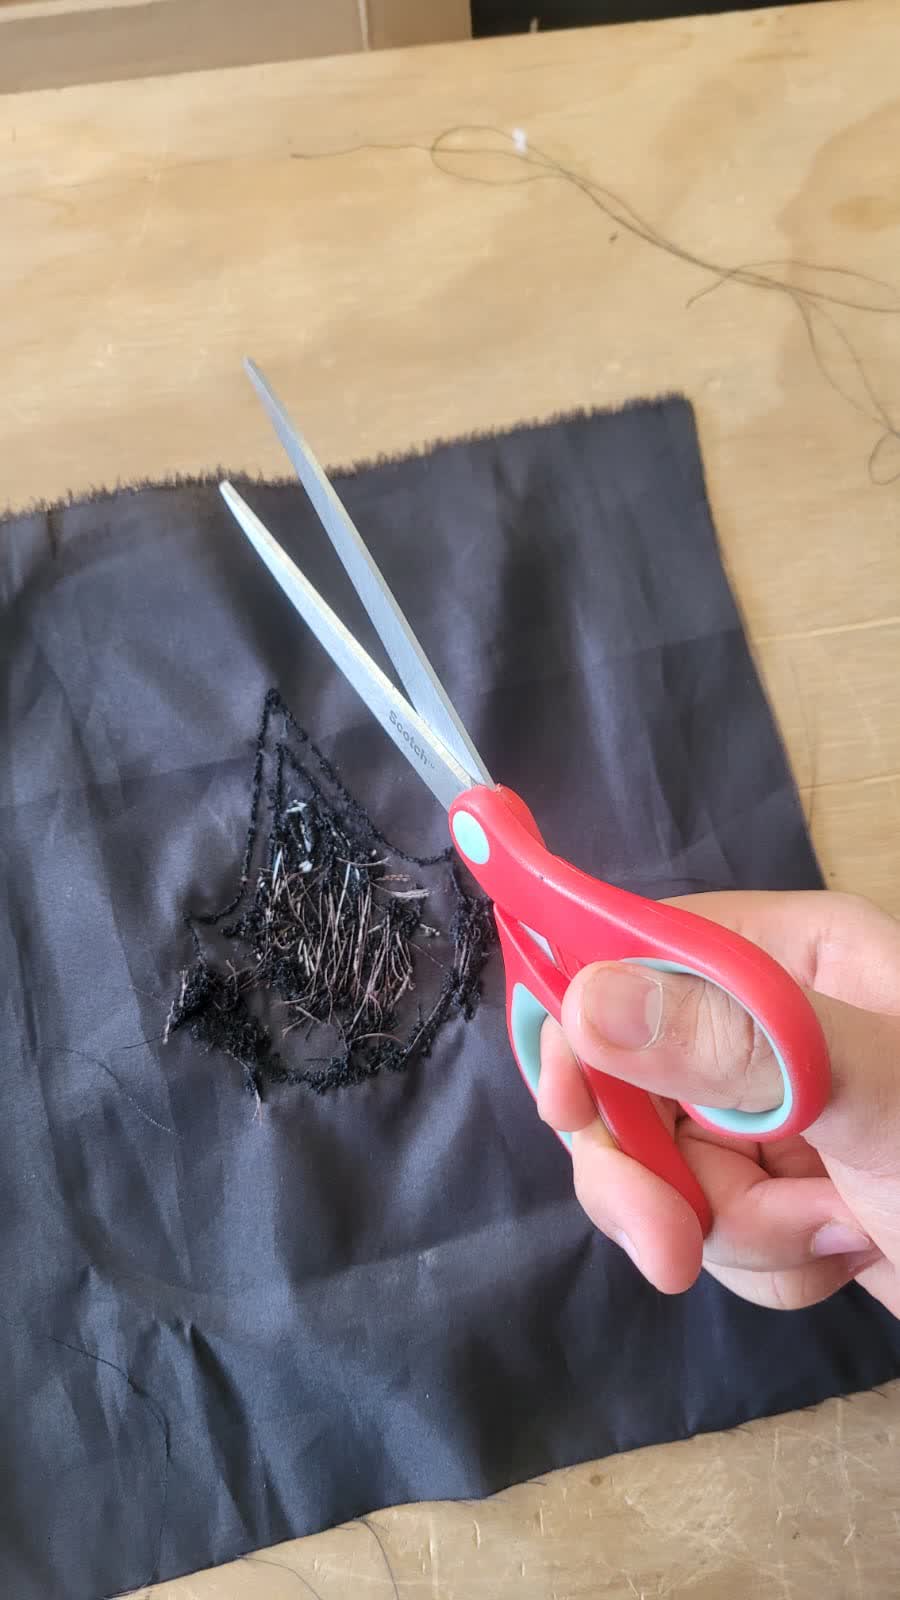
Figure 26: Complex figure resul
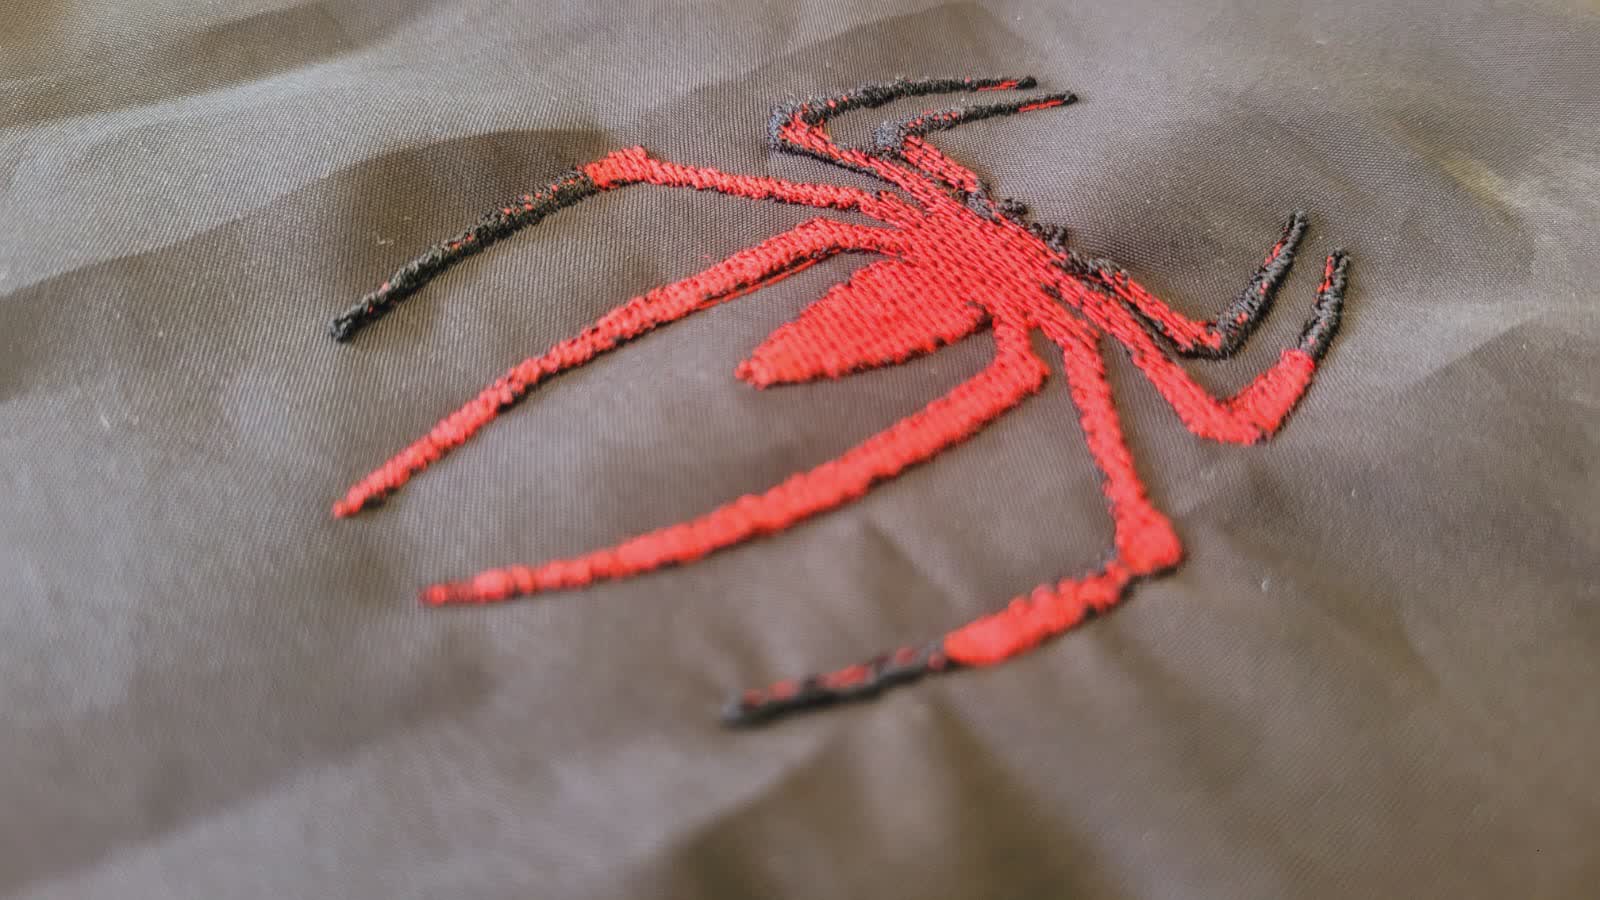
To showcase what the machine can handle, I decided to stitch the iconic spider emblem from Sony’s The Amazing Spider-Man with Andrew Garfield. The process to make the file is literally the same, I will use one layer only for all the project just because is simplier, faster and also because the logo doesn't need many colors by itself.
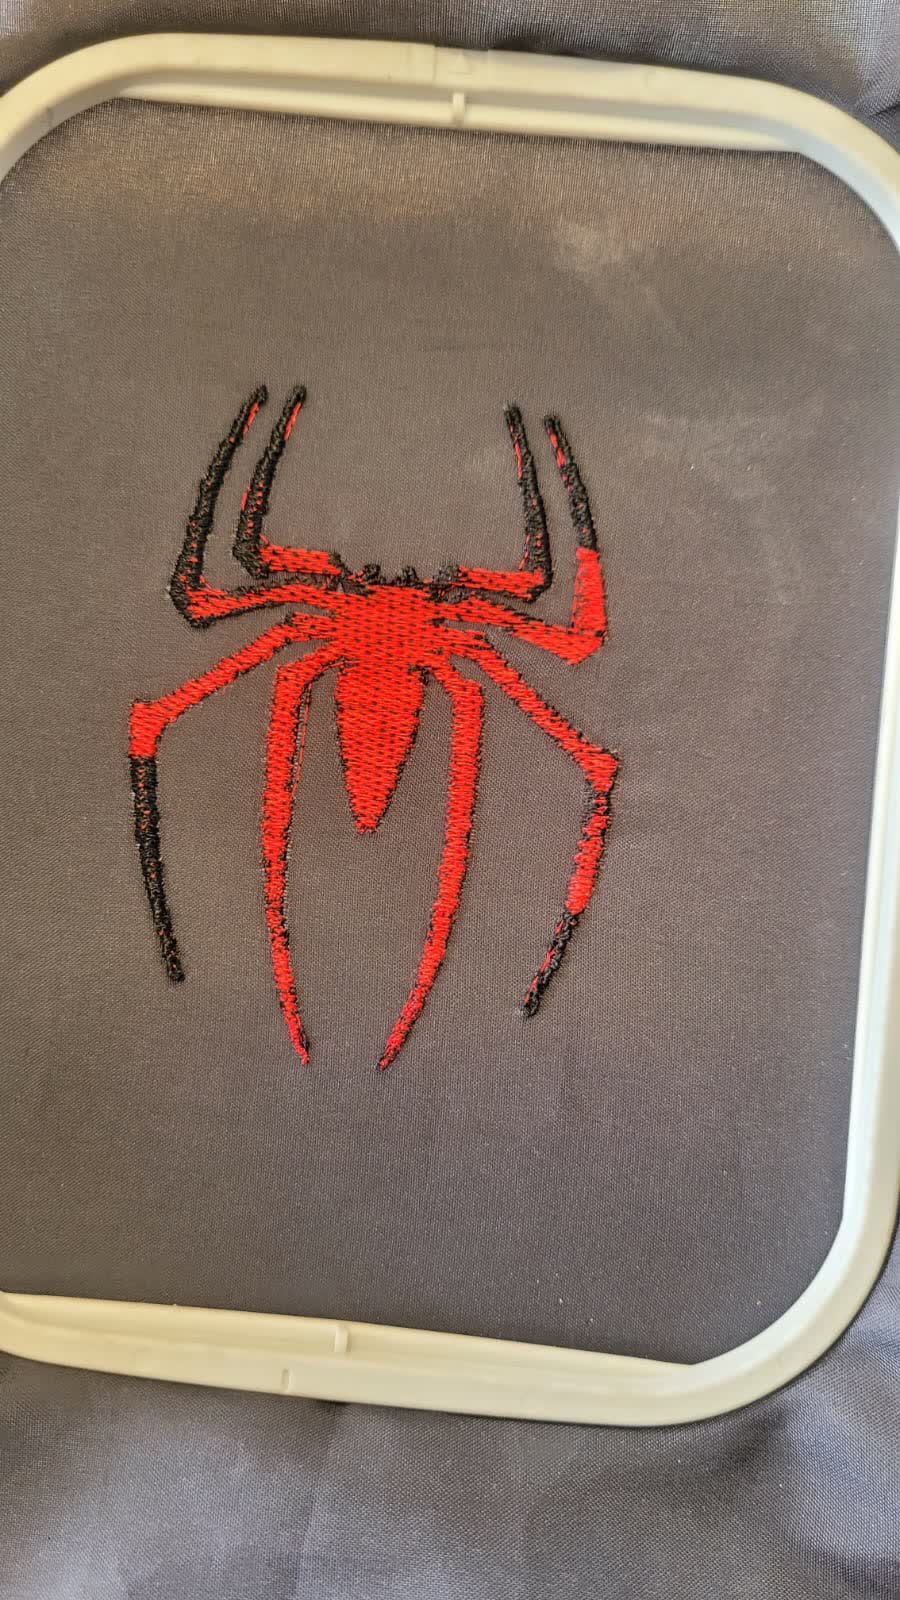
Figure 27: Simple figure Result
HEROSHOT! AMAZING STITCH
LEARNINGS
At first, I honestly didn’t understand how to use the machine—stress definitely got the better of me—but once I calmed down, I realized how straightforward it actually is. The instructions are clearly printed on the machine, making the process easy to follow for anyone.Perhaps one of the reasons I struggled to understand this at first is because it differs significantly from what I’ve done throughout the FabAcademy. While the underlying concepts remain the same—generating G-code, uploading it to a machine, and possibly configuring certain parameters—the implementation here is quite different. The use of threads, in particular, adds a level of abstraction that makes the logic feel less direct and more complex to grasp at first.
As for the file generation, while the Python script does an excellent job, it's important to realistically assess how it handles layer creation. Even after manually deleting some unnecessary layers, the script still captured a level of detail that made the stitching process surprisingly complex. Because of this, I’d recommend refining the script and carefully selecting which layers to embroider, even if it takes more time.
The spider design, although simple, turned out great. It shows that with proper layer management, you can achieve impressive and clean results—even with relatively basic designs.