Review the safety data sheets for each of your molding and casting materials
Make and compare test casts with each of them
Compare printing vs milling molds
Individual Assignment
Design a mold around the process you'll be using, produce it with a smooth surface
finish that does not show the production process, and use it to cast parts.
Manuel Ayala-Chauvin Institution: Fablab - Universidad Tecnológica Indoamérica Year: 2025
Group Assignment – Molding and Casting
Group Members:
Sandra Hipatia Núñez Torres
Manuel Ignacio Ayala Chauvin
Objective: Apply molding and casting techniques using plaster, silicone rubber, and
epoxy resin. Explore mold manufacturing methods and compare CNC machining vs. 3D printing.
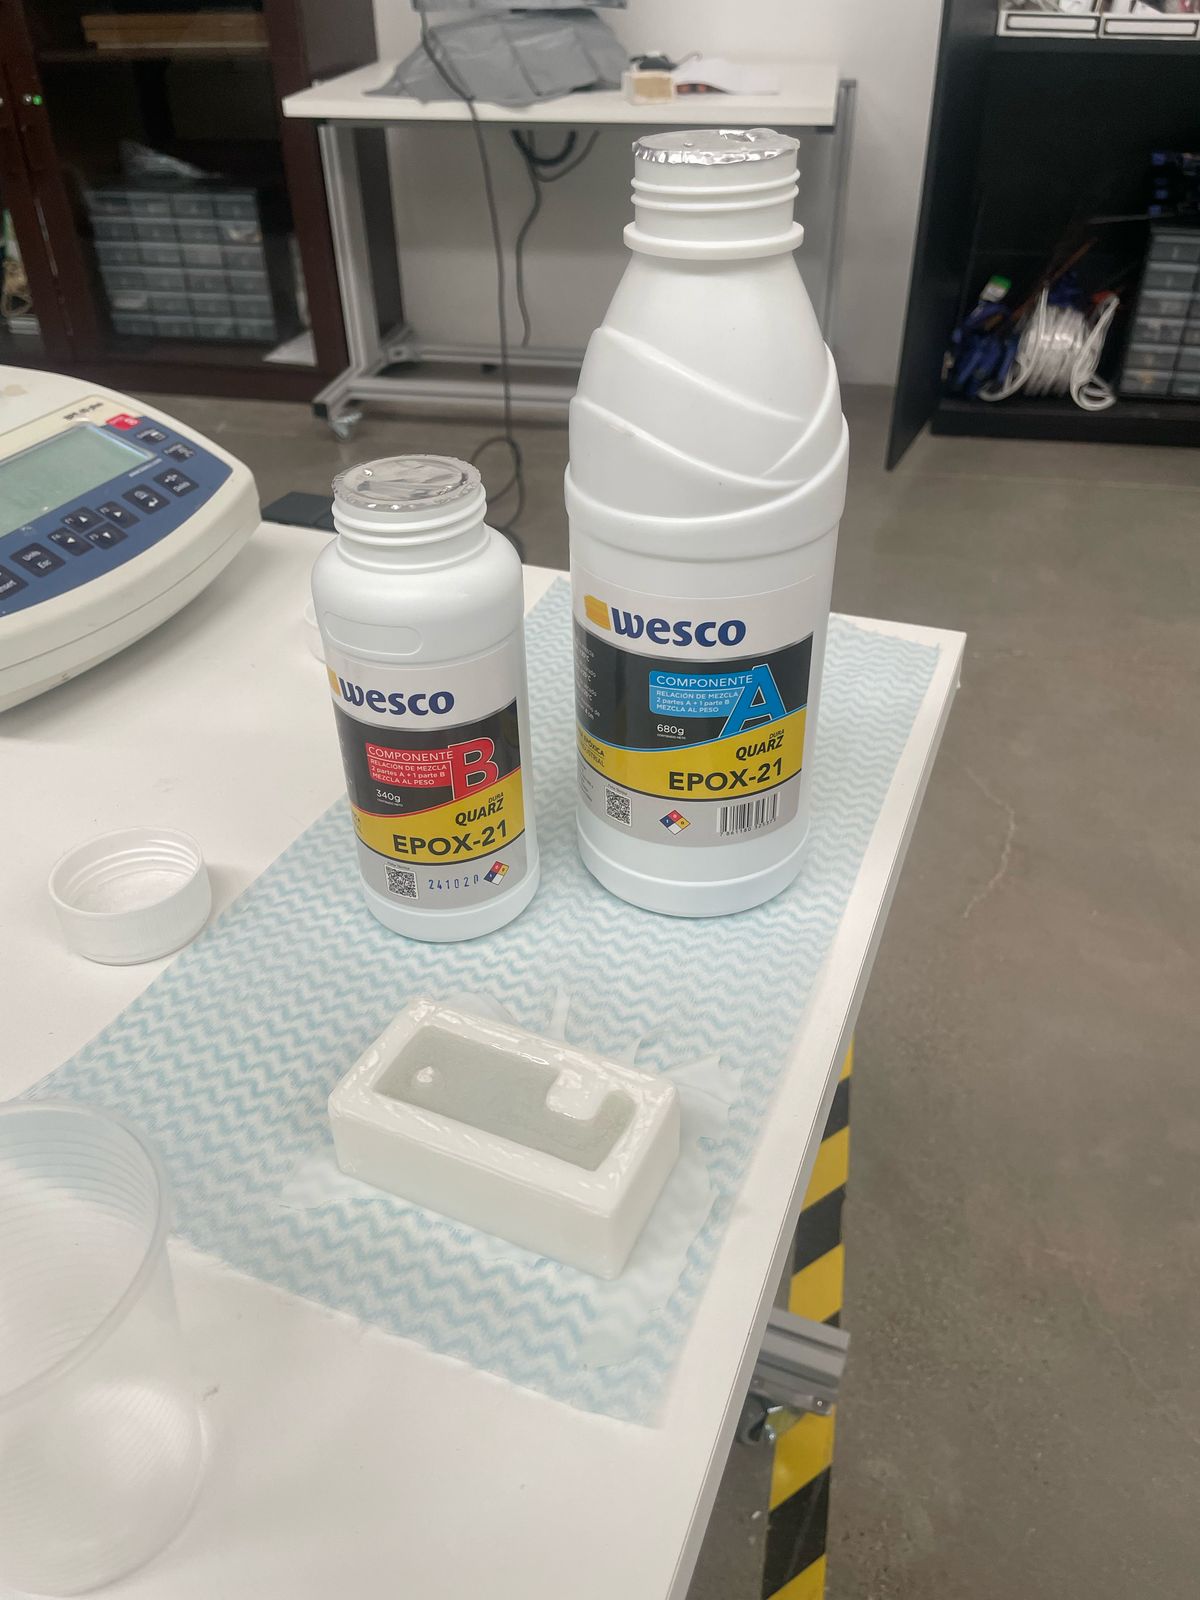
We started the week by diving into the technical and safety data sheets of the three
main materials we would use: plaster, silicone rubber, and
epoxy resin. It was fascinating to discover how each one behaves differently in
terms of mixing, curing, and safety.
We reviewed the safety and technical data sheets for plaster, silicone rubber, and epoxy resin. Each
one had unique properties for mixing, curing, and handling. We also made comparison casts to analyze
their behavior and results.
During our group work, we analyzed three essential materials used in molding and casting:
Plaster (Yeso)
Silicone Rubber
Epoxy Resin
We examined the technical data sheets of each material, focusing on physical properties, mixing
and curing times, and safety guidelines.
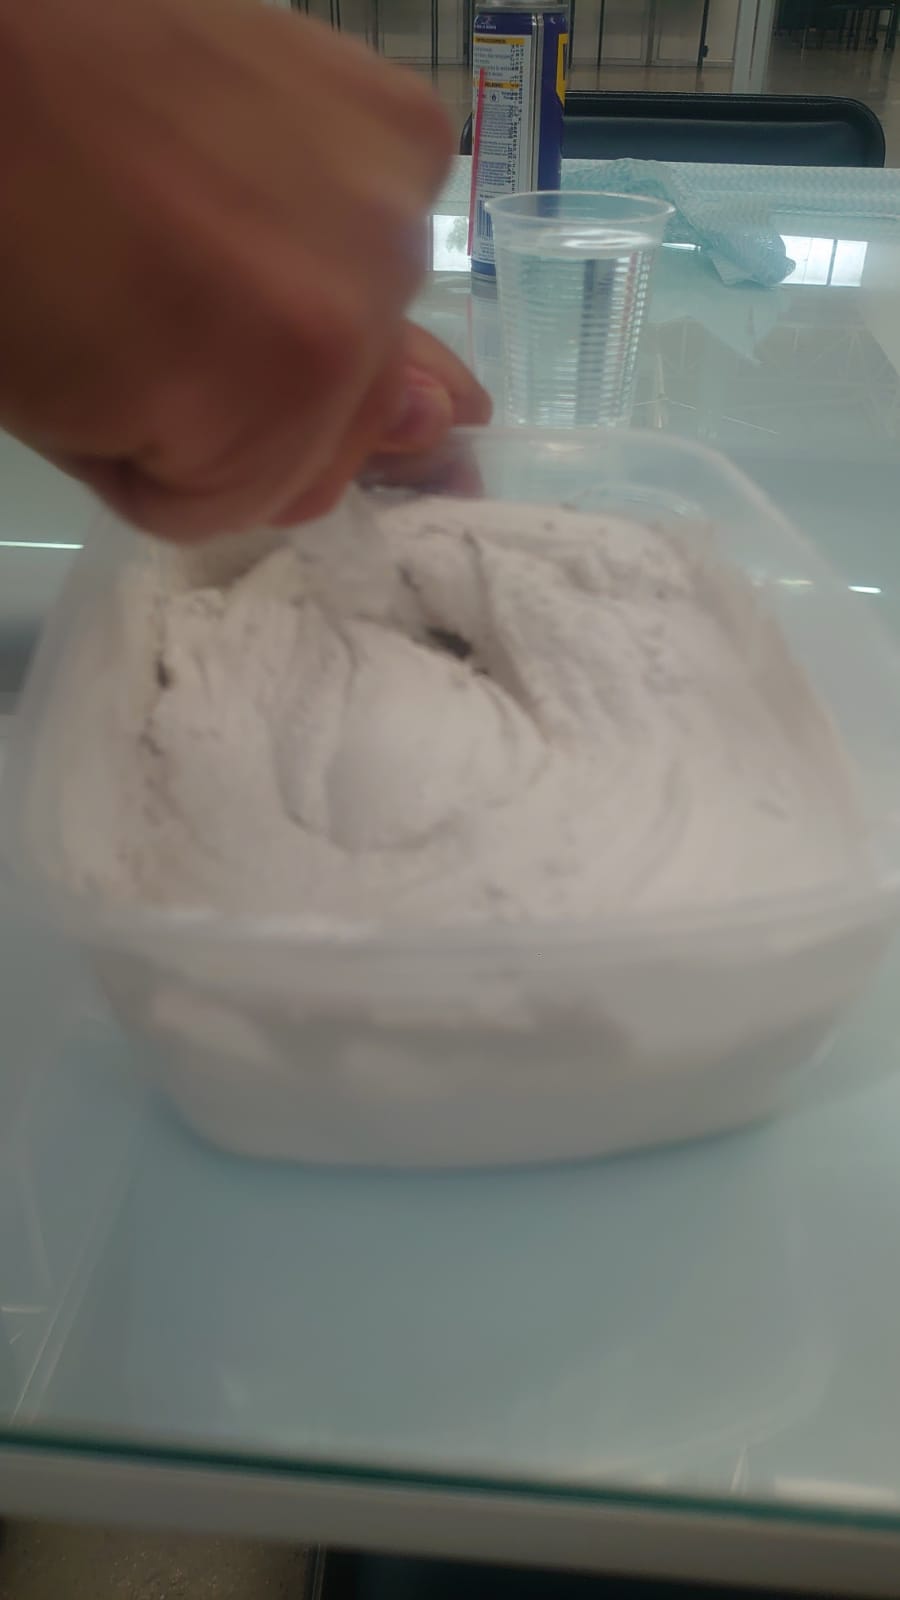
We started by preparing the plaster blocks with an 80/20 ratio of plaster to water. The mix was
stirred until homogeneous, free of clumps or dry particles. We poured it into plastic molds and
allowed it to dry.
Figure 1. Pouring the plaster mix into molds manually. The fluid consistency is ideal
for even filling.
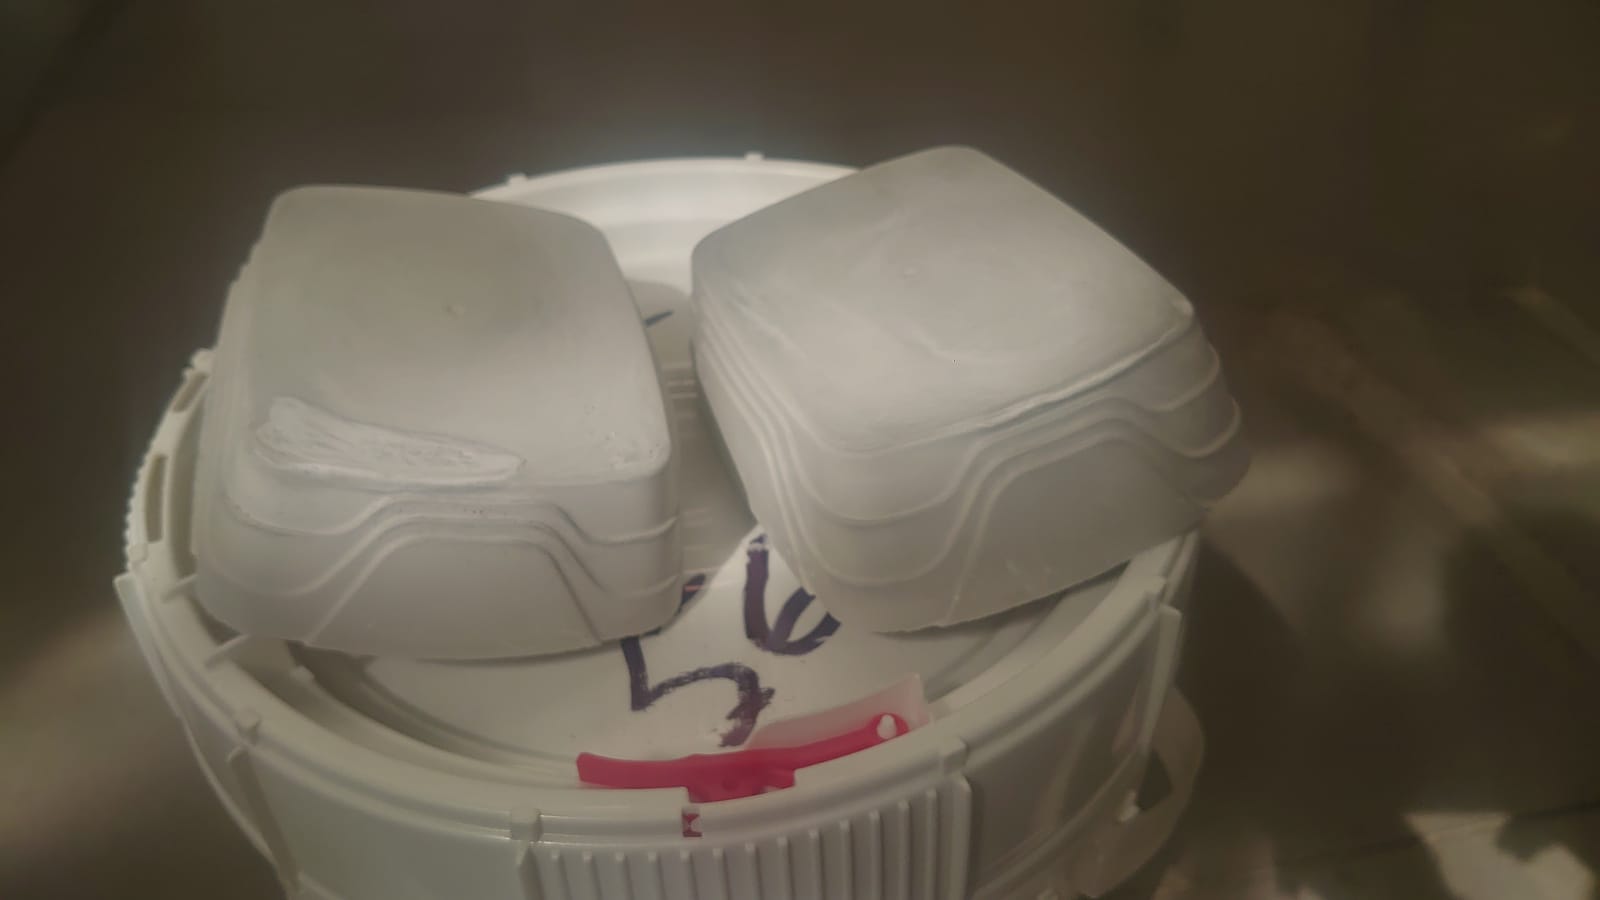
The recommended drying time is 8 days; however, we accelerated the process to 4 days due to time
constraints, which required extra care during handling.
Figure 2. Solidified plaster blocks, ready for machining. Smooth texture and no air
bubbles.
2. Machining of Custom Designs
Each team member selected a personal design:
Sandra: An elephant – symbol of memory and strength.
Manuel: A structural support – functional and precise.
Figure 3. CNC milling of the elephant shape into plaster. Clean contours and detailed
carving.Figure 4. Machining of the support model. Sharp edges and recessed zones stand out.
3. Silicone Mold Creation
We poured silicone rubber over the machined models to create flexible molds. Technical data sheets
indicated a solidification time of 7 hours and demolding readiness after 12 hours of curing.
Figure 5. Silicone rubber is carefully poured over the model to capture fine detail.
Figure 6. Final silicone molds for the elephant and support – reusable and durable.
4. Resin Casting
We cast epoxy resin into the silicone molds. The resin has a 20-hour solidification period and
requires a full 72 hours to cure completely.
Figure 7. Epoxy resin being poured into the prepared silicone mold with precision.
5. Results
The final products were:
A resin elephant (Sandra)
A functional support in resin (Manuel)
6. Comparison: 3D Printing vs. CNC Machining
Aspect
3D Printing
CNC Machining (used)
Detail Precision
Very High
High (tool-limited)
Production Time
Slow (depending on model)
Moderate
Material Cost
High (filaments)
Low (plaster)
Mold Reusability
Limited
High with silicone molds
Versatility
High (complex forms)
Medium (simple geometries)
Conclusion
This technical analysis was key for selecting and applying the materials properly. Reviewing the
data sheets ensured that the molding and casting process during Week 13 was both safe and
efficient, allowing us to produce functional and well-formed pieces.
This group project allowed us to explore and understand the complete workflow of molding and
casting, from material preparation to final product fabrication. Through hands-on
experimentation with plaster, silicone rubber, and epoxy resin, we gained valuable insights into
the properties, behavior, and handling requirements of each material.
By dividing responsibilities and working collaboratively, we not only produced two functional and
detailed resin pieces—a figurative elephant and a structural support—but also reinforced our
ability to manage timelines, follow technical datasheets, and adapt when faced with time
constraints.
The comparison between CNC machining and 3D printing as mold fabrication methods also enriched
our understanding of digital fabrication strategies, allowing us to weigh the pros and cons of
each depending on the design and production context.
Individual Assignment: Mold Design and Casting
Feeling more confident, I designed a keychain mobile holder from scratch in
Fusion 360. I paid attention to wall thickness, cavity supports, and usability. The
mold was milled into a plaster block I prepared myself with the standard 80/20 mix.
I cast the mold using silicone rubber and filled it later with epoxy. This second project gave me
more control and let me apply everything I had learned so far.
Introduction
In this individual practice of the digital fabrication course, I developed a complete design,
modeling, and casting process for a functional object: a cell phone holder
keychain.
The main objective was to design a mold with a smooth surface that doesn't show machining marks
and use it to cast a quality piece.
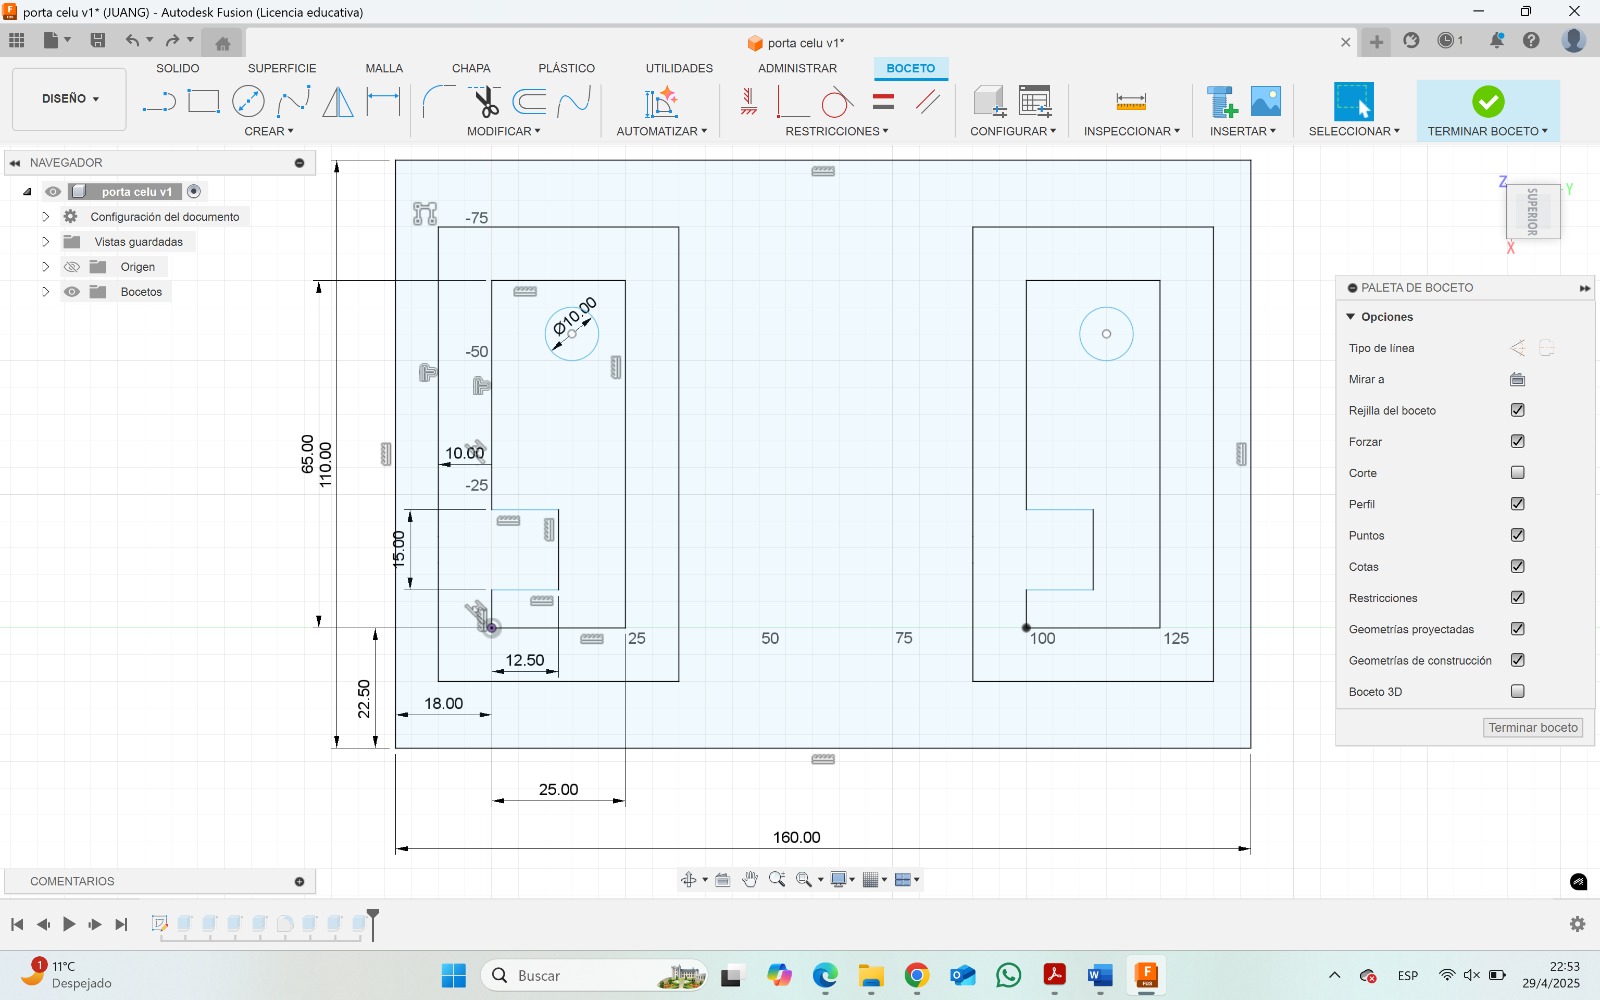
1. Mold Design in Fusion 360
The idea started with creating a keychain that could also serve as a phone stand. Using Fusion
360, I sketched and modeled the 3D geometry.
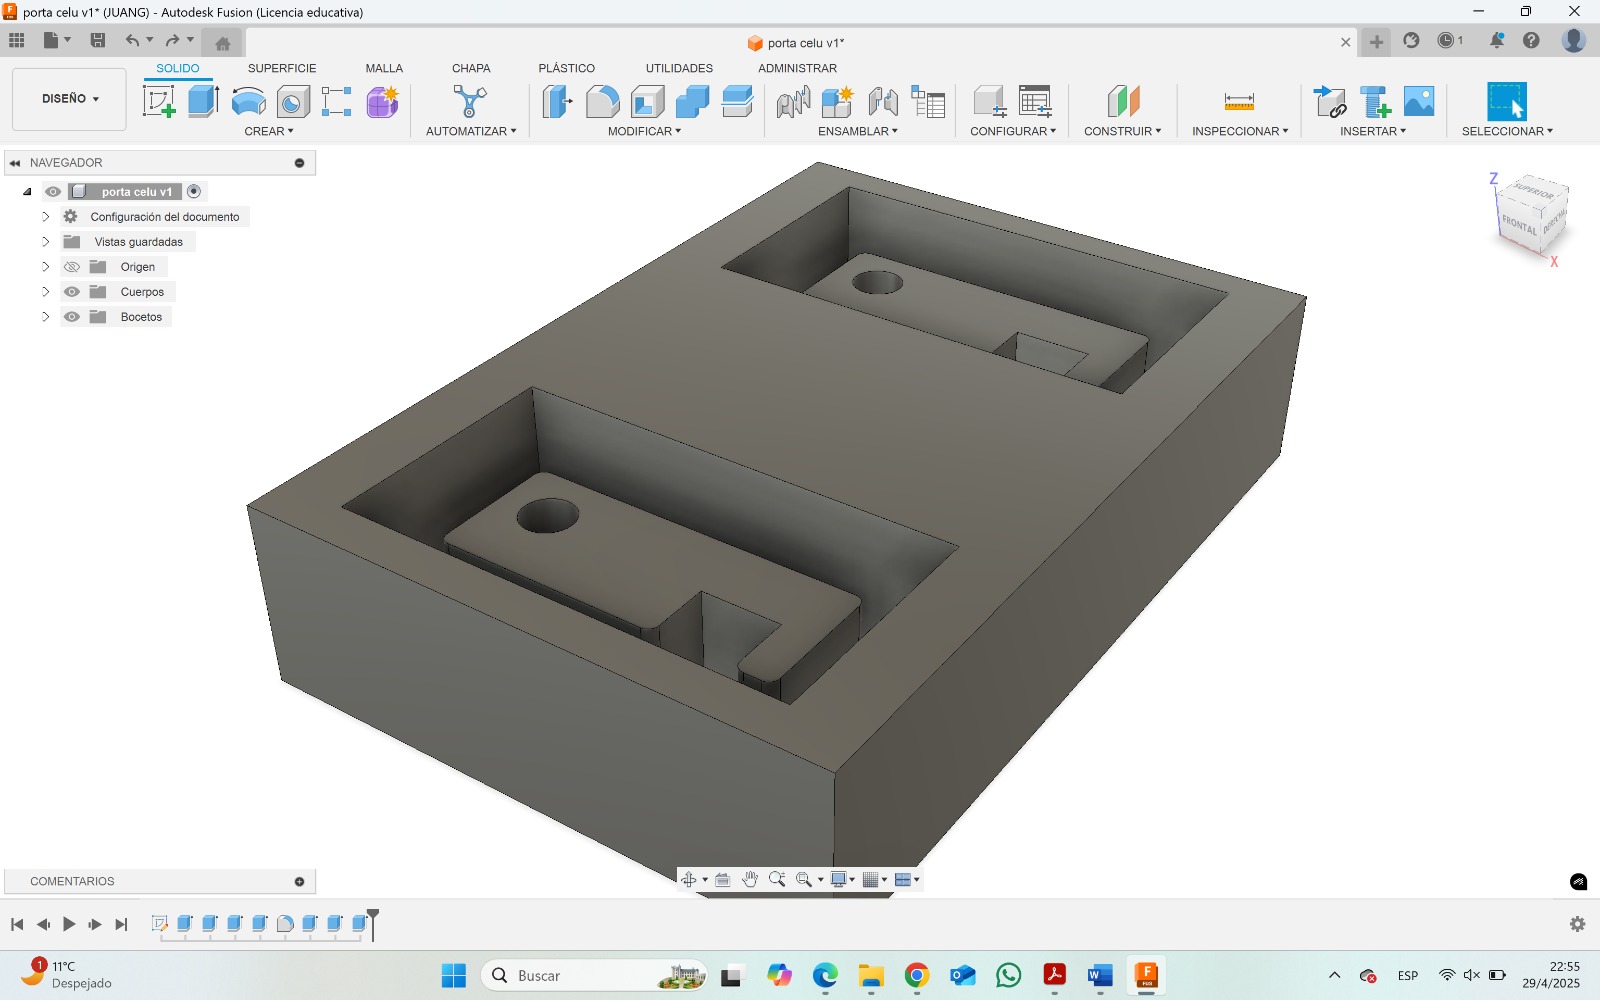
Figure 1: 3D model of the phone holder keychain created in Fusion 360.
I adjusted the base plane to match the real size of the plaster block we had prepared, ensuring
there would be no fitting issues during machining.
2. Adjusting Parameters and Heights
A key part of the mold design was using different extrusion heights for
different regions. The mold walls were raised higher than the keychain profile:
To support the silicone mold frame.
To precisely shape the cast cavity.
To create a clean base layer with defined edges.
Figure 2: The walls of the mold are taller to support the silicone pour.
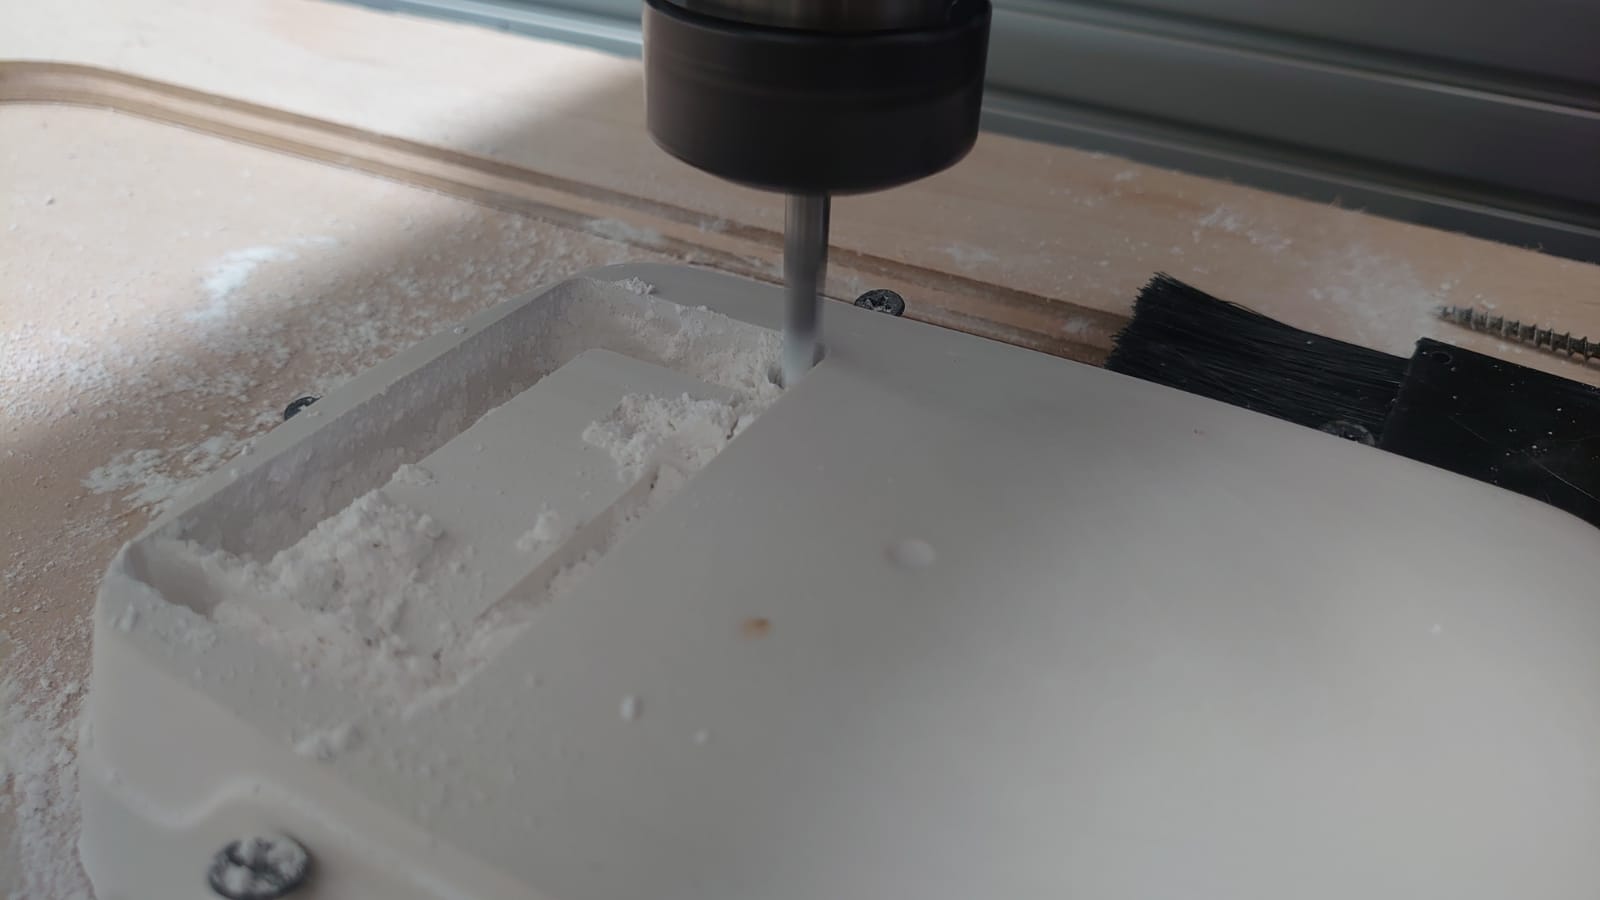
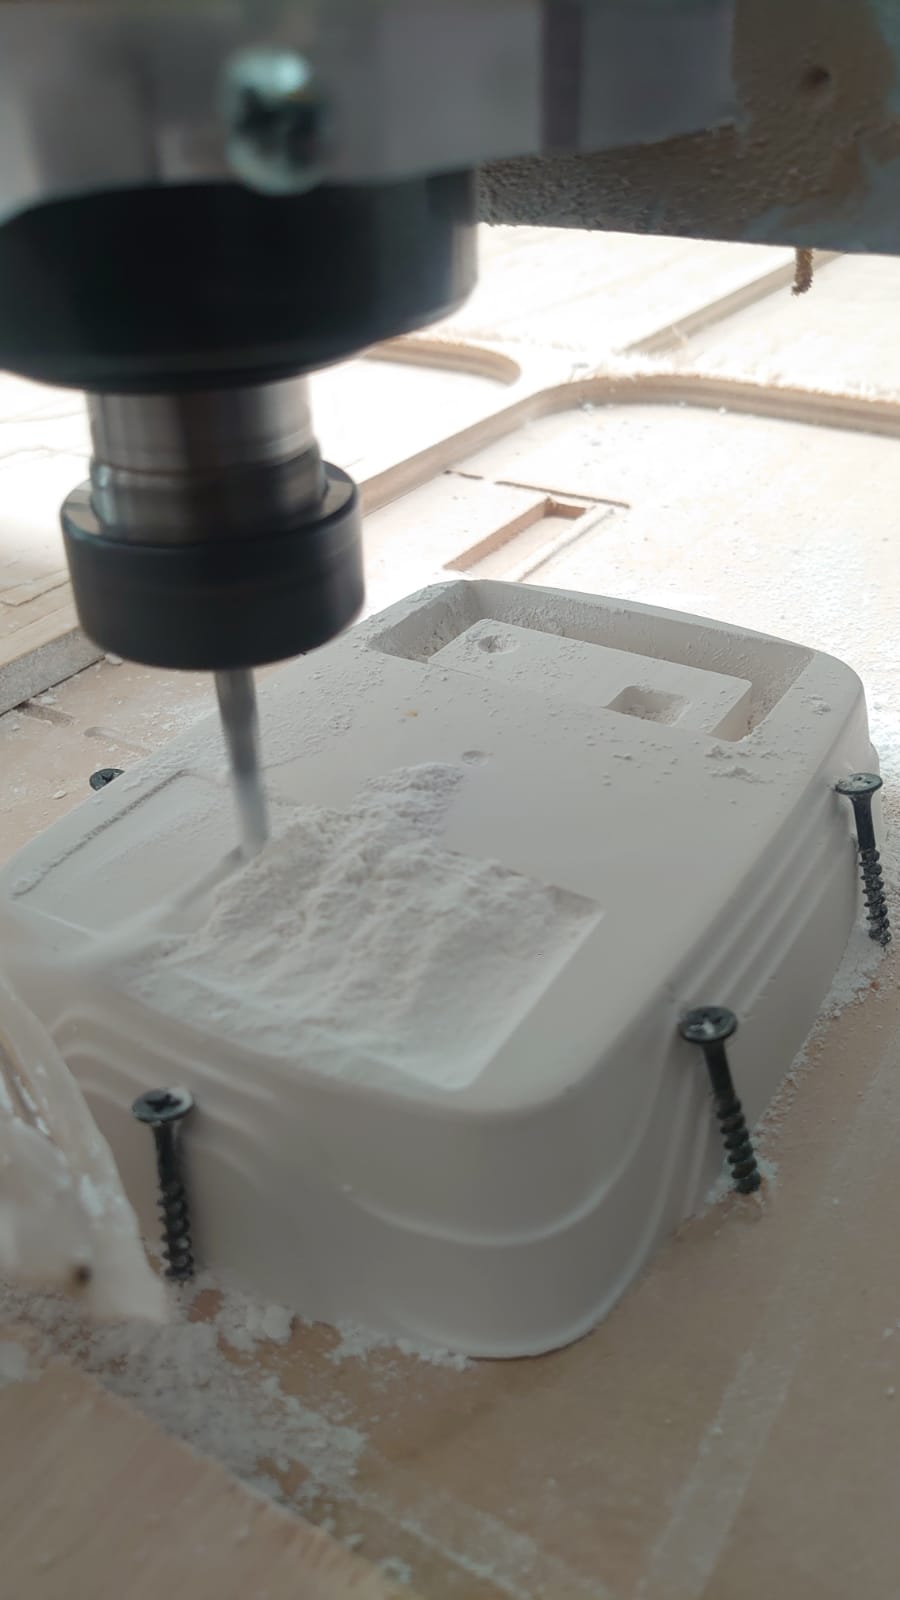
3. Machining the Mold
The file was exported for CNC machining. We used a 3-axis milling machine and a ball-nose end
mill for smooth finishing on the plaster block.
Figure 3: Machining the plaster block with precision.
After milling, I cleaned the mold carefully with a soft brush and compressed air to prepare it
for casting.
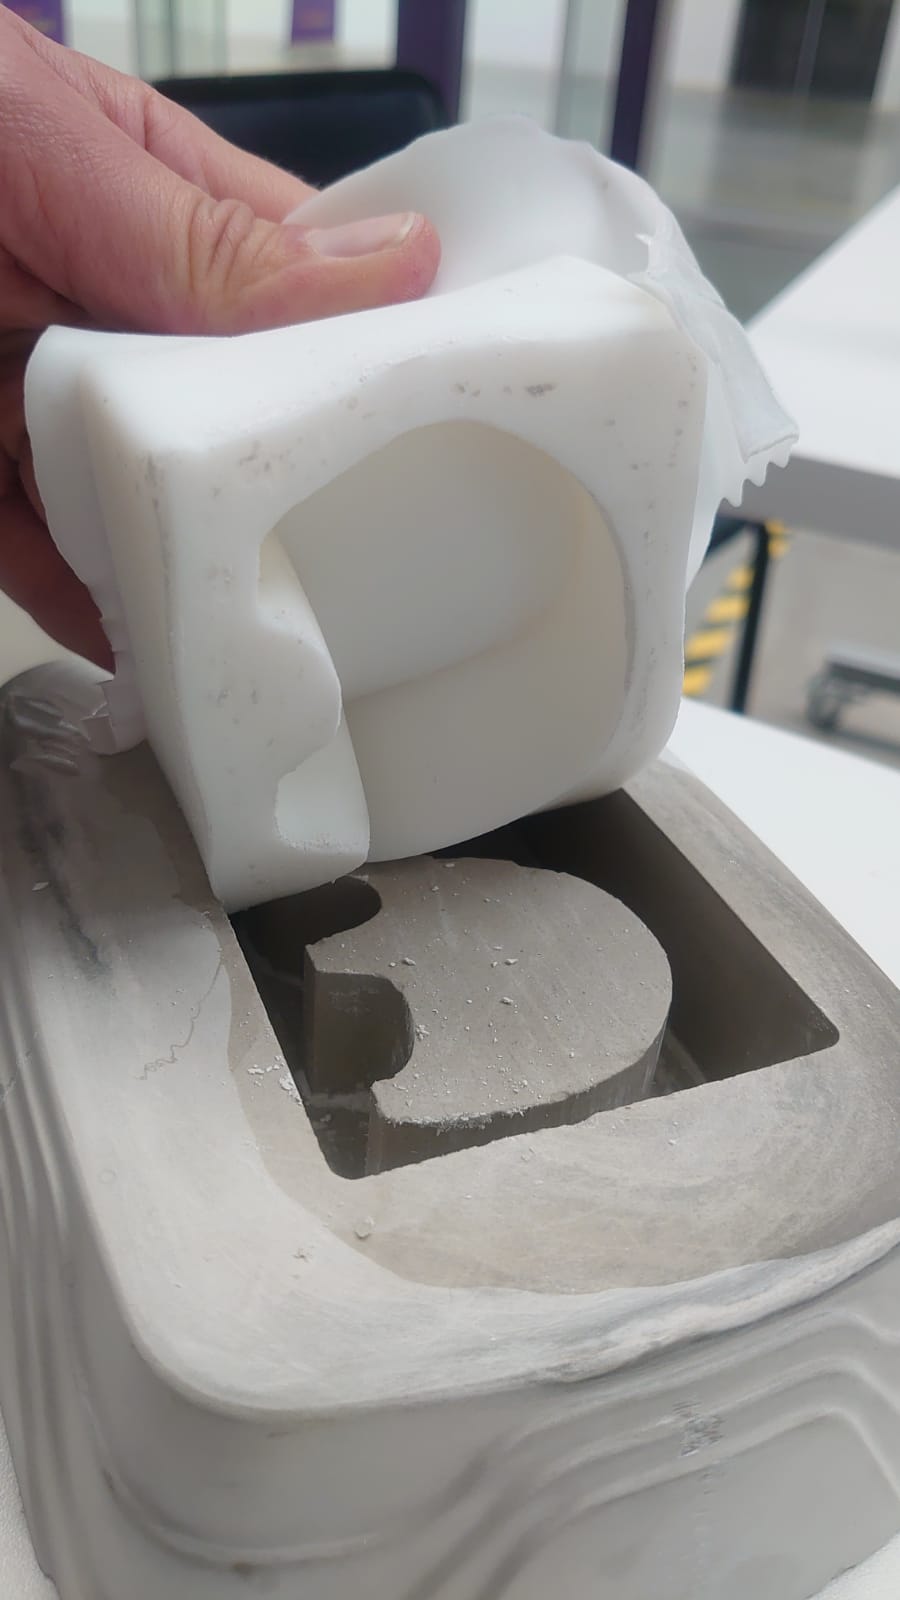
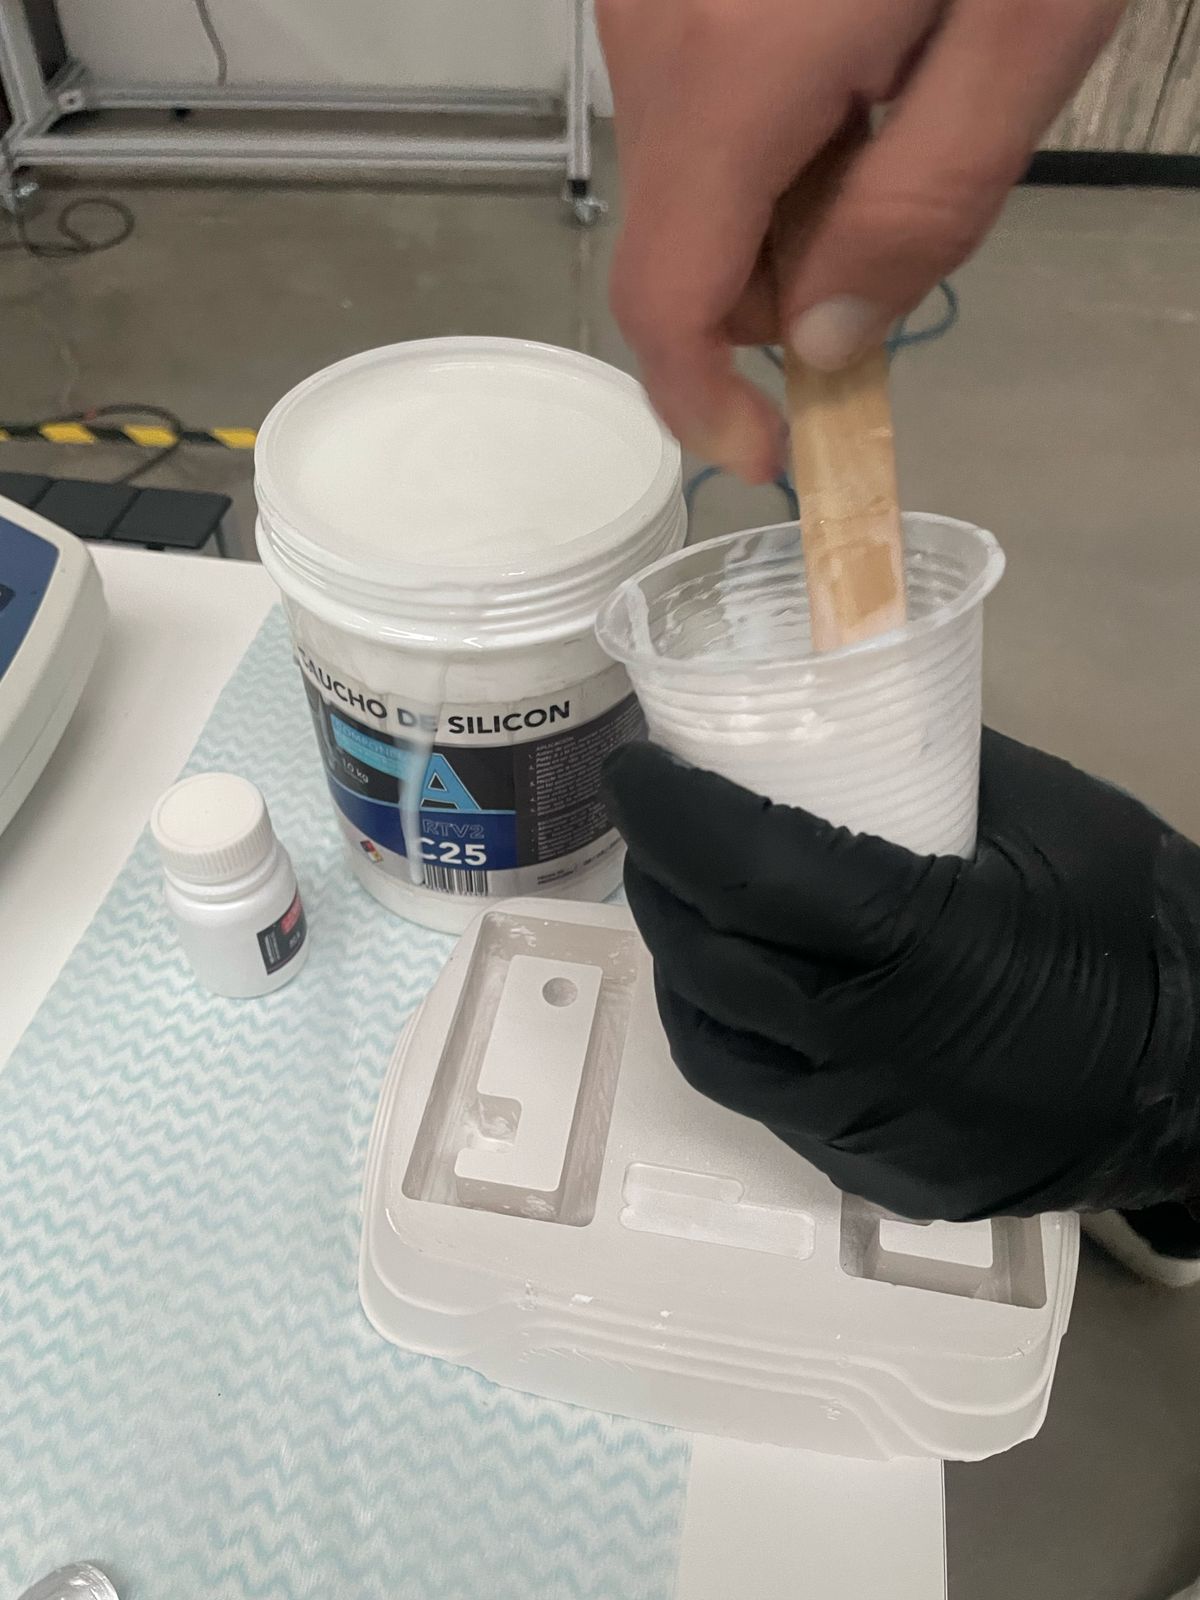
4. Silicone Mold Casting
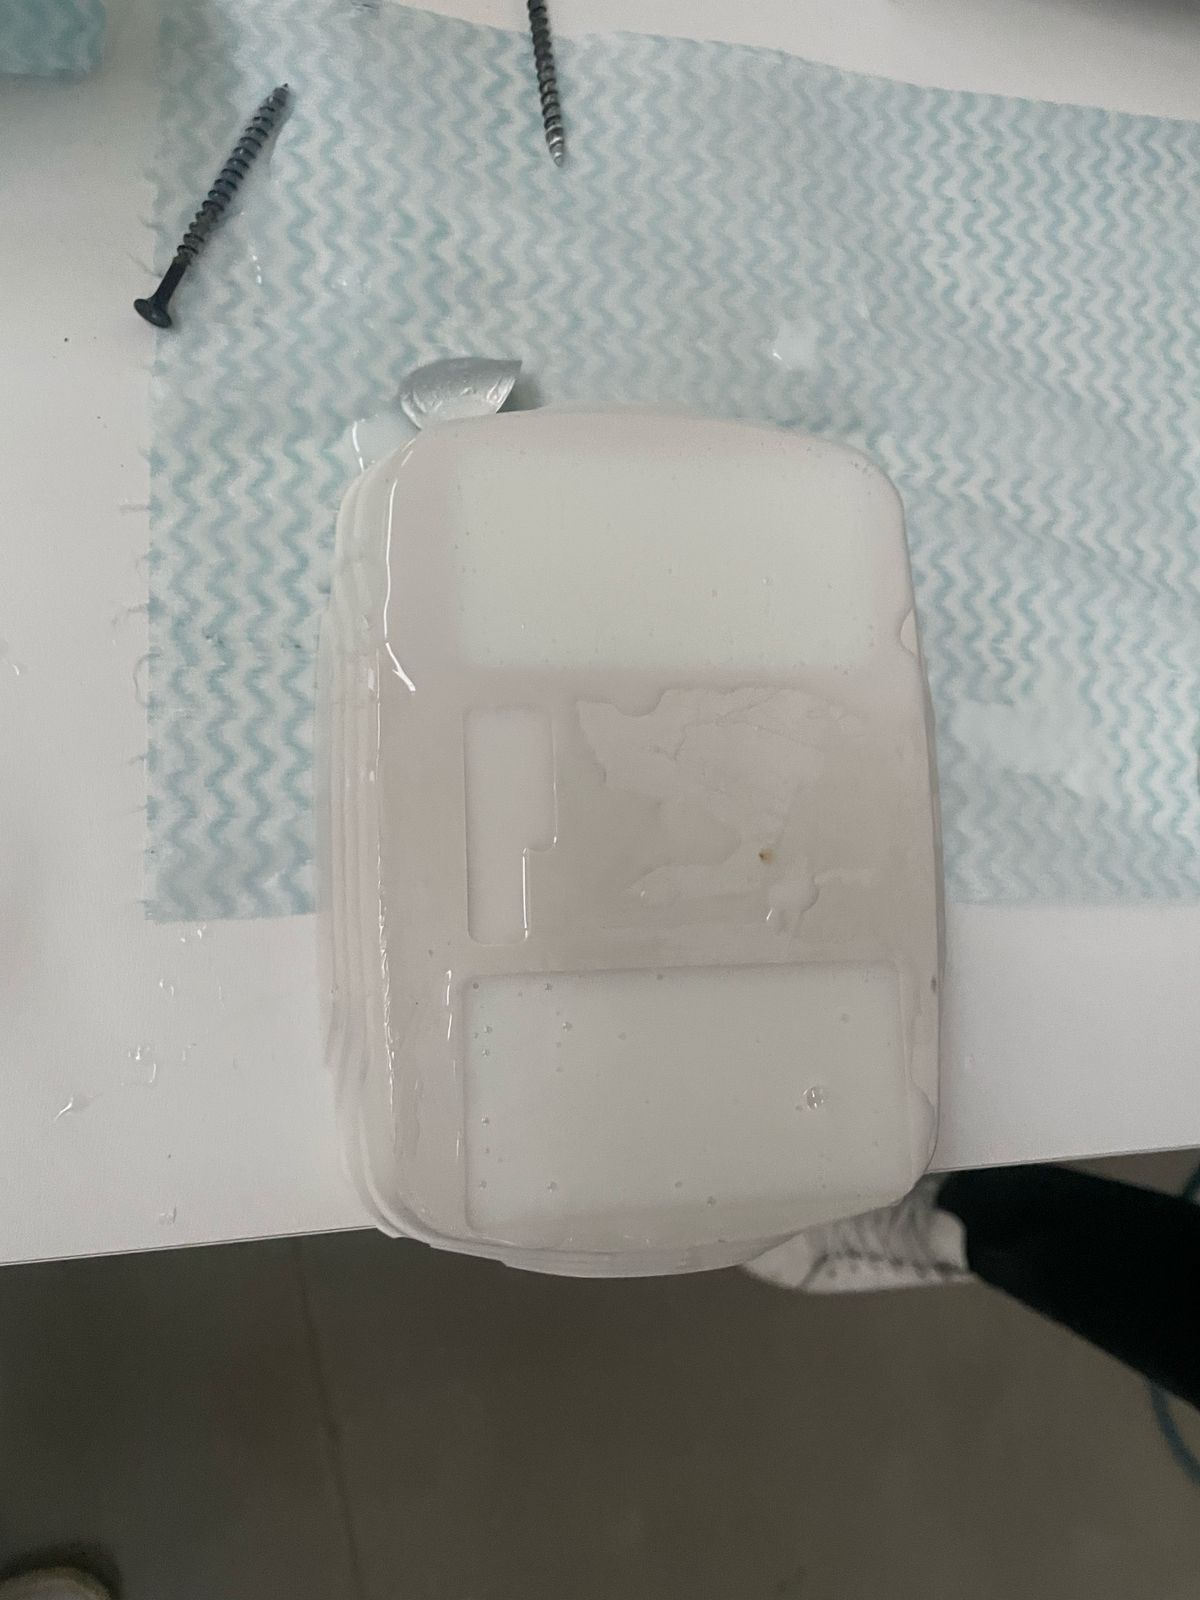
With the mold clean, I prepared and poured silicone into the cavity in thin layers, letting each
one partially cure to avoid bubbles.
Figure 4: Pouring silicone to form the final mold.
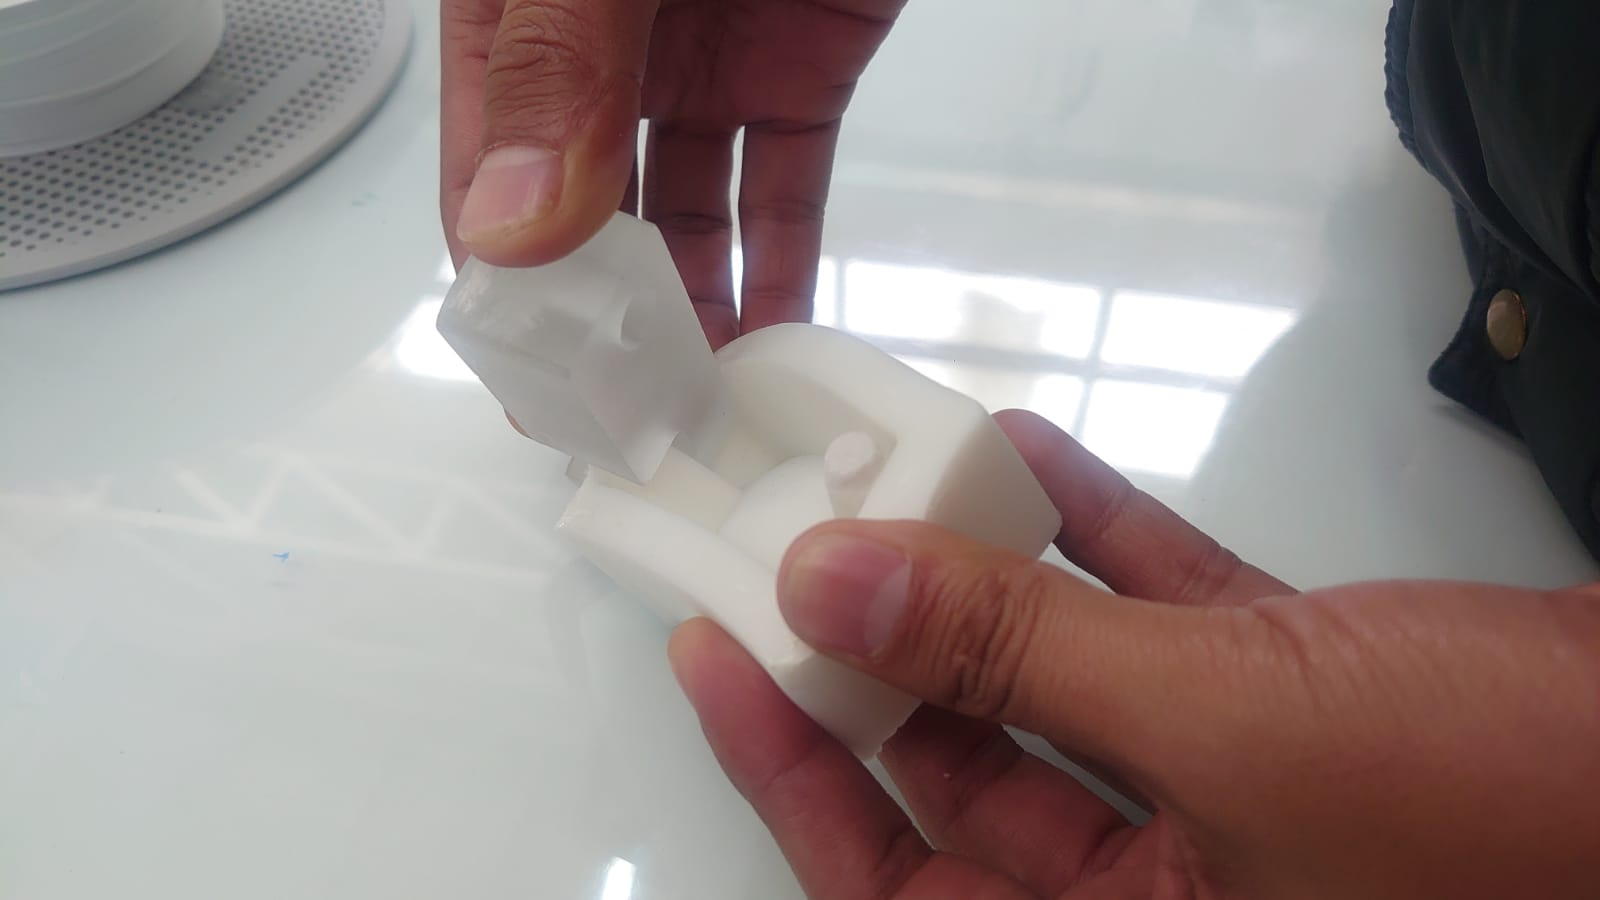
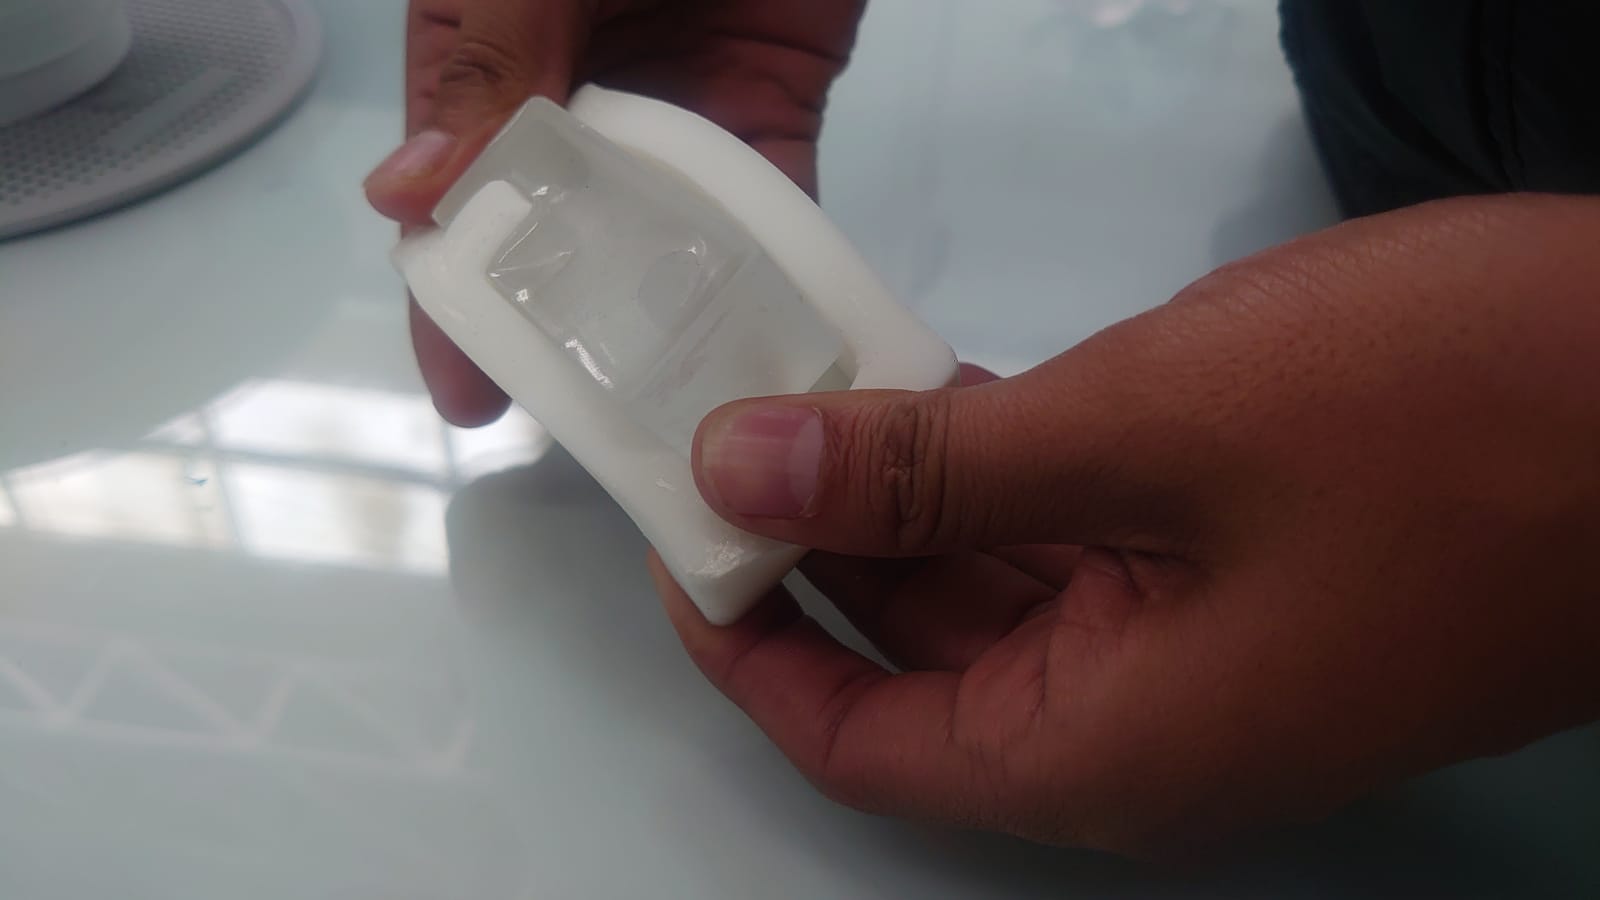
After a full 12-hour curing process, I carefully demolded the silicone.
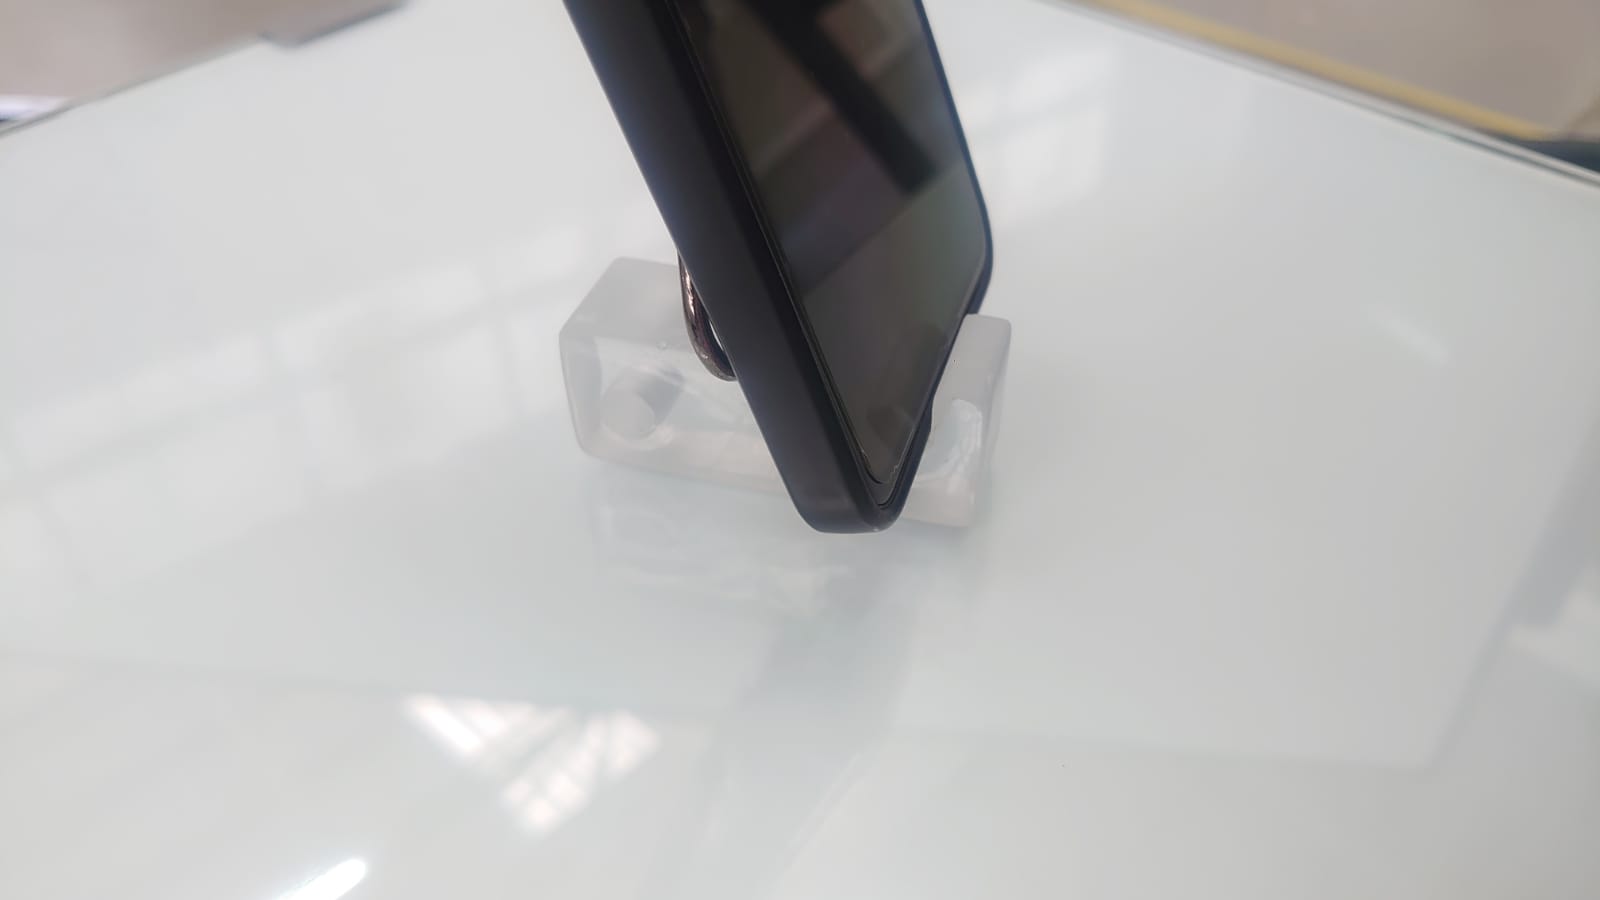
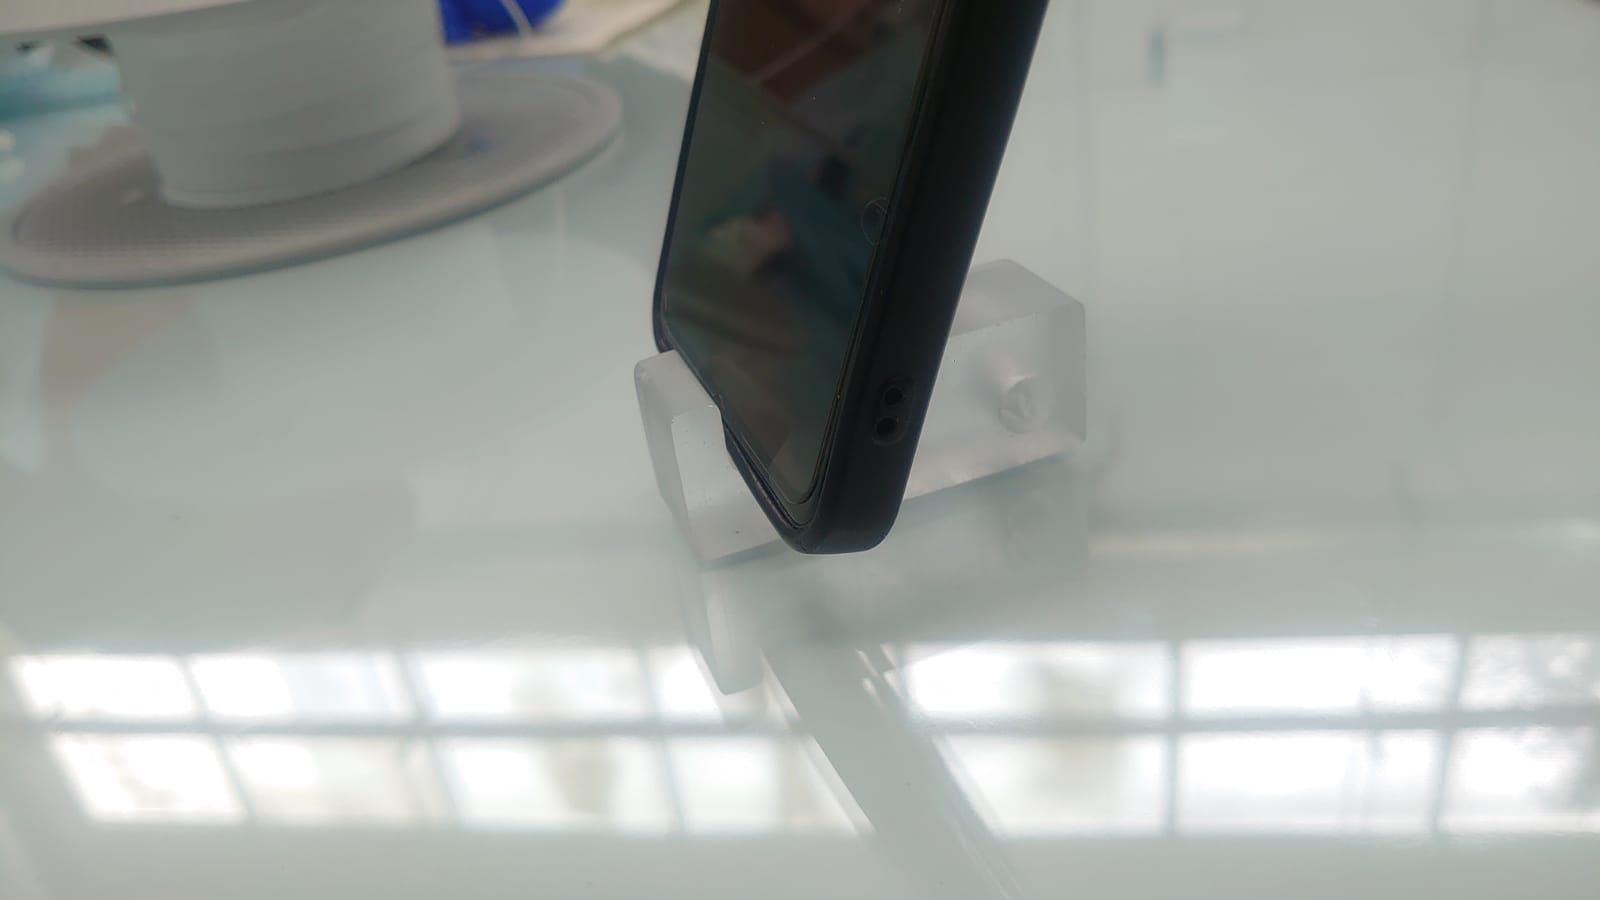
5. Producing the Final Piece
I used pigmented epoxy resin to cast the final keychain. A small vibrating motor helped
eliminate bubbles during the pour.
Figure 5: Final piece with smooth surface and functional design.
Conclusion
This experience offered a full journey from digital design to physical production. I was able
to:
Design a functional and visually appealing mold.
Adapt the CAD model to real-world material dimensions.
Achieve a smooth finish without visible tool marks.
Successfully replicate the object using silicone and resin.
Planning each step with care and experimenting with materials was key to achieving a
professional result. This assignment bridged creativity, precision, and technical skill in a
rewarding way.
Week 13: Conclusion
Week 13 was a pivotal stage in our journey through digital fabrication, where we transitioned from
abstract design concepts to tangible, functional prototypes. By working with molding and casting
processes, we deepened our understanding of material behavior, precision machining, and iterative
prototyping.
The group assignment allowed us to collaboratively explore the technical and safety dimensions of
plaster, silicone rubber, and epoxy resin. We tested each material’s limitations and advantages, and
compared fabrication techniques such as CNC milling versus 3D printing. This comparative approach
sharpened our decision-making for future projects.
On an individual level, designing and manufacturing our own molds reinforced our skills in CAD
modeling, machine operation, and resin casting. From learning to adjust extrusion heights in Fusion
360, to achieving bubble-free resin pieces, the week highlighted the importance of precision,
planning, and patience.
Overall, Week 13 exemplified the interdisciplinary nature of digital fabrication—combining
engineering design, craftsmanship, and experimentation. It pushed us to be more autonomous, to
document thoroughly, and to reflect on the practicality and aesthetics of our outcomes.
These experiences not only improved our technical proficiency, but also cultivated our ability to
approach problems creatively, work as a team, and deliver projects with real-world relevance.
Resource Download
Click the button below to access and download all available materials.