Group Assignment – Interface and Application Programming
Group Members:
- Sandra Hipatia Núñez Torres
- Manuel Ignacio Ayala Chauvin
Objective
This week's group assignment focused on comparing three different tools used to create user
interfaces
for interacting with embedded systems. The aim was to evaluate each tool’s strengths, weaknesses,
and
applicability in educational or prototyping contexts.
Tools Compared
| Tool |
Type |
Strengths |
Limitations |
Device Used |
| MIT App Inventor |
Visual (Mobile) |
Easy to learn, ideal for beginners, fast prototyping |
Limited design flexibility and professional polish |
ESP32 |
| Blynk |
IoT Dashboard |
Widget-based, fast connection, supports sensors & GPIO |
Requires internet (for cloud), limitations in free tier |
ESP32 |
| Flutter |
Cross-platform App |
Beautiful, customizable UI, full control |
Higher complexity, requires Dart and setup |
ESP32 |
Tool in Focus: MIT App Inventor
For this assignment, we created a prototype mobile application using MIT App
Inventor,
a free online tool widely used for educational and prototyping purposes. It offers a block-based
programming
environment that allows users to build functional apps without deep knowledge of syntax-based
coding.
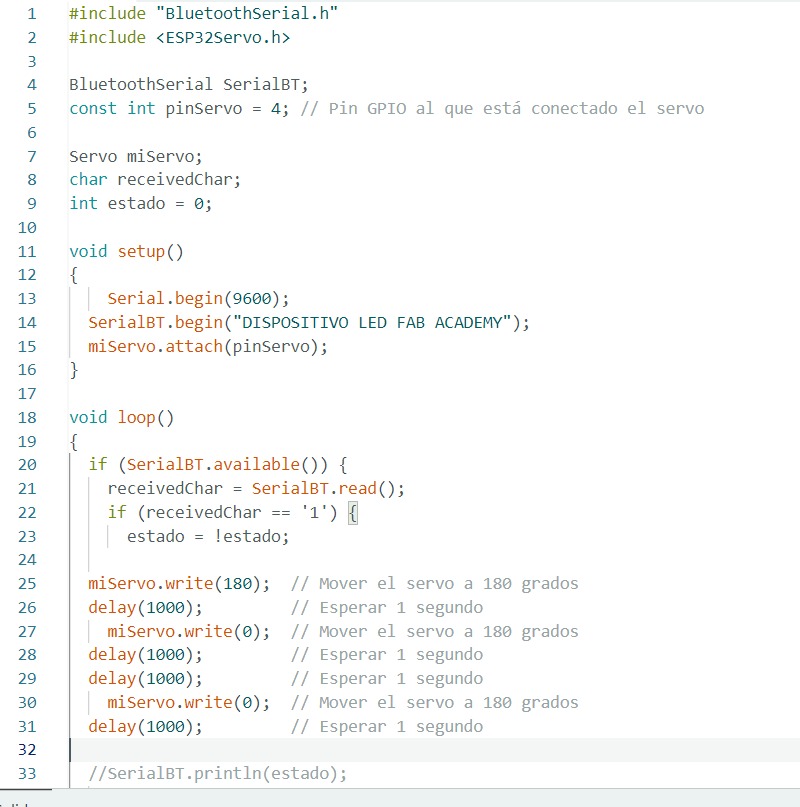
The application was designed to work with Bluetooth connectivity to interface with
an embedded device (ESP32).
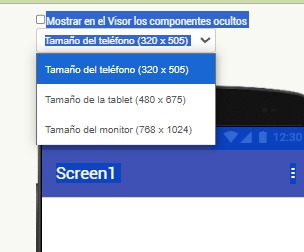
We selected the Android 5+ profile and adjusted the screen size to simulate different devices for
responsive layout testing.
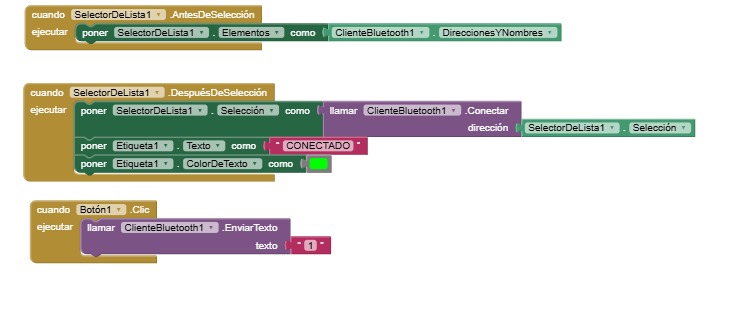
Component Configuration
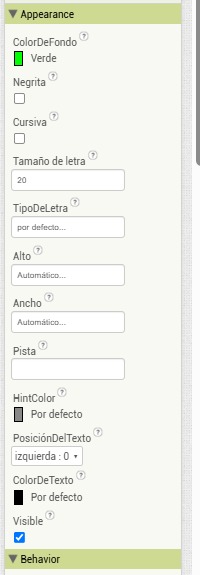
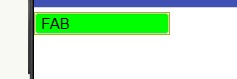
We added a user interface button labeled FAB and configured its appearance
parameters such as background color (green),
font size, and alignment. This allowed for visual feedback and interaction on mobile devices.
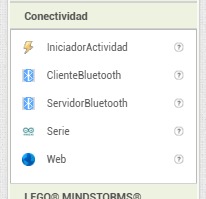
To enable communication with the ESP32 board, we used the built-in connectivity components of App
Inventor.
These include the BluetoothClient and BluetoothServer components, which allow the app to send and
receive
data via Bluetooth.
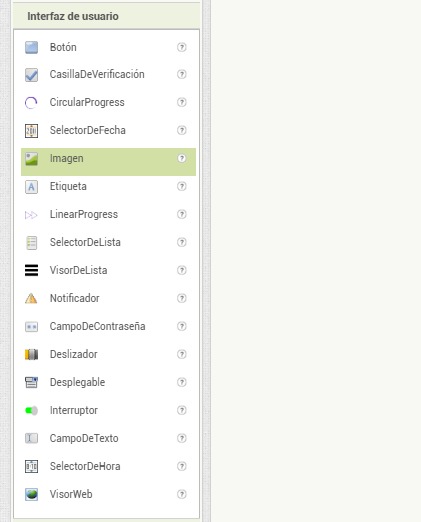
Additional User Interface Components
MIT App Inventor also offers a wide range of interface components such as sliders, list pickers,
image viewers, and web viewers.
These components can be combined to create rich, interactive applications tailored to different user
needs.
Interface and Application Programming
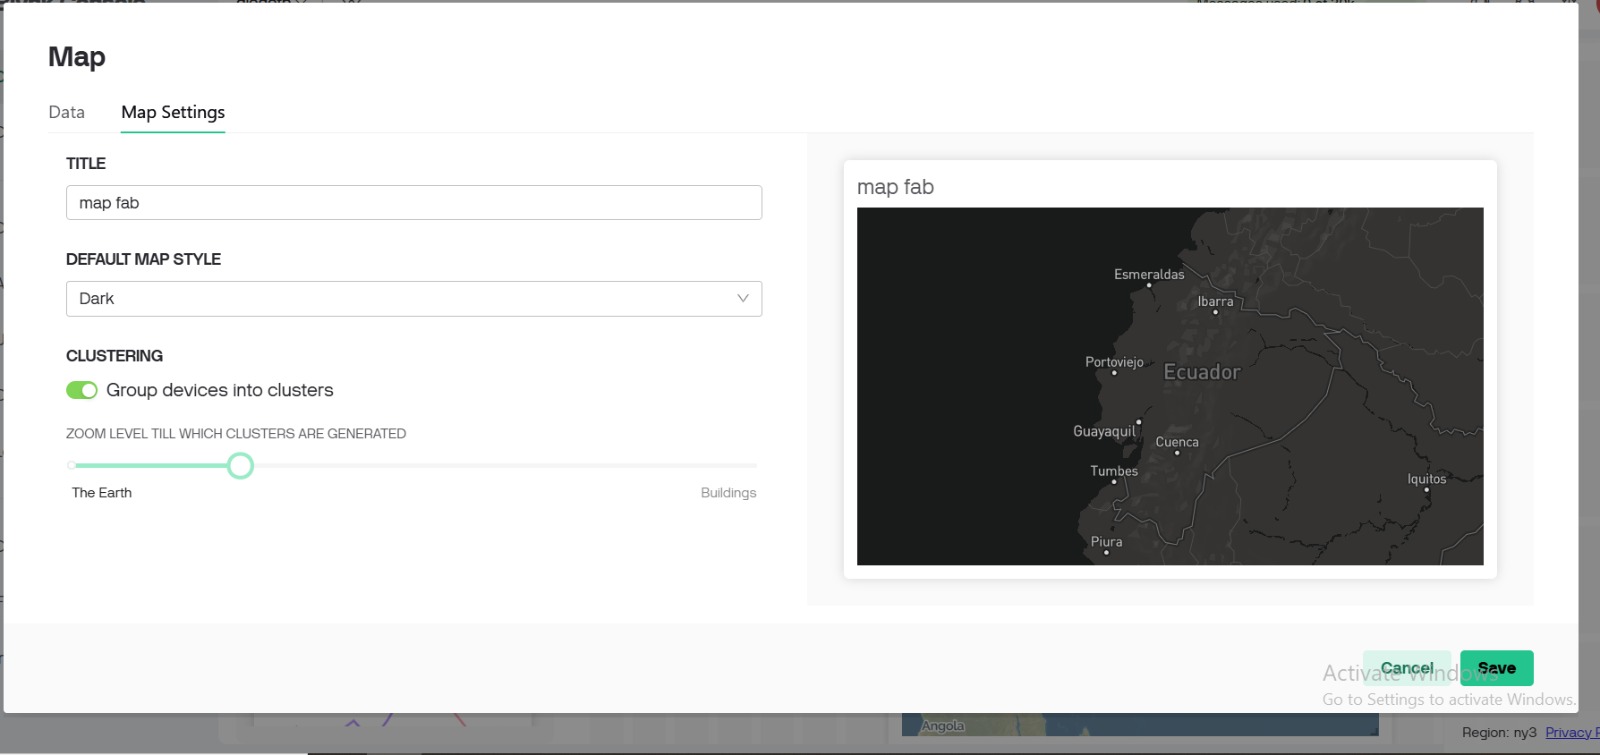
1. Map Configuration
A dynamic map titled "map fab" was configured using a dark theme.
Clustering was enabled to group devices based on zoom level, which helps manage visibility
when many devices are deployed across Ecuador. The zoom slider defines the level at which
clustering ceases to operate, providing a detailed or macro view as needed.
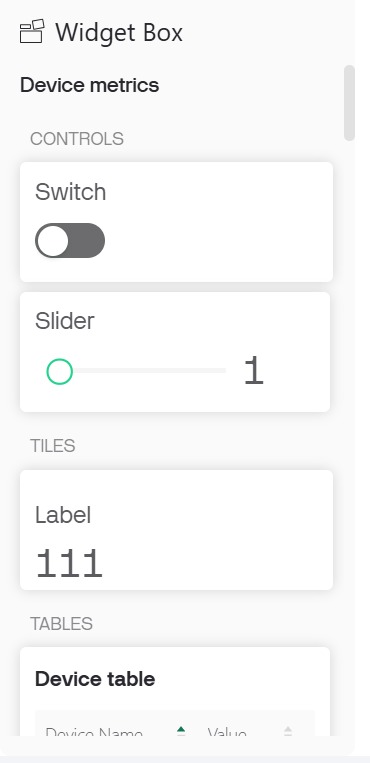
2. Interface Widgets
A set of graphical widgets was used to control and monitor device activity in real-time:
- Switch: Toggle on/off control for devices or processes.
- Slider: Adjustable input to set variable values such as motor speed or
brightness.
- Label: Real-time display of a monitored value (e.g., temperature).
- Device Table: Lists connected devices and their values.
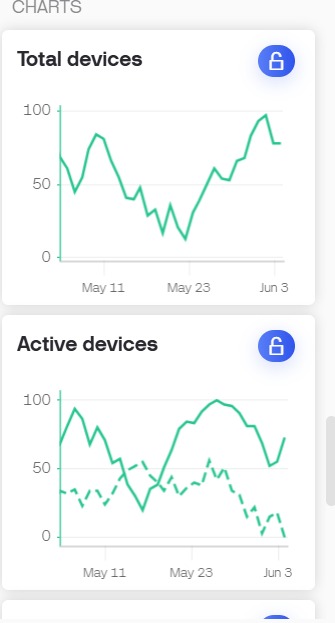
3. Device Monitoring Charts
Line charts were configured to display:
- Total Devices: Number of registered devices over time.
- Active Devices: Number of active (and possibly inactive) devices on a
daily basis.
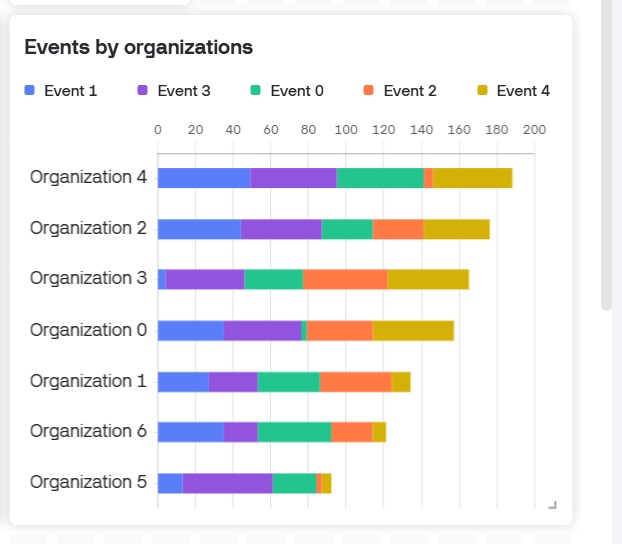
4. Events by Organization
A horizontal bar chart presents events triggered by different organizations. Events are
categorized by type (Event 0 to Event 4) and are color-coded. This helps in analyzing
organizational behavior and identifying patterns in device interactions.
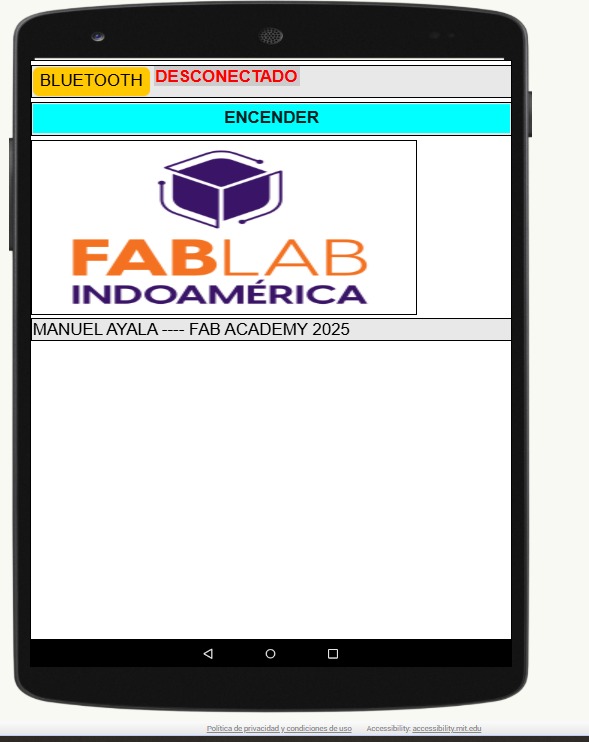
5. Mobile App Interface with App Inventor
A mobile application was developed using App Inventor. The app communicates with
microcontrollers (e.g., ESP32 or Arduino) via Bluetooth. It includes:
- Connection screen for pairing with devices
- Buttons for sending commands
- Interface for real-time user interaction with physical hardware
Conclusion
This assignment successfully integrated physical computing devices with a responsive digital
interface, enabling interaction through maps, mobile applications, and web-based dashboards.
It demonstrates the essential principles of interface programming in IoT systems, including
data visualization, real-time control, and user-centered design.
Key Findings
- MIT App Inventor is perfect for quick prototyping, especially for educational
use. It allowed us to build a Bluetooth interface quickly and with minimal coding.
- Blynk is highly effective for IoT applications. It has ready-made widgets for
buttons, sliders, and sensor displays, making it easy to create functional interfaces without
writing much code.
- Flutter offers the highest degree of control and design quality, suitable for
creating professional-grade apps. However, it has a steep learning curve and requires prior
programming experience.
Conclusion
Each tool serves a specific purpose. App Inventor is best for rapid, low-complexity
projects.
Blynk is optimal for connected IoT dashboards. Flutter is powerful
for developers
who require fully customized, scalable apps. As a group, we understood that choosing the right
interface tool depends on the user’s experience level, the project’s scope, and the desired user
experience.