

For the group assignment, we met to organize ourselves and review the progress each member has made so far. Below is the information related to the group project.
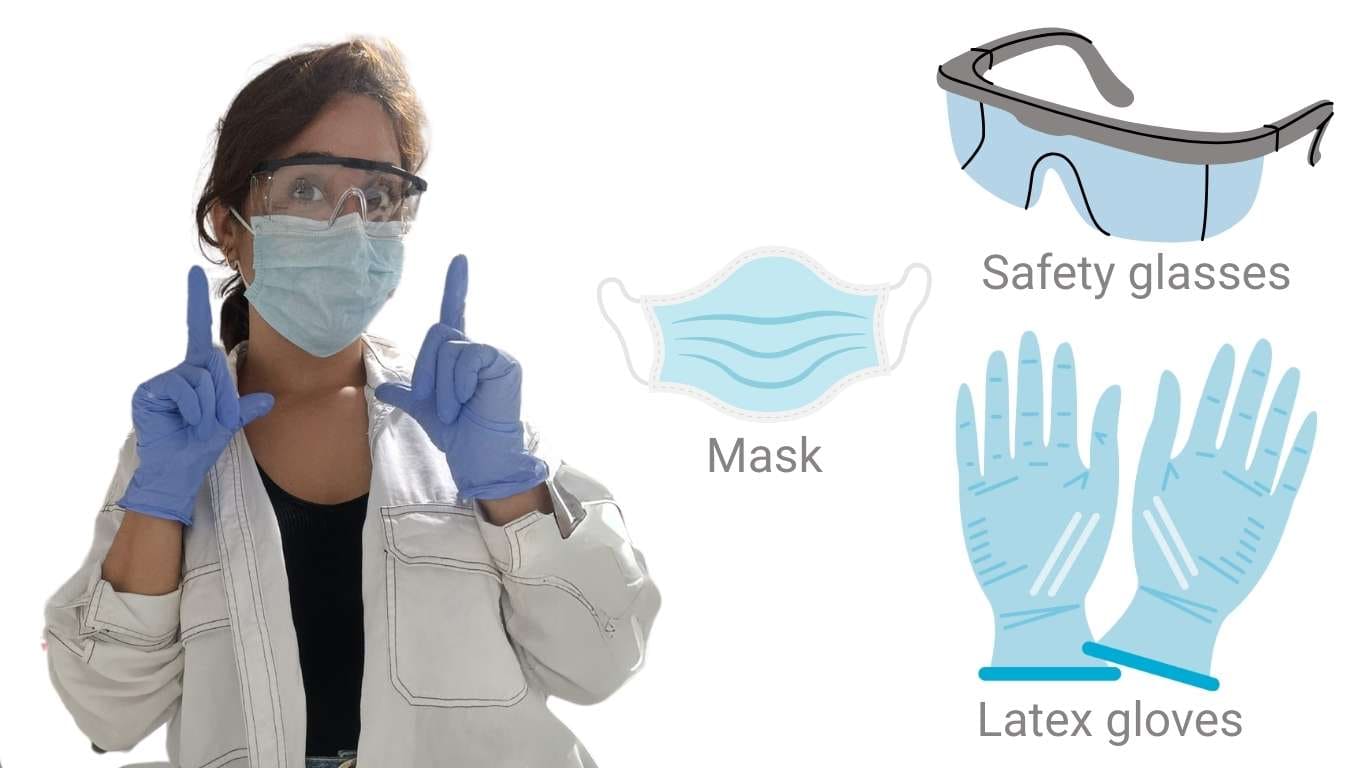
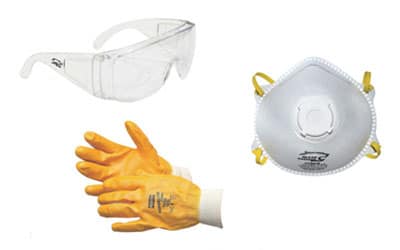
An important aspect to consider when doing this assignment is the use of personal protective equipment, since it involves working with materials that contain chemicals potentially harmful to health. The smell of the catalyst, both in silicone and resin, is quite strong. Even though silicone smells somewhat like rubber, it can still pose health risks if inhaled for extended periods. Therefore, it's essential to protect yourself by using a mask, latex gloves, and safety glasses.
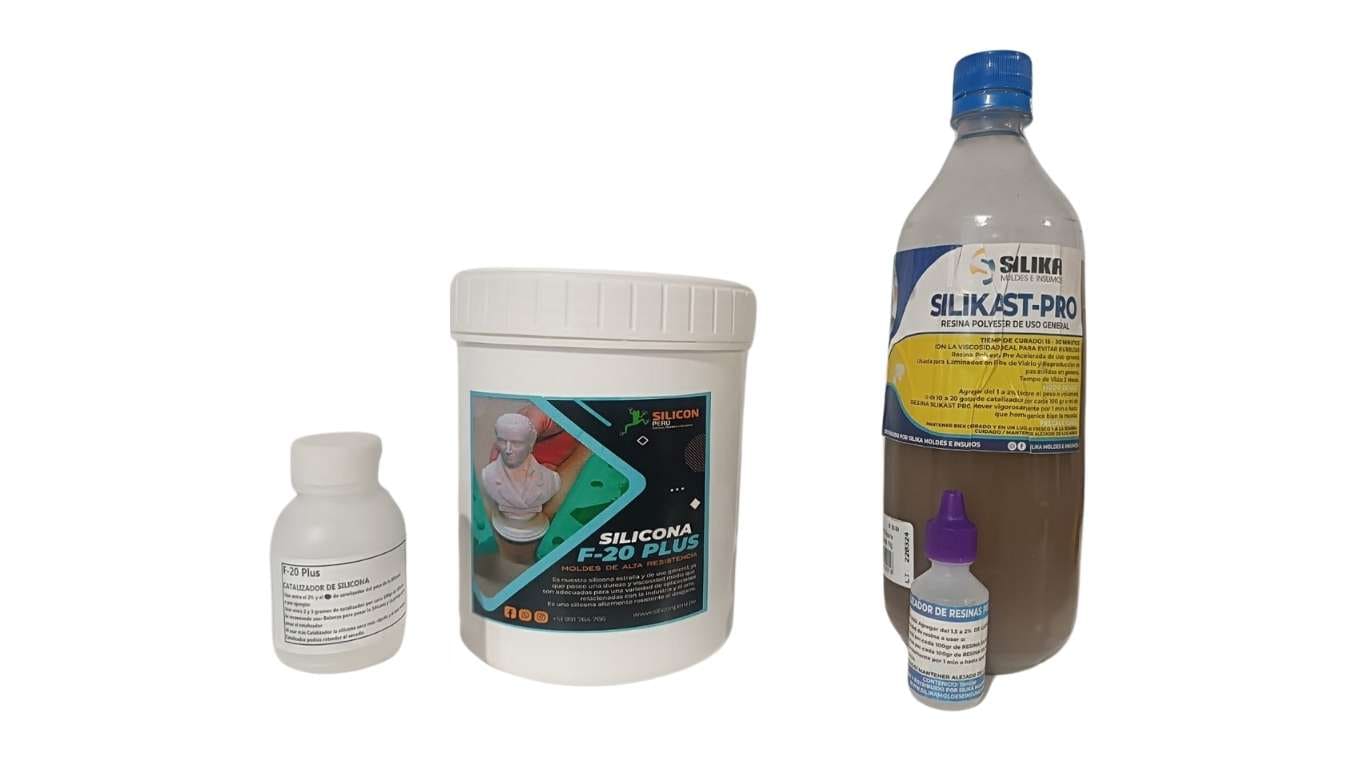
For this assignment, molding and casting materials will be used, excluding F-20 Plus silicone and polyester resin, each with its respective catalyst.
| Silicone Type: RTV (Room Temperature Vulcanizing) | |
|---|---|
| Vulcanizes at room temperature. Suitable for use as a flexible mold. | |
| Features | |
| Medium hardness and viscosity | Makes it versatile for various applications in industry and art. |
| High tear resistance | Durable for repeated use and fine detail capturing. |
| Suitable for casting and brush-on techniques | Can be applied by pouring or with a brush, depending on the need. |
| Available Sizes | |
| 1 kg container | Small projects and testing purposes. |
| 5 kg bucket | Medium-scale productions. |
| 20 kg bucket | Large-scale or industrial applications. |
I will be using this material primarily to create a negative, as it will serve as a flexible mold. Below, I will provide a general data sheet for the product, since there is no detailed information available online, either from the brand or in general.
This type of silicone is specially designed for creating high-quality molds of all kinds, as it is a general-purpose silicone. It is suitable for reproducing pieces in resin, plaster, polyurethanes, waxes, costume jewelry, cold ceramics, etc.
| Product Description | |
|---|---|
|
The F-Plus Catalyst is an additive specifically formulated for the vulcanization of
RTV (Room Temperature Vulcanizing) silicones. It is used in combination with F-Plus silicone to
create high-quality flexible molds, suitable for various applications in industry and the arts. |
|
| Key Features | |
| Mixing Ratio | 2% - 3% catalyst by weight of silicone |
| Form | Transparent or slightly opaque liquid |
| Curing Time | Depending on the amount of catalyst used, curing can range from 30 minutes to 24 hours |
| Ease of Use | Easy to dose with a syringe for accurate measurement |
| Instructions for Use | |
|
|
| Catalyst Properties | |
| Adjustable curing speed | Using more catalyst will speed up curing, while using less will slow down the curing time. |
| Versatility | Suitable for all types of molds, including those used for casting pieces in resin, plaster, polyurethane, wax, jewelry, ceramics, and more. |
| Compatibility | Compatible with other F-Plus silicones and similar-quality RTV products. |
| Usage Precautions | |
|
|
| Benefits | |
|
|
| Available Sizes | |
| 100 ml container | For small projects |
| 500 ml container | For medium-sized projects |
| 1 liter container | For larger projects or industrial use |
It is recommended to use a scale to weigh the silicone and a syringe to measure the catalyst in order to ensure precise mixing.
The resin will be used for casting applications.(This information was sourced from ChatGPT.)
| Product Description | |
|---|---|
| Silikast-Pro is a high-quality unsaturated polyester resin designed for general molding, laminating, and other applications that require good mechanical and thermal resistance. It is ideal for mold manufacturing, automotive parts, repairs, and various applications in industrial and artistic fields. | |
| Key Features | |
| Type | Unsaturated Polyester Resin |
| Color | Transparent or slightly yellowish |
| Composition | Polyester base + Styrene monomer |
| Working Time (Pot Life) | 15–30 minutes, depending on ambient temperature and catalyst amount |
| Curing Time | 30 minutes to 1 hour (full curing may take up to 24 hours depending on the thickness of the piece) |
| Density | 1.1 – 1.2 g/cm³ |
| Viscosity | 2000 – 3000 cps (depending on temperature and formulation) |
| Curing Properties | Requires a catalyst (Methyl Ethyl Ketone Peroxide, MEKP) to initiate the curing process |
| Instructions for Use | |
|
|
| Mechanical Properties | |
| Tensile Strength | 60 – 80 MPa |
| Flexural Strength | 85 – 95 MPa |
| Impact Resistance | 10 – 15 kJ/m² |
| Modulus of Elasticity | 3.5 – 4.5 GPa |
| Thermal Properties | |
| Heat Distortion Temperature | 80 – 90°C |
| Coefficient of Thermal Expansion | 50 – 60 x 10^-6 /°C |
| Applications | |
|
|
| Usage Precautions | |
|
|
| Available Sizes | |
| 1 kg container | Ideal for small projects |
| 5 kg container | For medium-sized projects |
| 20 kg container | For industrial use or large-scale projects |
The characteristics of the resin may vary depending on the type of catalyst and mixing conditions. It is recommended to conduct tests before large-scale production.
| Product Description | |
|---|---|
| The Polyester Resin Catalyst is a compound that, when mixed with the resin, initiates the curing (vulcanization) process of the polyester resin. This catalyst is essential for ensuring that the resin hardens and acquires the desired mechanical and thermal properties. | |
| Catalyst Usage Method | |
| Mixing Ratio | Add between 1.5% and 2% catalyst to the total amount of resin, or 10 to 20 drops per 100 grams of Silikast-Pro resin. |
| Mixing | After adding the catalyst to the resin, mix thoroughly for at least 1 minute to ensure the mixture is homogeneous. |
| Instructions for Use | |
|
|
| Usage Precautions | |
|
|
| Available Sizes | |
| 50 ml bottles | Ideal for small projects |
| 100 ml bottles | For medium-sized projects |
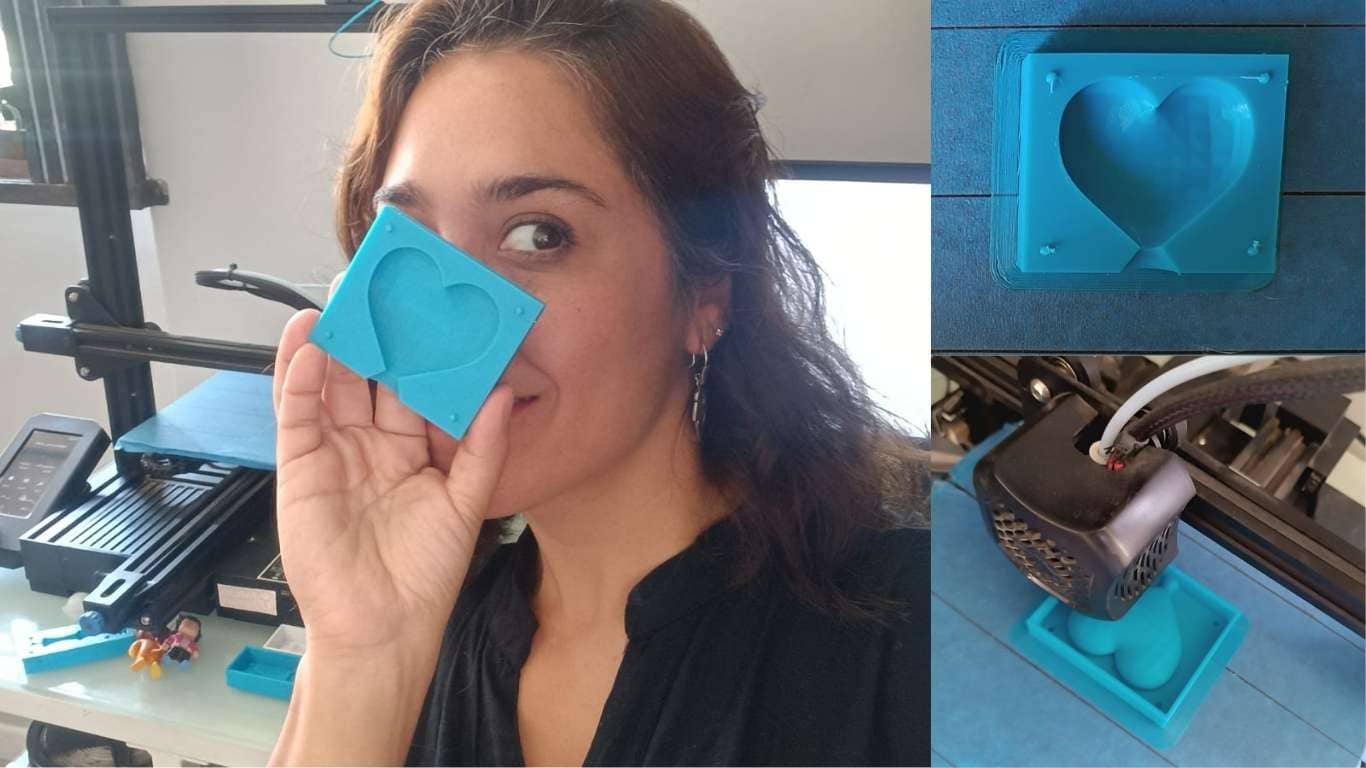
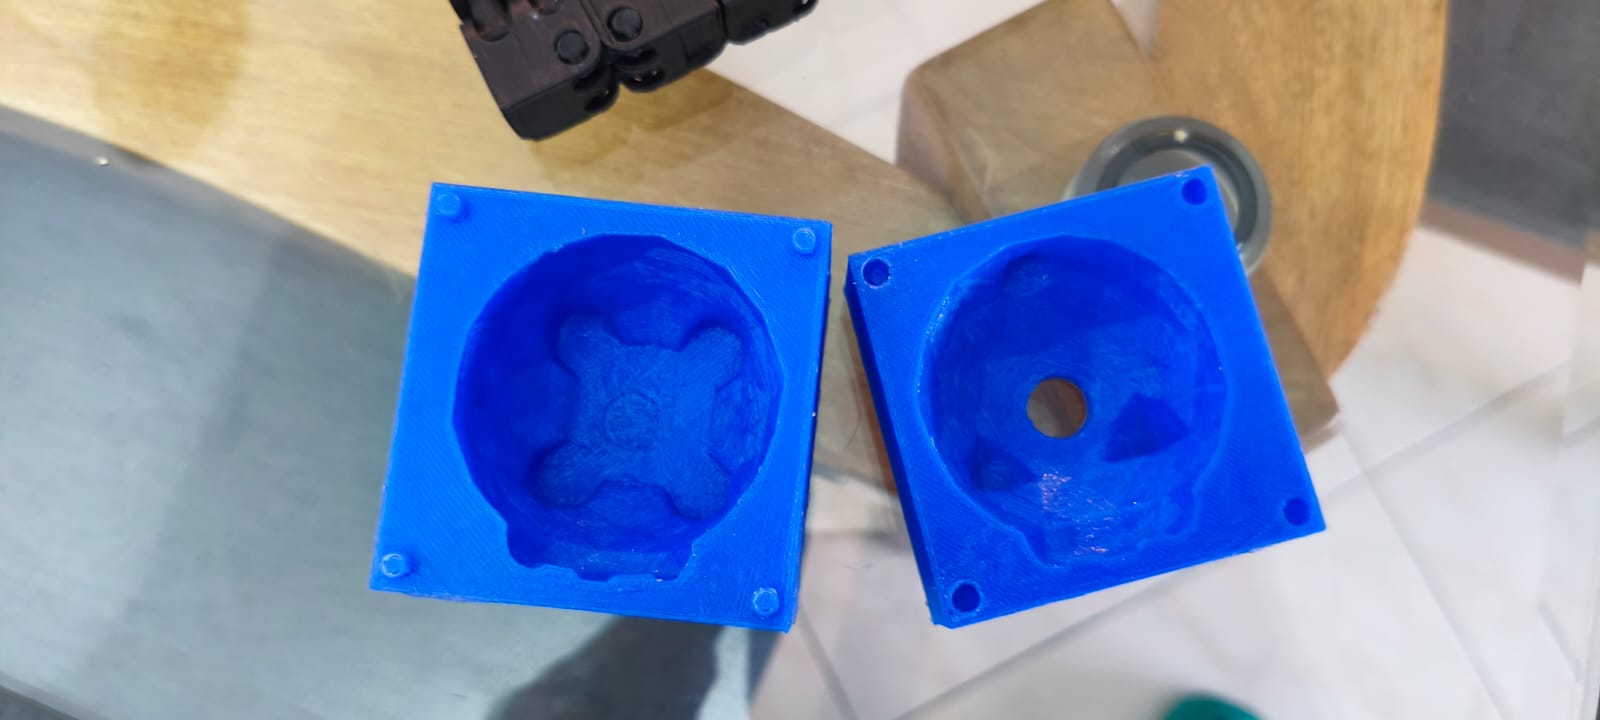
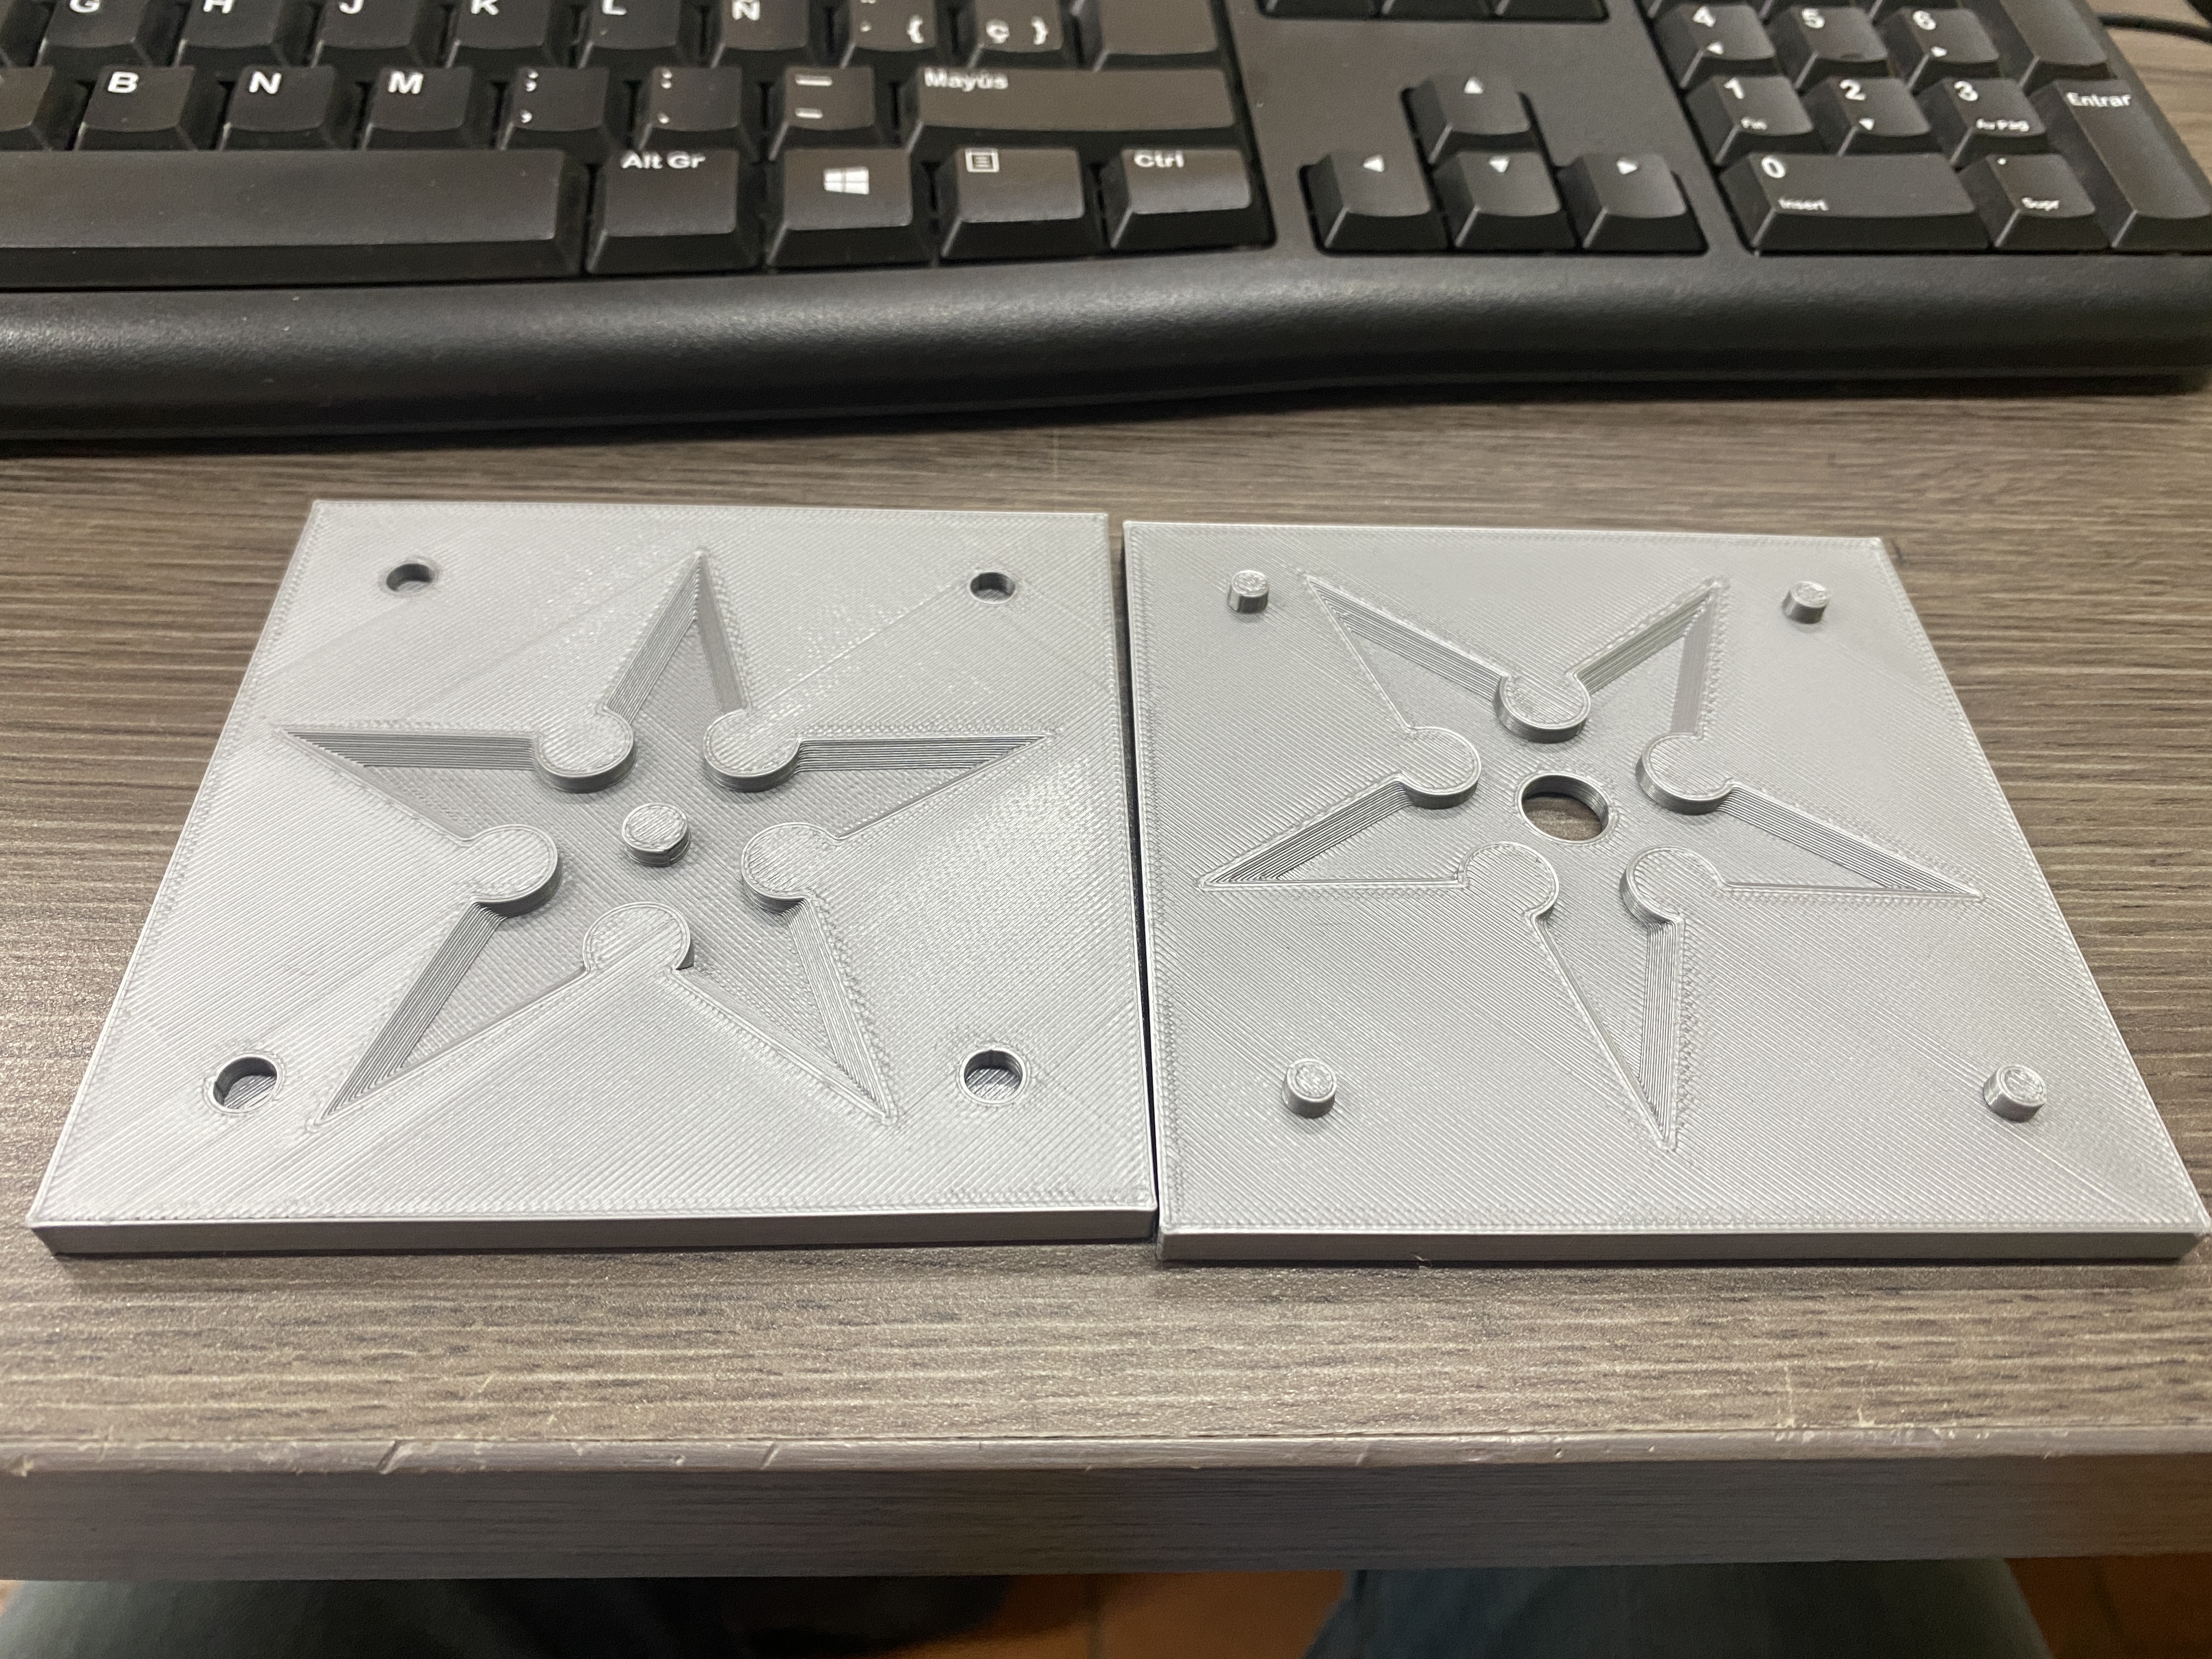
For this assignment, I created a mold using 3D printing, which will be one of the test molds. For the second mold, I made a positive design, from which I will obtain the negative part using silicone.
| Feature | 3D Printed Mold | Silicone Mold |
|---|---|---|
| Detail Precision | High | High |
| Mold Surface | Smooth | Variable |
| Fabrication Time | Long | Moderate |
| Reusability | Low | High |
| Cost | Moderate | Low |
| Ease of Demolding | High | High |
Both molding methods have advantages and disadvantages depending on the type of project and the resources available. The 3D printed mold is ideal for quick prototypes and complex designs, while the silicone mold offers flexibility and durability for longer production runs. The choice between one or the other will depend on factors such as available time, budget, and the nature of the final product.

The following table provides a comparison between the molding methods using 3D printing and CNC milling, based on the process, production time, cost, precision, and recommended applications.
| Aspect | 3D Printing | CNC Milling |
|---|---|---|
| Manufacturing Process | Uses a 3D printer to create the mold from an STL file. Direct process without additional tools. | Uses a CNC machine to mill the mold from a material block. Requires programming and tool selection. |
| Production Time | The estimated time for printing is approximately 4 hours and 56 minutes. | Time varies depending on design complexity, but is generally longer due to the machining process. |
| Cost | Low initial costs, ideal for prototypes and small-scale productions. | Higher initial costs due to the need for specialized tools. More cost-effective for mass production. |
| Precision and Surface Finish | May show visible layer lines affecting the surface finish, but post-processing can smooth the mold. | Offers a smoother and more precise surface finish, especially with materials like aluminum. |
| Design Flexibility | Allows for complex geometries and customized designs without significant limitations. | Limited by tools and material geometry, which can restrict complex designs. |
| Recommended Applications | Ideal for rapid prototyping, low-volume productions, and custom designs. | Best suited for mass production, durable molds, and when high precision is required. |
Conclusion:
The choice between 3D printing and CNC milling depends on the specific needs of the project. 3D printing is ideal for rapid prototyping and small-scale productions, while CNC milling is better for large-scale productions requiring high precision and durability.
This week involved creating molds using two different techniques. First, a rigid mold was fabricated through 3D printing, providing a solid and detailed base. Simultaneously, another mold was made using CNC routing on a suitable material, which was carefully cleaned after cutting to ensure quality. Silicone platinum was then poured over this rigid mold to create a flexible and elastic mold, ideal for accurately reproducing parts and facilitating demolding without damaging the original object.
This process combined digital technologies and advanced materials to explore different molding and casting methods, emphasizing the importance of precision, flexibility, and safety in material handling.
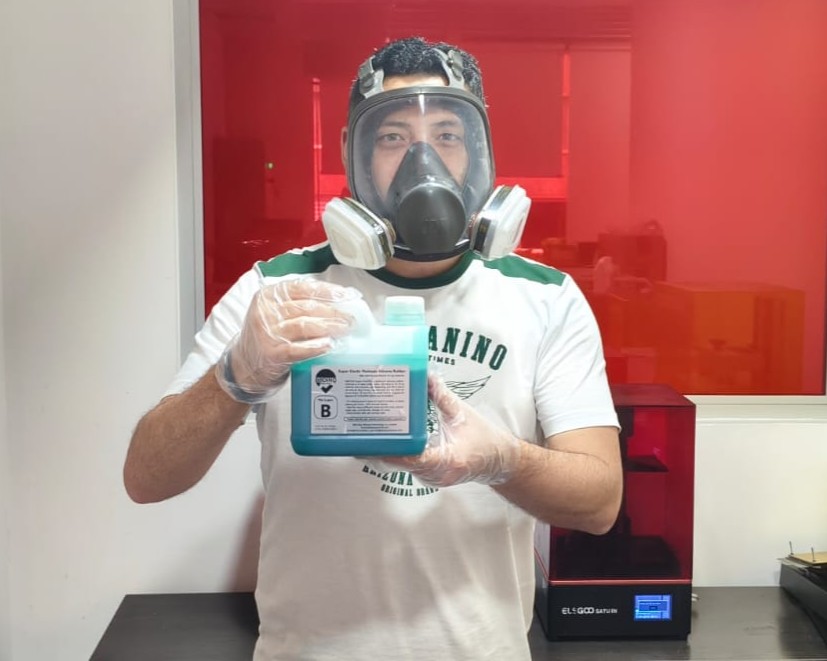
To ensure safety during the handling of platinum silicone and other materials used in mold making, the following personal protective equipment was used:
These measures help minimize risks and ensure a safe environment during the molding and casting process.
Download the datasheet to learn more about specifications and safe usage.
Download Datasheet (PDF)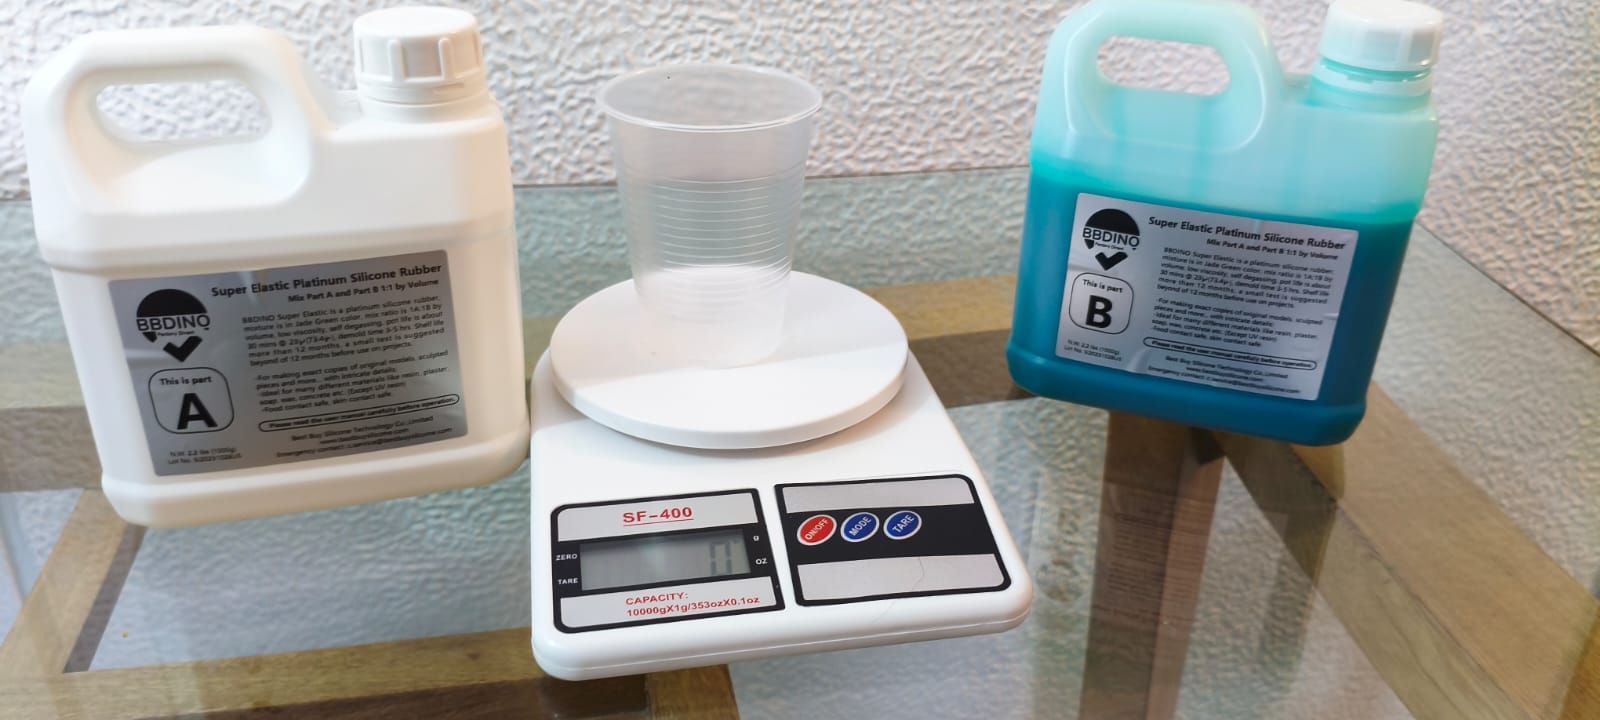
The material used to create the flexible mold is a highly elastic and high-precision platinum silicone. According to its safety datasheet, this silicone has the following key characteristics:
These properties make this silicone suitable for manufacturing high-quality flexible molds that can be reused in multiple production cycles without losing detail or durability.
The rigid mold produced by 3D printing was made using PLA (Polylactic Acid), a common thermoplastic polymer used in additive manufacturing. According to typical PLA datasheets, this material has the following properties:
These characteristics make PLA an ideal material for producing rigid molds via 3D printing, offering dimensional accuracy and ease of post-processing.
| Aspect | 3D Printed PLA Mold | Silicone Flexible Mold (BBDINO Platinum) |
|---|---|---|
| Material Type | Rigid thermoplastic (Polylactic Acid) | Flexible platinum-cured silicone rubber |
| Flexibility | Rigid, limited to no flexibility | Highly elastic and flexible |
| Durability | Good structural stability but prone to cracking under stress | Excellent durability, withstands multiple demolding cycles without damage |
| Detail Reproduction | Good surface finish, dependent on printer resolution | Excellent fine detail reproduction, especially on complex geometries |
| Curing / Production Time | Printing time varies from hours to days depending on size and settings | Requires more time: design of negative mold, CNC routing, pouring silicone, and curing (~24 hours) |
| Heat Resistance | Glass transition around 60-65°C, softens under heat | Stable under higher temperatures, depending on silicone grade |
| Use Cases | Ideal for producing rigid molds or prototypes | Ideal for flexible molds, complex shapes, and delicate demolding |
| Safety and Environmental Impact | Biodegradable and generally safe to print; requires ventilation | Non-toxic once cured; requires PPE during handling liquid form |
| Cost | Relatively low cost per mold, depending on filament and printer | Material cost is higher; reusable mold reduces long-term cost |
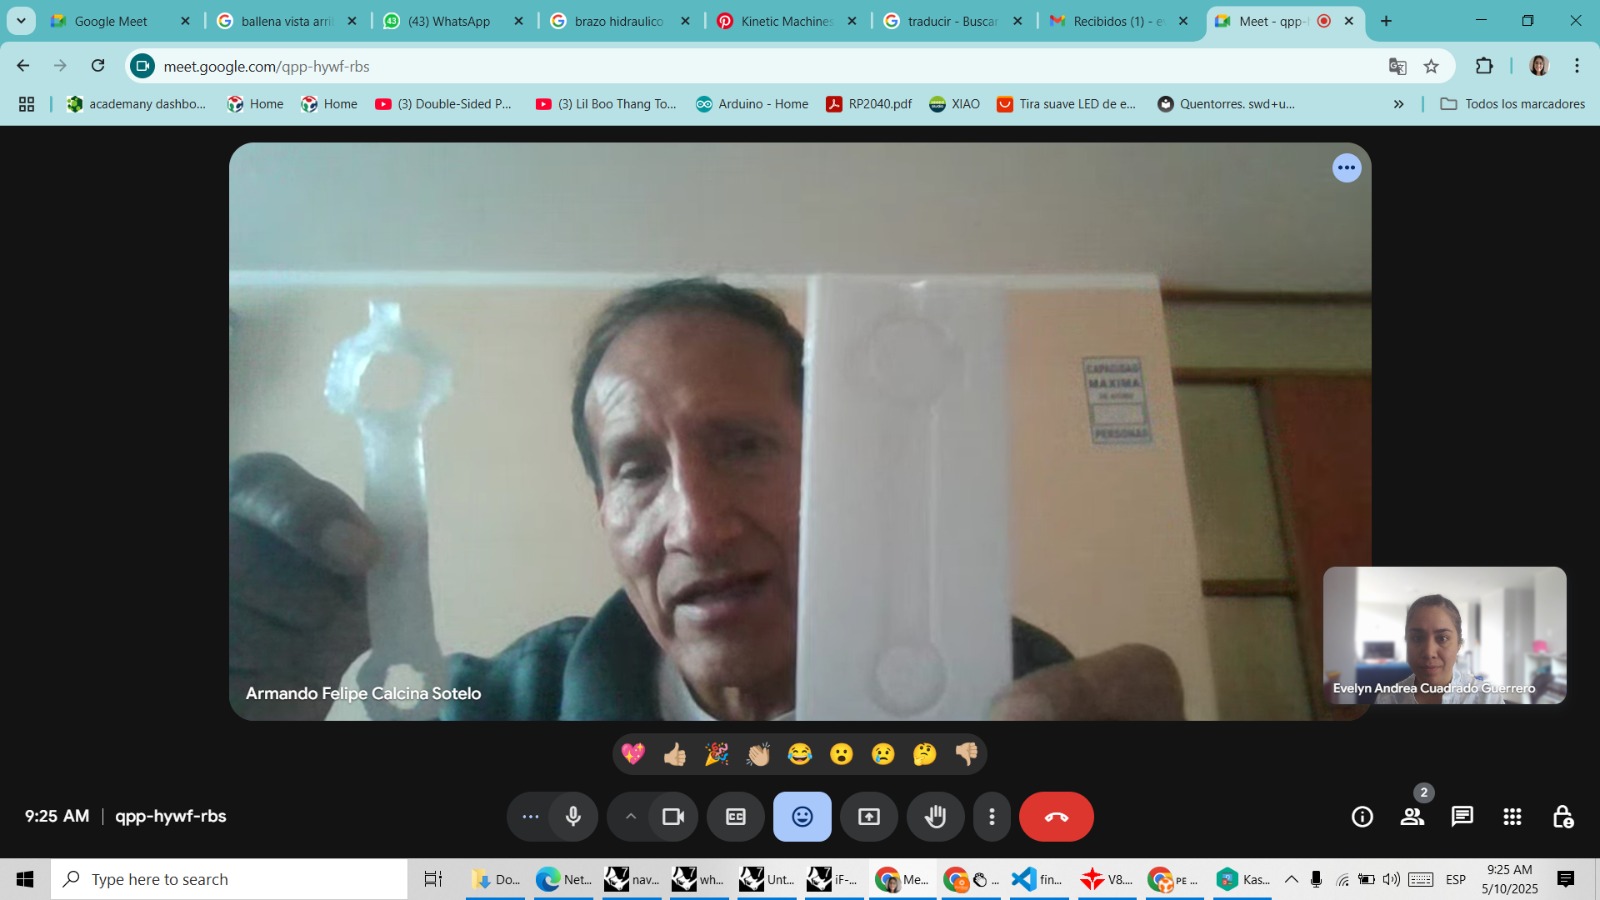
For the development of this task, I met with my colleague Evelyn through Meet to compare and show her the materials we used to make the mold, we saw the characteristics and safety that we should have with each of them. In my case, I used wax as a pattern (model) inside a mold made of plaster, for the second process, 3D printing technology was used to make the negative mold, and silicone as a filler.
Every manual task involves certain risks. While they cannot be completely eliminated, it is necessary to take all possible preventive measures to minimize them. The use of appropriate safety equipment is one of the most important, especially when performing this type of work, for example, in plaster machining, which can generate dust and cause lung irritation or some type of respiratory damage.

I have used two types of molds in this case Plaster and wax as filling, then I used a 3D Print as a mold with application of Silicone Filling, below is the description of each of them.
In this process, wax was used as a pattern (model) inside a mold made of plaster, following the classic methodology of investment casting or lost wax, but first we will see its characteristics and then continue with the process.
Commercial name: Plaster of Paris / Ceramic plaster
Chemical name: Calcium sulfate hemihydrate (CaSO₄·½H₂O)
Recommended use: Casting molds, sculpture, crafts, casting molds, construction.
Commercial name: Paraffin wax
Chemical name: Saturated hydrocarbon mixture (mainly n-alkanes)
Recommended use: Lost wax casting, modeling, candle making, and prototyping
The process began with the creation of a digital design using ArtCAM software. Once the model was finalized, the corresponding toolpaths were generated and exported as G-code for CNC machining. A block of plaster was pre-prepared by mixing and pouring it into a container, allowing it to set and dry completely. This block served as the material for subtractive manufacturing. The CNC machine precisely carved the design into the plaster. After machining, the mold was cleaned to remove any dust or residue. Paraffin was then melted and carefully poured into the machined plaster mold. Once the wax had cooled and solidified, the final step was to demold the wax piece, which accurately captured the details of the original digital model. This workflow effectively combines digital design, CNC technology, and casting techniques to produce highly detailed wax models.
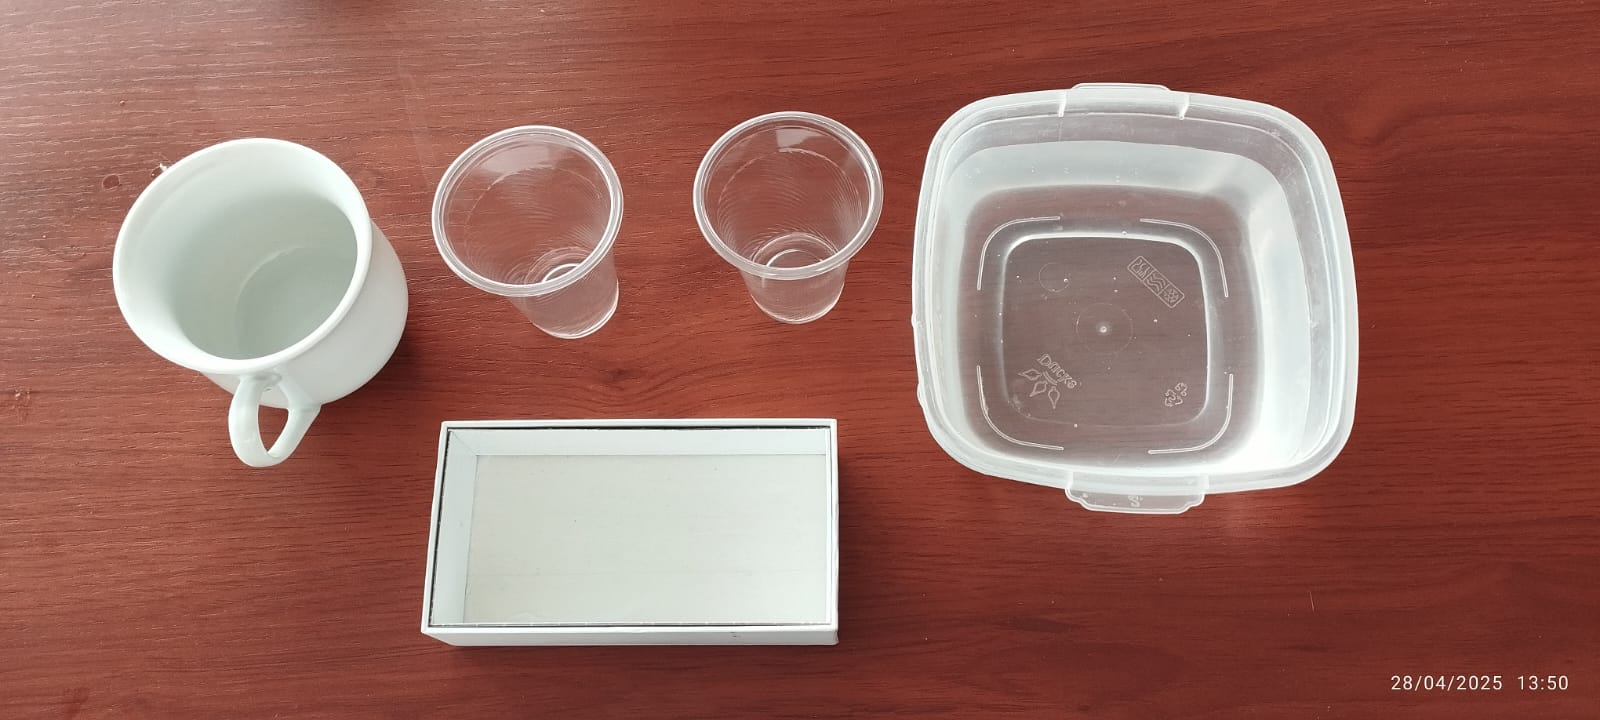
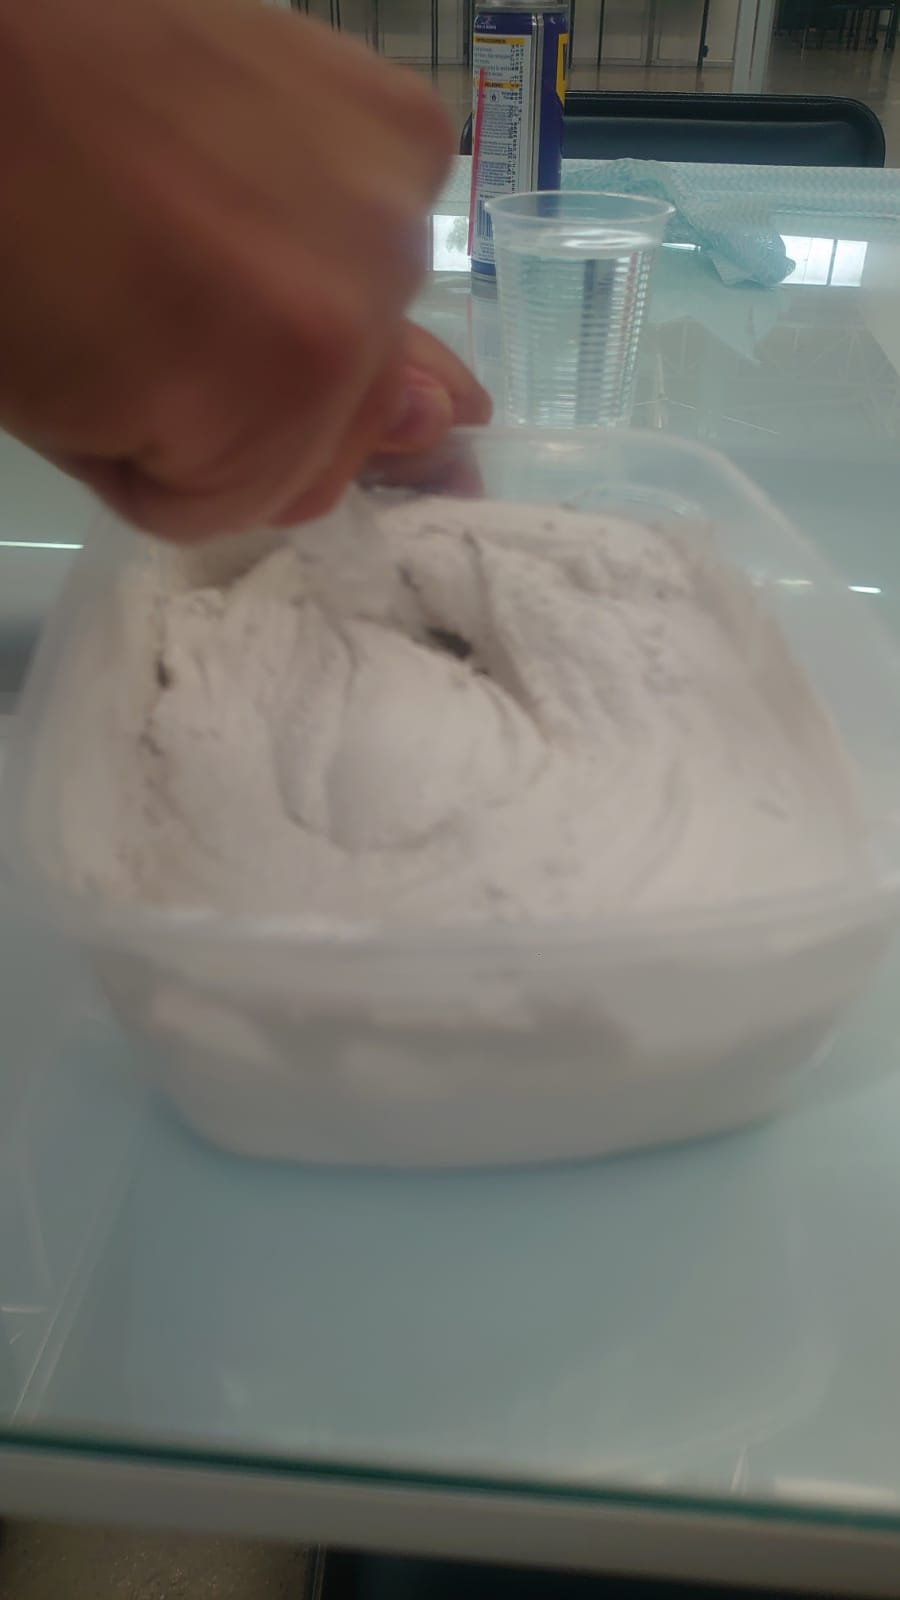
To prepare plaster for casting or molding, I began by measuring the desired amount of powdered plaster and water according to the recommended mixing ratio (usually about 2 parts plaster to 1 part water, by weight). I slowly added the powdered plaster to the water, stirring continuously to prevent lumps. Mix thoroughly until you have a smooth, consistent paste. I tried to avoid overmixing to minimize air bubbles, which can weaken the final mold. Once mixed, I poured the plaster immediately into the mold or container before it begins to set. Plaster typically sets within 5 to 30 minutes, depending on the mix and the room temperature.
The video shows the preparation of plaster with water according to the indicated proportion, it dissolves so that it does not generate lumps.

The plaster milling process began with the prepared plaster block being secured to the CNC machine bed. The image shows the finished machining.

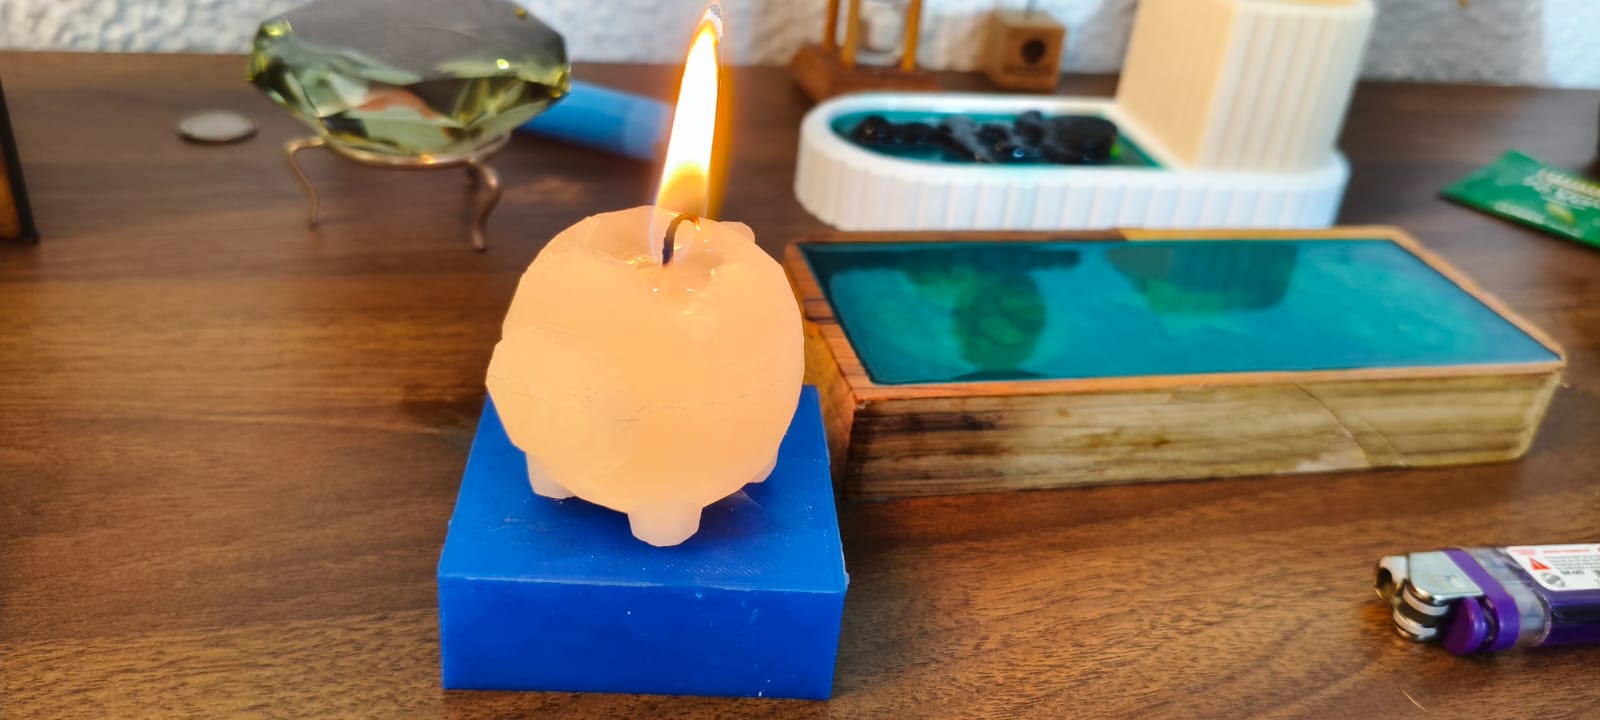
The wax casting process begins by melting the paraffin until it reaches a completely liquid state, usually between 46°C and 68°C, depending on the type of wax. Once melted, the wax is carefully poured into a prepared mold, in our case a plaster mold.
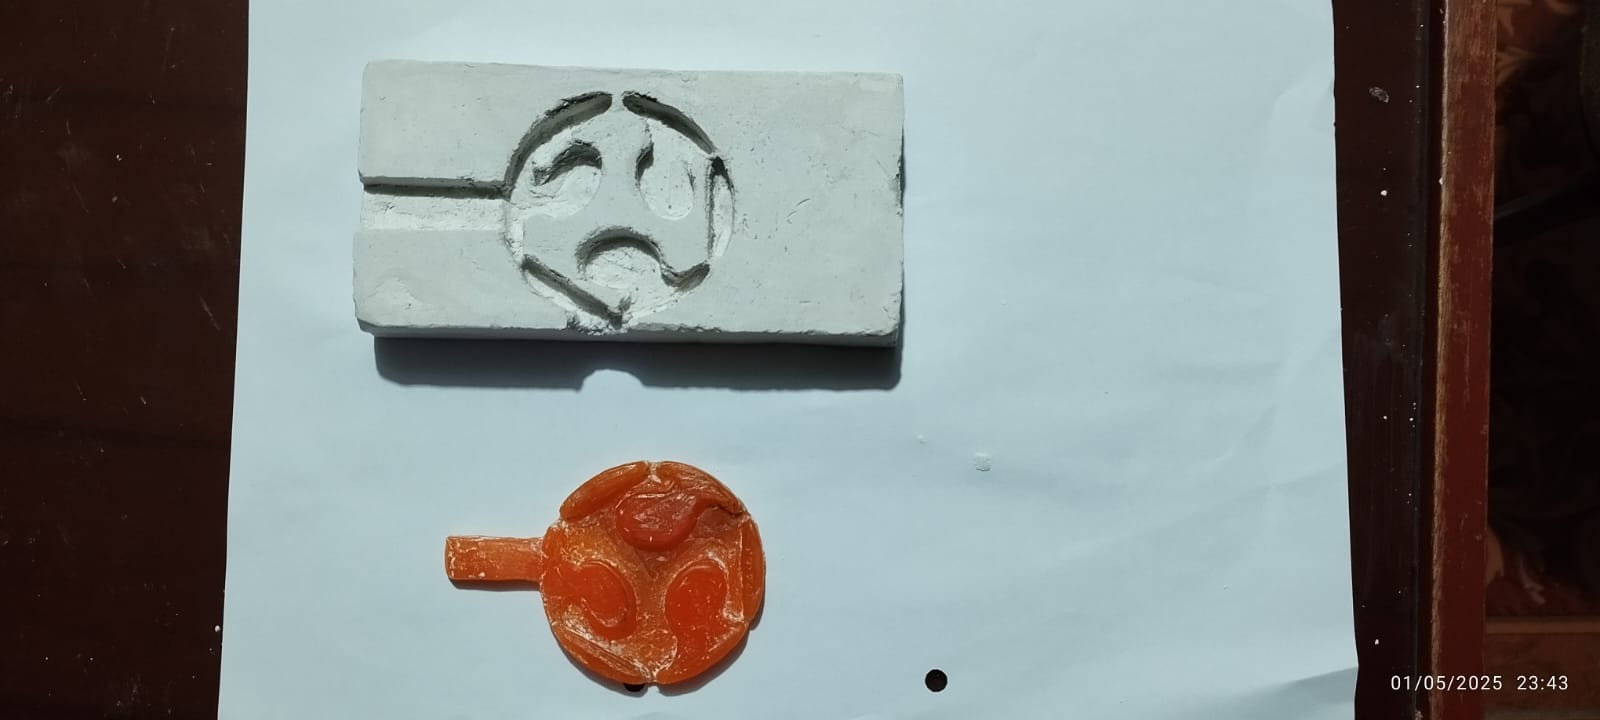
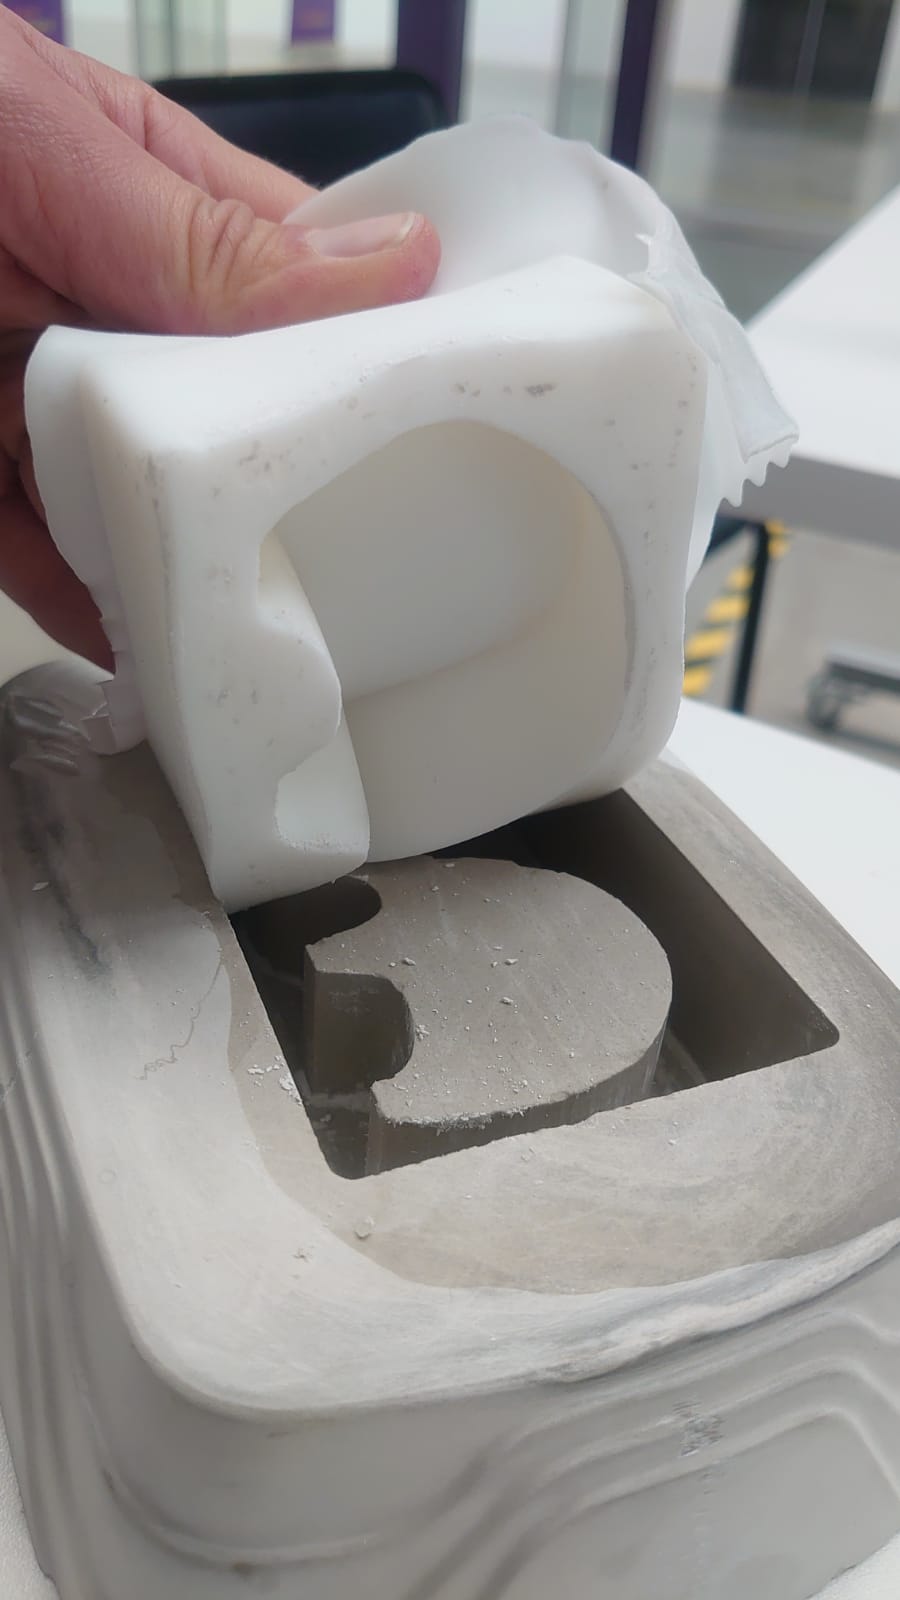
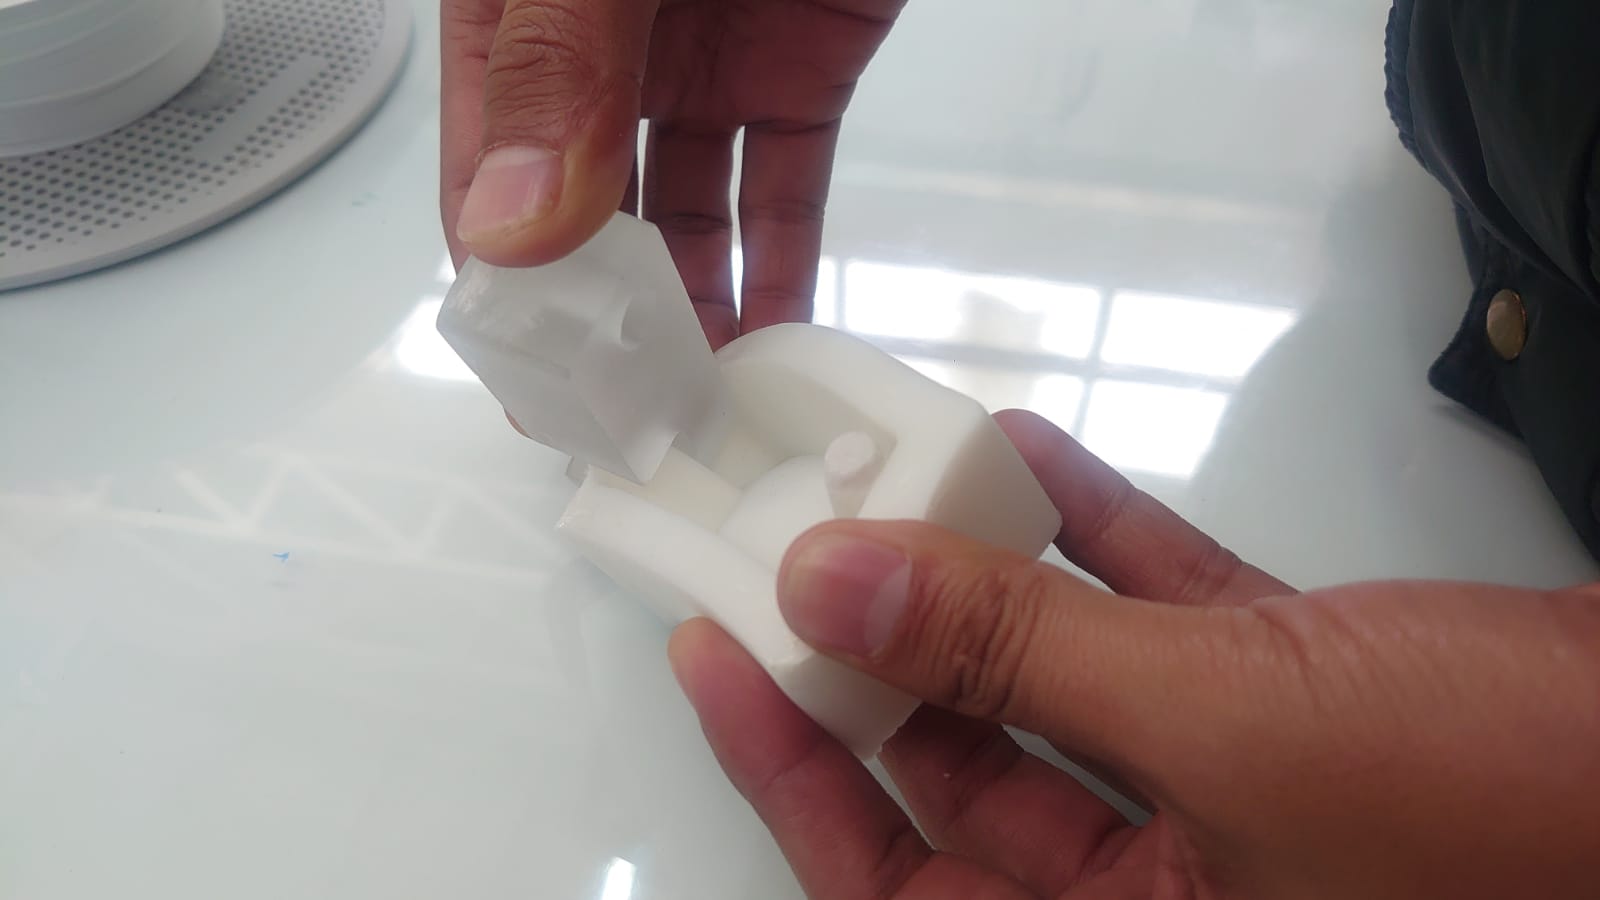
Once the wax has completely solidified inside the plaster mold, the wax model is carefully removed by peeling it away from the mold surface. This process requires caution to avoid damaging the delicate plaster mold or deforming the wax piece.
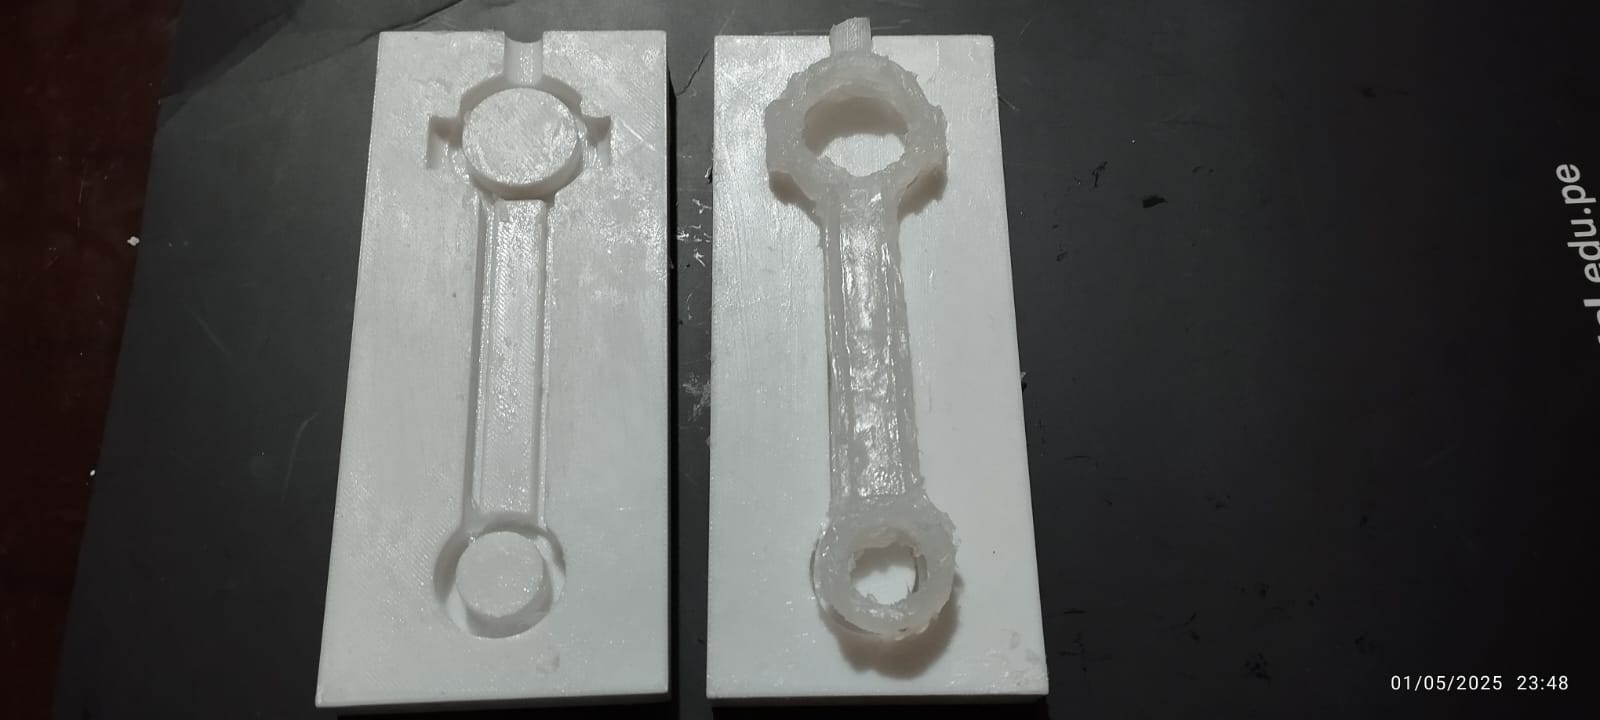
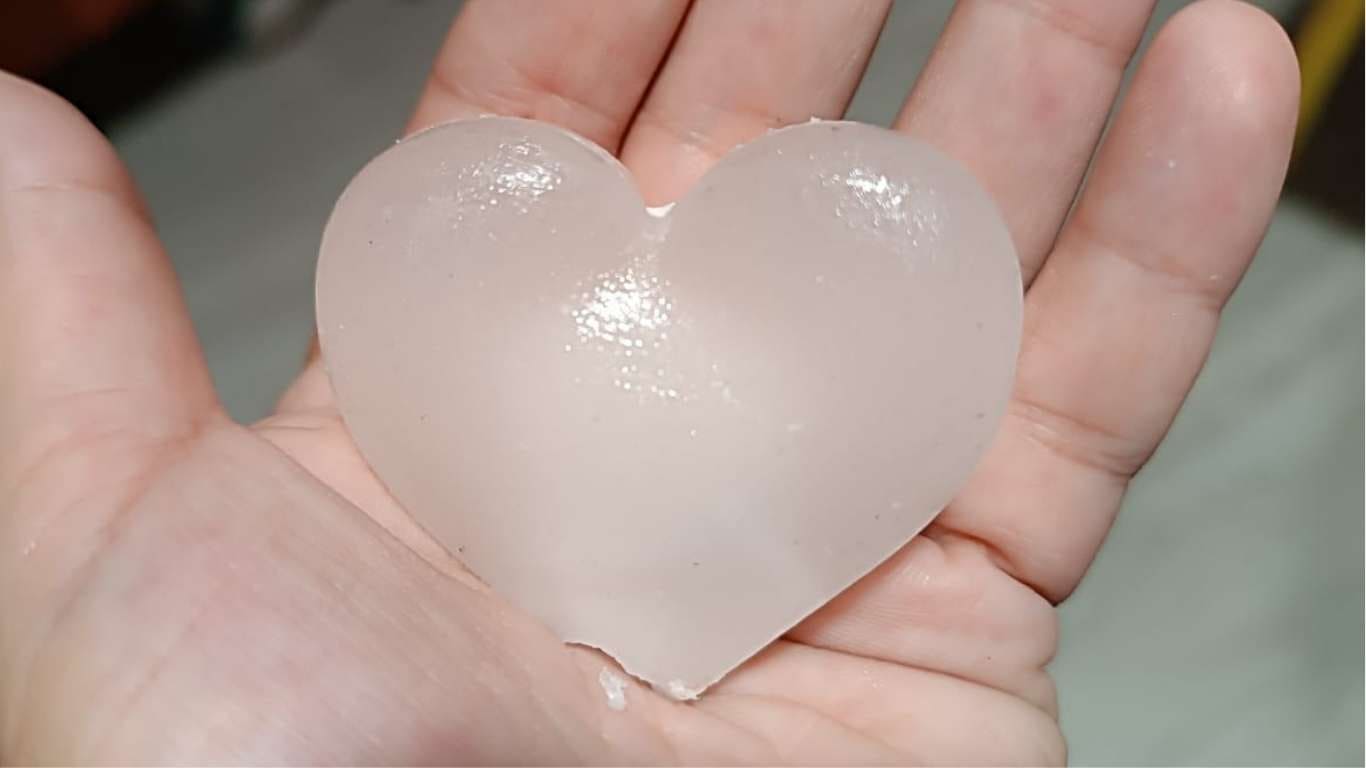
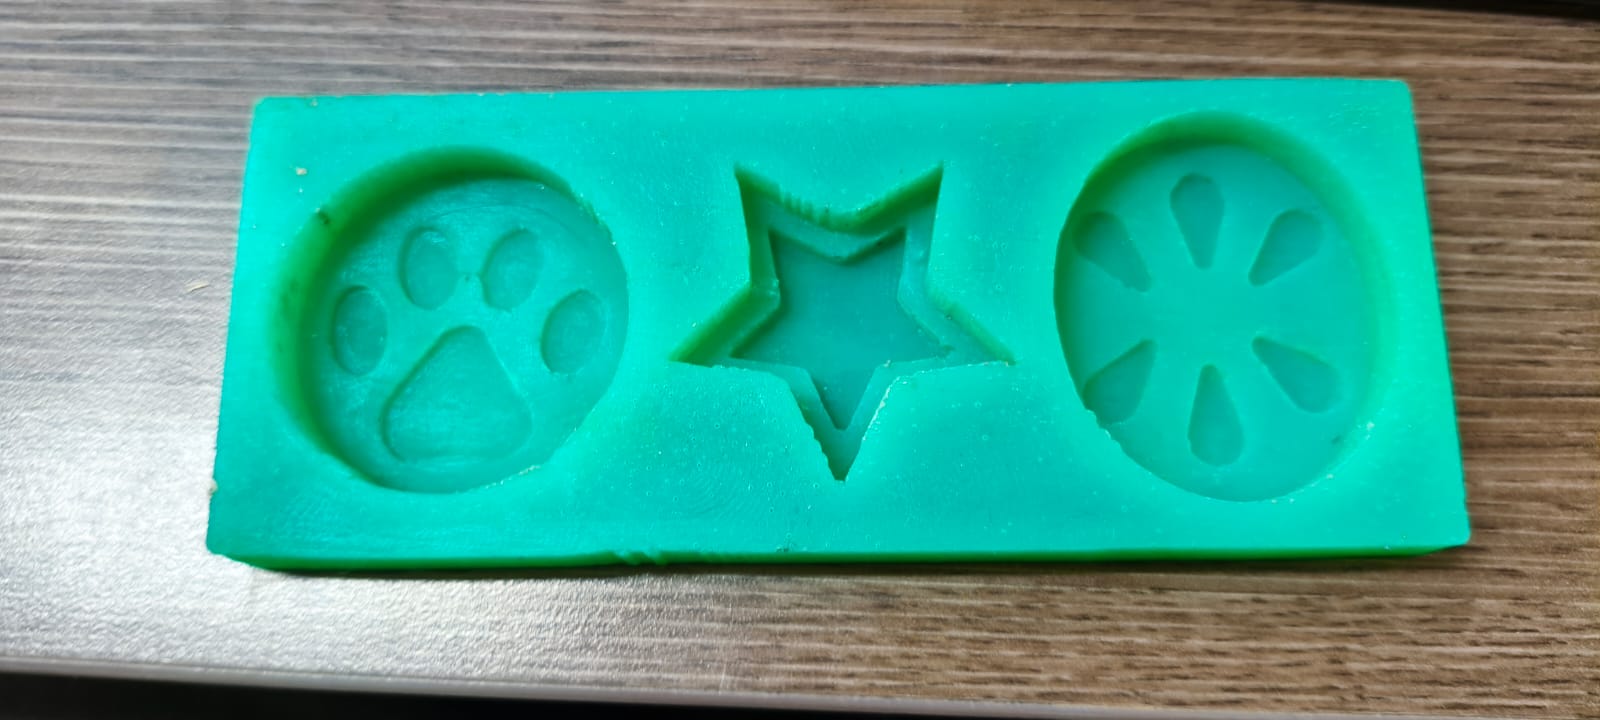
Our designed part turned out quite well, thanks to the elasticity of silicone, the printed molds allow for easy demolding without damaging delicate details. Furthermore, silicone parts exhibit good durability, chemical resistance, and temperature tolerance.
| Aspect | 3D Printing | CNC Milling |
|---|---|---|
| Manufacturing Method | Additive (builds layer by layer) | Subtractive (removes material from a solid block) |
| Design Complexity | High — easily handles complex and organic shapes | Limited — best for simpler geometries or requires complex toolpaths |
| Surface Finish | May need post-processing (sanding, coating) | Smoother finish achievable directly |
| Material Options | Primarily thermoplastics and resins | Wider range including metal, wood, wax, plastic |
| Production Speed | Faster for small and complex parts | Faster for simple geometries and larger volumes |
| Tool Access Limitations | None — can create enclosed/internal structures | Yes — limited by tool angles and reach |
| Durability of Mold | Depends on material (resin prints may be brittle) | Typically stronger, especially in hard materials |
| Cost | Lower for prototypes or one-off parts | Higher setup cost but efficient for repeated use |
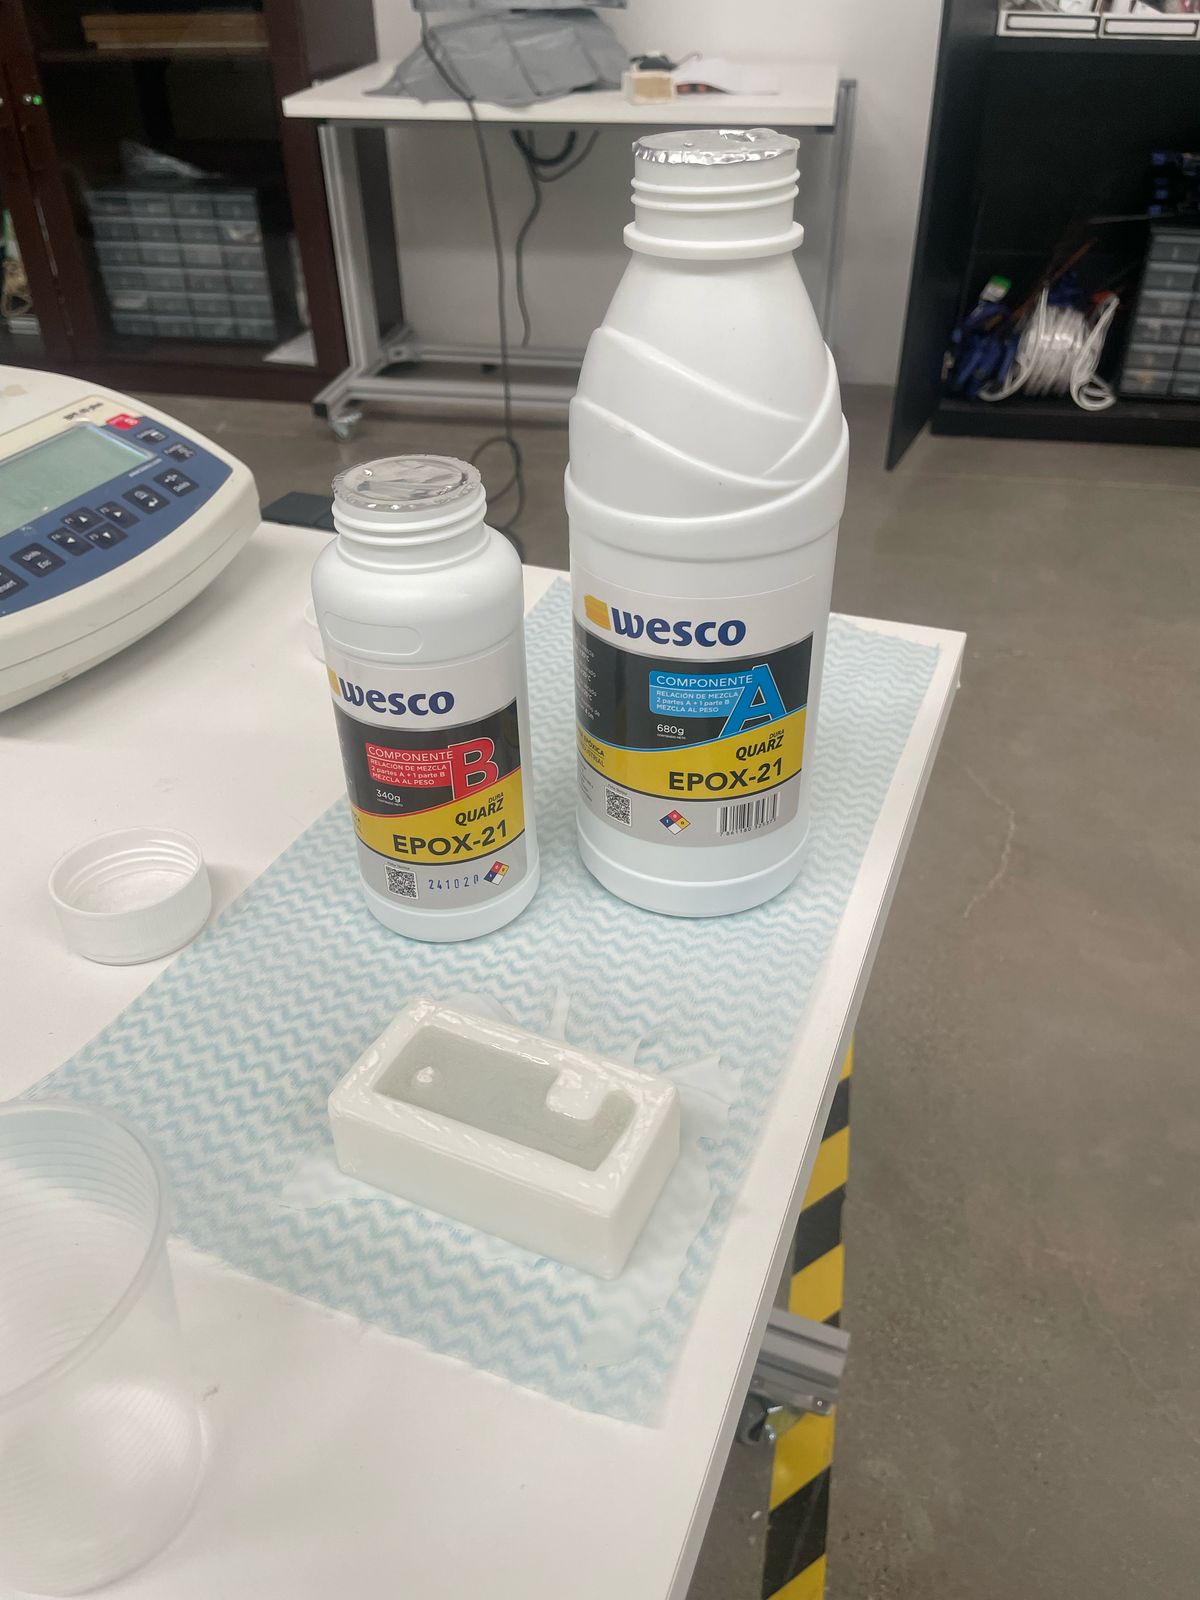
Objective: Apply molding and casting techniques using plaster, silicone rubber, and epoxy resin. Explore mold manufacturing methods and compare CNC machining vs. 3D printing.
We started the week by diving into the technical and safety data sheets of the three main materials we would use: plaster, silicone rubber, and epoxy resin. It was fascinating to discover how each one behaves differently in terms of mixing, curing, and safety.
We reviewed the safety and technical data sheets for plaster, silicone rubber, and epoxy resin. Each one had unique properties for mixing, curing, and handling. We also made comparison casts to analyze their behavior and results.
During our group work, we analyzed three essential materials used in molding and casting:
We examined the technical data sheets of each material, focusing on physical properties, mixing and curing times, and safety guidelines.
Composition: Calcium sulfate hemihydrate (CaSO₄·½H₂O).
Mix ratio: 80% plaster and 20% water, mixed until smooth and lump-free.
Drying time: Ideally 8 days, though we used it after 4 days due to time constraints.
Properties: Flexible, tear-resistant, excellent for capturing detail.
Curing time: 7 hours for solidification, 12 hours for complete drying.
Use: Applied inside silicone molds for final casting.
Working time: 20 hours to solidify, 72 hours for full cure.
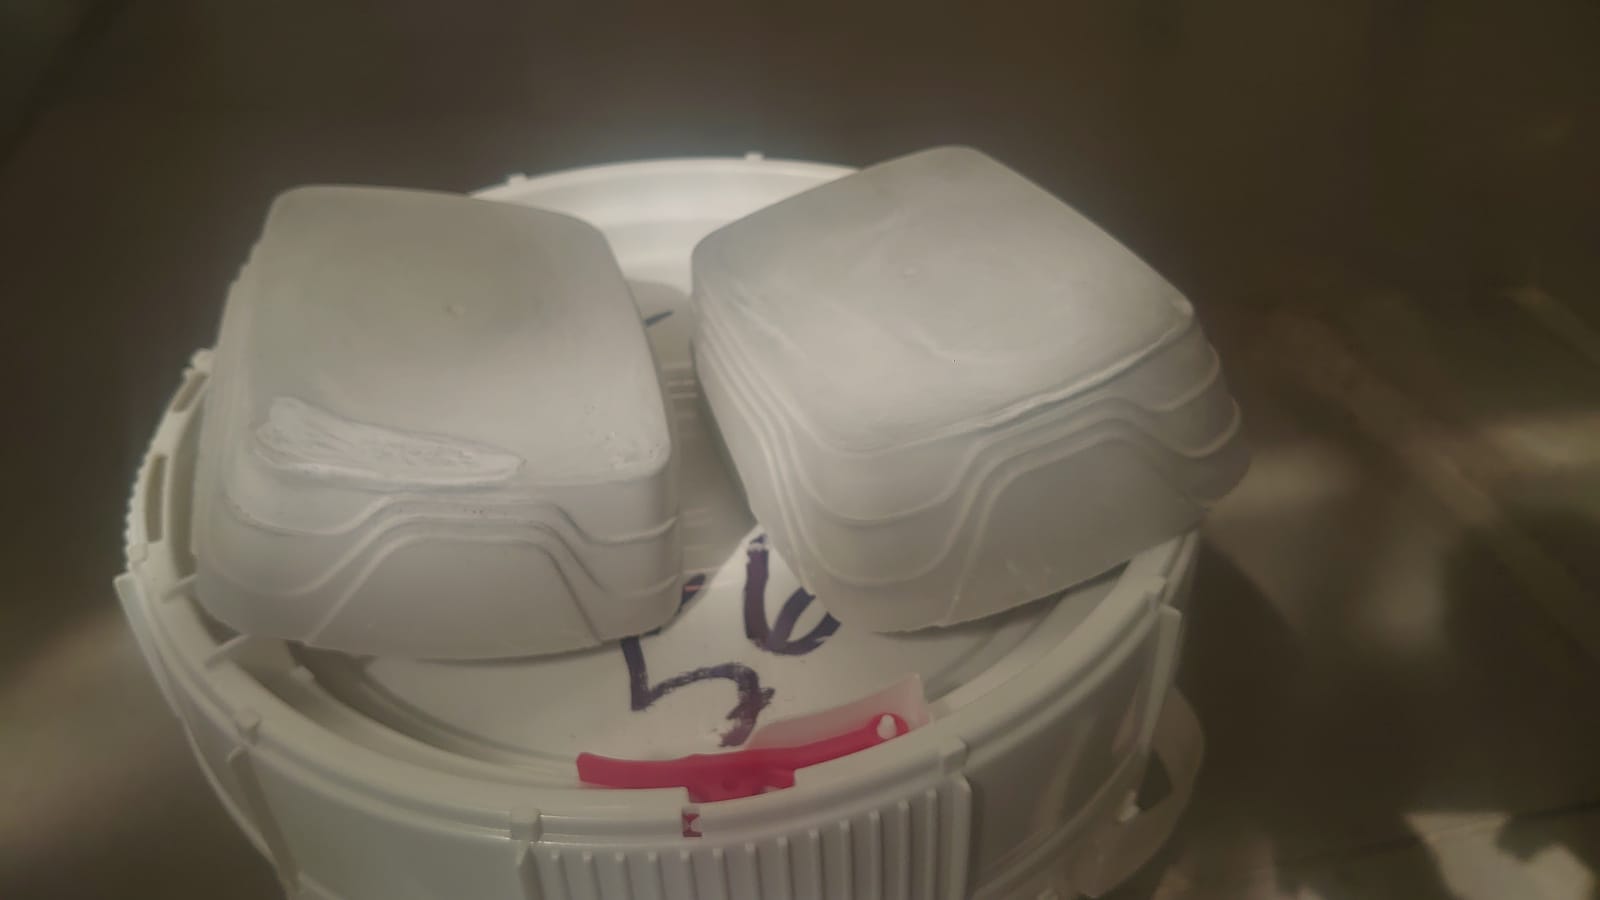
We started by preparing the plaster blocks with an 80/20 ratio of plaster to water. The mix was stirred until homogeneous, free of clumps or dry particles. We poured it into plastic molds and allowed it to dry.
The recommended drying time is 8 days; however, we accelerated the process to 4 days due to time constraints, which required extra care during handling.
Each team member selected a personal design:

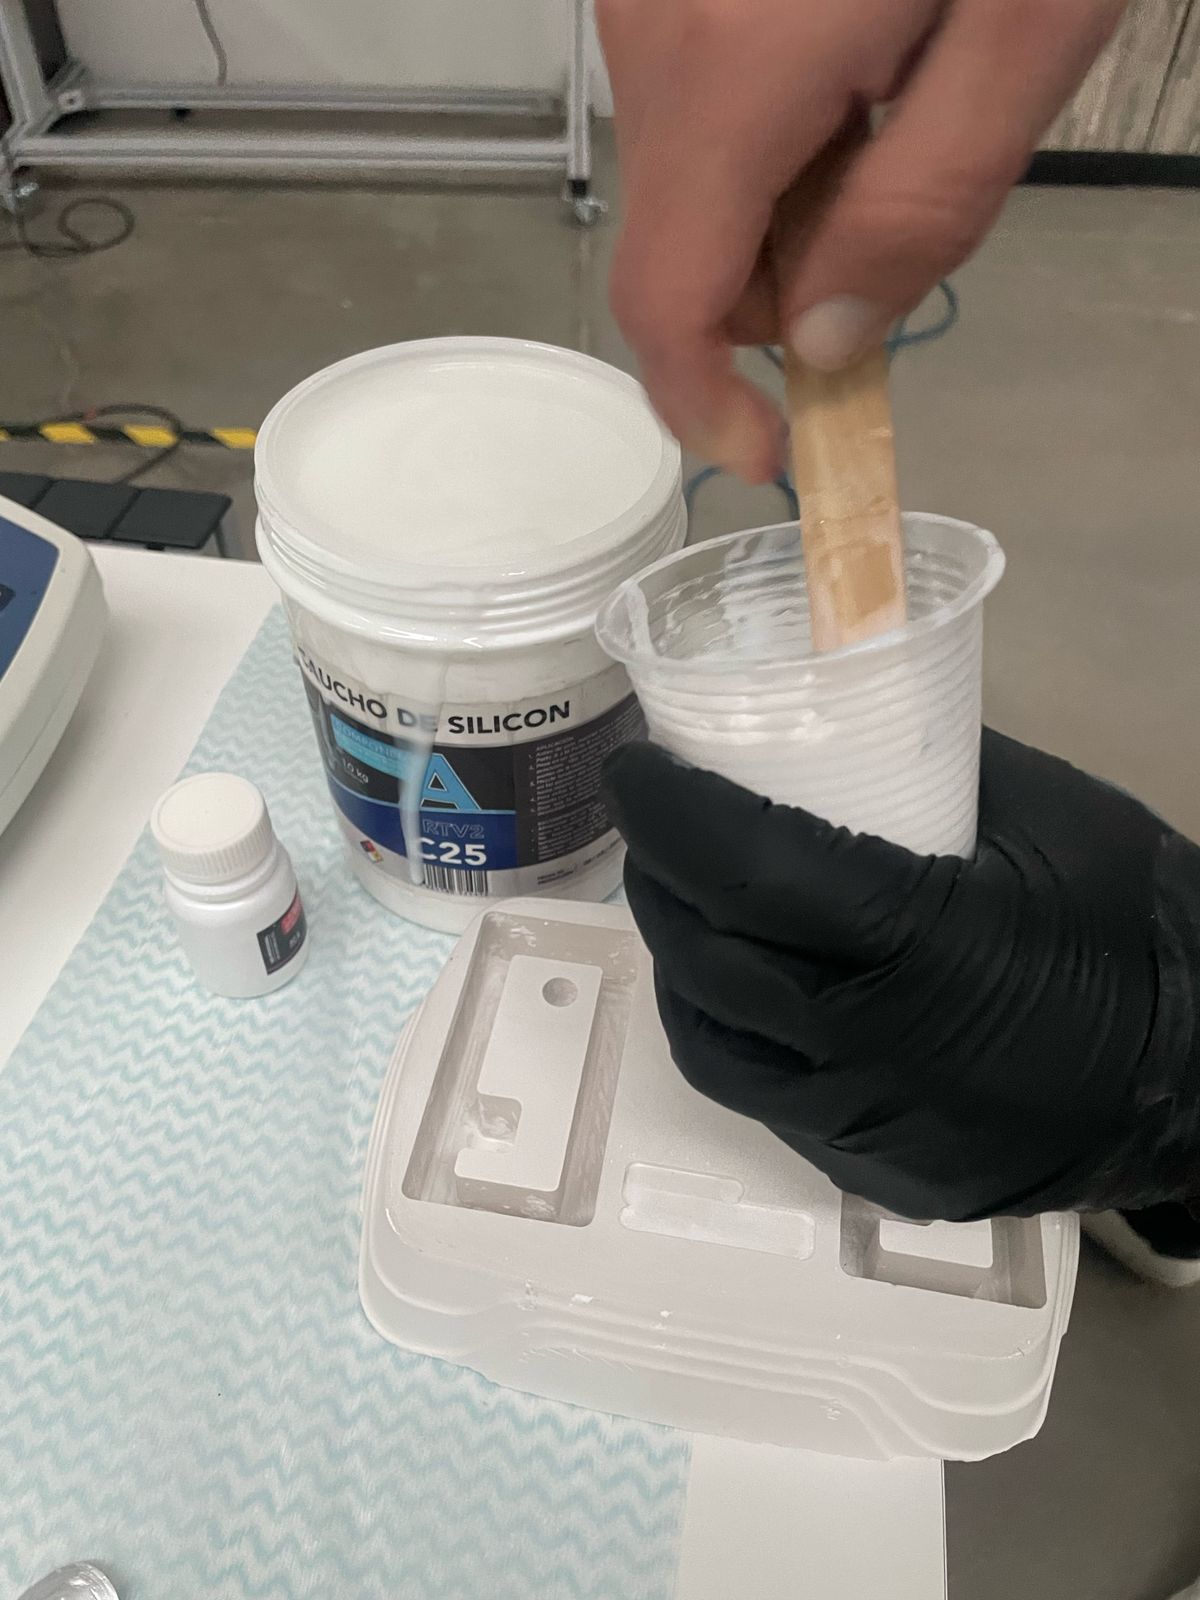
We poured silicone rubber over the machined models to create flexible molds. Technical data sheets indicated a solidification time of 7 hours and demolding readiness after 12 hours of curing.
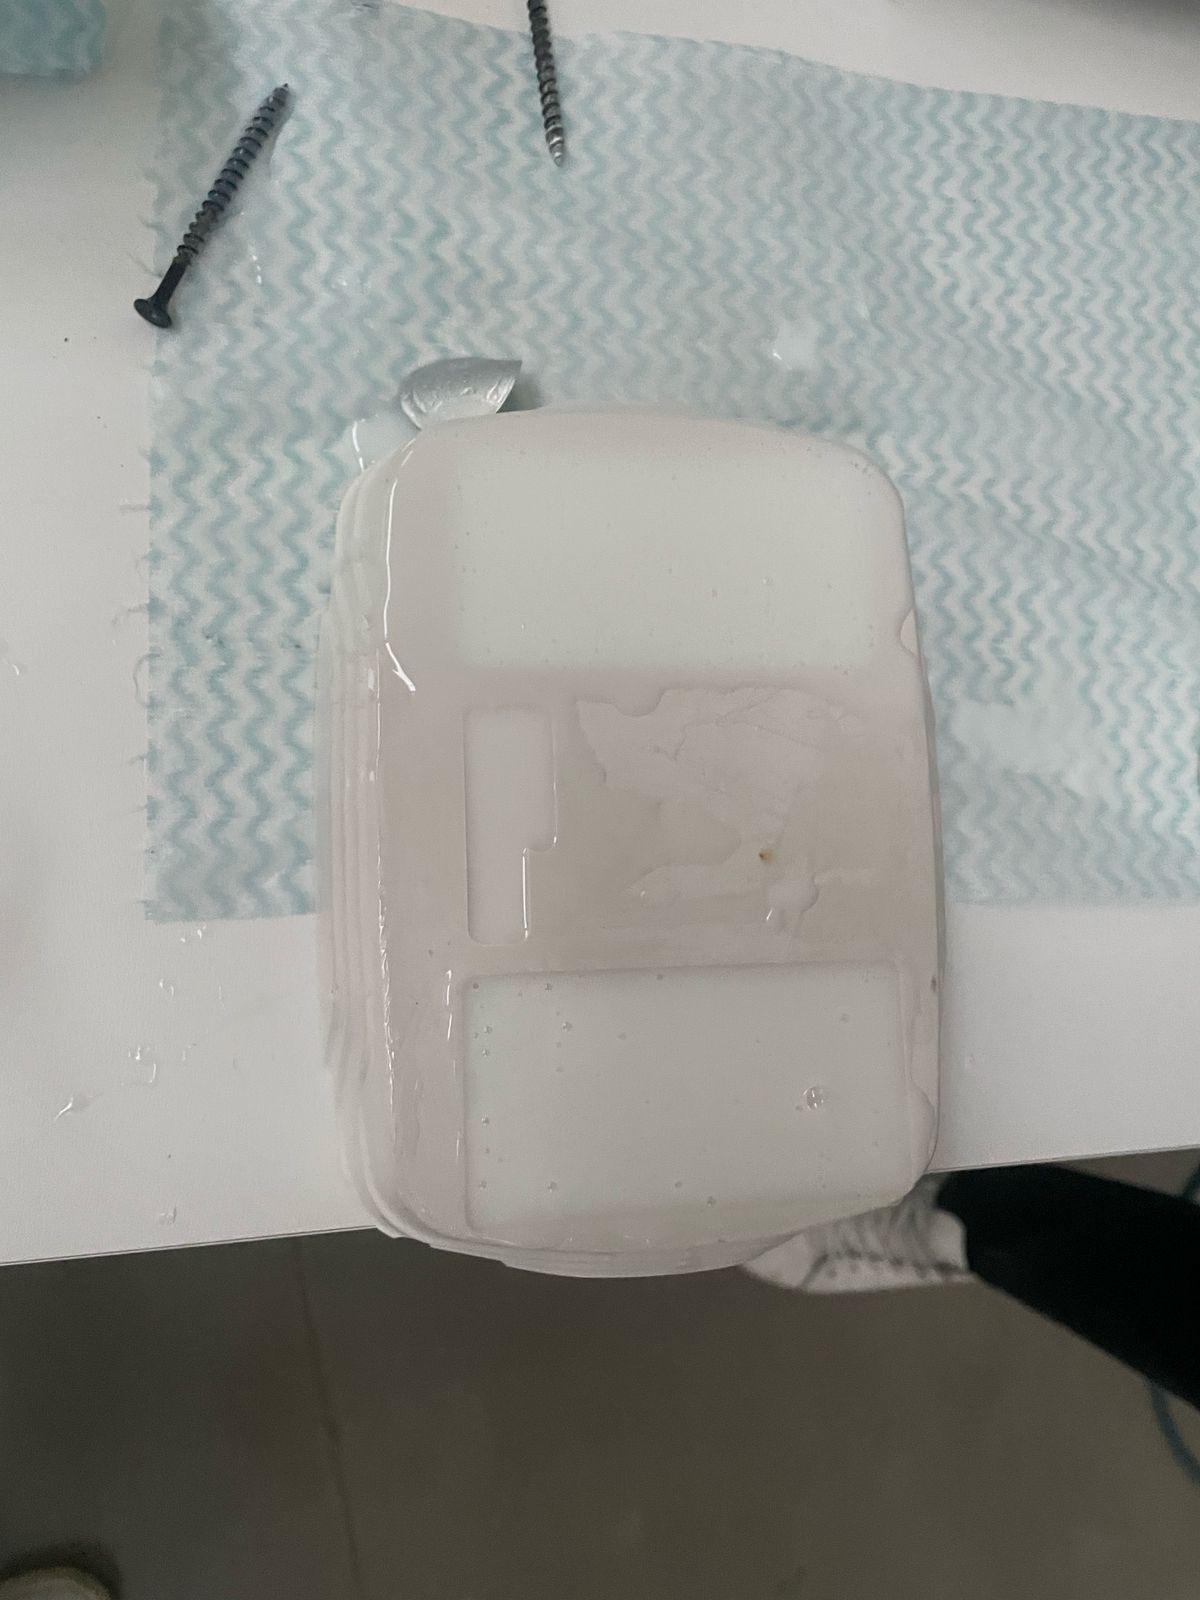
We cast epoxy resin into the silicone molds. The resin has a 20-hour solidification period and requires a full 72 hours to cure completely.
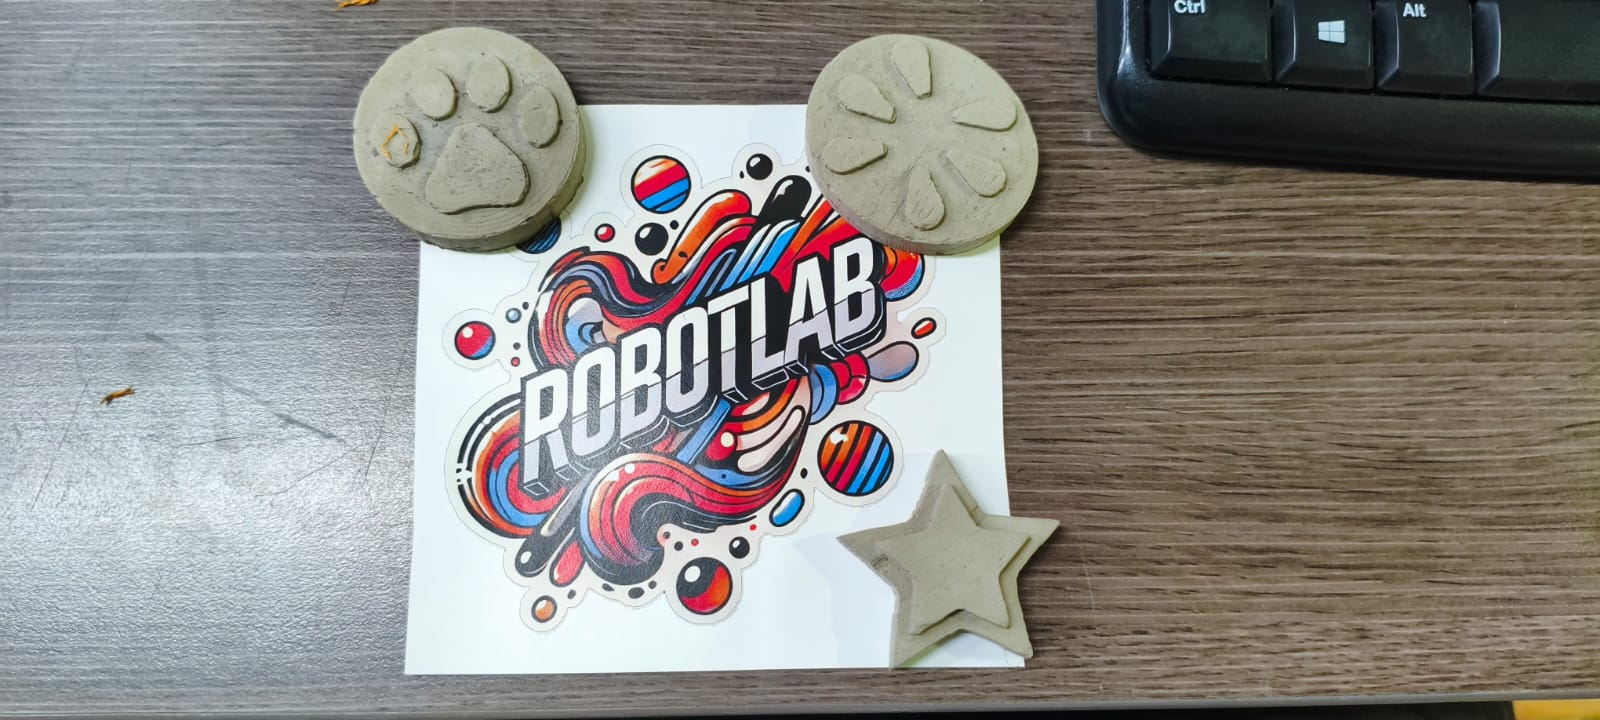
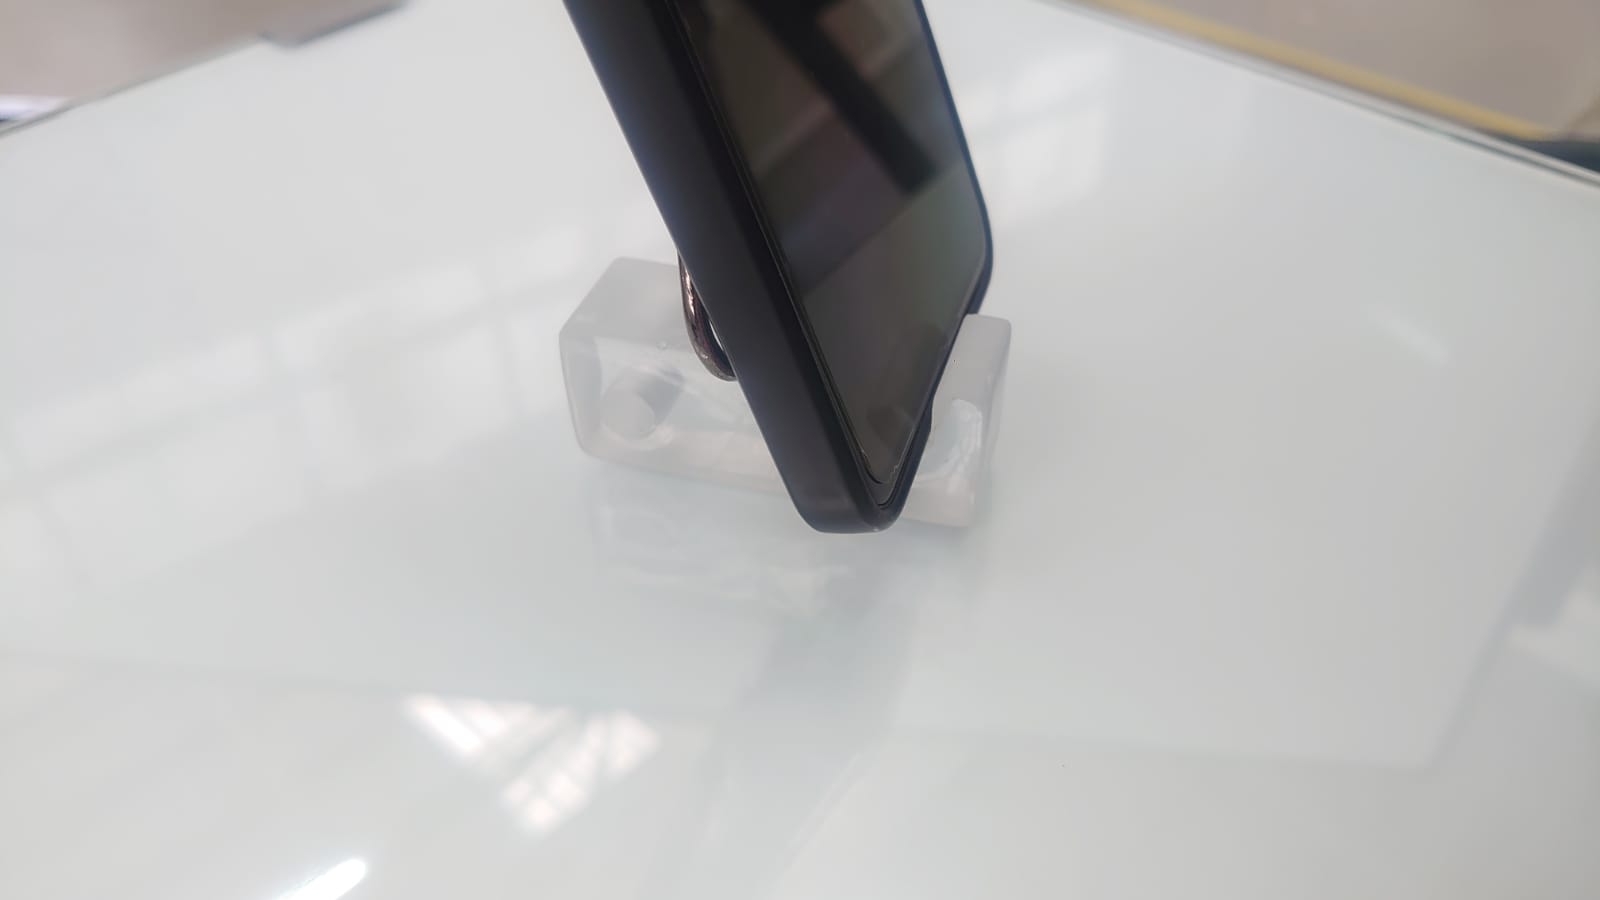
The final products were:
| Aspect | 3D Printing | CNC Machining (used) |
|---|---|---|
| Detail Precision | Very High | High (tool-limited) |
| Production Time | Slow (depending on model) | Moderate |
| Material Cost | High (filaments) | Low (plaster) |
| Mold Reusability | Limited | High with silicone molds |
| Versatility | High (complex forms) | Medium (simple geometries) |
This technical analysis was key for selecting and applying the materials properly. Reviewing the data sheets ensured that the molding and casting process during Week 13 was both safe and efficient, allowing us to produce functional and well-formed pieces.
This group project allowed us to explore and understand the complete workflow of molding and casting, from material preparation to final product fabrication. Through hands-on experimentation with plaster, silicone rubber, and epoxy resin, we gained valuable insights into the properties, behavior, and handling requirements of each material.
By dividing responsibilities and working collaboratively, we not only produced two functional and detailed resin pieces—a figurative elephant and a structural support—but also reinforced our ability to manage timelines, follow technical datasheets, and adapt when faced with time constraints.
The comparison between CNC machining and 3D printing as mold fabrication methods also enriched our understanding of digital fabrication strategies, allowing us to weigh the pros and cons of each depending on the design and production context.