Week 7. Computer controlled machining

  1. Group Assignment
  2. For this assignment, we worked as a team to understand, test, and document our experience with CNC machining. The key tasks were:

    • Complete our lab's safety training.
    • Test runout, alignment, fixturing, speeds, feeds, materials, and toolpaths for our CNC machine.
    • Document the process on our group work page.
    • Reflect on our individual learning experiences.
  3. Individual Assignment
    • Each of us had to design, mill, and assemble something big! This project allowed us to apply what we learned in a hands-on way, ensuring we understood the design-to-production workflow.

Our CNC Adventure: Learning, Testing, and Building

1. The First Step: Lab Safety

Before diving into the CNC machine, we had to make sure we weren’t risking life and limb. Safety first! We geared up with protective goggles, gloves, and dust masks. We also took the time to learn emergency procedures and how to handle tools correctly. No one wants a CNC mishap!

2. Setting Up for Success: Runout, Alignment, and Fixturing

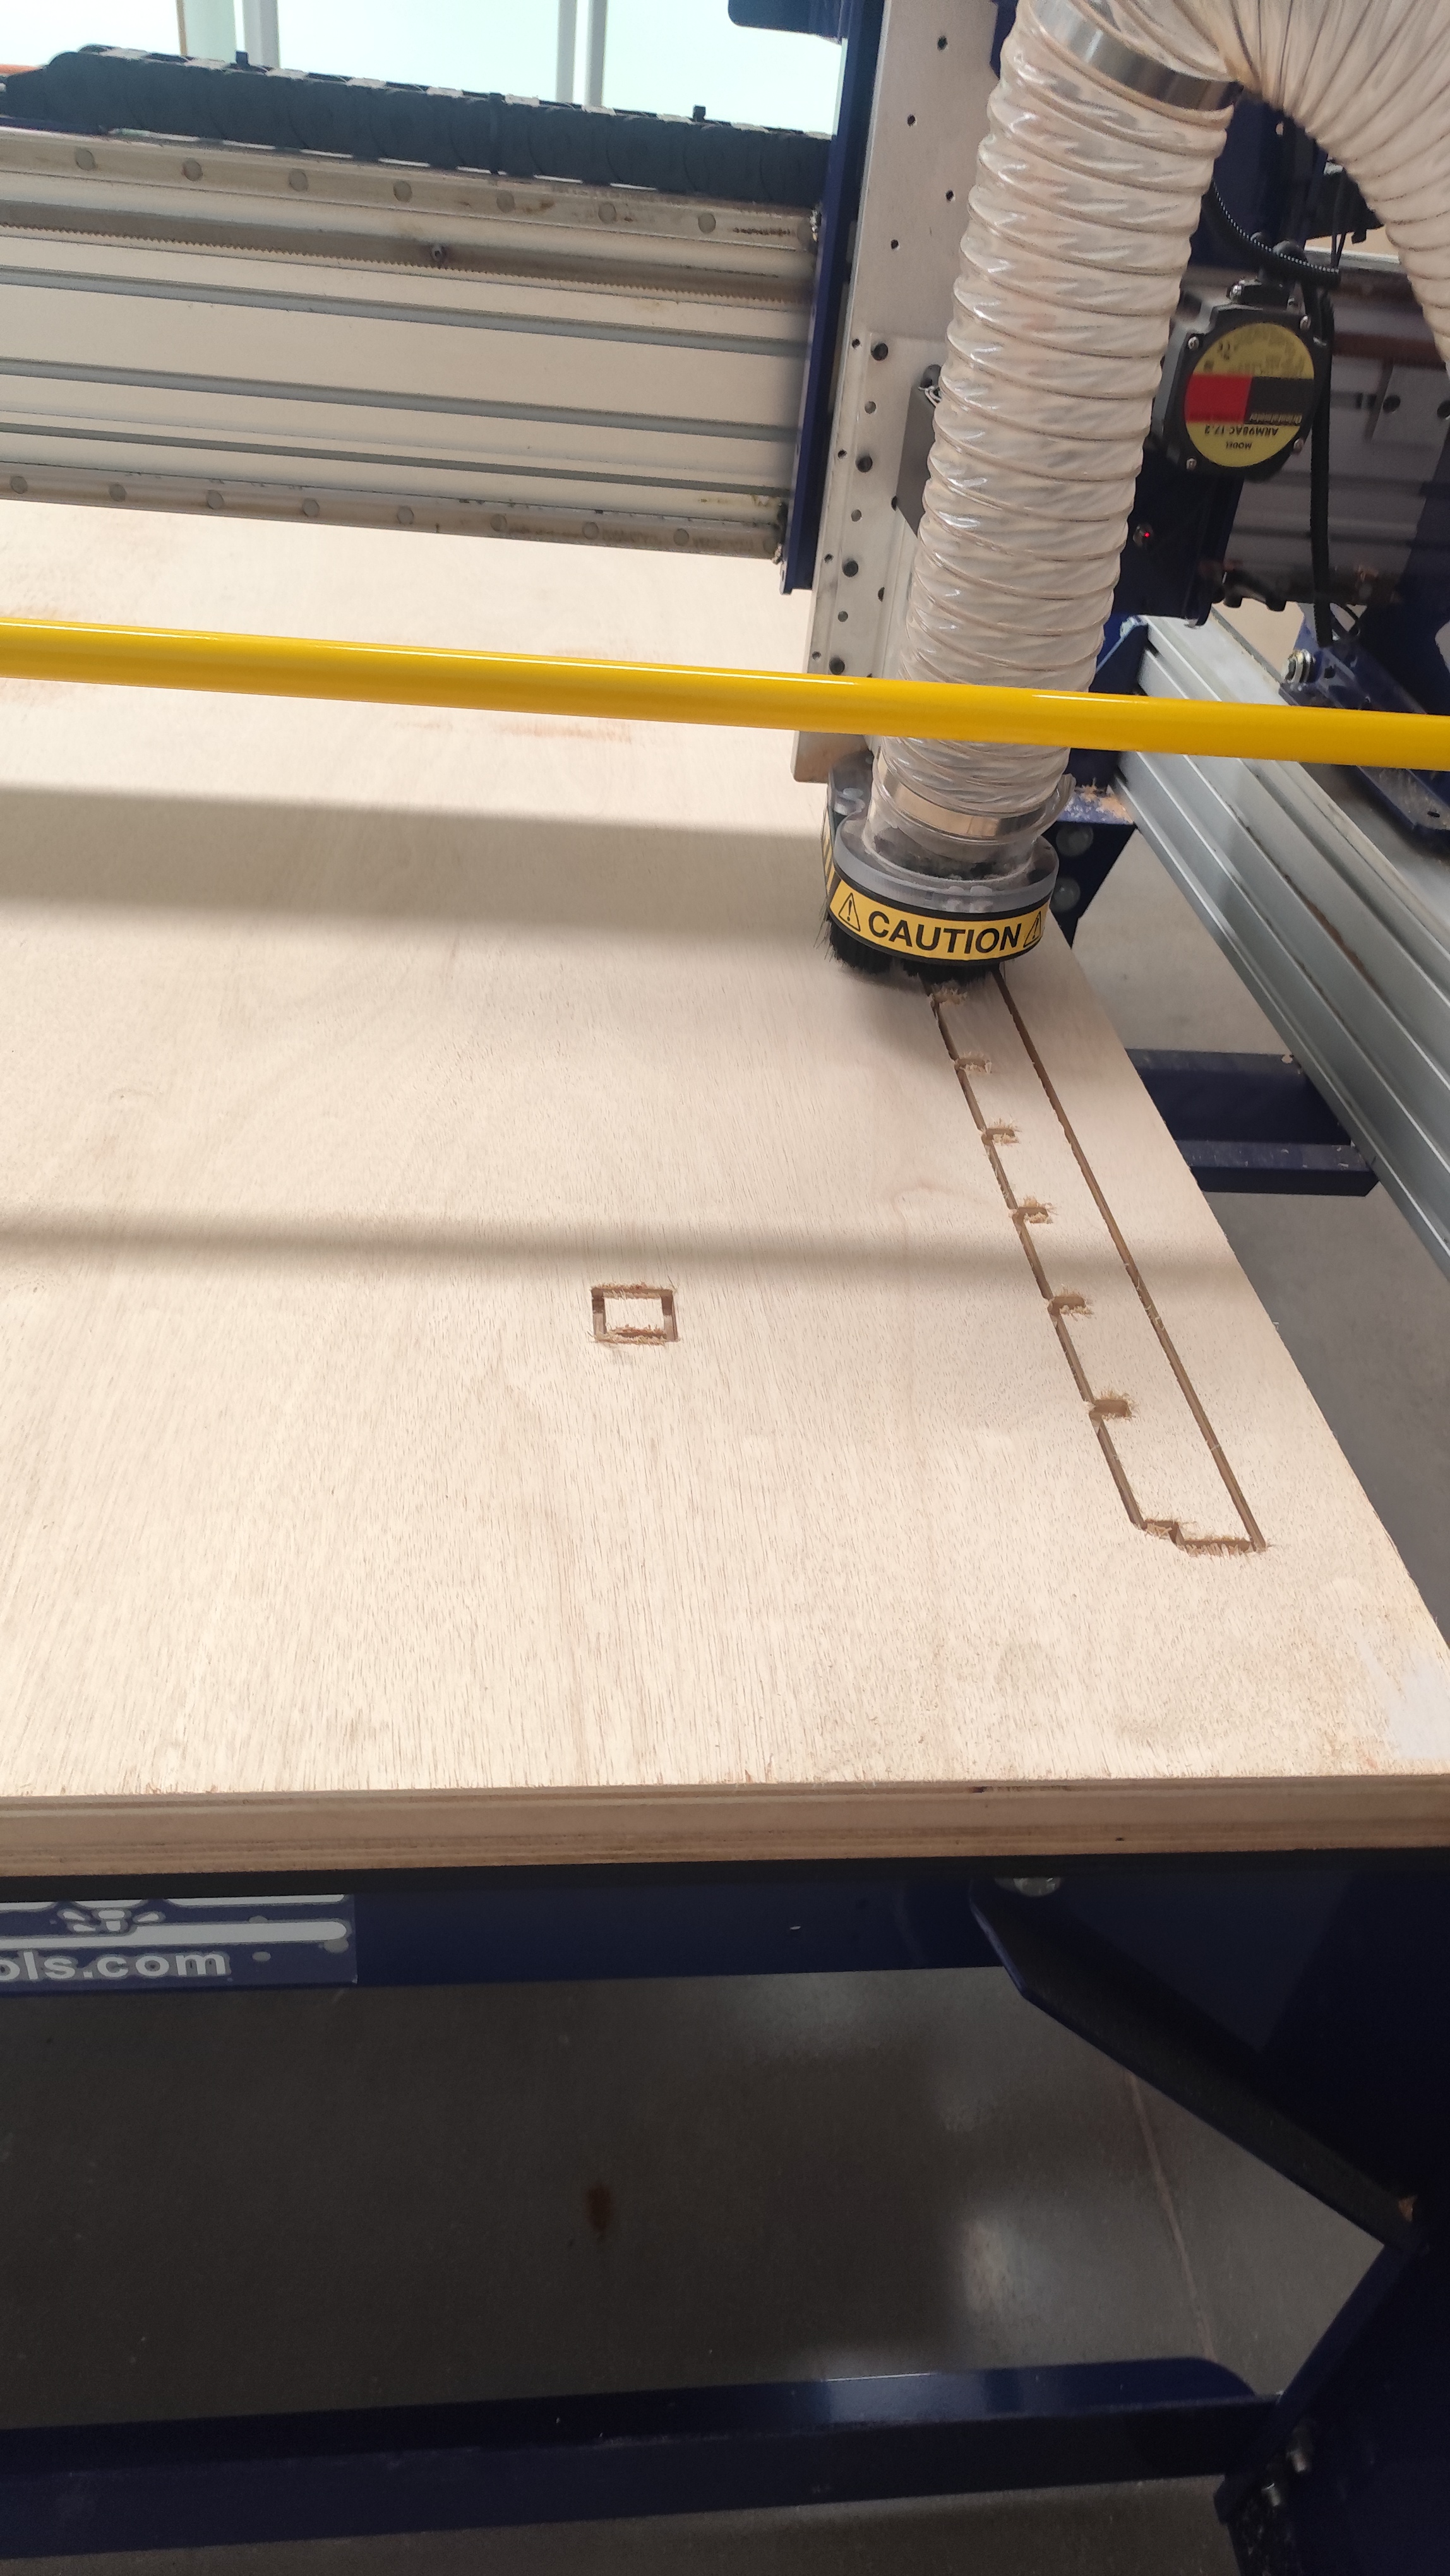
We wanted our cuts to be as precise as possible, so we started by checking the machine’s runout. Using a dial indicator, we made sure everything was within 0.01mm of perfection. We carefully aligned our 9mm plywood on the work table, adjusting it with stops and clamps to ensure zero movement. This step saved us from frustration later on!
Runout and Alignment Check

3. Finding the Perfect Cut: Speeds, Feeds, and Toolpaths

Now came the exciting part: setting up the machine! We chose a 6mm straight-cut end mill and programmed our speeds and feeds:

  • Spindle Speed: 12,000 RPM
  • Feed Rate: 2000 mm/min
  • Depth per Pass: 3 mm
  • Stepover: 50% of the tool diameter
  • Cutting Direction: Climb milling for smoother results

4. Designing and Building Something Awesome

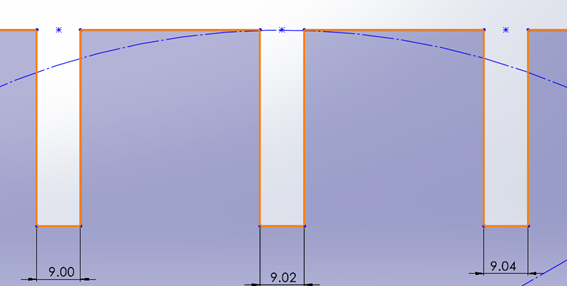
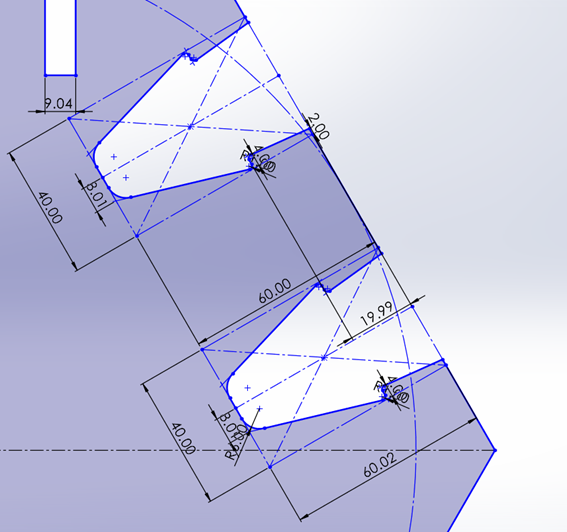
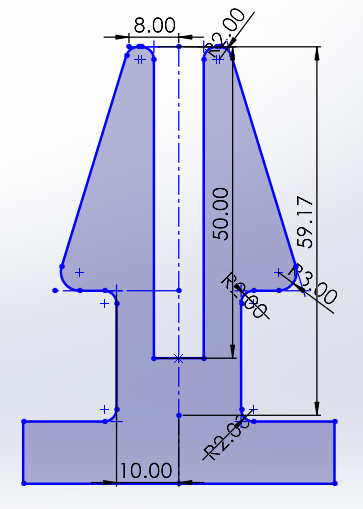
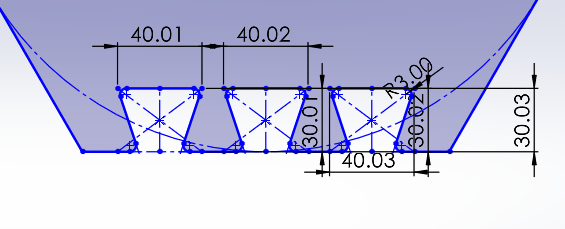
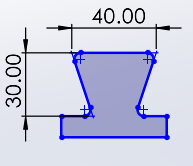
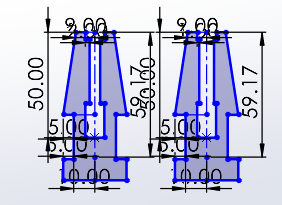
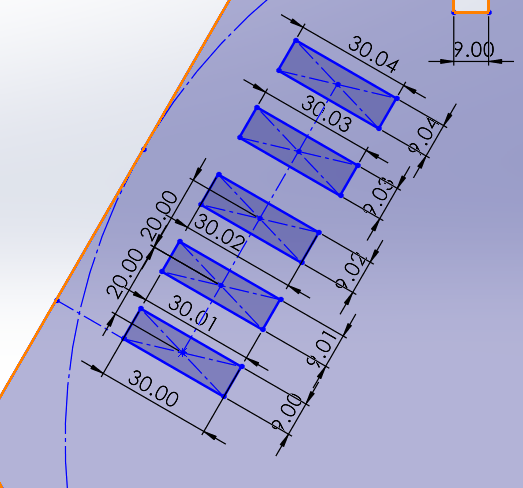
Using SolidWorks, we designed different types of joints to test. Each one had its own personality and challenge:

  • Standard Fit: Simple cut to test how snug the pieces would fit together.
  • Press-Fit with Teeth: This one had tiny interlocking notches for extra hold.
  • Anchored Joint: We added an extra locking system for a stronger bond.
  • Press-Fit with Reinforcement: A channel and additional teeth made this one the most secure.
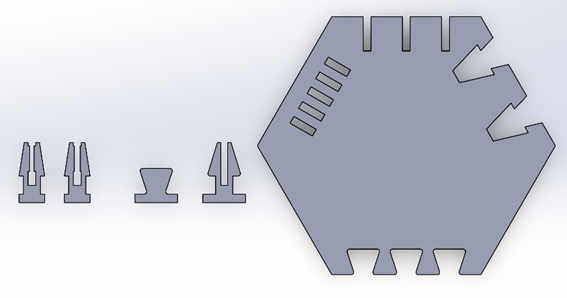
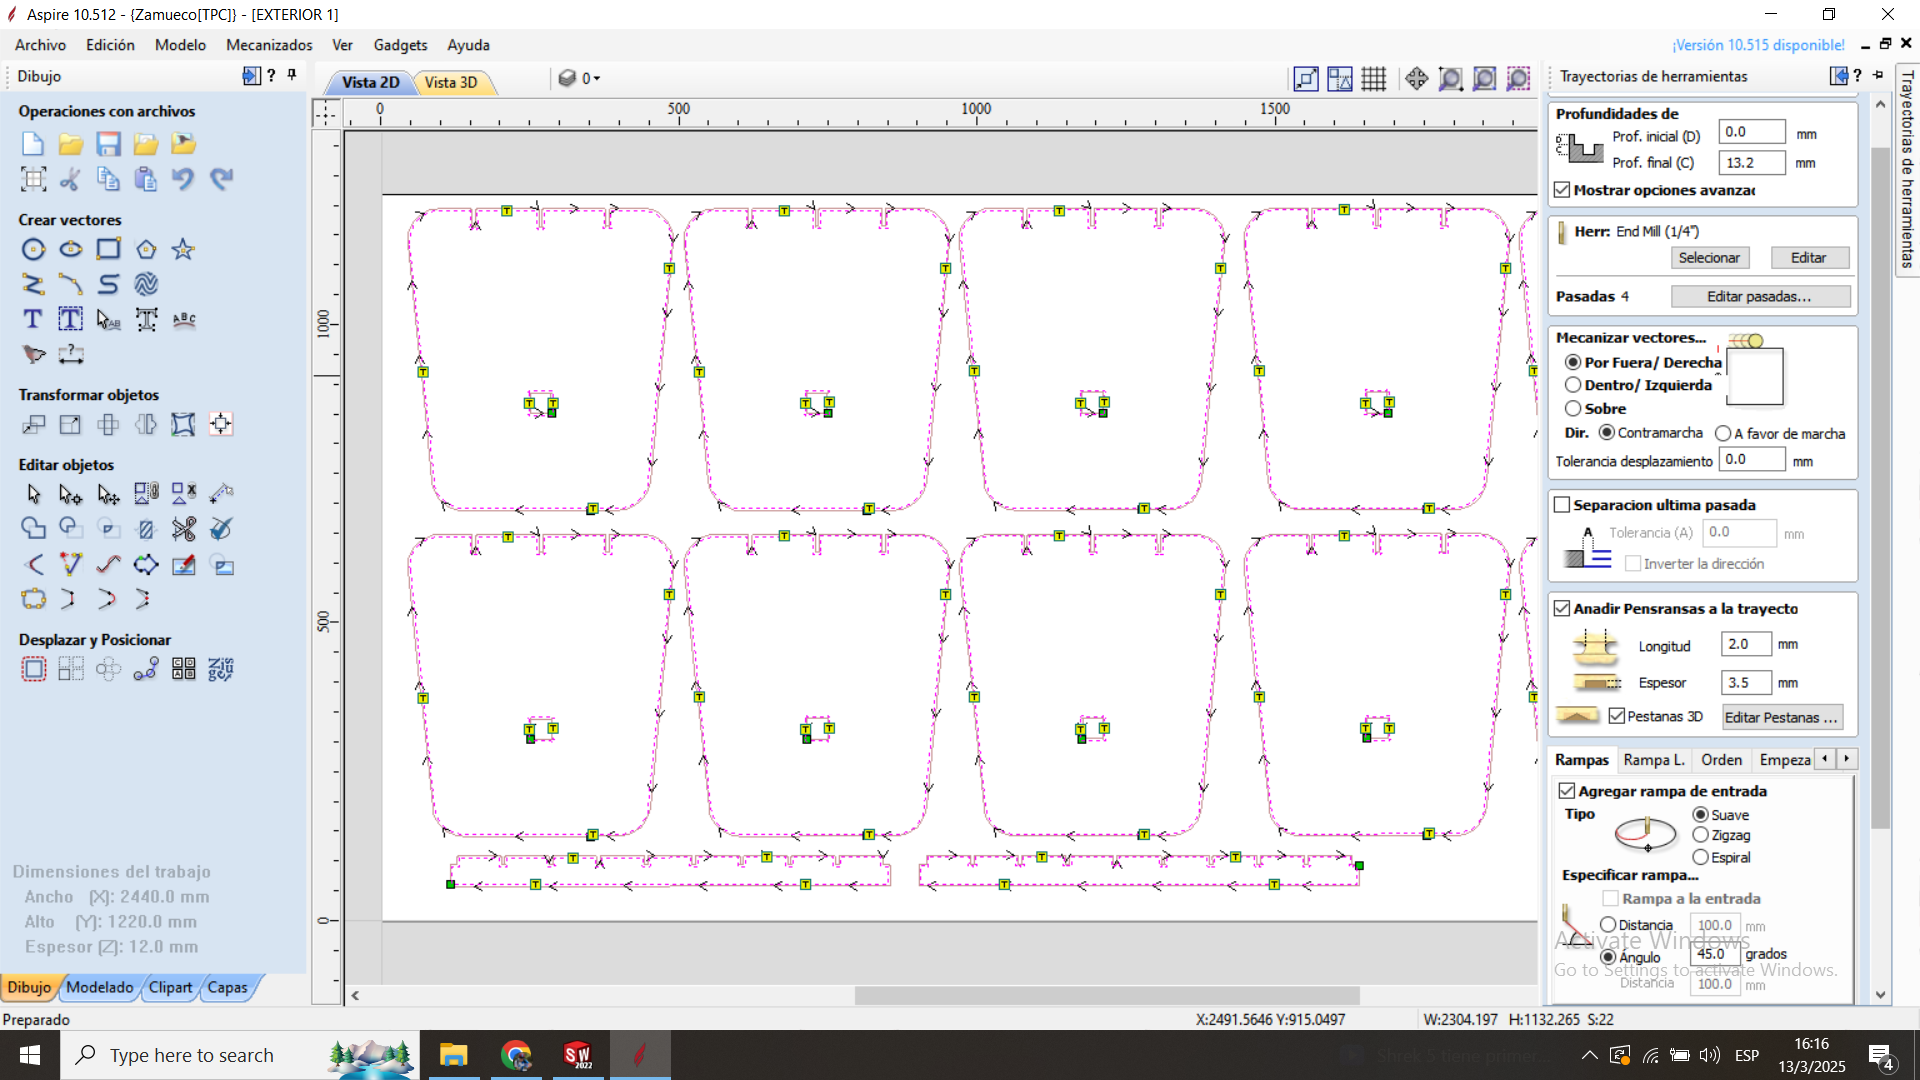
Toolpath and Cutting Parameters Toolpath and Cutting Parameters Toolpath and Cutting Parameters Joint Design Toolpath and Cutting Parameters Toolpath and Cutting Parameters Toolpath and Cutting Parameters Toolpath and Cutting Parameters

Once the design was ready, we ran a test cut on scrap material to make sure everything was perfect. Then, we watched as the CNC machine did its magic, carefully cutting each piece.
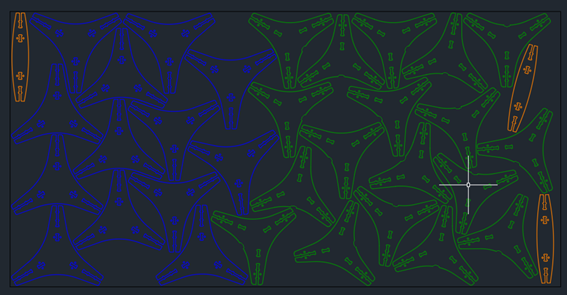
Toolpath and Cutting Parameters

5. The Big Moment: Assembly

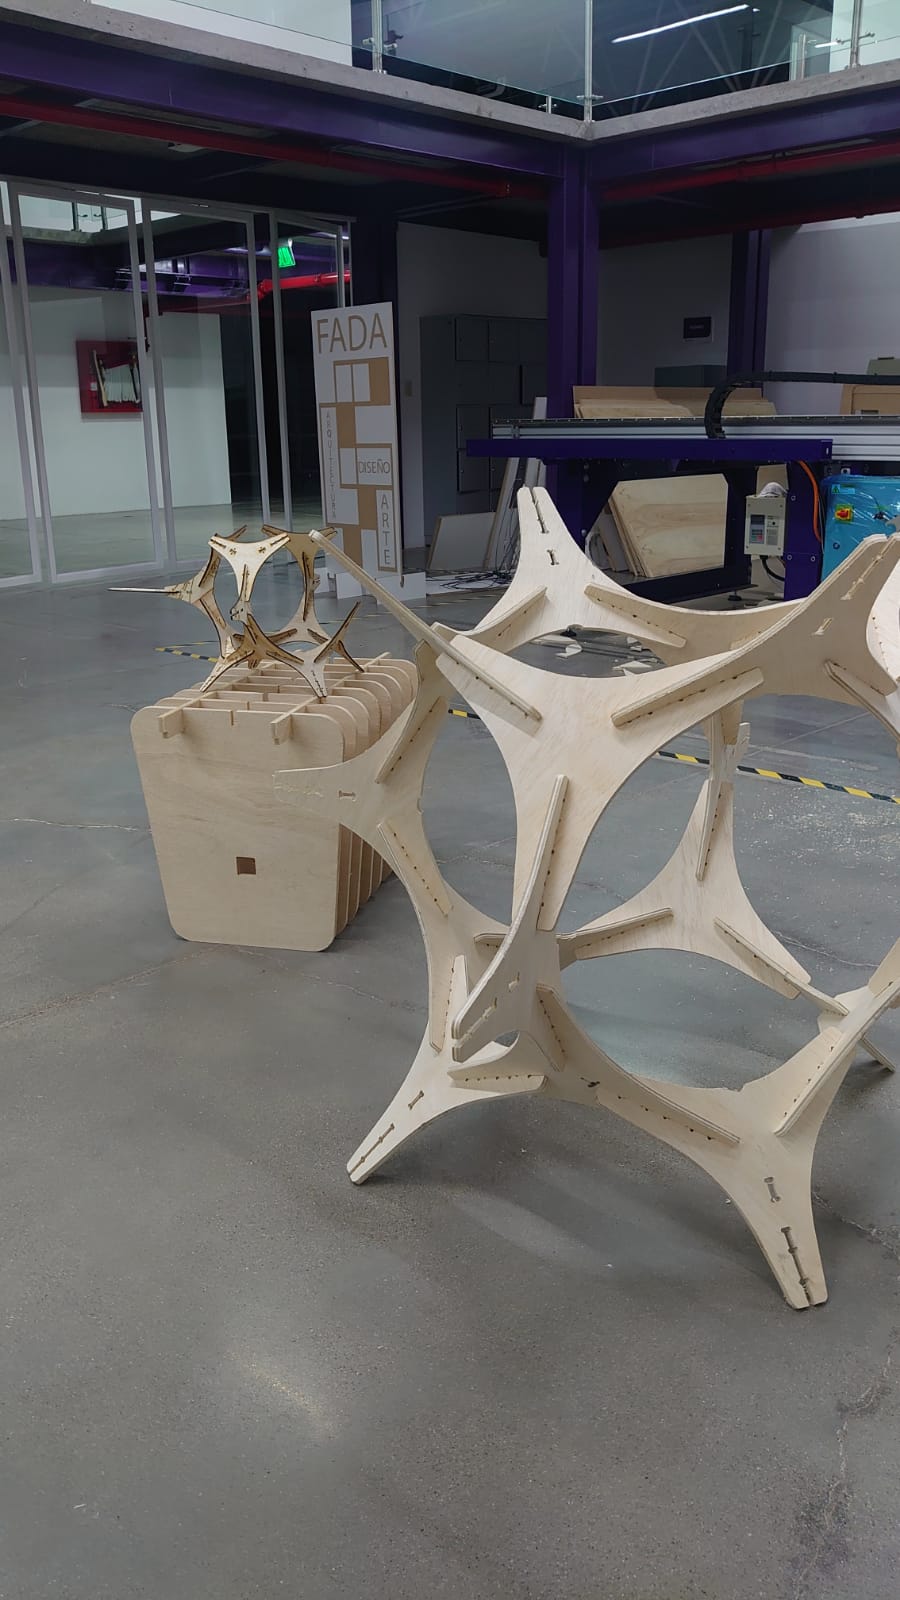
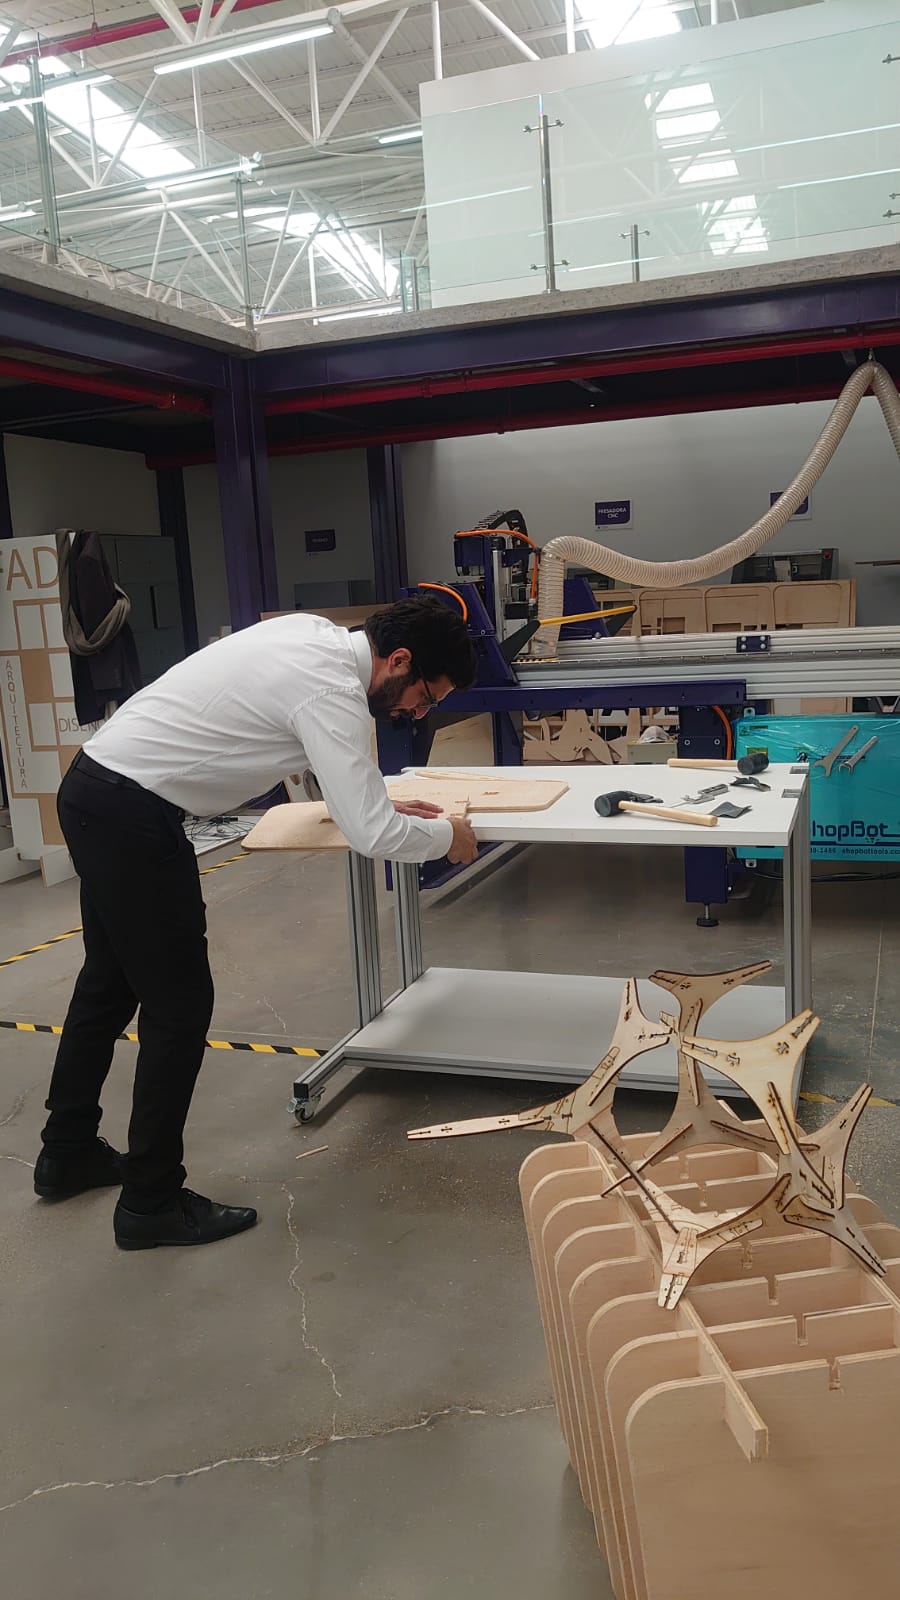
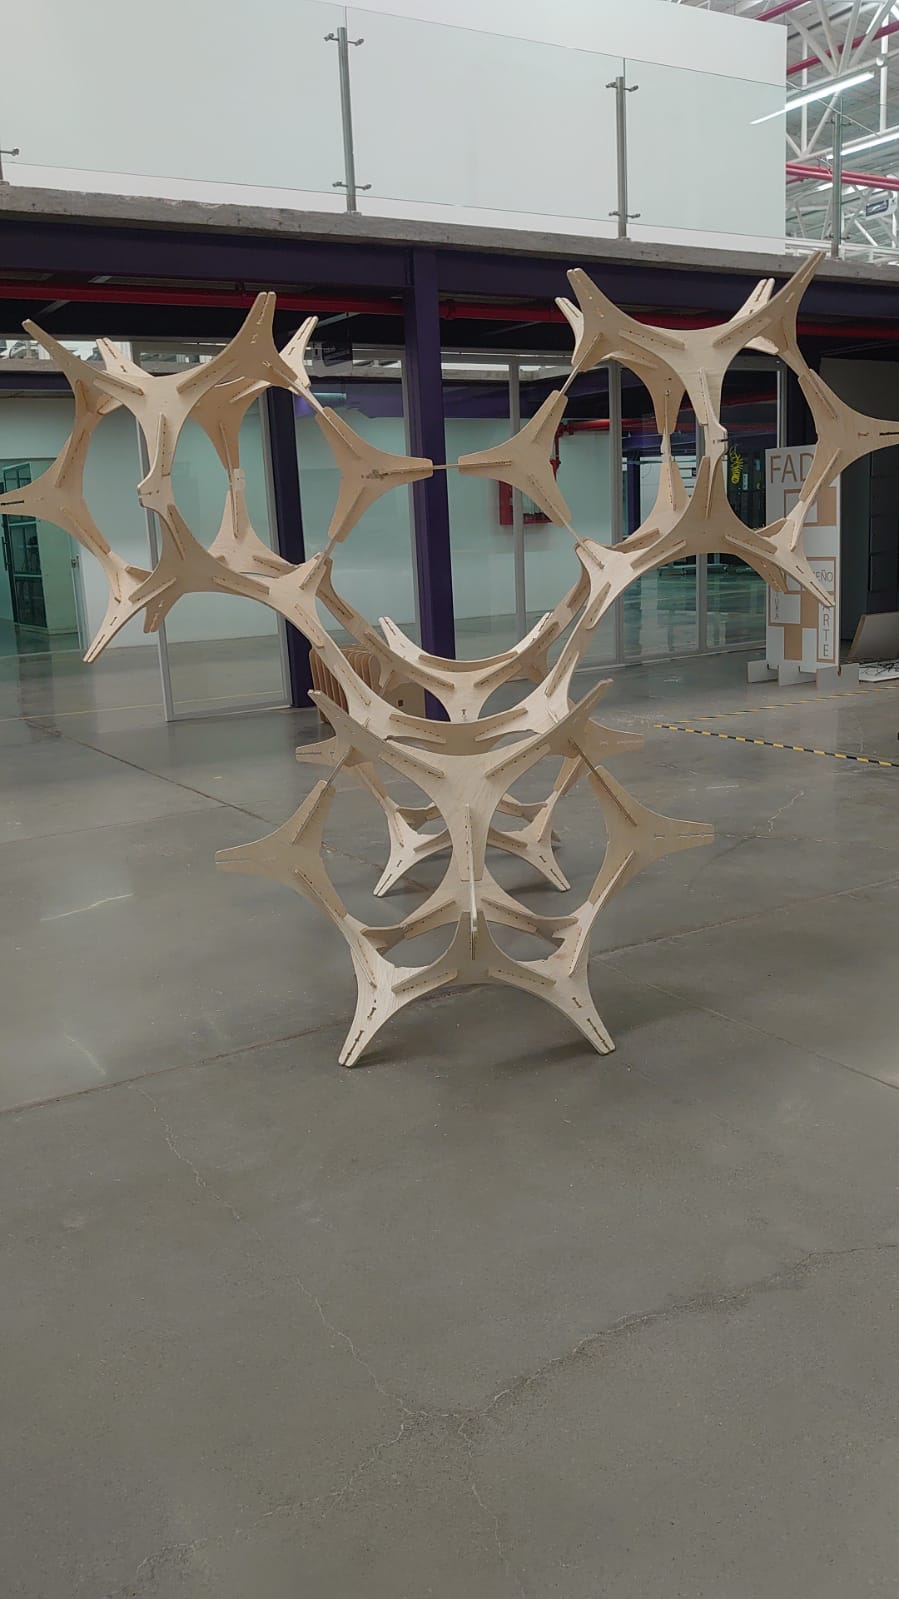
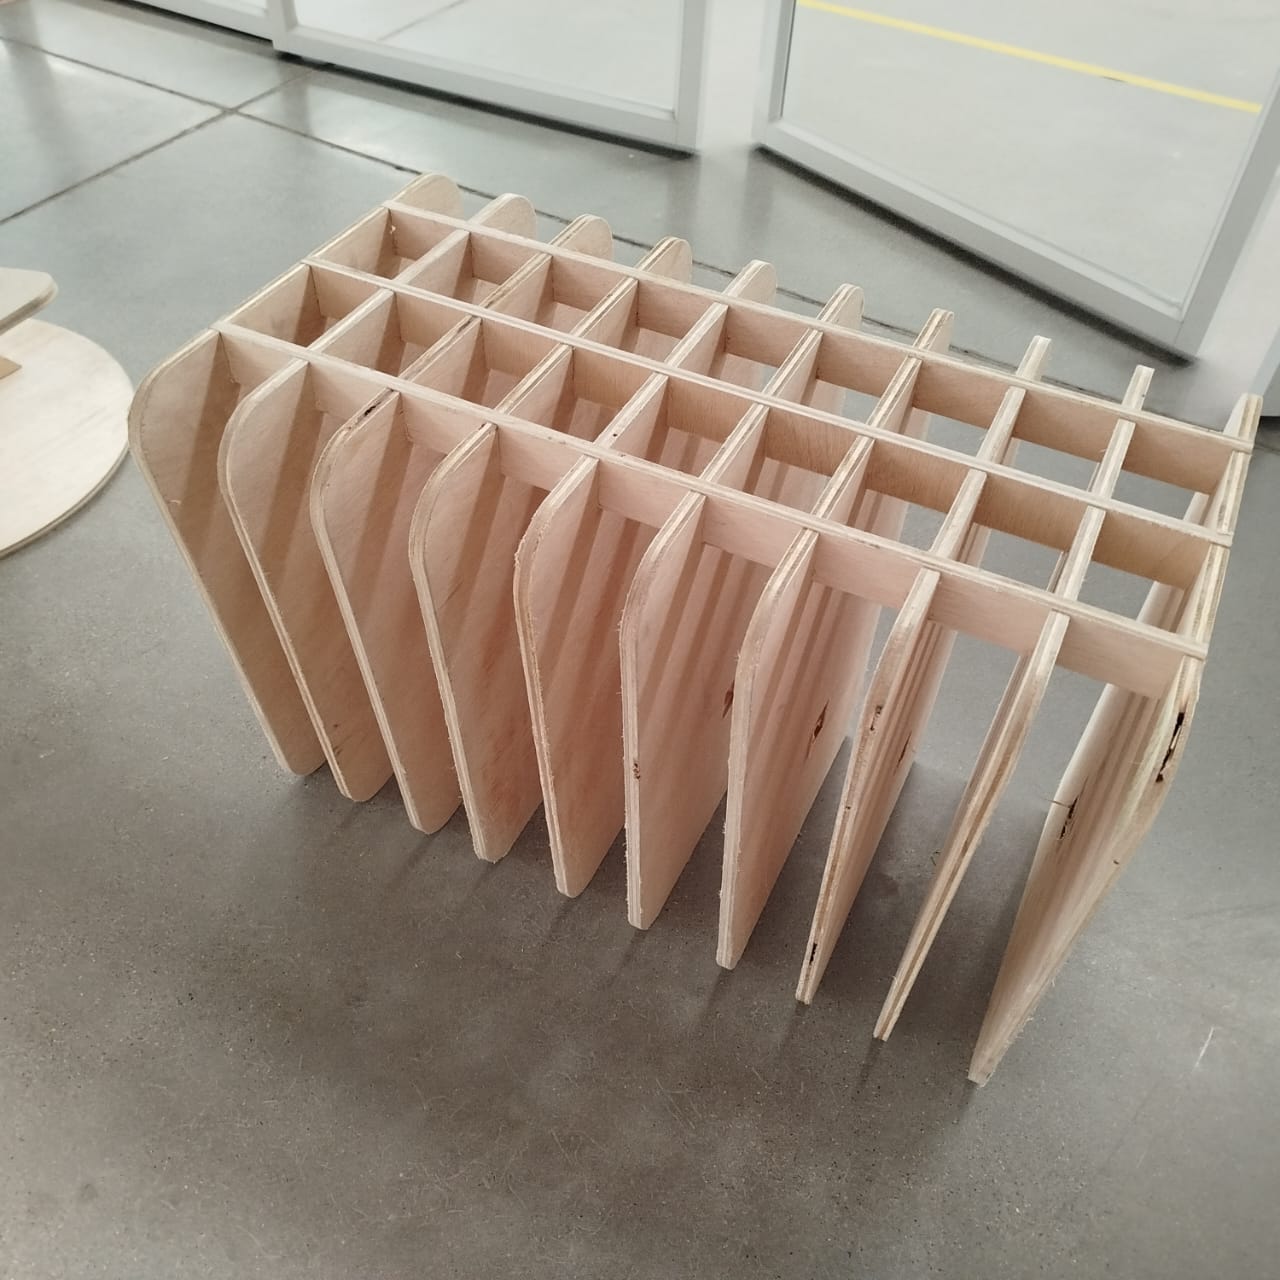
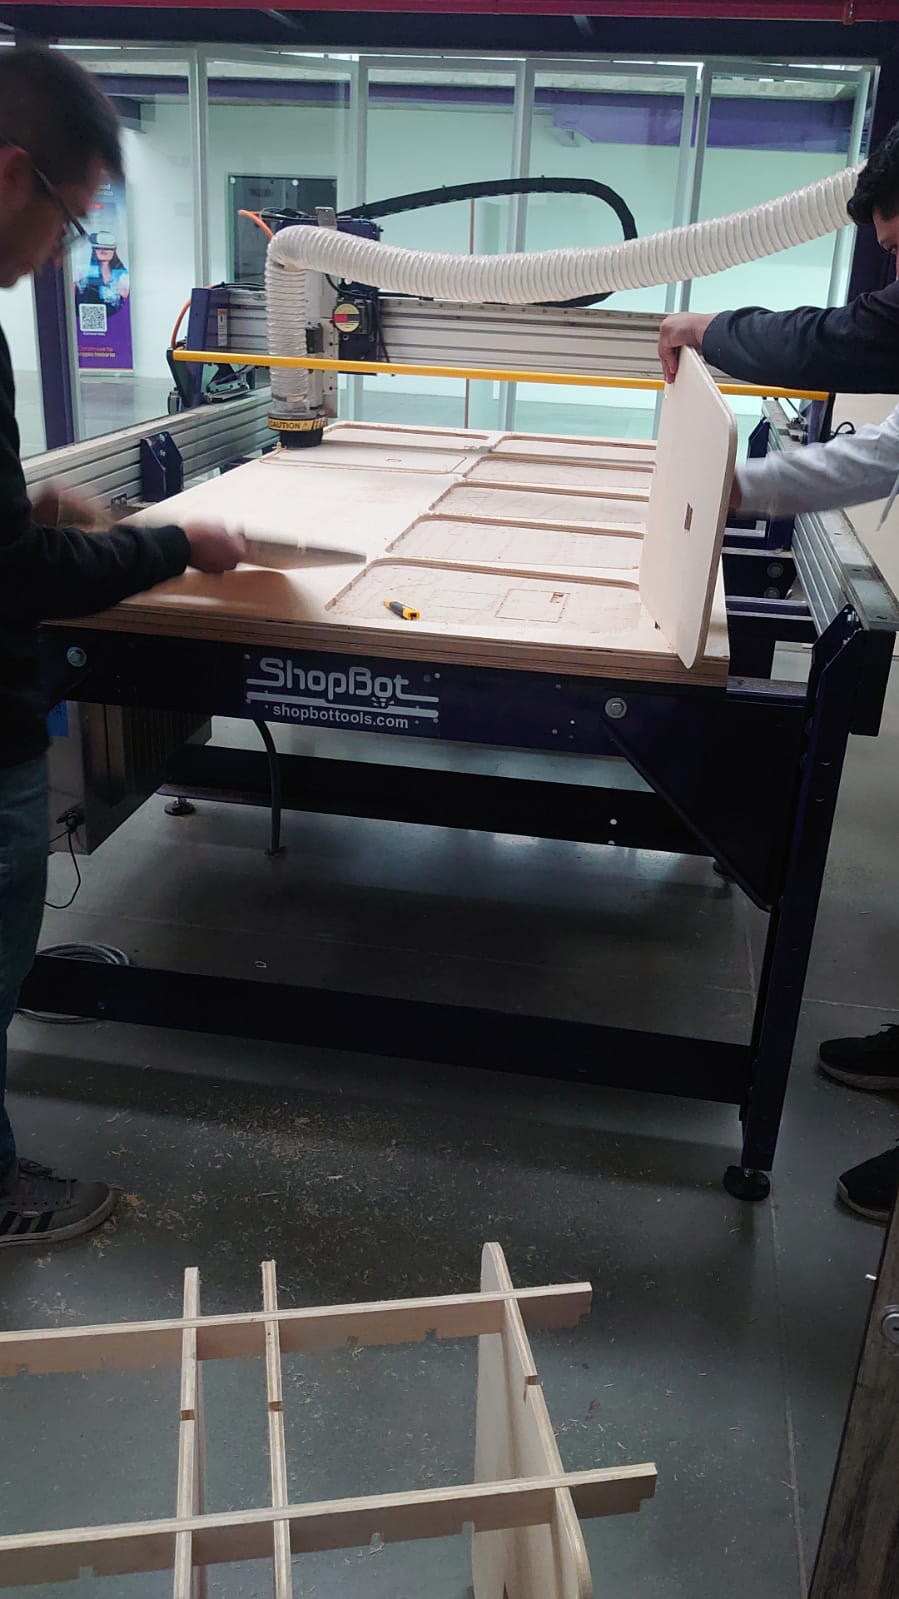
After cutting all the pieces, it was time to put them together. No screws, no glue – just pure precision. We sanded the edges to remove splinters, then started assembling. It was a bit like solving a 3D puzzle, but in the end, we built a structure that was sturdy and stable: the Latin American Pavilion. Watching it take shape was incredibly satisfying!
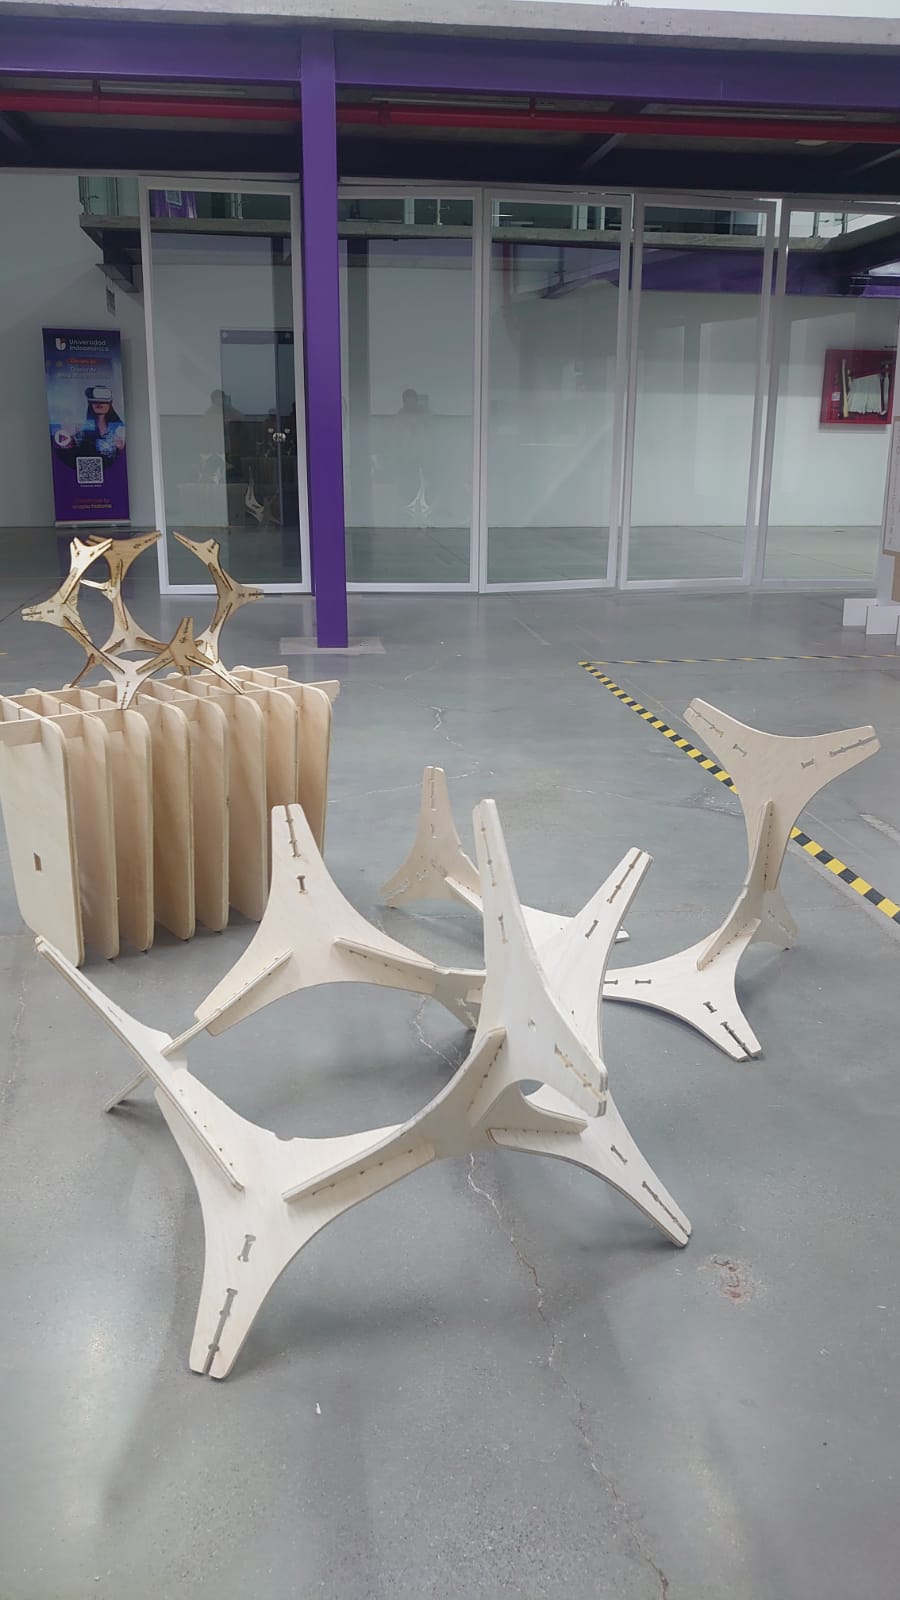
Team Working on CNC Assembly Final Assembled Structure Team Working on CNC Assembly Final Assembled Structure

6. Lessons Learned

This project taught us more than just how to use a CNC machine. We learned that:

  • Precision is everything – even a tiny misalignment can throw off the whole design.
  • Choosing the right cutting parameters makes a huge difference in the final product.
  • Press-fit joints, when designed correctly, are incredibly strong and don’t need glue.
  • Patience and testing are key – rushing leads to mistakes.

Final Thoughts

This wasn’t just an assignment; it was an experience. From designing the pieces to watching the CNC machine bring them to life, every step was hands-on and rewarding. The best part? Knowing that we built something solid with nothing but smart design and good craftsmanship.


This project was an incredible experience, blending digital design and hands-on fabrication. The goal was to design, mill, and assemble a functional bench using CNC machining techniques.

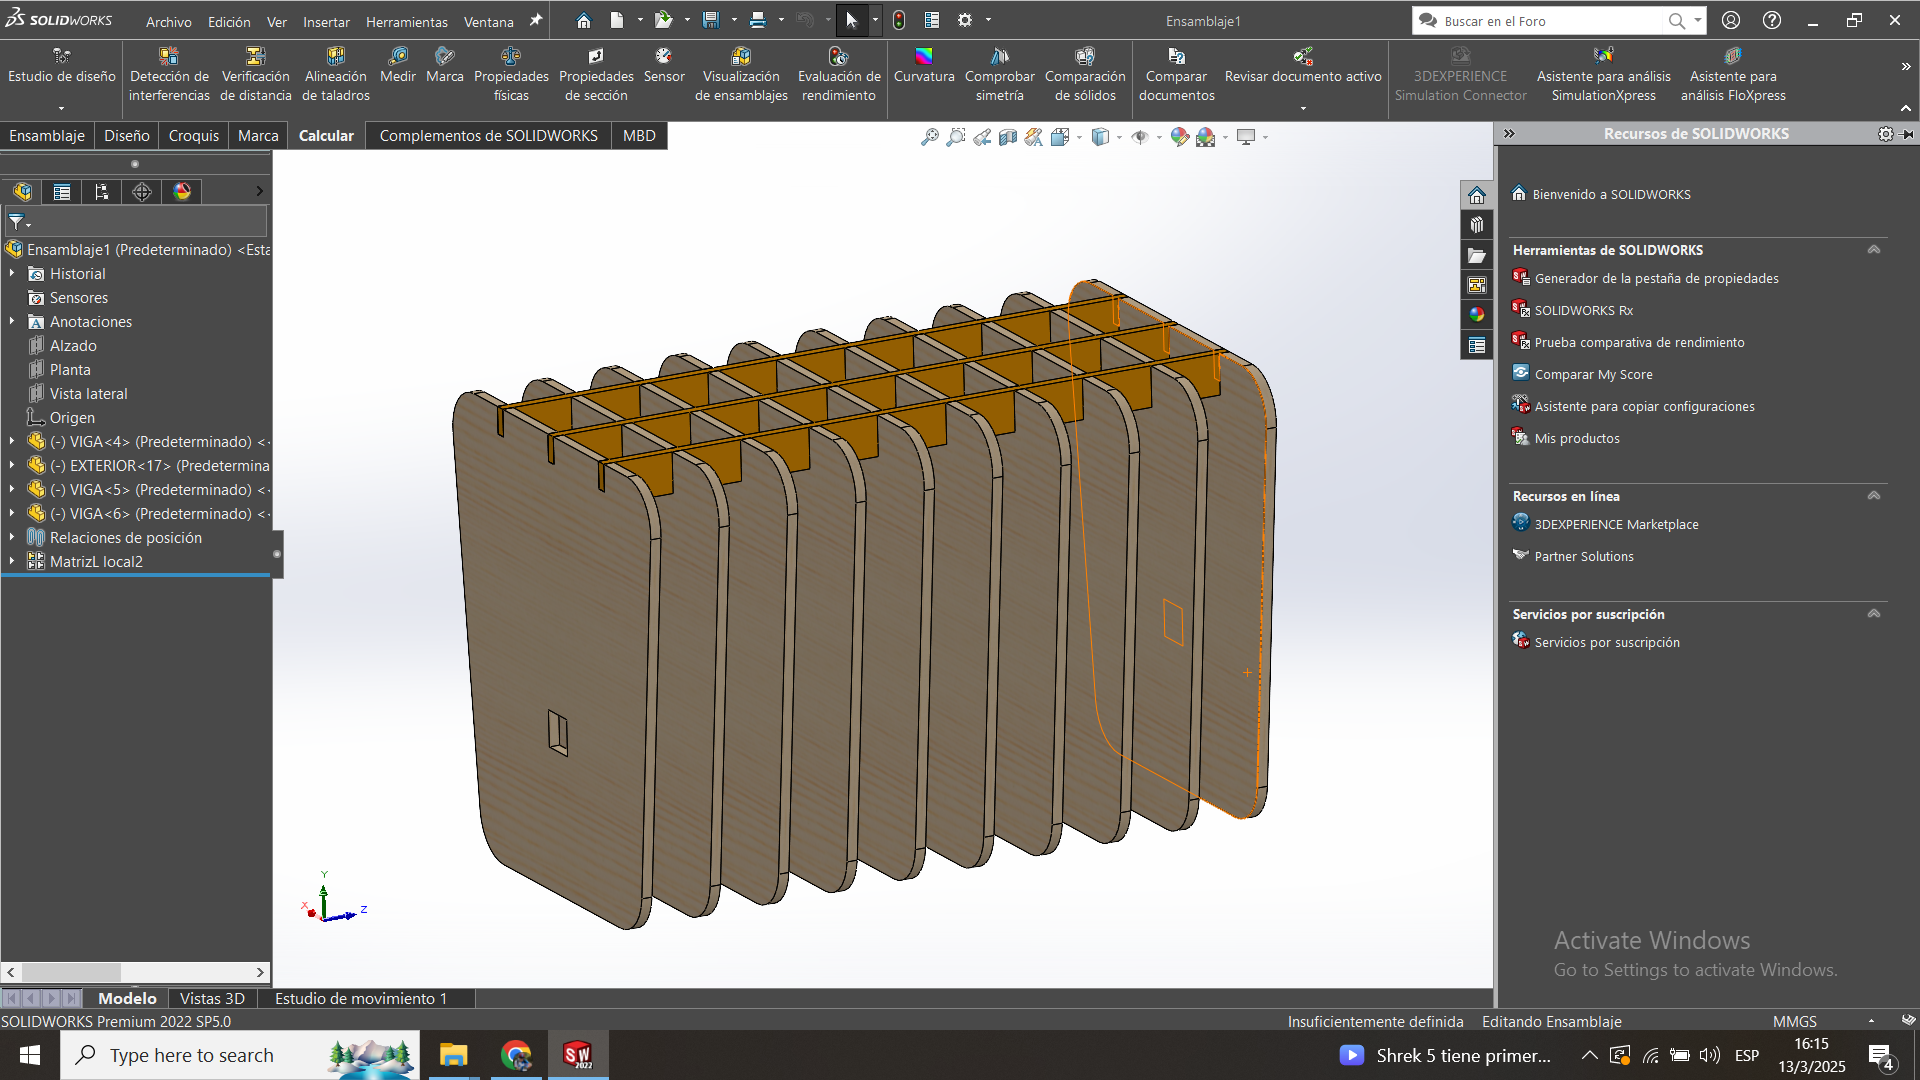
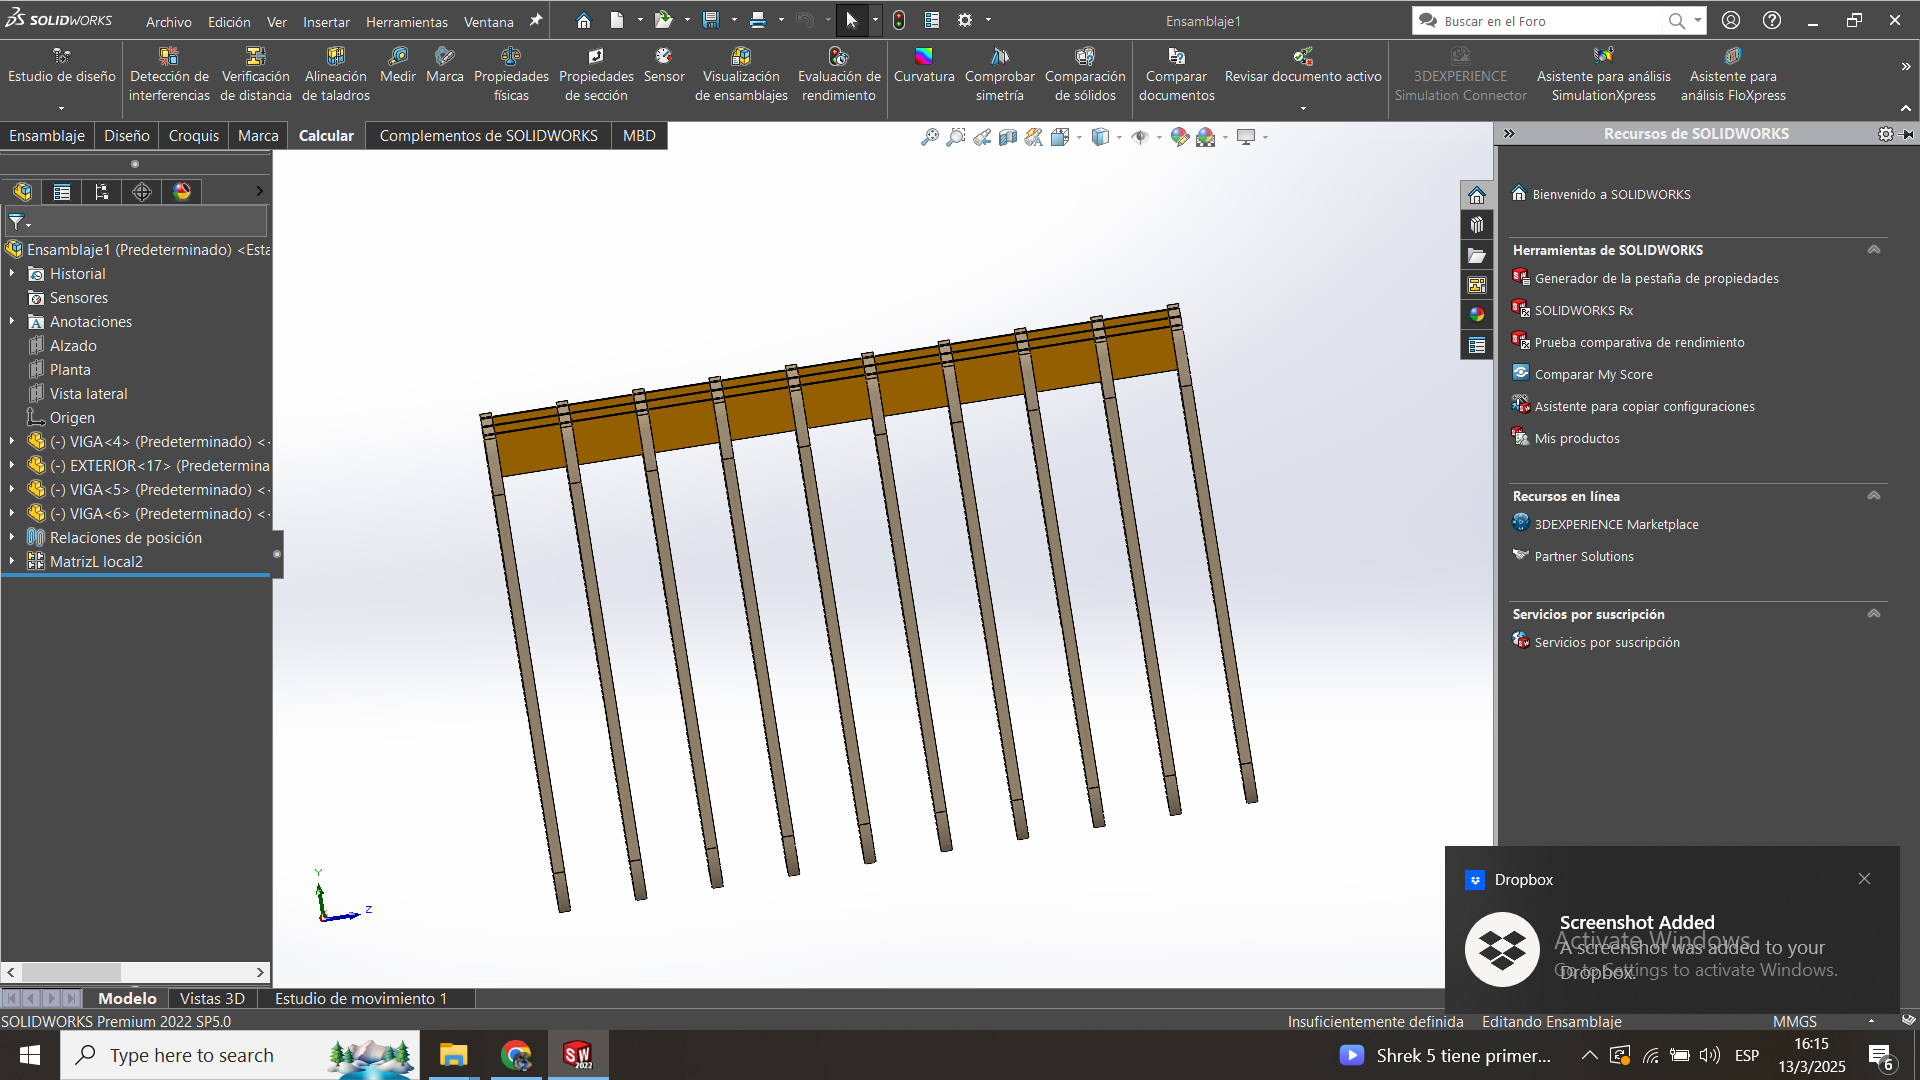
1. Designing the Bench in 3D

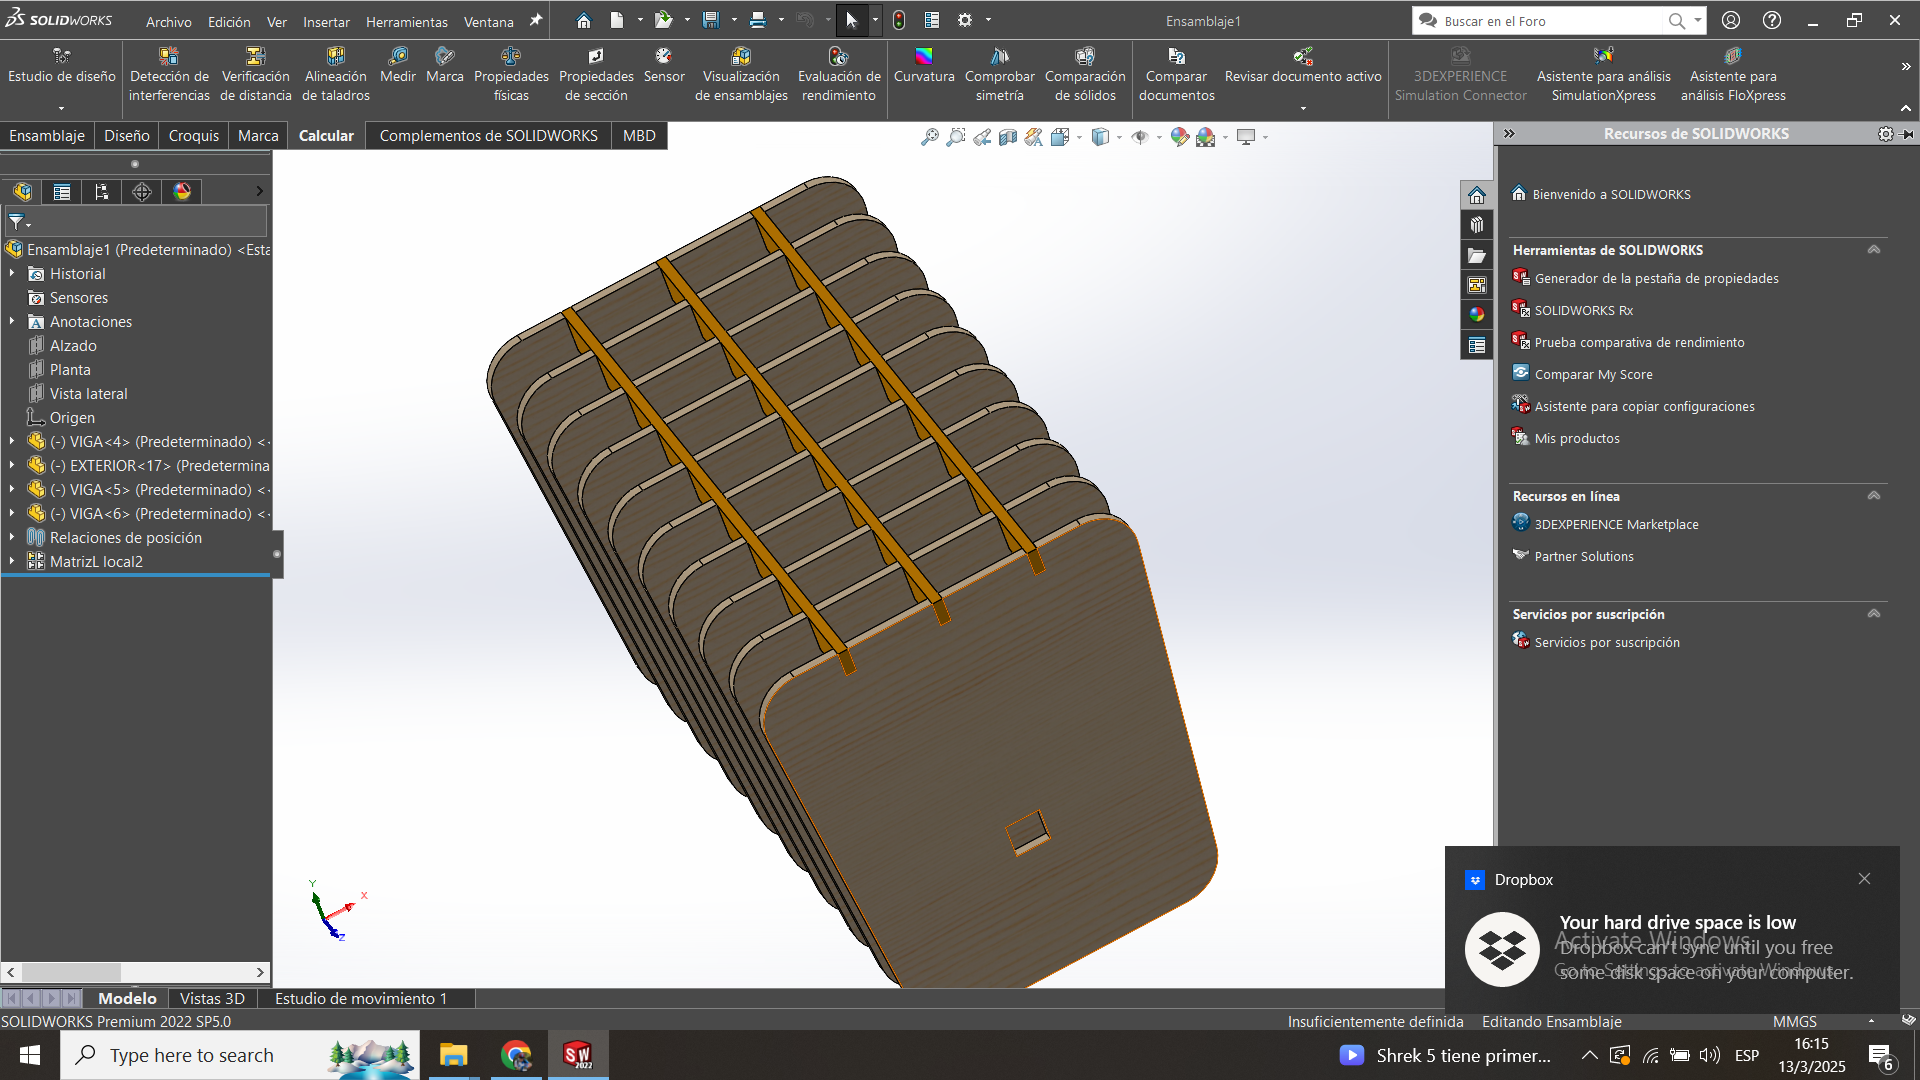
The process started with designing the bench in SolidWorks. The idea was to create an interlocking structure that would not require screws or glue—just precise press-fit joints.

3D model of the bench SolidWorks design

2. Preparing the CNC Cutting Files

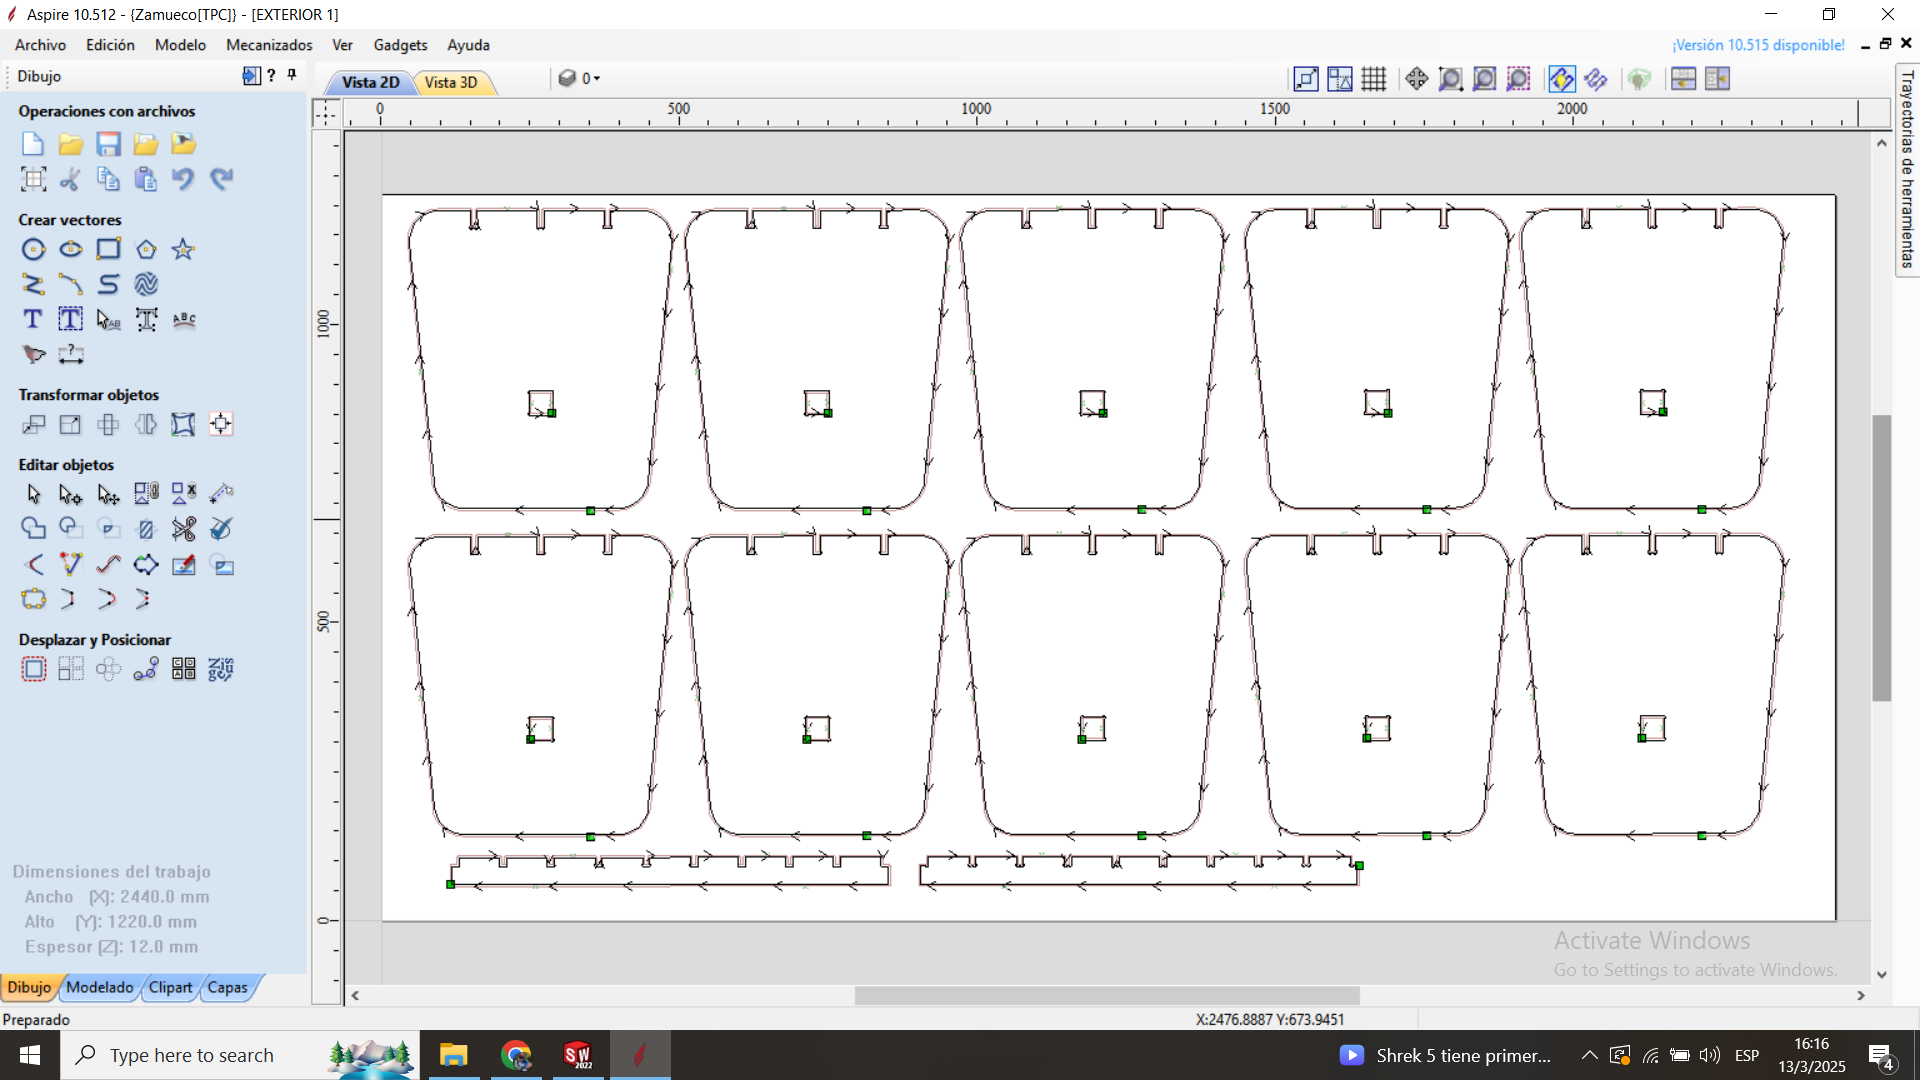
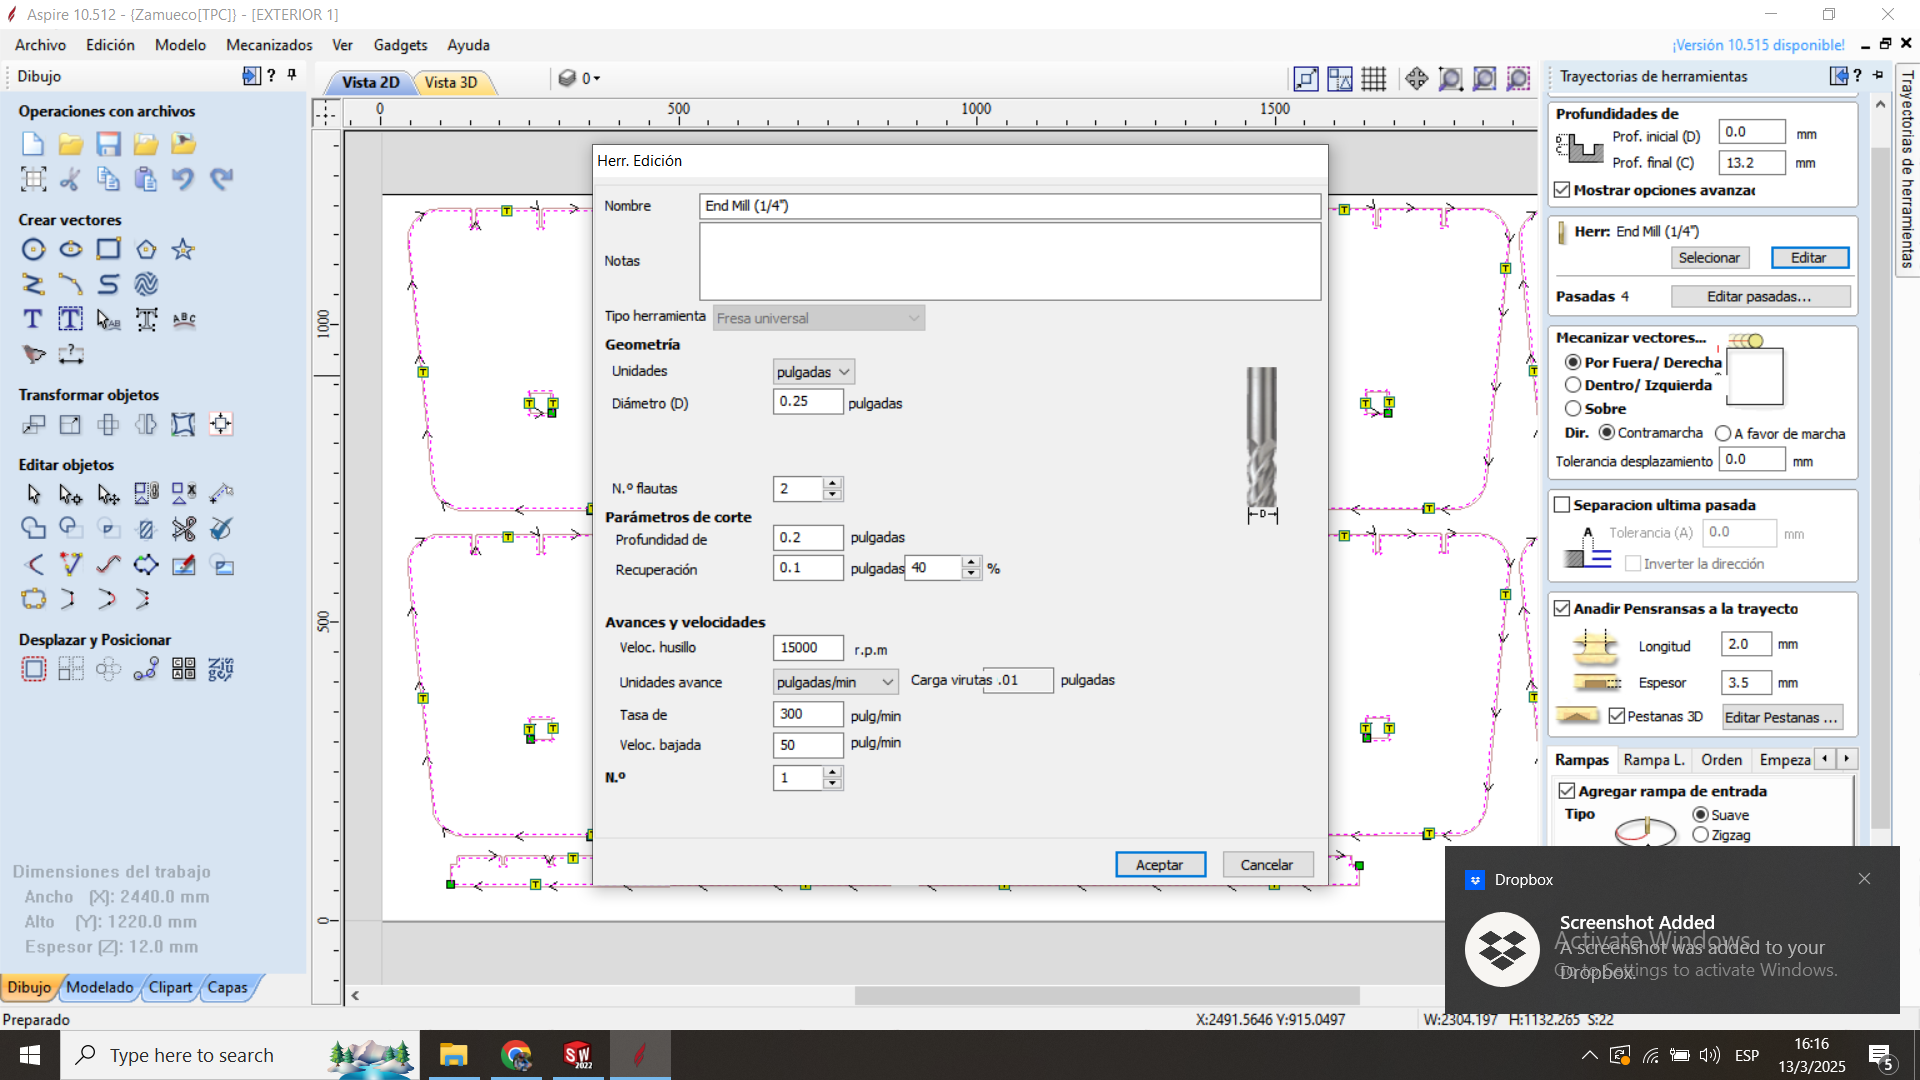
Once the design was complete, the next step was to prepare the cutting files using Aspire. Here, we optimized the layout for material efficiency and programmed the toolpaths.

Aspire toolpath setup Toolpath visualization

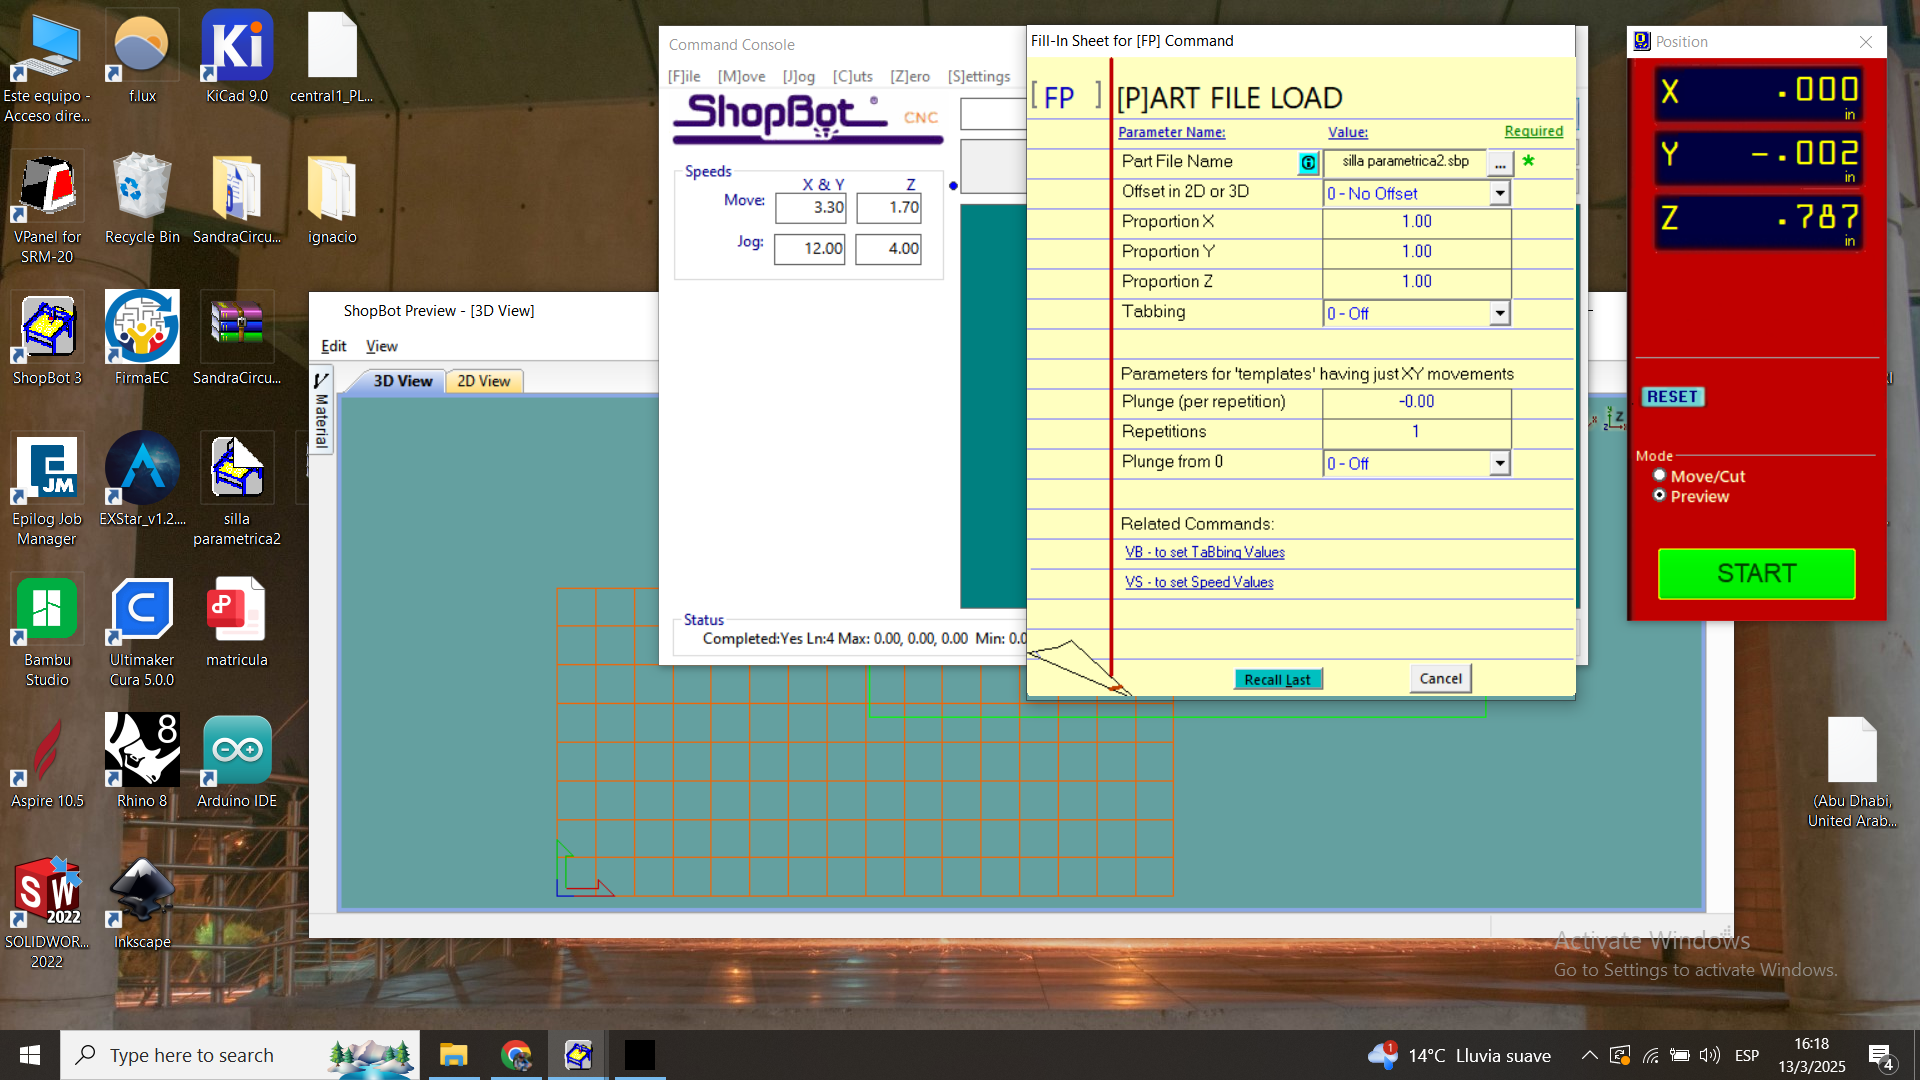
3. CNC Machining with the ShopBot

The actual fabrication was done using a ShopBot CNC machine. We used 12mm plywood and a 6mm end mill cutter. The cutting parameters were:

  • Spindle Speed: 15,000 RPM
  • Feed Rate: 3000 mm/min
  • Depth per Pass: 3 mm
  • Stepover: 50%
CNC machine cutting the pieces Cut pieces ready for assembly

4. Assembly of the Bench

After cutting the pieces, we sanded the edges for a smooth finish and started assembling. The press-fit joints worked perfectly, allowing the structure to hold firmly without the need for additional fasteners.

Assembling the bench Bench fully assembled

5. The Final Product

The final bench was strong, stable, and aesthetically pleasing. The precision of CNC machining made everything fit together seamlessly.

Final bench on display

Lessons Learned

  • Proper design and testing ensure a smooth assembly.
  • Press-fit joints can be incredibly strong if tolerances are set correctly.
  • Material efficiency is crucial—planning the layout minimizes waste.
  • Patience is key! Precision cutting and careful assembly lead to a professional finish.

Final Thoughts

This project was an exciting dive into digital fabrication. Seeing a 3D design come to life through CNC machining was incredibly rewarding. The bench is not just functional but also a representation of precision engineering and craftsmanship.


Week 7: Conclusion

This week’s assignment was an eye-opening experience in digital fabrication. The process of designing, cutting, and assembling a functional object using CNC machining reinforced the importance of precision and planning. From safety training to machine calibration and toolpath optimization, every step played a critical role in ensuring a successful build.

Key takeaways from this week:

  • Understanding CNC machining parameters and their impact on the final product.
  • The importance of accurate fixturing and material preparation.
  • How to design for manufacturability using press-fit joints.
  • Collaborating as a team to optimize workflows and solve design challenges.

Looking ahead, I am excited to apply these skills to future projects, pushing the boundaries of digital fabrication and exploring new creative possibilities.