Principles and Practices / Project Management
Principles and Practices - Assignment:
Plan and sketch a potential final project
Project Management - Assignment:
Read, sign the student/instructor/lab agreements,and commit to your repos
Work through a git tutorial
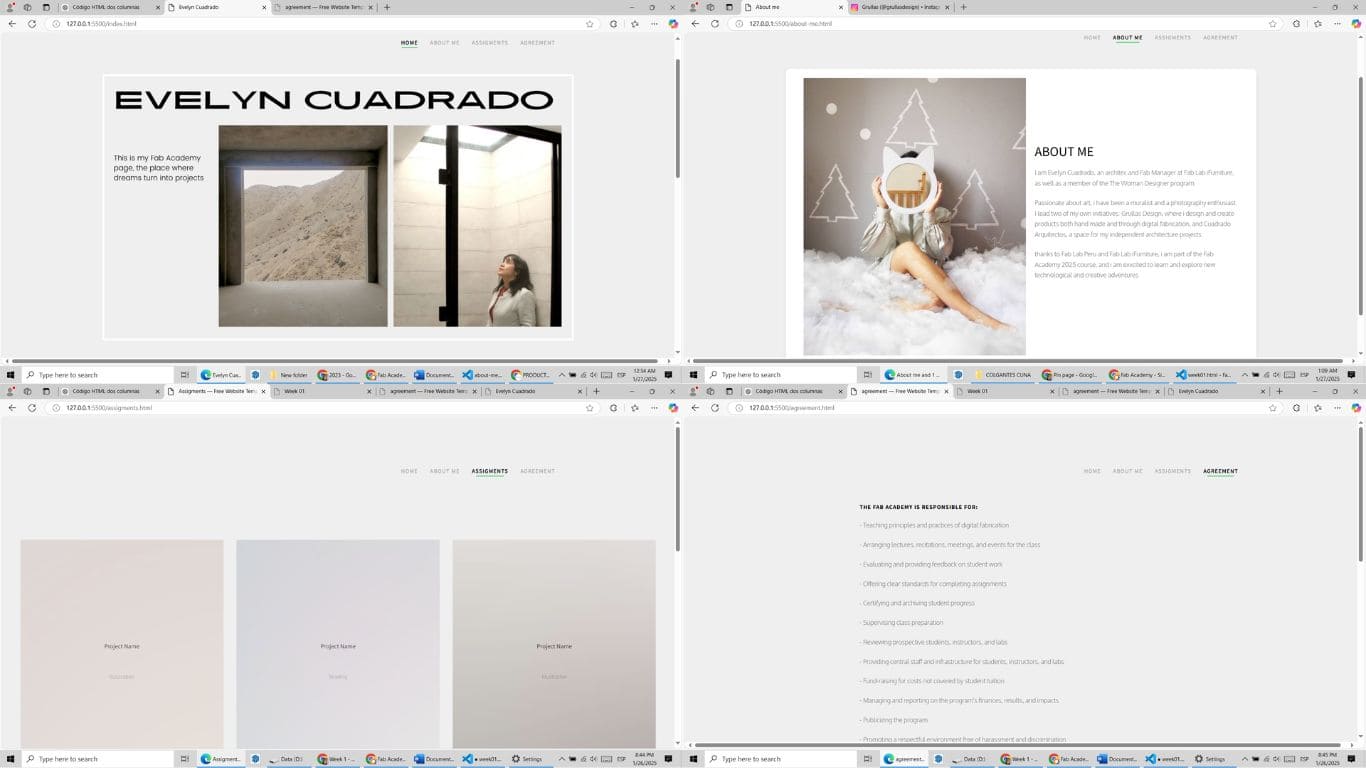
Build a personal site in the class archive describing you and your final project
Principles and practices
My final project is an electronic toy specifically designed for babies. It is an interactive object that will allow the baby to develop their sensory skills in a fun and stimulating way.
You can see the details of the project here
Project Management
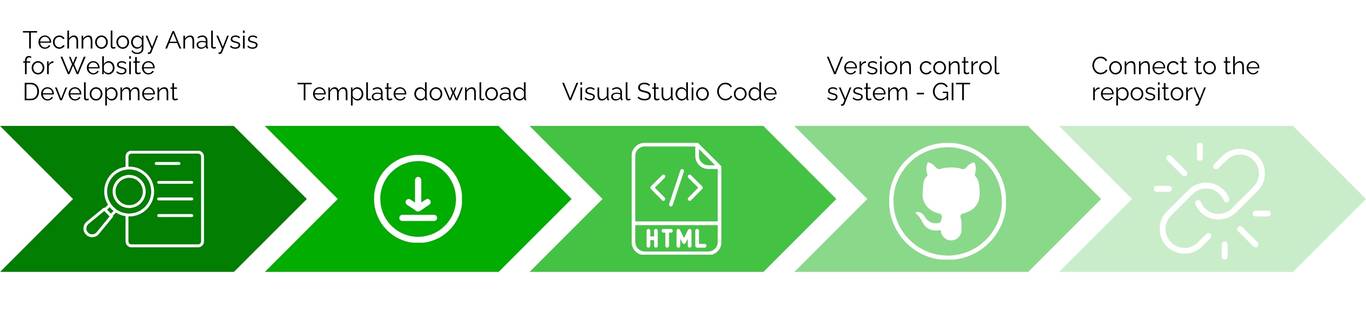
1. Technology Analysis for Website Development
To begin this project, I conducted research on the technologies used in web development to better understand how they work and determine which ones would be most suitable for the task. My research covered both the frontend and backend, as well as other relevant tools to facilitate the process. Upon further investigation, I found that the most popular web development technologies were quite accessible, especially for someone with no prior experience in this field.
Regarding frontend, the most common technologies include HTML, CSS, and JavaScript. HTML is fundamental, as it defines the basic structure of a webpage, creating essential elements such as headers, paragraphs, links, and forms. CSS handles the visual aspect, enabling design and layout, giving the webpage style and structure. JavaScript is used to add interactivity and dynamism to the page, allowing actions such as smooth scrolling, content updates without page reload, and form validation, among other things.
2. Template download
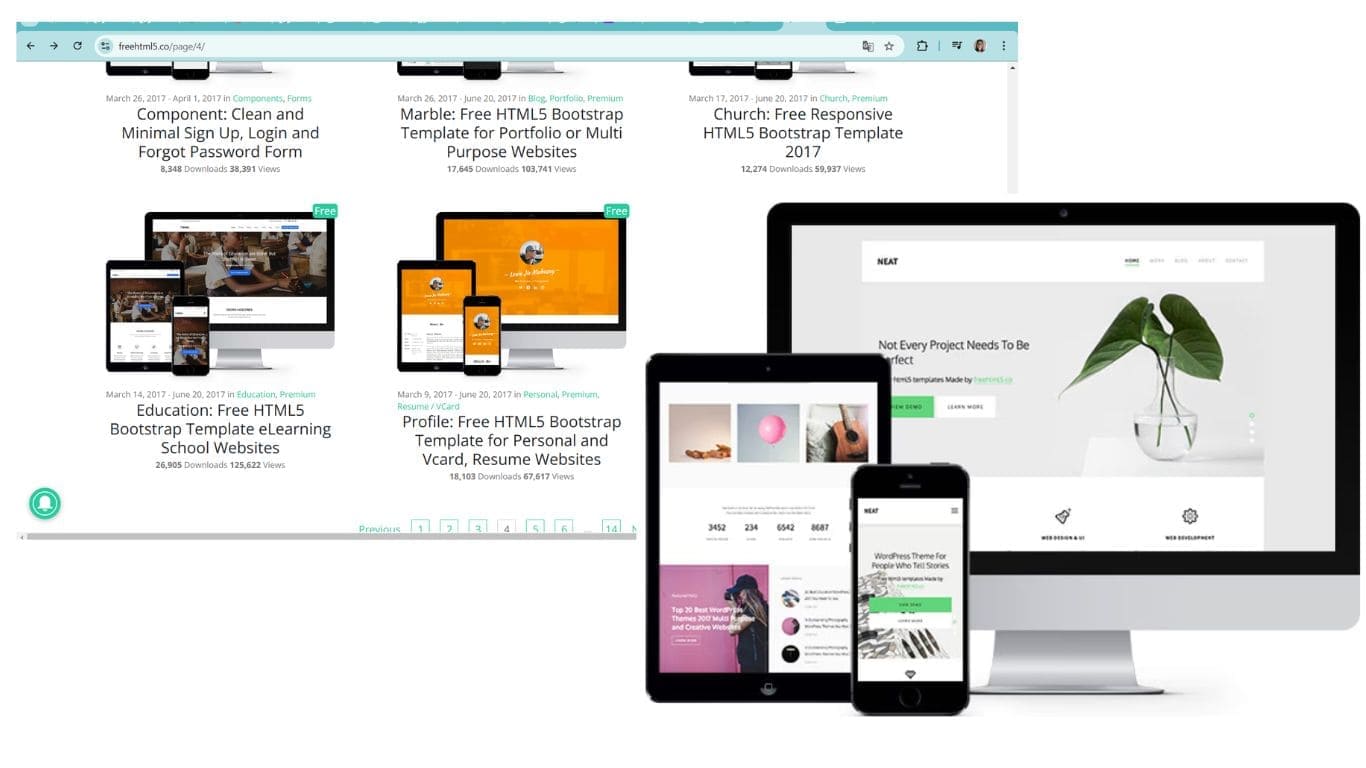
To download templates, I used my Google search and looked for "free templates." I found several pages offering options, but it took me some time to choose one that I liked, especially because I needed it to be compatible with Visual Studio. It was important that the template was functional and easy to customize for my project.
A template was downloaded and selected from the html5up website, which provides structured HTML files, allowing for adaptation and modification according to the project's requirements.
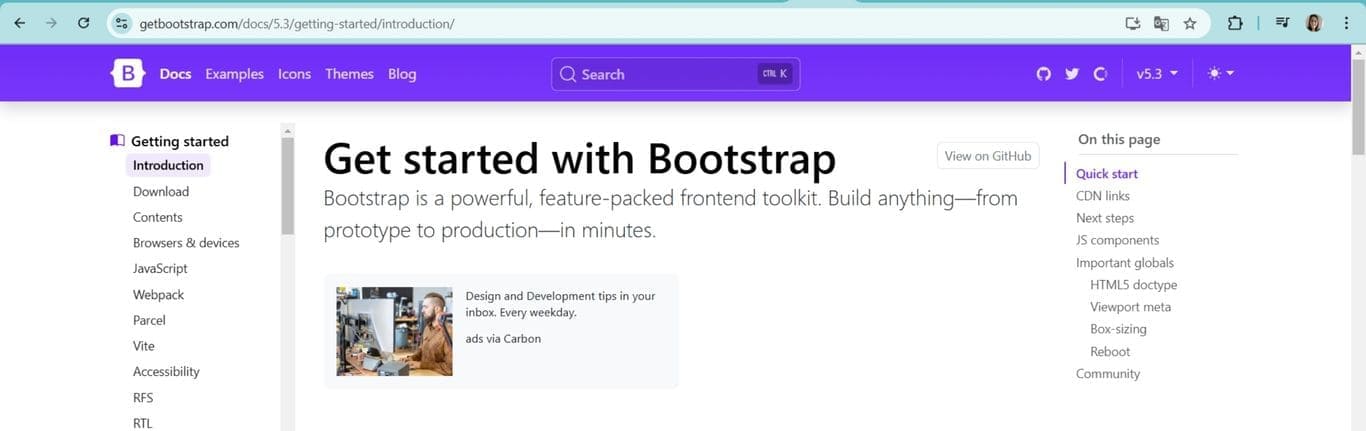
My instructor, Cristian, recommended the Bootstrap website to me, an open-source web design framework that facilitates the creation of responsive and mobile websites and applications. This tool was extremely helpful as it allowed me to generate codes I wasn't familiar with, speeding up the development of my project. Additionally, artificial intelligence also played a key role by helping me generate additional codes, allowing me to make further progress in building the website.
3. Visual Studio Code
I chose to use Visual Studio Code for two main reasons: first, because it was recommended by my instructor, Cristian, and second, because I reviewed previous students' assignments and saw that they also used it to develop their projects.
Download Visual Studio Code Software Visual Studio Code
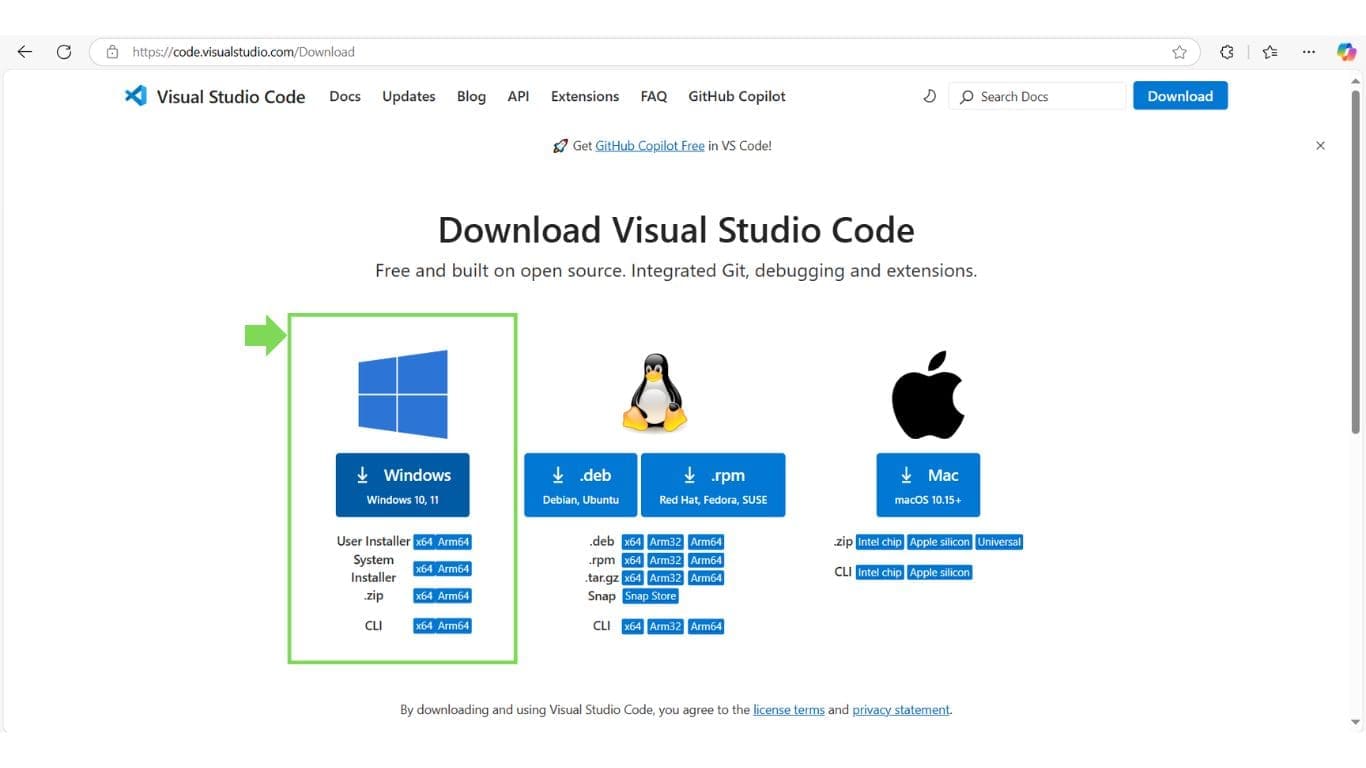
Downloading Visual Studio Code is quite simple. The file size is relatively small, which makes the download quick. Additionally, once installed, the program opens immediately without any delay.
Below is the link that was helpful in this research process:divcode7383
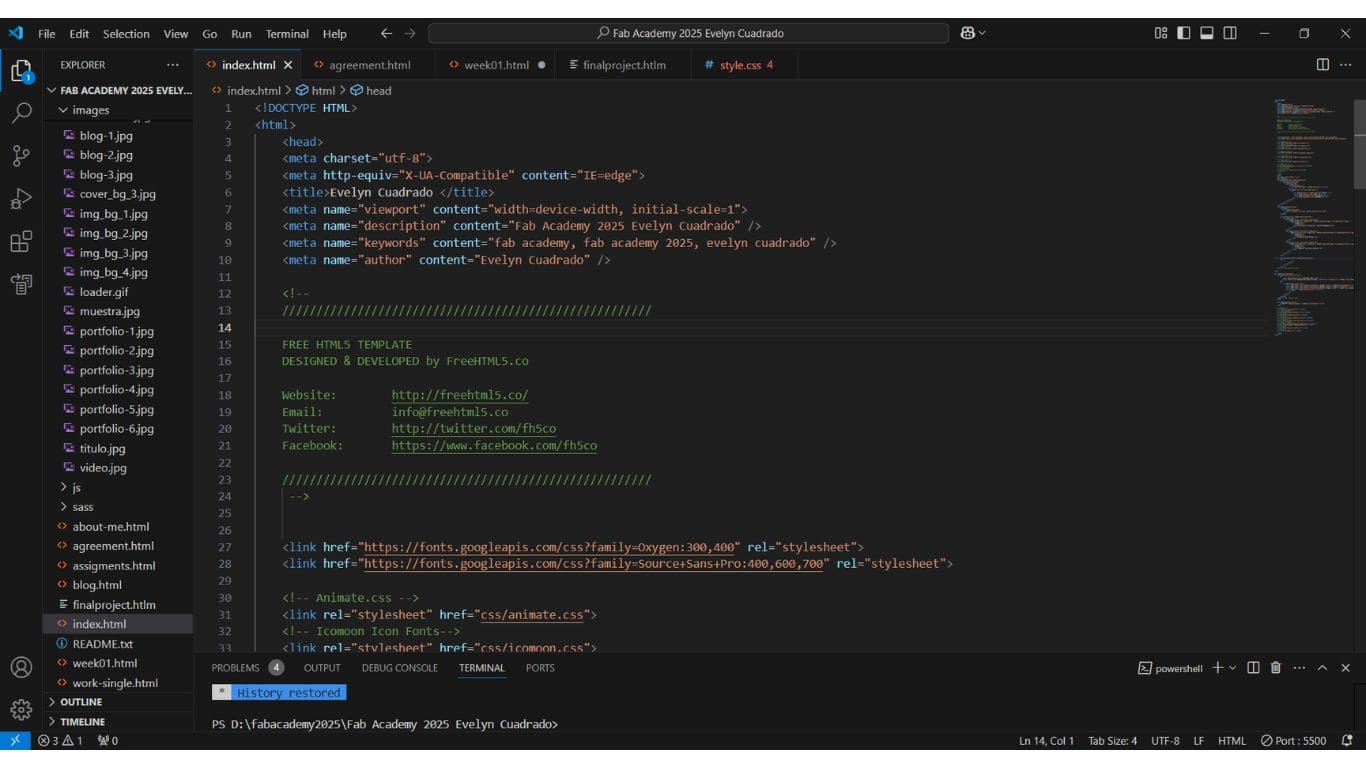
The downloaded folder, named 'Fab Academy 2025', is opened in Visual Studio Code to start editing and customizing the project files

After downloading an HTML template and setting up Visual Studio Code, I began developing the website using code. To do this, I established a basic structure that allowed me to understand and efficiently organize the content and layout of the site.
Develop and maintain efficient and well-structured code, ensuring its functionality and scalability across different development environments.
This is a clear example of the structure we should have when creating a webpage in code:
							<!DOCTYPE html>
							<html lang="en">
							<head>
								<meta charset="UTF-8">
								<meta name="viewport" content="width=device-width, initial-scale=1.0">
								<title>Basic HTML Structure</title>
							</head>
							<body>

								<header>
									<h1>Welcome to My Page</h1>
								</header>

								<nav>
									<a href="#home">Home</a>
									<a href="#about">About</a>
									<a href="#contact">Contact</a>
								</nav>>

								<main>
									<section>
										<h2>Introduction</h2>
										<p>This is a simple webpage structure.</p>
									</section>
								</main>

								<footer>
									<p>© 2025 Simple Example</p>
								</footer>

							</body>
							</html>
Once the basic structure of the HTML code is well defined, work can begin smoothly on developing the website. With these fundamental concepts, it's possible to modify the template through color customization, the use of different column and row layouts, and the incorporation of elements that give it a unique and personalized style.
4. Version control system - GIT
Create a Fab Lab account.
The next step is to create an account on the Fab Academy to access tasks, view previous projects, consult tutorials, and take advantage of other educational resources available on the platform.

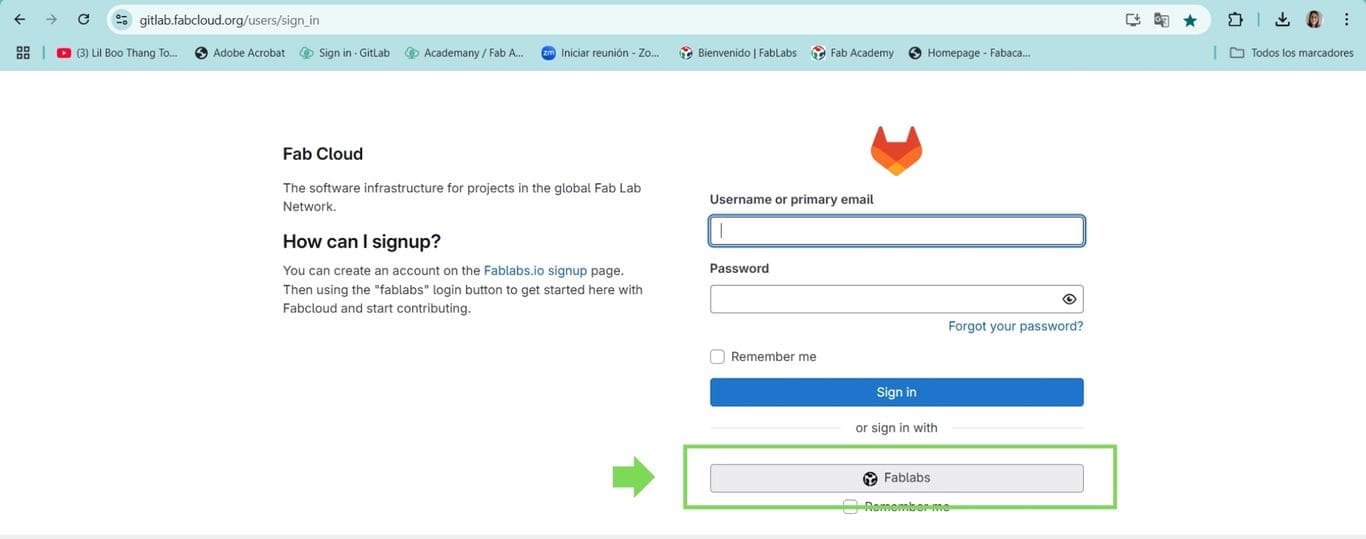
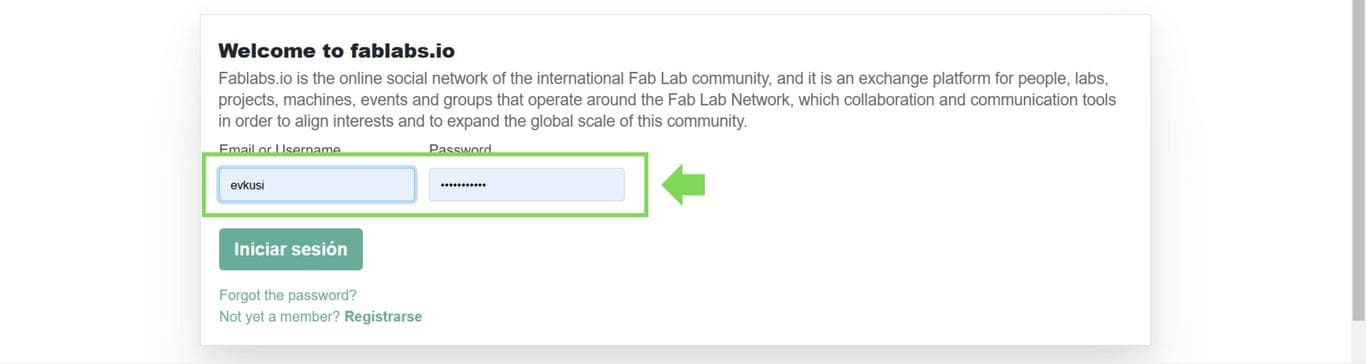
I logged in with my Fab Lab account to GitLab.
It is important to log in with the Fab Lab account activated in order to correctly access the folder where the files are stored, ensuring proper access.
Upon accessing, it is noticed that there are no files in the account, which leads us to another activity: installing a different program that will help us upload the digital files.
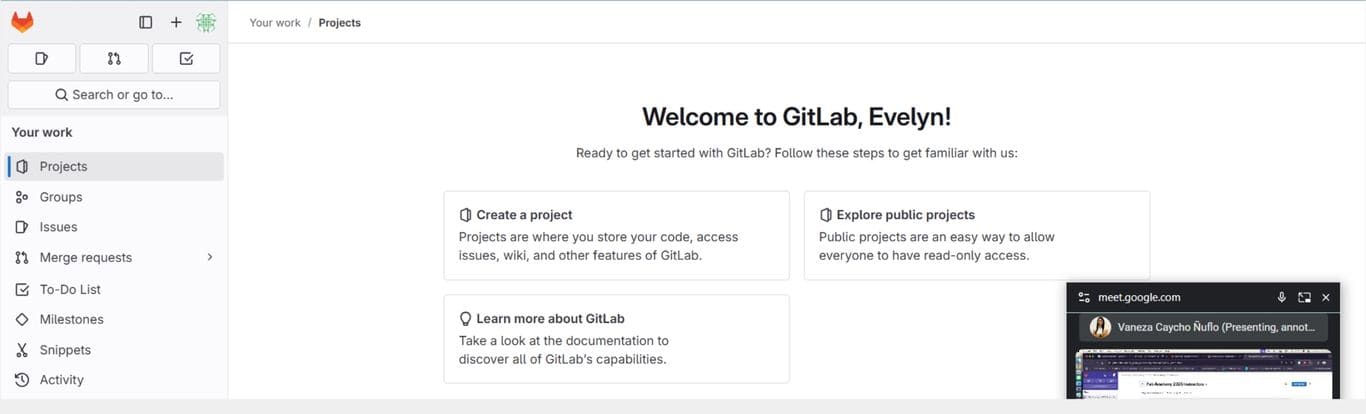
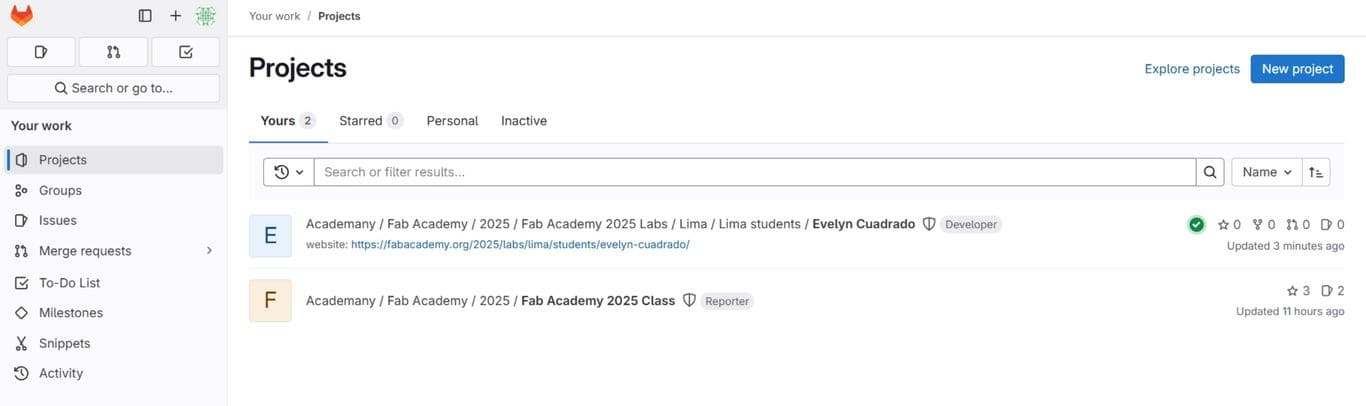
Upon accessing, it is noticed that there are no files in the account, which leads us to another task: installing Git in order to start the cloning process.
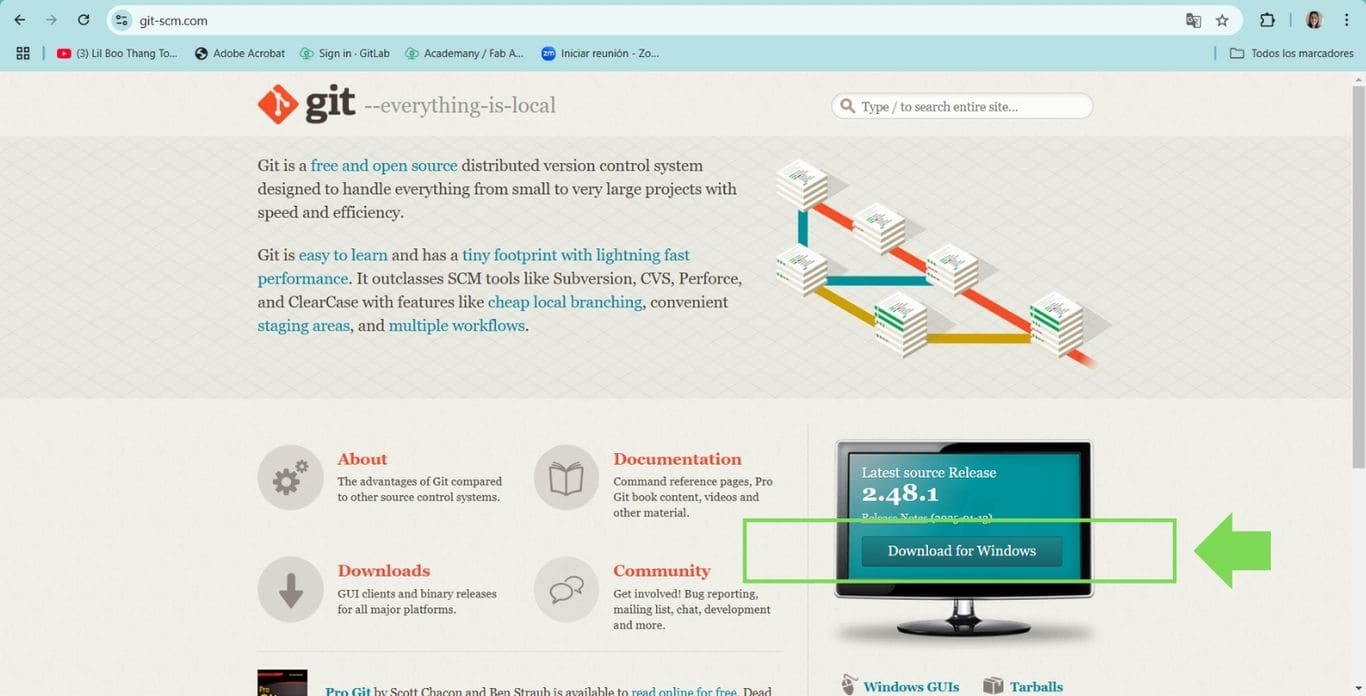
Descargar GIT
Git, an open-source version control system, is accessed. Then, the appropriate version for my operating system is downloaded, in this case, Windows 64-bit. To do this, the corresponding link is selected from the official Git website, and the installation process is allowed to complete successfully.
Git is a version control system that has helped me manage the code of my project, track changes, facilitate collaboration, work with branches, undo changes, and, most importantly, clone repositories. Regarding branches, I am still not an expert and I feel a bit apprehensive about using them, as I’m not fully comfortable with how they work. However, I understand they are a powerful tool to work more organized and securely. Regarding cloning, this feature will allow me to clone the file I have been developing in Visual Studio Code and later help me upload it so that the file will be available on the web.
Click here to view the Git tutorial.
Tools for Git Configuration
Before accessing your repository or performing any actions with Git, it’s recommended that you configure your username and email:
bash
git config --global user.name "Your Name"
git config --global user.email "your.email@example.com"
To do this, link it with the Fab Lab iOS account.
Access My Local Repository (if I already have one)
If I already have a Git repository created on my computer, I just need to navigate to the folder where the project is located. I can use the terminal or Command Prompt (CMD) and navigate to the folder using the cd command:
bash
cd /path/to/my/repository
Clone a Remote Repository (if I’m accessing one online)
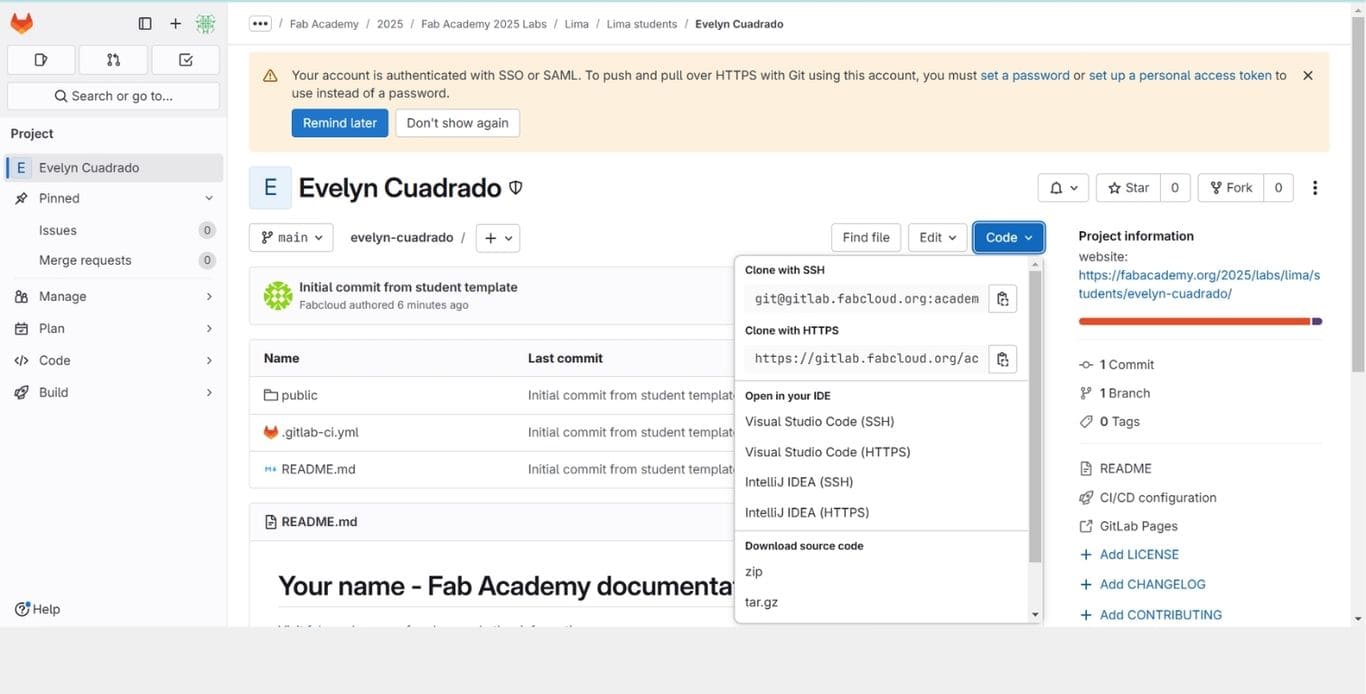
If my repository is hosted on a platform like GitHub, GitLab, or Bitbucket, I need to clone it to my local machine. To do this, I need the URL of the repository, which is usually found on the project page in my Git account.
In the terminal, I type:
bash
git clone https://github.com/user/repository-name.git
This will download a copy of the repository to my computer.
Verify the Remote Repository
If I already have a local repository and want to check which remote repository it is linked to, I use the following command:
bash
git remote -v
This command will show me the URL of the remote repository (origin).
Access a Remote Repository to Make Changes
If I already have a local repository linked to a remote repository and want to make changes, I need to make sure I’m working on the correct branch. To see the available branches and switch to the one I want, I can use:
bash
git branch
git checkout branch
5. Connect to the repository
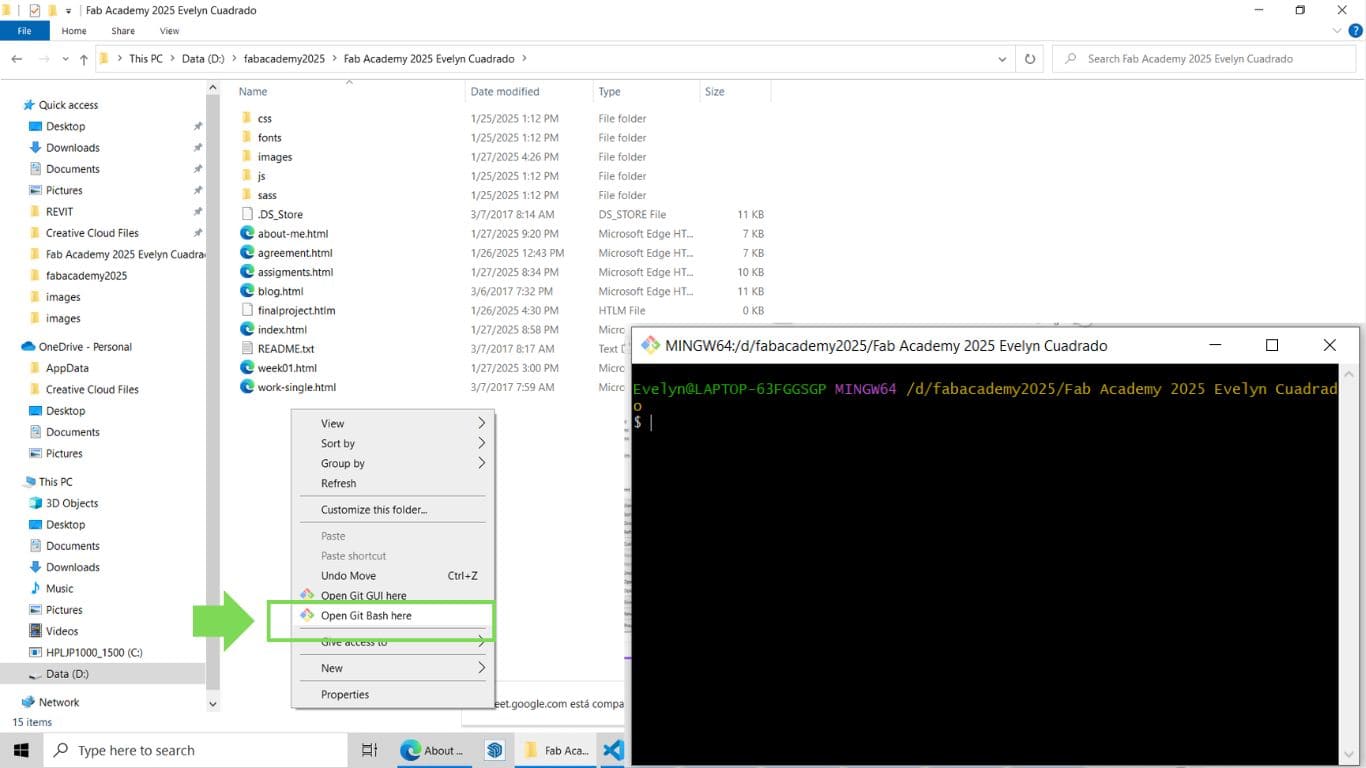
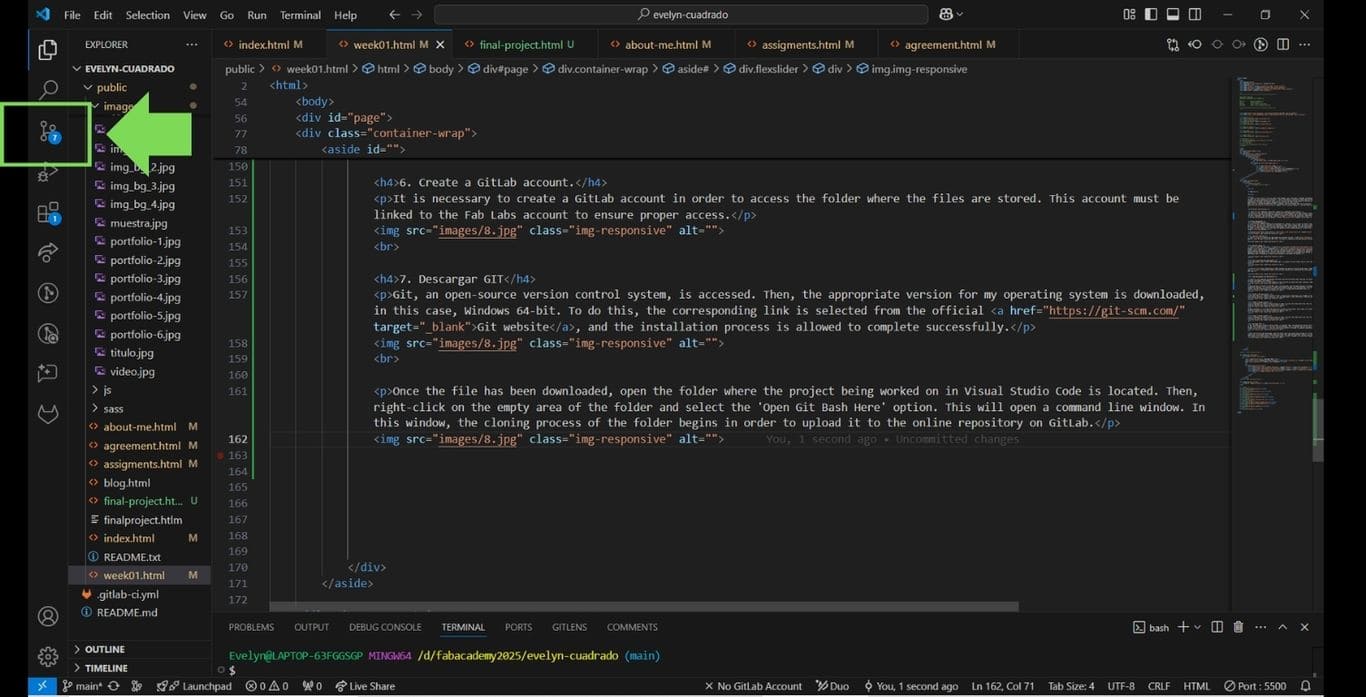
Once the file has been downloaded, open the folder where the project being worked on in Visual Studio Code is located. Then, right-click on the empty area of the folder and select the Open Git Bash Here option. This will open a command line window. In this window, the cloning process of the folder begins in order to upload it to the online repository on GitLab.
Before uploading the file, in the Visual Studio Code window, on the left side, there is an icon called 'Source Control', where you can see the pending changes that need to be updated.
Click on Source Control, give the file a name, and then click Commit to confirm the changes.
A name is assigned to the file, and then Commit is clicked to confirm the changes.
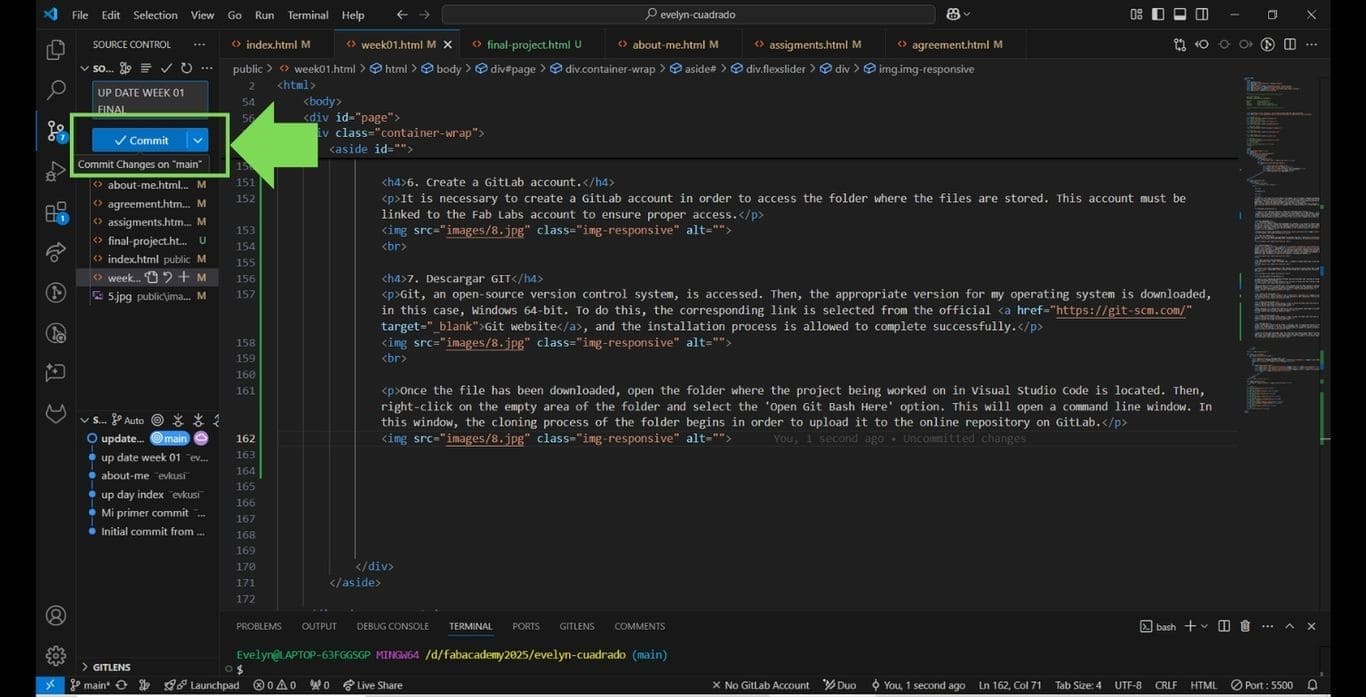
Click Commit and immediately the file is uploaded to GitLab. Now, others can view the website online.
Reflections
When I started the first week, it was quite a challenge. It wasn't easy to grasp the concepts. Personally, using a template helped me make progress with my website. I made several changes, explored step by step, changed colors, font size, and ChatGPT was really helpful in making the images responsive. The first week wasn't the best because I jumped in without knowing how to swim, but throughout the research process, I began to understand the basic concepts for building a web structure.
At first, I didn't fully understand the concept of Git. There's a tutorial that helped me, but practice was what taught me the most, as I made several mistakes and gradually fixed them. Using Git and being logged into the Fab Academy website really helps make the processes faster and more efficient.