Group Assignment:
- Test the design rules for your 3D printer(s)
Individual Assignment:
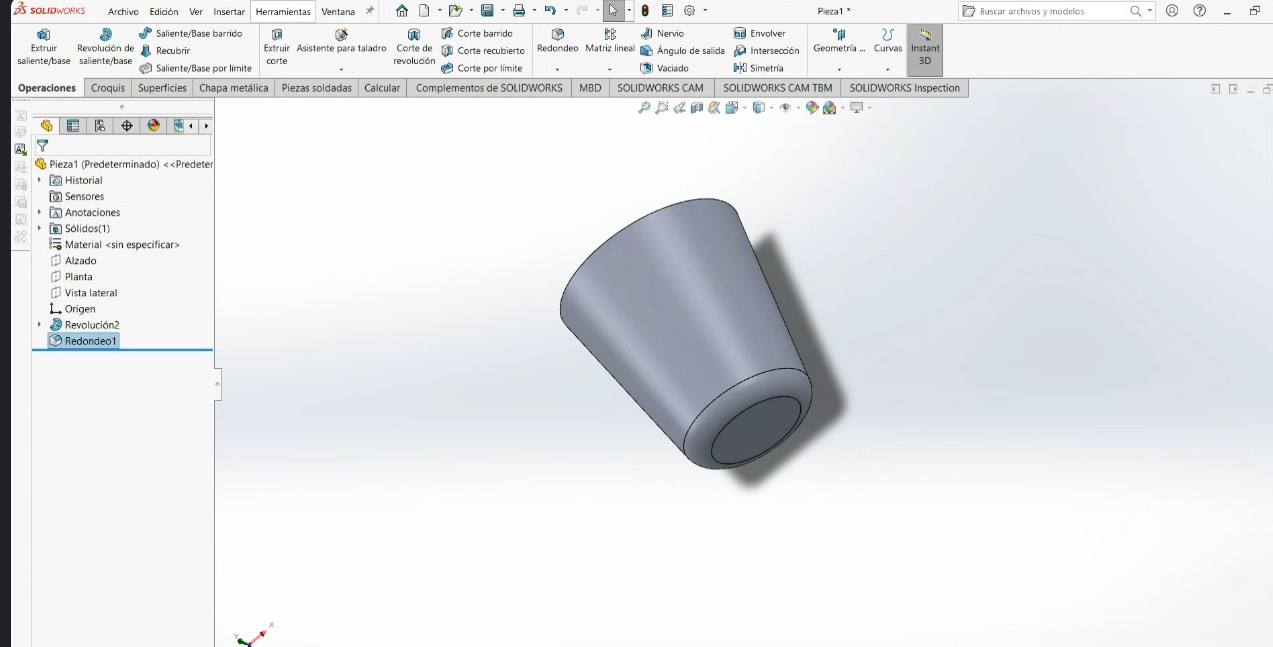
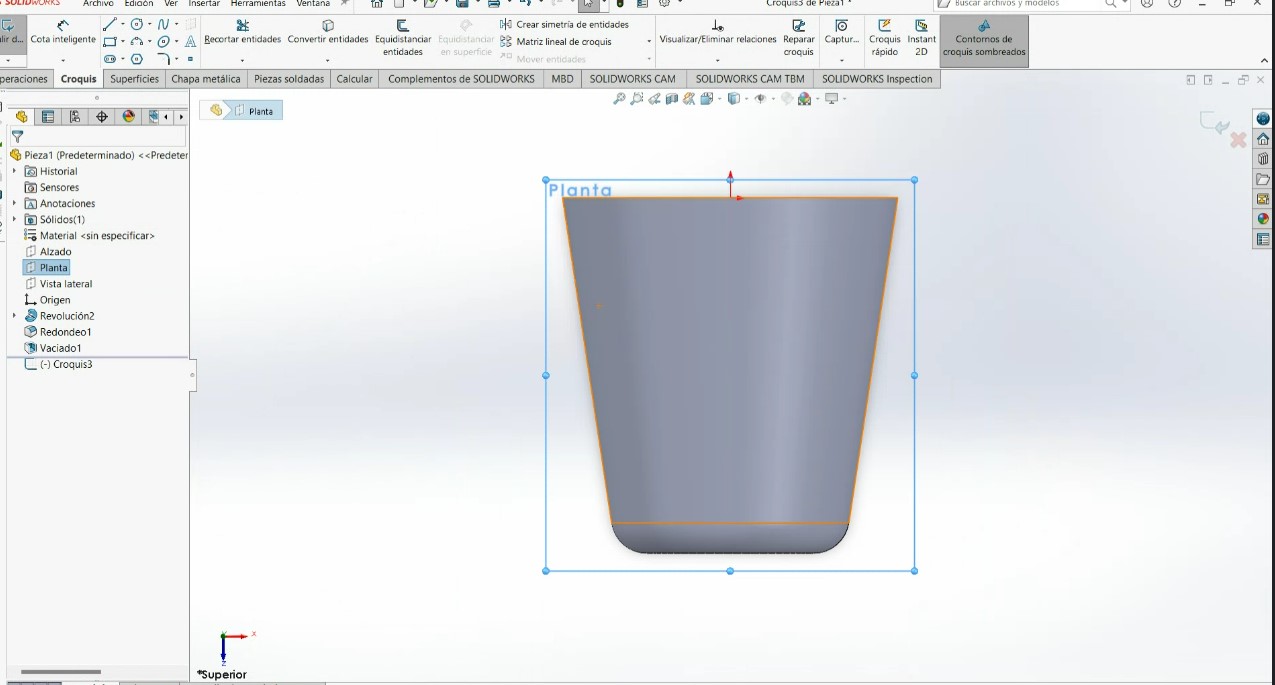
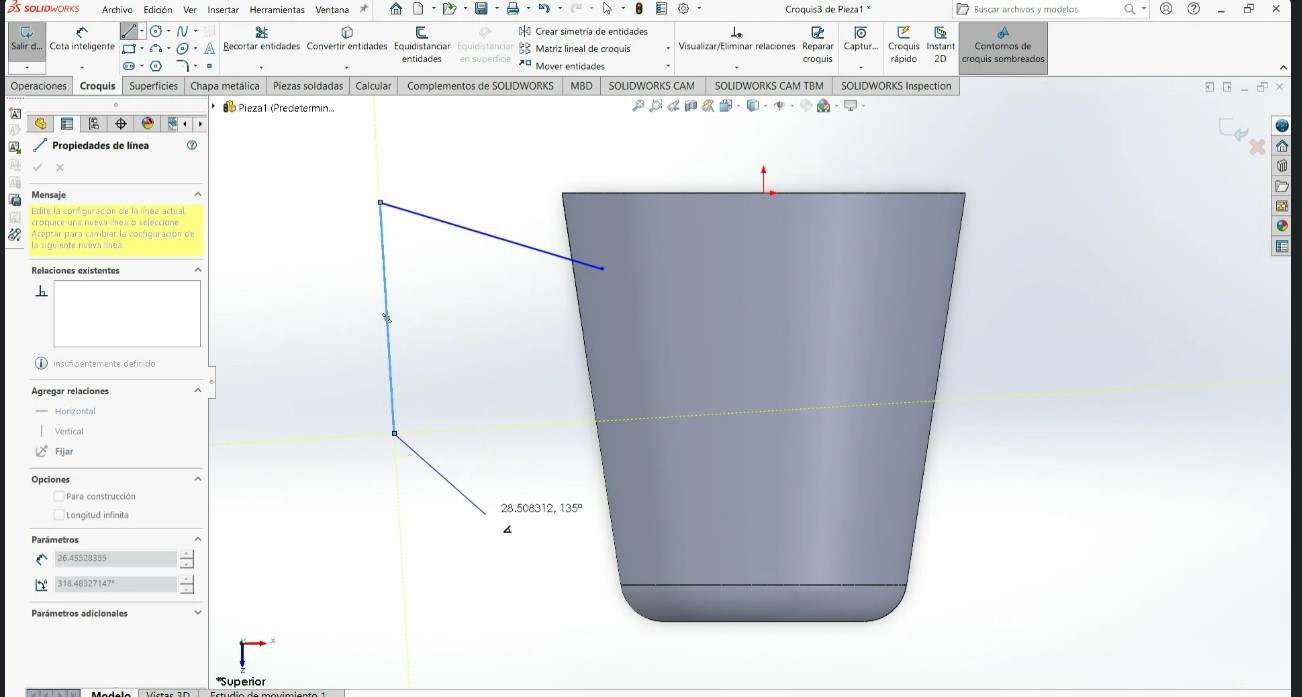
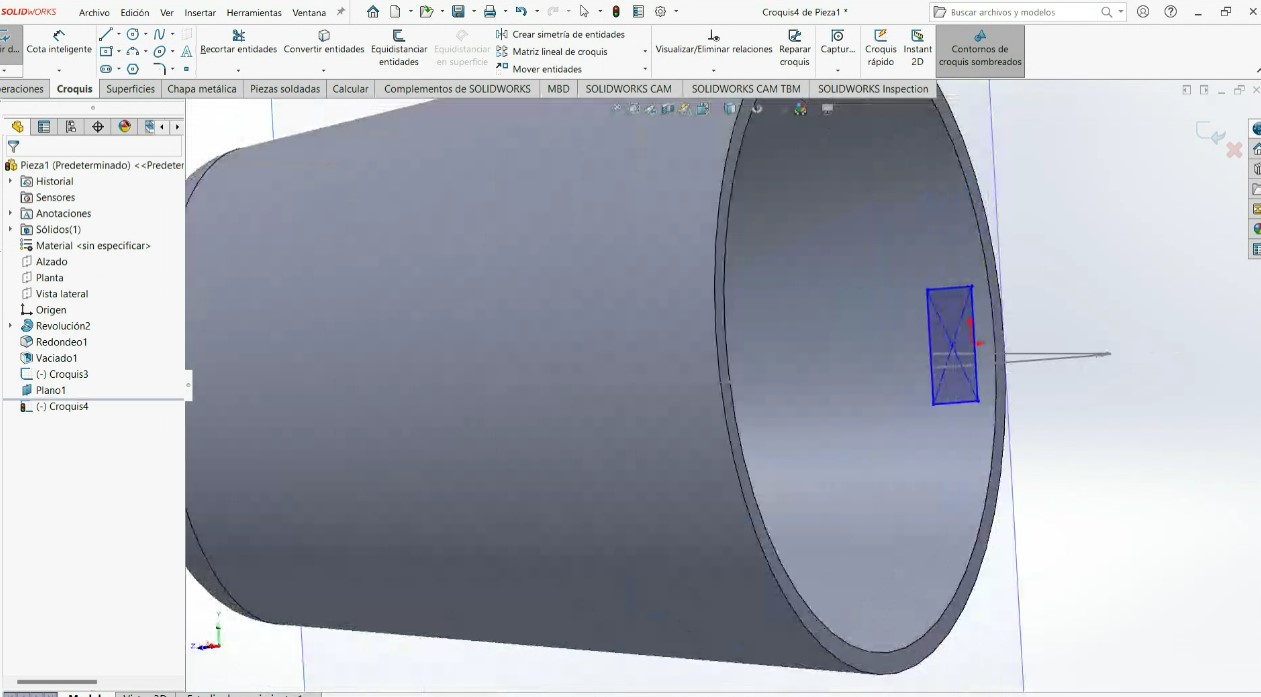
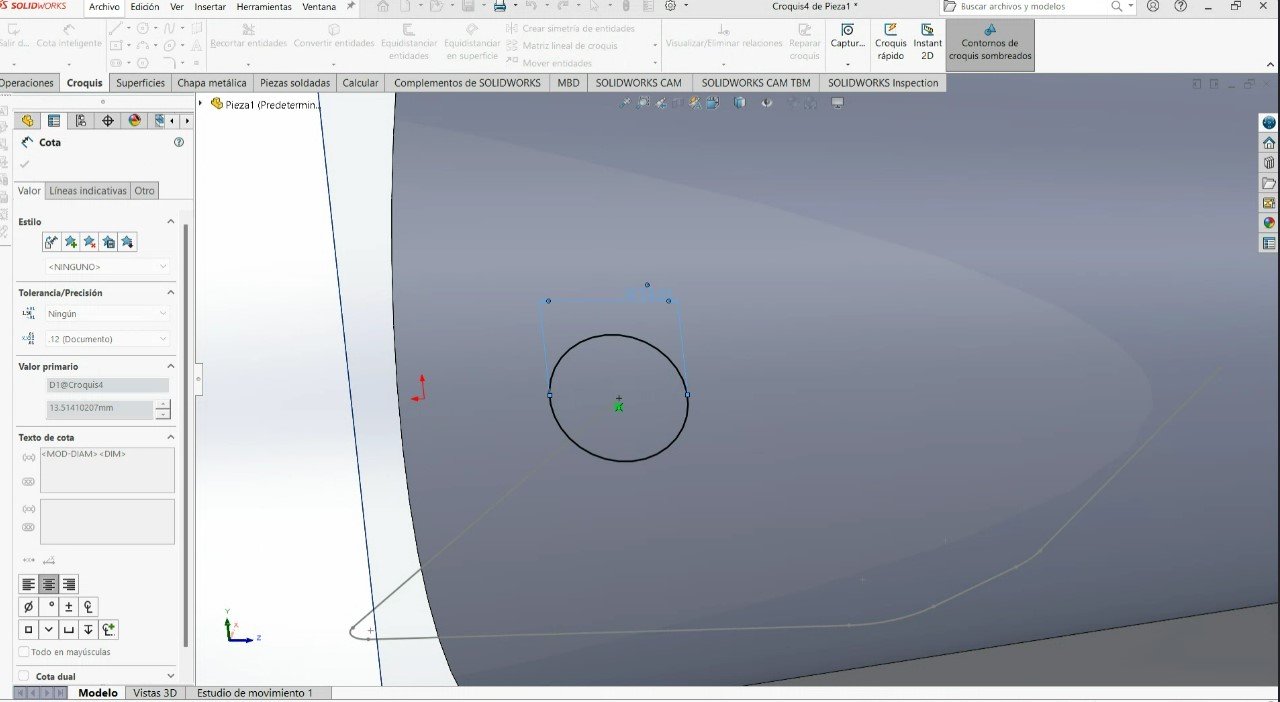
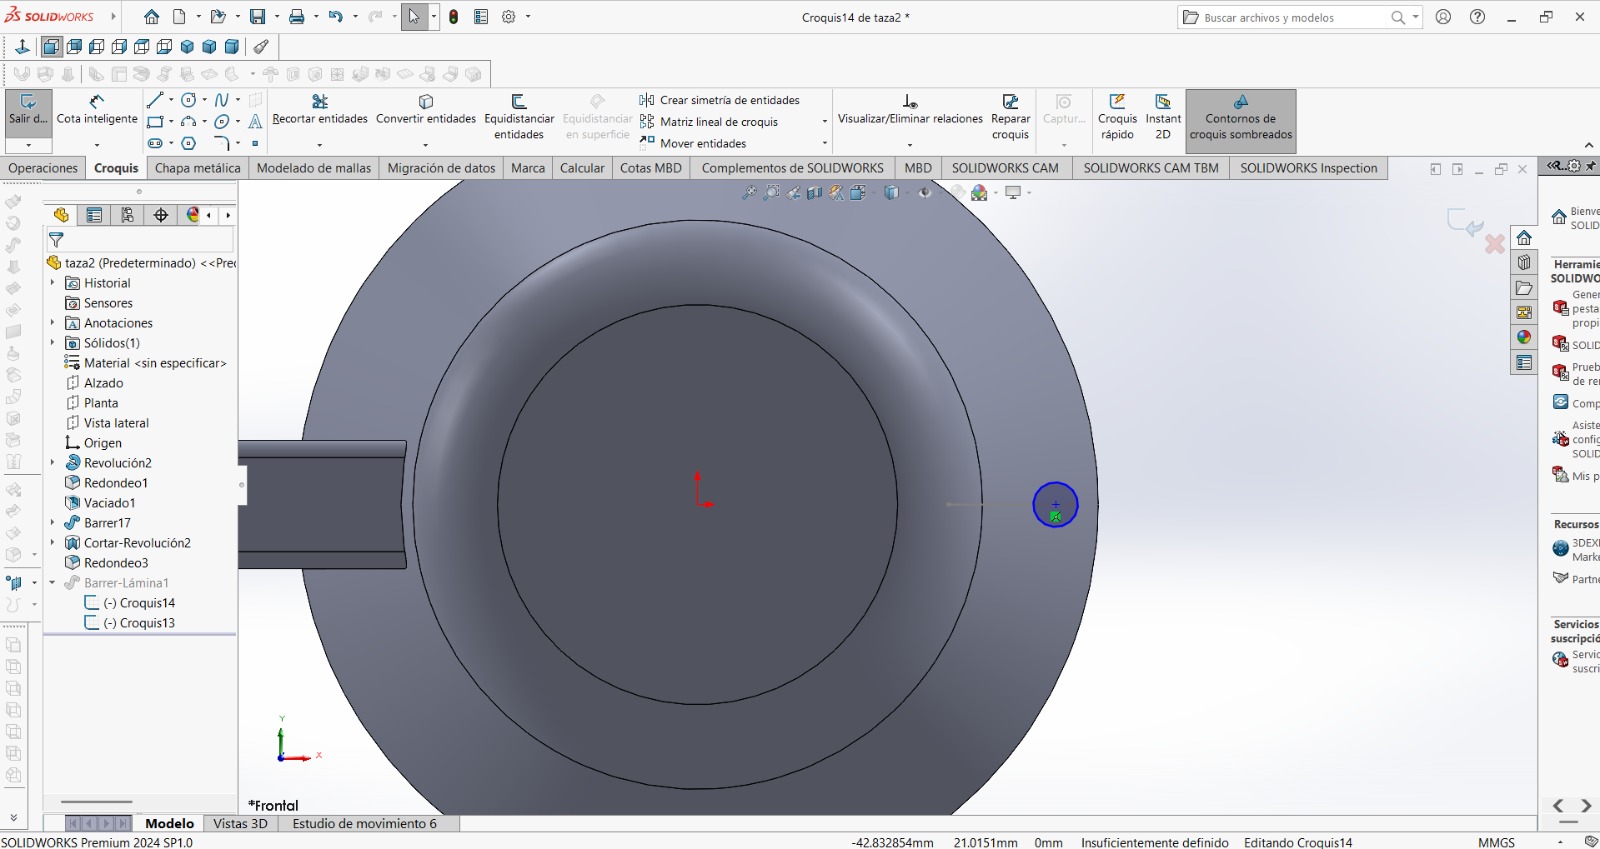
- Design and 3D print an object (small, few cm3, limited by printer time) that could not be made subtractively.
- 3D scan an object (and optionally print it)

Have you answered these questions?
- Linked to the group assignment page ✅
- Explained what you learned from testing the 3D printers ✅
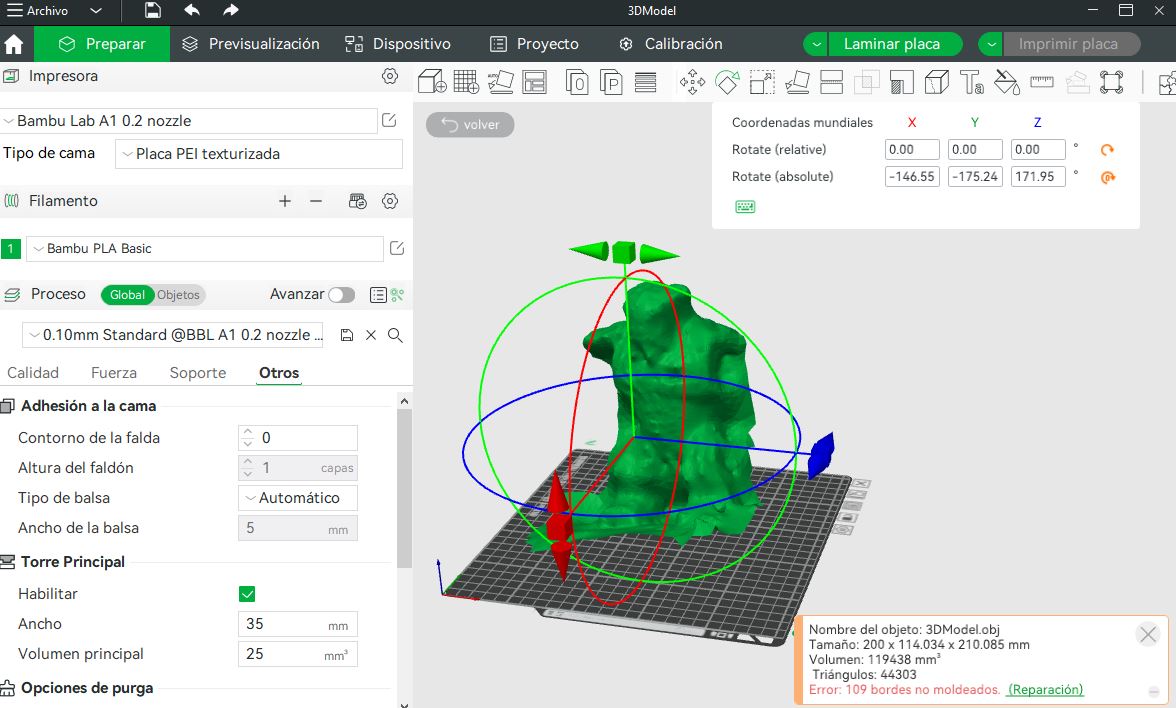
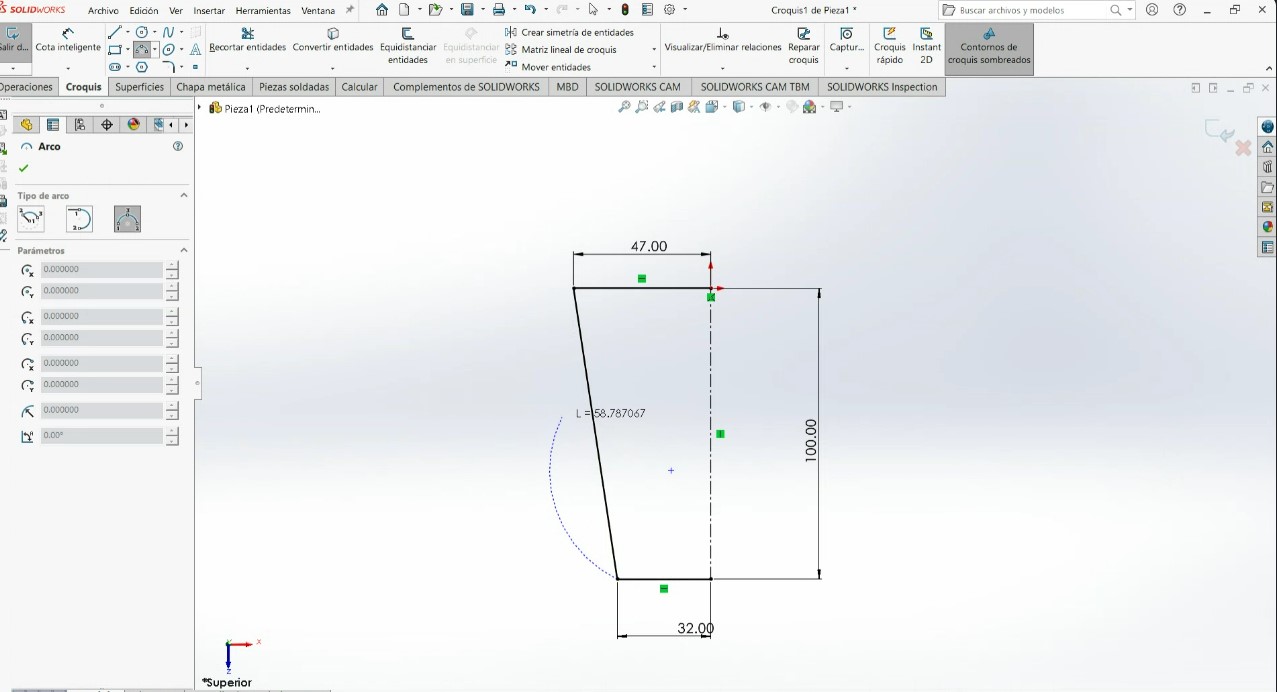
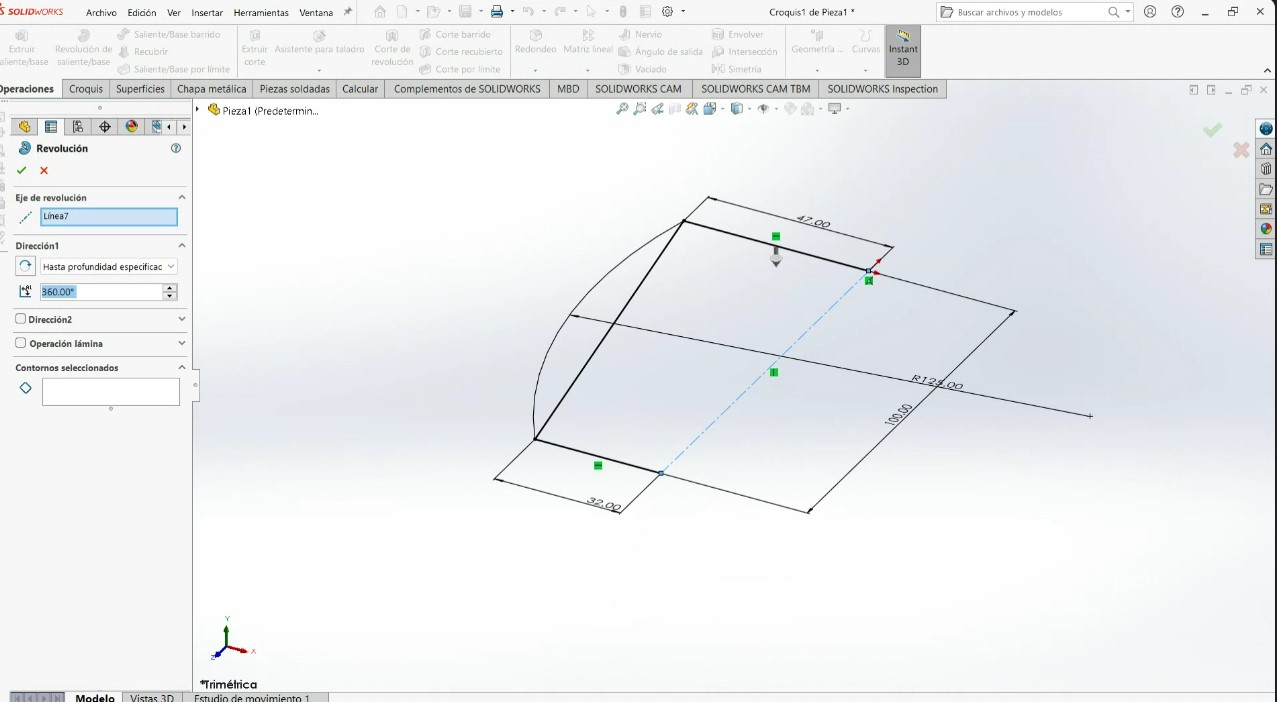
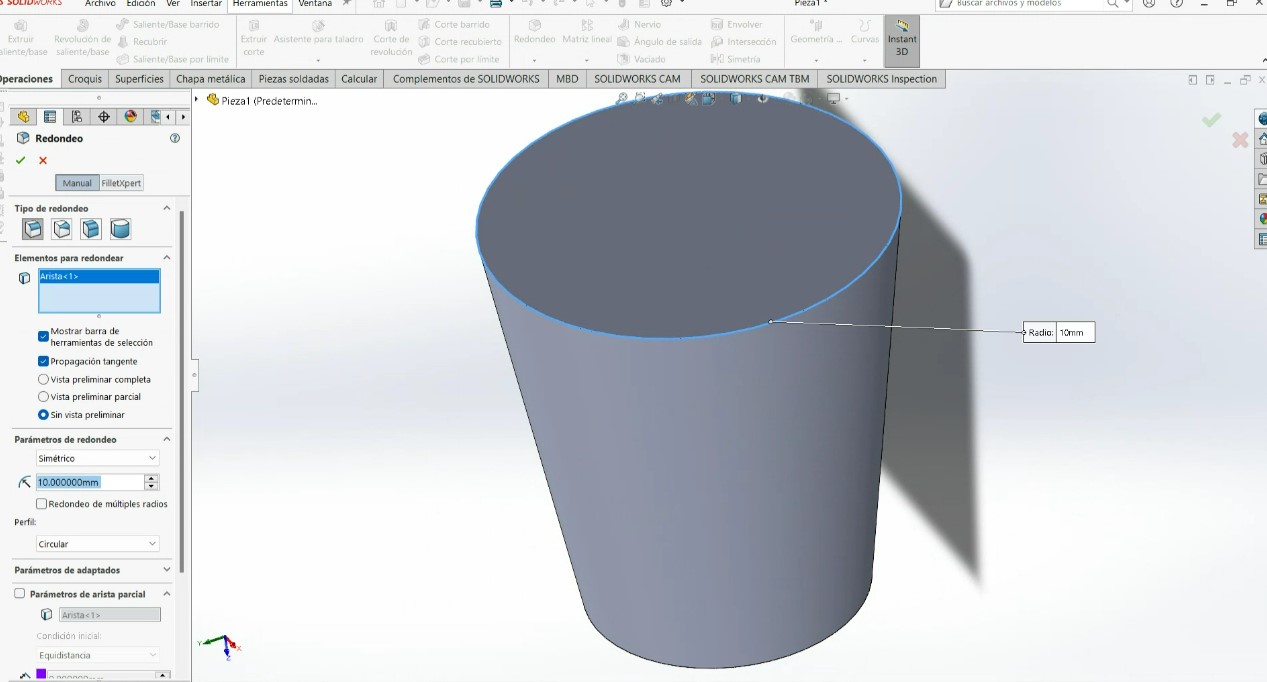
- Documented how you designed and 3D printed your object and explained why it could not be easily made subtractively ✅
- Documented how you scanned an object ✅
- ncluded your original design files for 3D printing ✅
- Included your hero shots ✅
Group Assignment
- Test the design rules for your 3D printer(s)
teamwork
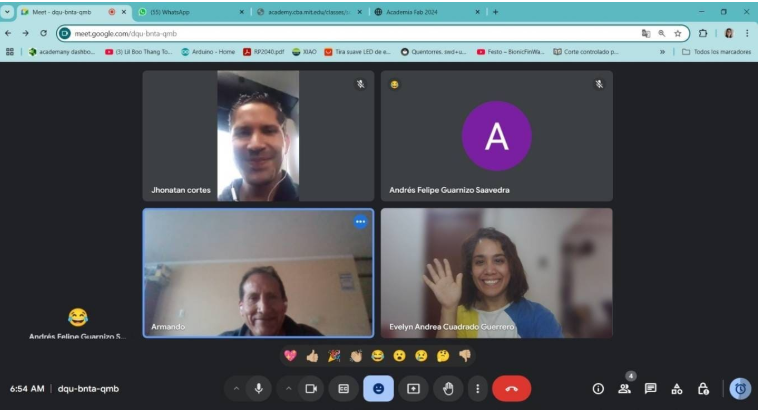
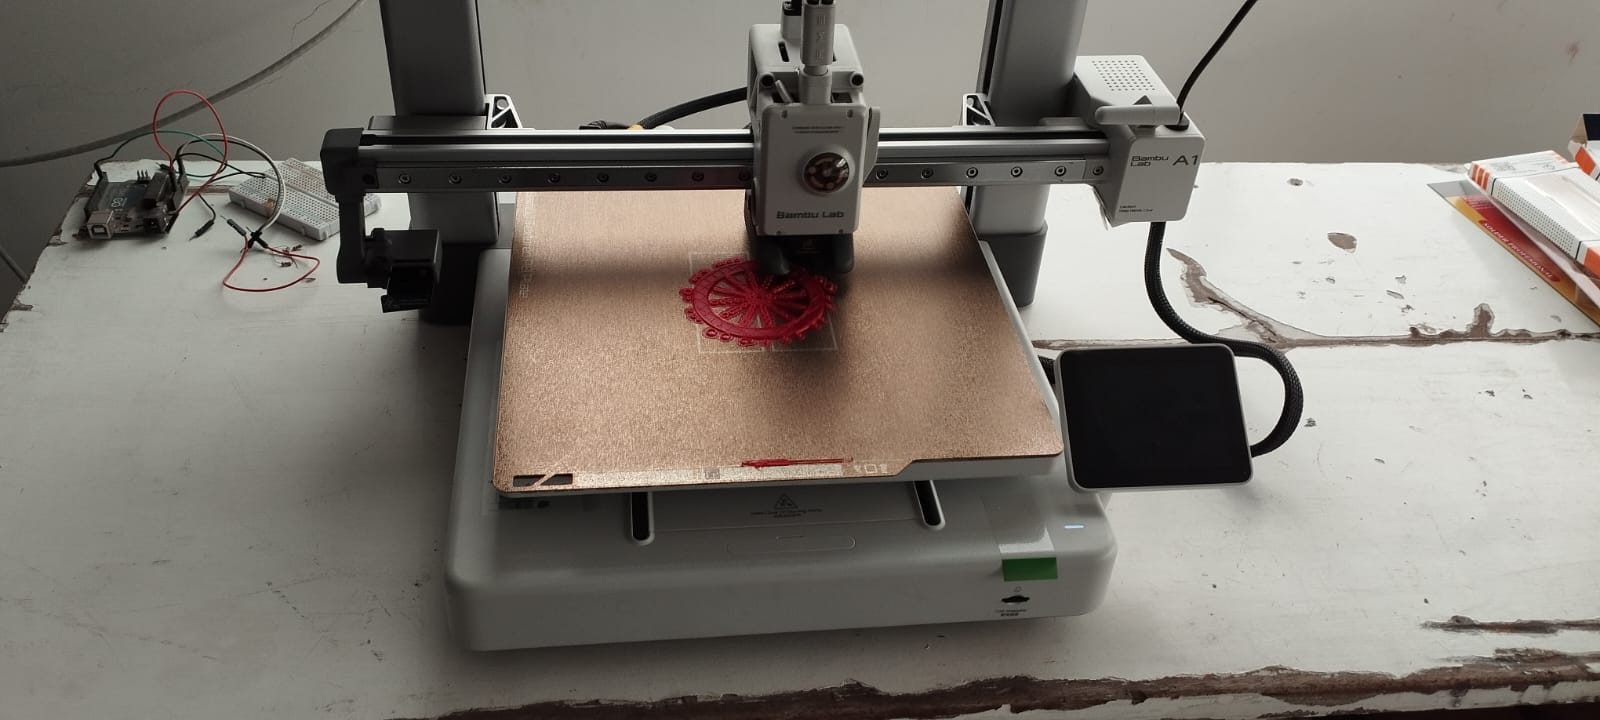
For this task, we decided to meet virtually, as we were in different cities and countries. To facilitate communication, a WhatsApp group was created, allowing us to coordinate more efficiently. We held our first virtual meeting, during which we shared knowledge and learned some basic concepts of 3D printing. Our colleague Jhonatan explained the different types of printing in more detail, such as resin and clay printing, which enriched our existing knowledge.
Reflections
- Applying design rules for 3D printing is essential because it directly impacts the quality, functionality, and success of the print. It helps prevent print failures, optimizes material usage, reduces unnecessary supports, and thus avoids excess material, saving costs and time. Following the rules allows for reducing unnecessary supports and avoiding excess material, saving costs and time.


.jpeg)
.jpeg)
.jpeg)
.jpeg)
.jpeg)
.jpeg)
.jpeg)
.jpeg)

.jpeg)
.jpeg)