week14. Interface and Application Programming
Assignment
Individual assignment
- write an application that interfaces a user with an input &/or output device that you made
Group assignment
- compare as many tool options as possible
Group assignment
For more information about group projects, please see the group project page on the FabLab Kannai website.
Group assignment page is here
node.js + socket.io + serialport + XIAO RP2040 app
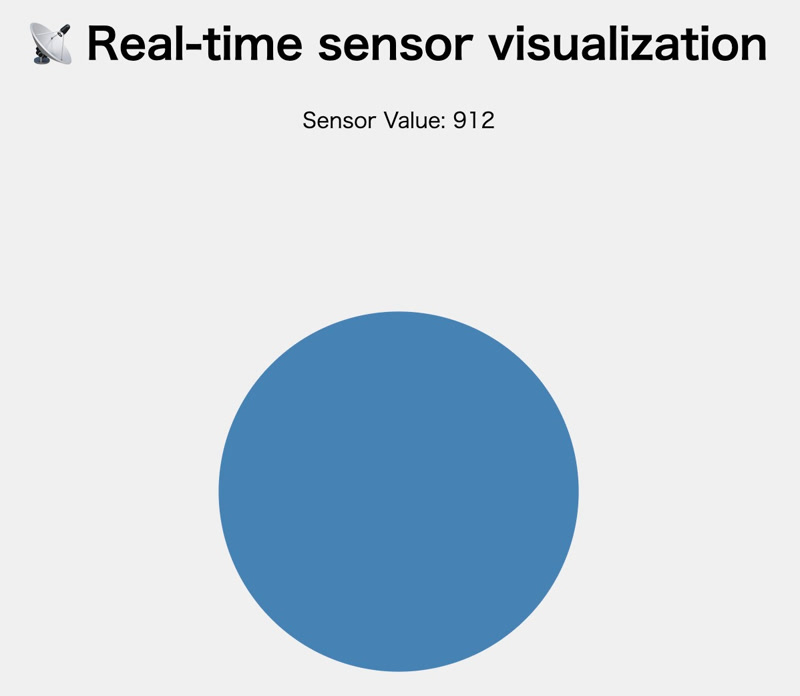
This week, I will modify the mock part of the node.js implemented in this week's Group assignment page to enable communication with the XIAO RP2040. This app generates random values on the XIAO RP2040 only while the button is pressed and displays them as the size of a circle in the browser. This app was inspired by the documentation from Fab Academy 2021's Nadieh.
JavaScript
JavaScript is a programming language used to add dynamic behavior and user interface features to web pages. It is typically used in conjunction with HTML and CSS. It is currently the most important language in web development. For more details, please refer to the following link.
https://developer.mozilla.org/en-US/docs/Web/JavaScript
Node.js
Node.js is a revolutionary technology that overturns the conventional wisdom that “JavaScript = web pages” and enables the development of web apps, IoT, CLI, and APIs all using a single language. In other words, it is a technology that brought JavaScript to the server side. For more details, please refer to the following link.
https://nodejs.org/en/
Installing Node.js
The environment setup (macOS only) is as follows.
brew install node

npm install
Start the server.
node index.jsNode.js app code
The directory structure of a Node.js application is as follows.
realtime-sensor-visualization/
├── node_modules/             # Dependency packages installed with npm
├── public/                   # Public folder for placing client-side HTML and JS
│   └── index.html            # UI displayed in the browser
├── index.js                  # Node.js main application file
├── package.json              # Project settings and list of dependent modules
├── package-lock.json         # Record accurate dependency versions
The code for index.js, the main application file for Node.js, is as follows. This code is a server application that uses Node.js to receive data from a serial port and deliver it to a web browser in real time.
const express = require("express");
const http = require("http");
const socketIo = require("socket.io");
const { SerialPort } = require("serialport");
const { ReadlineParser } = require("@serialport/parser-readline");

const app = express();
const server = http.createServer(app);
const io = socketIo(server);

app.use(express.static("public"));

// Serial port settings
const port = new SerialPort({ path: "/dev/cu.usbmodem1101", baudRate: 9600 });
const parser = port.pipe(new ReadlineParser({ delimiter: "\n" }));

// Sending data to the client(public/index.html)
parser.on("data", (data) => {
  console.log("Sensor:", data);
  io.emit("sensorData", data.trim());
});

server.listen(3000, () => {
  console.log("Server running at http://localhost:3000");
});
The code for public/index.html is as follows. This code is a simple web UI that visually displays sensor data received in real time from the Node.js server (sensorData event) as circles of varying sizes.
<!DOCTYPE html>
<html lang="en">
<head>
  <meta charset="UTF-8">
  <title>Sensor Visualizer</title>
  <script src="https://cdn.socket.io/4.7.2/socket.io.min.js"></script>
  <script src="https://d3js.org/d3.v7.min.js"></script>
  <style>
    body {
      font-family: sans-serif;
      text-align: center;
      background-color: #f0f0f0;
    }
    svg {
      margin-top: 50px;
    }
  </style>
</head>
<body>
  <h1>📡 Real-time sensor visualization</h1>
  <p id="value">Waiting for data...</p>

  <svg width="400" height="400">
    <circle id="sensorCircle" cx="200" cy="200" r="10" fill="steelblue"></circle>
  </svg>

  <script>
    const socket = io();

    socket.on("sensorData", (data) => {
      const value = parseInt(data);
      document.getElementById("value").textContent = `Sensor Value: ${value}`;

      const radius = d3.scaleLinear()
        .domain([0, 1023])  // sensor value range
        .range([10, 150]);  // radius range

      d3.select("#sensorCircle")
        .transition()
        .duration(200)
        .attr("r", radius(value));
    });
  </script>
</body>
</html>
XIAO RP2040 code
The XIAO RP2040 code is as follows. This code is a simple infinite loop that generates a random number between 0 and 1023 every second while the button is pressed and displays it on the standard output (print). It emulates the process of acquiring values from a sensor.
# main.py
import time
import random
from machine import Pin

# Pin settings
button = Pin(4, Pin.IN, Pin.PULL_UP)    # Tact switch: pull-up resistor enabled
led = Pin(3, Pin.OUT)                   # LED: Output mode

while True:
    if button.value() == 0:             # When the switch is pressed (LOW)
        led.value(1)                    # Turn on the LED
        value = random.randint(0, 1023) # Generate random numbers between 0 and 1023
        print(value)
    else:
        led.value(0)                    # Turn off the LED
app video
The video below shows an app running on XIAO RP2040 that generates random values and displays them as circles of varying sizes in a browser.
Afterthoughts
Using simple code, we were able to receive sensor values from the XIAO RP2040 in real time from a Node.js server (sensorData event) and visualize them as circles of different sizes!
If we had more time, we would have liked to try visualization using a different JS library.