week13. Molding and Casting
Assignment
Group assignment
- review the safety data sheets for each of your molding and casting materials, then make and compare test casts with each of them
- compare mold making processes
Individual assignment
- design a mold around the process you'll be using, produce it with a smooth surface finish that does not show the production process toolpath, and use it to cast parts
- extra credit: use more then two mold parts
Group assignment
For more information about group projects, please see the group project page on the FabLab Kannai website.
Group assignment page is here
Safety
Mainly due to chemical hazards, we should be aware of the following dangers and safety measures:
General chemical hazards
- Toxic Vapors: Resins like polyurethane release fumes that can irritate or damage lungs.
- Skin Contact Risks: Direct contact can cause burns, rashes, or allergic reactions.
- Eye Hazards: Splashes may cause severe eye irritation or injury
- Sensitization: Repeated exposure can lead to long-term allergic reactions.
- Inhalation Danger: Breathing in vapors without protection can lead to dizziness, headaches, or respiratory issues.
- Fire Risk: Some chemicals are flammable, especially their vapors.
- Chemical Burns: Certain materials react strongly with skin or eyes on contact.
Safety measures
- Ventilation: Open windows and use fans to remove fumes.
- Protection: Wear safety glasses and chemical-resistant gloves.
- Disposal: Let reactions fully cure before discarding materials; throw used cups and stirrers directly into trash bags.
- Hygiene: Change gloves often and avoid touching uncovered surfaces like desks and chairs.
In our case, the SAFETYDATASHEET for MOLD STAR 31T includes the following items.
| Category | Summary |
|---|---|
| Hazard Classification | Not classified as hazardous |
| Composition | No hazardous ingredients disclosed |
| First Aid Measures | Fresh air, wash skin, rinse eyes, seek medical advice if ingested |
| Fire-Fighting Measures | Water spray, foam, dry chemical; wear protective gear |
| Accidental Release Measures | Use PPE, ventilate area, absorb and dispose properly |
| Handling and Storage | Avoid contact, ensure ventilation, store sealed in cool, dry place |
| Personal Protection | Safety glasses, gloves, good ventilation |
| Disposal | Follow local regulations; prevent environmental contamination |
Even though it's not classified as hazardous overall, ventilation and gloves are still necessary to work safely.
Individual Assignment
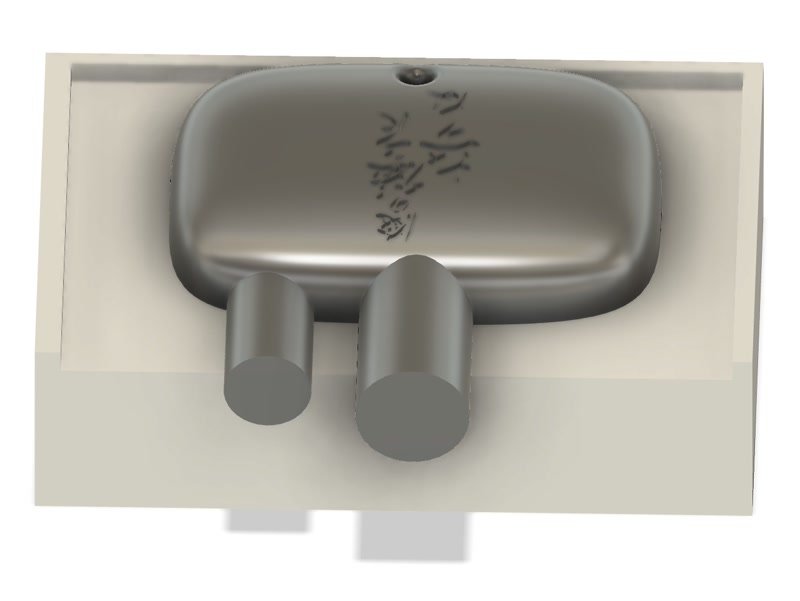
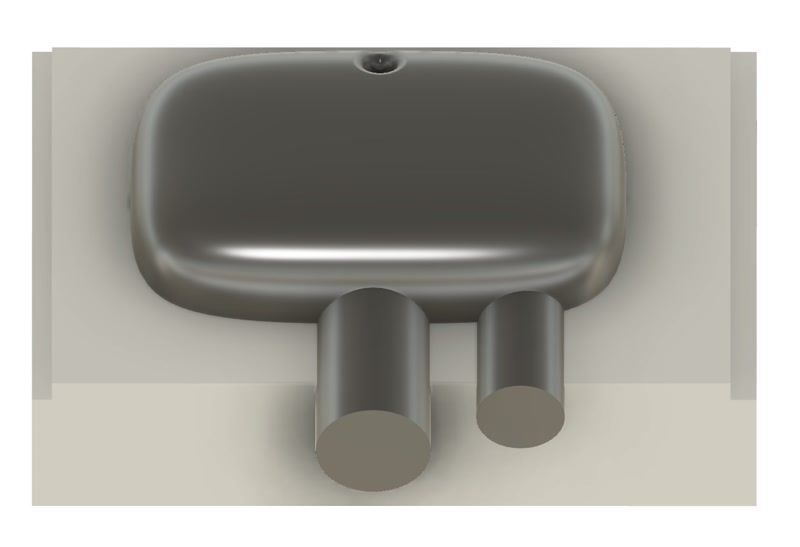
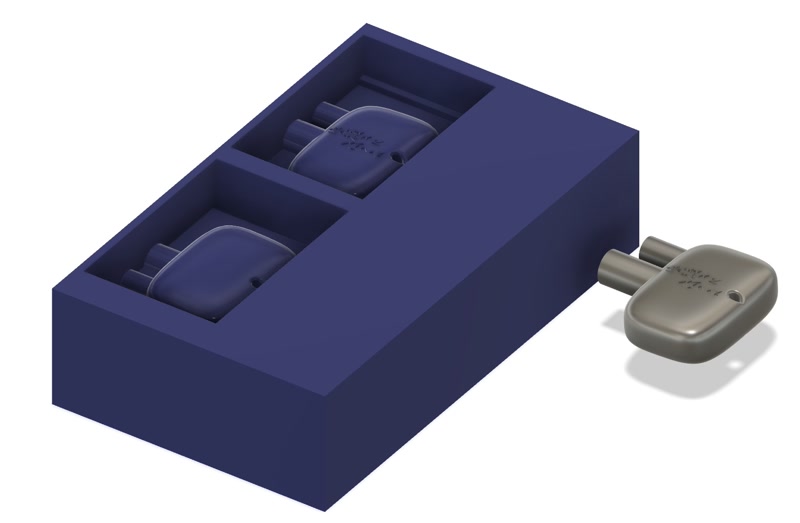
The name of my final project is the “Golgo 13 Machine.” It is a device that monitors the rear using a millimeter-wave radar sensor and issues a warning when someone approaches.
The “Golgo 13 Machine” is shaped like a samurai’s medicine case (inrō), so I challenged myself to create a “netsuke” piece.
A “netsuke” is a small toggle used in Edo-period Japan to prevent items such as an inrō from slipping off the kimono sash when worn.
Create a 3D Model
1. Start a New Design
- Open Fusion, go to "File > New Design" to begin a new design.
2. Use Form Modeling to Create the Base Shape
- From the menu, choose "Create > Create Form."
- Select "Box" and create a block with suitable dimensions: e.g., 30mm × 20mm on the X and Y axes, and 15mm in thickness (Z axis).
3. Edit to Create a Rounded Shape
- Select "Edges" or "Faces" and drag them to sculpt a smooth oval shape.
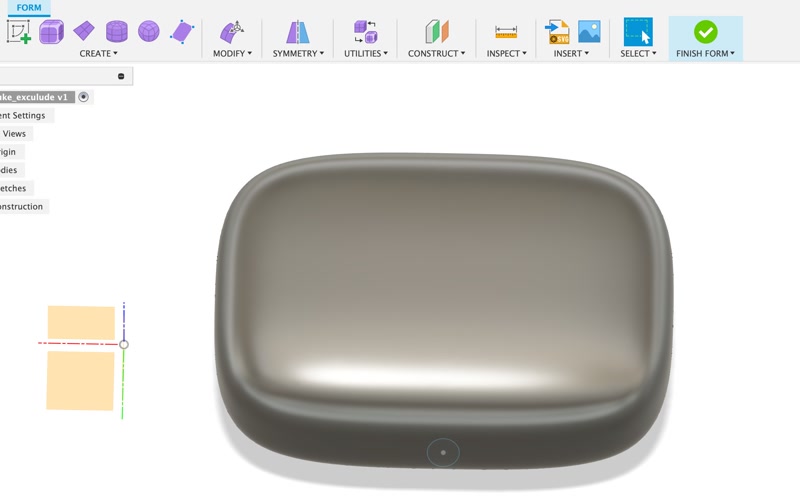
4. Finish the Form
- Once the shape is finalized, click "Finish Form."
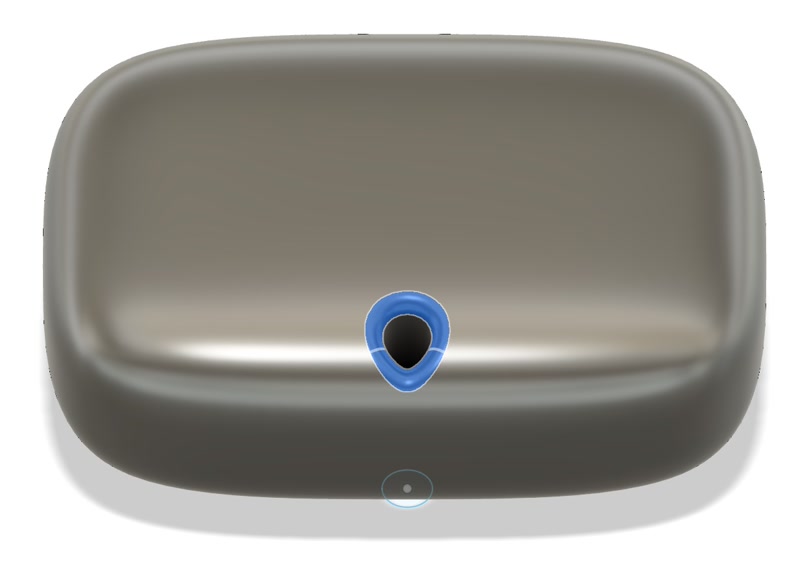
5. Create a Hole for the Strap
- Use "Create Sketch" to draw a small circle (e.g., 3mm) at the top.
- Use "Extrude" to cut through the body.

- Use the "Fillet" tool to smooth the edges of the hole.
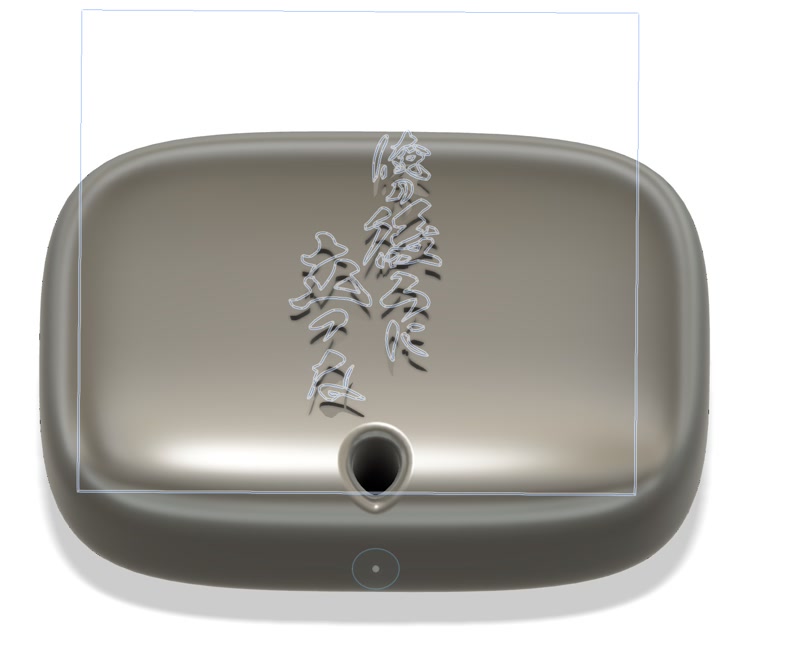
6. Import SVG on Offset Plane and Engrave (Emboss)
- Use "Construct > Offset Plane" to create a plane near the curved face for engraving.
- Offset by an appropriate distance (e.g., +2mm).
- Click the new offset plane and select "Create Sketch."
- Use "Insert > Insert SVG" to load the SVG file.
- The SVG contains the Japanese phrase meaning “Never stand behind me.”
- The SVG contains the Japanese phrase meaning “Never stand behind me.”
- Adjust the SVG’s size and position with the "Move" tool.
- Finish the sketch.
- Select "Create > Emboss":
- "Profile": select the SVG lines
- "Face": select the curved face of the body
- "Type": choose Emboss or Deboss
- "Depth": specify engraving depth (e.g., 0.5mm)
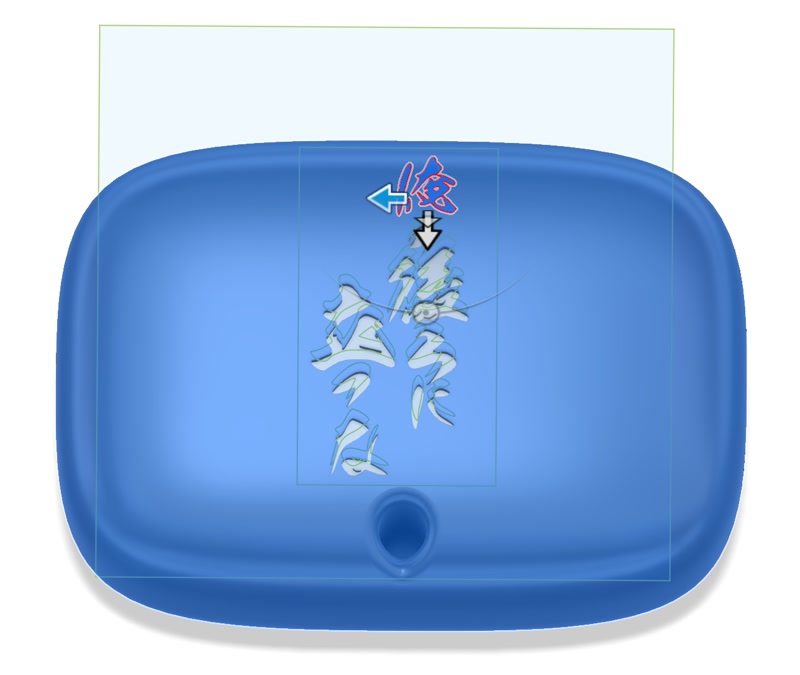
- Click OK to complete the engraving.
7. Final Check and Save
- Rotate the view to check the final shape.
- Go to "File > Save As" to save the model.
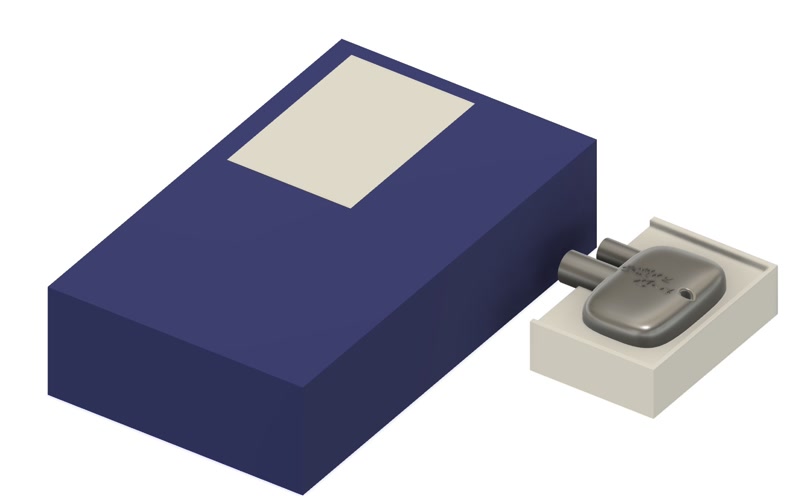
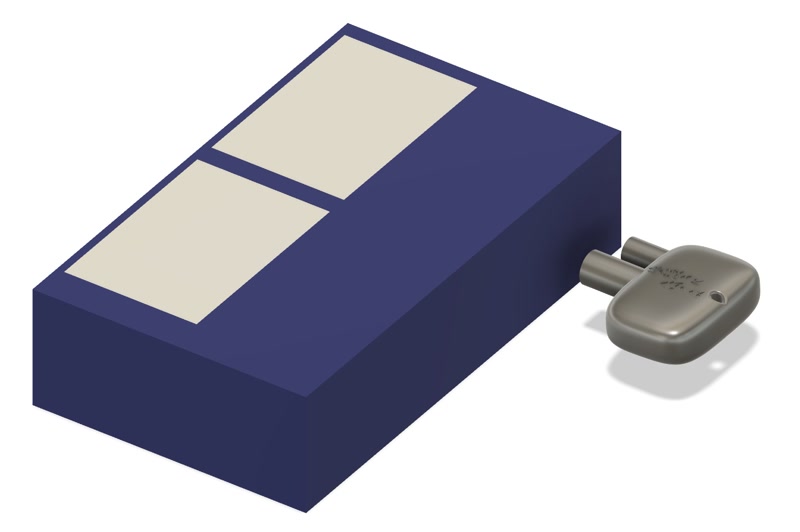
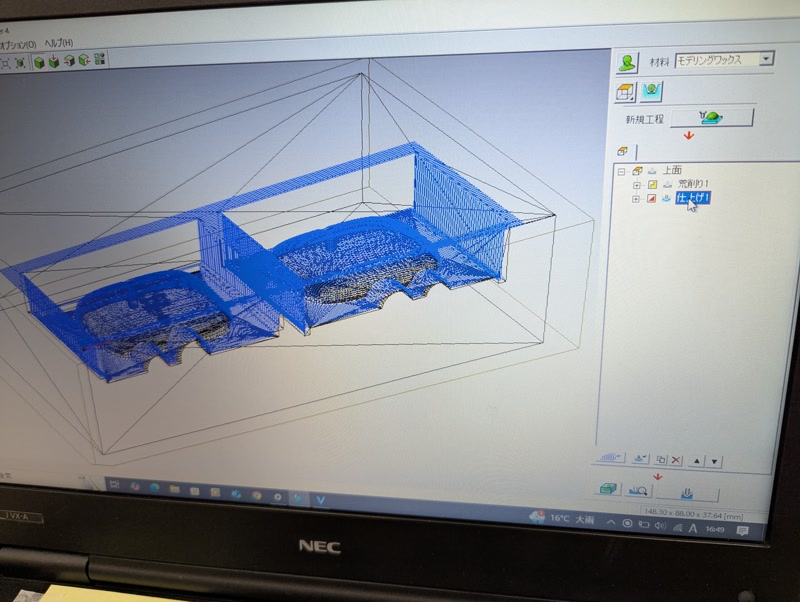
Creating Mold Data
1. Create the Negative Mold
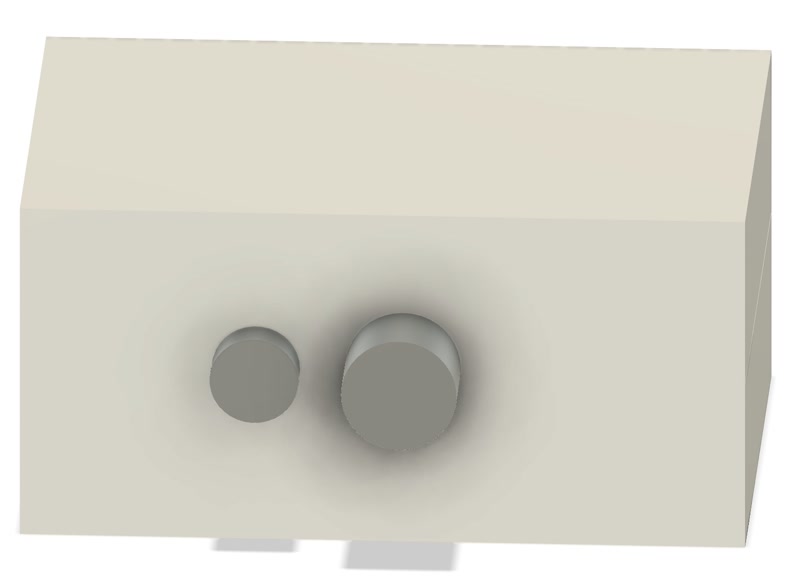
Add two cylinders to the model to serve as the casting inlet and air vent.
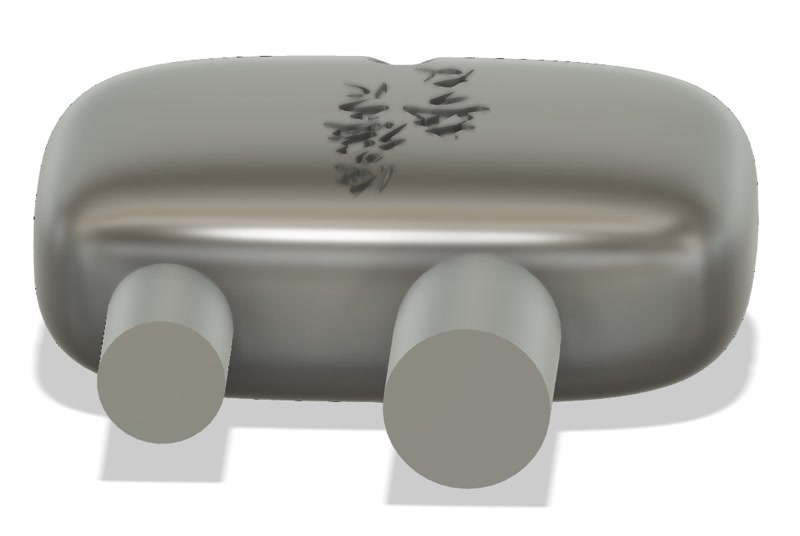
Create two new solid mold blocks and enclose the model’s top and bottom.
Use the model shape to cut the blocks and create the negative mold.
- Go to "Modify > Combine"
- "Target Body": mold block
- "Tool Bodies": 3D model
- "Operation": Cut
- "Keep Tools": checked
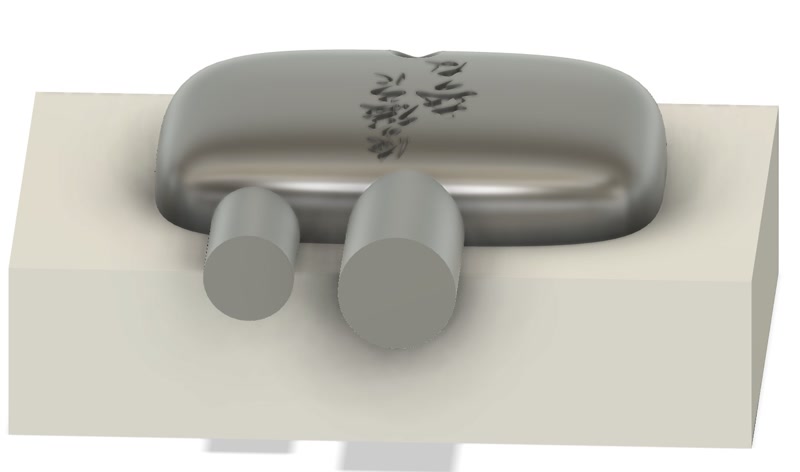
- Add alignment features to prevent misalignment during casting.
2. Create the Positive Mold for Silicone Casting
- Create a 3D model of Matt Wax.
- Move the negative mold above the Matt Wax and rotate it 180° so the bottom of the mold aligns with the top surface of the wax.
- Cut the Matt Wax with the negative mold shape to create the positive mold.
- Use "Modify > Combine":
- "Target Body": Matt Wax
- "Tool Bodies": Negative mold
- "Operation": Cut
- "Keep Tools": checked
- Use "Modify > Combine":
3. Final Check and Save
- Rotate the view and inspect the final shape.
- Save with "File > Save As"
- Export as .stl with "File > Export"
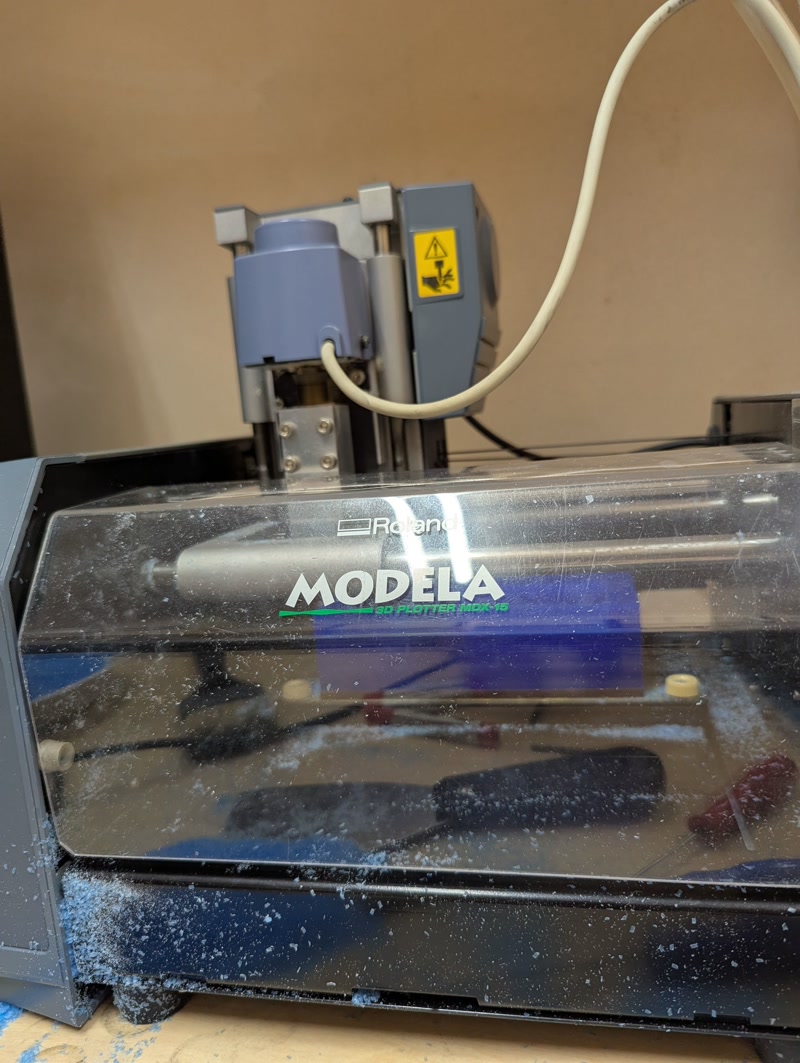
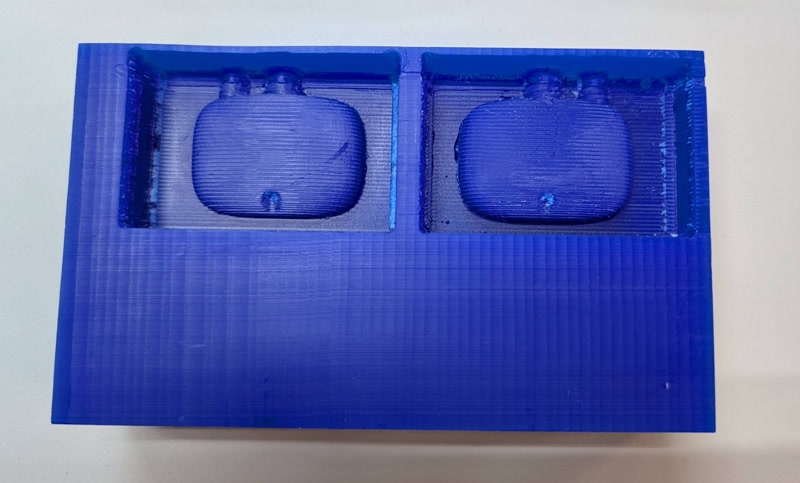
Mold Fabrication
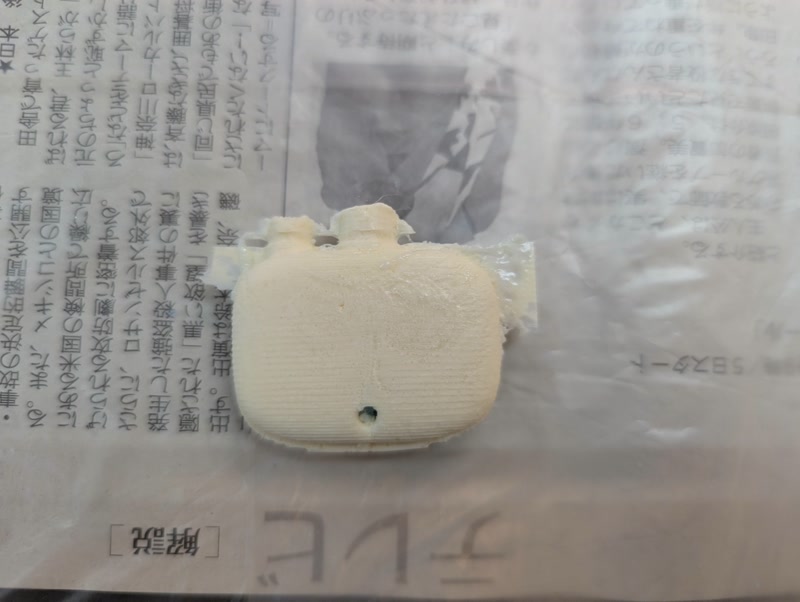
I used the MDX-15 to mill both the top and bottom molds from (Matt Wax).
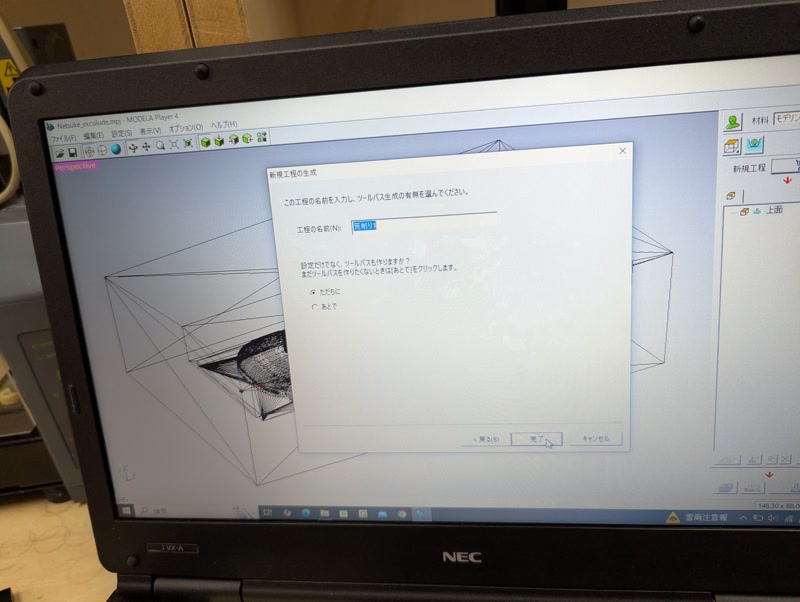
1. Create Roughing Pass
Load STL into MODELA Player 4
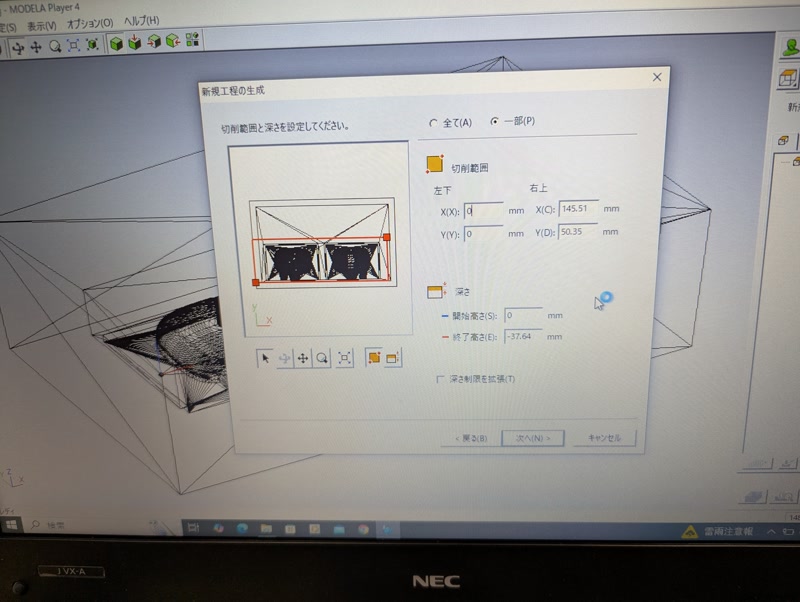
Set material size and milling area
Create new process (Roughing)
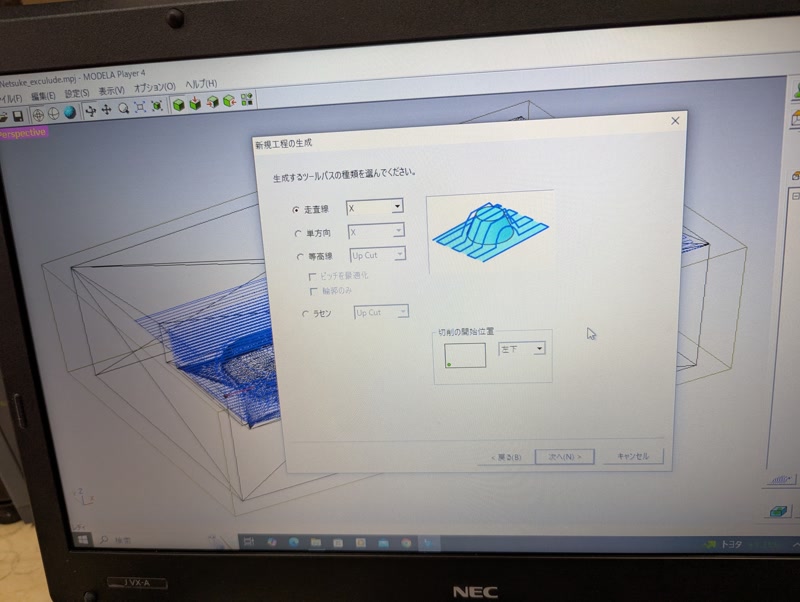
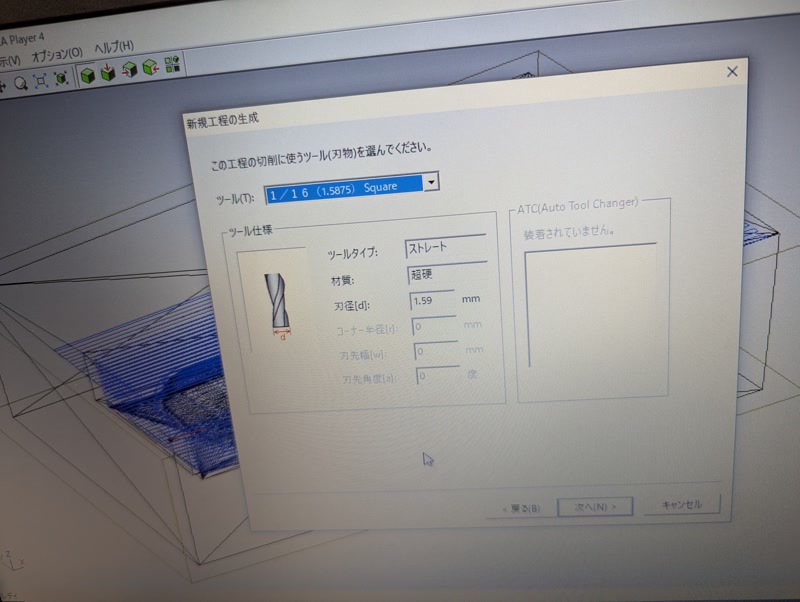
Set tool diameter and milling conditions:
Tool: 1/8” square
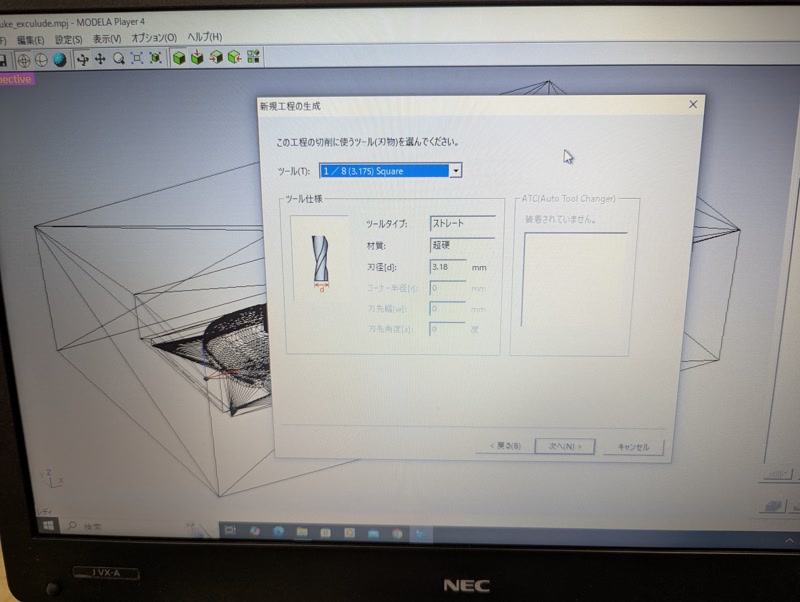
Set area and depth
Choose tool path:
Raster
Unidirectional
Outline < "Upcut"
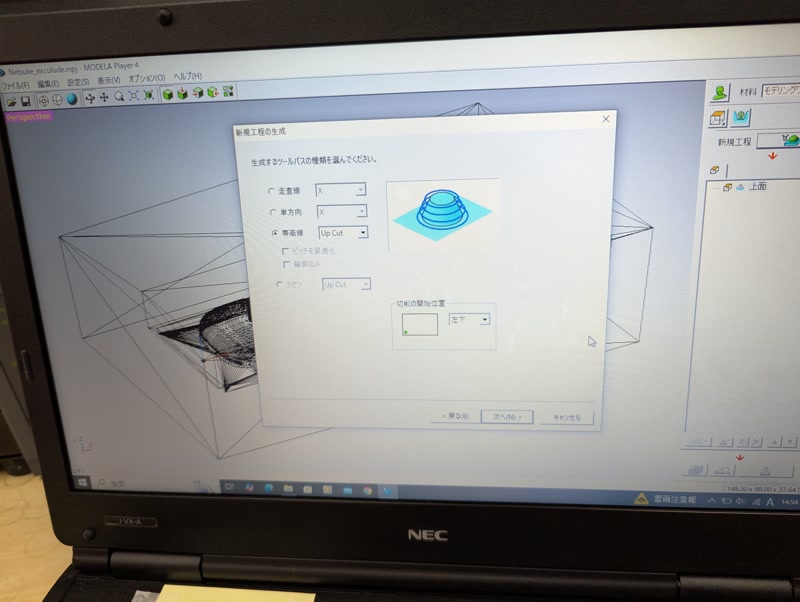
Set cutting conditions:
- Material: Modeling wax
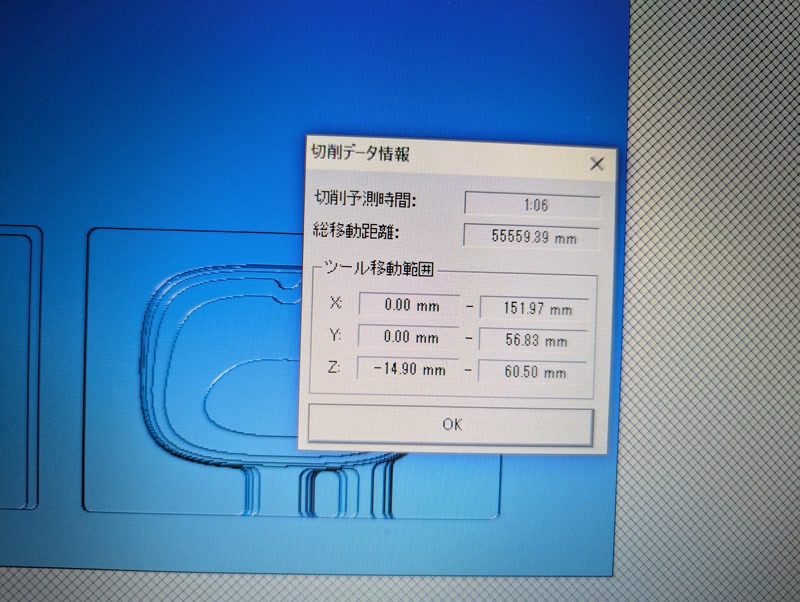
Use Virtual MODELA to estimate time
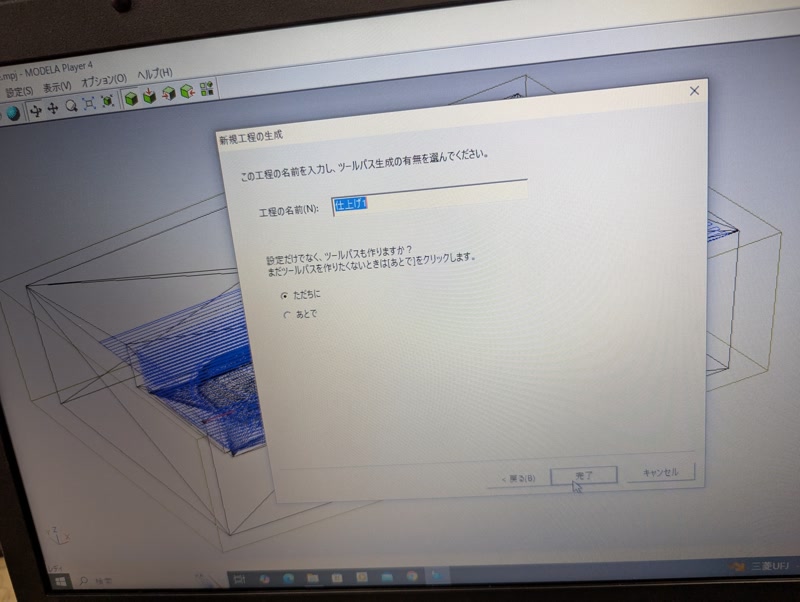
Save the roughing toolpath
2. Create Finishing Pass
Raster direction: X or Y
Select tool:
Tool: 1/16” square
Save finishing toolpath
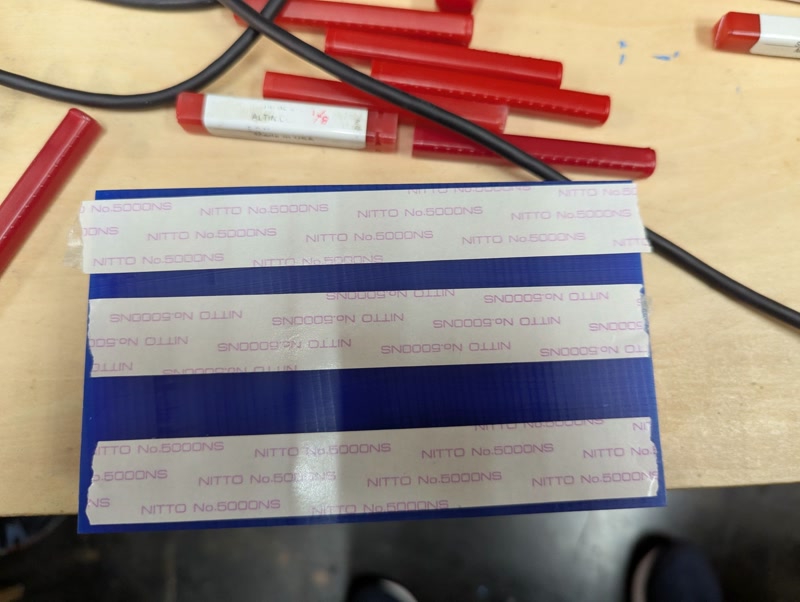
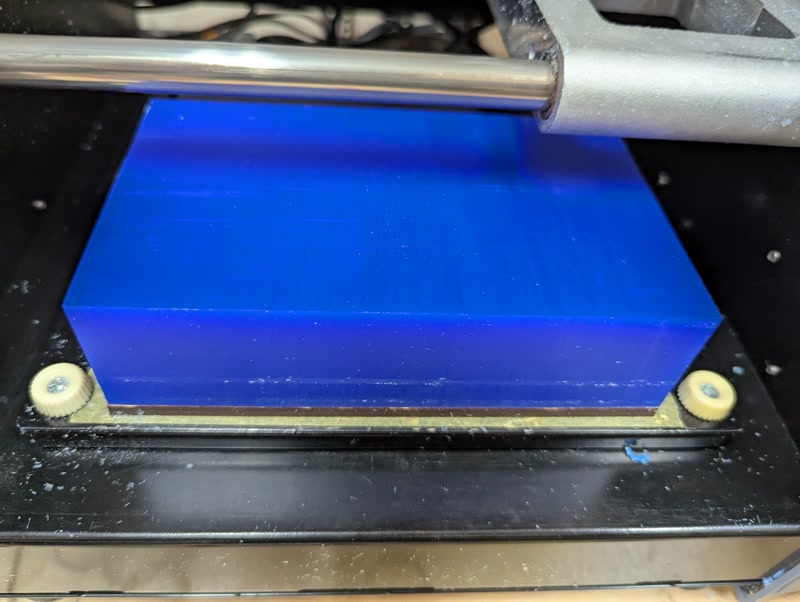
3. Mount Matt Wax
Place Matt Wax on MDX-15 milling area
Fix it securely with double-sided tape
Set X/Y/Z origin manually using "Set Origin"
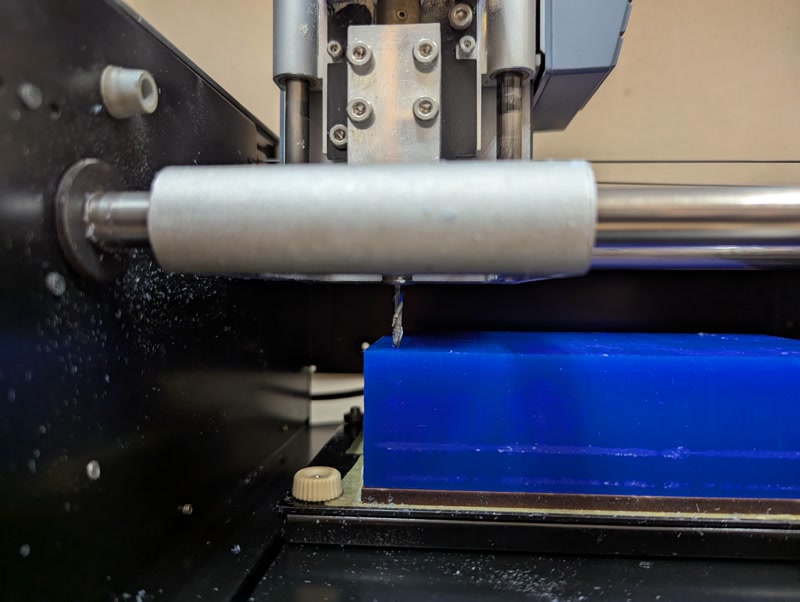
4. Rough Milling
- Install roughing endmill
- Load roughing G-code
- Start milling while cleaning chips
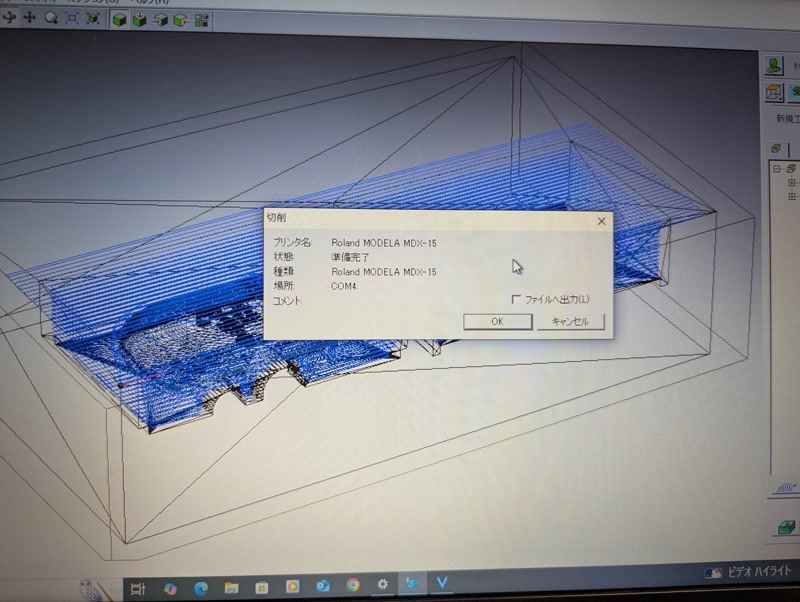
Toolpath Generation and Cutting Parameters
The toolpath was generated using MODELA Player 4, which automatically sets the feed and speed parameters internally based on the selected tool and material listed below. Since I selected "Modeling Wax" as the material and specified the tools shown below, the software applied optimal settings automatically.
- Tools:
- Roughing pass: 1/8 inch square end mill
- Finishing pass: 1/16 inch square end mill
- Material: Modeling Wax
G-code transmission screen
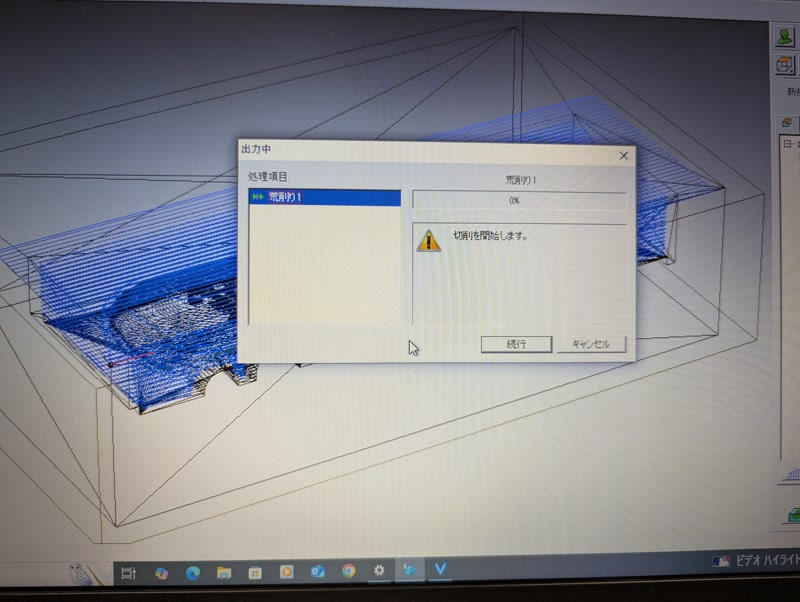
Milling screen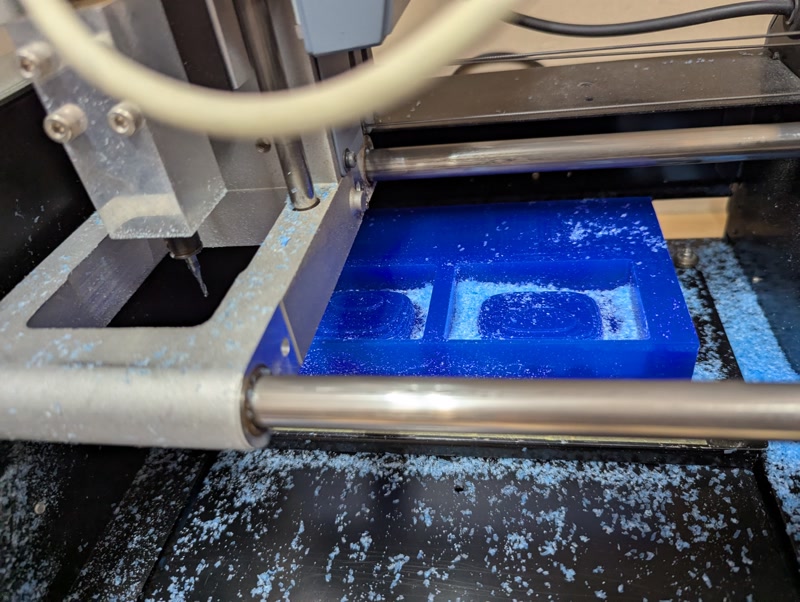
5. Finish Milling
- Replace endmill with finishing tool
- Re-check origin
- Run finishing G-code to mill fine details
6. Post-Processing
- Clean surface and chips
- Check if the positive mold is usable
Create Negative Mold (Silicone)
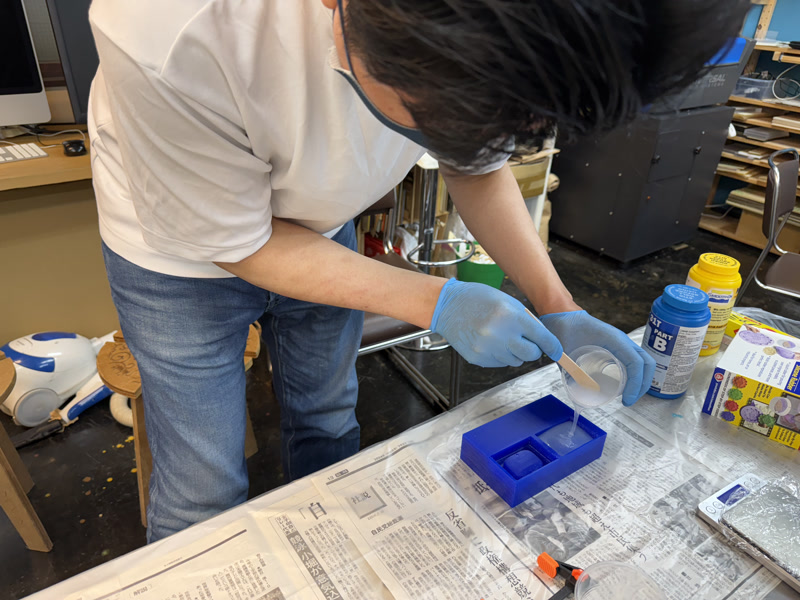
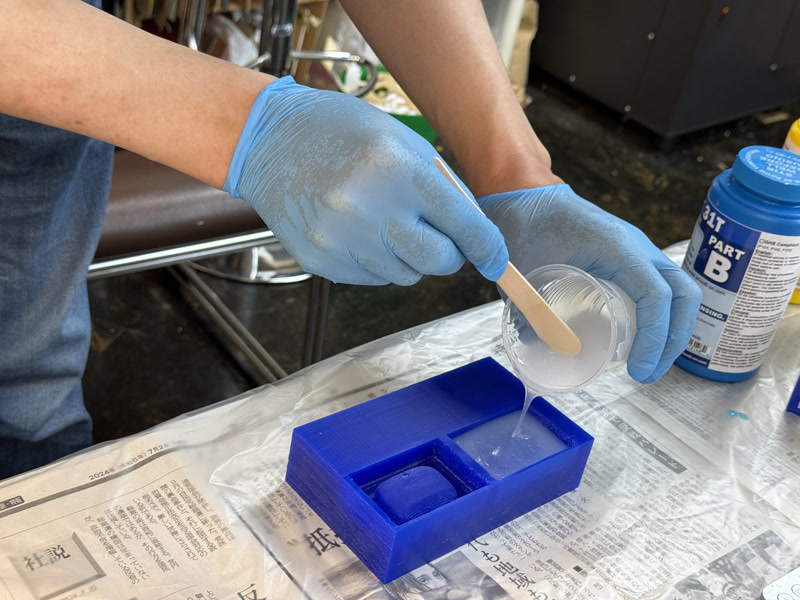
1. Measure and Mix MOLD STAR 31T
- Mix Part A and Part B in a 1:1 weight ratio
- Pour both parts into a cup and mix thoroughly for about 1 minute
The material has low viscosity and mixes easily
Don’t overmix
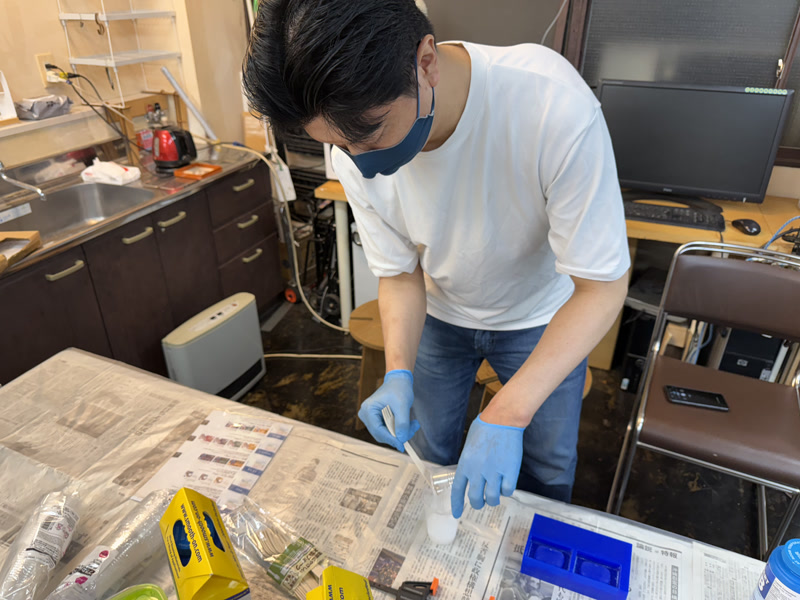
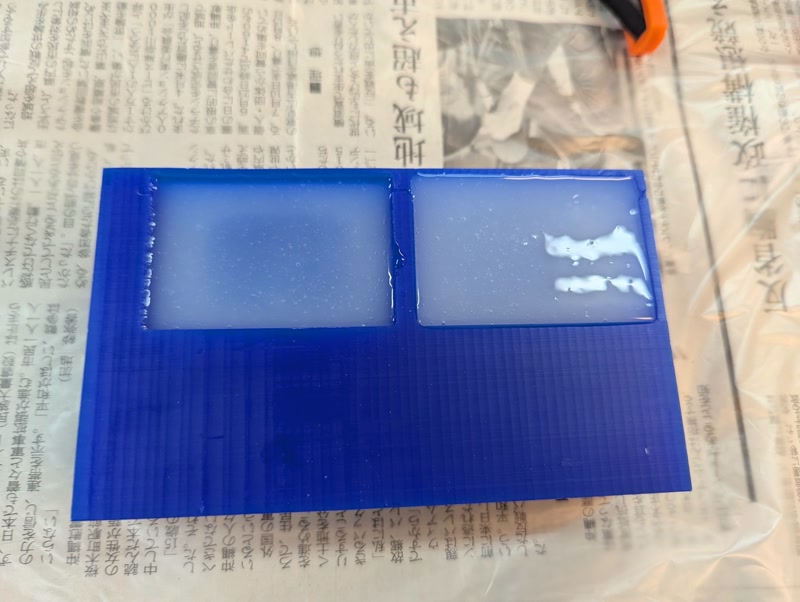
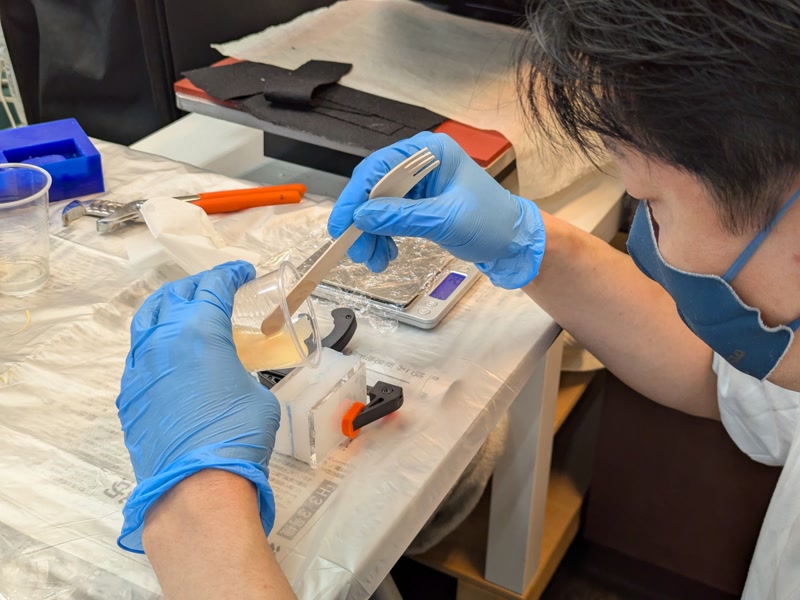
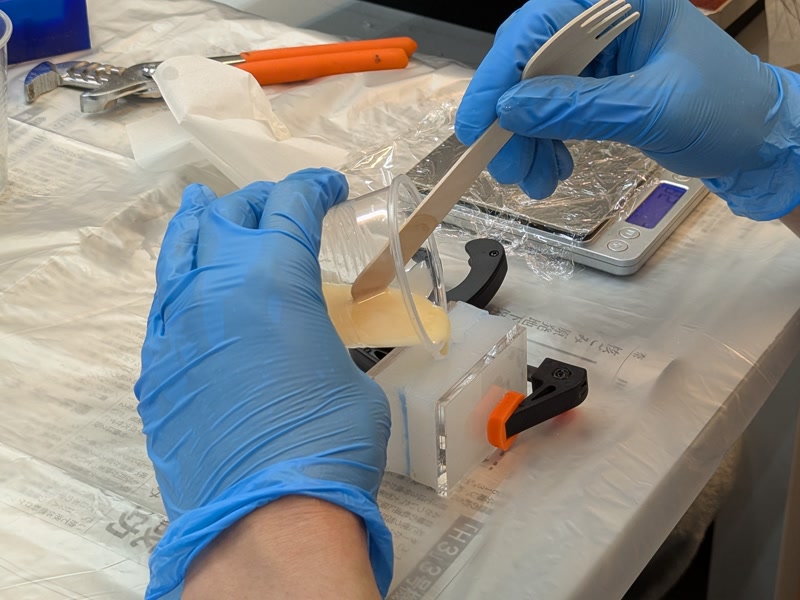
2. Pour Silicone
- Pour from a corner of the mold and let it flow naturally
- Use vibration or toothpicks to release air bubbles
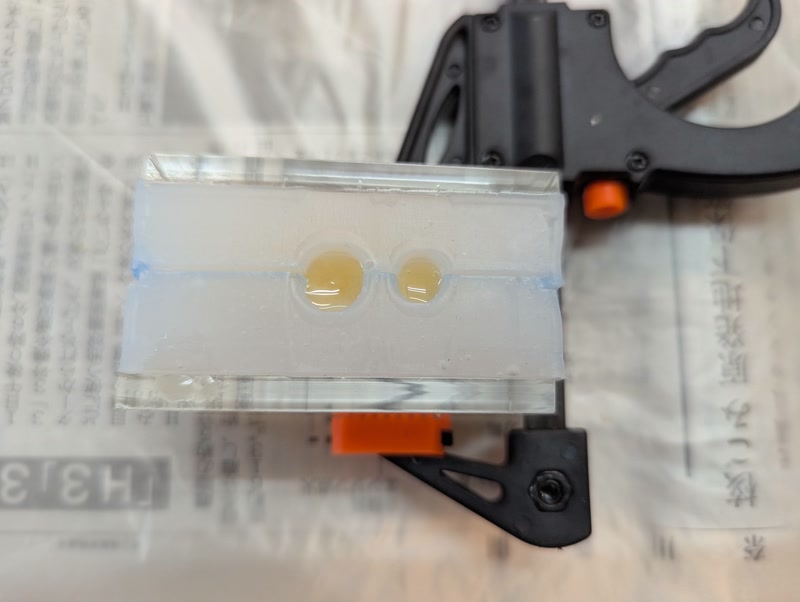
3. Cure and Demold
- Cure time: approx. 23 minutes (depends on room temperature)
- Carefully remove silicone mold from the Matt Wax positive
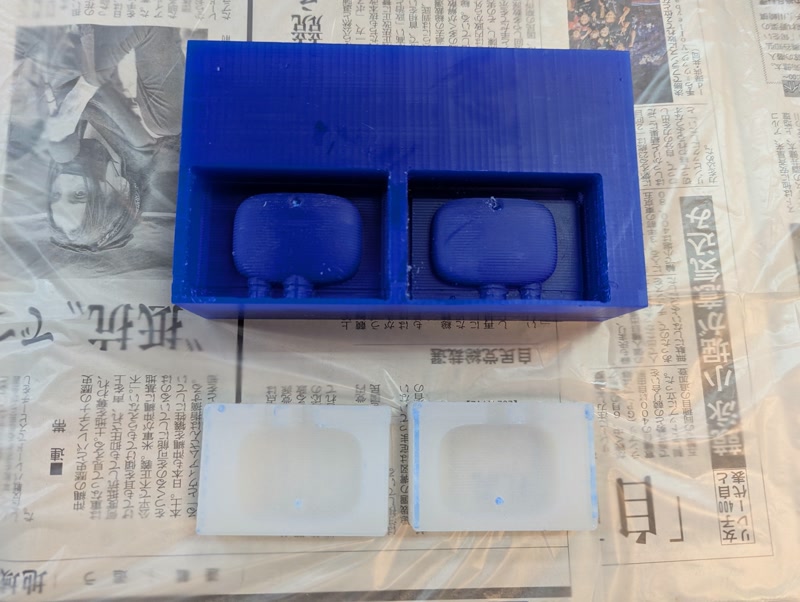
Casting with SMOOTH-CAST 320
1. Measure and Mix Smooth-Cast 320
Mix A:B = 100:90 by weight
- Use disposable paper cups to measure
- Prepare all tools in advance (working time is short)
Mix quickly (pot life ~3 min)
- Stir well; fluid is low-viscosity
- Scrape the bottom and sides thoroughly
Pour into Silicone Mold
- Place mold on flat surface
- Pour slowly into the sprue (inlet)
- Tap the mold gently to release air bubbles
2. Cure and Demold
- Cure time: approx. 10 minutes
- At 23°C; longer if colder
- Wait until fully cured before removal
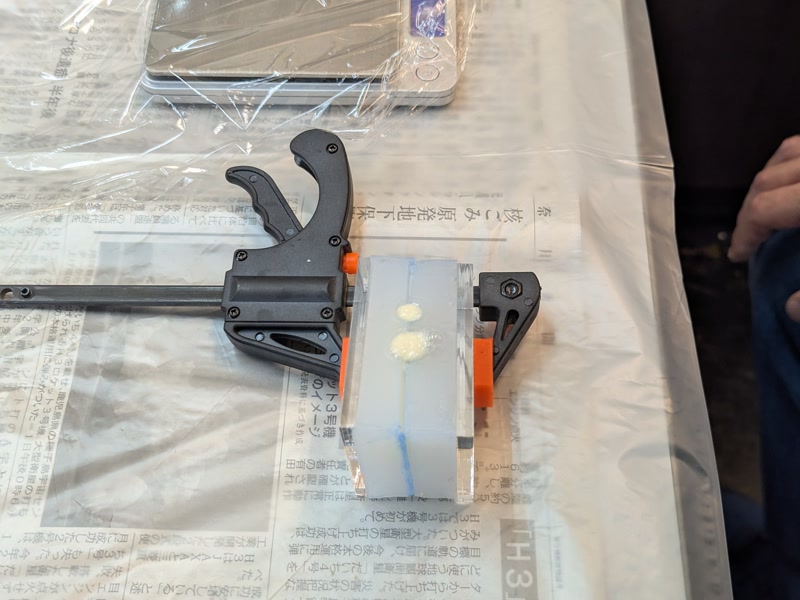
3. Notes on Demolding
- Silicone molds are flexible, so gently peel off
- Use a cutter or file to trim flash
Casting with Glow-in-the-Dark Pigment
Since casting with SMOOTH-CAST 320 was successful, I tried adding glow-in-the-dark pigment.
1. Mix SMOOTH-CAST 320 with Glow Pigment
Choose dry, compatible glow pigment
- Recommended mix ratio: 5–15% by weight
- Too little won’t glow; too much may cause cure failure or thickening
Mixing Procedure:
- Mix Part A and Part B at 1:1 by volume
- Add 5g of glow pigment to Part B first
- Stir gently to avoid powder clouds
- Make sure it's evenly mixed
- Finally, combine with Part A and mix thoroughly for 30–60 seconds
2. Cure and Demold
Cure time: approx. 20 minutes (allow extra time)
Cures at room temperature (around 23°C); colder temps take longer
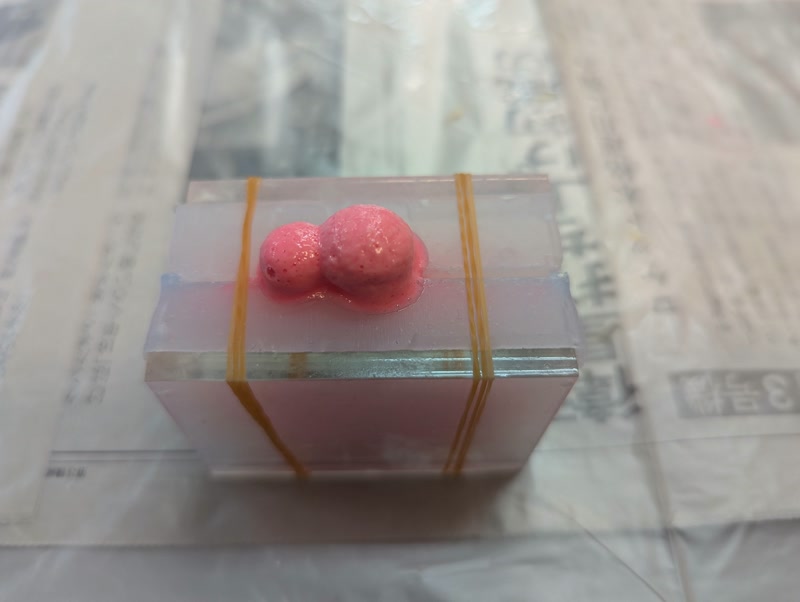
Wait until fully cured before demolding

After exposure to light, check glow performance in darkness
3D model
3D model created with Fusion.
Afterthoughts
It was interesting to see that mixing glow-in-the-dark powder into Smooth-Cast 320 caused the material to expand during casting, and the result was actually smoother and cleaner than casting without the powder!
Next, I’d like to try casting using other materials like silicone rubber!