week5. 3D Scanning and Printing
Assignment
Group assignment
- test the design rules for your 3D printer(s)
Individual assignment
- design and 3D print an object (small, few cm3, limited by printer time) that could not be made subtractively
- 3D scan an object (and optionally print it)
Group assignment
For more information about group projects, please see the group project page on the FabLab Kannai website.
Group assignment page is here


TIP
We found that the 3D printer (Bambu Lab P1S) at FabLab Kannai can print beautifully up to 20mm in bridging and 40° in angle.
3D scan an object
I tried out the 3D scanning app RealityScan and the 3D scanner Creality CR-Scan Ferret Pro. This week, our teammates in Kannai scanned each other using the 3D scanner.
RealityScan(Scan Shintaro Ito)
I scanned my teammate Shintaro Ito with RealityScan. RealityScan is a photogrammetry-based 3D scanning app. Photogrammetry involves taking photos of an object from various angles, then calculating and combining them to create a 3D model. Reality Scan has a guide function to help you take the photos, and the calculations are done automatically in the cloud. As a result, the photos you take are uploaded to the cloud, so there is a lot of data traffic.
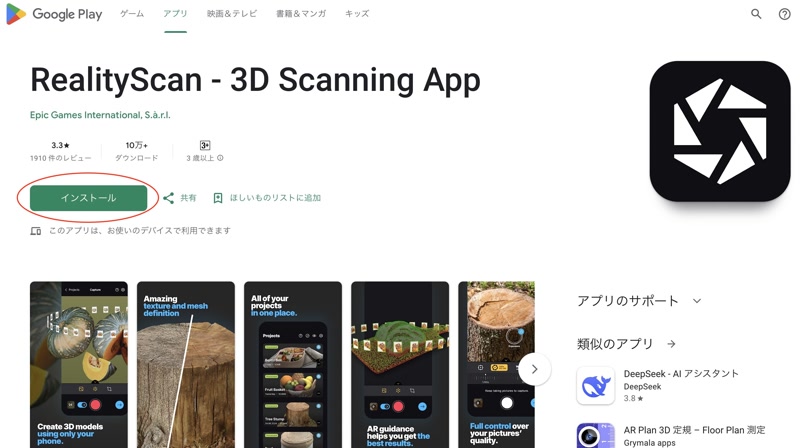
Install the RealityScan app
Install the RealityScan app from Google Play.
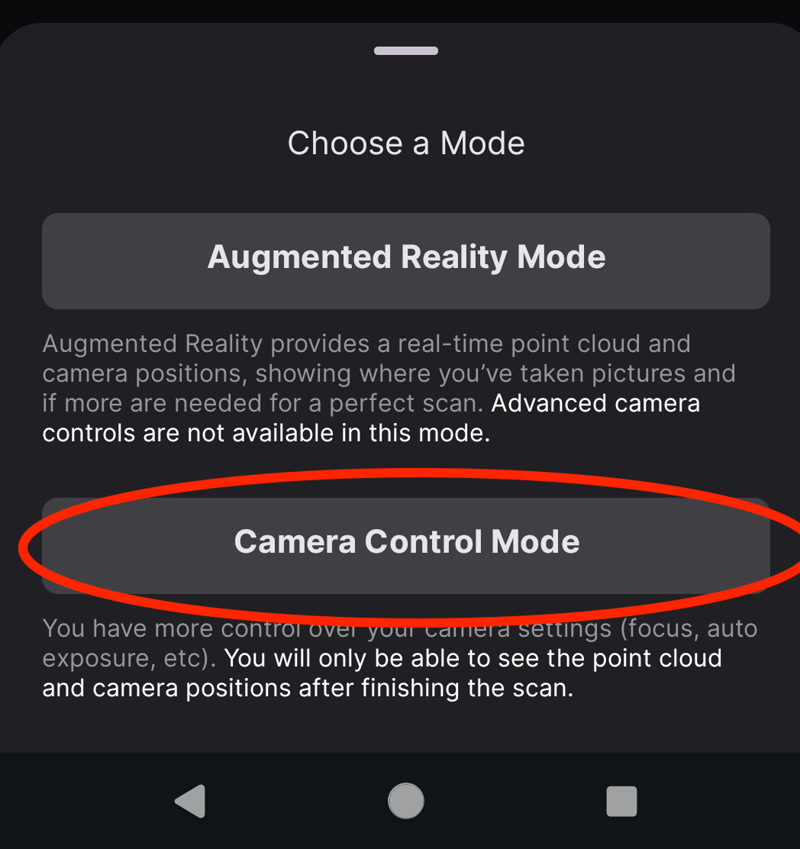
Select the scanning mode
After installation, you will need to register as a member to be able to use the 3D scan function. Next, select the scanning mode. In this case, we will use the “Camera Control Mode”. In this mode, you can adjust the camera settings manually.
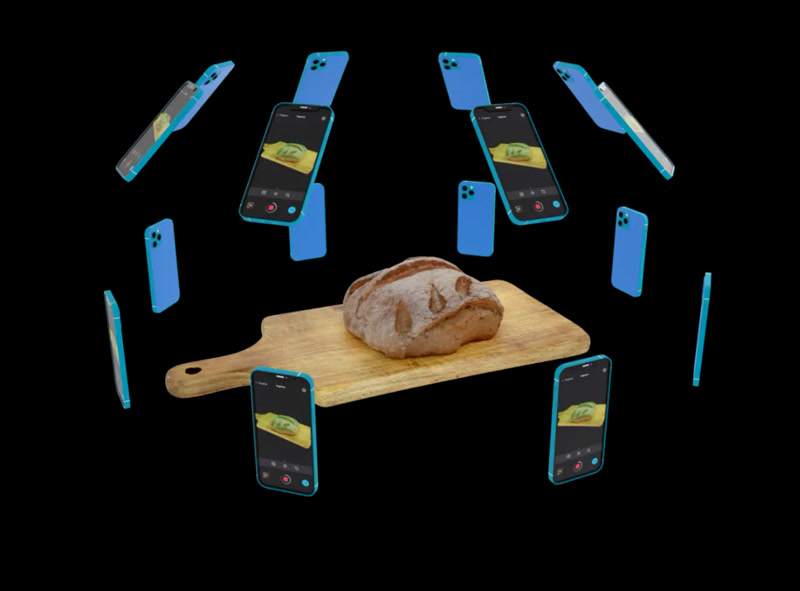
Take a picture
We take a 360° photo so that the subject (Shintaro Ito) fits within the frame. Like AR (augmented reality), the object is fixed in space by coordinates and direction within the screen, and images that are properly taken are displayed in green. Images with problems, such as being too far away from the subject, are colored yellow or red.
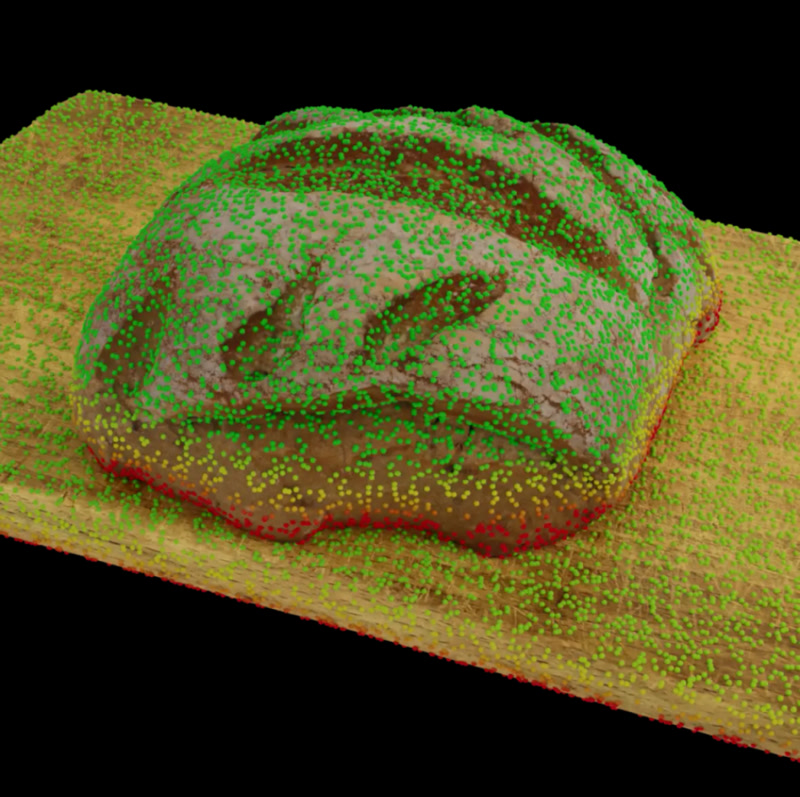
Preview 3D model
This time, having Shintaro Ito move his position to make it easier to scan during the 3D scan backfired. Shintaro Ito was split up. Since the three-dimensional position is recognized by the point cloud, it seems that even if the scan target is the same, if the position is different, it will be recognized as a different scan target.
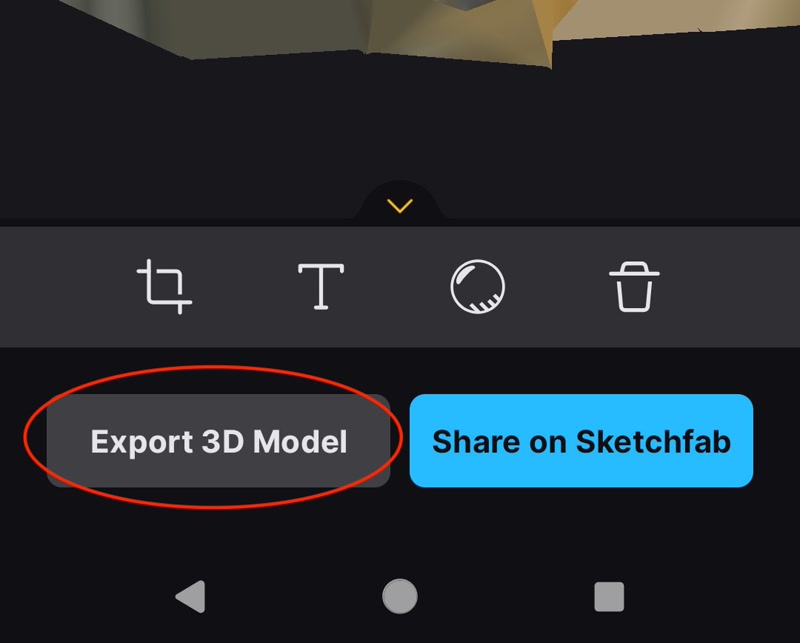
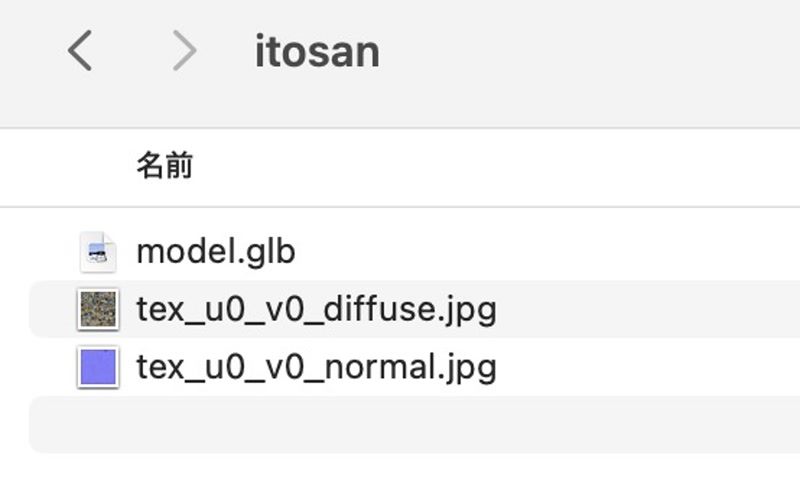
Exporting a 3D model
It can export the 3D model by tapping “Export 3D Model” in Preview.
RealityScan(Scan a Shisa)
This time, I'll try 3D scanning Shisa.Shisas are Okinawan guardian lions.
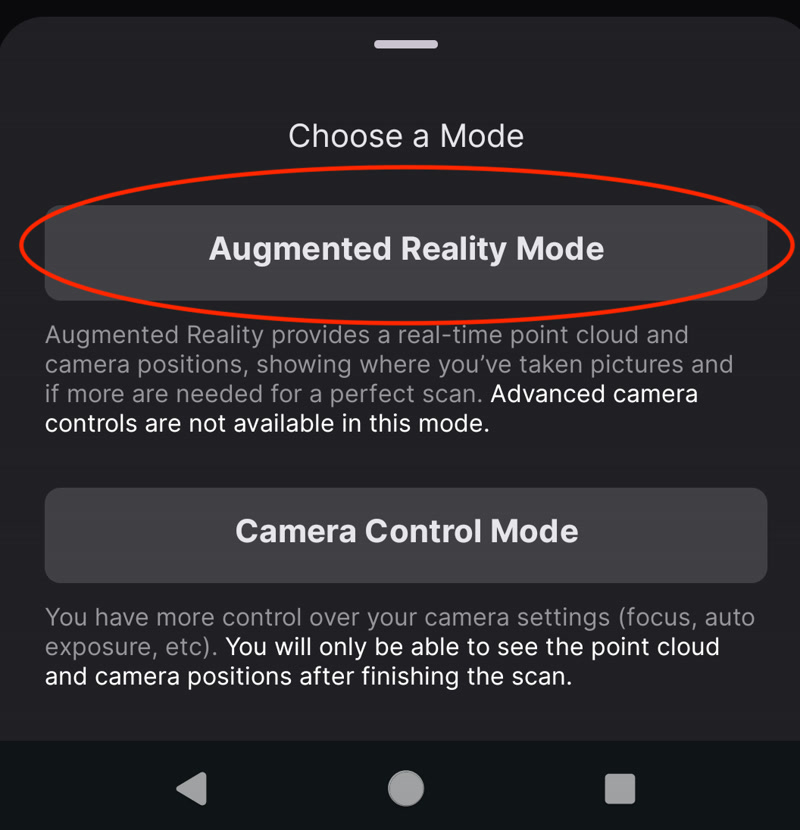
Select the scanning mode
Select the scanning mode. In this case, we will use the “Augmented Reality Mode”. In Augmented Reality, the real-time point cloud and camera position are provided, so you can see where the photo was taken and whether more photos are needed to make a perfect scan. Advanced camera control is not available in this mode.
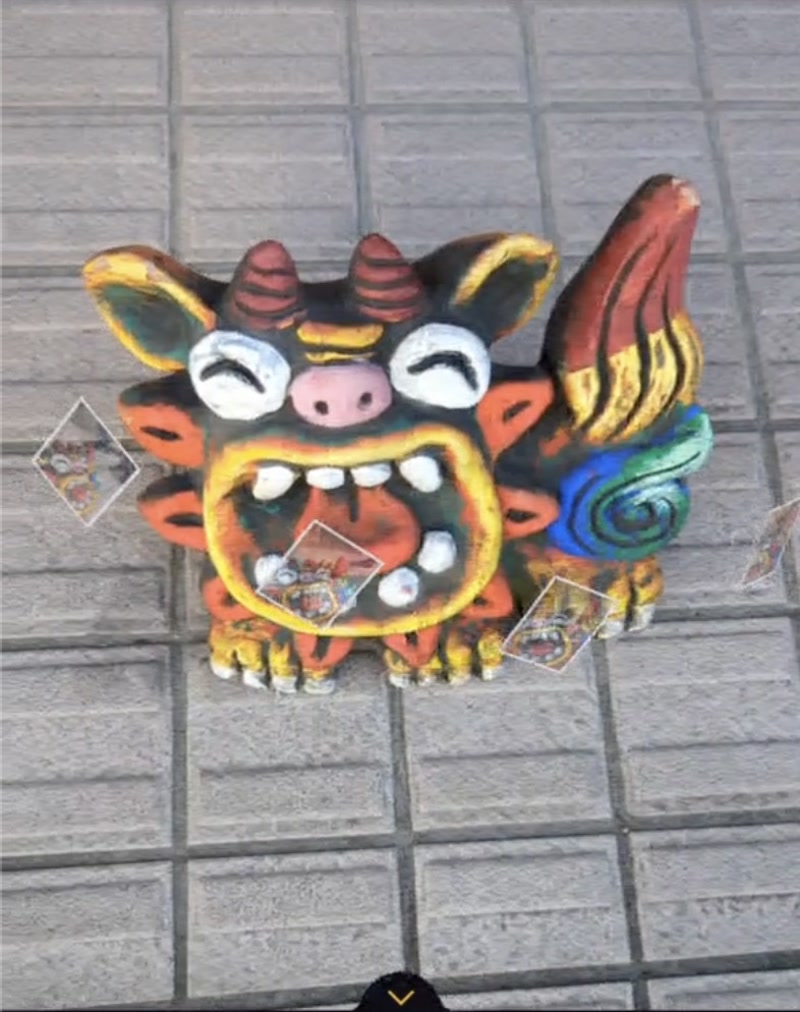
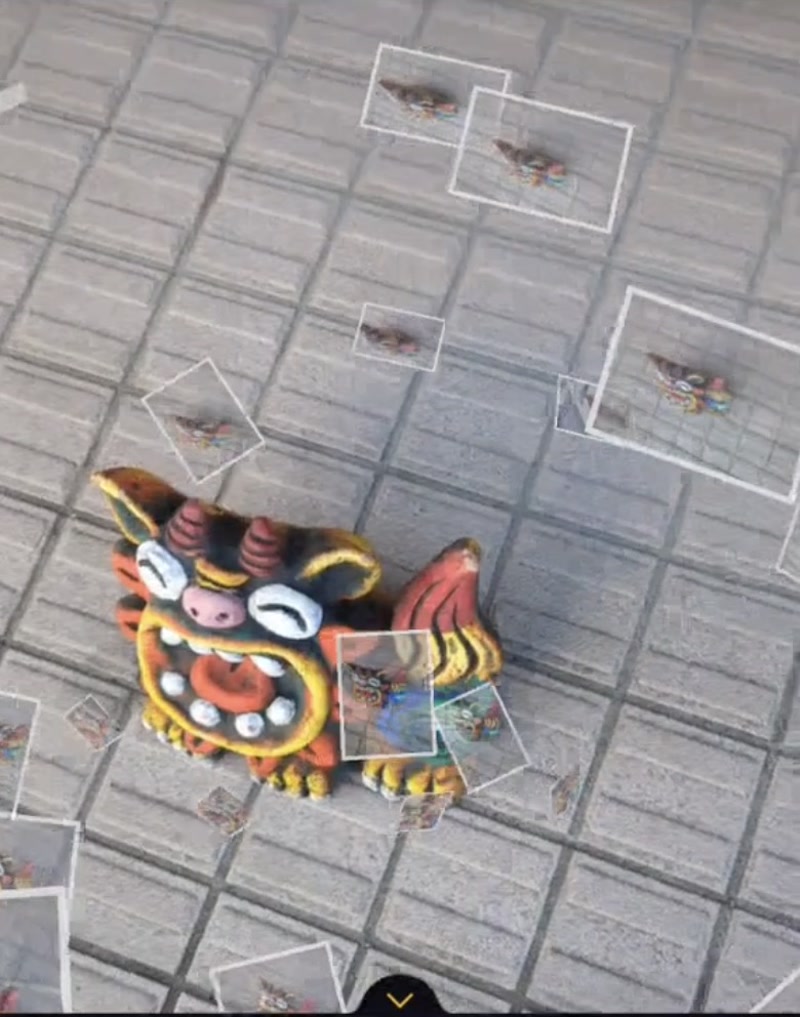
Take a picture
I scanned Shisa. I take 360° photos of my subject (Shisa) so that it fits within the frame. The photos you take are fixed in space with coordinates and direction, just like AR, so they are easy to understand.
Time-lapse video
I've created a time-lapse video to make it easier to understand. The following command will extract images from shisa.mp4 every 15 frames and save them as sequential files in the out directory.
mkdir out
ffmpeg -i shisa.mp4 -vf "select=not(mod(n\,15)),scale=320:-1" -vsync vfr -q:v 2 out/out_%04d.jpg
Next, a video is created at 15 frames per second based on the images cut out every 15 frames.
ffmpeg -framerate 15 -i out/out_%04d.jpg -vf "scale=trunc(iw/2)*2:trunc(ih/2)*2" -vcodec libx264 -crf 25 -pix_fmt yuv420p shisa_timelapse.mp4The following is a time-lapse video we created.
Crop 3D model
It can specify the range in which the 3D model is required and exclude the unnecessary parts of the point cloud.

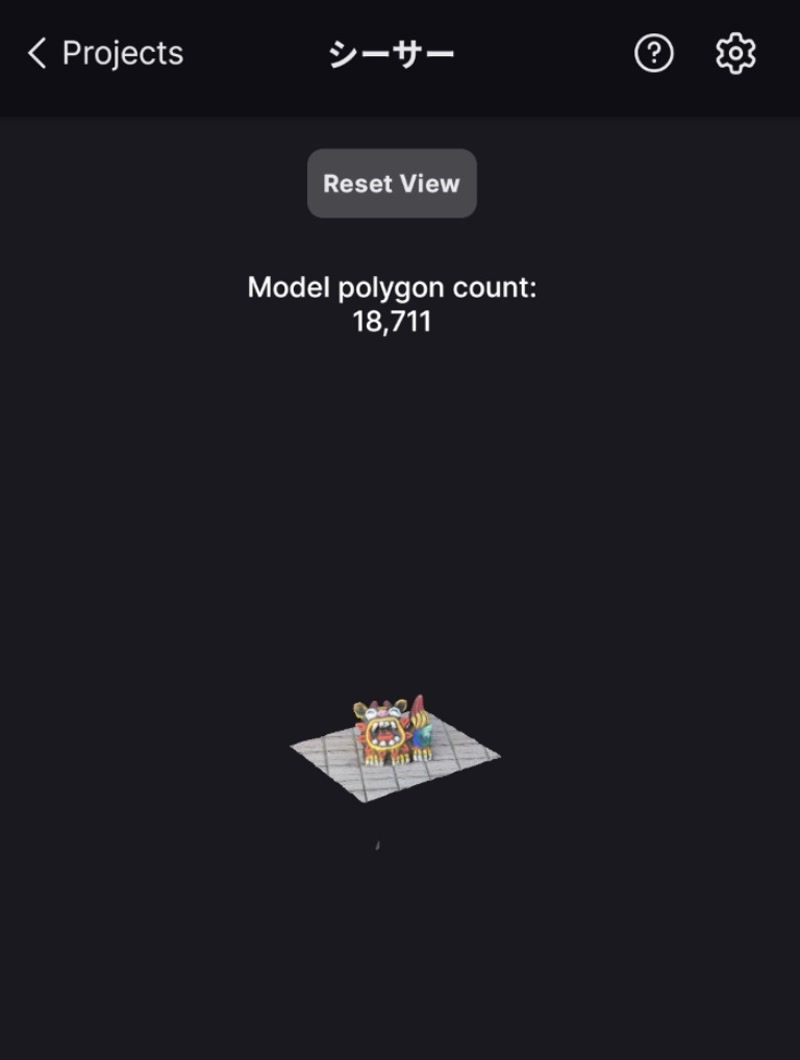
Preview 3D model
This time, Shisa didn't move compared to the last time, so it was possible to scan it cleanly.
3D model Download
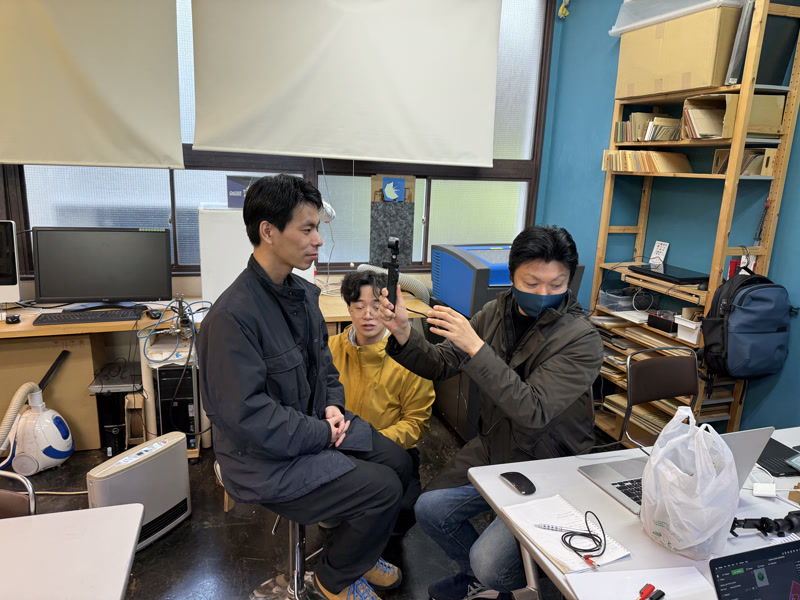
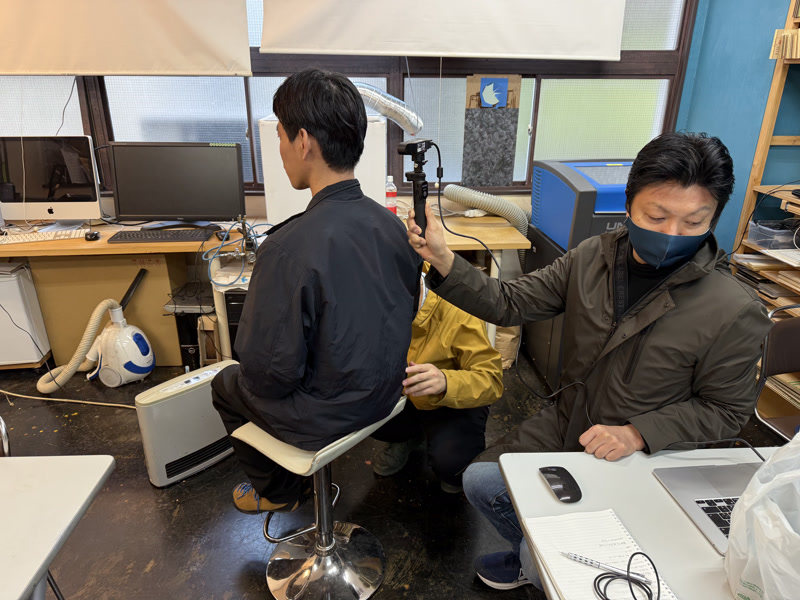
Creality CR-Scan Ferret Pro
I scanned my teammate Naoki Hayashi using the Creality CR-Scan Ferret Pro. The CR-Scan Ferret Pro is a high-performance 3D scanner that can perform 24-bit full-color scans with a precision of 0.1mm.
Download Creality Scan
Download the dedicated software Creality Scan, and connect the scanner via USB, and the scanner will be automatically recognized.
Setting up the project
Set up the structure as follows in “New Project” and press the “Scan” button to move to the scanning screen.
- Object: Face
- Feature: Texture
- Accuracy: Hi-Quality
- Disable Flat Base: No
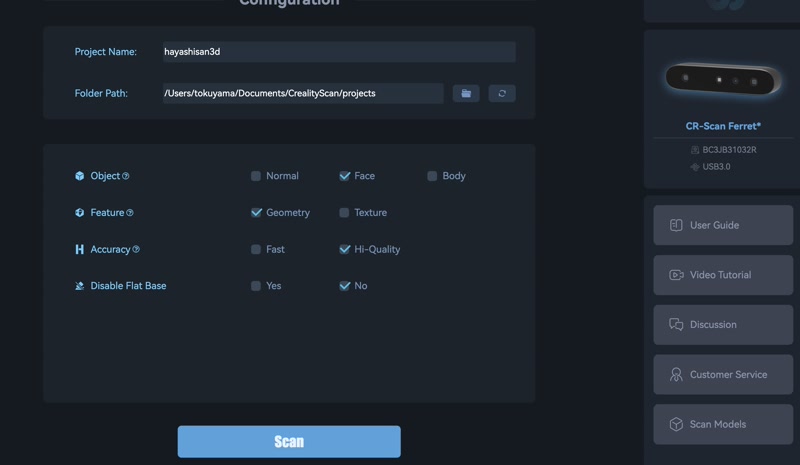
Scanning
When I press the green “Start” button on the right to start scanning, the color will indicate whether the scan is successful or not. If the tracking is stable, it will be displayed in green, and if it is not stable, it will be displayed in red. It seems that it is not good if it is too close or too far. When scanning the back of the head, it is easy to lose the tracking. If the tracking is lost, it will return when it returns to the face.
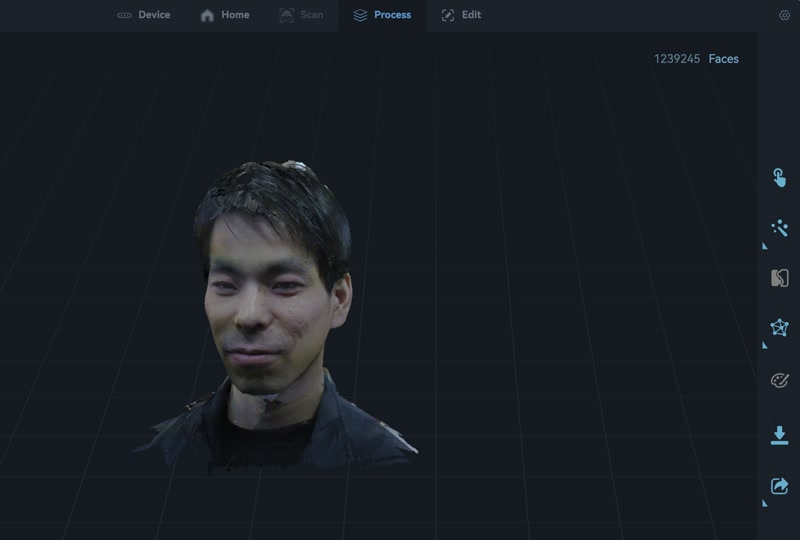
End scanning
To finish scanning, click the green “End Scan” button on the right. Next, click the “One-click process” button to complete all processes with a single click. The “One-click process” button will automatically perform point cloud optimization, meshing, texturing, etc.
Exporting a 3D model
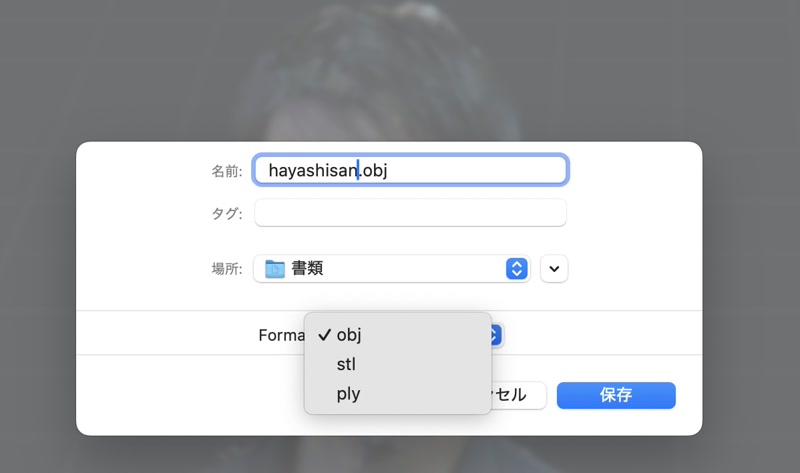
To export the 3D model, click the “Export” button in the bottom right. A pop-up window will appear, so select the file name and location to save the file to, and the format, and then export.
3D print
Bambu Lab P1S 3D printer
The Bambu Lab P1SStudio is a versatile, high-performance 3D printer that can be used immediately without assembly. It offers high modeling accuracy and supports a wide range of filaments.
Download Bambu Studio
Download the dedicated software Bambu Studio.
Designing with Fusion
The design rules for 3D printers that were verified through group work were that they could be printed cleanly up to 20mm in bridging and 40° in angle. Keep these design rules in mind when designing.
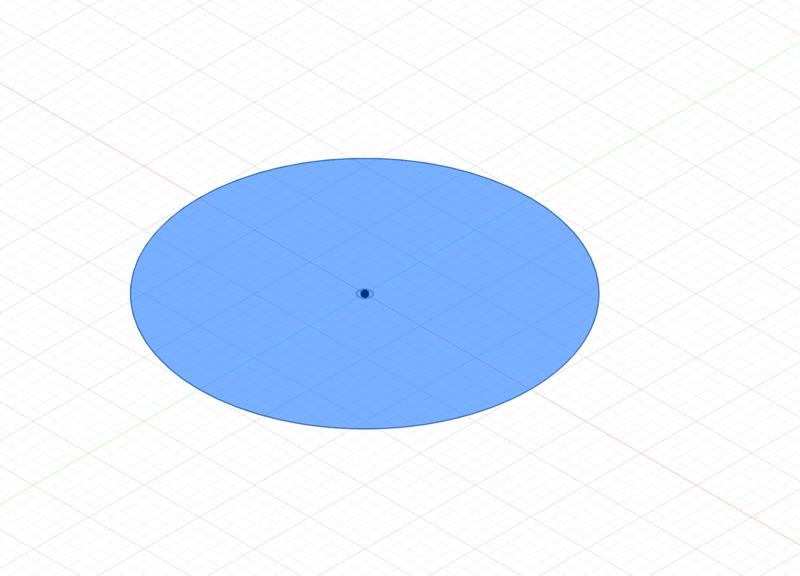
Create a sketch
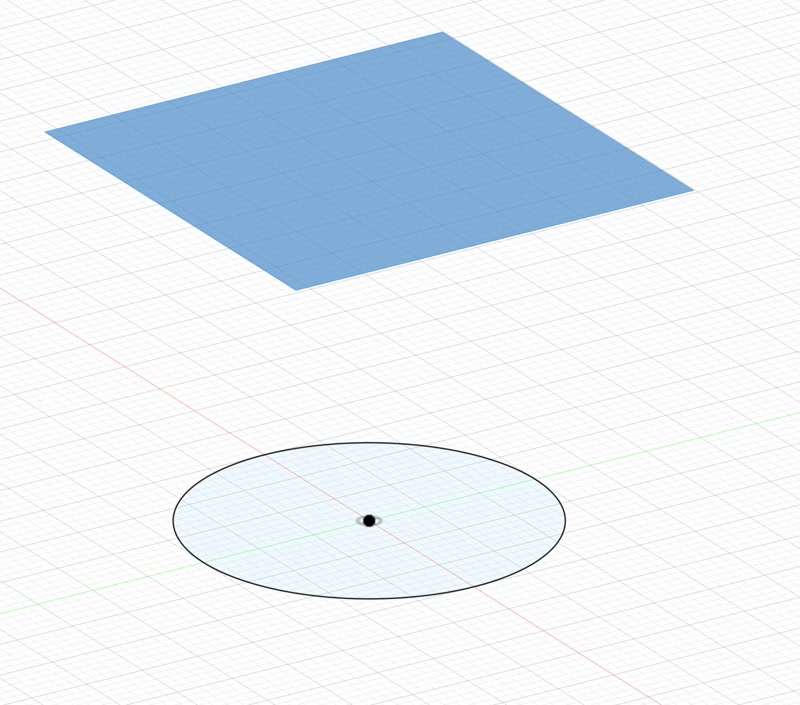
First, I drew a 30mm circle as a base.
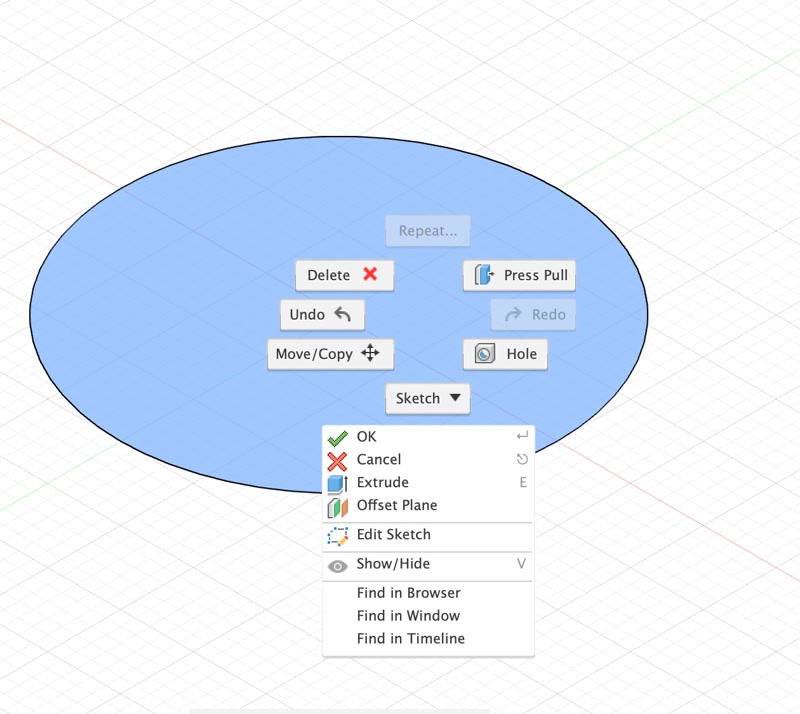
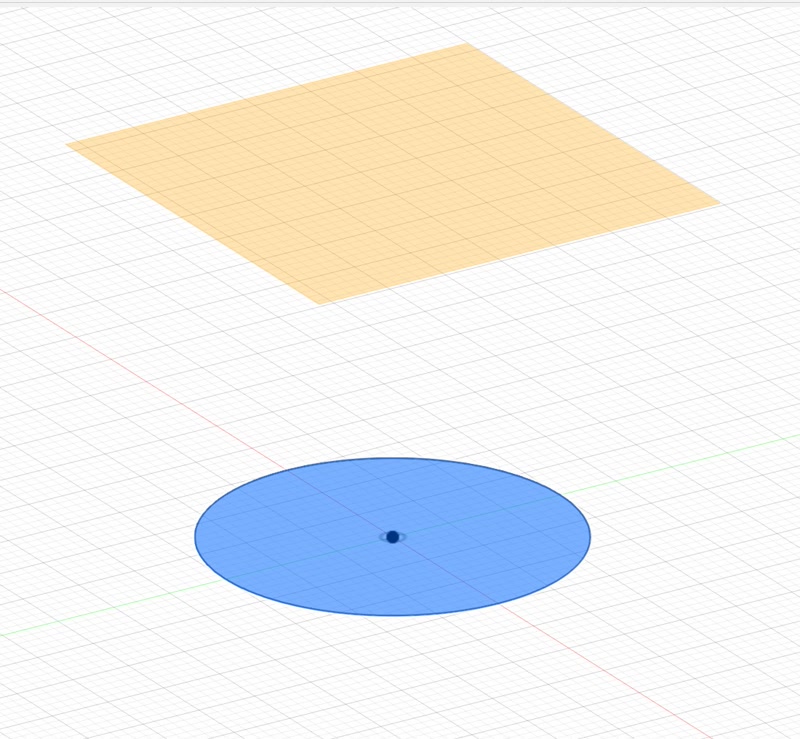
Creates an offset plane
Select the circle you created, then select the “Offset Plane” command to create an offset plane 30mm above the ground.
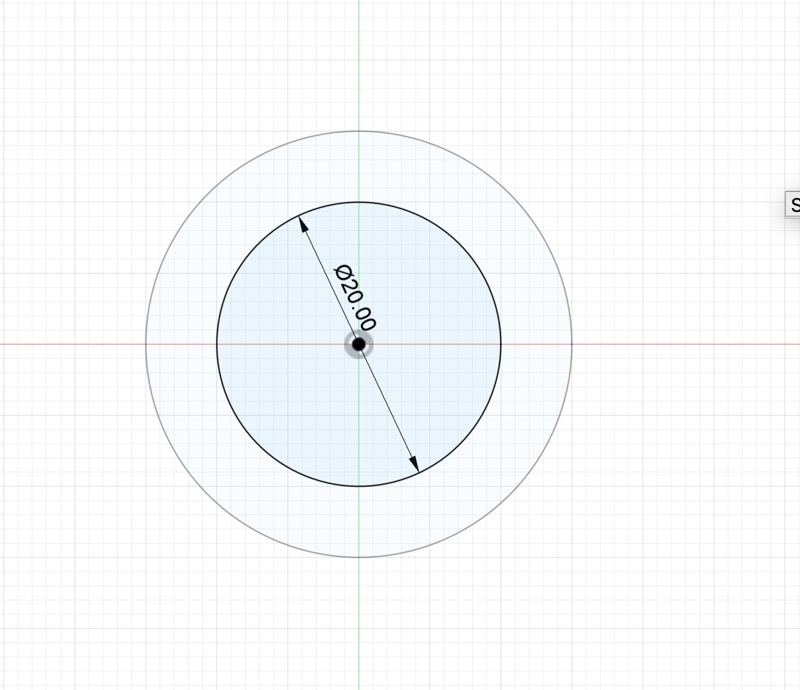
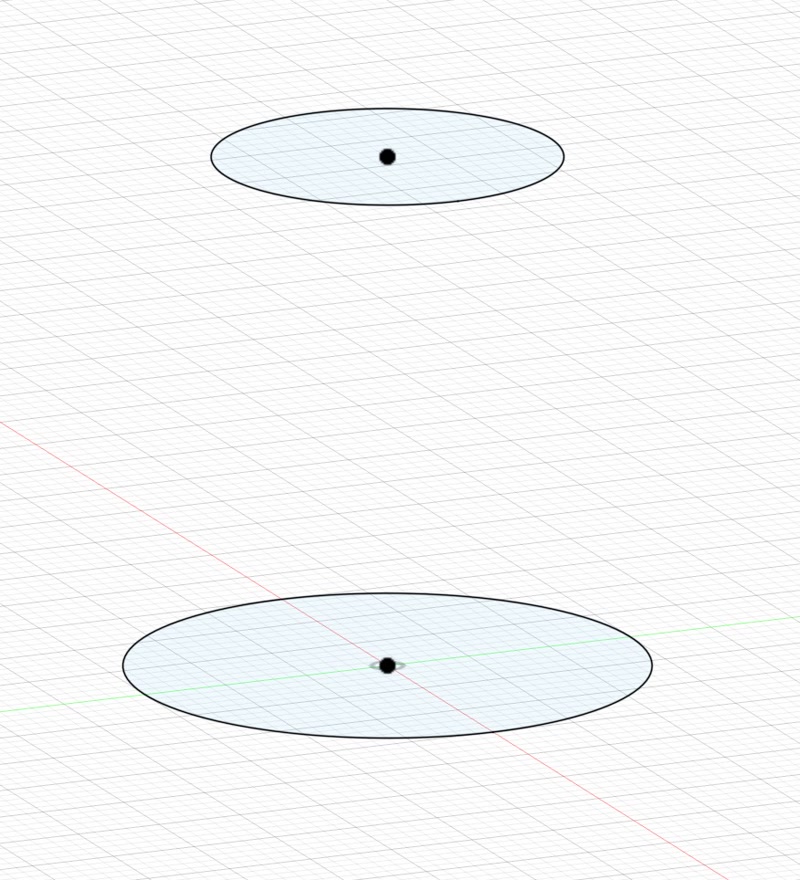
Creates a circle on an offset plane.
Select the offset plane and create a sketch. Next, create a circle in the sketch. The diameter of the circle should be 20mm, referring to “20mm in bridging”.
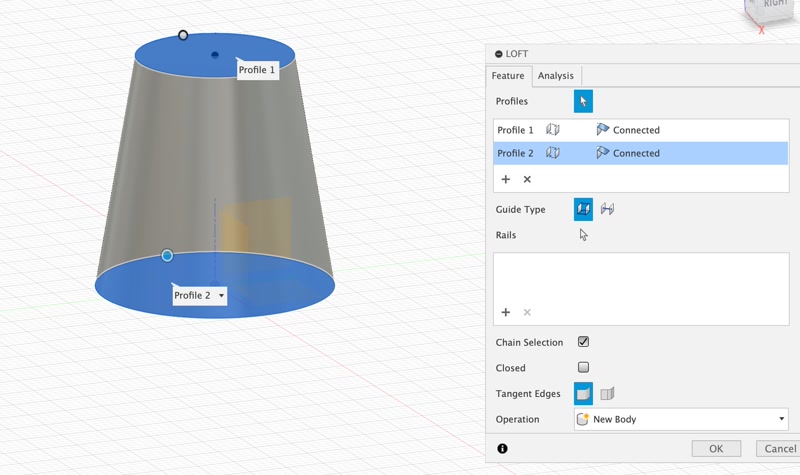
Create a cylinder using the “Loft” command.
Click on the “Create” menu bar and select the “Loft” command, then select the two circles you created. Click “OK” to create a cylinder connecting the two circles you created.
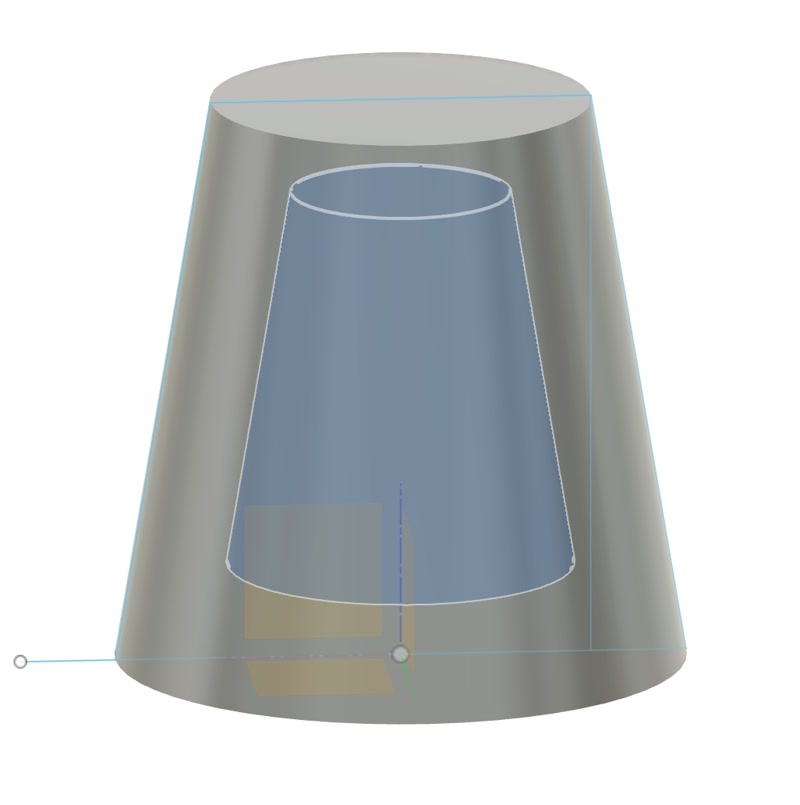
Hollow out the body
Click on the “Shell” command, select the body, and then set the “Inside Thickness” to 5mm.
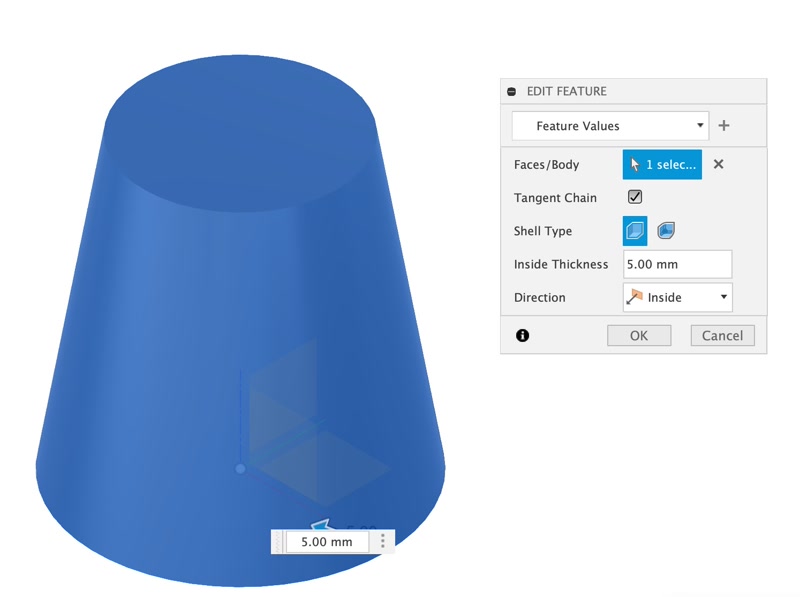
Click “OK” as it is and hollow out, leaving a 5mm body.
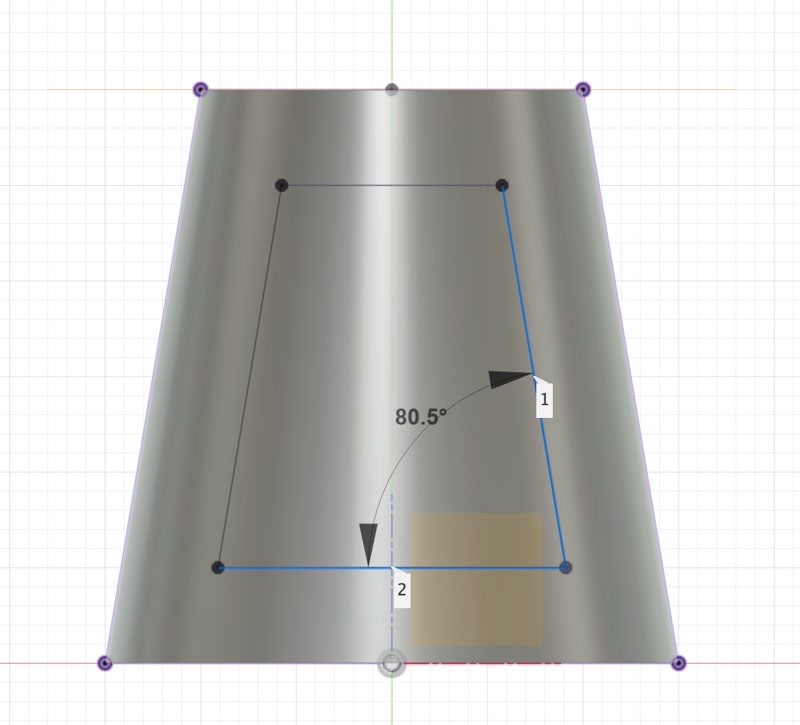
Measuring a cylinder
Return to the sketch and measure the angle of the cylinder from the “Measure” menu bar.
The angle inside the cylinder is 80.5°, so it is larger than the “40° angle”, so there is no problem.
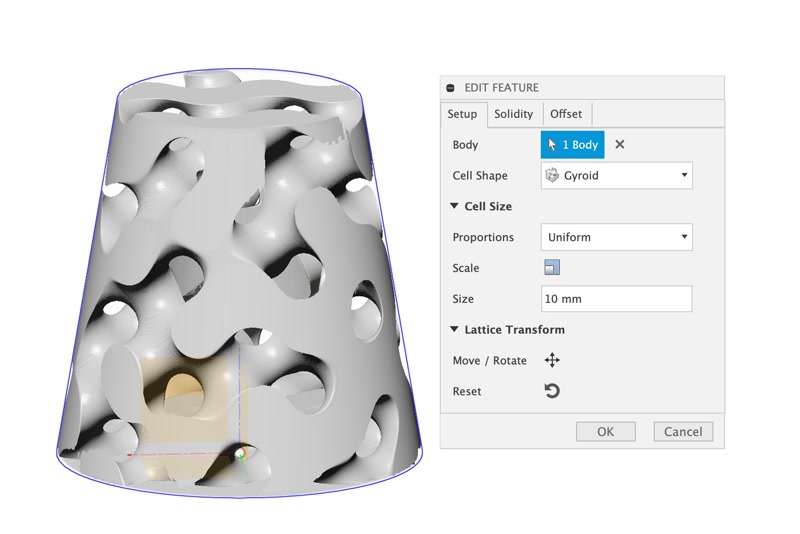
Using the “Volumetric Lattice” function
Select the “Volumetric Lattice” function.
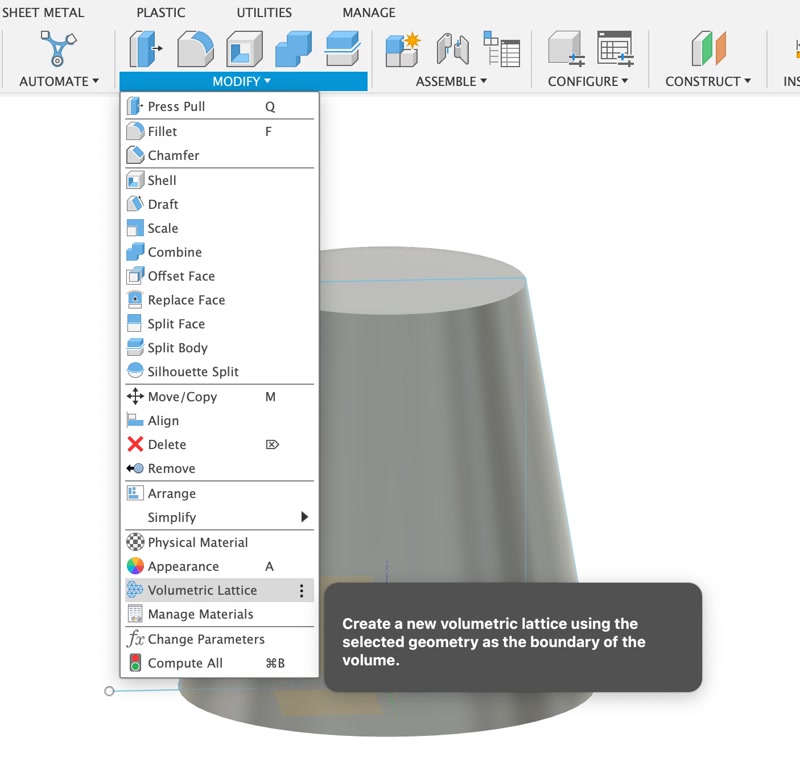
After selecting the body, set the “Gyroid” to 10mm and click “OK” to hollow out the body in 3D.
TIP
The Gyroid is one of the most popular infill structures, and can basically be 3D printed without support.
The reason for this is that the Gyroid is made up of continuous curved surfaces, and is designed to be very self-supporting during the printing process. This characteristic allows it to form a stable structure in each layer, and prevents deformation or collapse even without support material. In addition, because uniform force is dispersed regardless of the direction or angle of the print, it achieves greater stability than normal overhang structures.
Convert “Volumetric Model” to mesh
Select “Volumetric Model” and then right-click to select “Convert Volumetric Model to Mesh”.
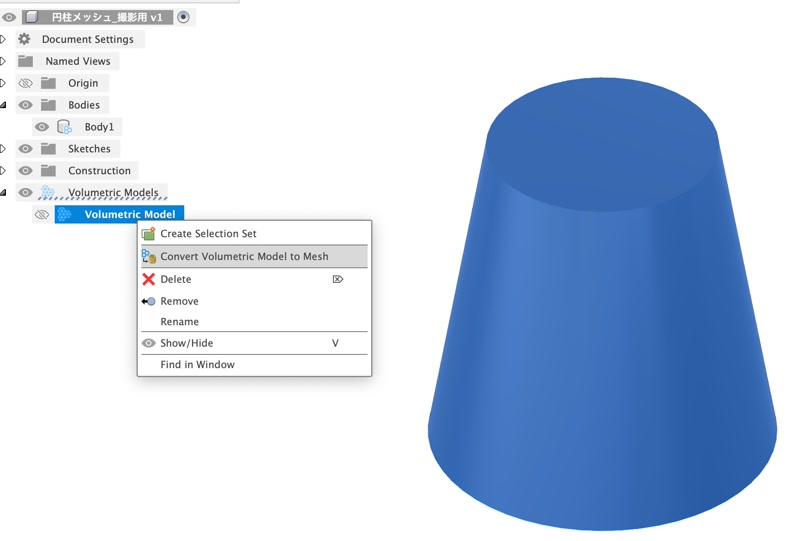
Click “OK” to convert to a mesh. 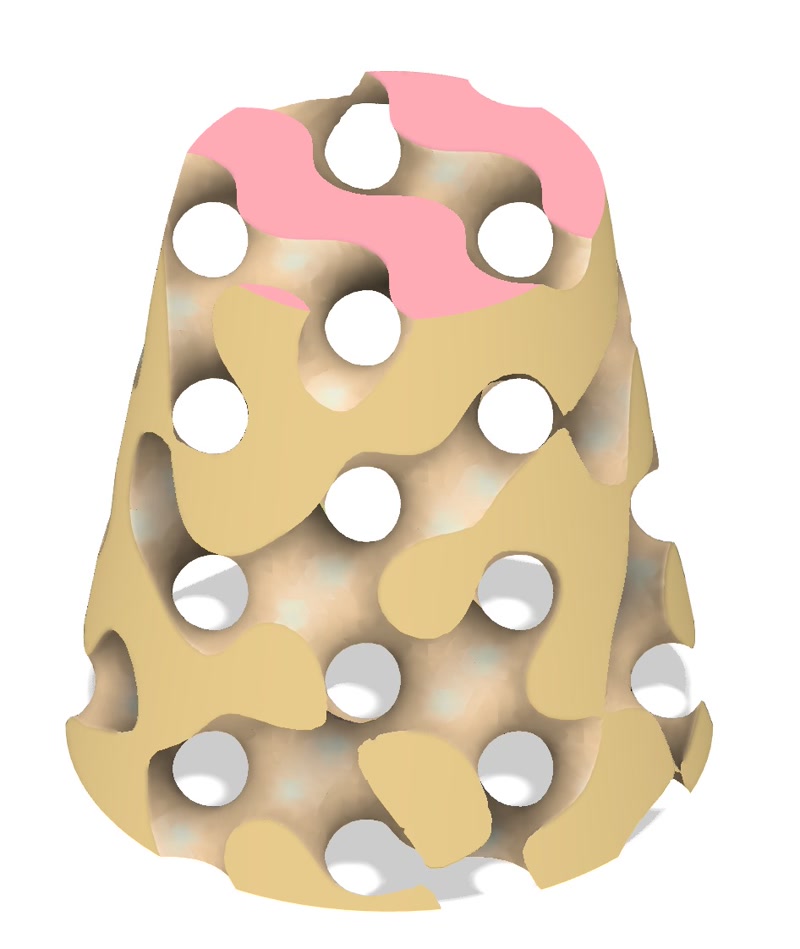
Export mesh as STL file
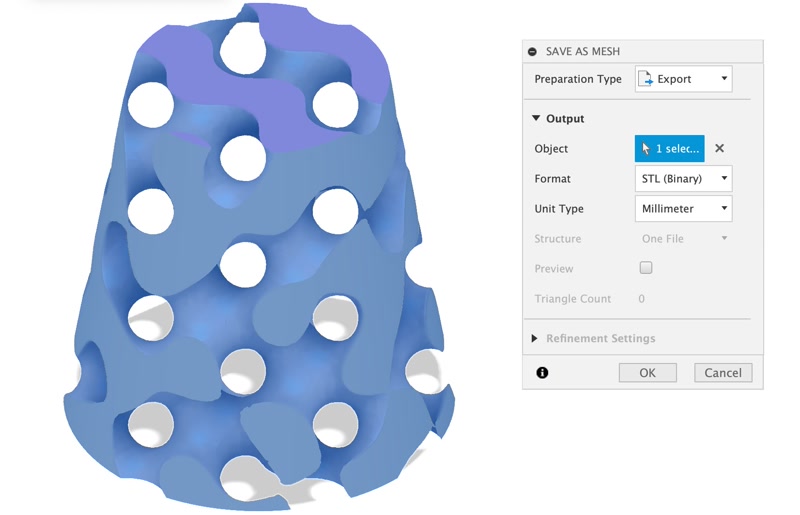
Select the created “Volumetric Model Mesh”, right-click, and select “Save As Mesh”. 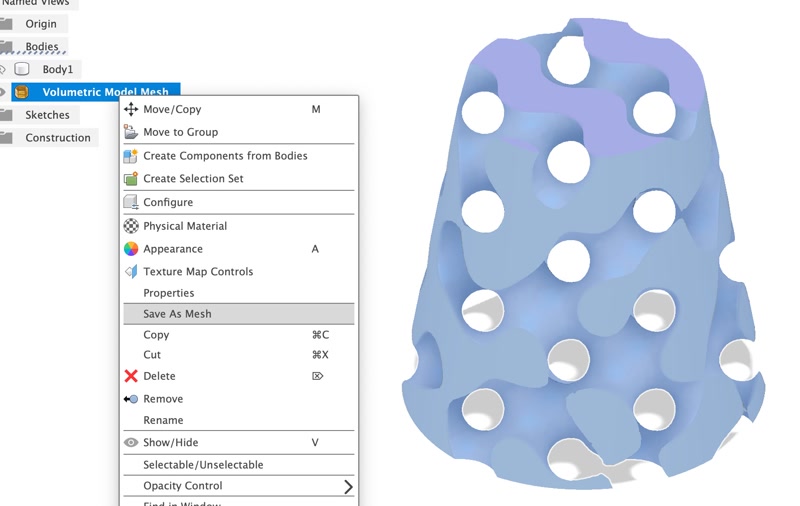
Set as follows and click “OK” to export as an STL file.
- Preparation Type: Export
- Object: 「Volumetric Model Mesh」を選択
- Format: STL(Binary)
- Unit Type: Millimeter
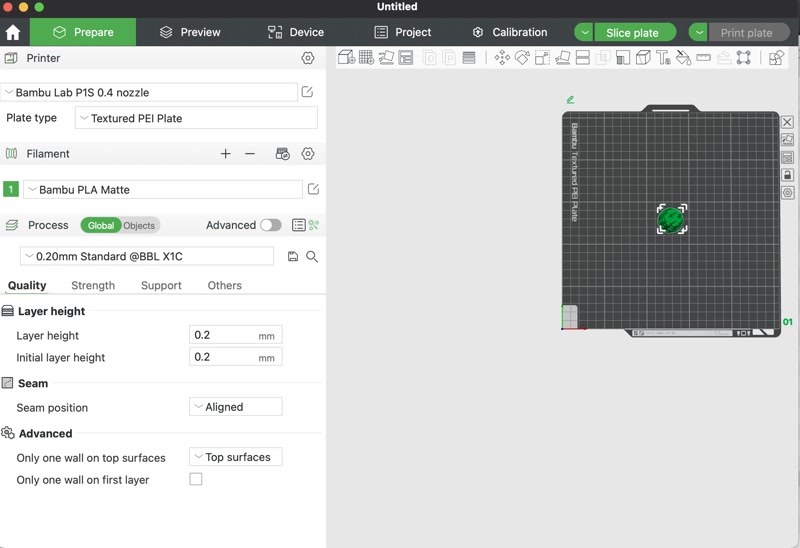
Load the STL file in Bambu Studio
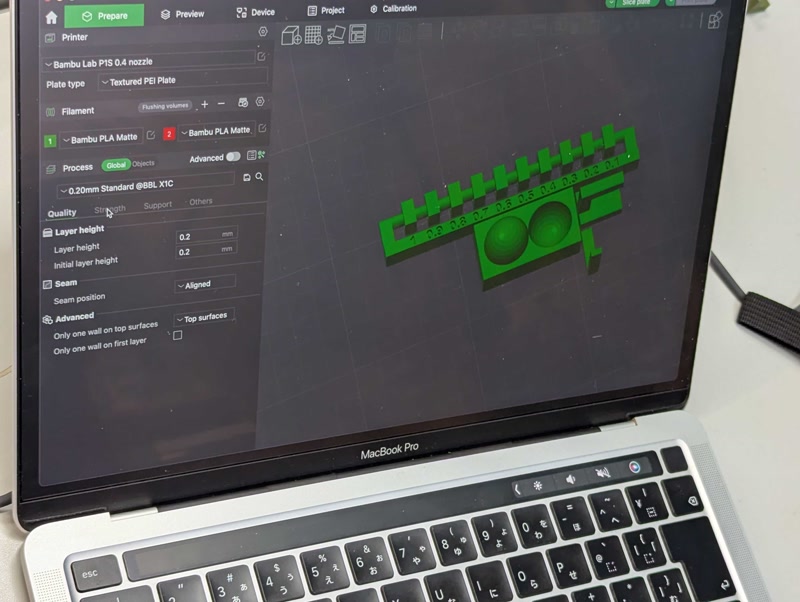
Open Bambu Studio, add the STL file you created, and set up the 3D print.
Preview
In the “Preview” tab, you can check how the 3D print will look and how long it will take to print by moving the slider.
Print
Click the “Print Plate” button to print. As you can see in the “Preview”, the print was completed in about 30 minutes.
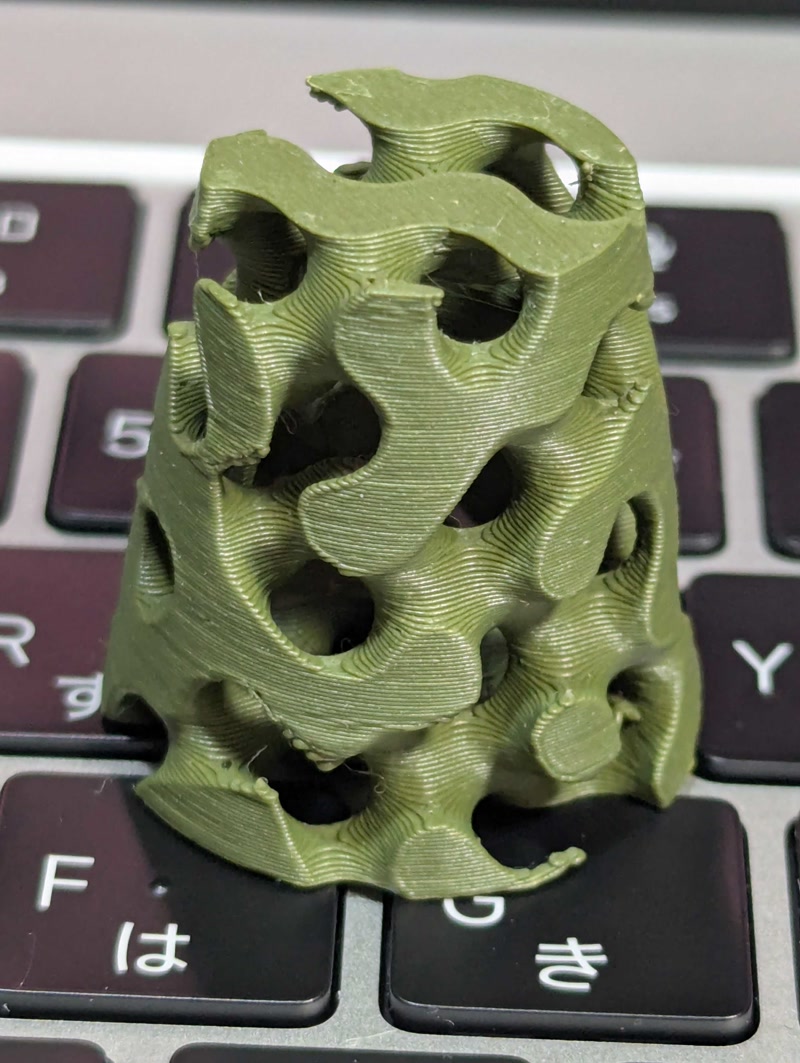
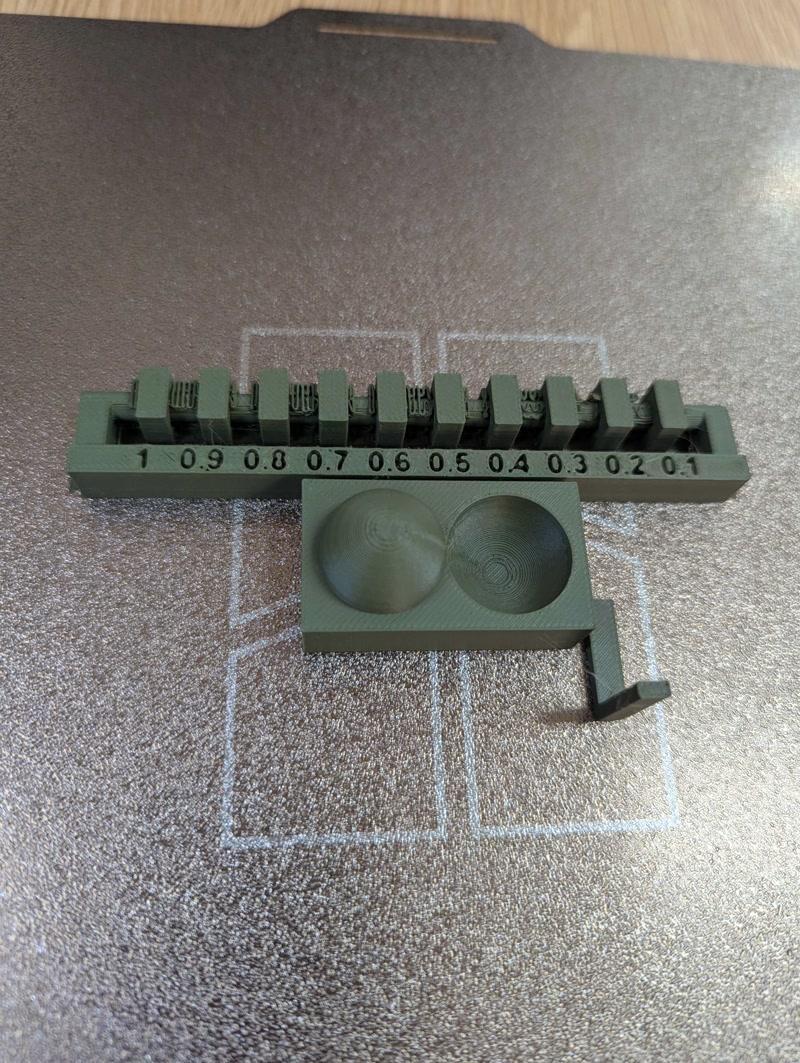
3D model printed this time
This is a 3D model created using the “Shell” command and the “Volumetric Lattice” function, so it is difficult to process using conventional subtractive methods (cutting or carving). With subtractive methods, the range in which the tool can make direct contact is limited, so it is difficult to process even the smallest details of the internal structure, but 3D printing solves this problem by layering only the necessary parts.
3D model Download
Afterthoughts
I thought that scanning with RealityScan was not suitable for moving objects. However, it seems that it can scan still objects quite beautifully.
When scanning a face with the Creality CR-Scan Ferret Pro, I was surprised that it could scan the top of the head quite cleanly, even though it seems to have trouble with that part. I wouldn't be surprised if it appeared as a character in a game as it is.
It was interesting to use a function that I had never used before to create a 3D model that could not be made subtractively. Also, I like the 3D printed cylinder, which looks like green tea-flavored chocolate and looks delicious.