Group assignment: do your lab's safety training and characterize your lasercutter's focus, power, speed, rate, kerf, joint clearance and types
Vinyl Cutter
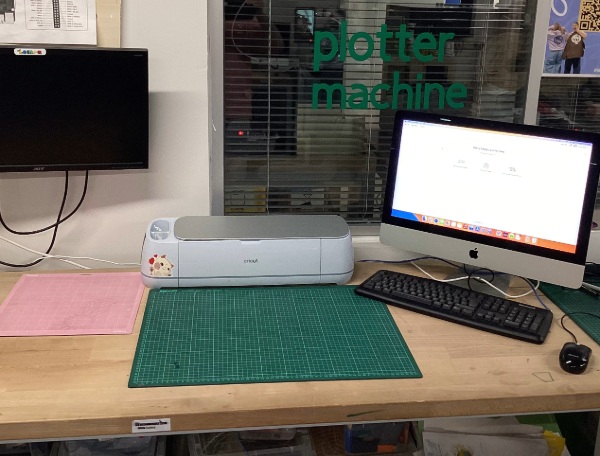
My Setup
Equipment Used:
- Cricut Maker 3 (connected via USB for stability)
- iMac running Cricut Design Space
- A2-sized cutting mats (green and pink grip)
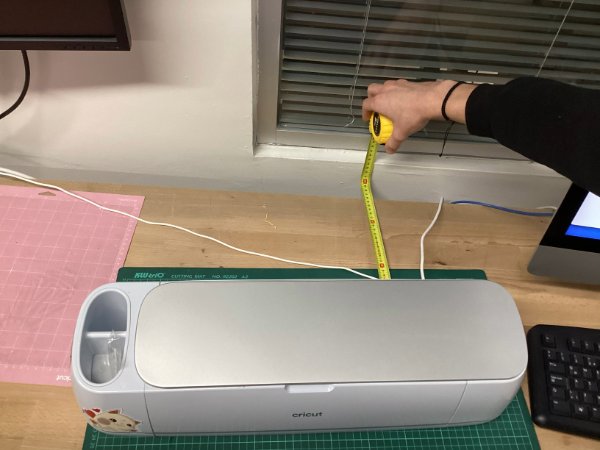
- Measuring tape for alignment
- Weeding tool for detail work
Materials Used:
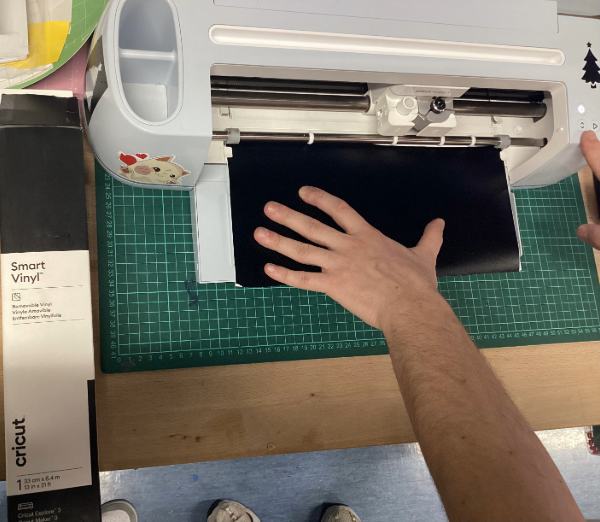
- Smart Vinyl (Removable) for flexible application
- Various colors of vinyl for different designs
Step-by-Step Process
1. Setting Up the Workspace
Connected the machine to my computer using a USB connection.
2. Measuring and Preparing the Machine
Measured available workspace and checked the blade installation.
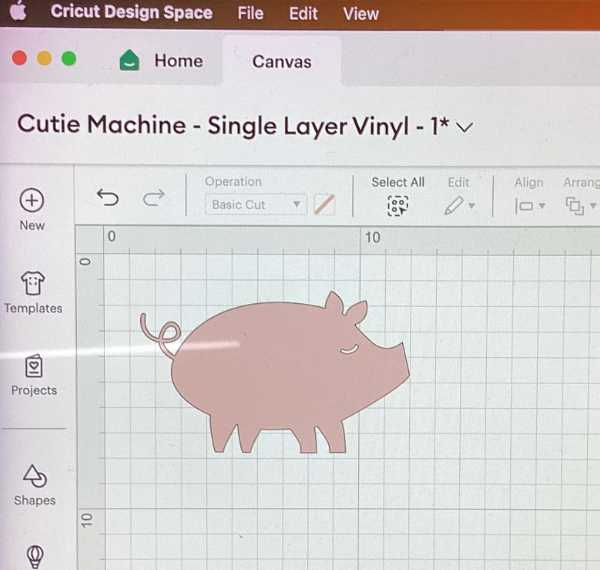
3. Creating and Preparing the Design
Designed and adjusted dimensions for Hisar FabLab Logo and other shapes.
4. Loading the Vinyl Material
Aligned vinyl properly and loaded it into the machine.
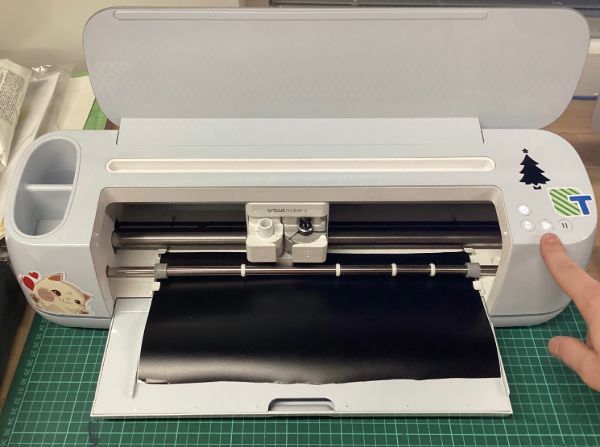
5. Executing the Cut
Started the cutting process and monitored progress.
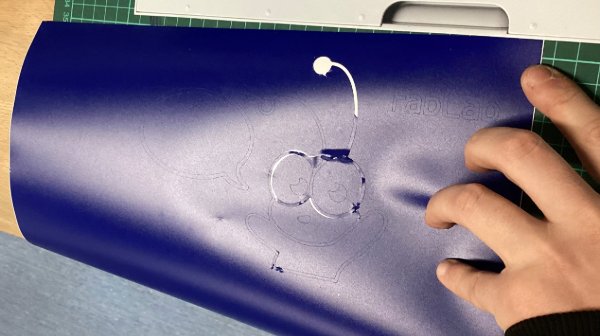
6. Weeding and Challenges
Used the weeding tool and encountered peeling issues with Hisar FabLab Logo.
7. Failed Attempt - Peeling Issue
Failed to peel Hisar FabLab Logo due to cutting depth issues.
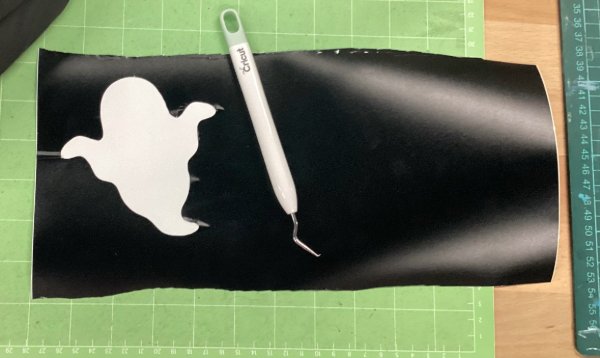
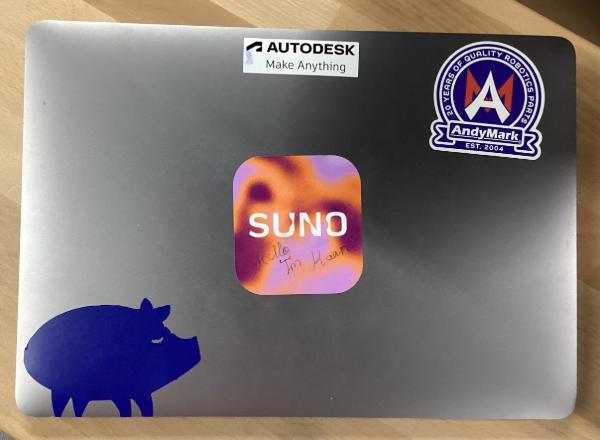
8. Successful Vinyl Application
Successfully applied a Ghost Sticker and Pig Sticker.
Laser Cutter
The Design of the Puzzle Piece on Fusion360
I wanted to have a simple puzzle piece that uses chamfered joints. The key element of the design is going to be the modularity of it. You can built interesting shapes using these pieces.
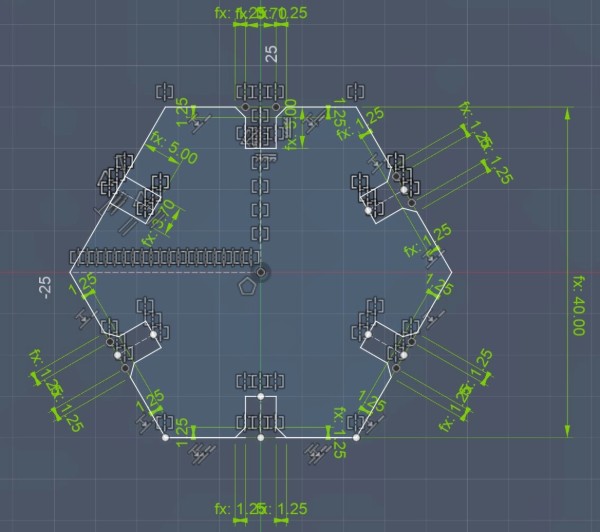

Kerf & Joint Clearances
When laser cutting, the laser burns away a small amount of material—this is called the kerf. If you design a slot to be the exact same width as your material, the final cut will be wider than expected.
In your case, you were cutting 4mm thick material, but instead of making the slot exactly 4mm wide, you set it to 3.7mm. This is because the laser removes about 0.15mm on each side, meaning the final cut would actually be around 4mm wide—giving you a snug fit.
If you had left the slot at 4mm, the laser would have cut away extra material, making it about 4.3mm wide, which would be too loose. On the other hand, if the slot was too small, forcing the parts together could break them.