I will devote this subpage to my final project in Fab Academy.
My Final Project example
In this section, I am going to introduce the initial ideas for my final project. My four friends and I actually worked on this project last year. We designed a ball-shaped device that is capable of measuring stress levels via its photoplethysmography (PPG) sensor and printed it with a 3D printer. Using Arduino and the PPG board, we obtained data from an individual's finger. We attended the 26th International Conference on Human-Computer Interaction between the 29th of June and the 4th of July, 2024, and presented our poster explaining OxPal. Our article explaining OxPal was also published by the Springer Nature journal in the HCI International 2024 - Late Breaking Posters series.
However, OxPal currently has some problems. For example, it is vulnerable to possible damages. Since my target group is children for OxPal, it should be more resistant. In Fab Academy, I intend to find solutions for this and similar problems. I also aim to improve this project. For example, I want to add a new sensor that will measure stress levels from a finger of the other hand to increase the reliability of the stress measurements. This could be an electrodermal activity (EDA) sensor as shown in my sketch or any other suitable sensor. Furthermore, I intend to make it both resistant and squishy for child-use. I also want to design a platform to put this device when not in use. To chrage this device, I aim to connect the cable to the OxPal device by passing it through the platform so that OxPal can be charged while staying on the platform properly. In addition, I want to connect the device with my computer via Bluetooth and design my own printed circuit board (PCB) instead of using an Arduino board.
There are similar commercial products to OxPal, but none of them targets children. For example, a device called Reflect Orb uses an EDA and an Electrocardiogram (ECG) sensors to measure stress levels and suggest some exercises to reduce them.
Below is my sketch for OxPal.

2D Design of OxPal
To make a part of my final project, I designed a trapezoid wooden area that has an engraved OxPal on it, using Inkscape. In this page, I am going to explain how I have designed it.
During the learning process, I benefitted from my friend Ismail's Fab Academy page. I also learned about boolean operations (adding or substracting parts of a shape using another image) through a Fab Academy source explaining this. I also benefitted from other sources like a webpage explaining how to draw triangles on Inkscape. I completed these designs on the second week of Fab Academy, and you can access that page by clicking on here. I am now going to explain the steps that I went through to make my design:
- Click on the rectangle icon to make one.
- Click on "fill and stroke" and make the rectangle white by clikcing on the white color below.
- Select the rectangle and click on "Stroke paint." Then, select a boarder color. (I used black)
- Click on "Stroke style" and adjust the width of the boarder. (I used 300 px)
- Create a triangle using the "Star/Polygon Tool"
- Adjust corners to 3 and select regular polygon.
- Make an upside down isosceles triangle and allign the corner where the same sides meet with the left down corner of the rectangle.
- Copy the triangle but do not paste it to anywhere.
- Select both the triangle and the rectangle.
- Click on "Path" > "Difference" This is called boolean substraction and allows you to substract shapes from other shapes.
- Apply the same process to make a trapezoid
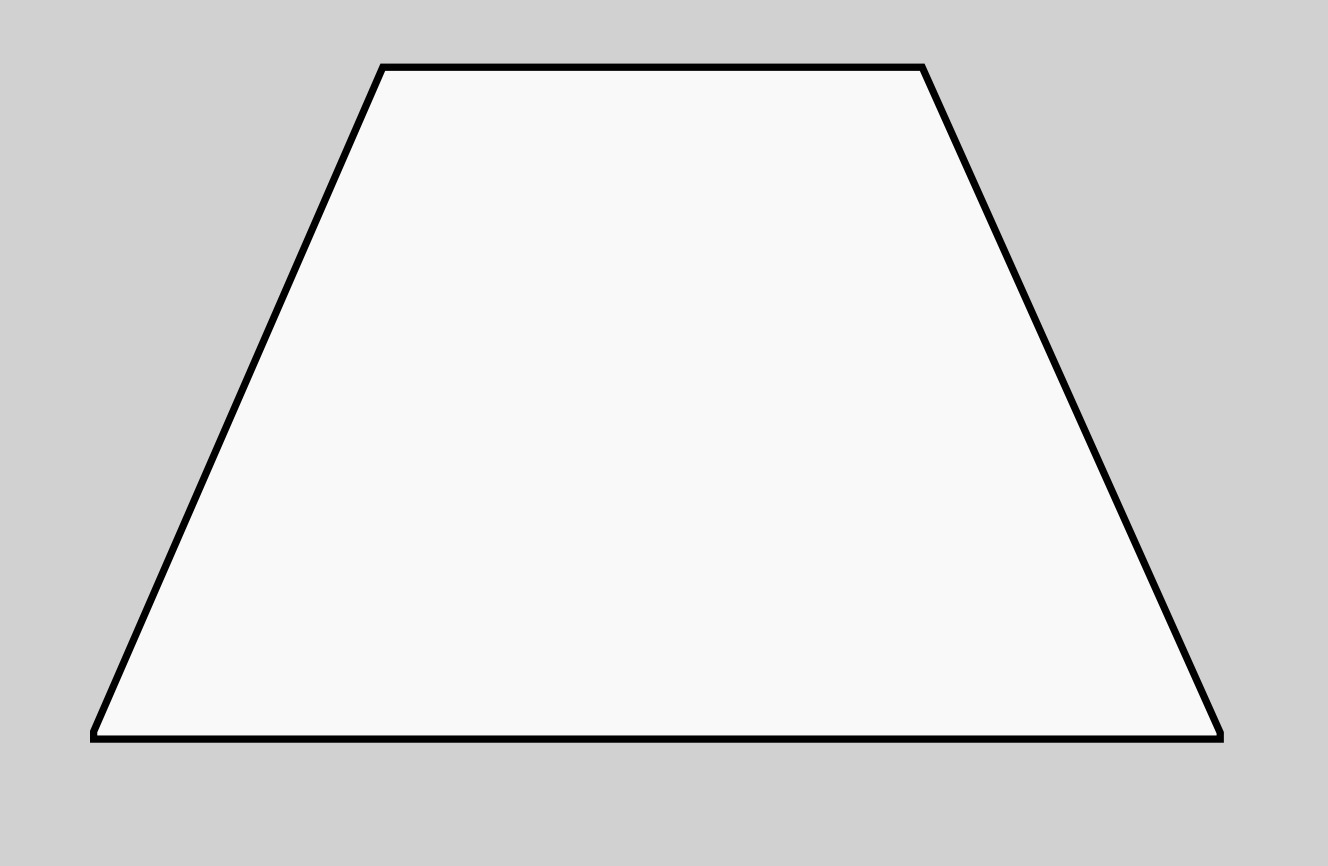
- Select "Text"
- Adjust the font and other writing settings.
- Write whatever you want (Note: I used 10,000 px and the Arial font)
- Save the image as an svg file.
3D Design of OxPal
In the second week of Fab Academy, I designed the 3D sketch of my ball-shaped final project parametrically. Since this is my first experience with 3D, I will improve my final project design as Fab Academy continues. I also rendered, animated, and simulated it. In page, I am going to explain my design process.
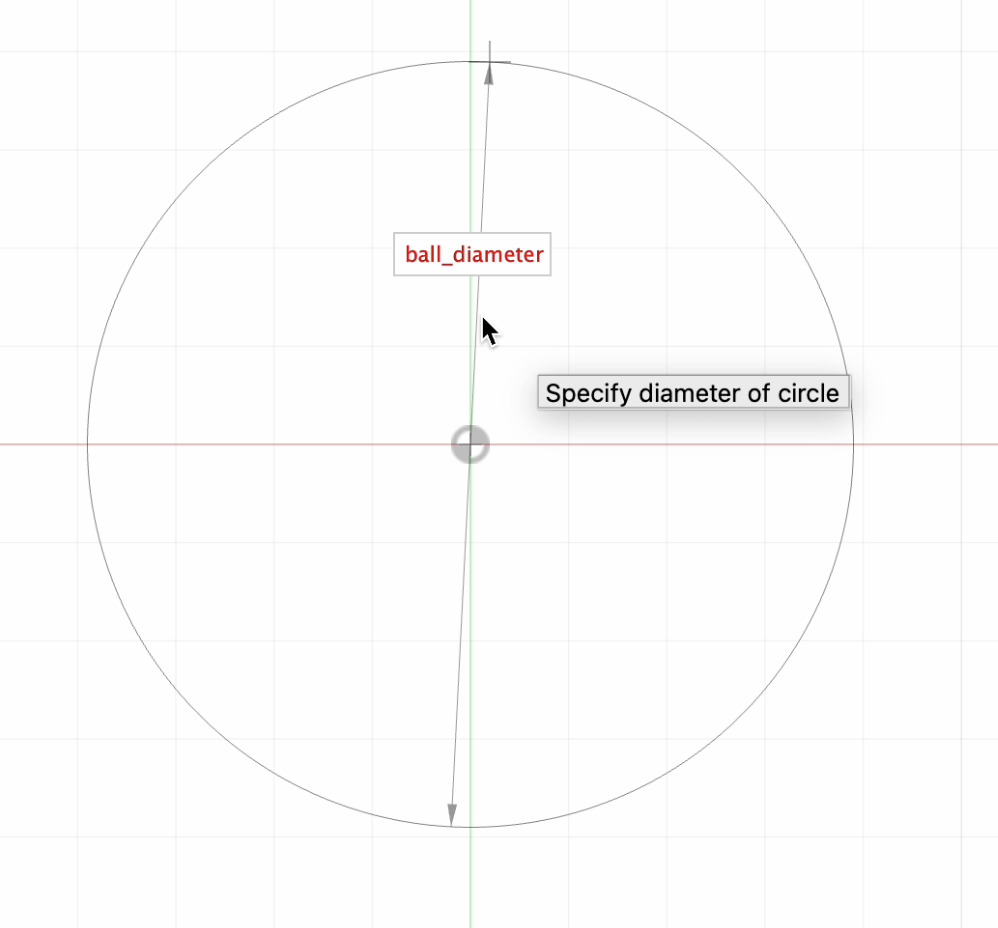
- First, I defined the diameter of my ball as a parameter with 270 mm. I clicked on Modify > Change Parameters to define each of my parameters.

- Now, I sketched my circle and defined its diameter based on my parameter.
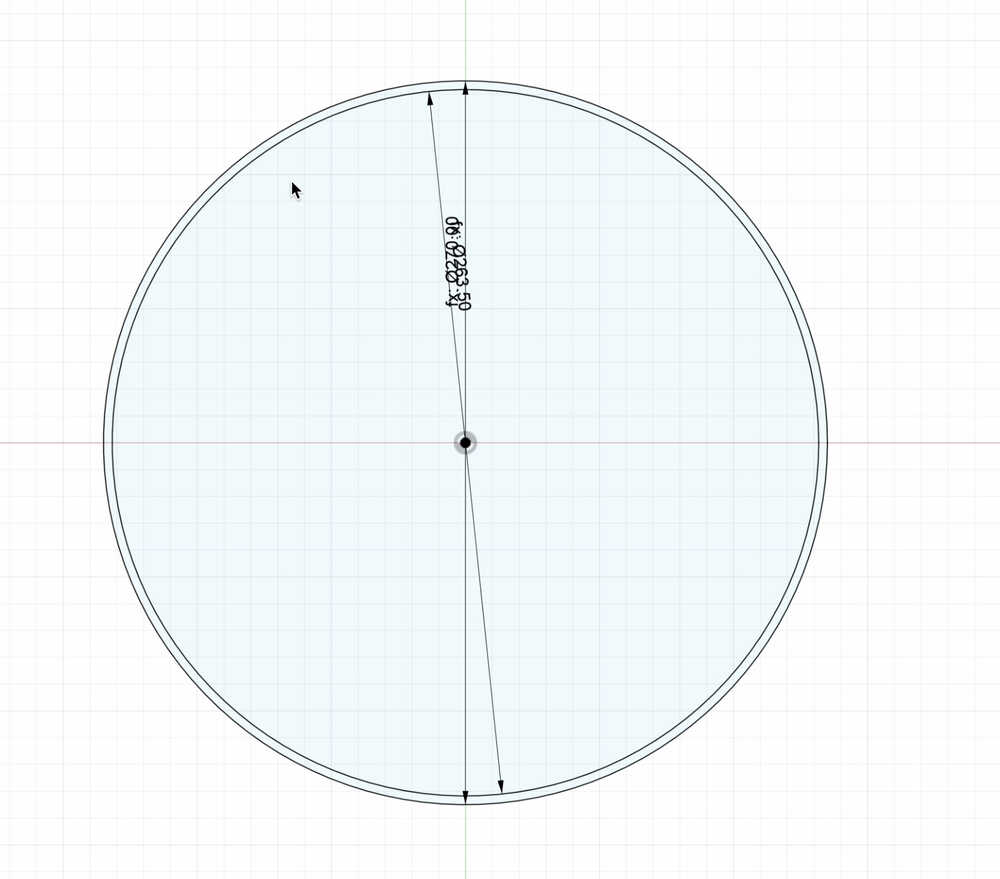
- Then, I defined a new parameter for outer thickness of my ball.
- Next, I sketched another circle and made its diameter, "Ball diameter - Outer Thickness" to arrange the thickness of the ball each time I change its parameter.
- After that, I changed the thickness to 6.5 mm.
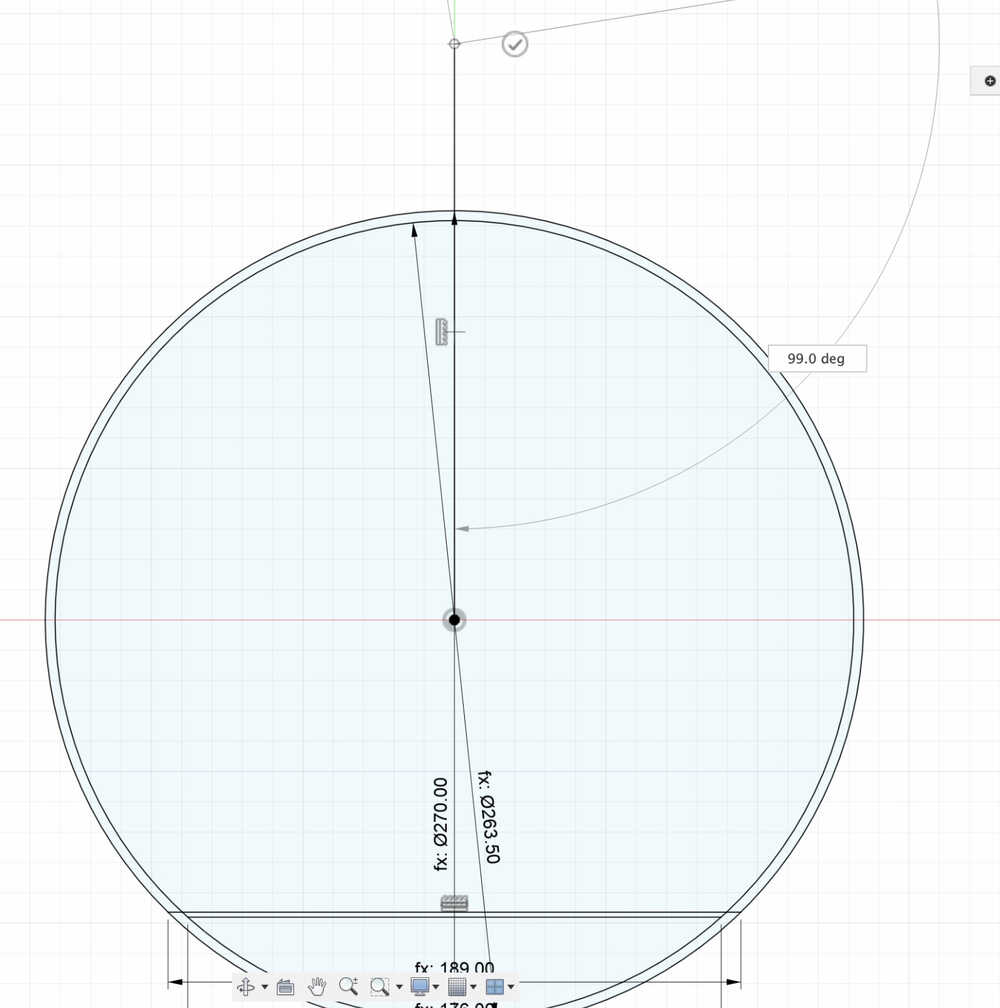
- I will add the electronical components of my device from the lower part of my ball. So, in order to remove the lower side of the ball, I defined the length of the hole as a parameter to be 176 mm.
- Then, I drew a line to limit the lower part of the ball to create my hole. I gave the measurement of "length of the whole + 2 * outer thickness of the ball" so that it was based on the outer circle.
- Afterward, I clicked on "Coincident" to allign it with the outer circle.
- To determine the axis of revolution, I drew a vertical line, extending beyond the both circles.
- Using revolve, I turned my sketch into a 3D design.
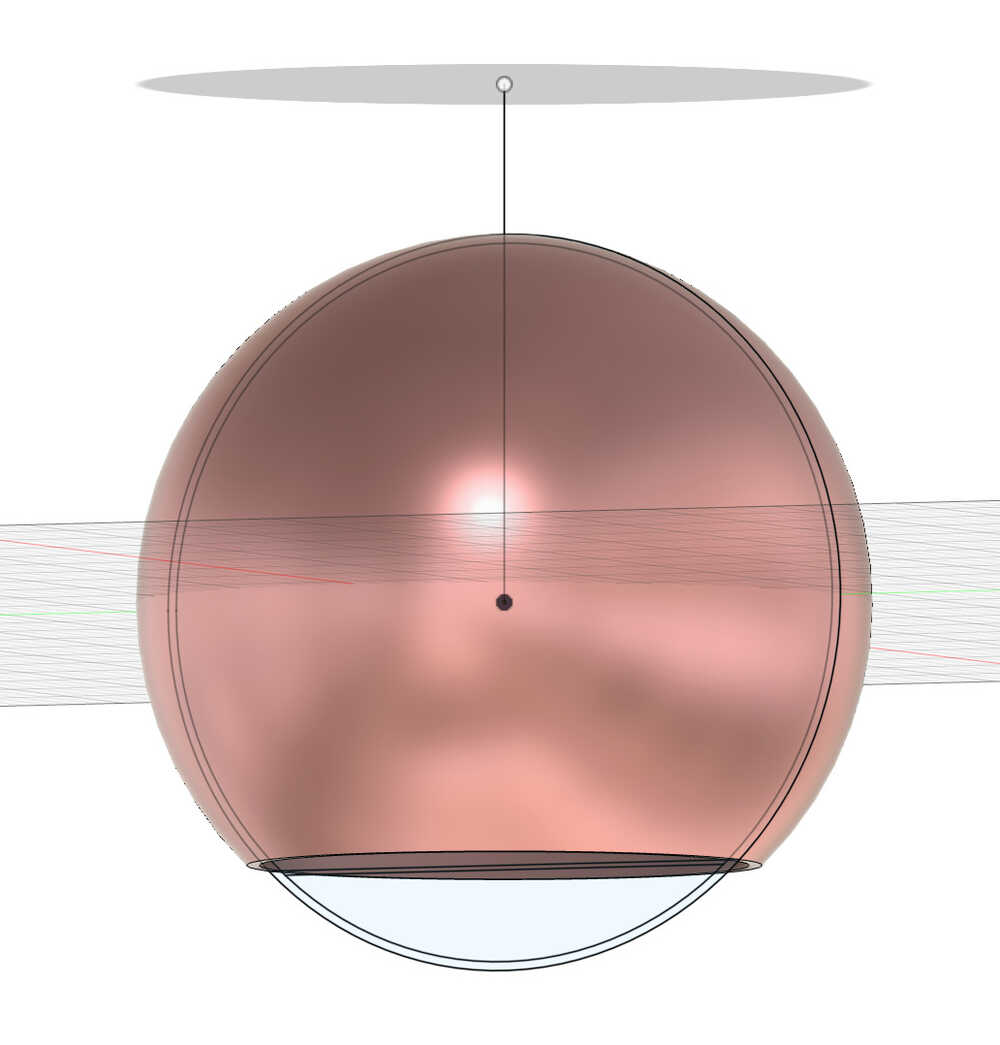
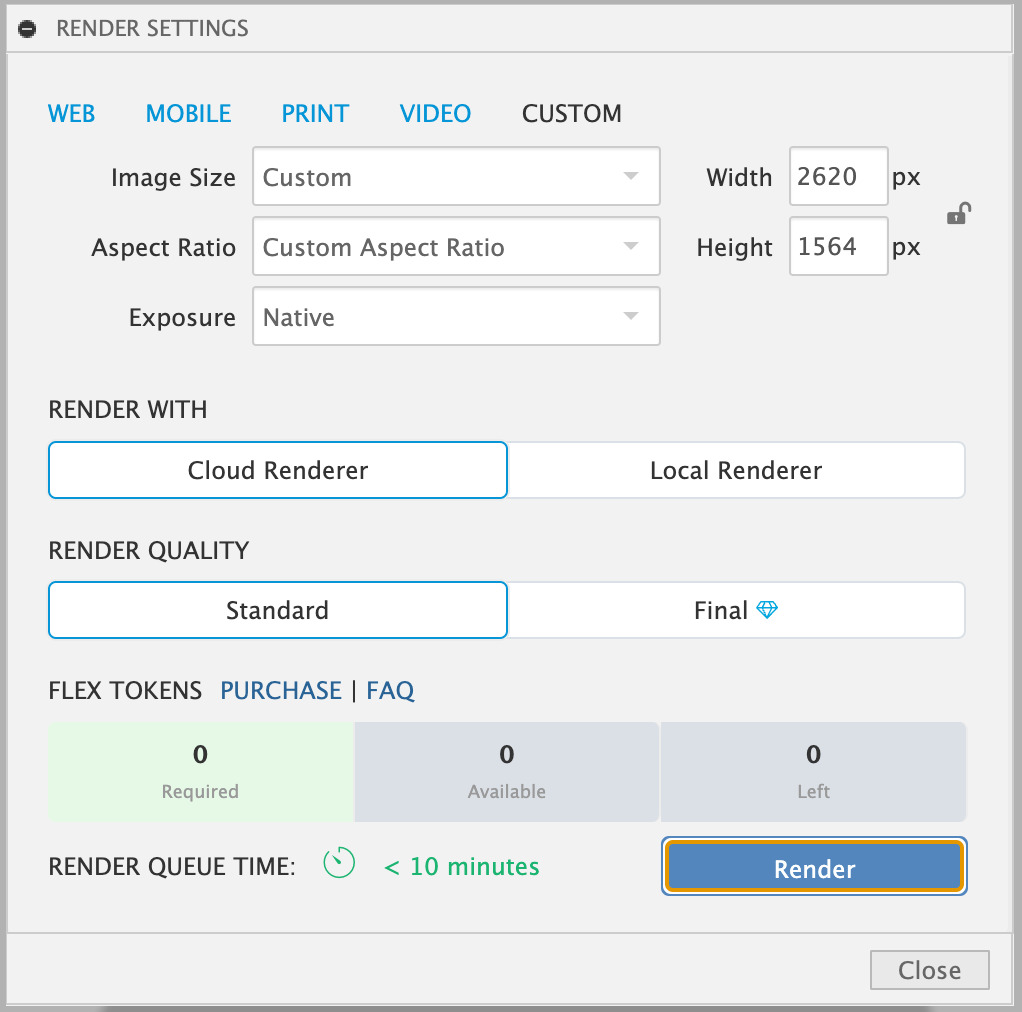
Render of OxPal
Rendering is creating the final design by adding light and other elements to have a snapshot of the design. First, I adjusted the rendering settings. I chose "Render with Cloud Renderer" and "Standard" as the "Render Quality"
My final Render file is the following.

Animation of OxPal
I learned how to make an animation in Fusion 360 by wathcing a YouTube video. Then, I selected 5 seconds on the time frame and clicked on "Transform Components" option. Finally, I rotated my OxPal ball. Then, I wanted my ball to move upward while rotating, so I selected another time frame and transformed my ball upward. Finally, to change the duration of my animation (to make it rotate and move simultaneously), I right clicked on the animation frame and clicked on "Duration." Afterward, I clicked on "Publish" to convert it into an mp4 file.
Files of the First Design
You can access my 3D design through these zip files:
(Note: Before exporting these files, I made some furhter additions to my final project, so they also appear when opening these files)

STEP File
3mf File
f3d File
New Ideas on OxPal
31/03/2025
After Fab Academy proceeded for a while, and I started to get familiarized with electronics, code, and design, new ideas came to my mind. However, before actually starting to implement these ideas, I wanted to visualize and document what I had in mind. First, my OxPal ball will consist of a charging place, a button inside a cavity, and a small screen on its outer surface. So, when someone inserts their finger, while holding the ball, that person will be able to see their heart beat easily on the top of the ball on a screen. On that screen, a number will also show for how many seconds this person is holding OxPal. This will allow the user to track their heart beat for a certain period of time. Below is the sketch I drew.

As the electronics of the device, I wanted to simplify my modules. First of all, I will use ESP32-C3 as a microcontroller that will sit on a PCB to communicate with both the input and output devices on OxPal. There will also be MAX30102 on this PCB, which is a heart beat sensor. The reason I use this sensor is because it is simpler and easier to be implemented onto a PCB in contrast to an Easy Pulse sensor, which I had used previously. For the next steps, I am planning how to power this device.
Possible BOM List of OxPal
I didn't want to leave my new ideas without a BOM (Bill of Materials) list. Therefore, although it is very simple, I wanted to create at least a starting list for the materials of my product.
- ESP32-C3 ----------------------------------------- $8.42
- OLED Module ------------------------------------- $13
- MAX30102 Heart Rate Sensor Module ---- $3.50 per piece
TaskList
As the midterm is approaching, I wanted to make a check list for my final project so that I can complete it on a timely manner. Of course, there will be going back and forward between these tasks based on my local and global instructors and other feedback I receive. Here is my checklist:
- Design a circuit.
- Write code to test this circuit.
- Test the circuit with a breadbord.
- Print the board using a PCB machine.
- Solder components on the PCB and connect the other ones with cables.
- Test if the PCB works using the previous code.
- Design the interior part of OxPal based on the PCB and the other components.
- 3D-Print this design and see if the components fit onto it.
- Design the OxPal ball.
- 3D-Print the OxPal ball.
- Insert your components onto and into the OxPal ball.
- Design the substractive parts of OxPal.
- Cut the substractive parts of OxPal.
- Integrate everything together.
- Final documentations!
I also wanted to put these tasks onto a timeline. Here it is:
- April 7 - April 13: Tasks 1, 2, 3, 4
- April 21 - April 27: Tasks 5, 6
- April 28 - May 4: Tasks 7, 8
- May 5 - May 11: Tasks 9, 10, 11
- May 12 - May 18: Tasks 12, 13
- May 19 - May 25: Tasks 14
- May 26 - June 1: Tasks 15