
Table of Contents
- Individual Assigment
- Design and produce something with a digital process (incorporating computer aided design and manufacturing) not covered in another assignment, documenting the requirements that your assignment meets, and including everything necessary to reproduce it.
- Final Project Development
Individual Assignment
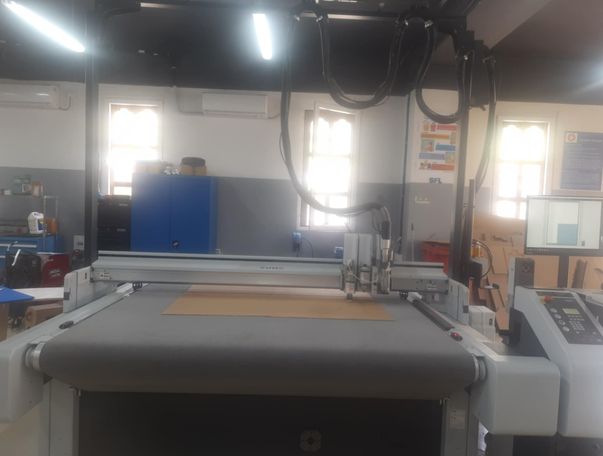
This week was wildcard week and we went to Jigme Namgyel Wangchuck Super Fablab in Thimphu to use a machine that we dont have at our lab.

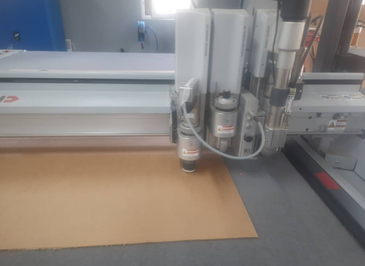
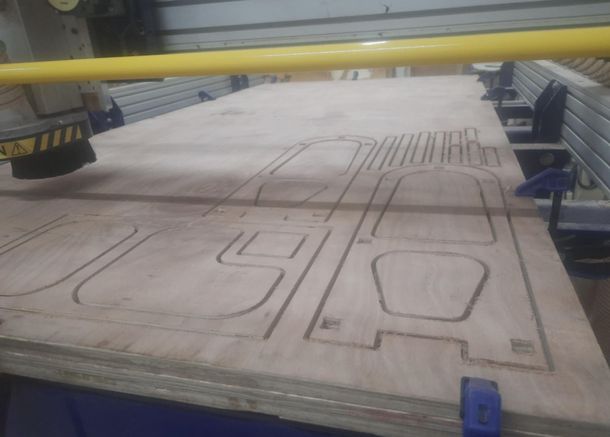
We used Zund G3 Cutting Machine to cut our design in 3 mm cardboard.
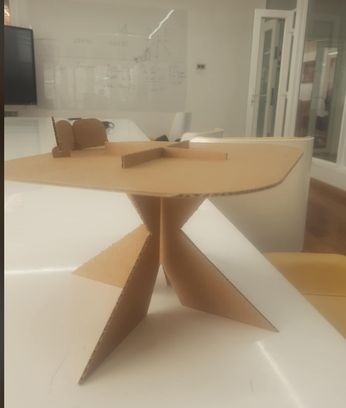
Image Source I wanted to make a holder for some personal belongings and it turned out great but it can be also used as a table as you will see further down.
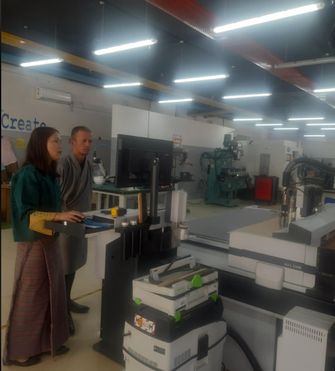
We were helped by Madam Bir Maya Rai who helped us learn about the ZUNDD machine.
-
What it is:
The Zund G3 is essentially a large-format, multi-functional digital cutter. It's a flatbed system, meaning materials are laid flat on its bed for processing. It's designed for high-volume, high-precision cutting and finishing.
-
How it works:
- Unlike the other machines, the Zund has a lot of tools instead of just 1. It is also able to work with softer materials as well, such as leather and foam. One thing that really stood out for me was the crease cutting method. It was really useful when I was making things that needed to be folded instead of it having to necesarrily be cut.
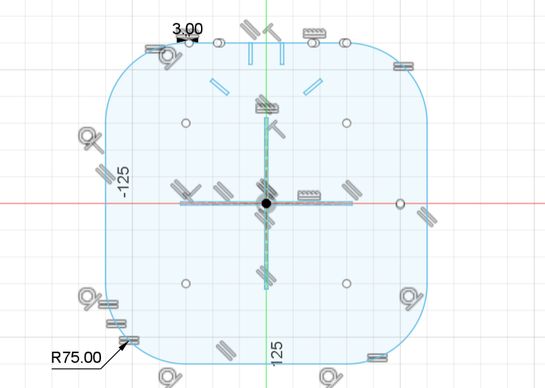
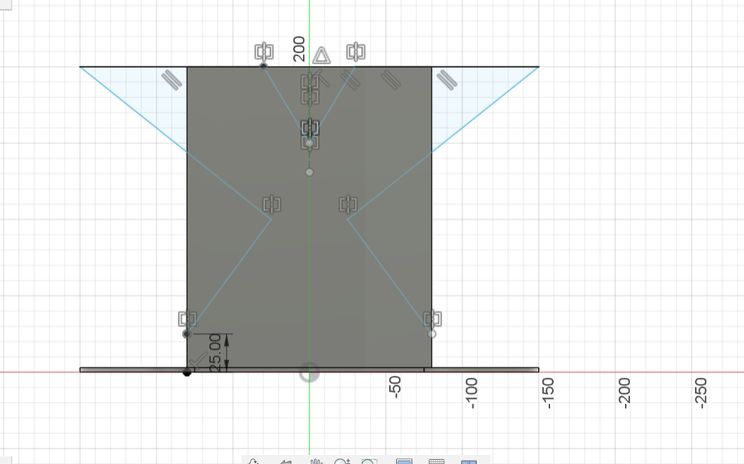
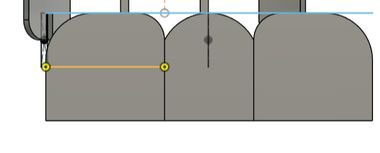
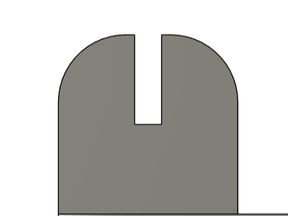
I wanted to design a table with a small stand that will have creases.
Cutting
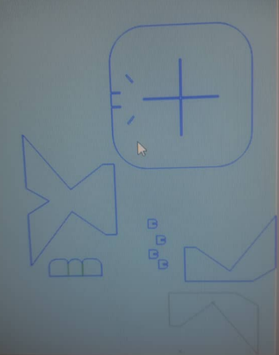
ZUNDD apps. We will be using these set of apps. Open Zund Editor and go to File > Import > select your design.

Next we have to select our material type which is conjugated cardbox.
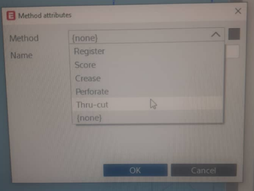
In your design, ungroup the lines, and assign machine steps - crease and thru-cuts for each one. For this, select the lines > right-click > Change method > New method.
Go to Method > select Register > select ‘border: front right’ as the registration type so that the machine starts cutting from the right corner of the cardbox.

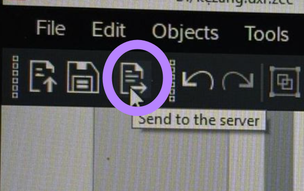
After that, we send it to the server. We confirmed this position manually on the machine using the camera system and laser pointer. We made sure the material was aligned with the corner registration marks on the cutting bed, and the tool head was aligned accordingly before starting the job.
Open the Cut Queue app from the Zund App and you can ‘Start job’.
After it finishes loading, it will start cutting. And then it was done.
HEROSHOT
Challenges faced
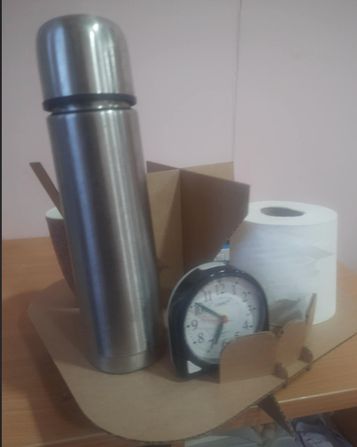
My table wasn't able to hold a lot of things, so I lowered the centre of gravity by rotating it by 90 degrees and woww, it was able to support a lot of things.
File Preparation: I had to go back to my design file a couple of times. I discovered that some of my paths weren't perfectly closed (open vectors), which confused the machine. Also, defining distinct layers for cutting versus any potential creasing lines in the future was a learning curve.
Final Project Development
I was so glad to have the wildcard week because I was able to make meaningful progress with my final project and this made me super glad!
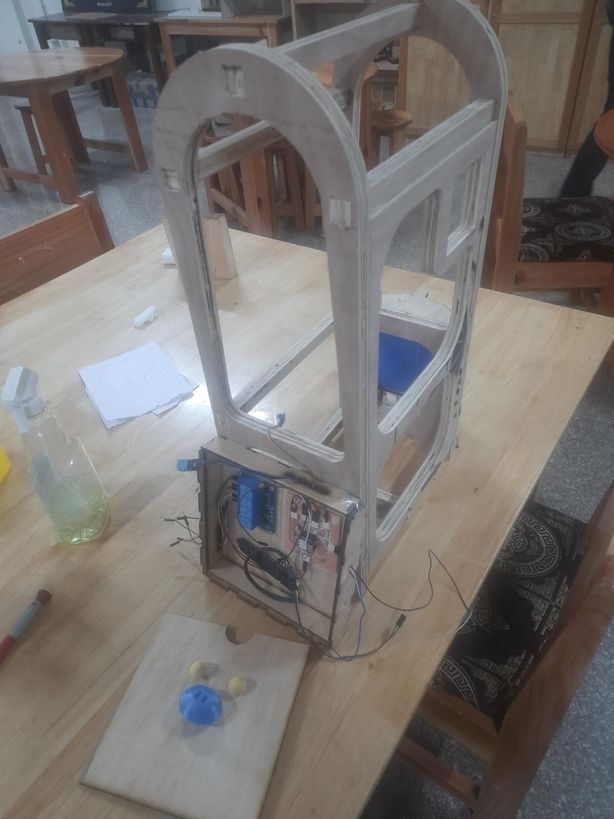
I also re-printed the water resevoir which did not go well last week. and it turned out great. I also designed the 2nd iteration of my design(the middle module) as I will be using the same design as last week for my final project. I fabricated my design using CNC and then attached it using corner connectors that I made last week. I have added a door that will use hinges and locks to be secured for the greenhouse and a specific postition for the fan too.
Files
You can access the files here
Designs