2D design
Design with Microsoft Paint
I love drawing, and the first drawing software I encountered on the computer as a child was Microsoft Paint. Although Paint's features are not as advanced as most drawing software, I still enjoy using it to create pixel-style images. Since the theme of my final project is inspired by 90s video game style, it is suitable for designing character designs or conceptual backgrounds to some extent.
Example
A sample of process to designing a pixel styel character
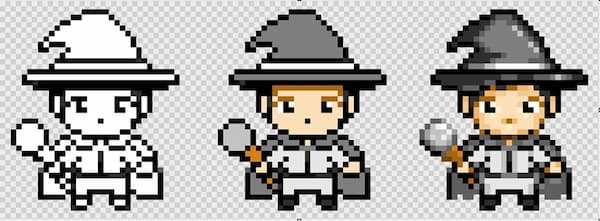
A sample of pixel game style art

Design with CorelDRAW
When it comes to precise dimensions or designs requiring vector graphics, specialized design software is essential.
I have used vector software like CorelDRAW, Inkscape, and Adobe Illustrator. Their basic function are similar, and if it's for basic vector design, they are all quite comparable.
Personally, I prefer CorelDRAW because its basic functions are easier to find in the main interface, making it more suitable for beginners to get started quickly.
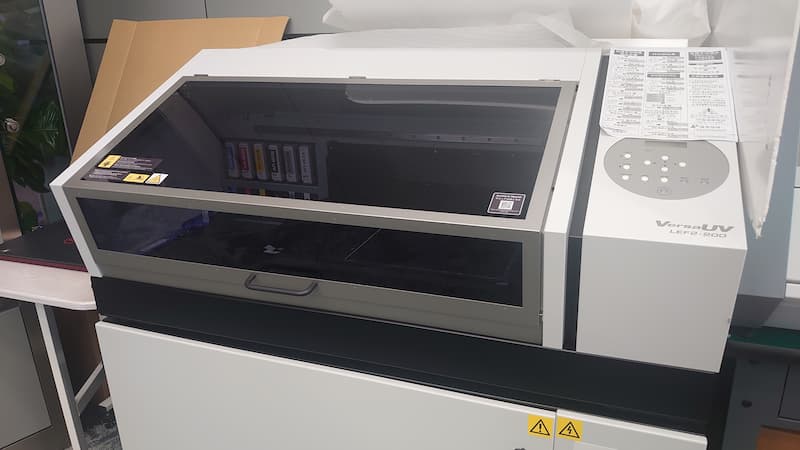
Additionally, the laser cutter in my Fablab can directly print and cut through CorelDRAW, and the special color libraries for gloss and white ink in the UV printer can also be set up in CorelDRAW. Therefore, my first choice is CorelDRAW.
Creating graphics for artistic purposes
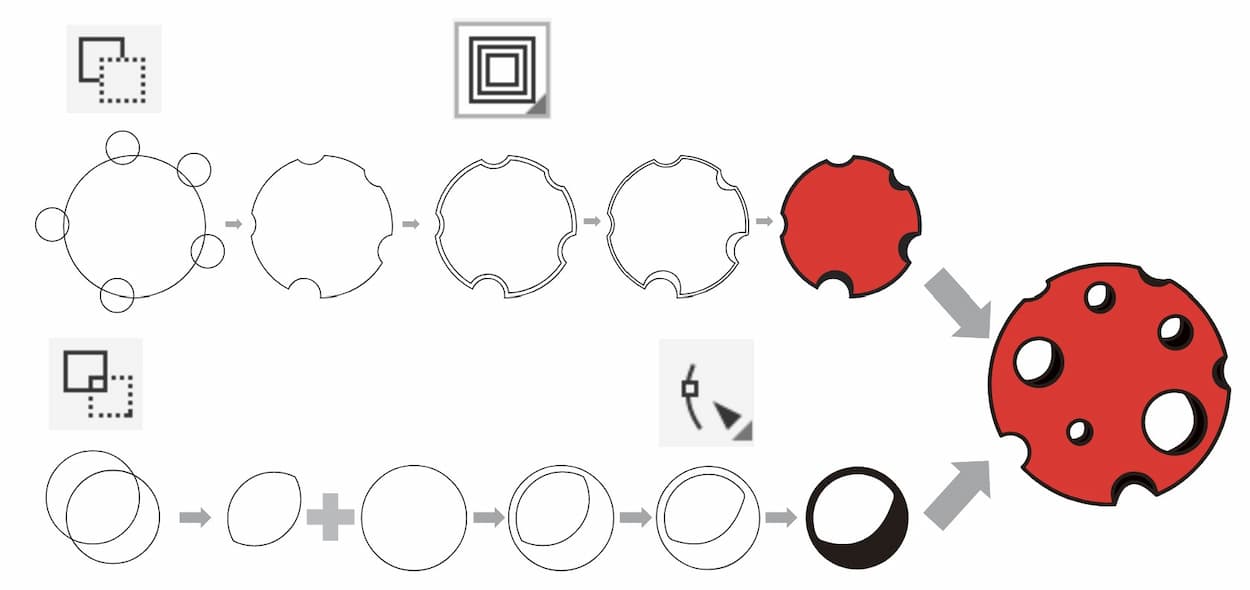
Most graphics can be created by adding or intersecting basic shapes. By becoming familiar with these tools, you can create visual elements for posters. For example, the image below is a meteor pattern made by adding and intersecting circles.
Producing vector files for machinery
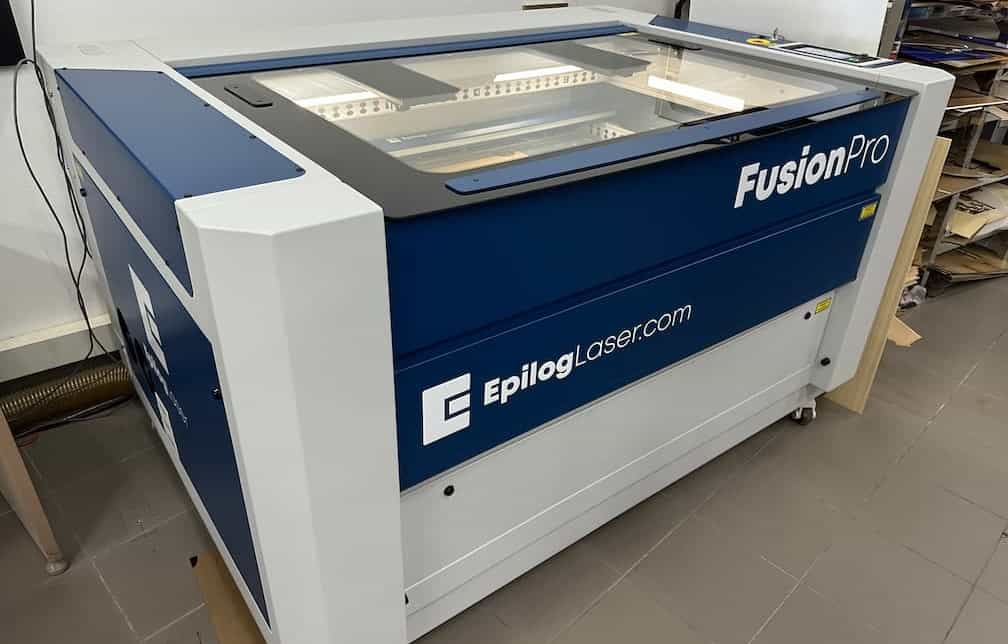
Vector tools are primarily used for creating precise vector graphics. Flat vector images can later be combined with laser cutting to produce physical objects.
Standing signage
Below, I intend to create a character standing signage from the previous section as a prototype for my final project. The following demonstrates how to create a corresponding outline based on the existing raster image for subsequent laser cutting:
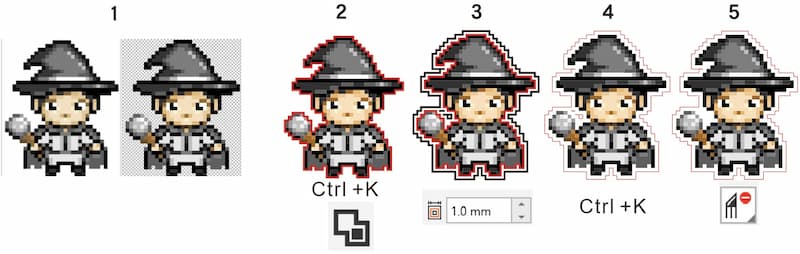
- Convert the raster image to vector shapes. Go to
Bitmaps-Outline Trace-High Quality Image.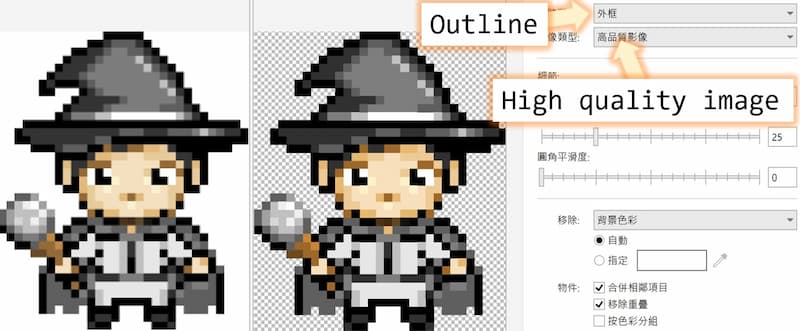
Ctrl+Kto ungroup the vector shapes first,and then useObject-Shaping-Boundaryor directly click the icon to create the outline.
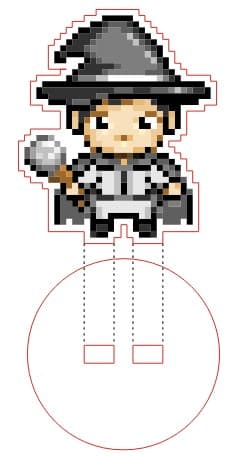
- Expand the outline by
Effect-Contour. The offset distance can be adjusted. - Ungroup the contour group and keep only the outer outline.
- Remove the excess lines.

- Add a circle for the character standing signage base, and add holes for connection.
Keychain
If you want to create a keychain, continuing from step 5 above:
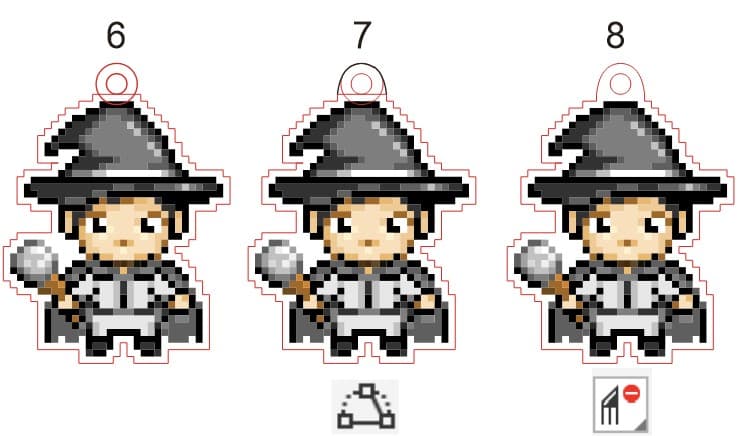
7. To reinforce the holes, use
3-Point curve tool to strengthen the connection.8. Remove the excess lines.