Vinyl Cutter
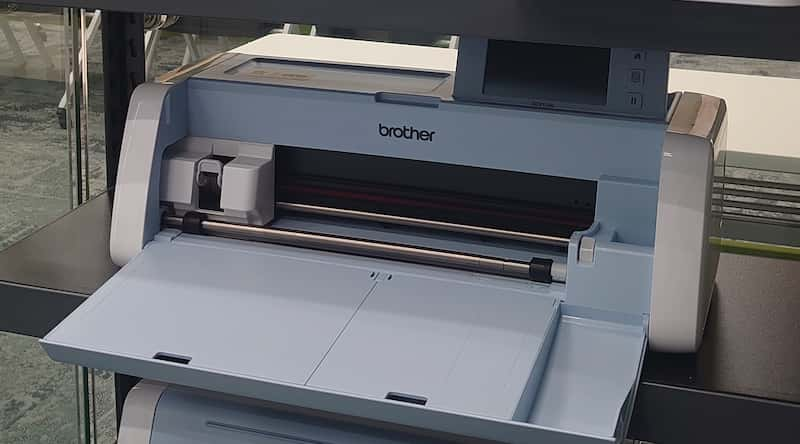
The model version in our Lab is Brother SCANNCUT SDX1200
Before cutting
Before the cutting process, please confirm the basic setting is correct.
Machine setup/verification
- Confirm the blade is installed correctly

- Set the scanner lever base on the suitable material

About Cutting Mat
Cutting mat provides a sticky surface that holds the material in place during the cutting process, preventing it from shifting.
- Remove the thin protective film before stick the material.
- Make sure the upper arrow is faced to the machine.

- Make sure the mat is installed onto the correct postion in the machine
- Press the Mat button, the machine will load and unload the mat automatically. Never force the mat in or pull it out!

Mission of the week is cut something on the vinylcutter. There are 2 modes in the SCANNCUT machine:
- Cut directly with the basic pattern in the machine
- Scan existing patterns for further processing.
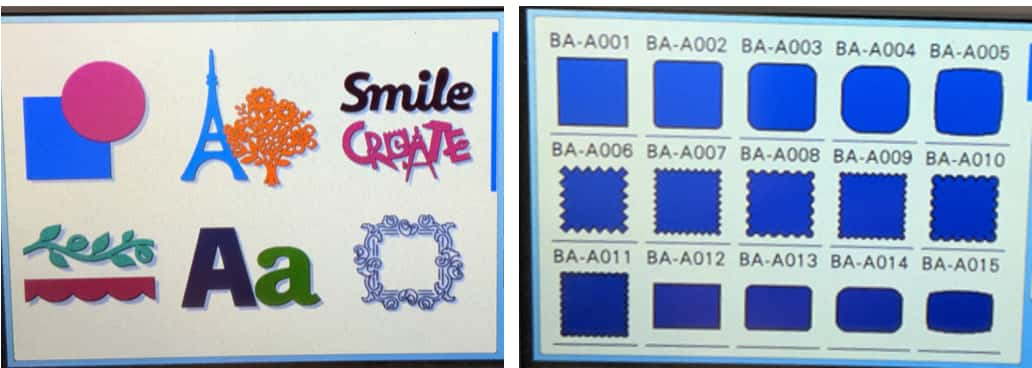
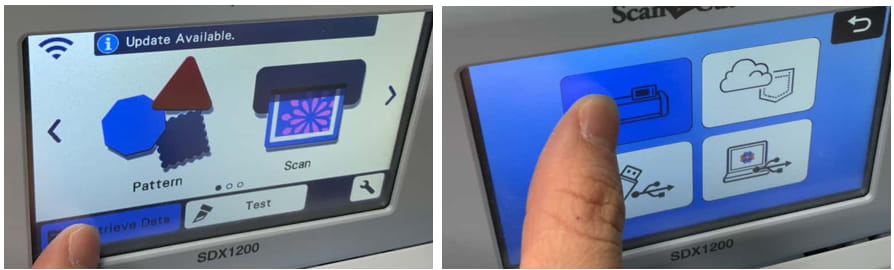
Mode 1: Directly cut with default pattern
Here are samples of pattern in the machine. The patterns can be combined, subtracted, or intersected to create more complex designs.
It will be hard to design a logo in the machine control panel, so I will use the scan mode to finish the assignment.
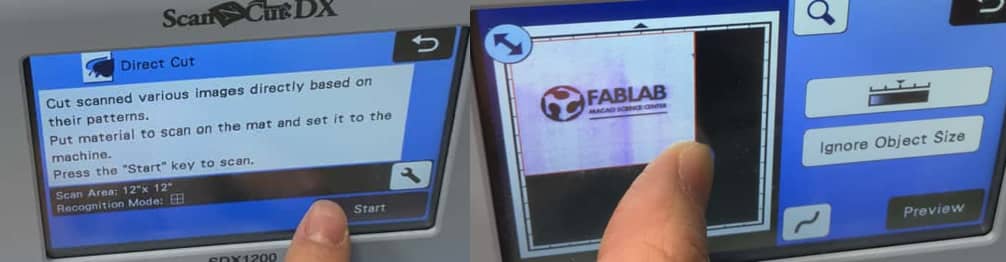
Mode 2: Scan function
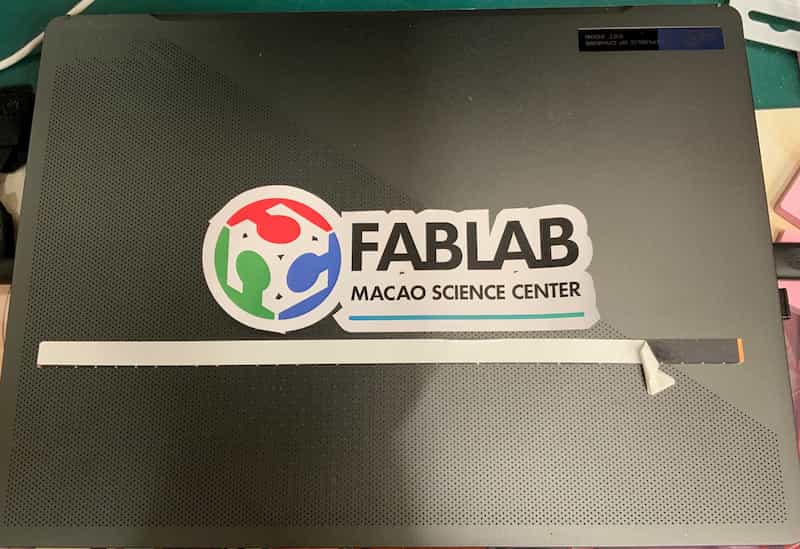
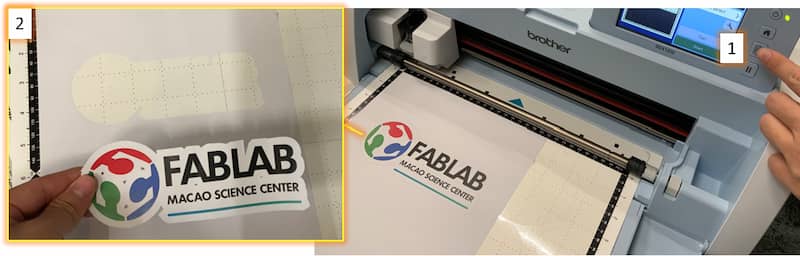
I want to cut the FABLAB MACAO SCIENCE CENTER logo. To make it simple, I print the Logo on a A4 paper, and stick it on the Cutting Mat and load it into the machine.
(Check the warning section above)

- Scan and cut the picture directly.
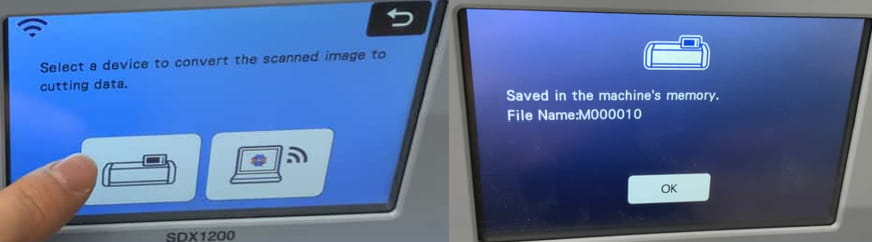
- Scan and save the data for further processing.
With the result of the
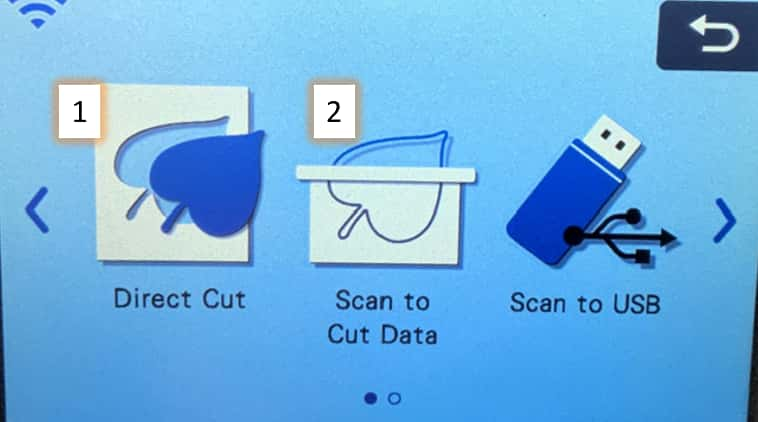
1, only the place with color is cut, which is not the effect I want.In 2, the saved data can be edit with a little more effect, so I choose
2.
Saving process
Adjust the scan size to avoid the "noise" in the background.
Load and offset process
Load the data with the button Retrieve Data button in the left bottom.
- Select all the outline
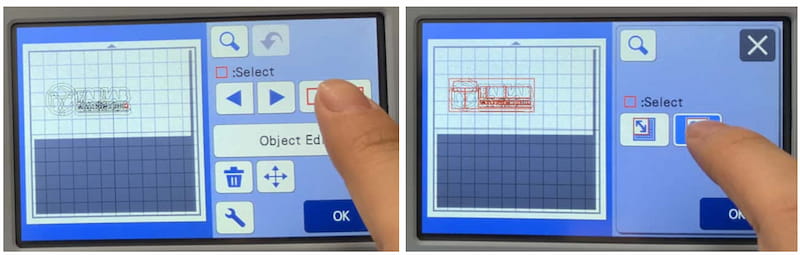
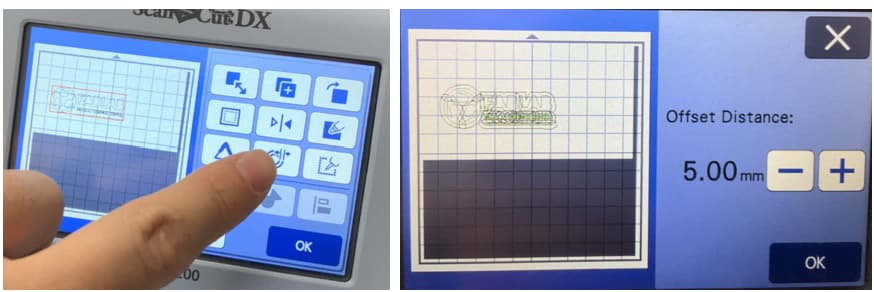
- Go to
Object Edit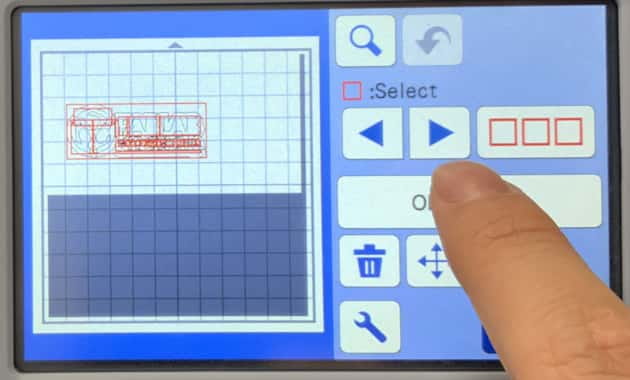
- Choose offset button and set the offset distance
- Press the join botton, and join all outline together.
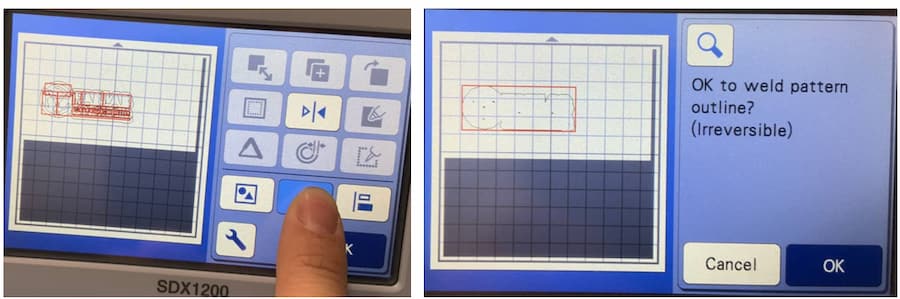
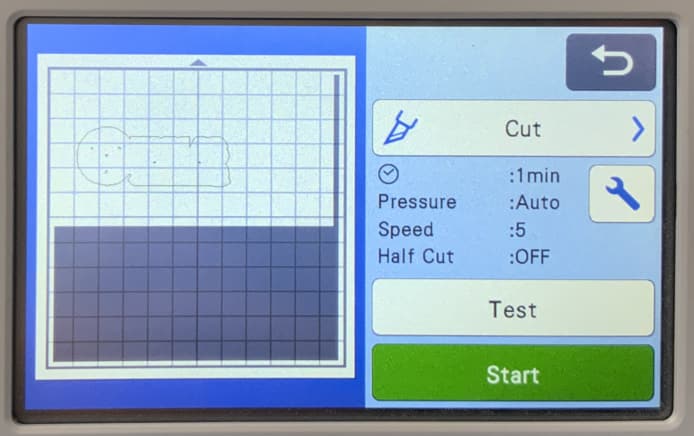
- Confirm the outline and start cutting!
After the cutting job is finished,
- Remember to press the
Matbutton to unload the Cutting Mat - Carefully unload the paper.
- Check the result!