1. Arduino & ESP IDF
I compare Arduino and IDF in this assignment.
1.1. Arduino
Arduino is an open-source hardware and software company that makes it easy to create interactive projects. Arduino is based on a simple programming language called Arduino Language. Arduino Language is a simple programming language that is easy to learn and use. Arduino Language is based on the C++ programming language. Arduino Language is used to create interactive projects.
1.1.1. Install Arduino IDE
To install Arduino IDE, you can follow the instructions below: nstall Arduino IDE
1.1.2. Install Arduino Board
To install Arduino Board, you can follow the instructions below:
- Open Arduino IDE
- Click
File->Preferences - In the
Additional Boards Manager URLsfield, enter the following URL:
https://raw.githubusercontent.com/espressif/arduino-esp32/gh-pages/package_esp32_index.json
- Install Espressif ESP32 Arduino
1.1.3. Create and Upload a Sketch
-
Open Arduino IDE
-
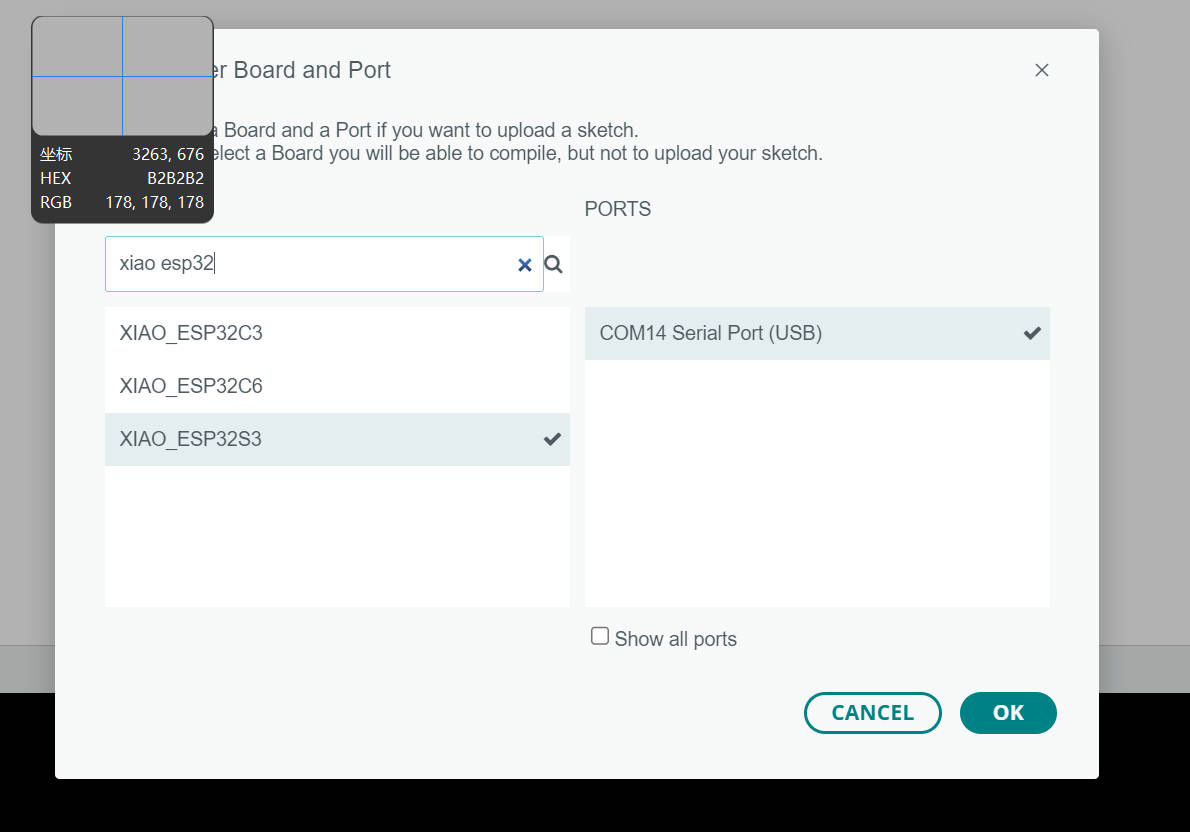
Choose
XIAO ESP32S3board from theTools->Boardmenu.
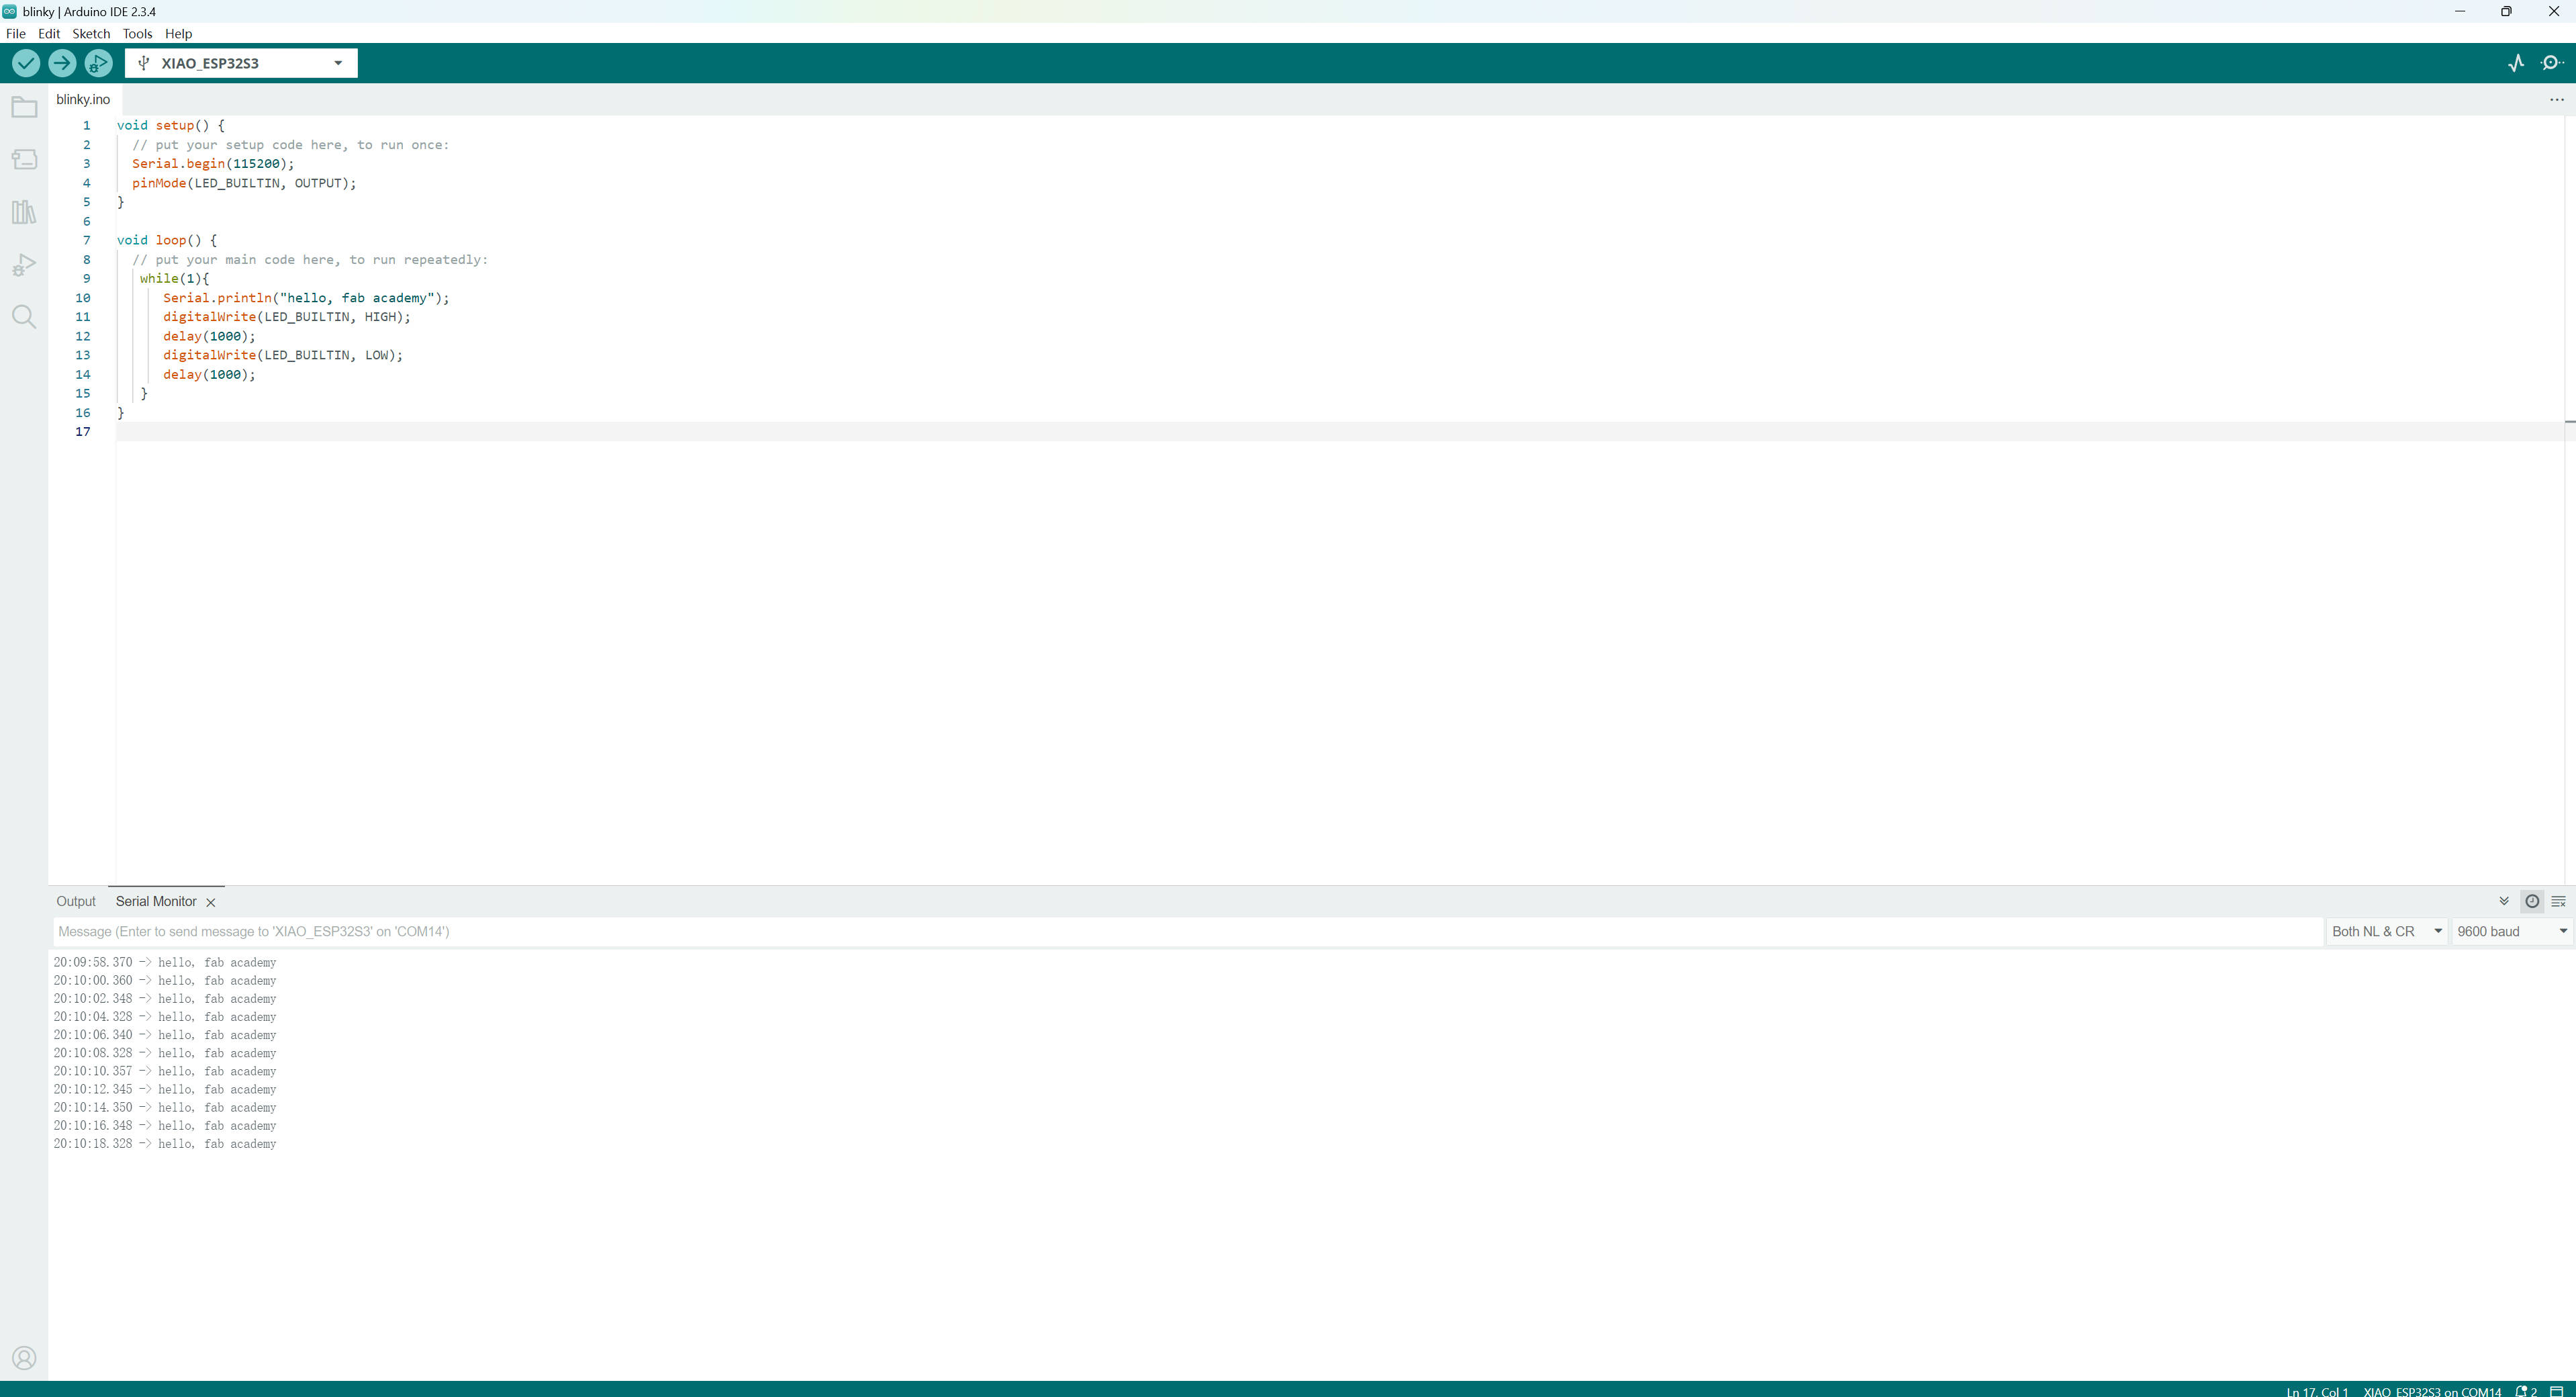
- Write the following code:
void setup() {
  // put your setup code here, to run once:
  Serial.begin(115200);
  pinMode(LED_BUILTIN, OUTPUT);
}

void loop() {
  // put your main code here, to run repeatedly:
   while(1){
      Serial.println("hello, fab academy");
      digitalWrite(LED_BUILTIN, HIGH);
      delay(1000);
      digitalWrite(LED_BUILTIN, LOW);
      delay(1000);
   }
}
- Once the sketch is uploaded, you will see the following output:
1.2. ESP IDF
ESP IDF is an open-source software development framework for the ESP32 and ESP32-S2 microcontrollers. ESP IDF is based on the FreeRTOS real-time operating system. ESP IDF is used to develop applications for the ESP32 and ESP32-S2 microcontrollers.
It supports more powerful features than Arduino. You can use ESP IDF to develop more complex applications.
1.2.1. Install ESP IDF
To install ESP IDF, you can follow the instructions below:
For my case, I use the Ubuntu system.
- Install Prerequisites
sudo apt-get install git wget flex bison gperf python3 python3-pip python3-setuptools cmake ninja-build ccache libffi-dev libssl-dev dfu-util libusb-1.0-0
- Get ESP IDF
mkdir -p ~/esp
cd ~/esp
git clone -b v5.2 --recursive https://github.com/espressif/esp-idf.git
- Set up the Tools
cd ~/esp/esp-idf
./install.sh
- Set up the Environment Variables
echo `alias get_idf='. $HOME/esp/esp-idf/export.sh'` >> ~/.bashrc
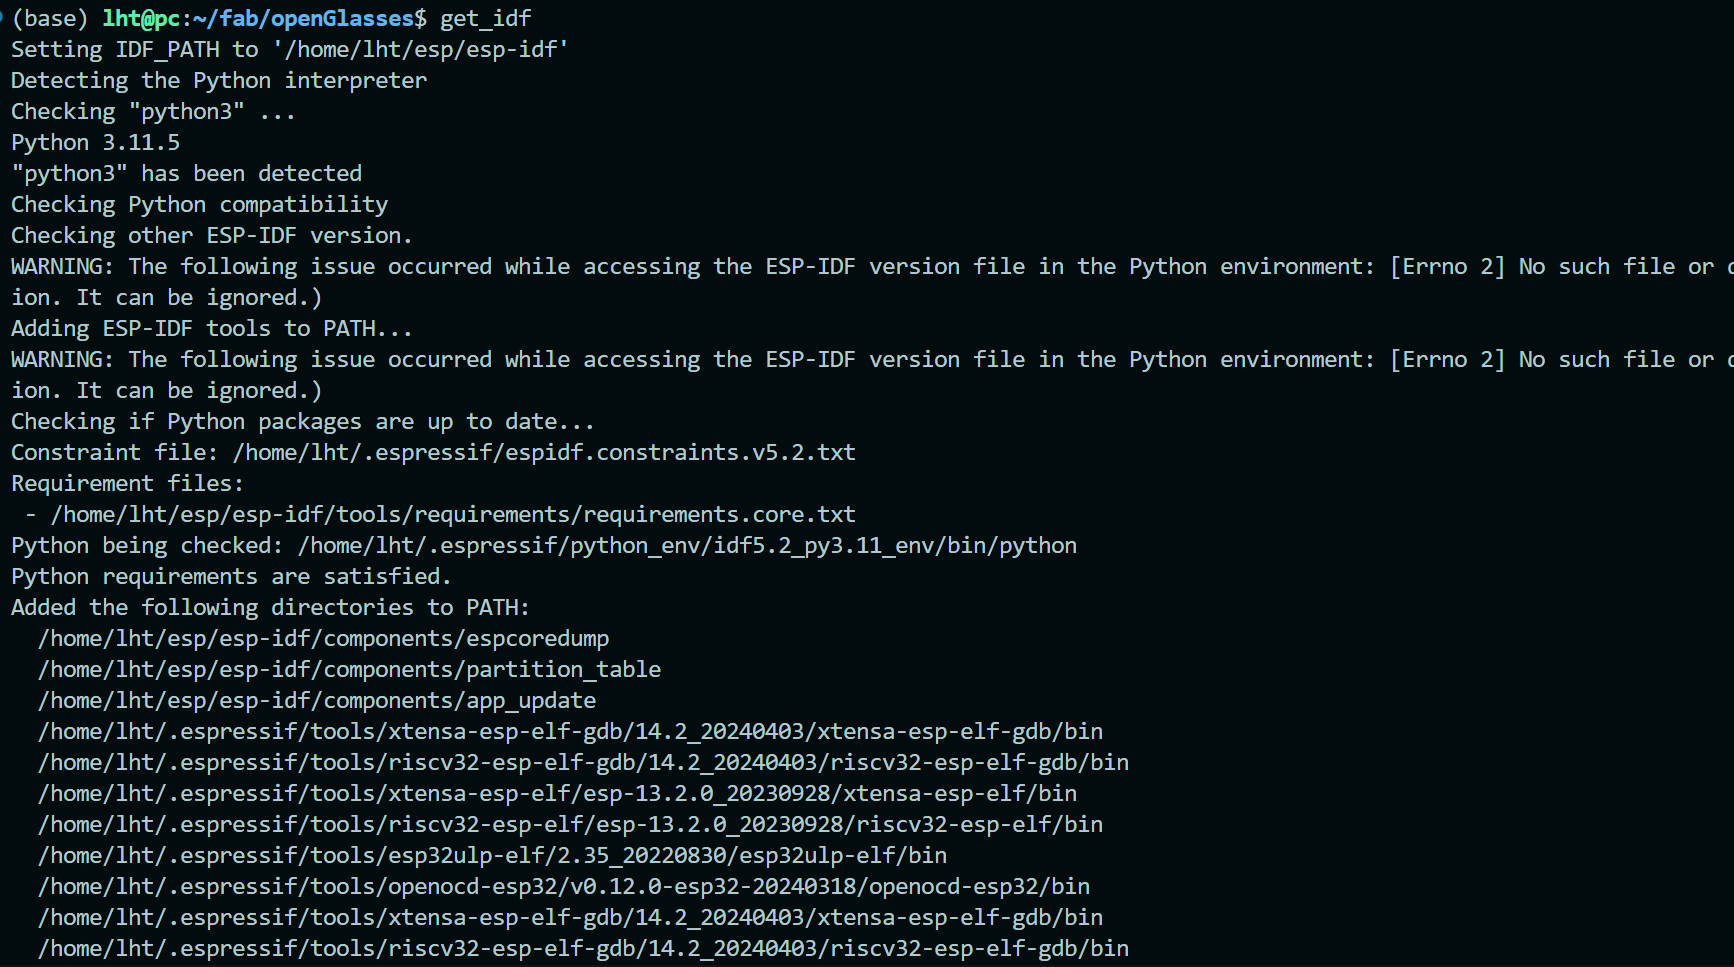
- Test the Installation
get_idf
idf.py --version
1.2.2. Build a Blink Example
- Create a New Project From Template
cp ~/esp/esp-idf/examples/get-started/blink . -r
- Modify the Project
#include <dirent.h>
#include <stdio.h>

#include "freertos/FreeRTOS.h"
#include "freertos/task.h"
#include "driver/gpio.h"
#include "esp_log.h"

#define PIN_LED GPIO_NUM_21

void app_main(void)
{
    const gpio_config_t io_conf = {
        .pin_bit_mask = (1ULL << PIN_LED),
        .mode = GPIO_MODE_OUTPUT,
        .pull_up_en = GPIO_PULLUP_DISABLE,
        .pull_down_en = GPIO_PULLUP_DISABLE,
        .intr_type = GPIO_INTR_DISABLE,
    };
    gpio_config(&io_conf);

    while(1)
    {
        gpio_set_level(PIN_LED, 1);
        vTaskDelay(1000 / portTICK_PERIOD_MS);
        gpio_set_level(PIN_LED, 0);
        vTaskDelay(1000 / portTICK_PERIOD_MS);
    }
}
- Build and Flash the Project
idf.py set-target esp32s3
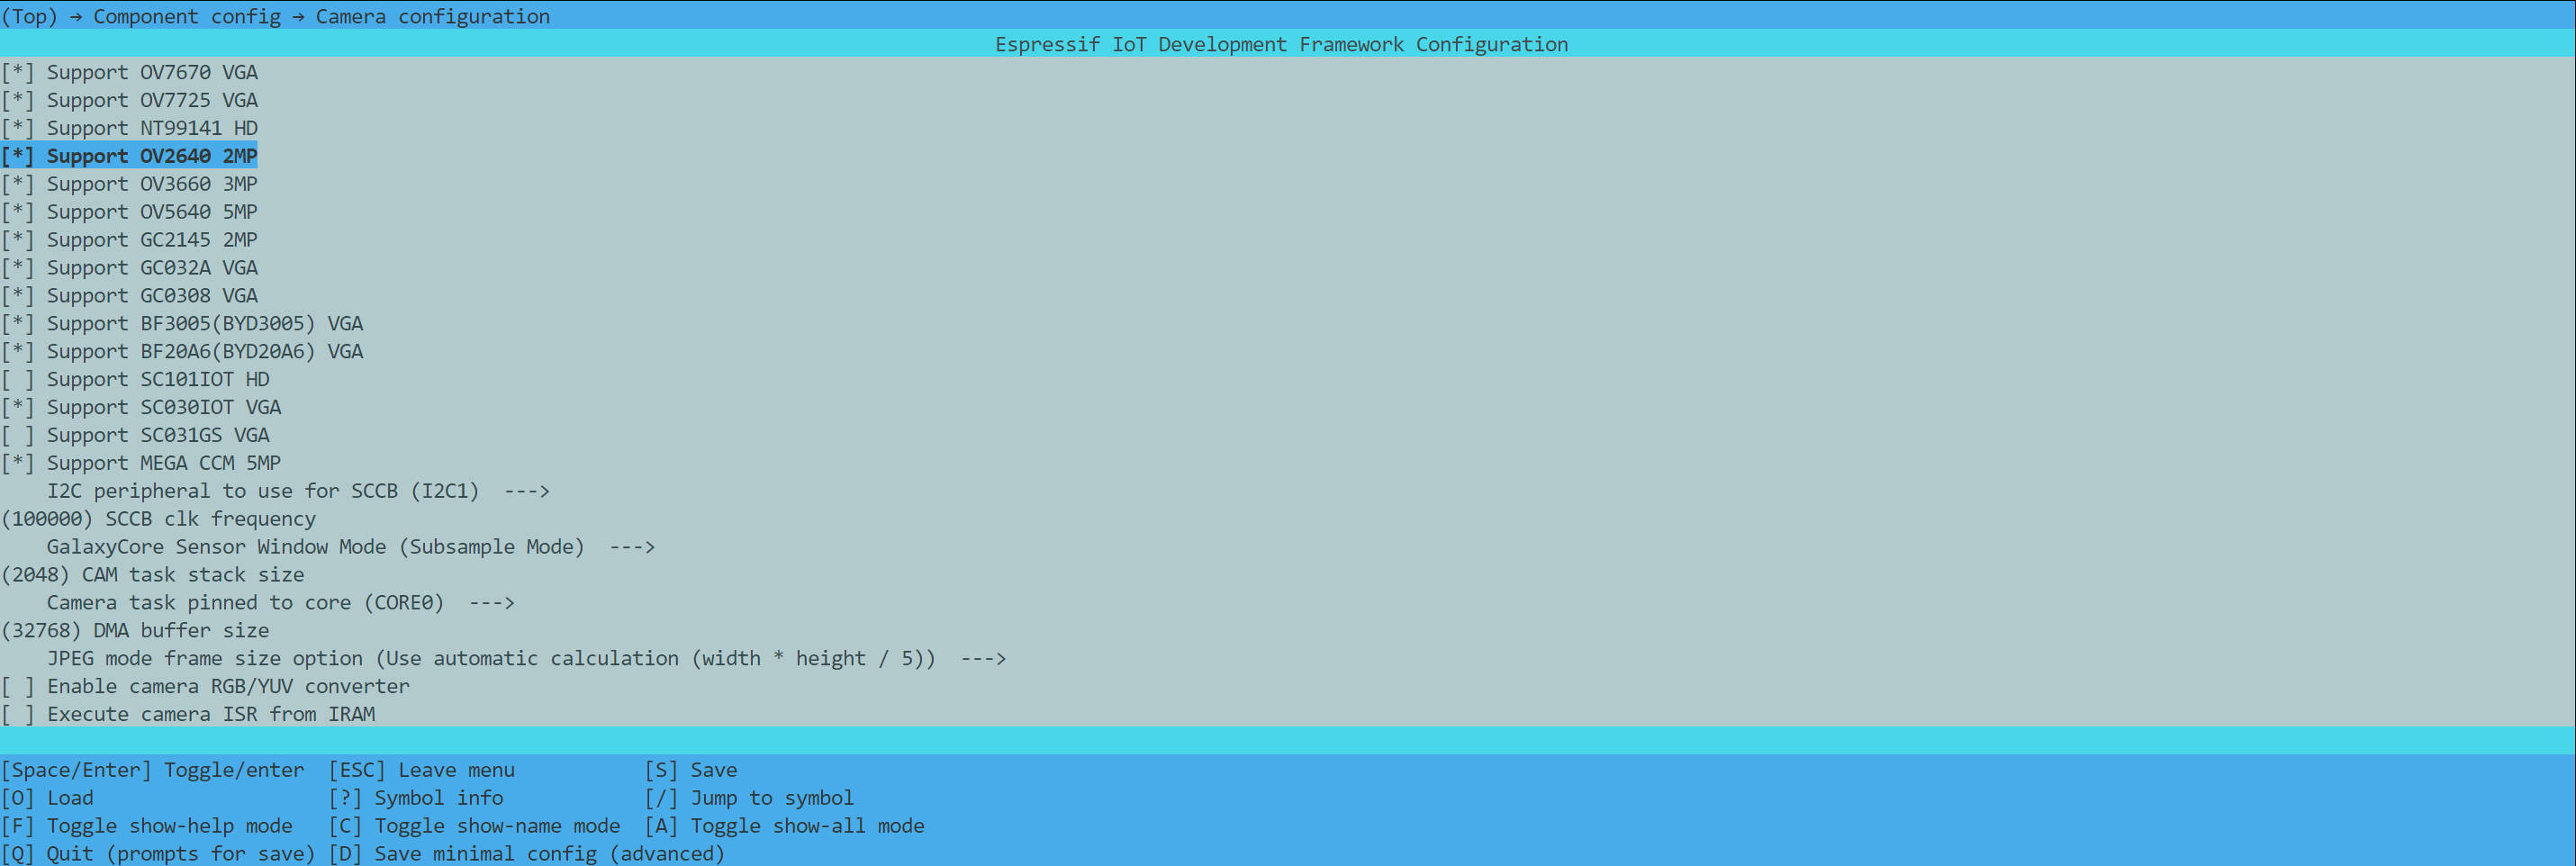
idf.py menuconfig
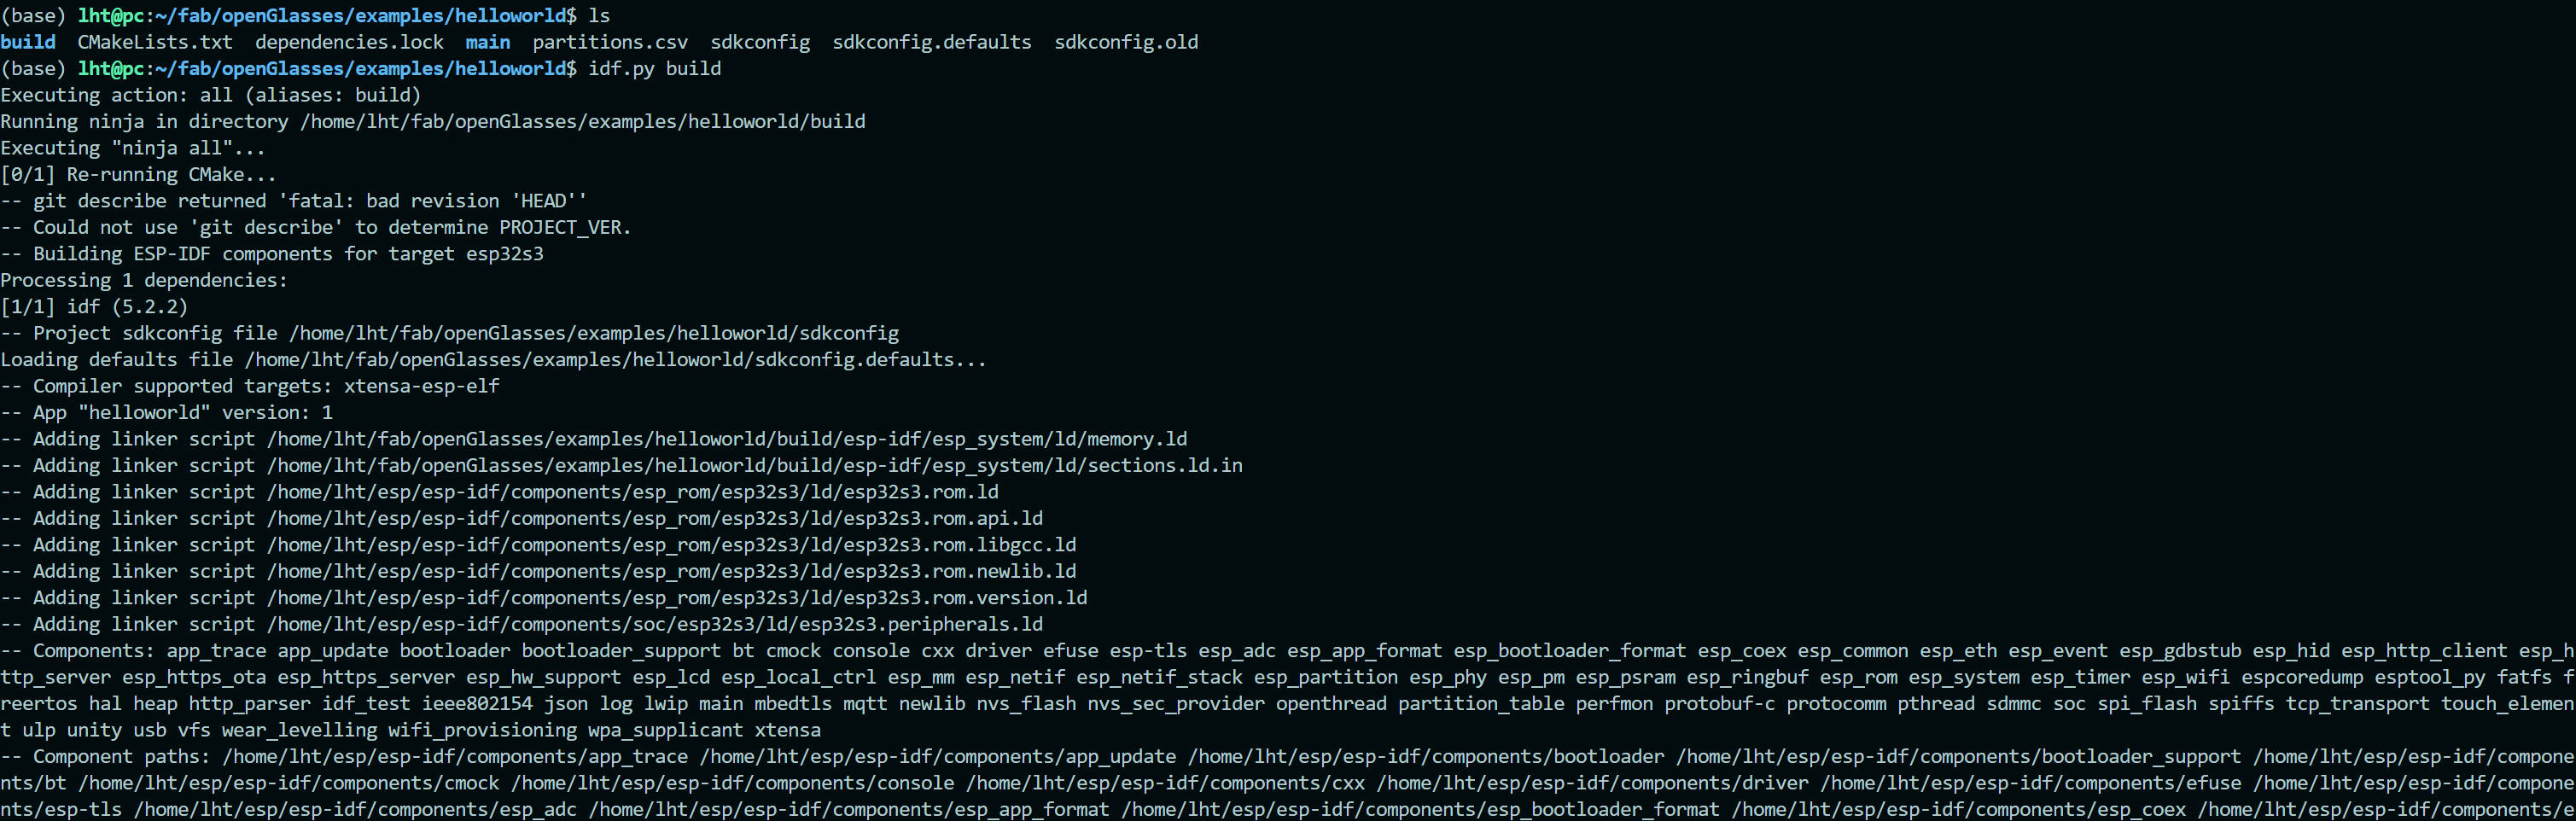
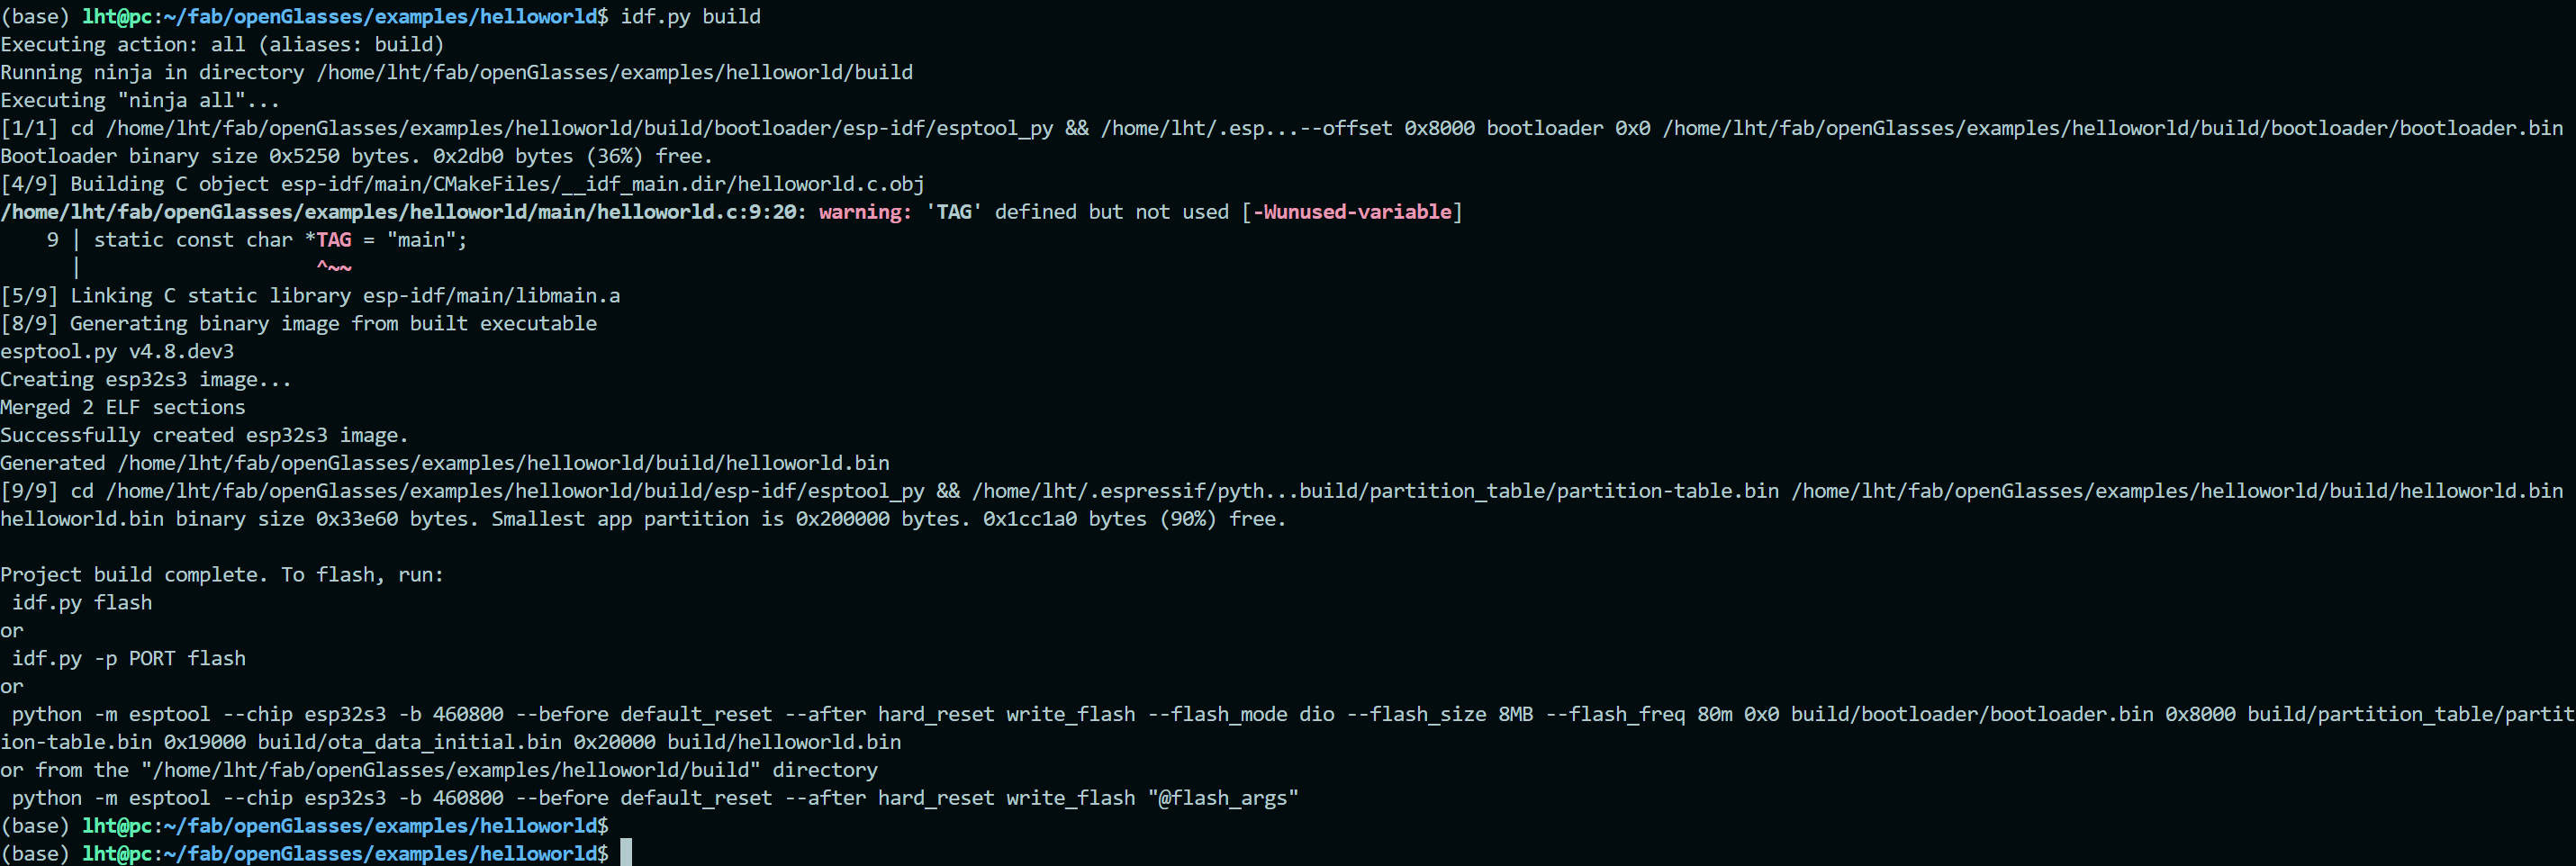
idf.py build
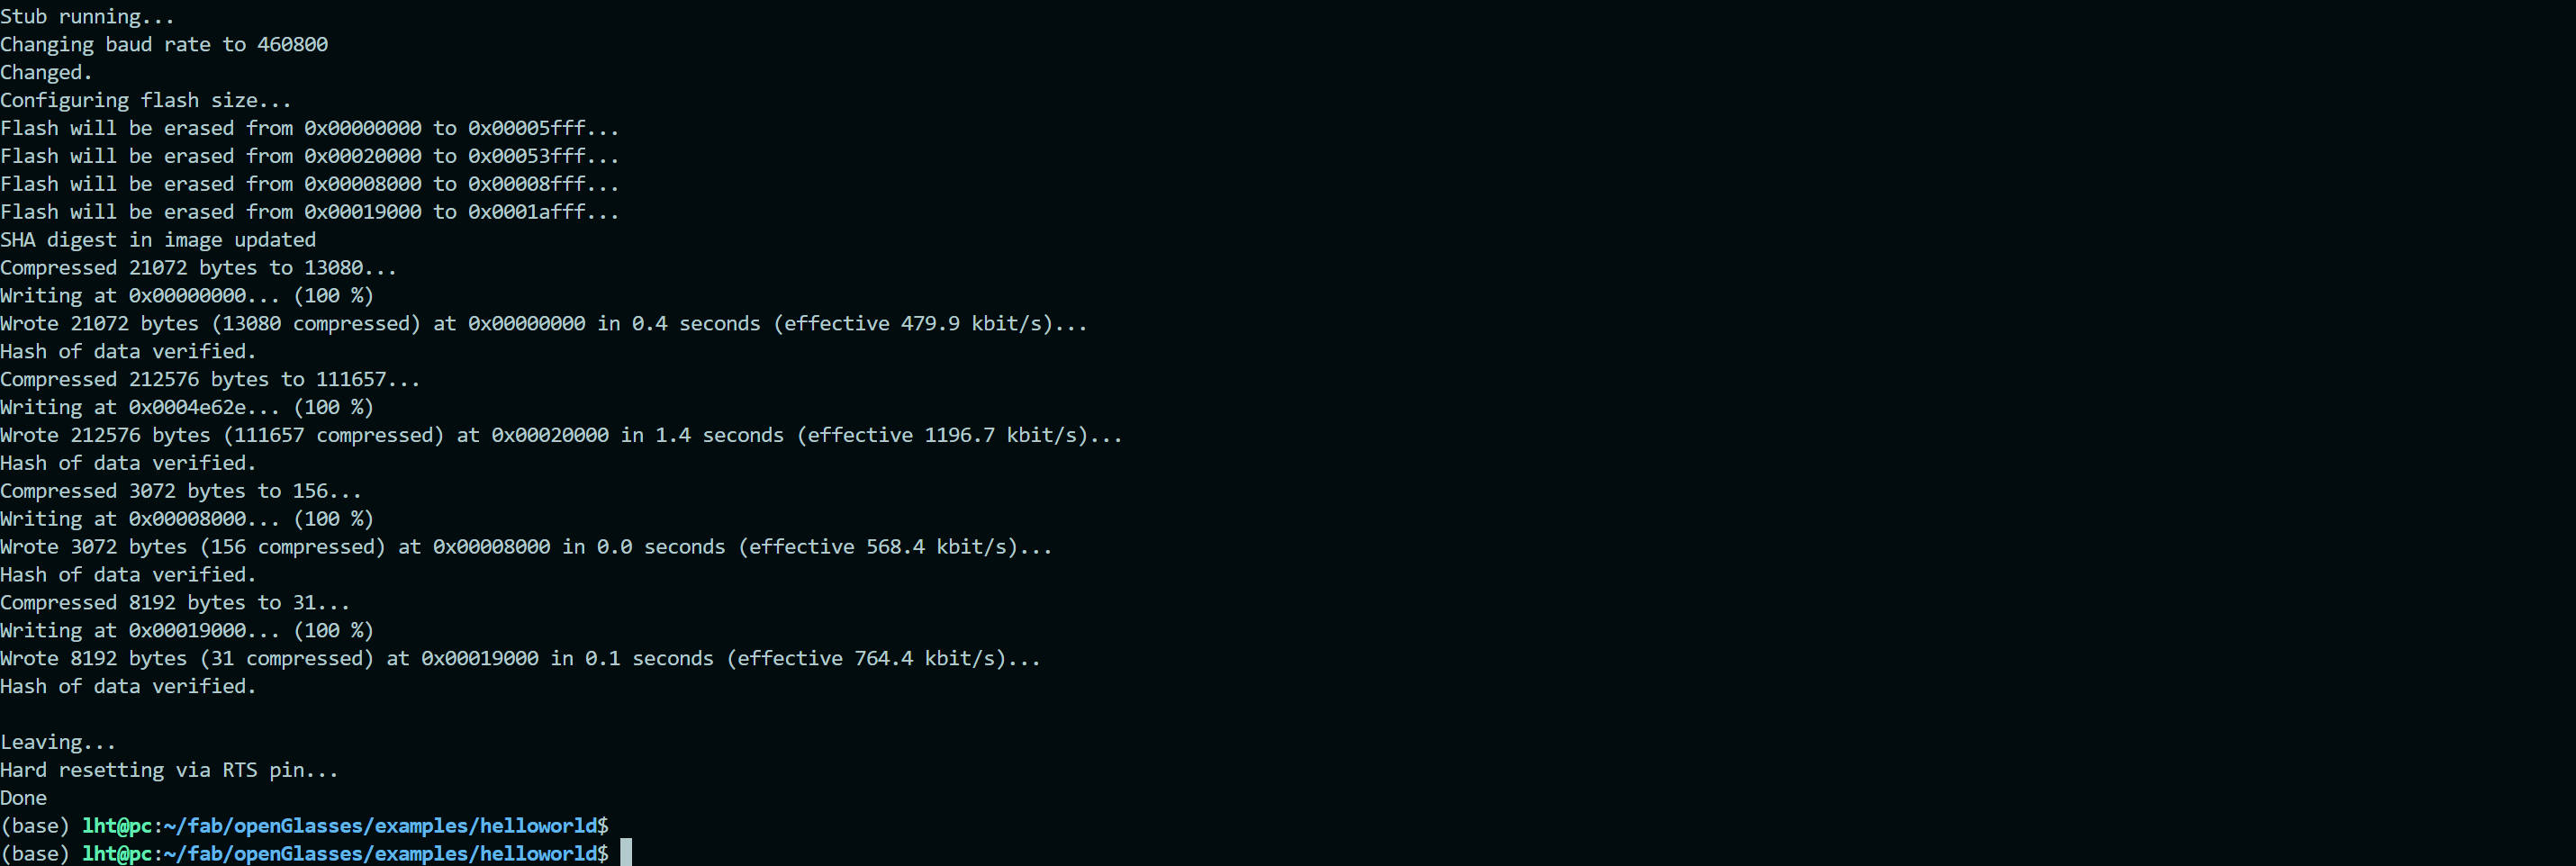
idf.py -p /dev/ttyUSB0 flash
- Monitor the Output
idf.py -p /dev/ttyUSB0 monitor