Week5 - 3D scanning and printing
File Sharing
Here's the link about this assignment which included:
- 3D design and stl file
- 3D scanning data and obj/stl file
The difference between Additive Manufacturing (AM) and Subtractive Manufacturing
Additive Manufacturing (AM)
Also known as 3D printing, additive manufacturing involves building an object layer by layer from a digital model. This process is typically used for creating complex geometries that would be difficult or impossible to achieve with traditional manufacturing methods. If you choose to create your spring-type module using a method like 3D printing metal or plastic, then it would be considered additive manufacturing. This process is beneficial for:
Prototyping novel spring designs Producing complex geometries with internal structures Customizing springs for specific applications.
Subtractive Manufacturing
Subtractive manufacturing involves starting with a block of material and removing material to shape the final product. This is traditionally done through methods such as milling, turning, or grinding. If your spring-type module is manufactured by starting with a metal rod or sheet and then cutting, carving, or machining it into the desired spring shape, it would be considered subtractive manufacturing. Subtractive manufacturing is typically used for:
Producing high-strength components Utilizing materials that are not suitable for additive manufacturing Achieving high precision and surface finish.
3D model design and printing
3D model design
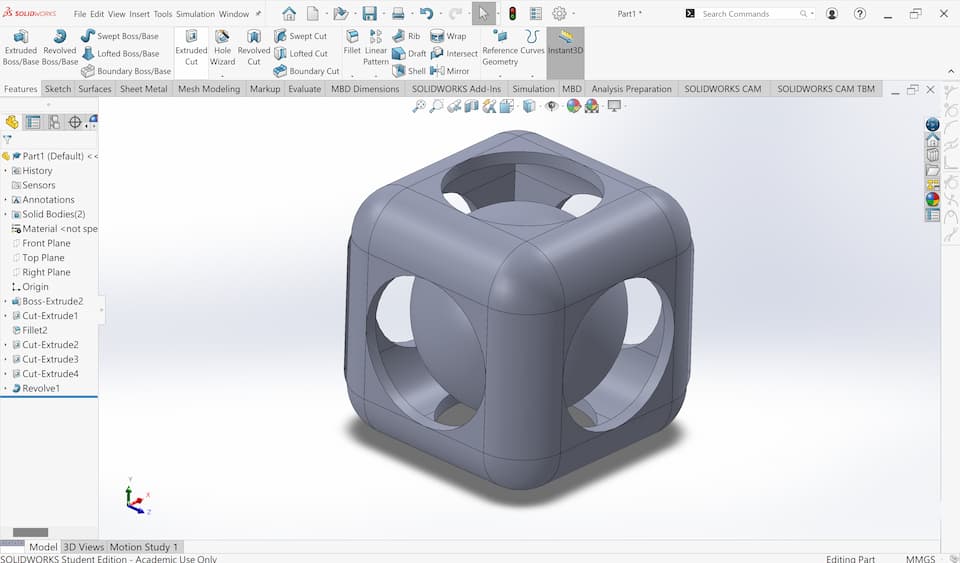
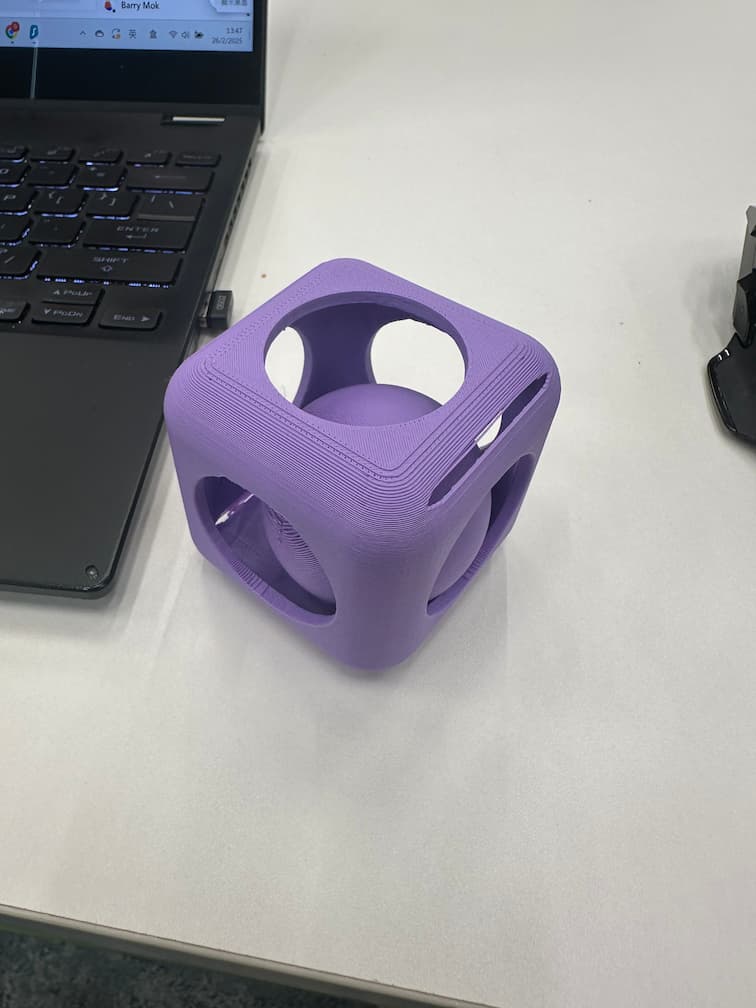
I use Solidworks to build my 3D model. In this assignment, a 3D design is needed to be designed which cannot be manufactured by subtractive manfacturing. I design a opening box which embedded a sphere inside the box.
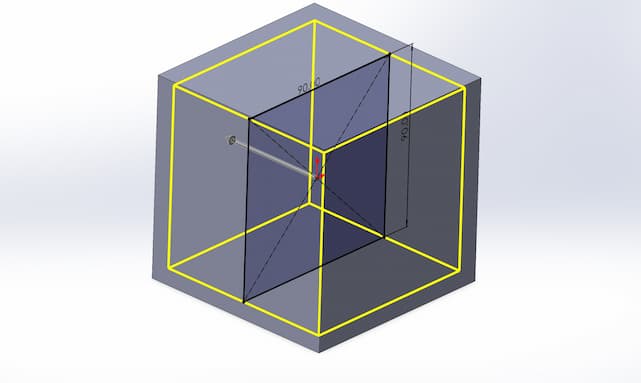
First, I draw 100mm100mm100mm box and extrude cut the box with 90mm90mm90mm box.
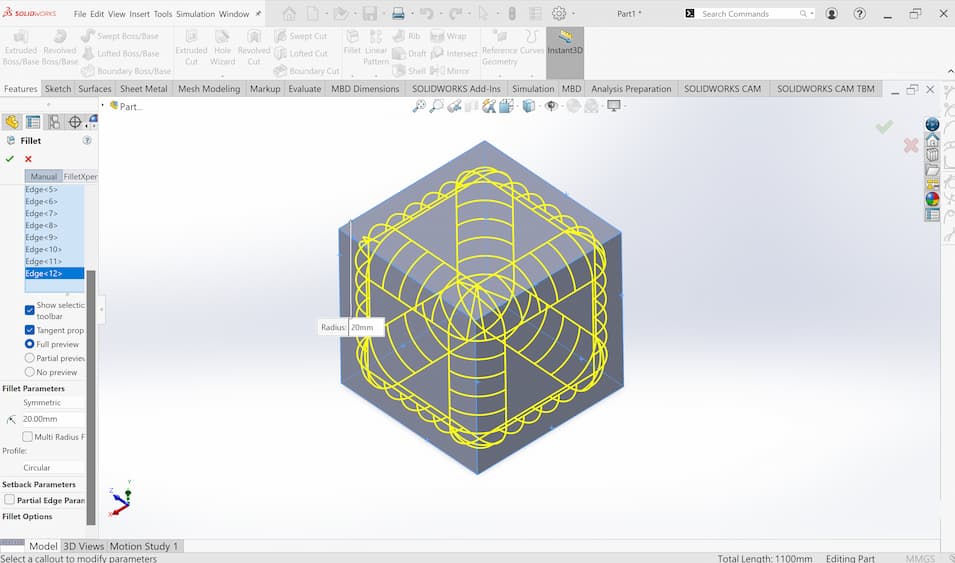
Then, turn the corners to fillet with radius 20mm.
Open the 6 circulr holes.
Finally, revolve the semi-circle to form a sphere inside the box.
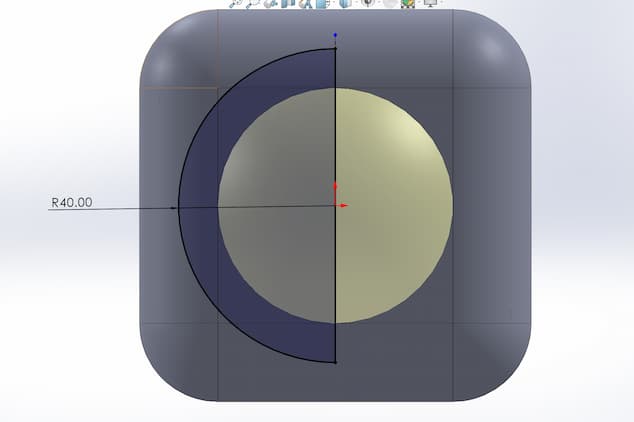
Here's the model.
3D printing
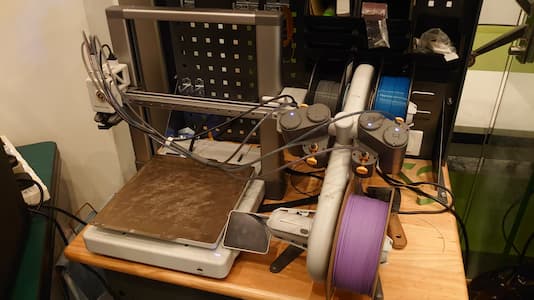
I use BambuLab A1 as my 3D printer.
The slicer is called Bambu Studio for PC, or Bambu Handy for smartphone.
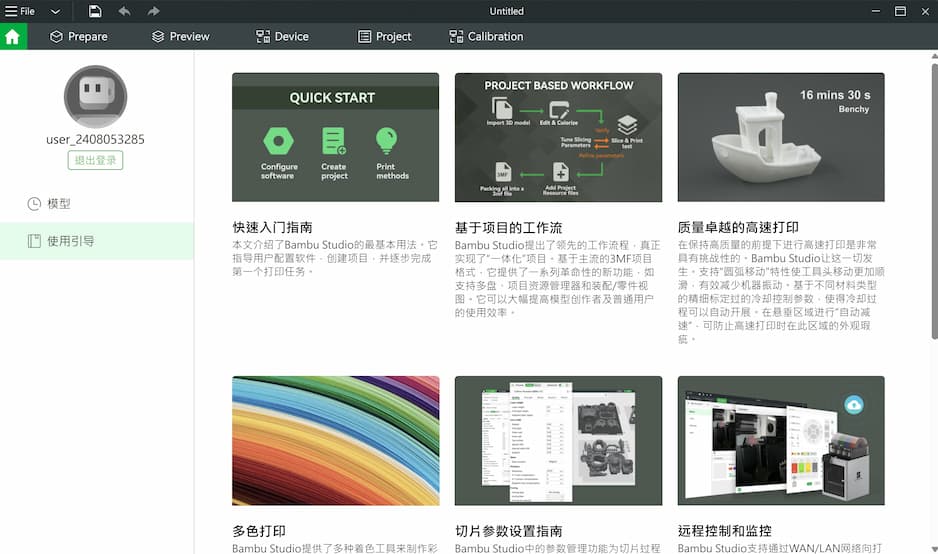
This slicer for Bambulab printers is very powerful as simple using and too many tutorials to review.
Import the stl file to the slicer, and modify the printing position.
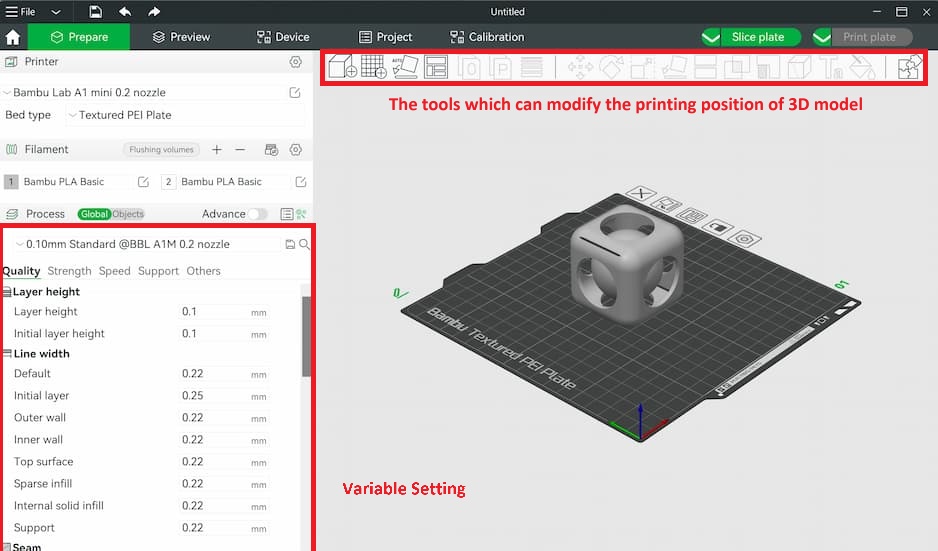
In this case, we setup the printing layer height as 0.24mm/layer and using tree supporting.
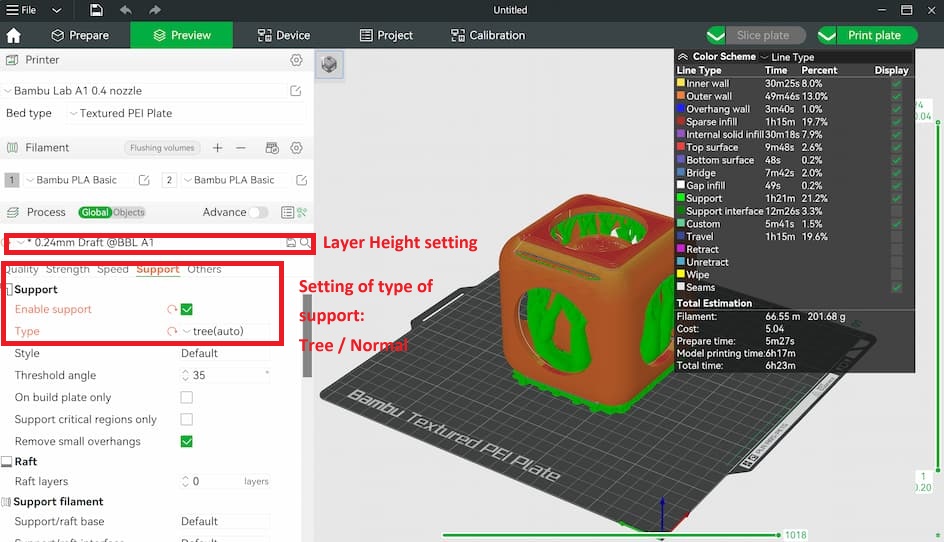
Comparing with two types of support, normal support provides stable supporting, but difficult to remove and longer time to print. Tree support provides faster printing time and easy to remove.
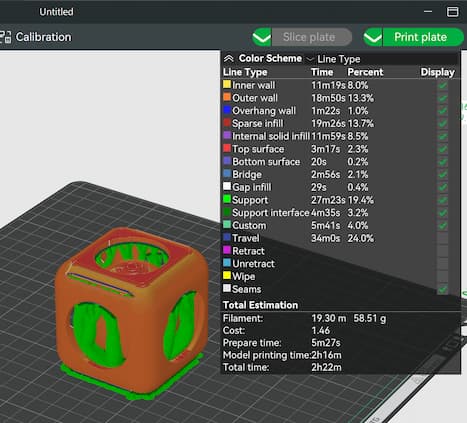
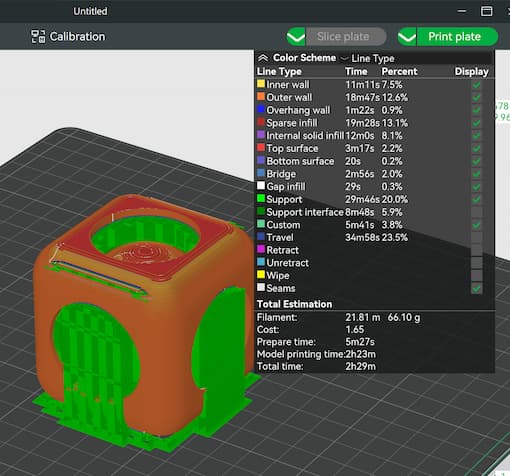
Here's the layer sections:
Then, send the printing project to the 3D printer and start printing.
It spend about 6 hours for printing and finally finished.
3D model scanning
We use Shining 3D for EINSTAR as my 3D scanner in this assignment.
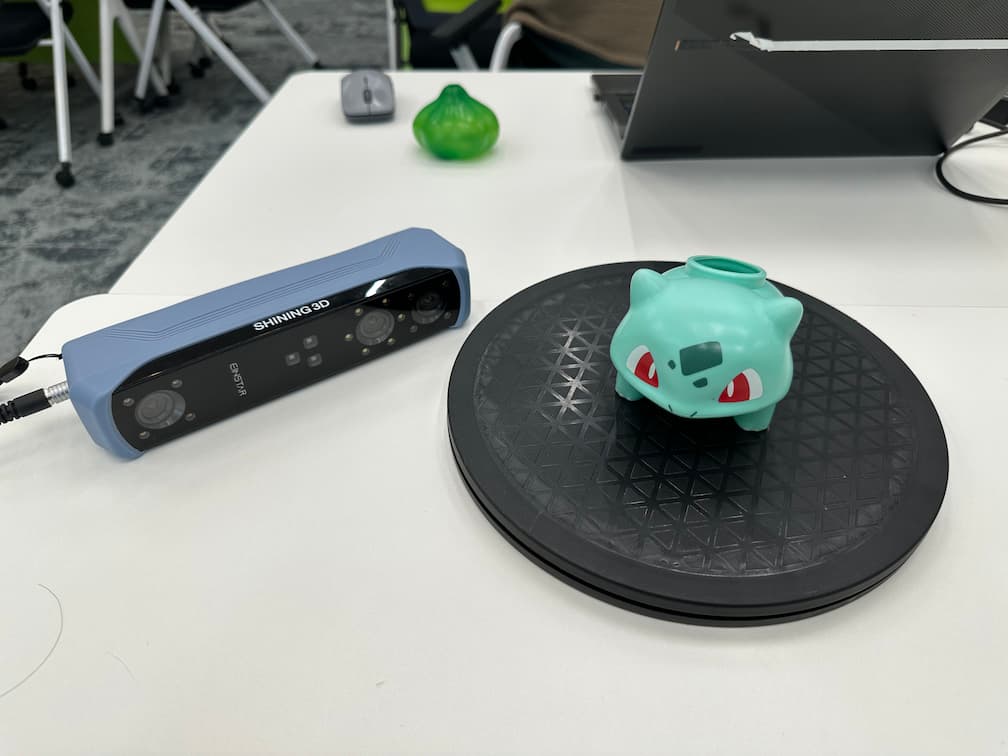
A software EXSTAR is needed to be downloaded for the scanner.
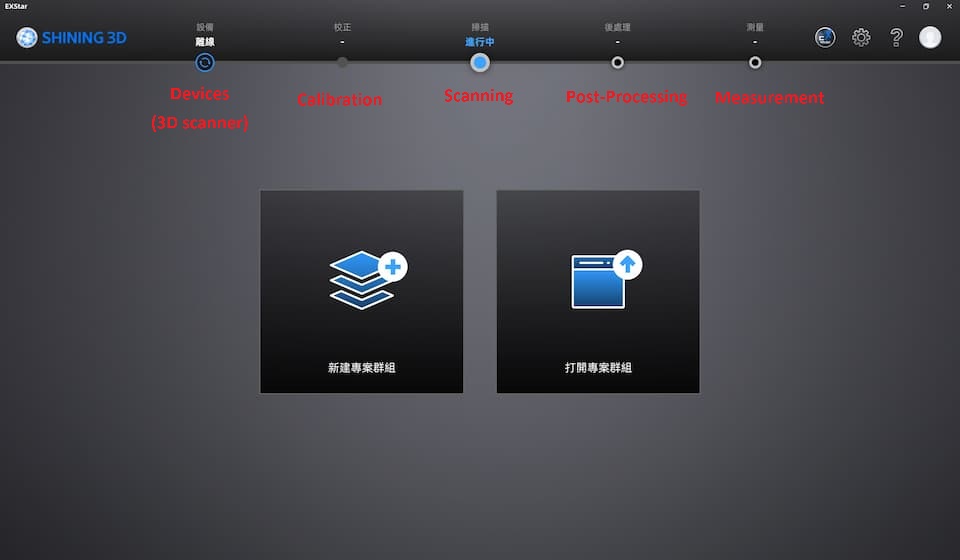
Then, connect the cables and power to the scanner and open a new project.
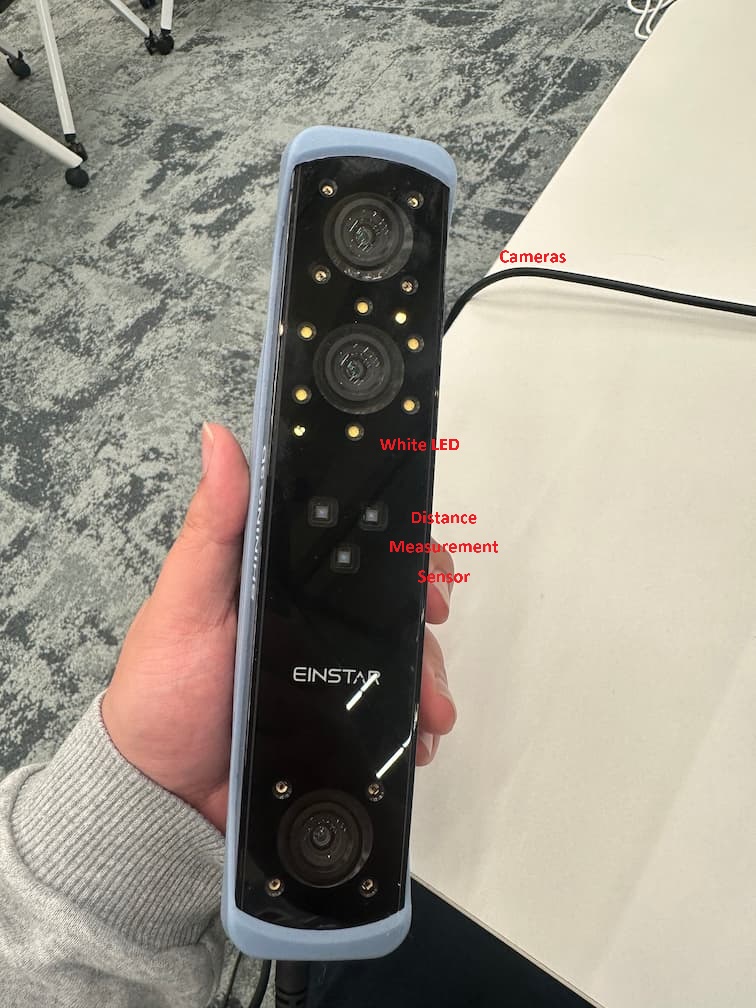
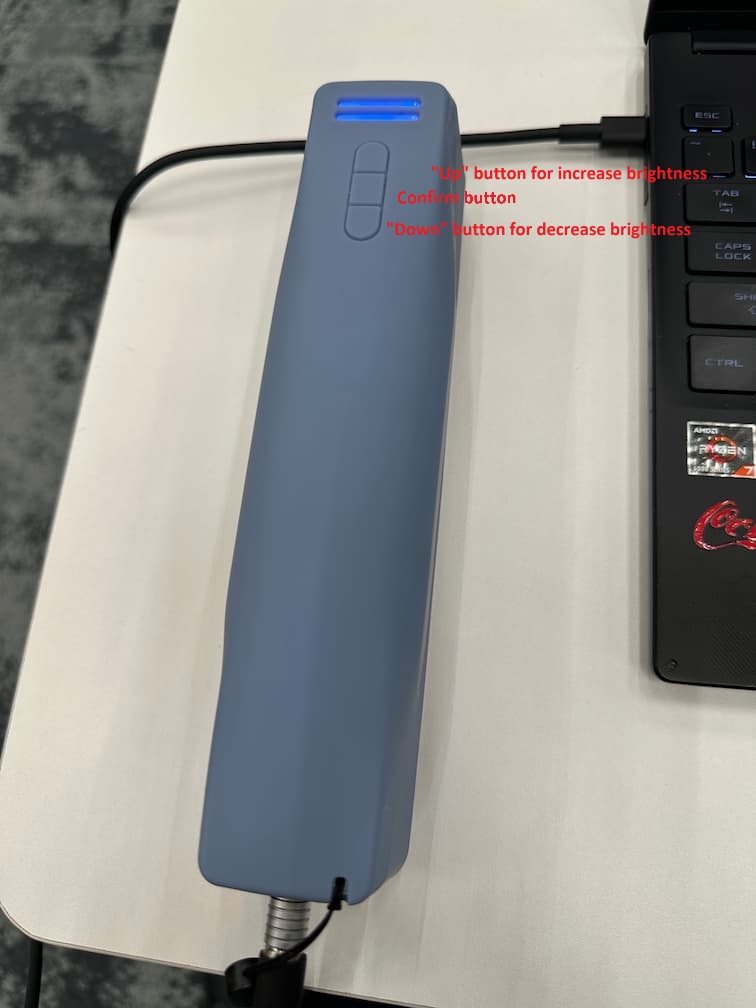
Press the confirm button 1 time for preview, and press the confirm button 2nd time for scanning.
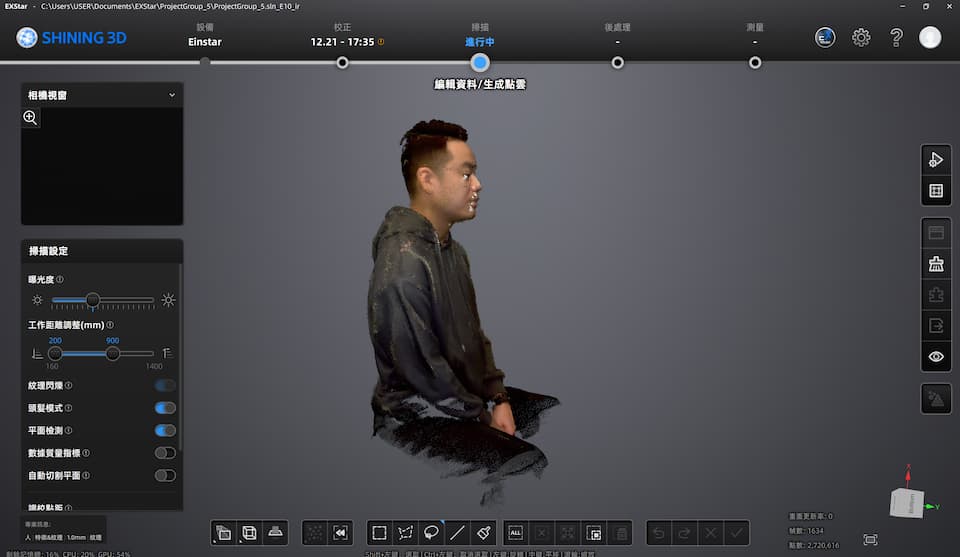
We get the raw data of point cloud after scanning.
Use the tools to remove the unnesscessary data and start generating the point cloud data.
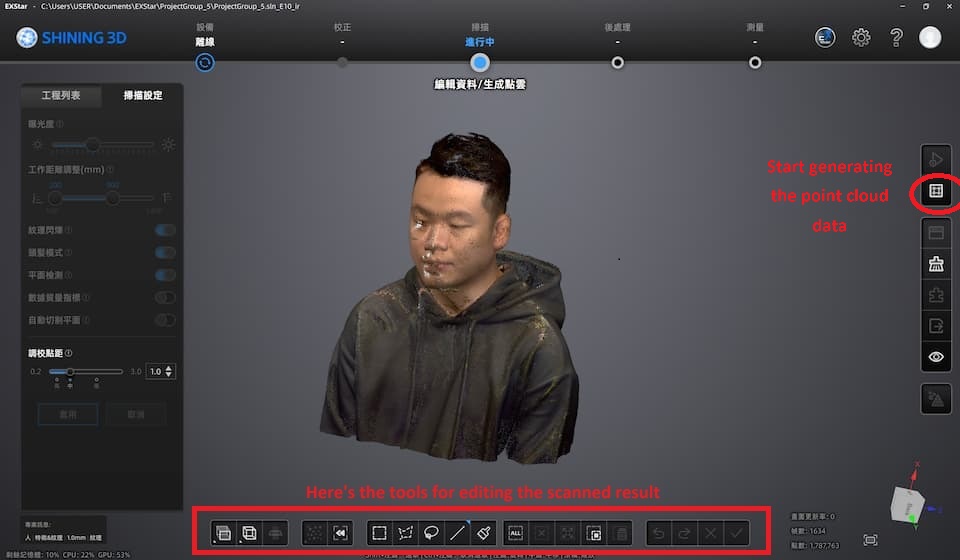
Then, we get the raw point cloud data.
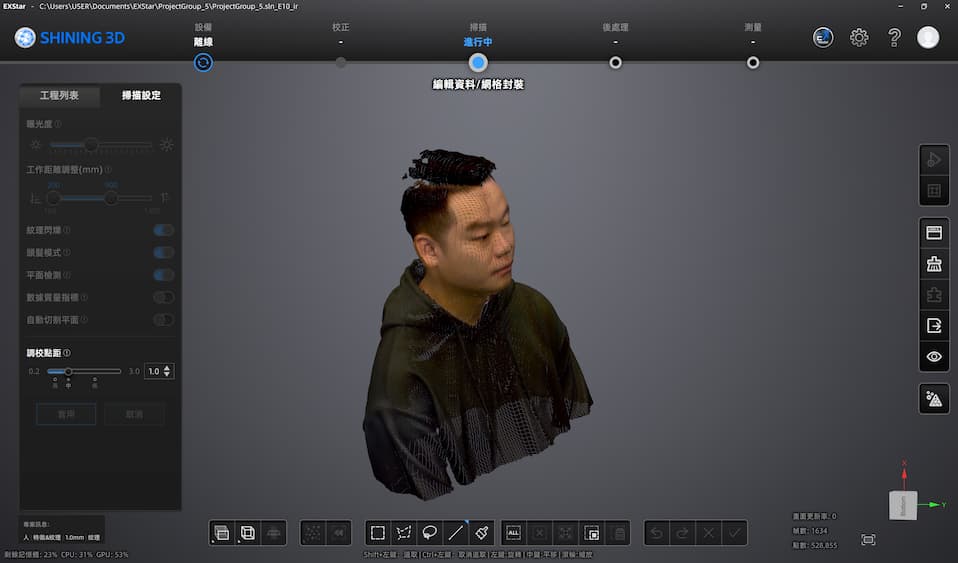
Before we export the scanned model, choose the type of packaging to fill the 'holes' of scanned 3D model.
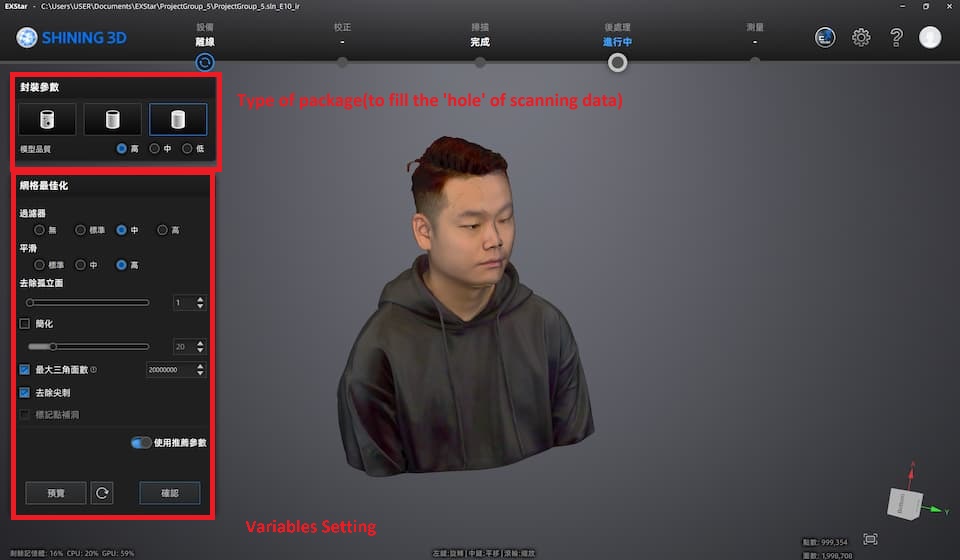
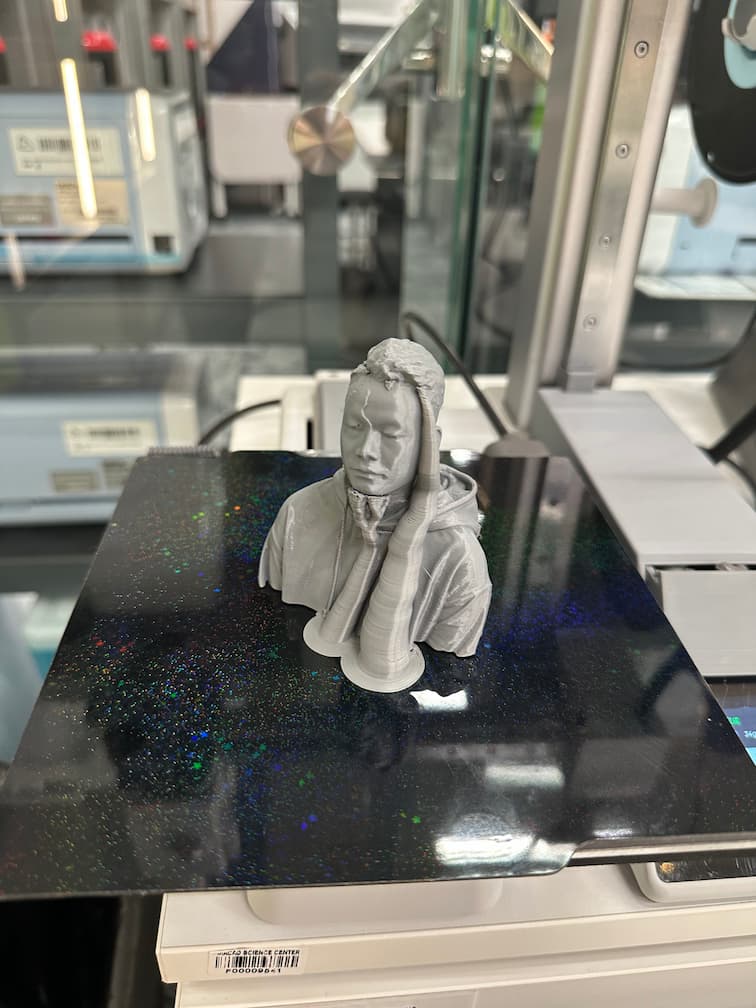
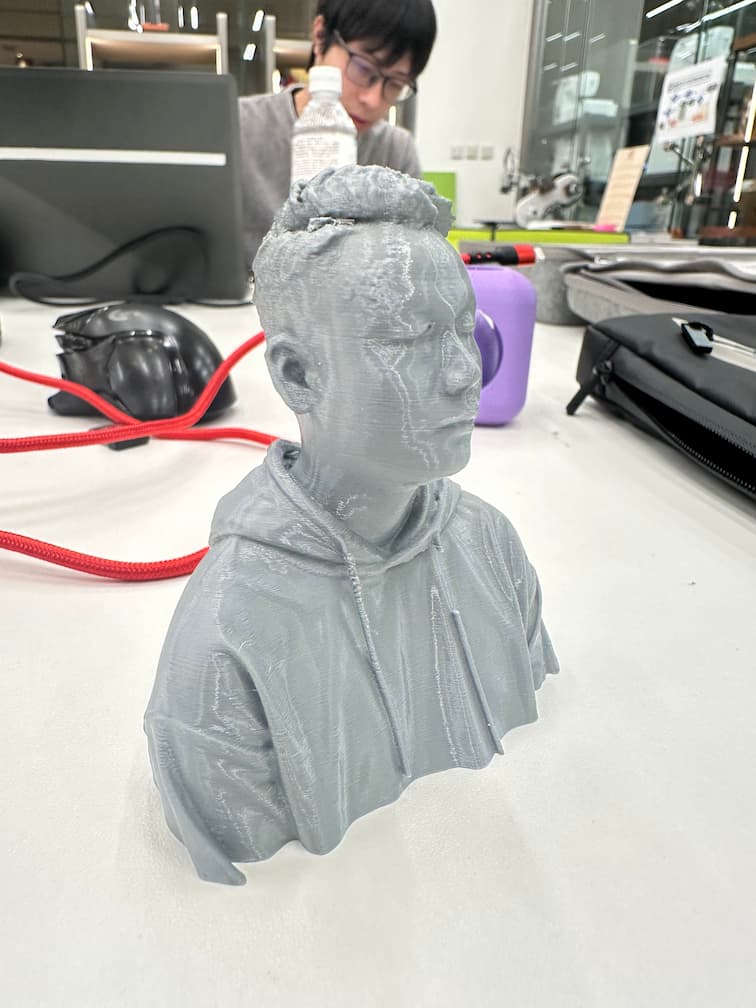
Then, we get a scanned model and save to stl file, and ready to print it out!
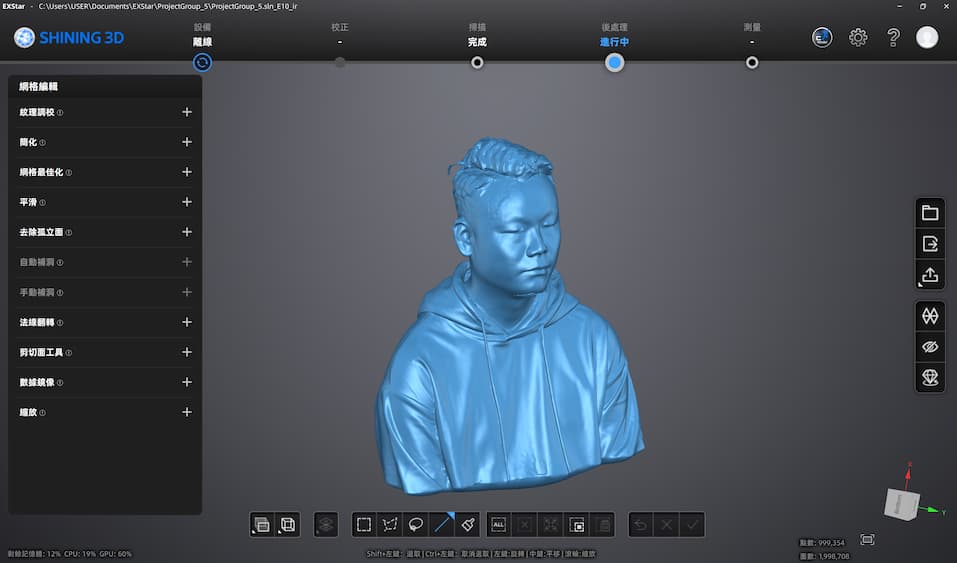
Import the stl file to the slicer and set as the tree supporting.
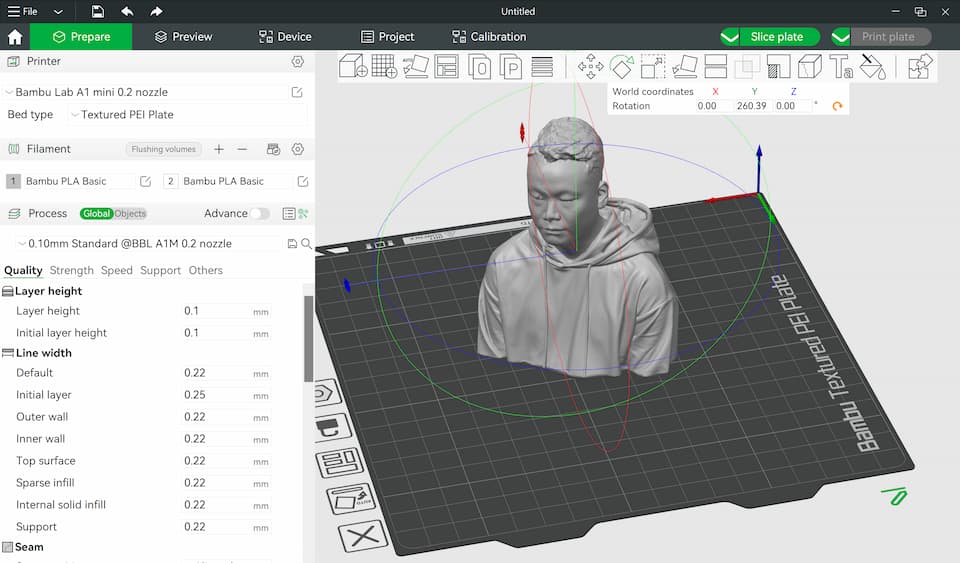
The buttom of the model is not a plane, we can divide the model into 2 parts to fix the problem.
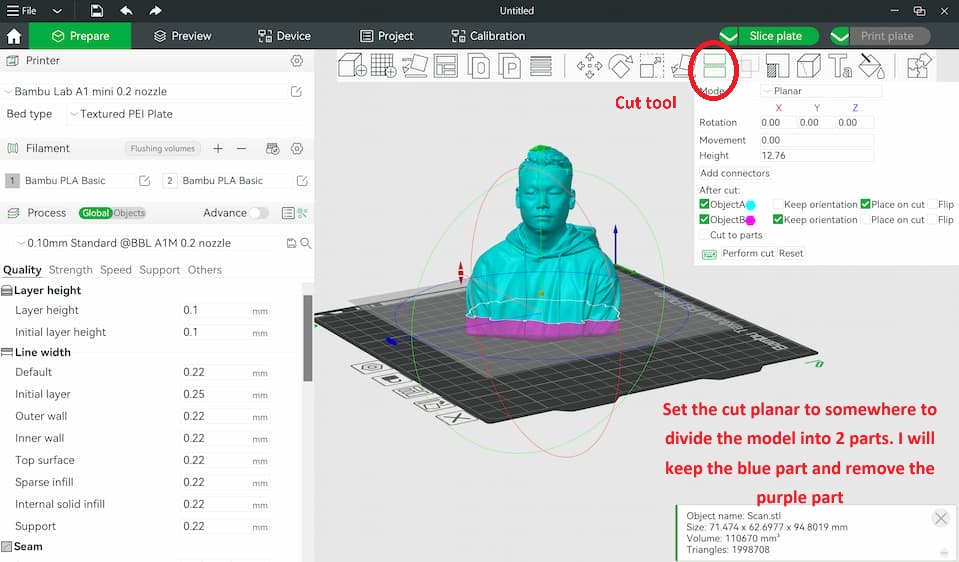
After dividing the models, we can align the main part onto the 3D printing platform.
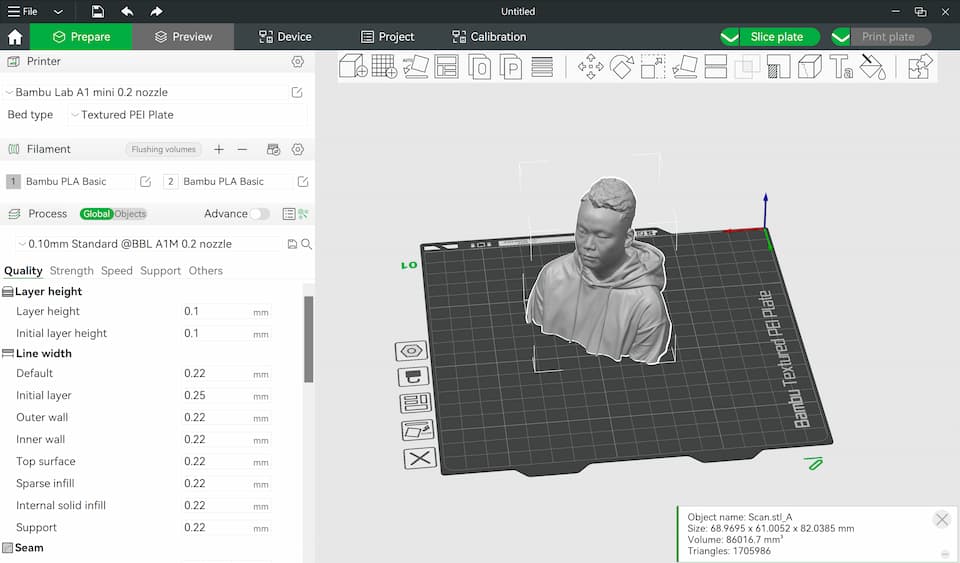
Then, slice the model with tree support setting.
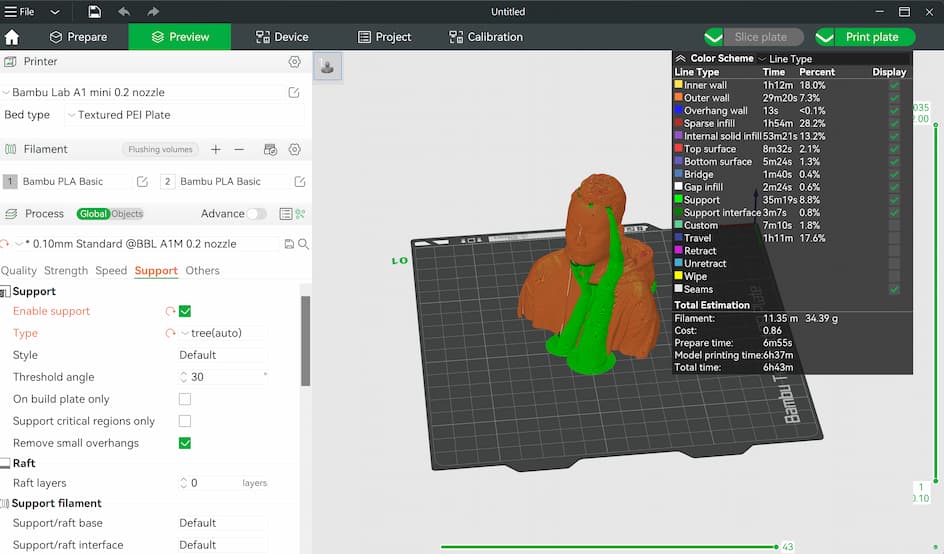
It may spend 6 hours for printing. And finished finally!!
