Week14 - Molding and Casting
File Sharing
The task of the assignment
- Design a mold around the process you'll be using
- Produce it with a smooth surface finish that does not show the production process toolpath, and use it to cast parts
Prototype of module
Design
I had designed a coin with the logos of FABLAB Macao Science Center and FABLAB Macao Science Center 2 years ago through OnShape.
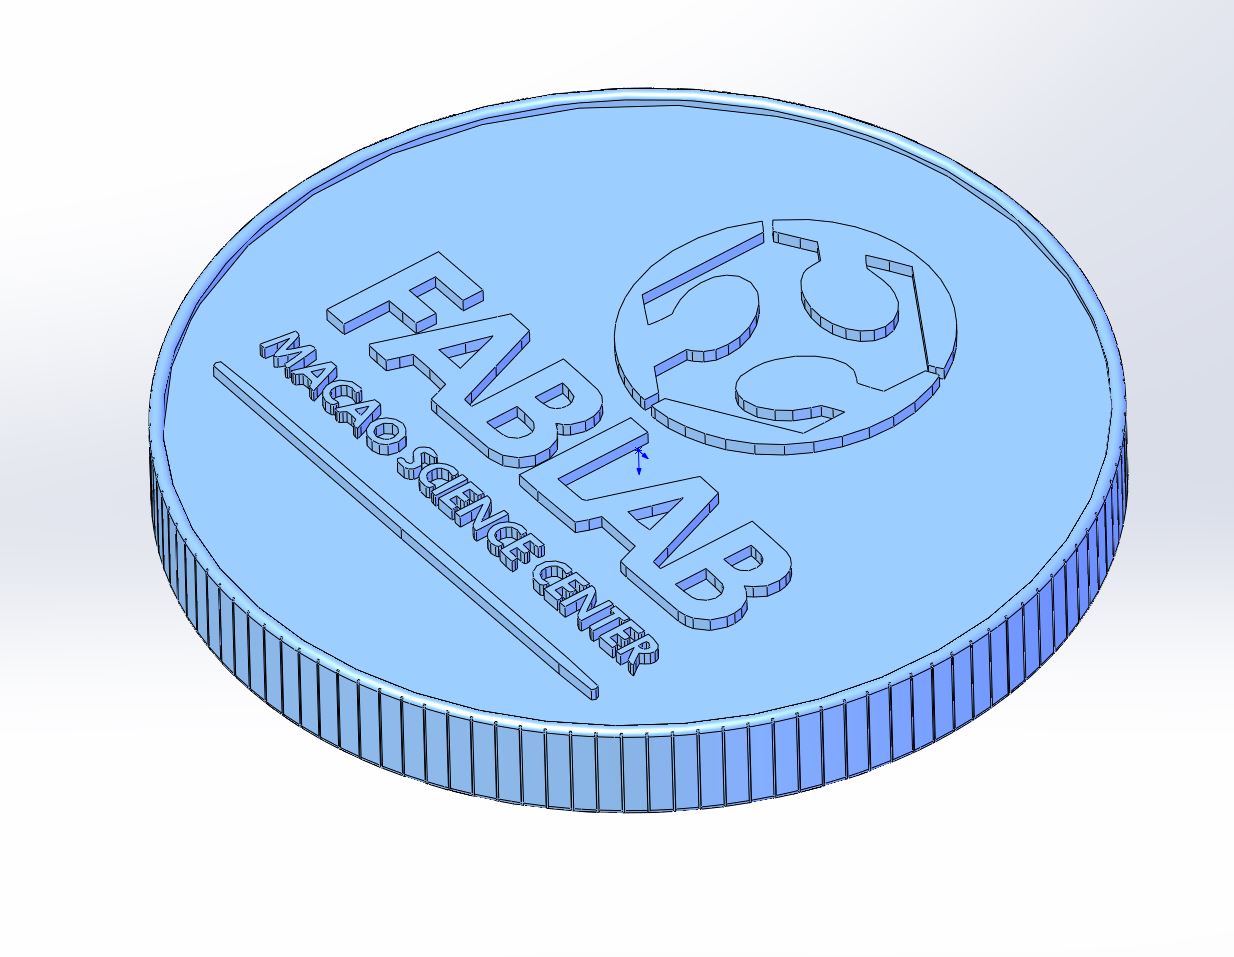

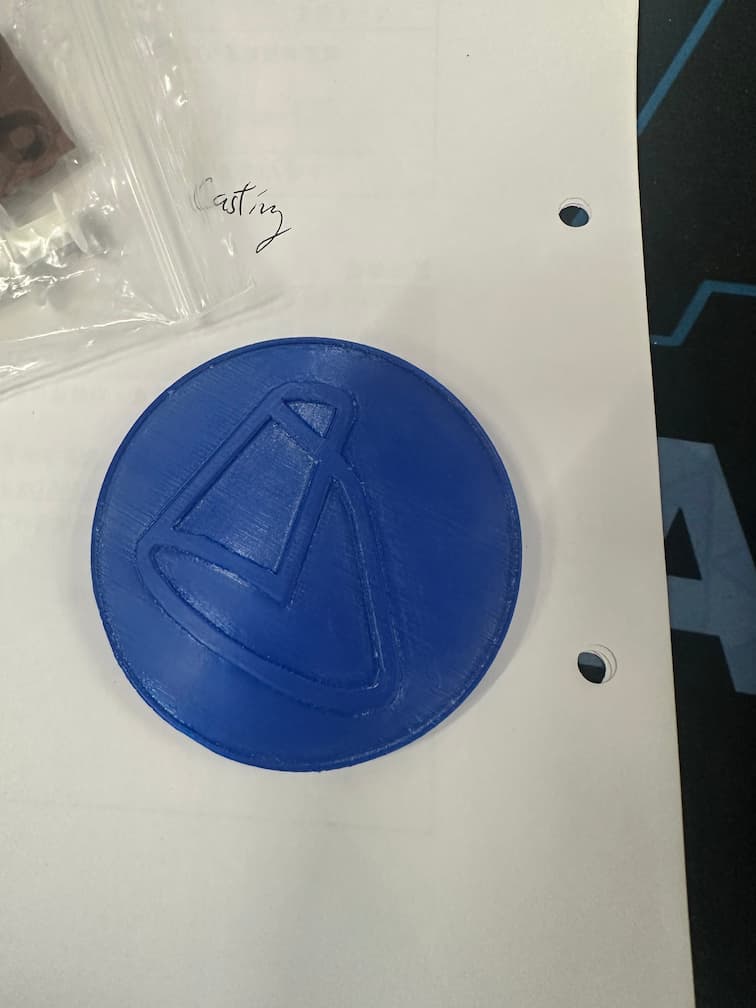
One side of the coin feature is the FABLAB logo and other sides is our company logo.
Here's the link of file which is edited by Onshape.
Then, export the designed 3D files to STL file and I make the prototype as 2 producing methods:
- 3D Printing
- CNC milling
About making prototypes
3D Printing
3D printing is a good idea for making a prototype quickly.
After exporting the .stl file, import the file to slicer and set the quiality as 0.08mm high with enable the grid support.
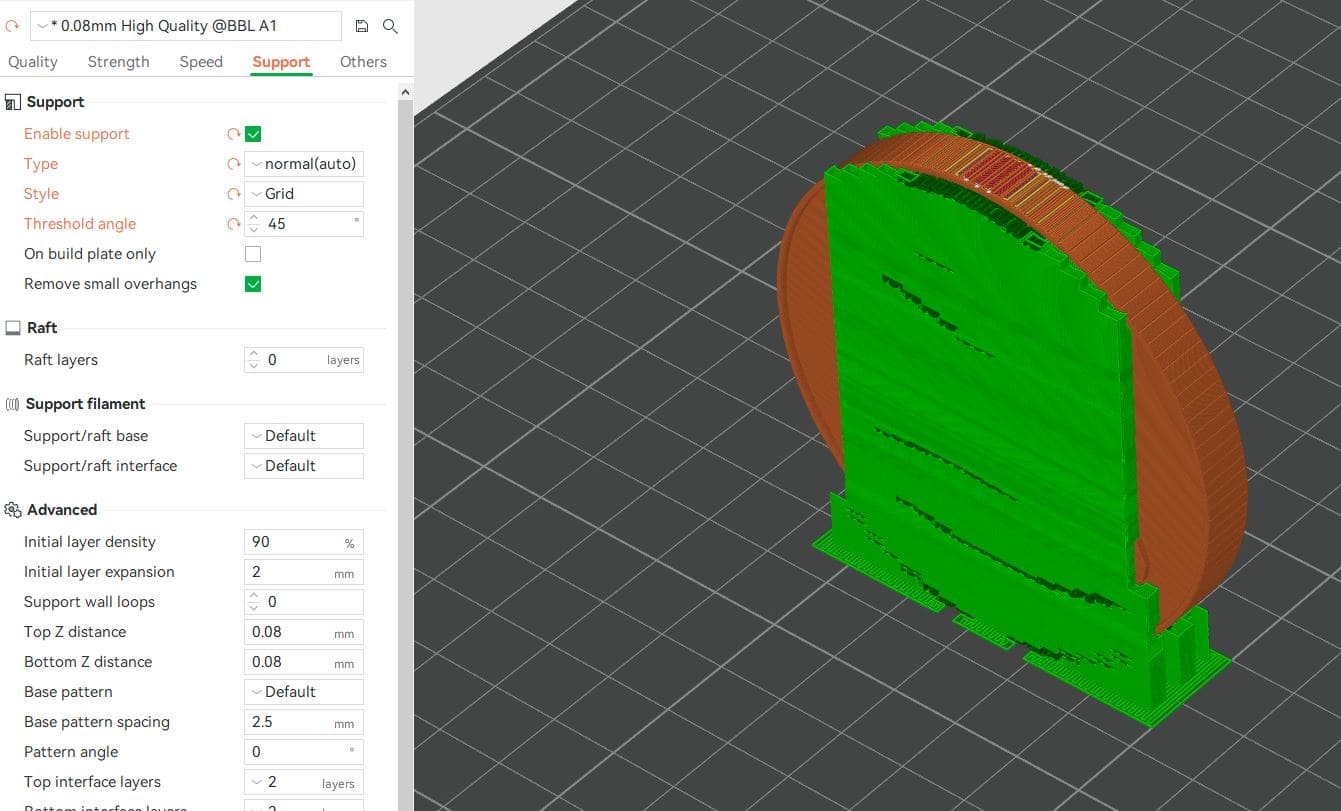
Then, print the prototype with PLA material.
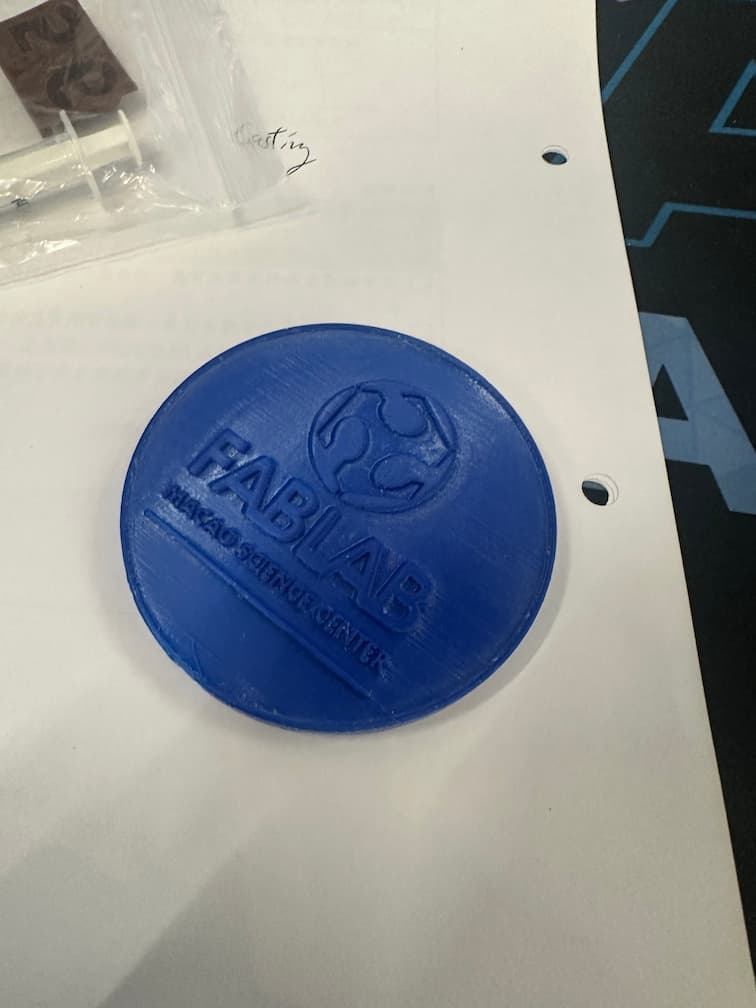
There's lots of tiny toolpath on the surface of the prototype, we need to sand the surface by sand paper to reduce the toolpath.
CNC Milling
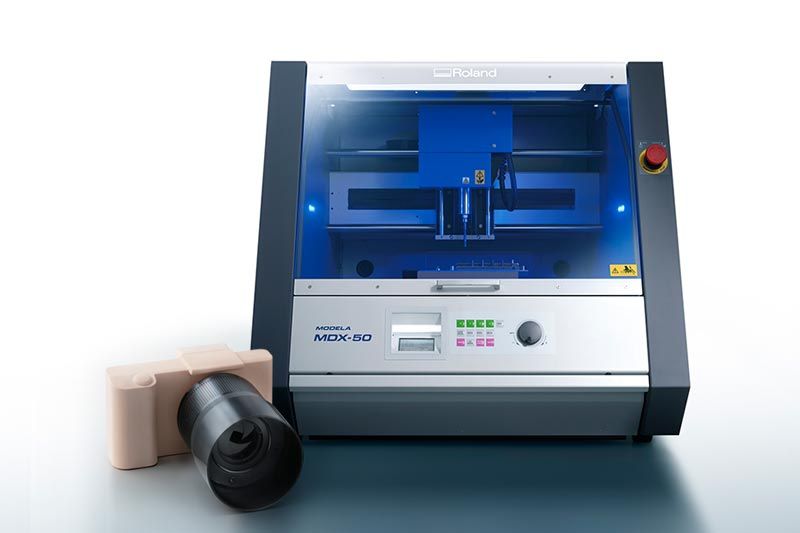
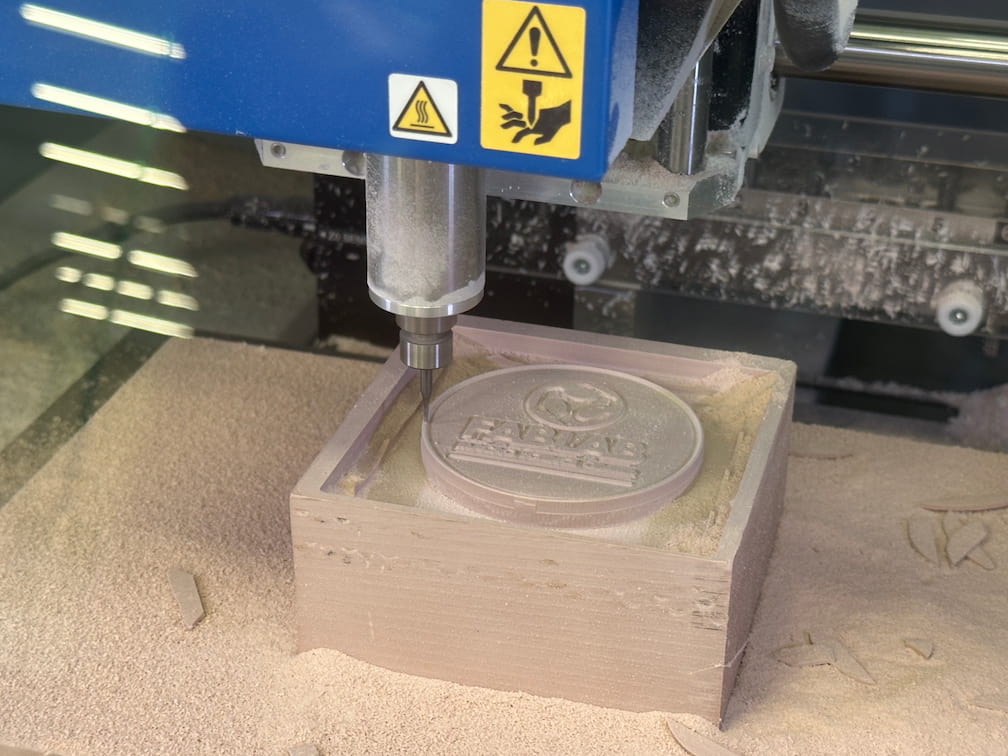
There's another way to make a prototype with high precision. We use Roland MDX-50 machine as CNC milling machine.
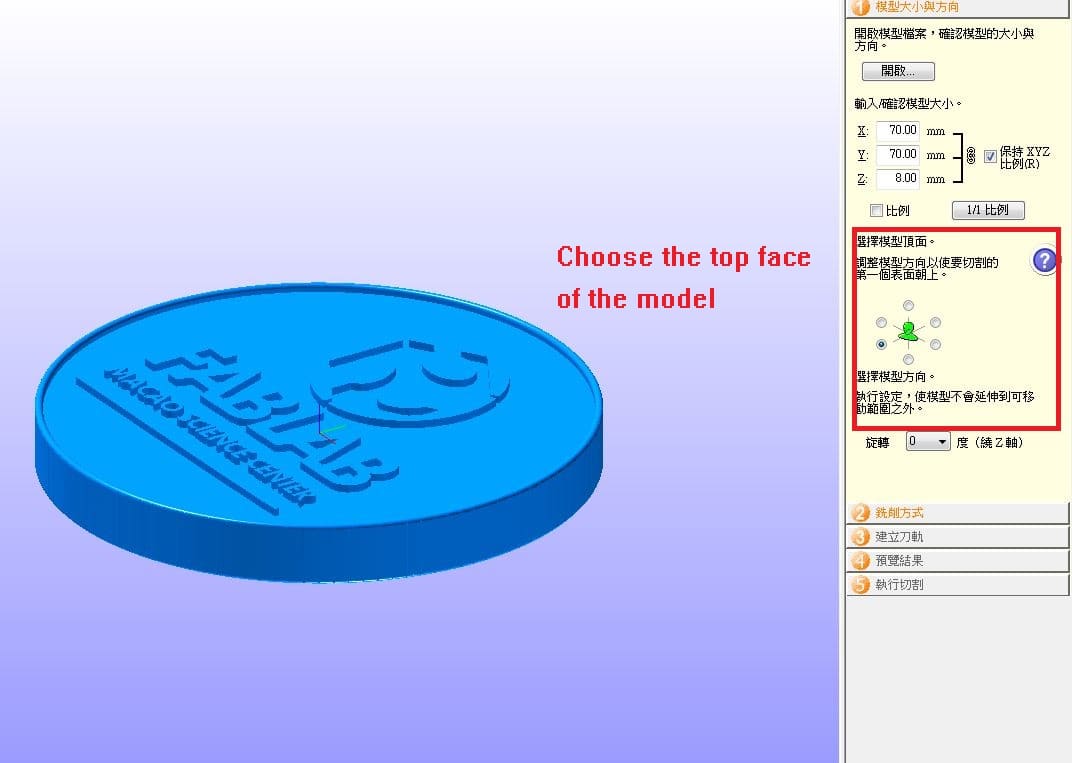
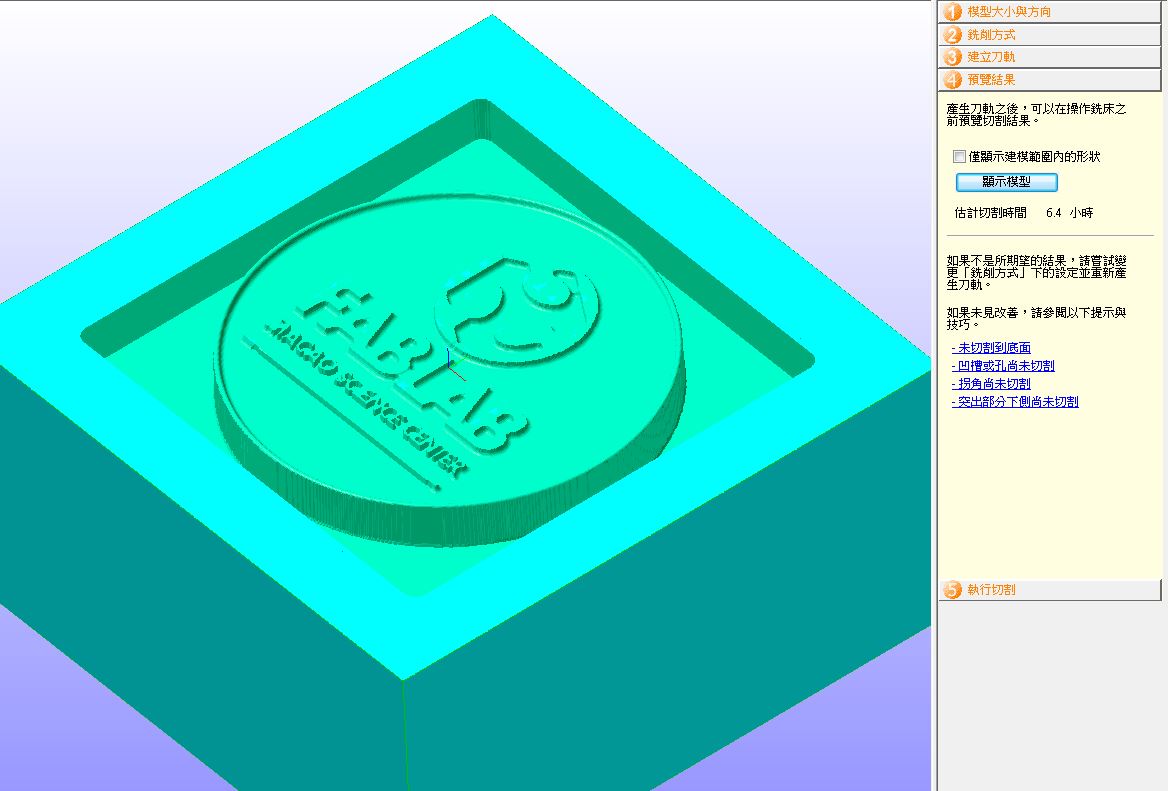
First, import the stl file to the CAM software for MDX-50 -- SRP Player.

Set the direction of the stl file - Z-axis is normal to the face of coin.
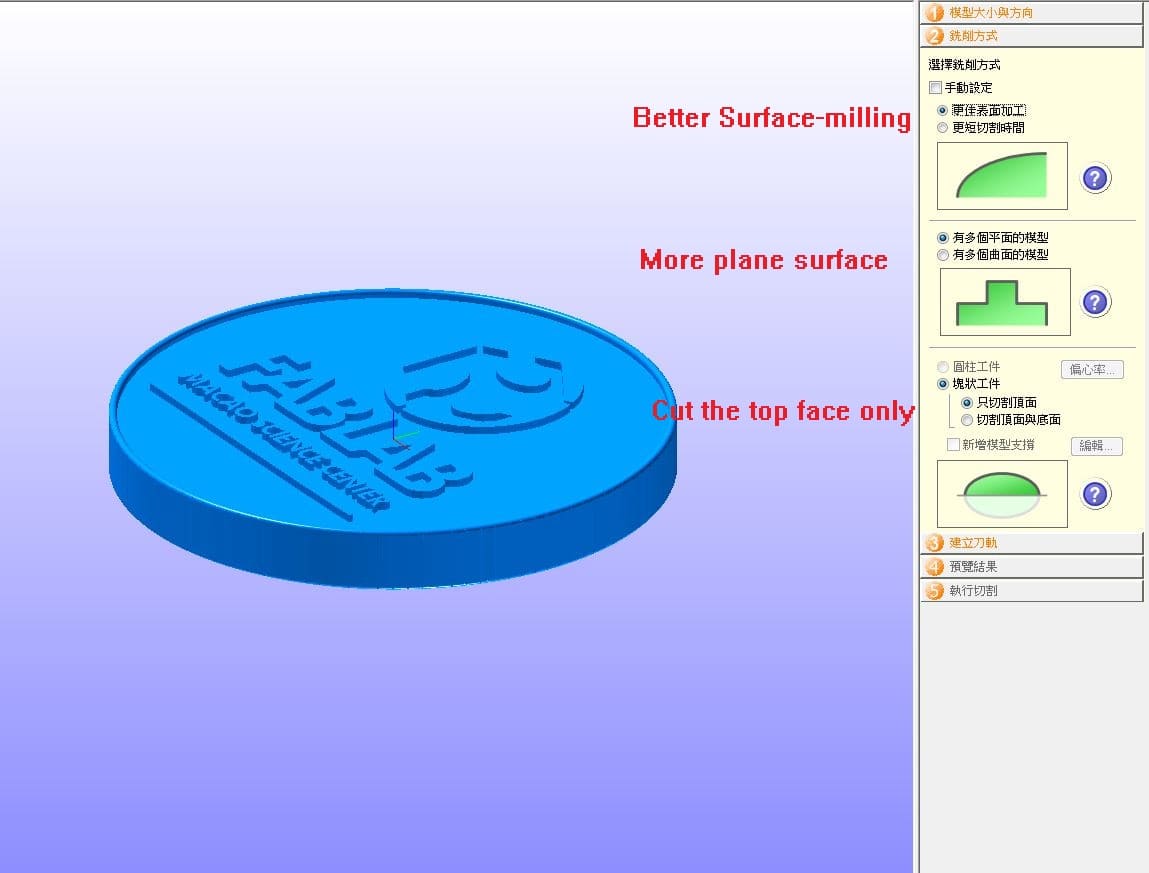
Then, setup the milling parameters as below.
Setup the size of material and place the stl file on the top of the material.
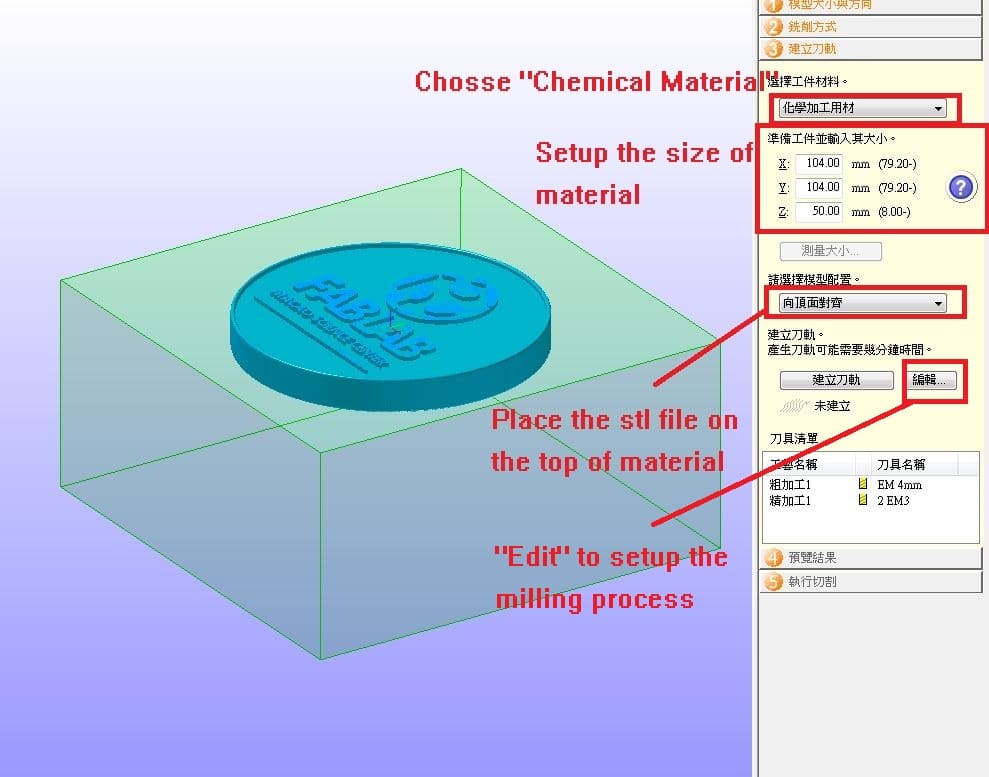
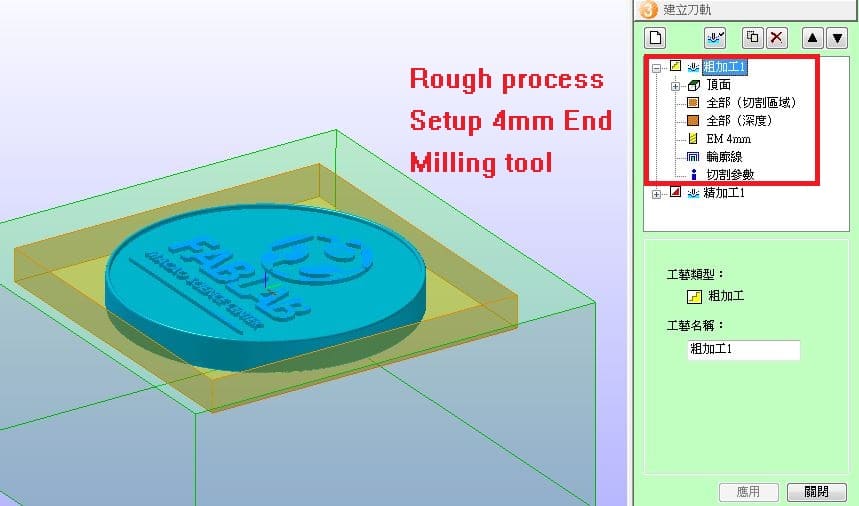
After setup, press "Edit" to edit the milling process.
In rough process, setup 4mm End milling tool as milling tool.
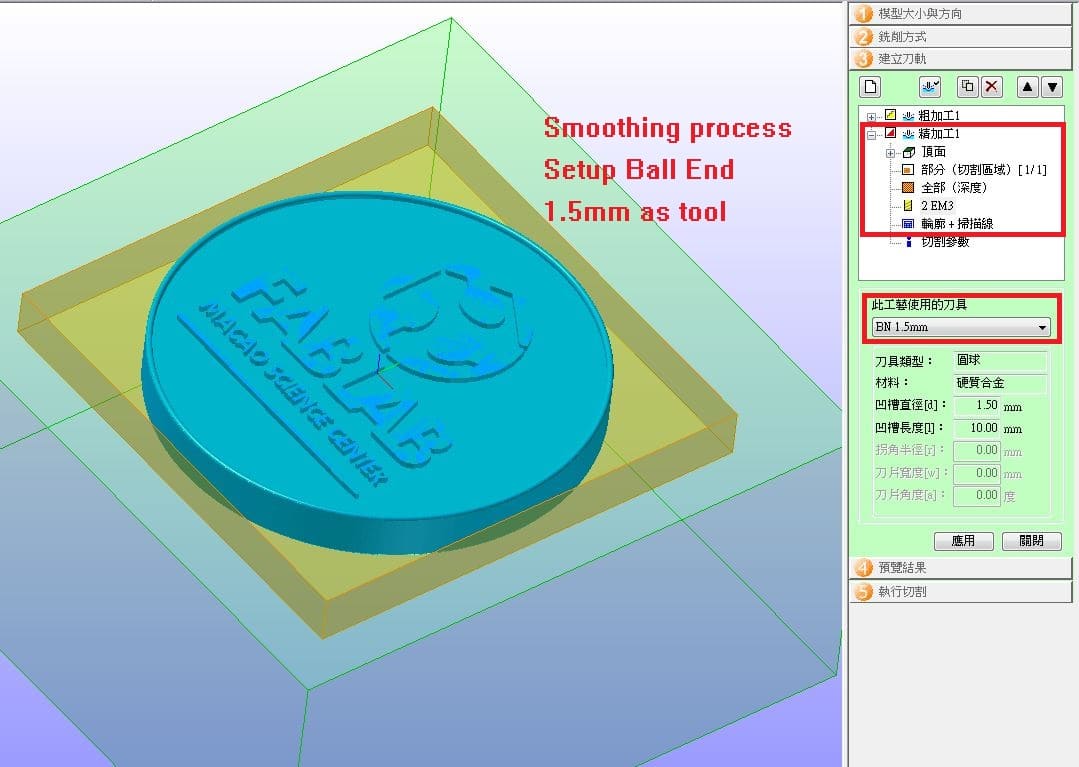
Then, setup 1.5 ball end tool in smoothing process.
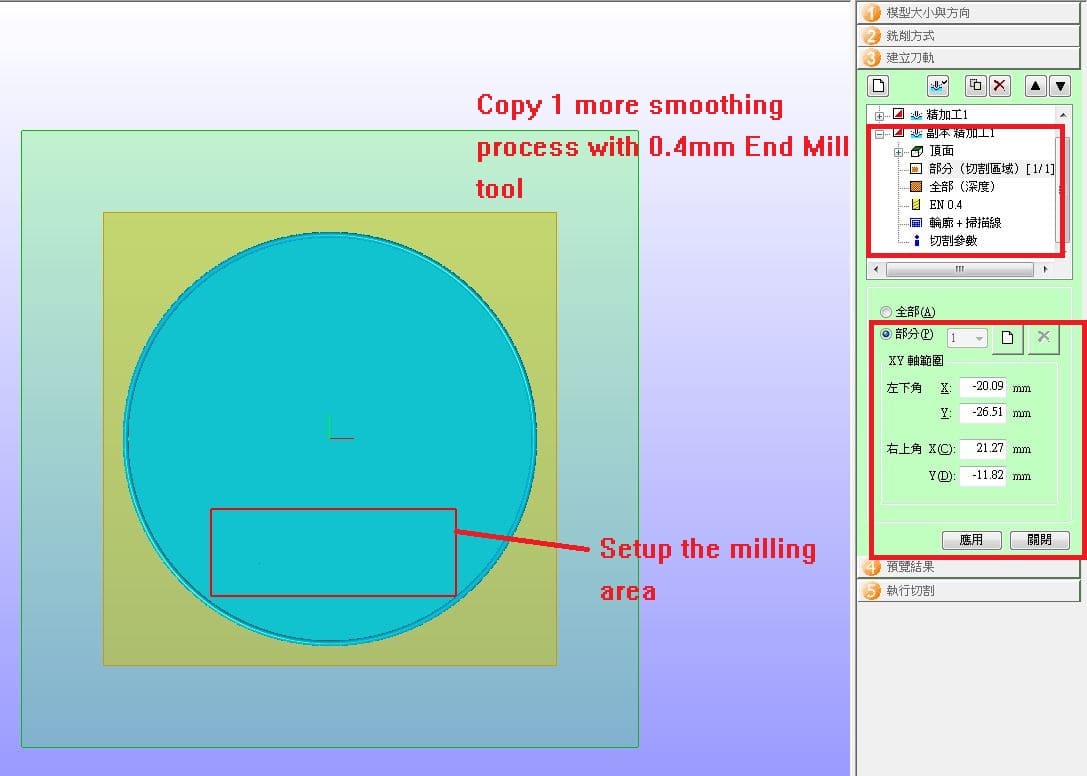
Copy 1 more smoothing process with 0.4mm End Mill tool.
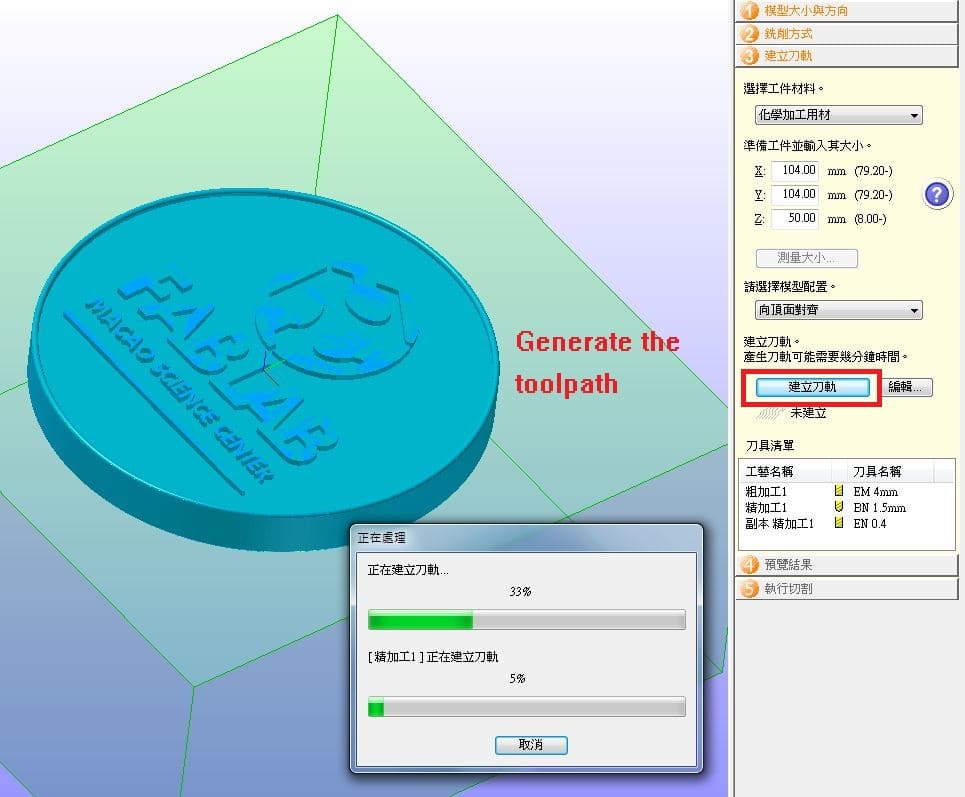
Finally, generate the toolpath.
After checking the simulation, launch the milling!!
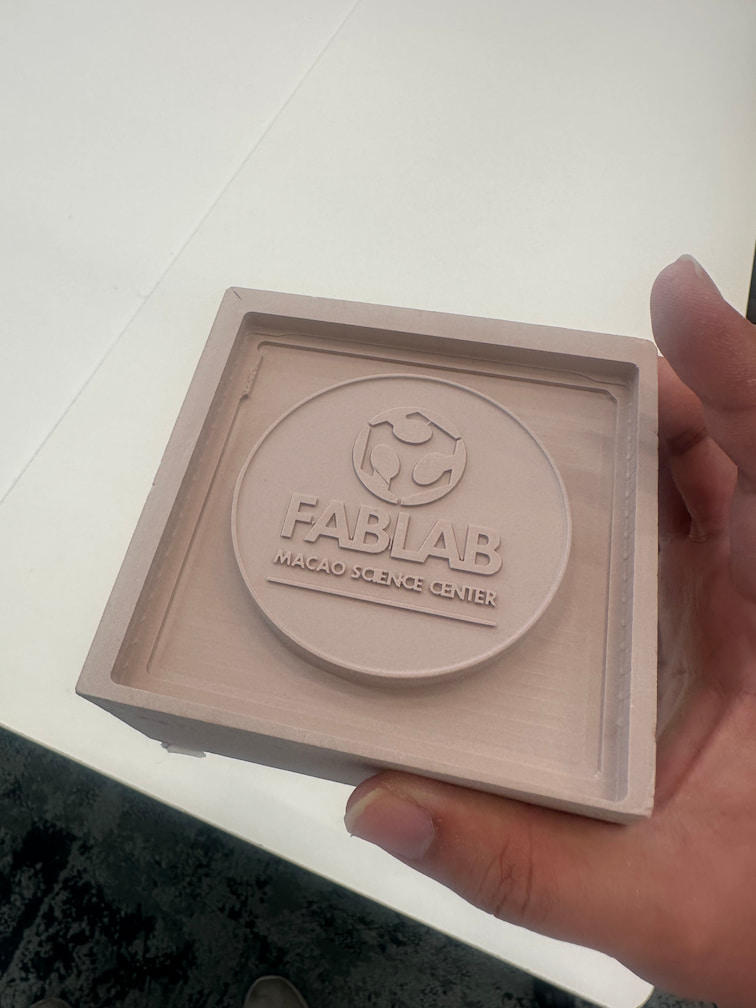
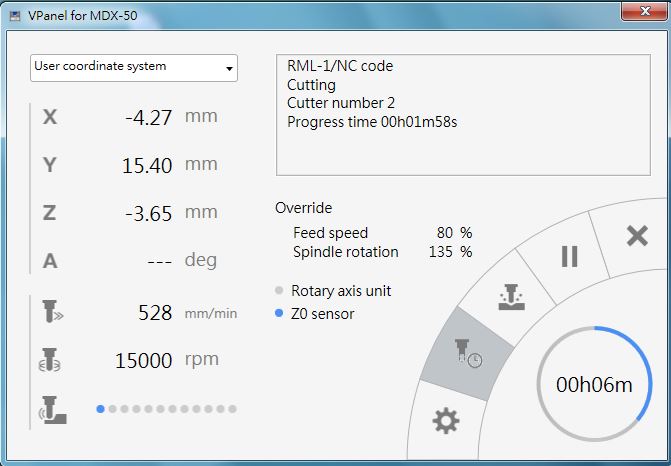
The milling process and the CNC mold.
In rough process, feed rate is set as 100% with 1560mm/min. The spindle rotation speed is 12000rpm.
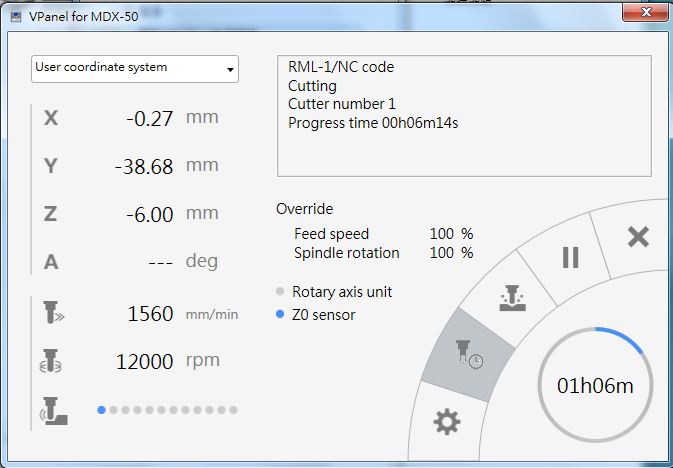
In smoothing process, feed rate is set as 80% with 528mm/min. The spindle roation speed is 15000rpm.
Mold Making and Casting
Mold Making Materials
RTV Silicone will be used for mold making in this assignment.
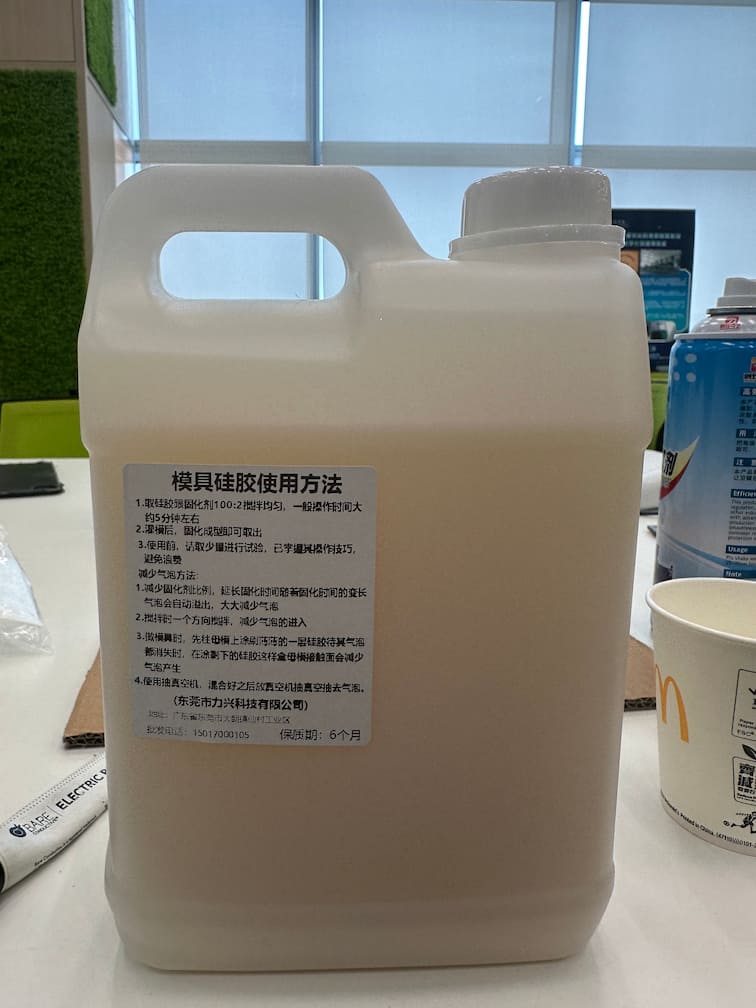
Usage Instructions:
1. Mix the silicone with the curing agent at a 100:2 ratio and stir thoroughly. Operation time is about 5 minutes.
2. After pouring into the mold, remove once fully cured.
3. Before use, test with a small amount to understand its characteristics and avoid waste.
Bubble Reduction Methods:
1. Reduce the curing agent ratio to extend curing time. As curing time increases, bubbles will naturally escape, greatly reducing their presence.
2. Stir in one direction to reduce bubble formation.
3. When making molds, first brush a thin layer of silicone on the master mold and wait for bubbles to disappear before applying the remaining silicone. This reduces bubble formation at the contact surface.
4. Use a vacuum machine to extract bubbles after mixing.
(Dongguan Lixing Technology Co., Ltd.)
Address: Xiancun Industrial Zone, Dalang Town, Dongguan City, Guangdong Province
Shelf life: 6 months
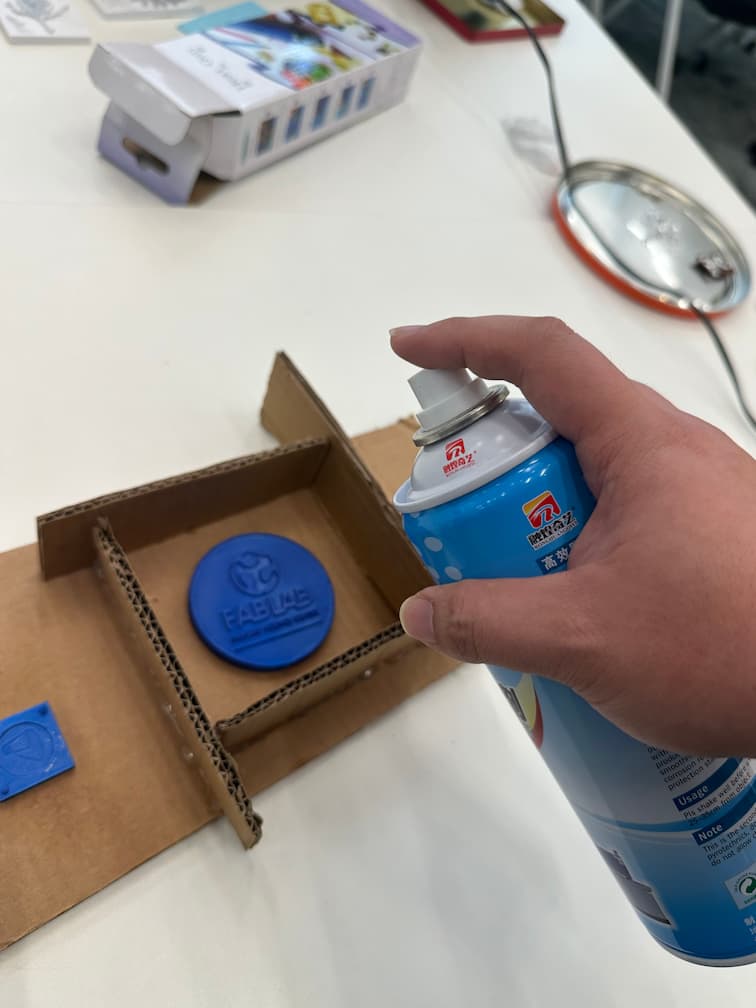
Efficient Mould Release Agent Spray will be used for spraying a layer on the surface of prototype. It case easier to remove the prototype from the mold (demolding).
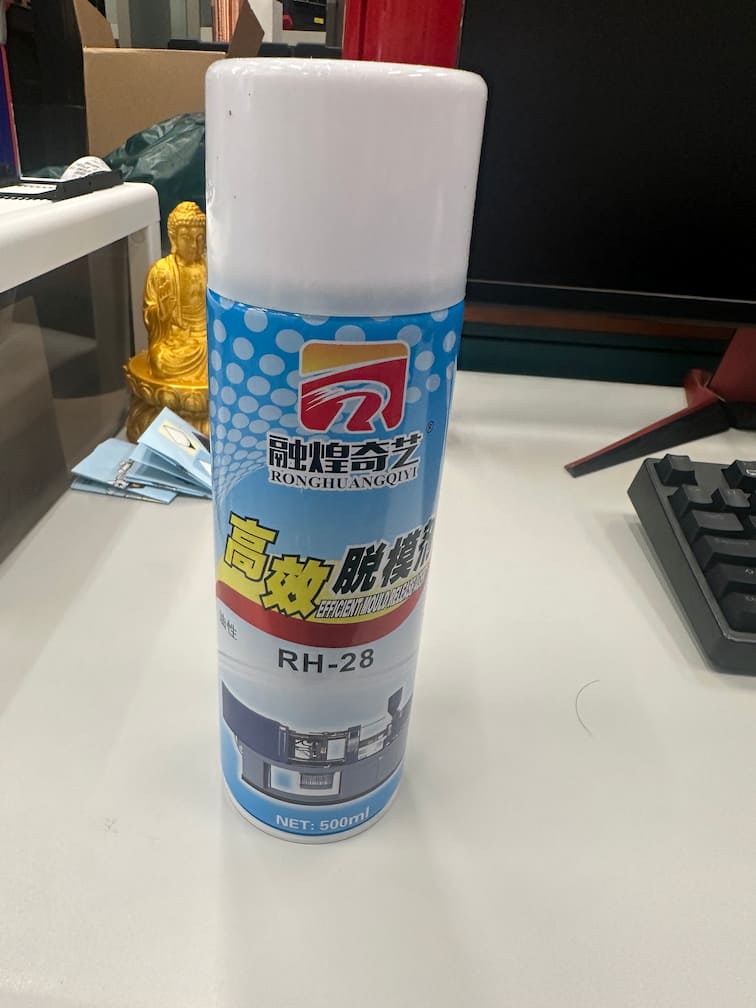
Usage Instructions:
1. Spray the prototype with the distance 25-35cm.
2. Flammable, keep away from fire.
3. Keep away from kids.
Casting Materials

This resin consists of two components, A and B, mixed at a 1:1 weight ratio to form PU. It is easy to sand and has a short demolding time.
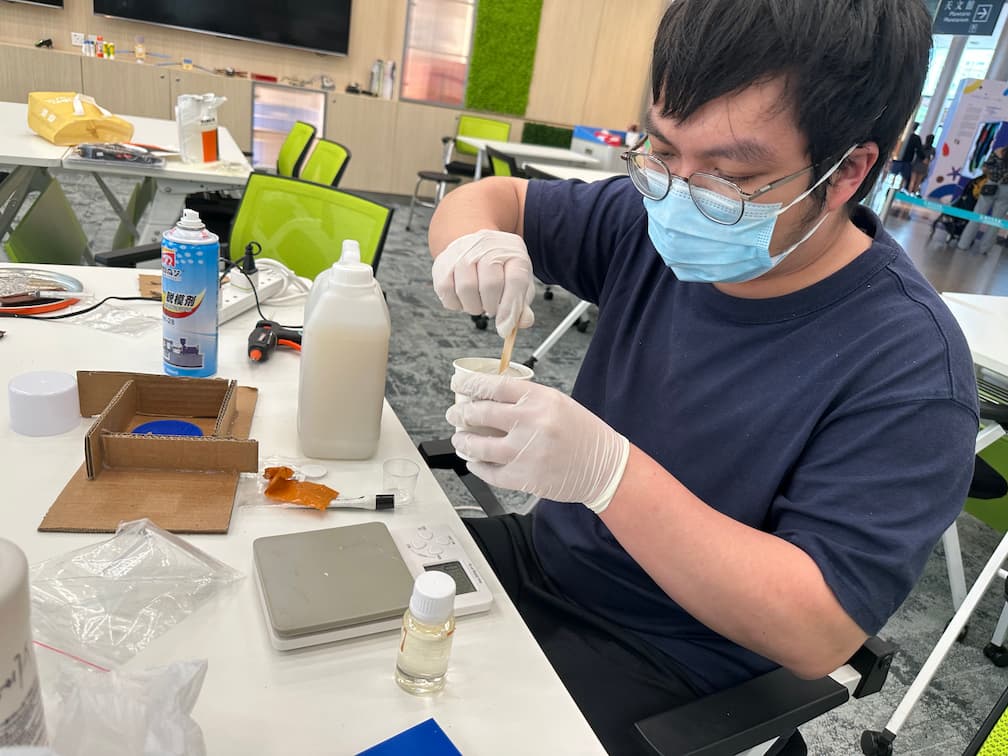
- Measurement: The weight mixing ratio of AB liquids is 1:1. Measure components A and B separately in containers. If the weight difference is too large, the cured surface may not fully solidify or the color of the cured material may deviate.
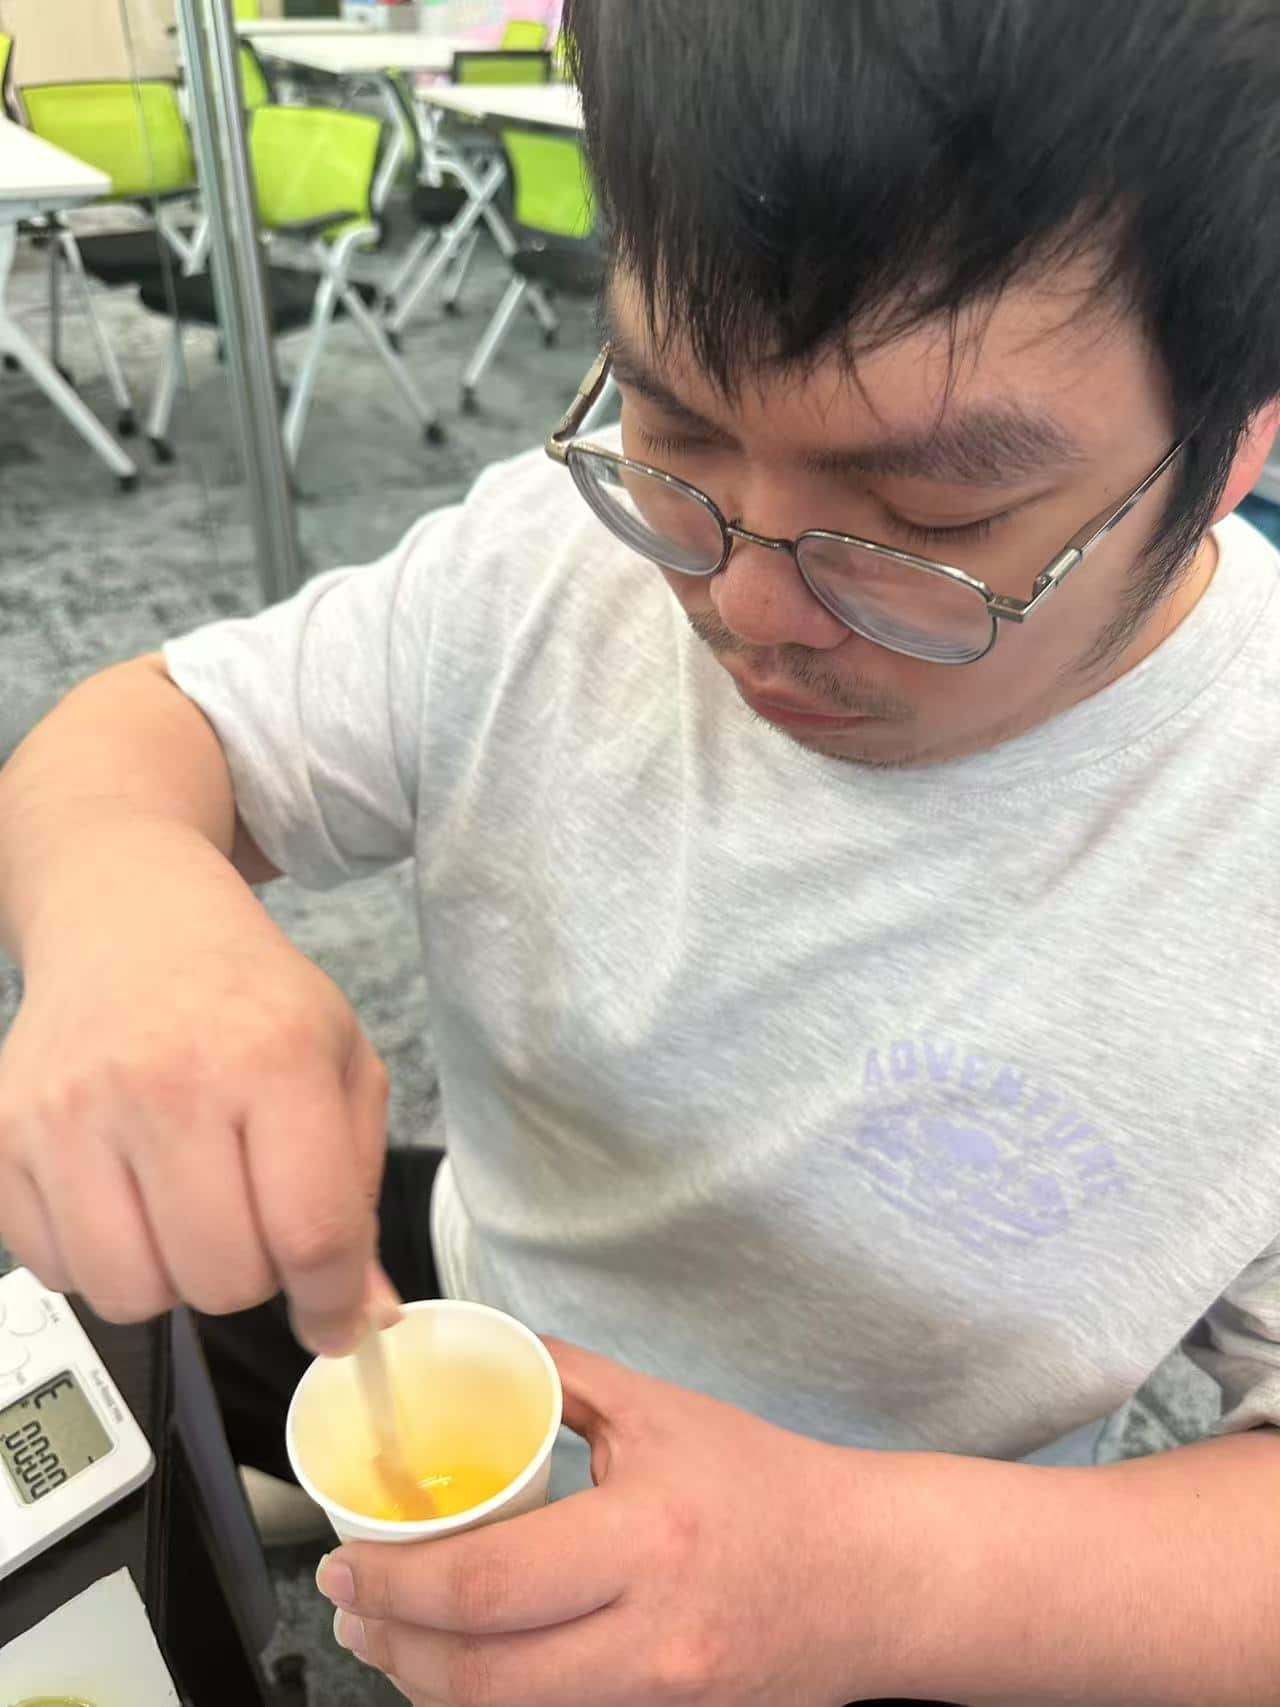
- Mixing: Thoroughly mix the pre-weighed AB liquids, stirring for 15-20 seconds. Since the AB liquid will solidify within 1.5-2 minutes after mixing, operation should be as quick as possible.
- Pouring: After thoroughly mixing, quickly pour into the silicone mold. If a vacuum machine is available, place it in the vacuum machine to remove moisture and air from the liquid, resulting in a beautiful product with minimal shrinkage and no air holes.
- Demolding: After vacuuming, place the silicone mold filled with AB resin on a flat work table. After 10-20 minutes, you can demold. Due to the heat of the curing reaction, the temperature of the cured material will rise - be careful to avoid burns. If demolded too early, the high-temperature cured material may deform due to sudden cooling.
Mold Making and casting
For 3D printed prototype
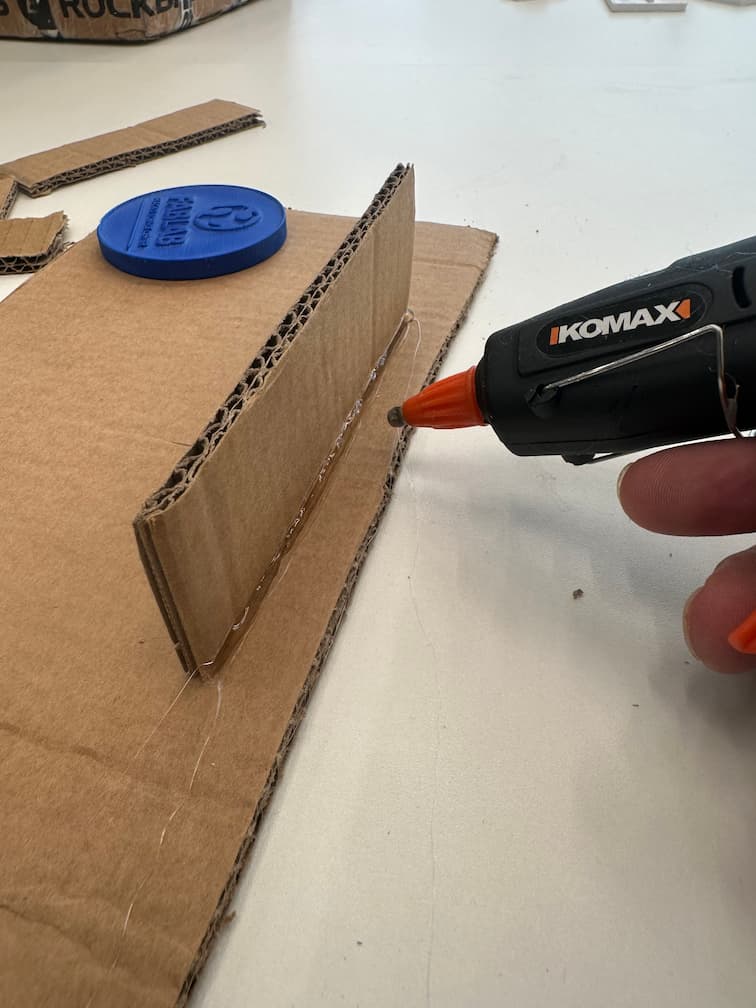
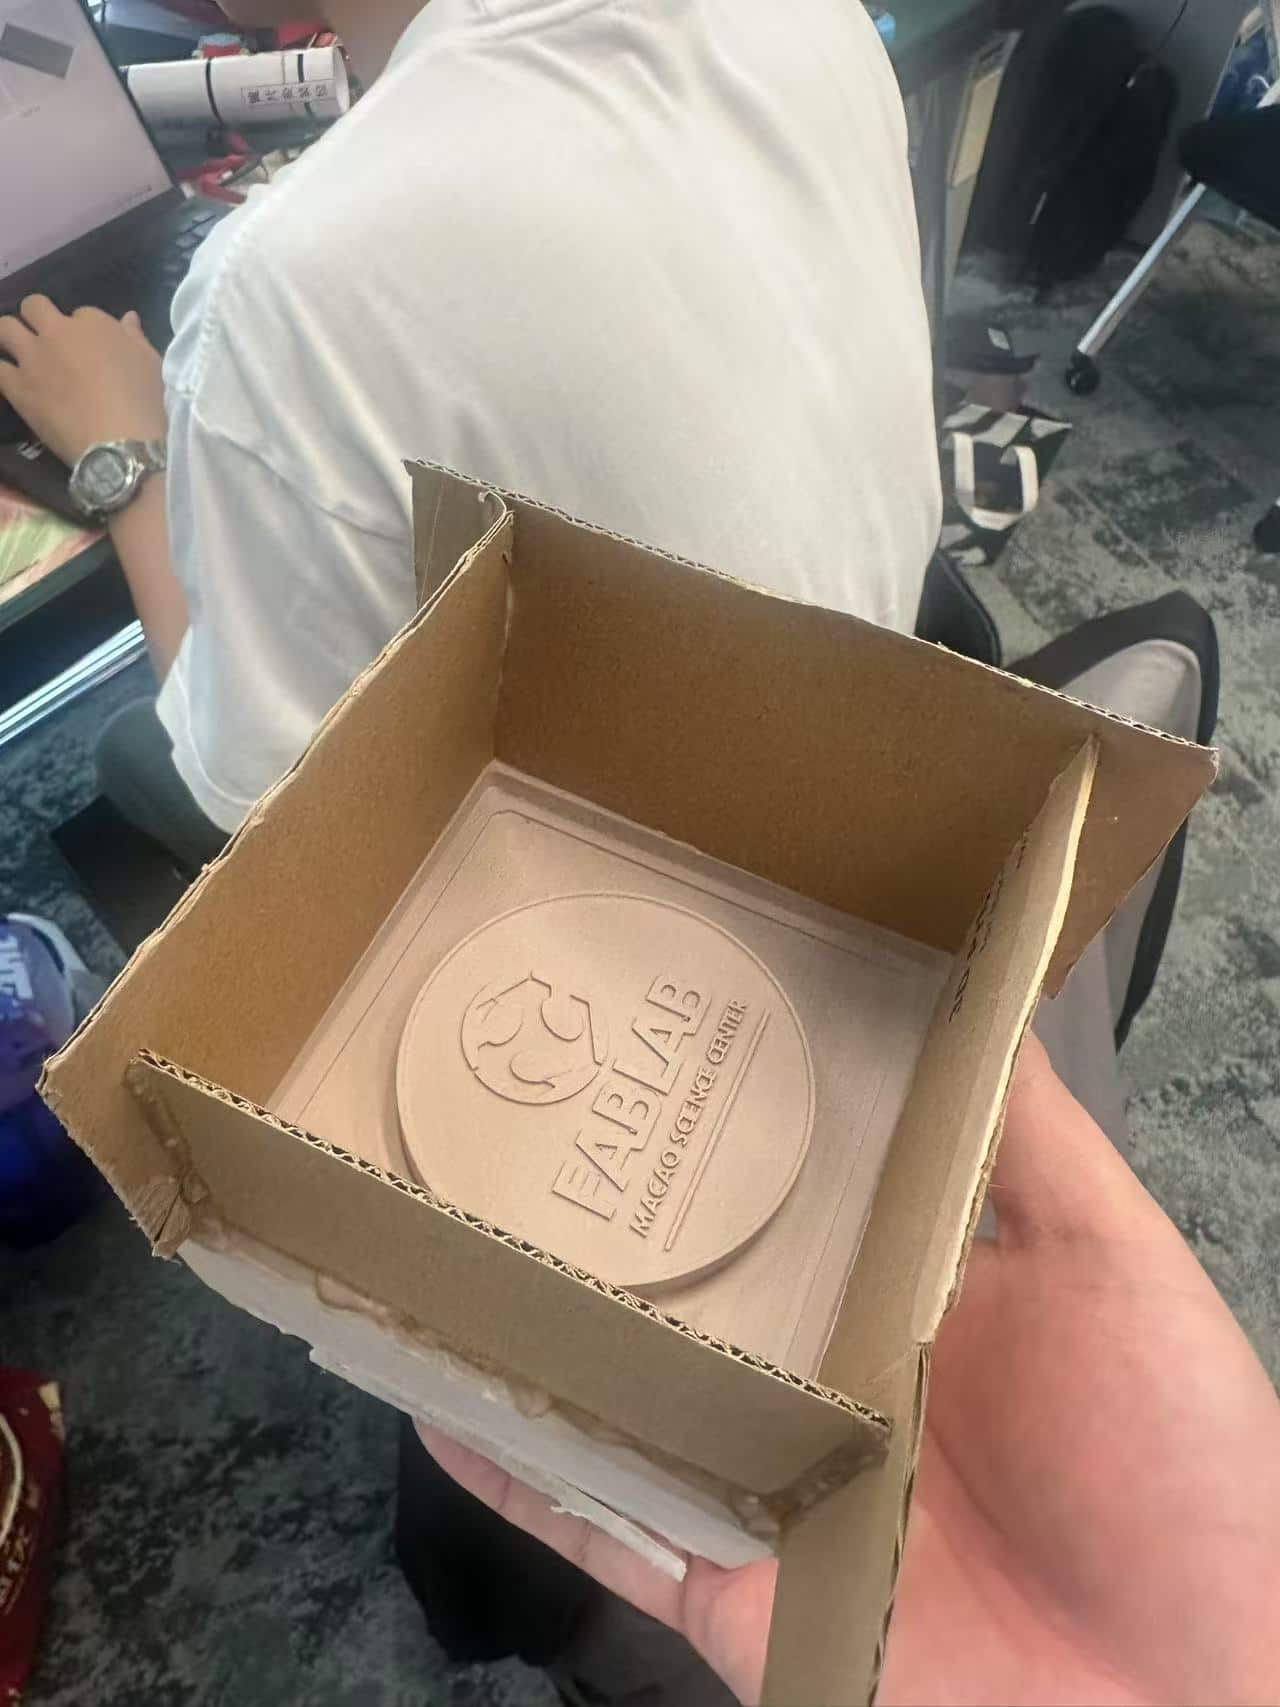
Some cardboard are prepared as material of mold.
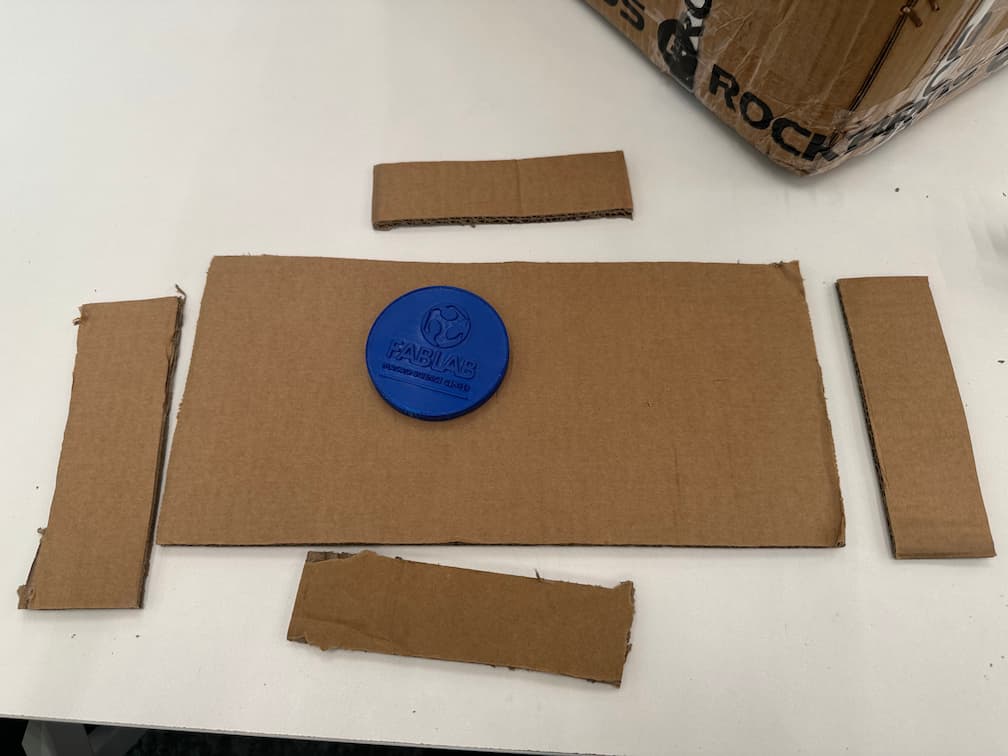
Assemble the cardboard as a box with glue gun.
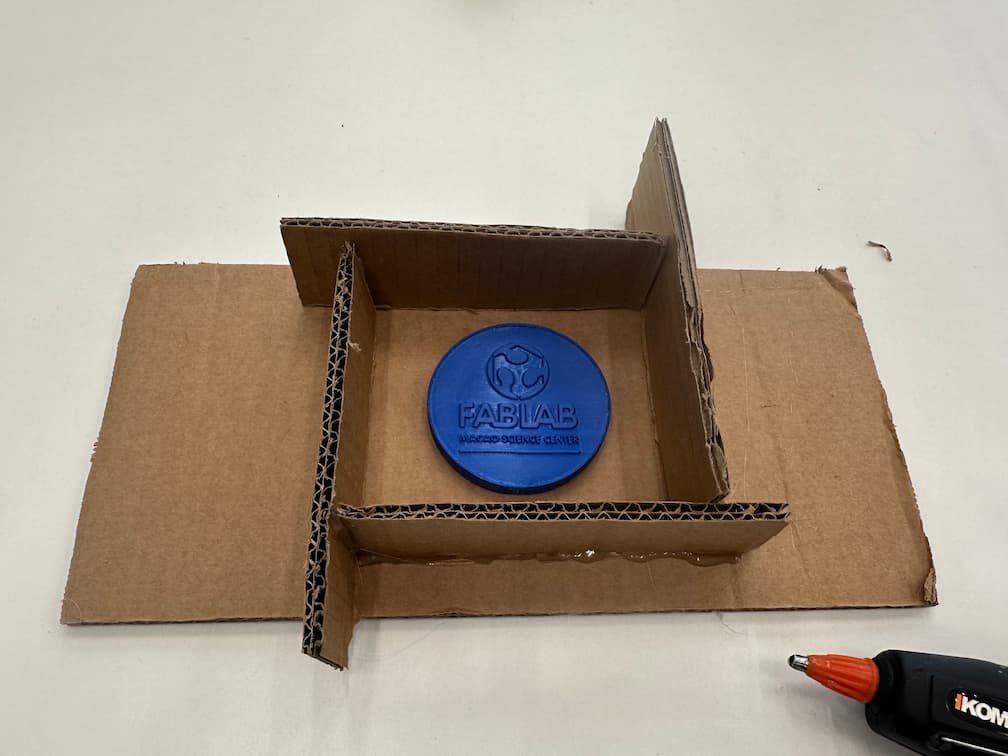
Turn the coin which's face you want to make as a mold and cast.
Then, spray the mold and prototype by Efficient Mould Release Agent Spray about 2-3 layers.
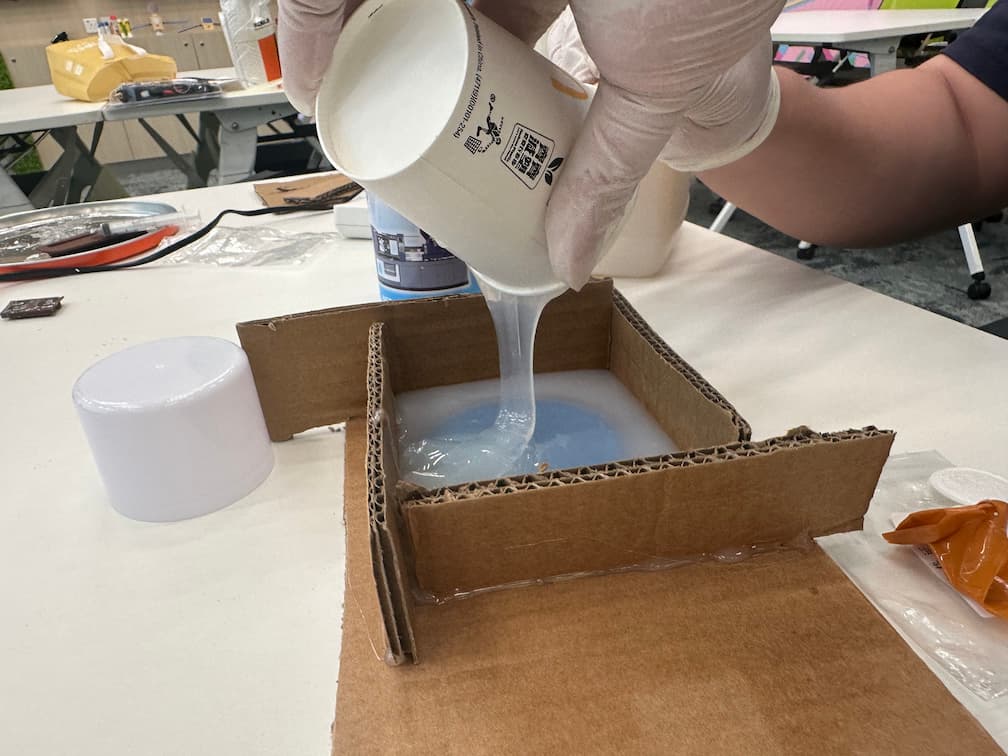
Mix the silicone with the curing agent at a 100:2 ratio and stir thoroughly. Operation time is about 5 minutes.
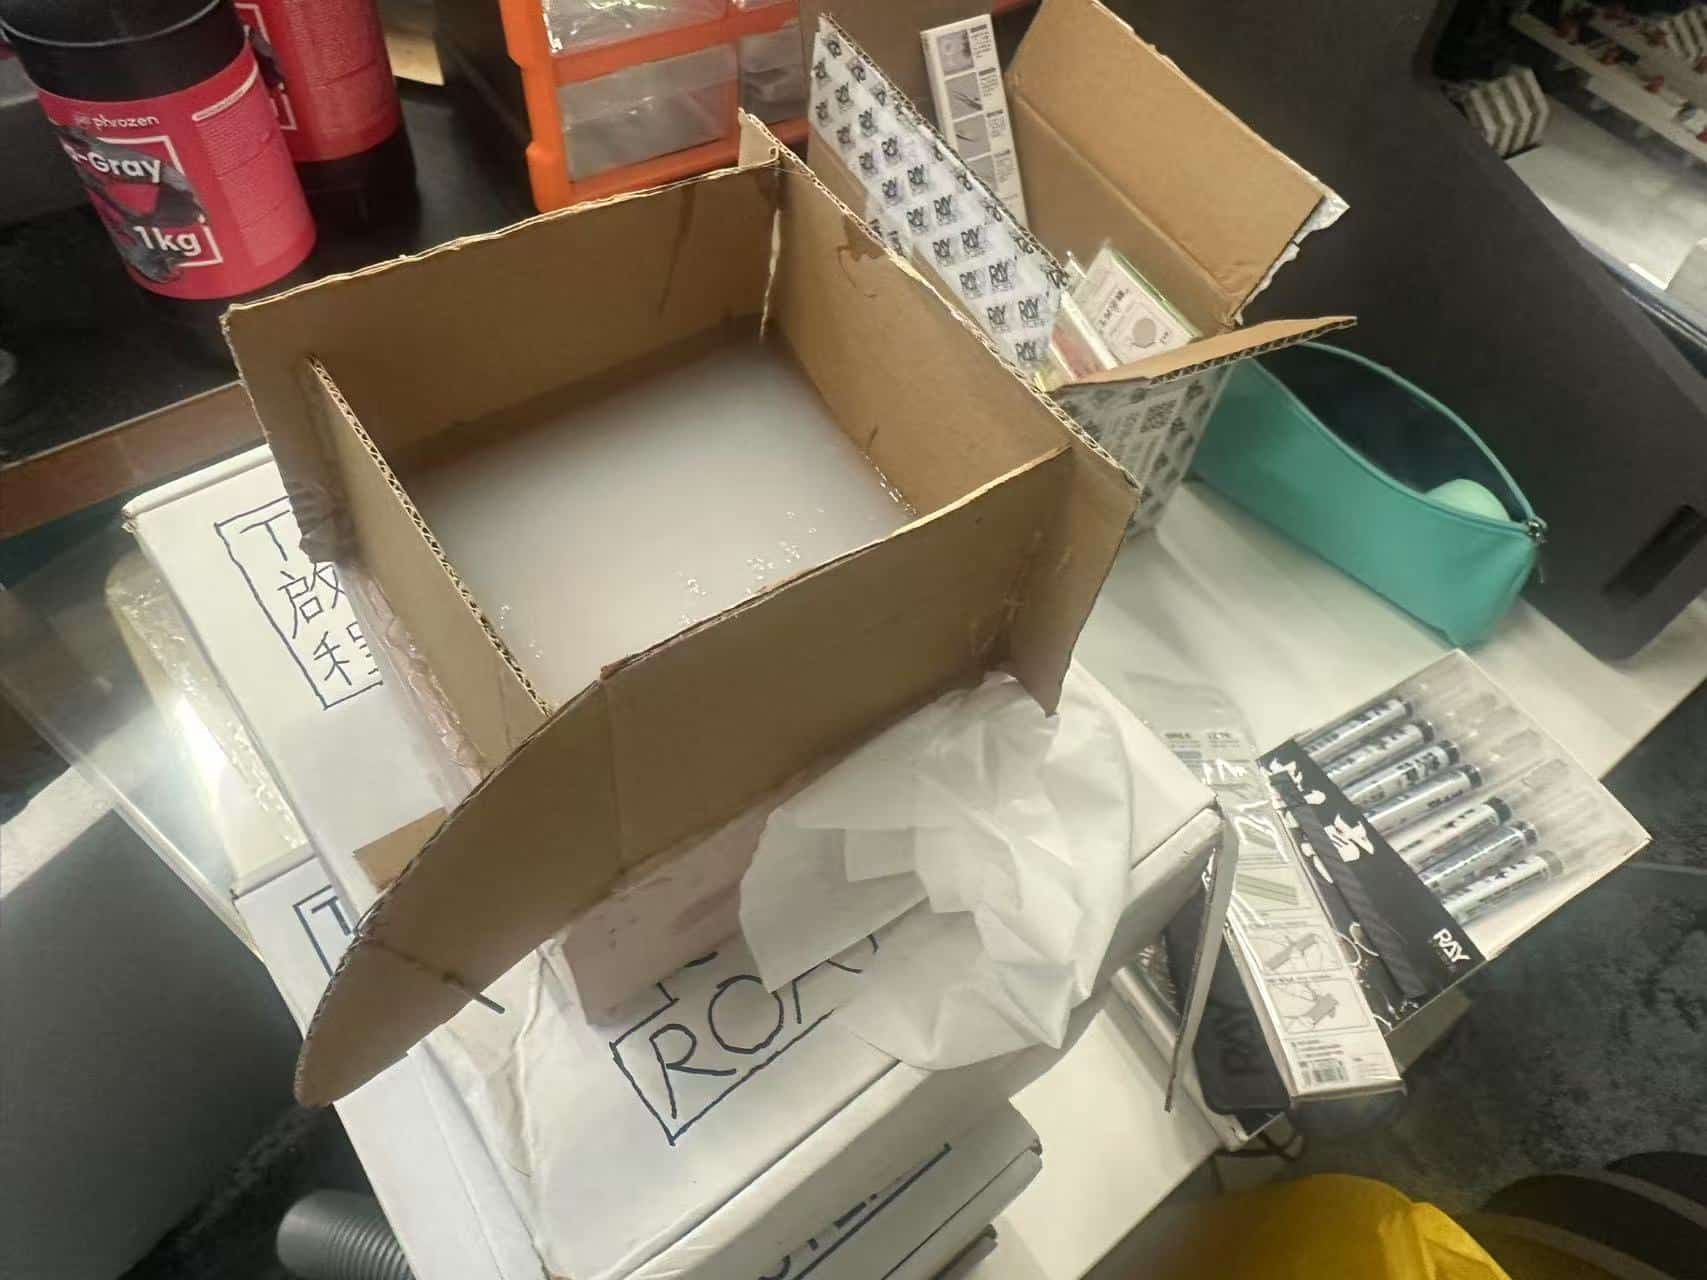
Pour away the silicone to the mold box.
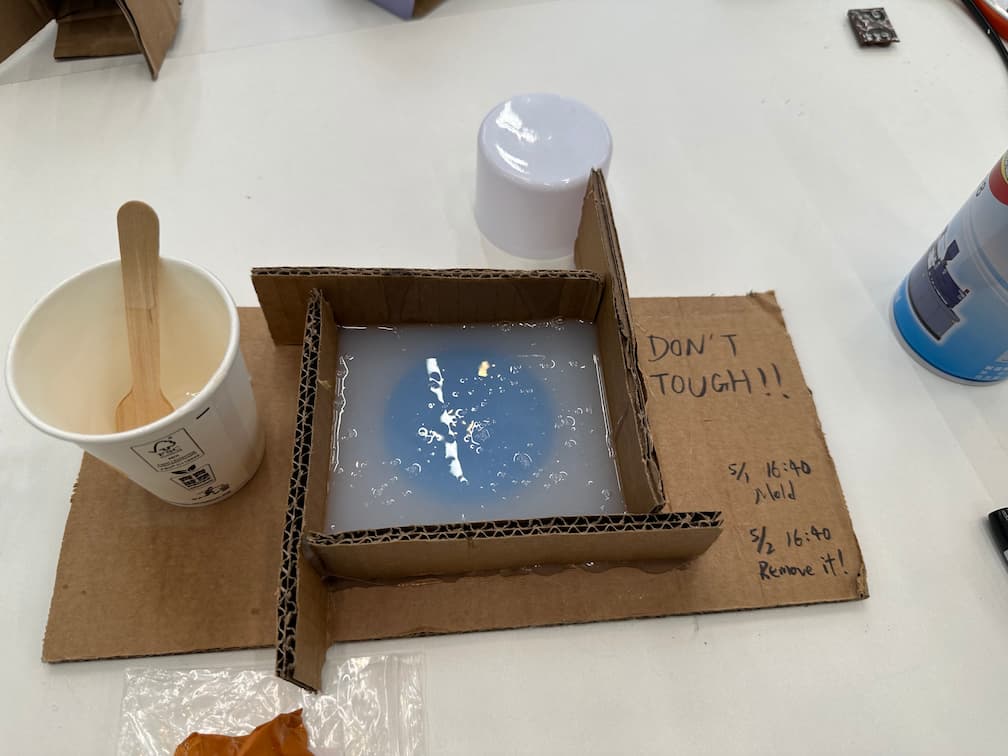
Place the mold for 24 hours.
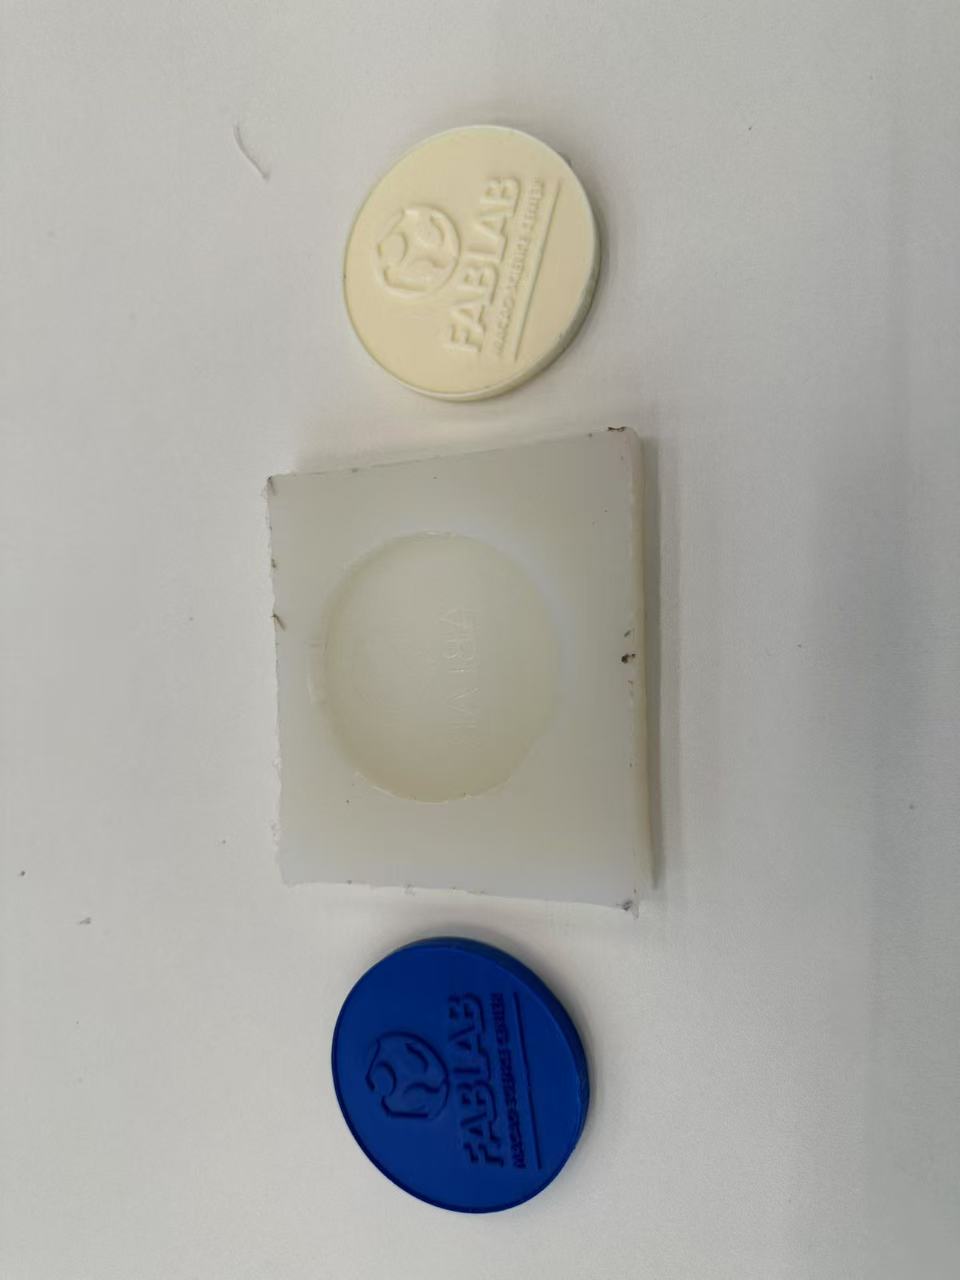
Demold.
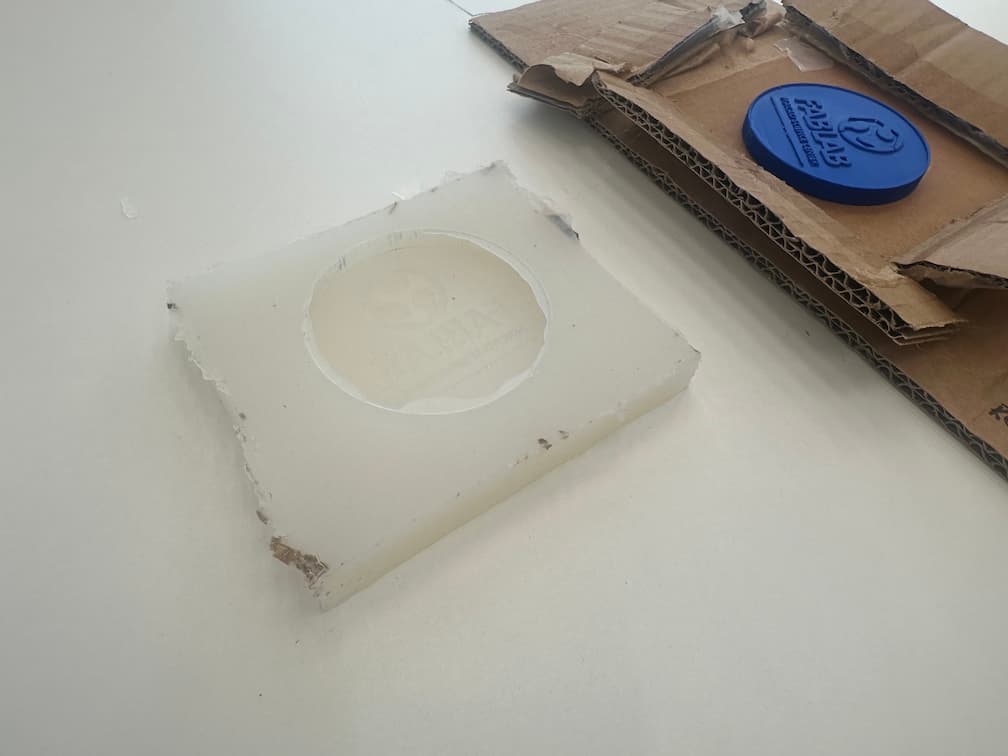
Then, cut the burrs with utility knife.
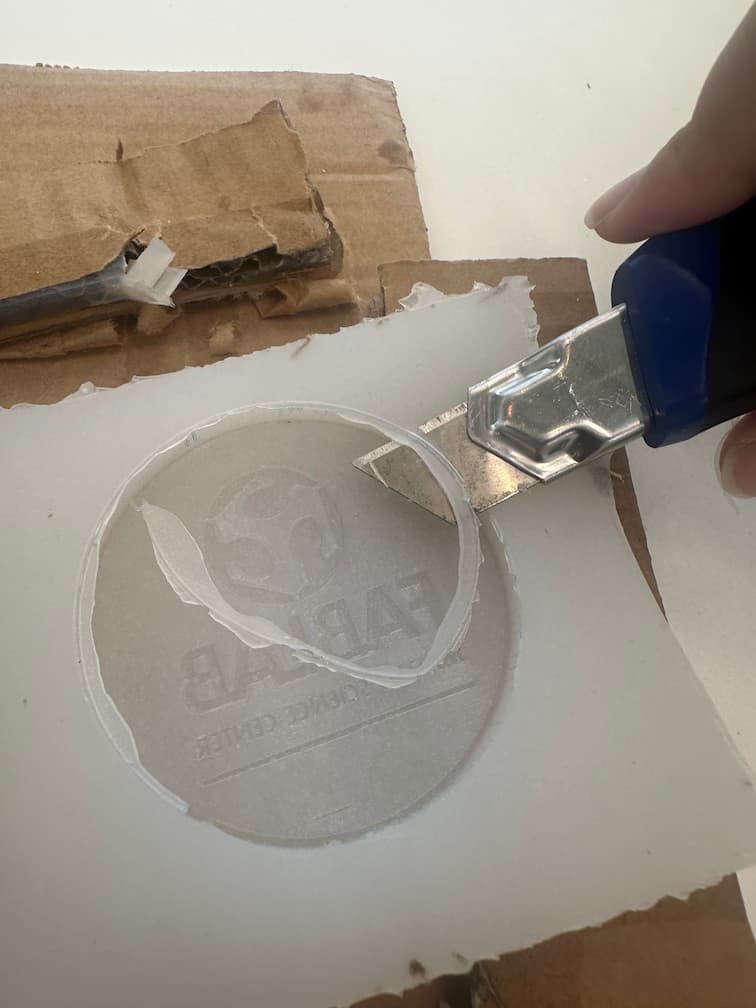
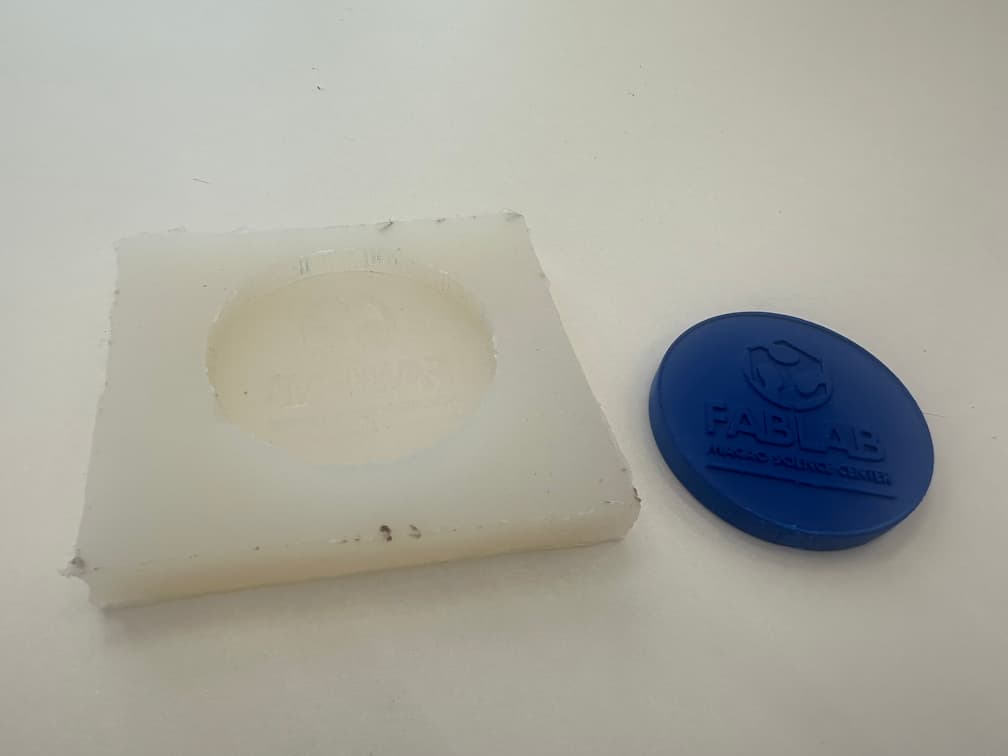
Mold Finish!!
Thoroughly mix the pre-weighed AB liquids, stirring for 15-20 seconds. Since the AB liquid will solidify within 1.5-2 minutes after mixing, operation should be as quick as possible.
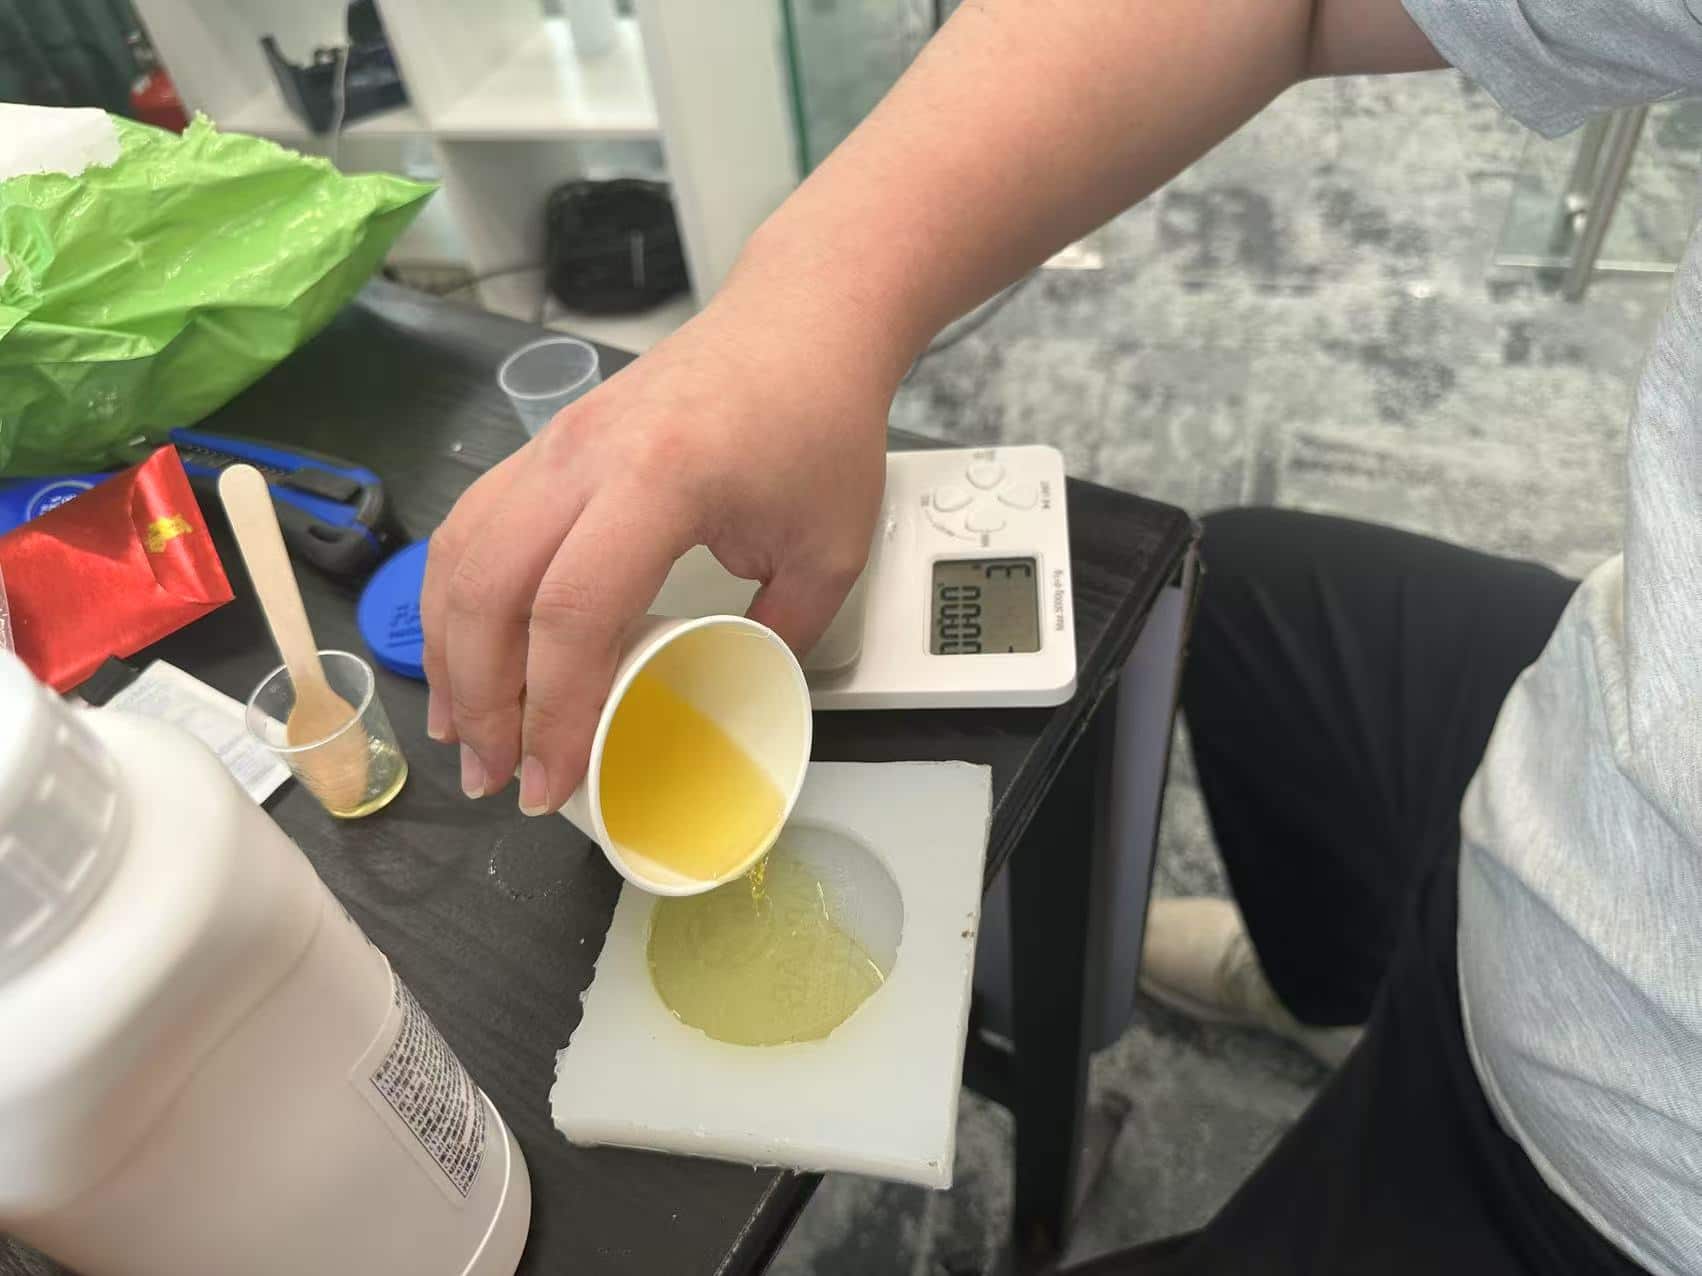
After mixing the AB resin, pour away to the mold.
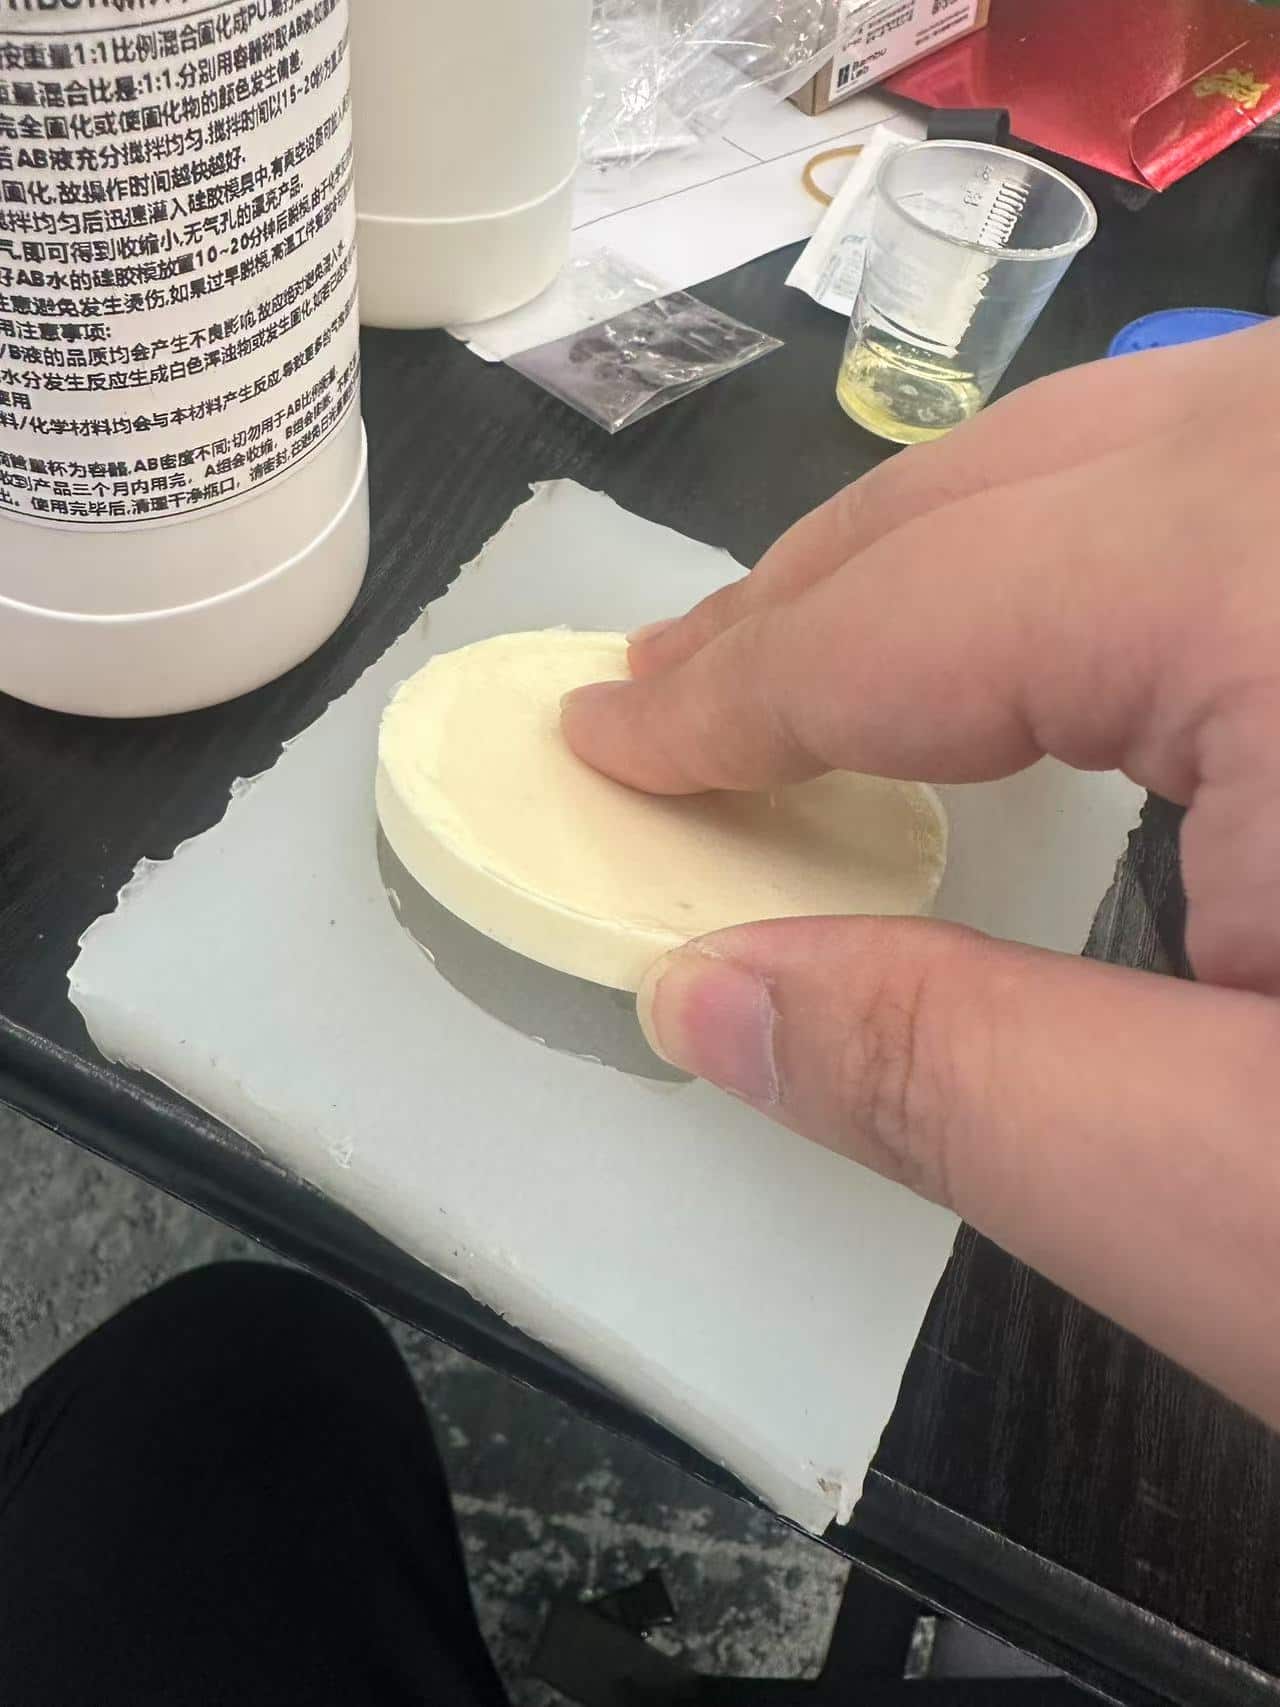
Place for 15-20 minutes. And demold.
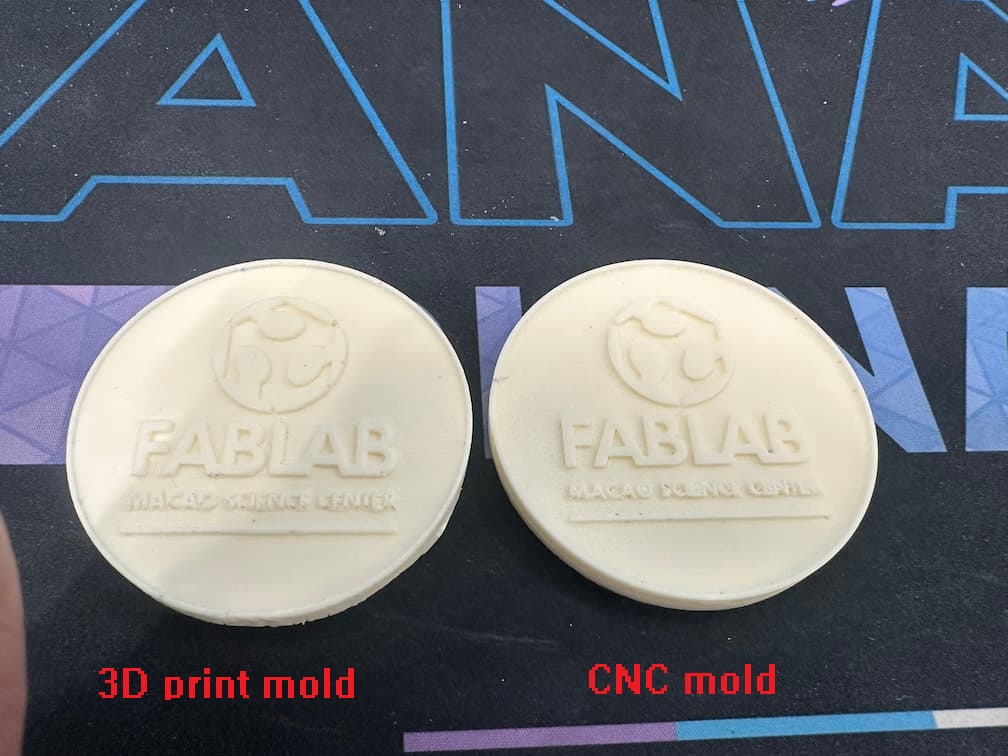
The casted coin is finished. Let's put it together for comparing!!
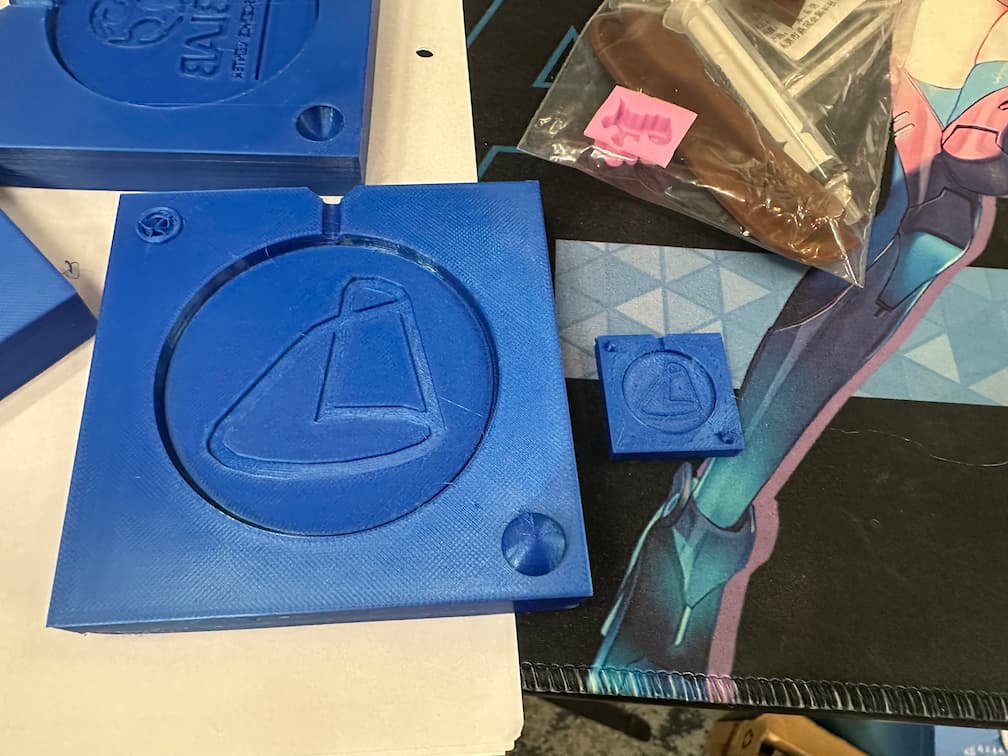
For CNC milling prototype
There's lots of toolpath on the 3D printed prototype without sanding the surface. The other prototype will be made for comparing each other. CNC milling prototype is more smooth than 3D printed.
Higher walls are needed for containing the silicone.
Paste 4 cardboards around the CNC prototype.
Pour away the silicone to the mold box and place it for 24 hours.
Separate the mold and silicone.
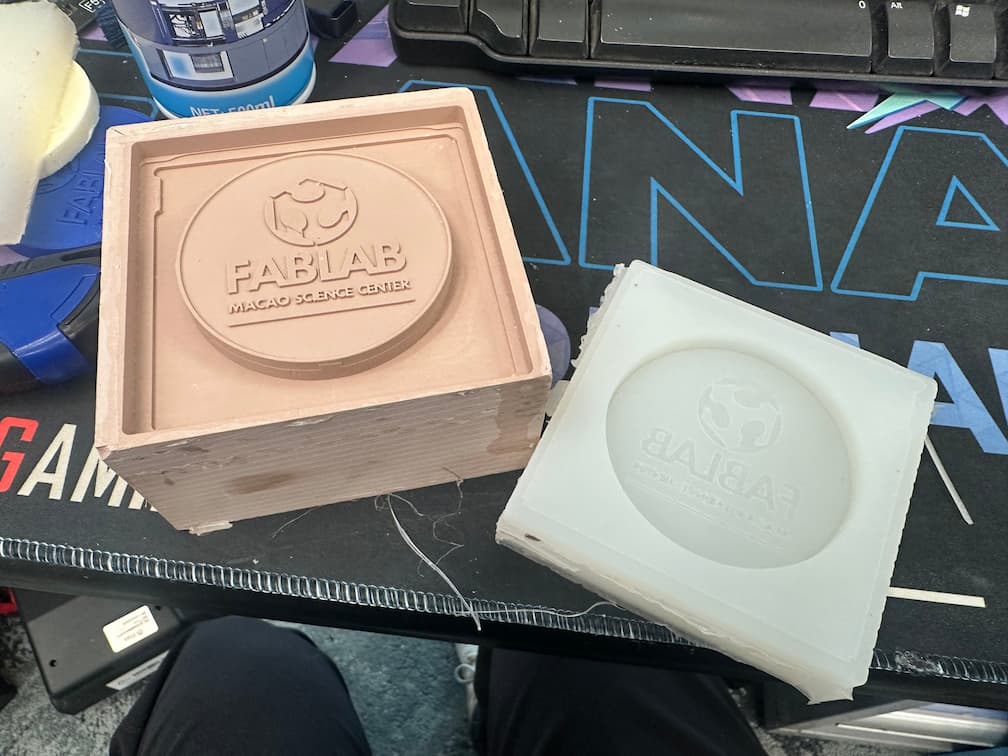
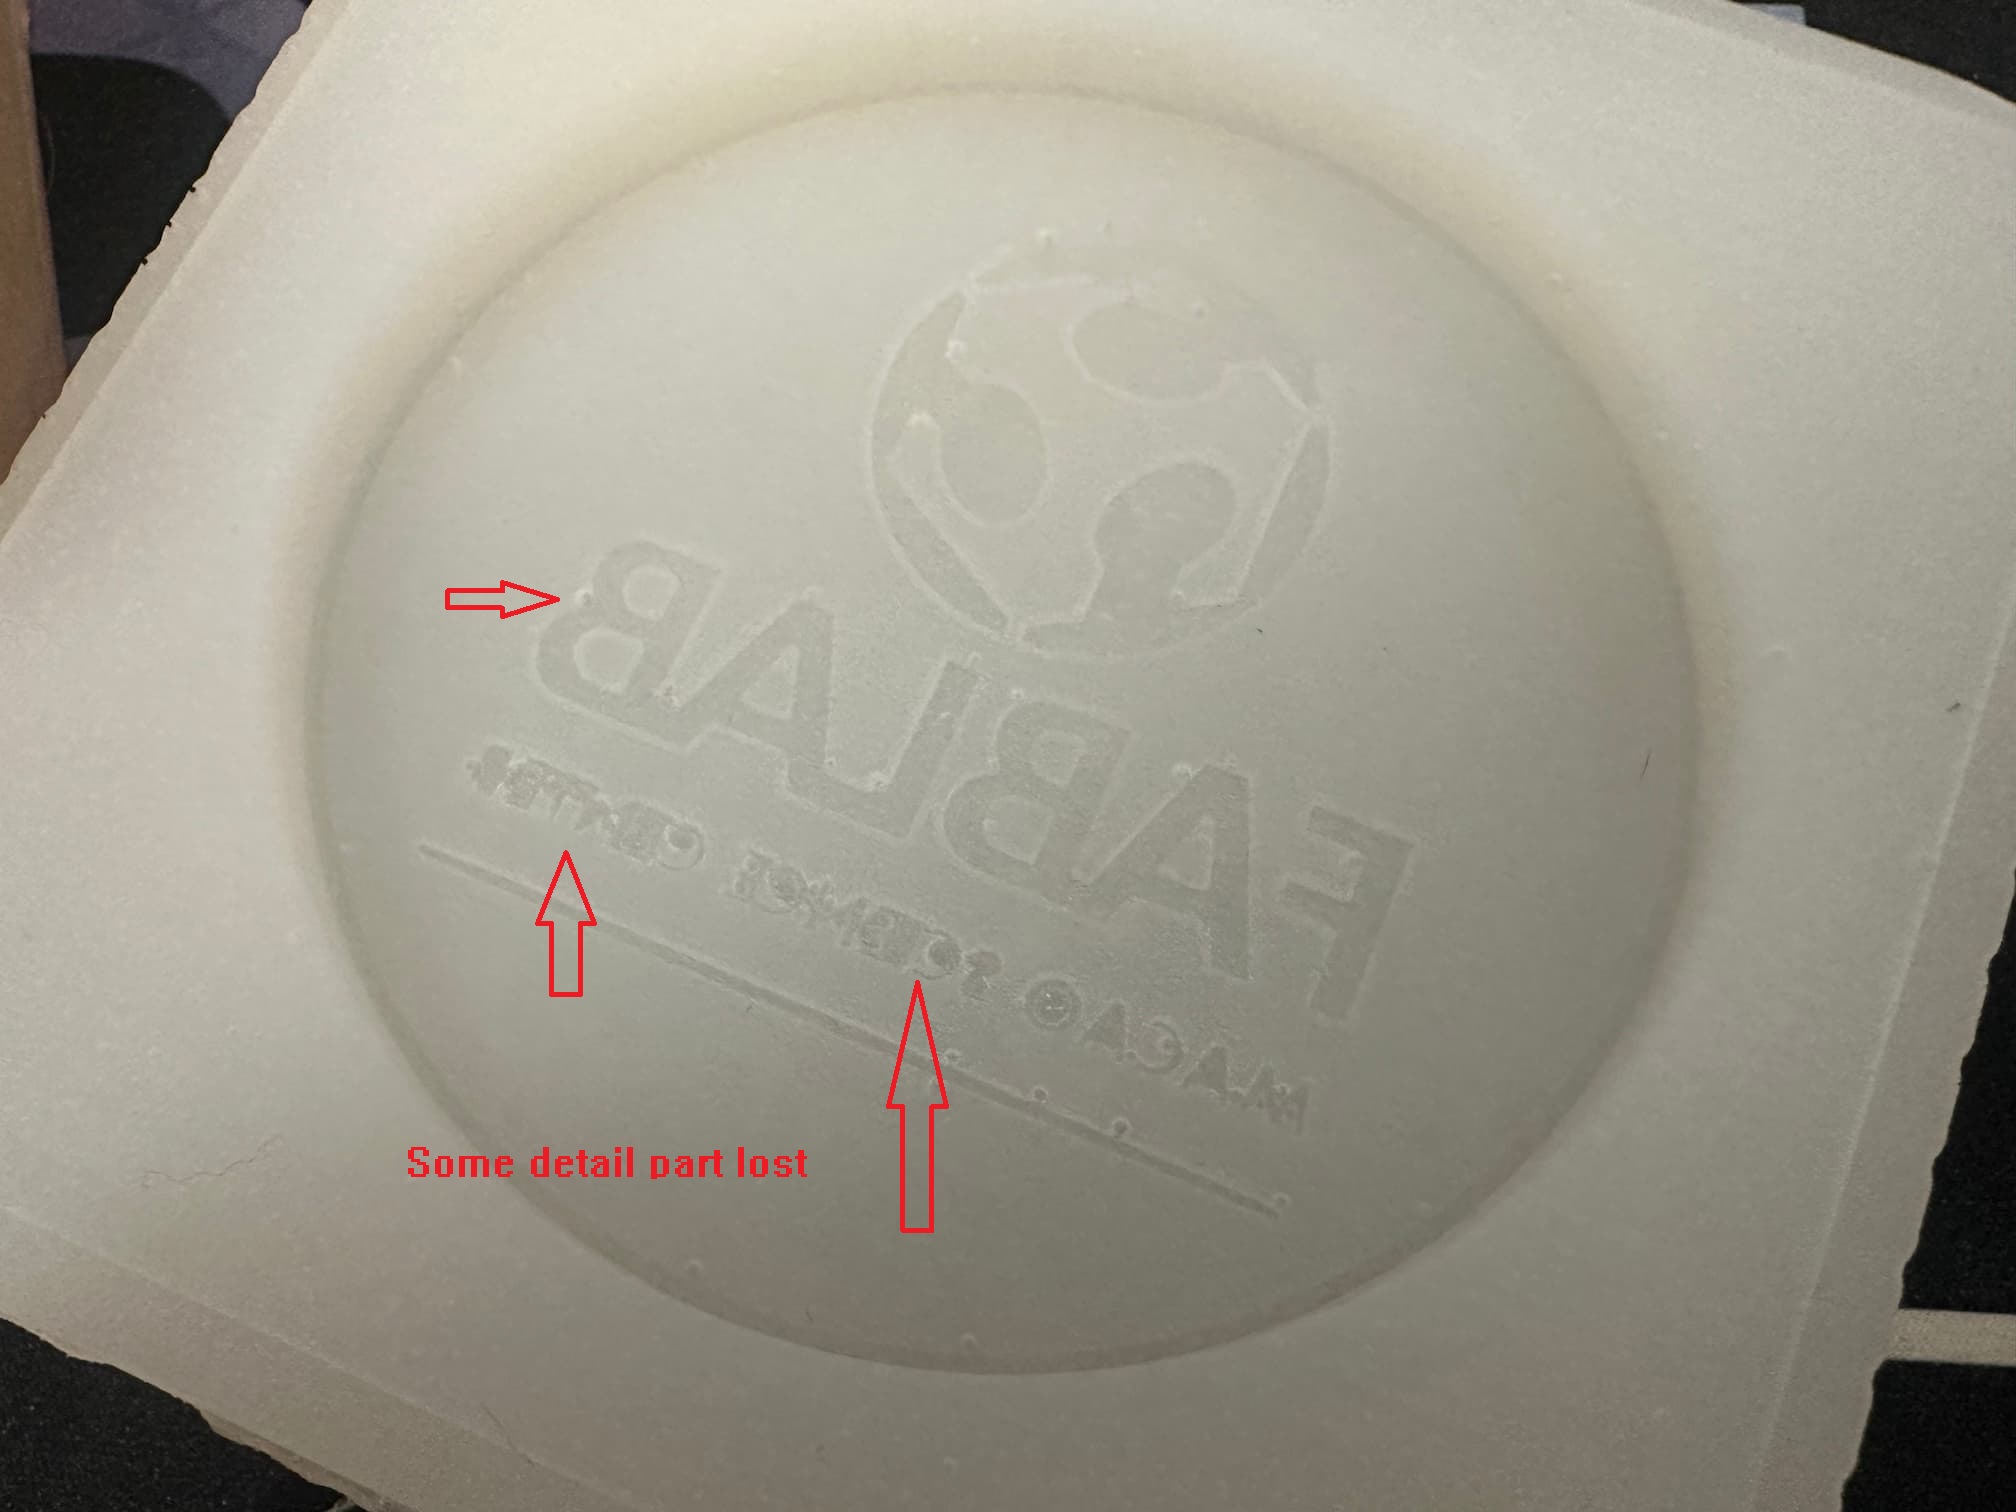
The new silicone mold contains more detail and less toolpath. There's something need to be improved. Bubbles problem cause some of detail lost is this mold.
Pour away the AB resin into the silicone and place it for 20 minutes and demold.
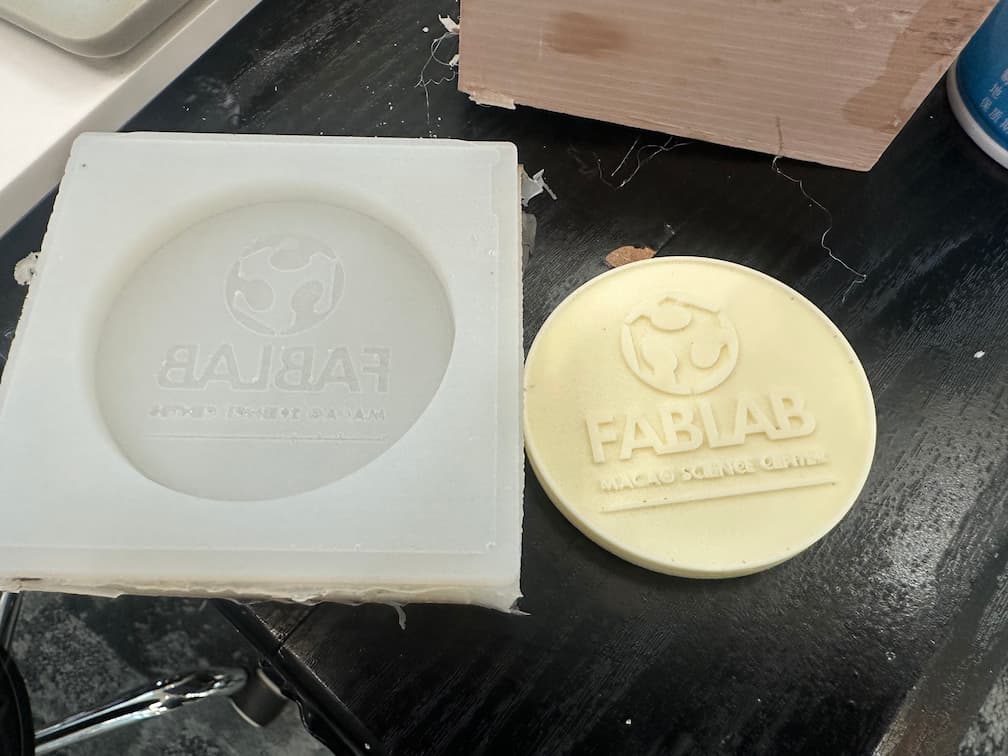
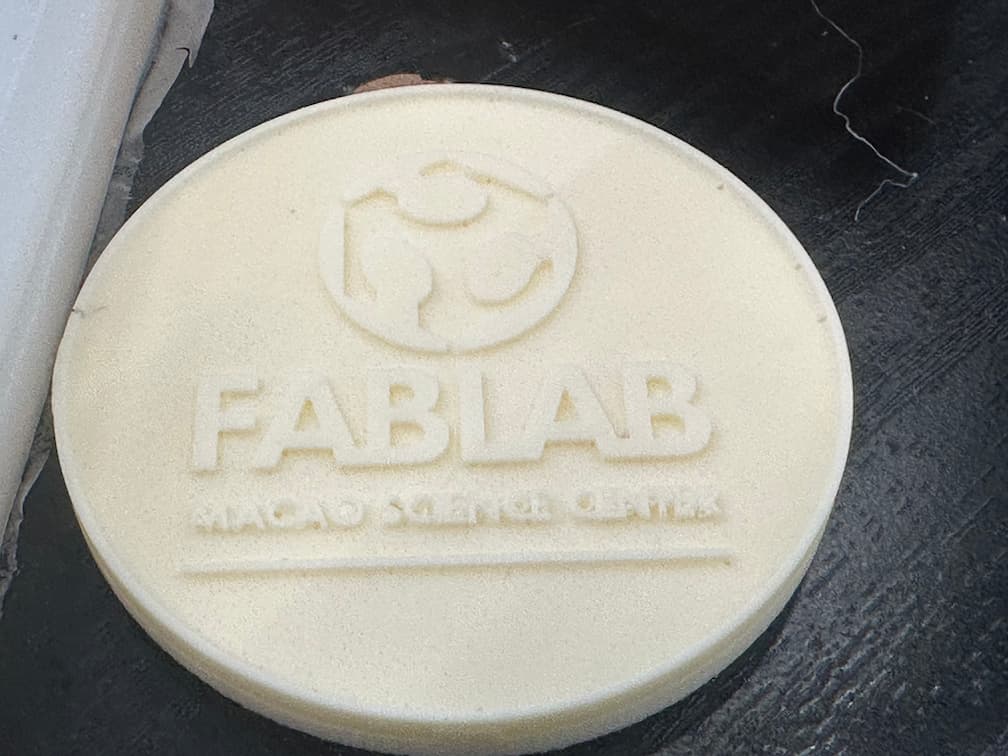
The cast with more detail than 3D print one.
Comparing - 3D printed vs CNC milling
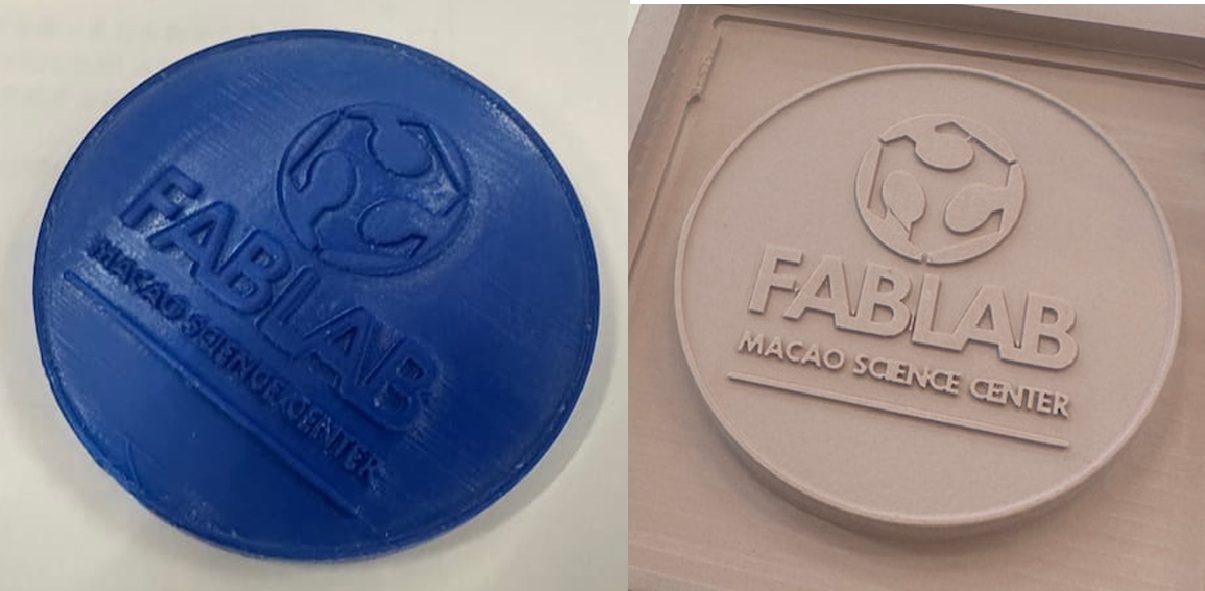
For prototype, 3D print prototype and CNC milling prototype are made in this assignment. The CNC milling one is more smooth than 3D print one and CNC milling one contains more details as there are 2 processes for CNC milling:
- Roughing by 4mm End Mill Tool
- Smoothing by 1.5mm Ball End Tool and 0.4mm End Mill Tool.
Here's the comparion between two casts.
Other works - Alloy Casting with 3D printed mold
In this assignment, Indium-Tin-Bismuth low-temperature alloy is used for alloy casting.
- Indium-Tin-Bismuth low-temperature alloy
- Melting point: 47°C
- Purity: 99.995%
- Origin: Dongguan, Guangdong
- Manufacturer: Dongguan Dingguan Metal Technology Co., Ltd.
Somd molds are attached.
- Molds for number 5 & 6
- Mold for a spoon
Tools:
- Syringe (for injecting low-temperature alloy)
- Metal files/tools (for post-processing)
- Heat gun (for melting low-temperature alloy)
- Glass measuring cup (for material mixing)
- Disposable plastic bowls
- Metal Sheet
- Wooden stick (for stirring)
- Soft brush (for applying release agent)
- Paper (to protect work area)
- Gloves (for protection)
- Mask
- Eye protection
Alloy Melting
- We melt the alloy by heat gun and set as 50°C.
- Waited for the alloy to completely melt into liquid state.
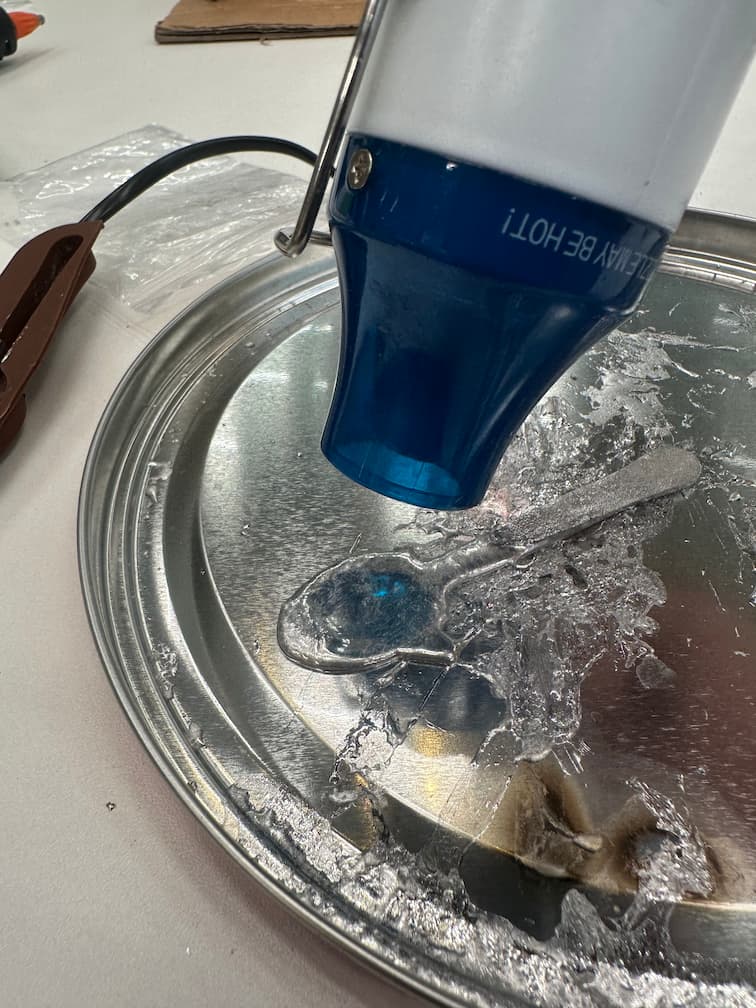
We melt the alloy by heat gun and set as 50°C.
Preparation
- Ensure the mold surface is dry and clean
- Apply an appropriate amount of release agent (vaseline) to the inside surface of the mold
- Check if the detailed parts of the mold are intact
Casting Process
- Use a syringe to draw an appropriate amount of melted indium-tin-bismuth alloy
- Carefully inject the liquid alloy into the mold
- Gently shake the mold to ensure the liquid alloy fills all details
- Wait for the liquid alloy to cool and completely solidify (about 10-15 minutes)
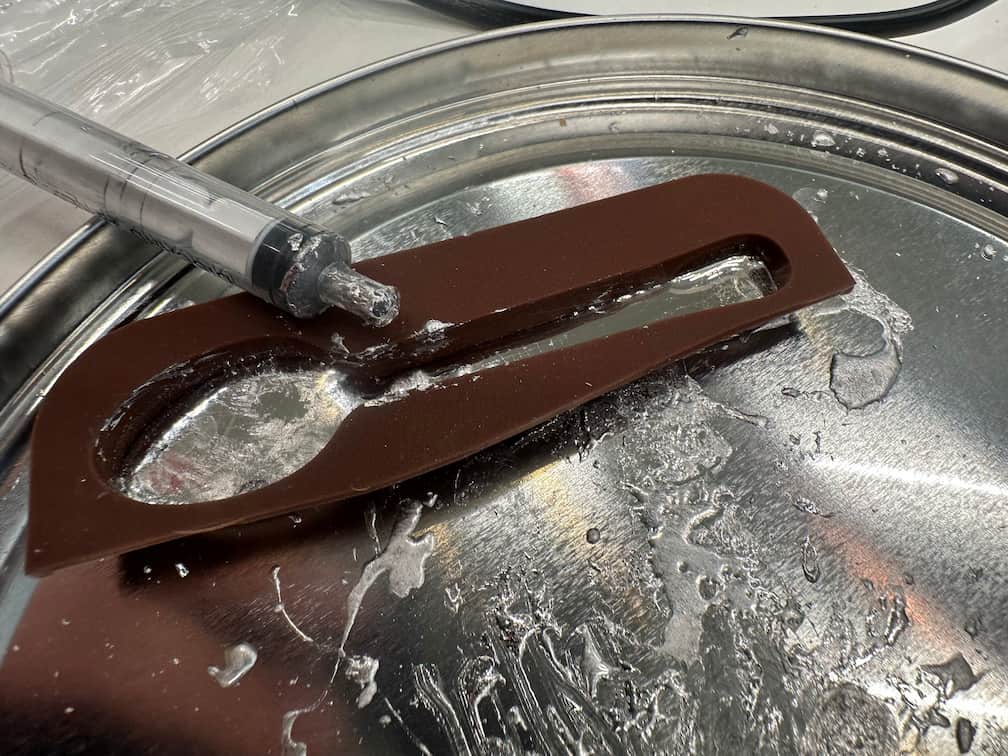
I inject the liquid alloy to default mold and get the following results.
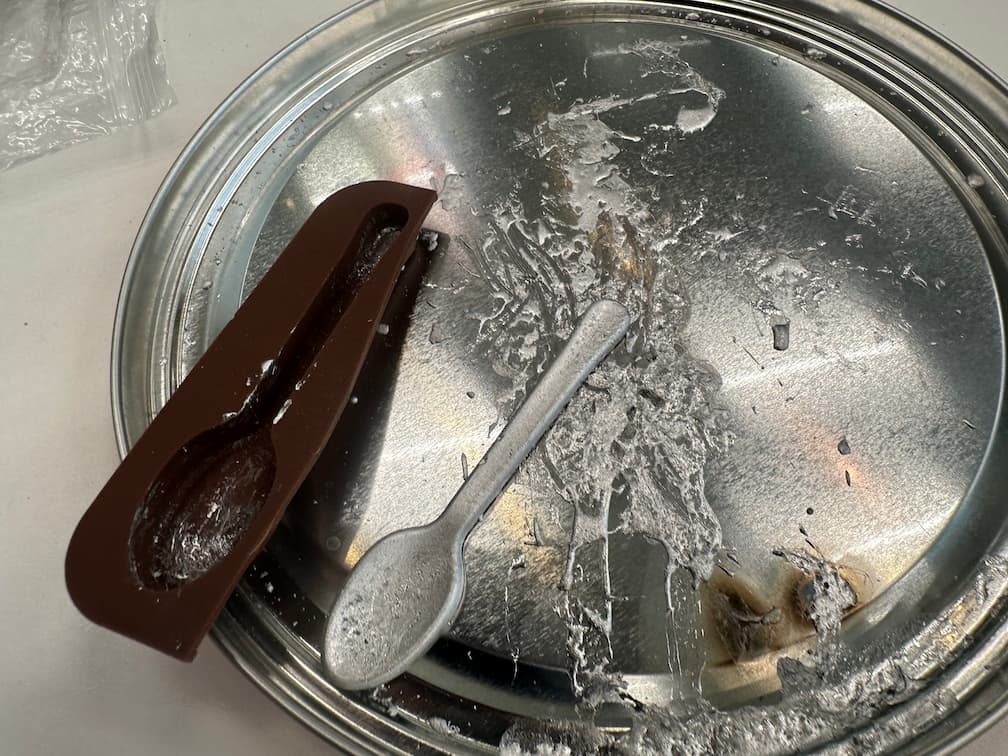
Molded spoon
Then, I remelt the alloy the fill to other molds.
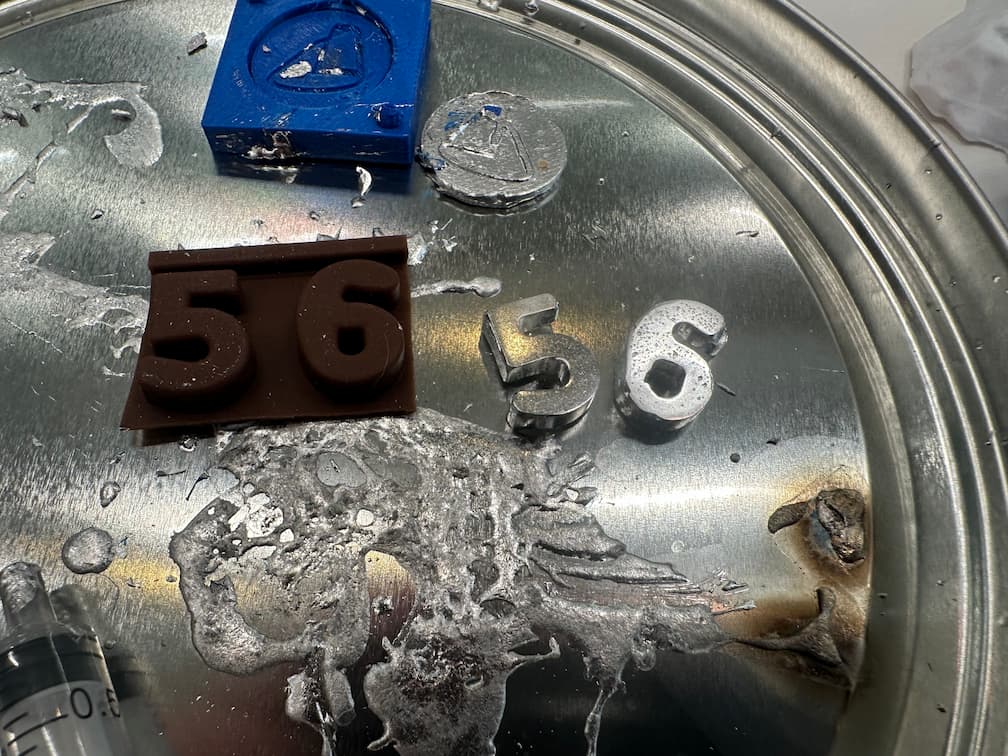
Finally, I fill the liquid alloy to the 3D print mold,
which is smaller than the designed mold.
Finally, the metal coin is casted.
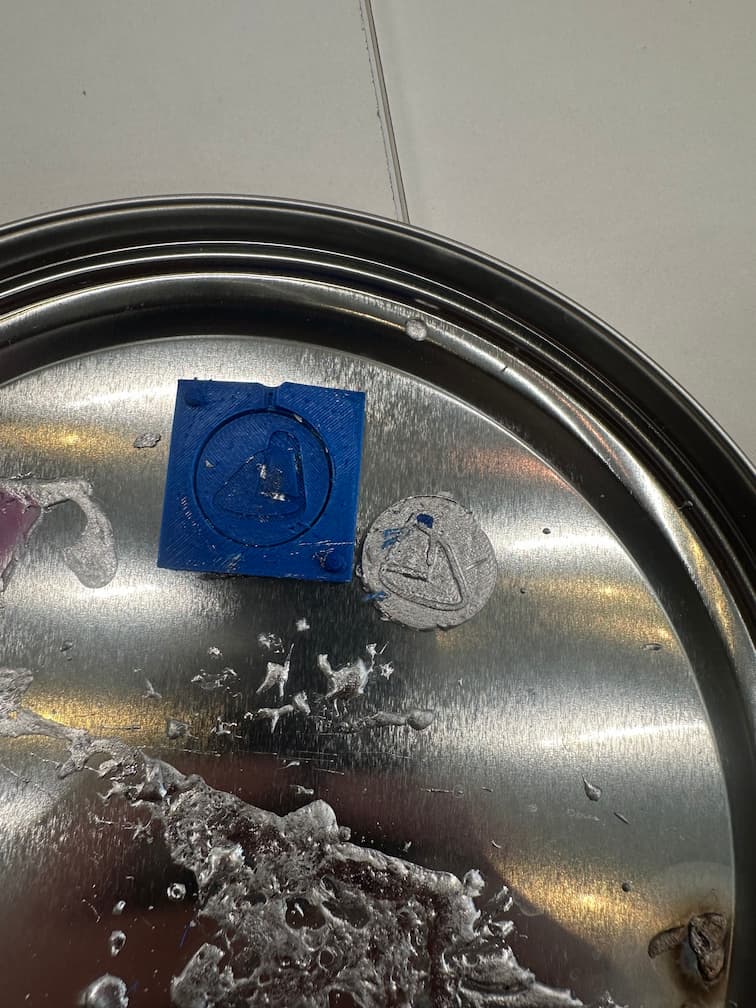
Unfortunately, I can only take the metal coin out by breaking the 3D print mold.