2. Computer Aided Design (CAD)
This week I worked on getting acquainted with tools for digital graphisc, 2D and 3D.
Assignments
- Model your final project
- Use as many ways as possible, raster and vector, 2D and 3D, render it, animate it, simulate it, as many ways as possible
- Model using parametric design learn one of these FreeCAD, Fusion 360, SolidWorks, xDesign, OnShape, OpenSCAD
- Compress images and videos, put them on the class page
2D tasks
The first tasks are to learn the use of 2D graphics packages. I am not an art person and so far I reduced to the minimum the need of using graphics software. When I needed in the past I tried Latex based solutions for drawing. I also have used Gimp but not that much to be confident in messing too much with images. For other tasks which involeves file transformations I use Imagemagick library or qpdf. For this graphics exercise I will continue to stick to open source versions of software like GIMP and Inkscape.
Using GIMP
I have been using GIMP before but I am not an expert. For this exercise I will rehearse removing background from different images. Below are shown the results for CEST logo, I have followed the tutorial from this page.
It is simple using the Magic wand tool, pointing to the background and deleting. Repeat this as many time needed to remove the non-linked zones.
![]()
![]()
When searching for pictures I needed quicly to find which image file has transparent background or not. For this use convert in command line
convert *.png -alpha on -alpha extract -format "%[opaque] %[fx:me
an] %[fx:standard_deviation]\n" info:
Testing Mods CE
Mods CE is a library of tools/modules to be used in Fablab related tasks and to compose/link them to create workflows. Mods was started as CBA research project and now is developed as an open source software see here. During the course we witness a demonstration about vectorization a raster image and it seems to ne usefull for the next stages so I looked for it. The documentation and UI are not that great, I read though somewhere that you can use to connect to the tools from Fablab, to be seen.
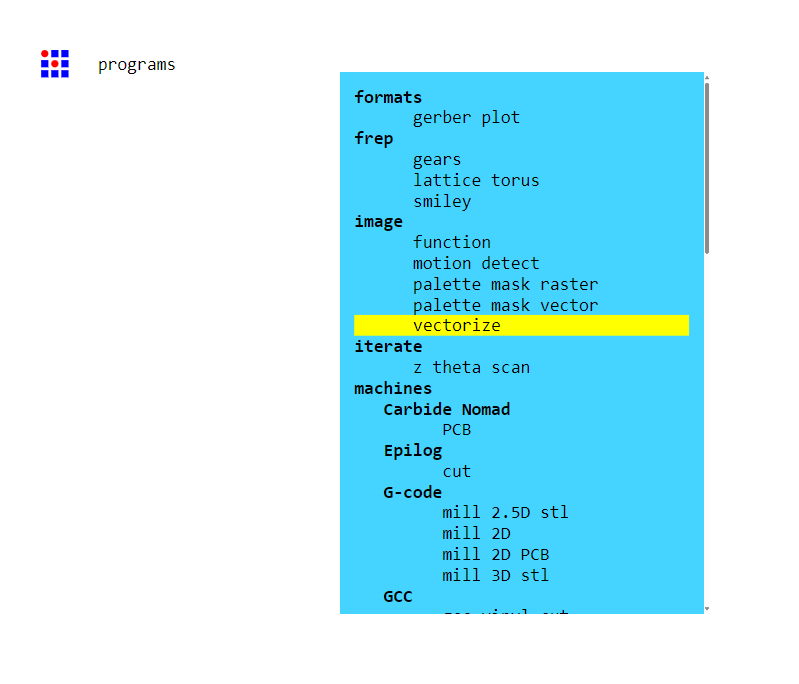
For the first use I want to vectorize some files, both to have a format version of this type and also to be further used for 3D printing or cutting stages. I am starting with CEST logo.
After a few trials selecting the wrong programs I have found the right one for this task, i.e. the one with the minimal graph of steps for my purpose. It has seven steps, most of them are for applying different algorithms to the image to decide the right dimmensions and orientation of the image`s vectors (the image is represented by vectors each with its orientation and size), and the three other nodes of the are for administrative purposes, input/output operations or other options fill/ no fill, for the closed contours.
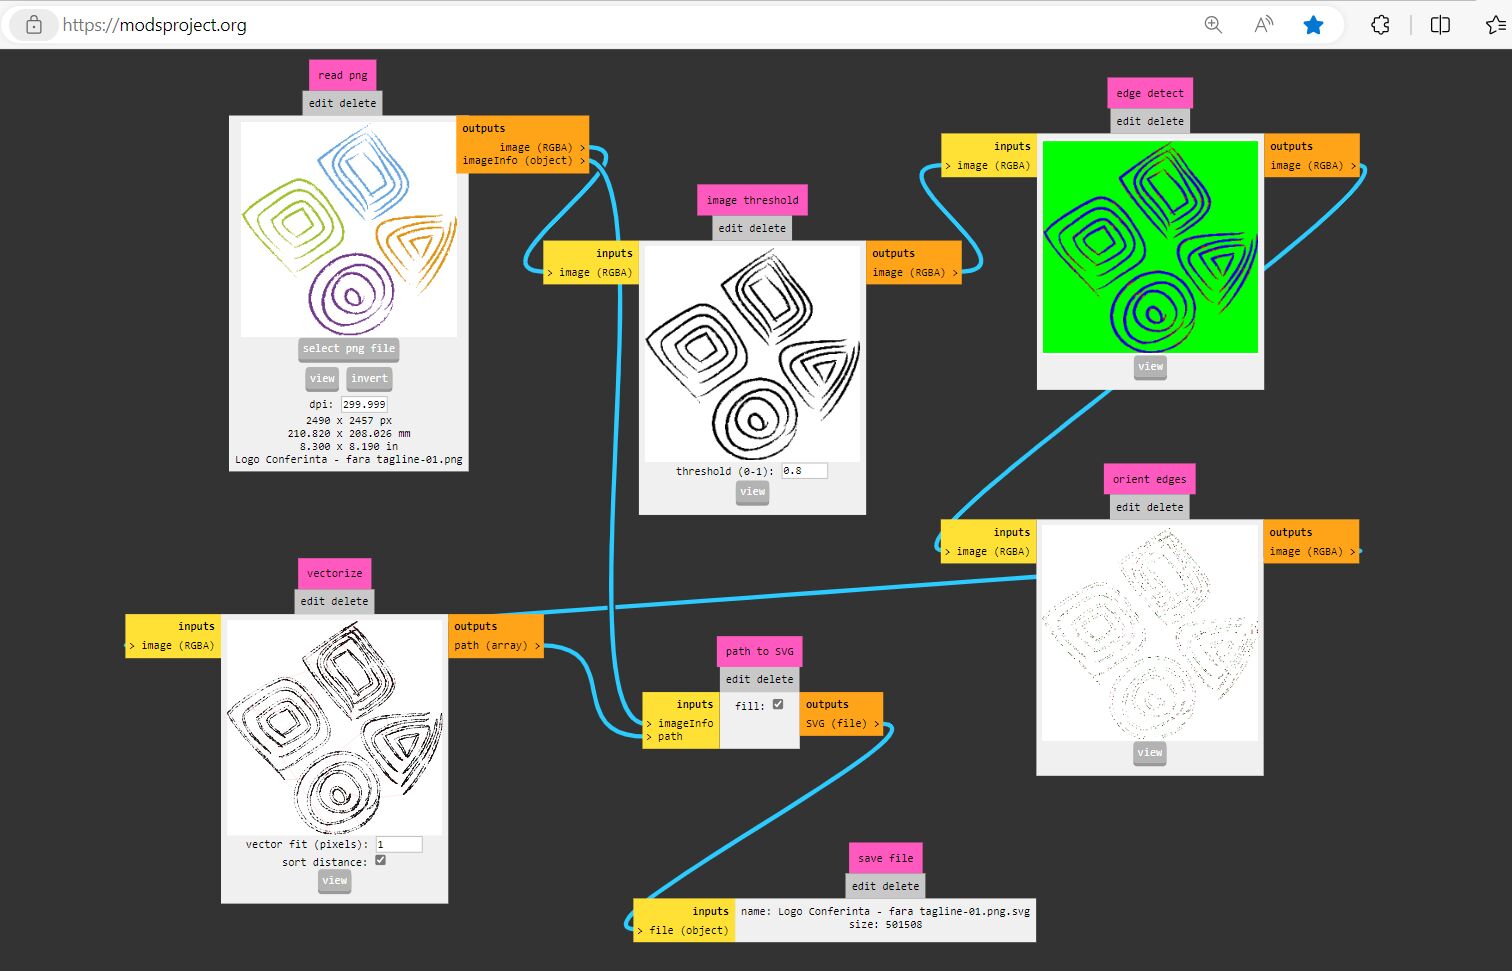
The output of the program in tis case is a .svg file, the look of the output design depends on the size of the vector used for contours and if the option of fill/no fill is checked. The colours from the original image are lost due to both loosing the closure of some paths and also because of the limitation of the algorithms use for vectorization stage. The output file, as will come out from examples in the next section, is not final, it needs further work in a proper vector editing program for smoothing, decreesing the representation points.
![]()
![]()
![]()
For a fast iteration with an image, the fact that it is quickly accesible online makes Mods a good first trial.
Using Inkscape
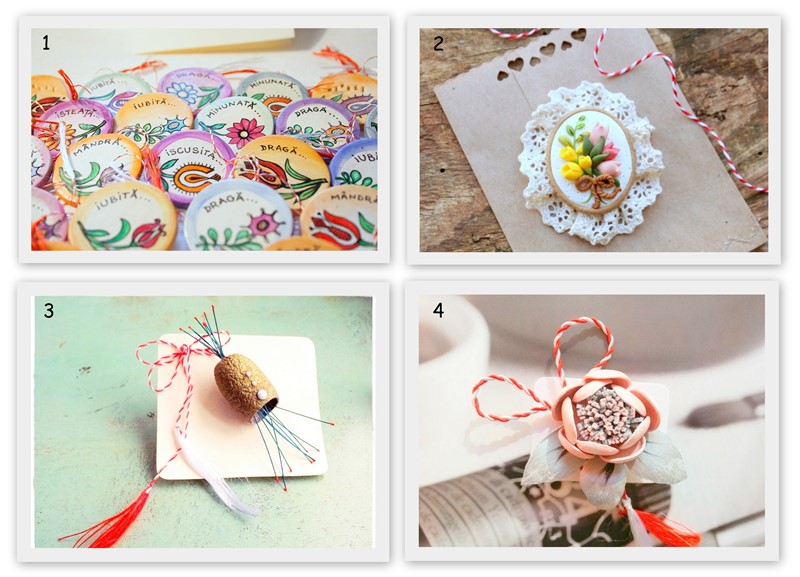
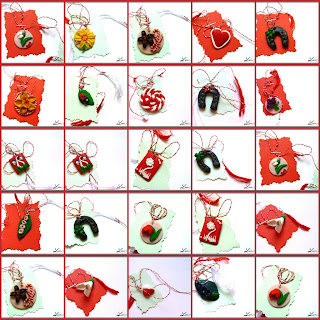
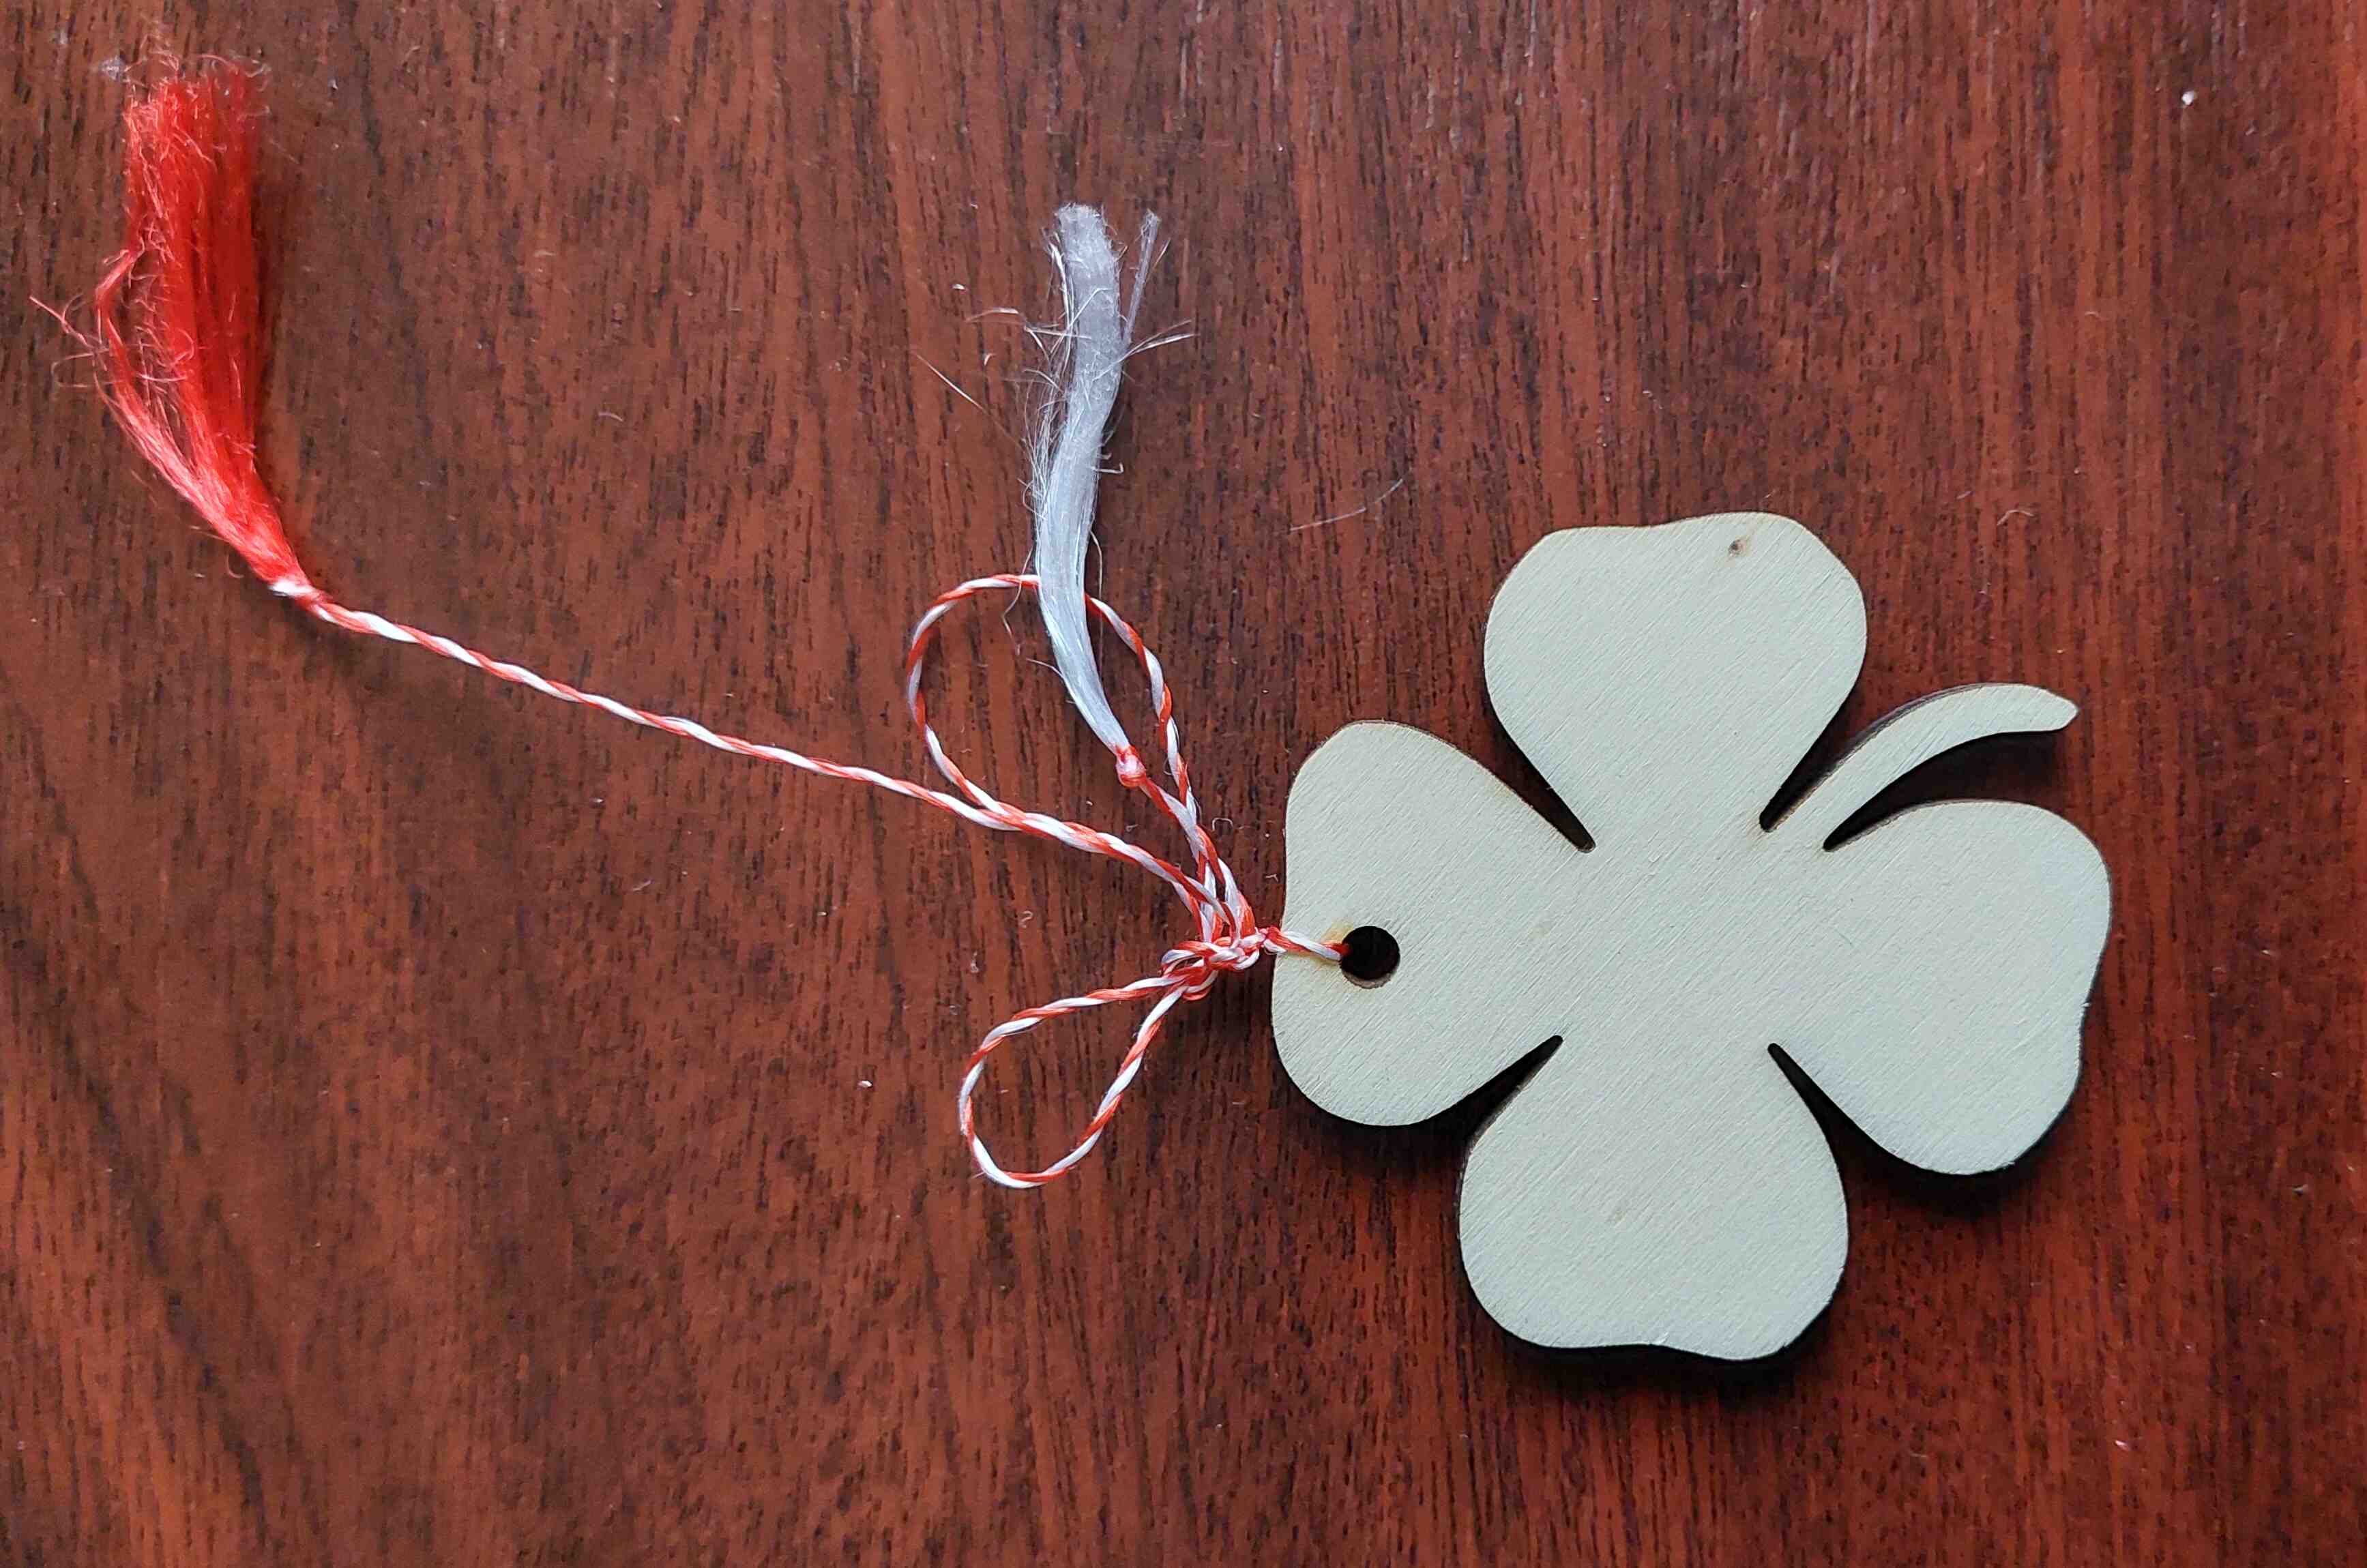
For this task I will continue to polish the image of the Logo above and vectorize and work on additional examples. As the next week is the week for Computer controlled cutting I would like to have prepared some samples ready for cutting. Since spring is coming my projedt cor this section will be to prepare some design for our local celebration in Romania called “Martisor” which happens in the first weeks of the spring. Martisor, the word coming from the month of Mars, it is both the name of the celebration as well as a material object like a brooch or bracelet that people use to wear. The objects have usually atached a ribon made from two strings, white and red, symbols for the rebirthing of the nature. Below are some examples, for this class I am trying to make some wooden version of Martisor.
I am starting by getting used with the interface of Inkscape that can be downloaded from here. I am orderly and then randomly to push the buttons from the menu in to have a first feeling, I am importing an image file. The manus looks like those in Gimp but has the addional logic taht comes with objects and paths, I am not progressing much this way so I started the more structered part with the tutorials form this page form this page. They are quite usefull and detailed especially the first ones. Since I am interested in some quick results I go to Bitmap Tracing tutorial and Pixelart Tracing tutorial. I will be exercising them on the next two images
As from tutorial the Tracer tool is used to transform a bitmap image into one ore more

3D Tasks
Modelling
Use OpenSCAD
As it is a design tool for programmers which interfaces with FreeCAD, it will be a must to for me to get a familiar with it. For the moment it is Postponed!
Use FreeCAD
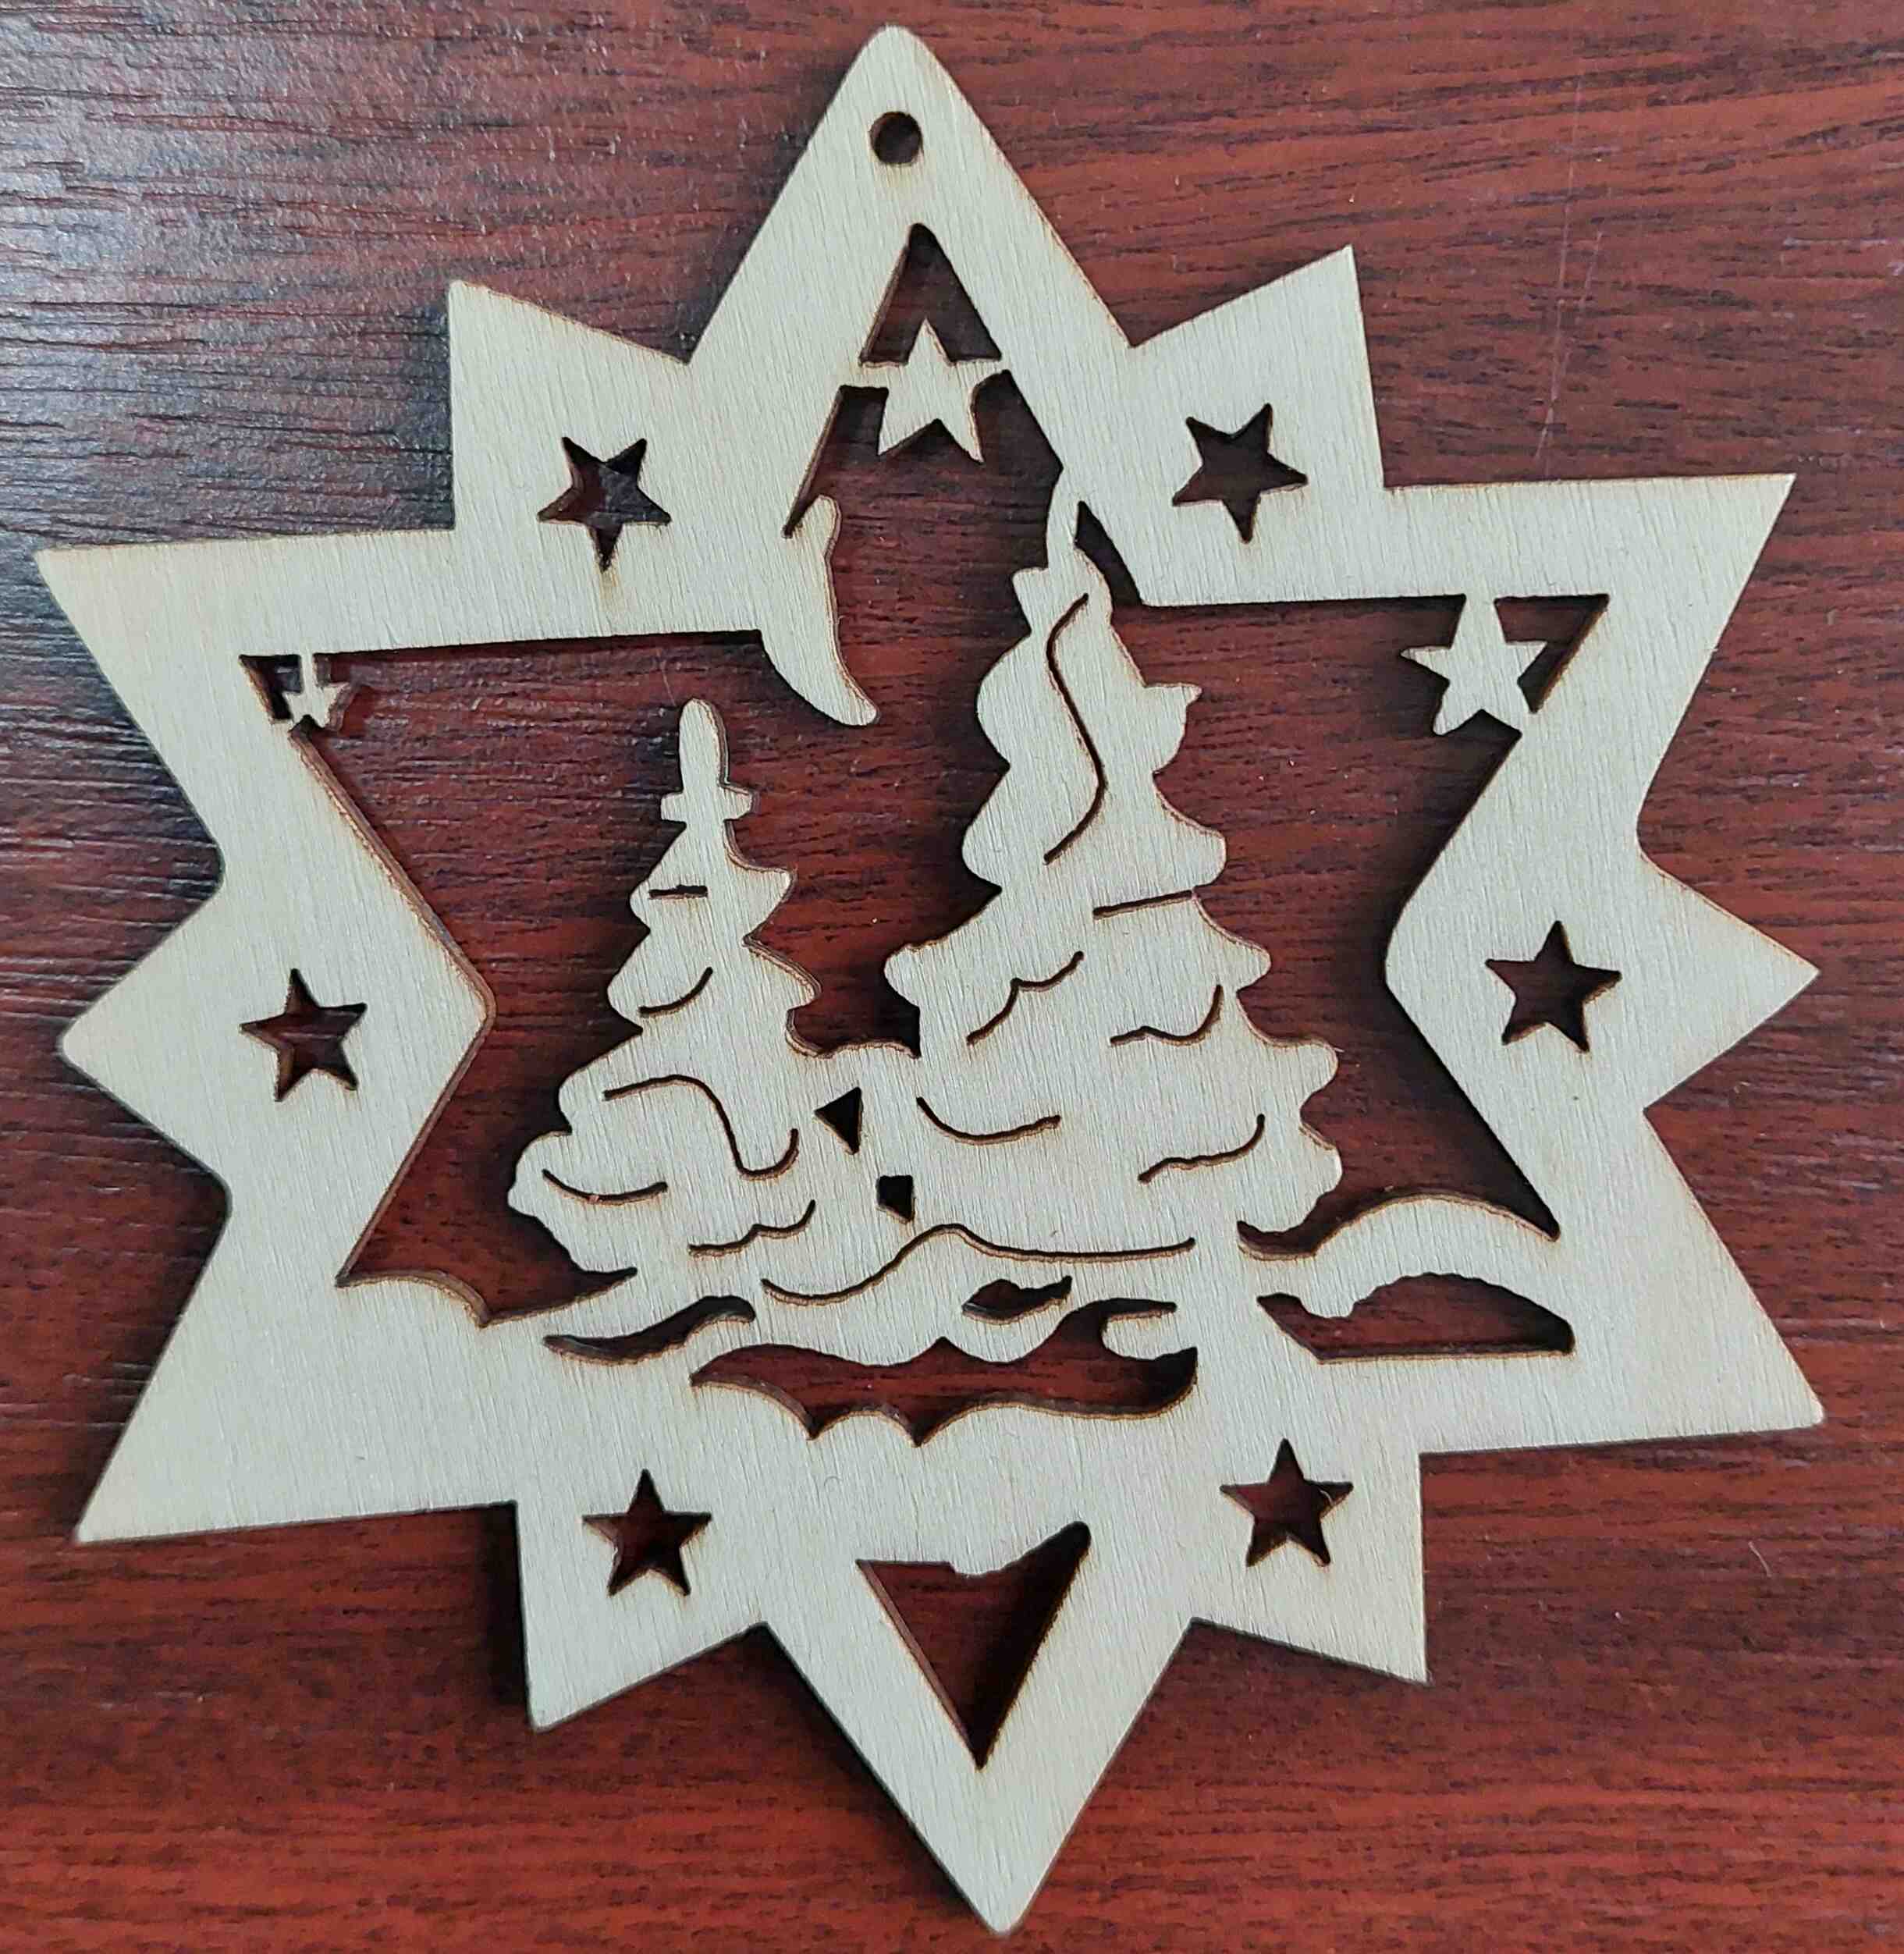
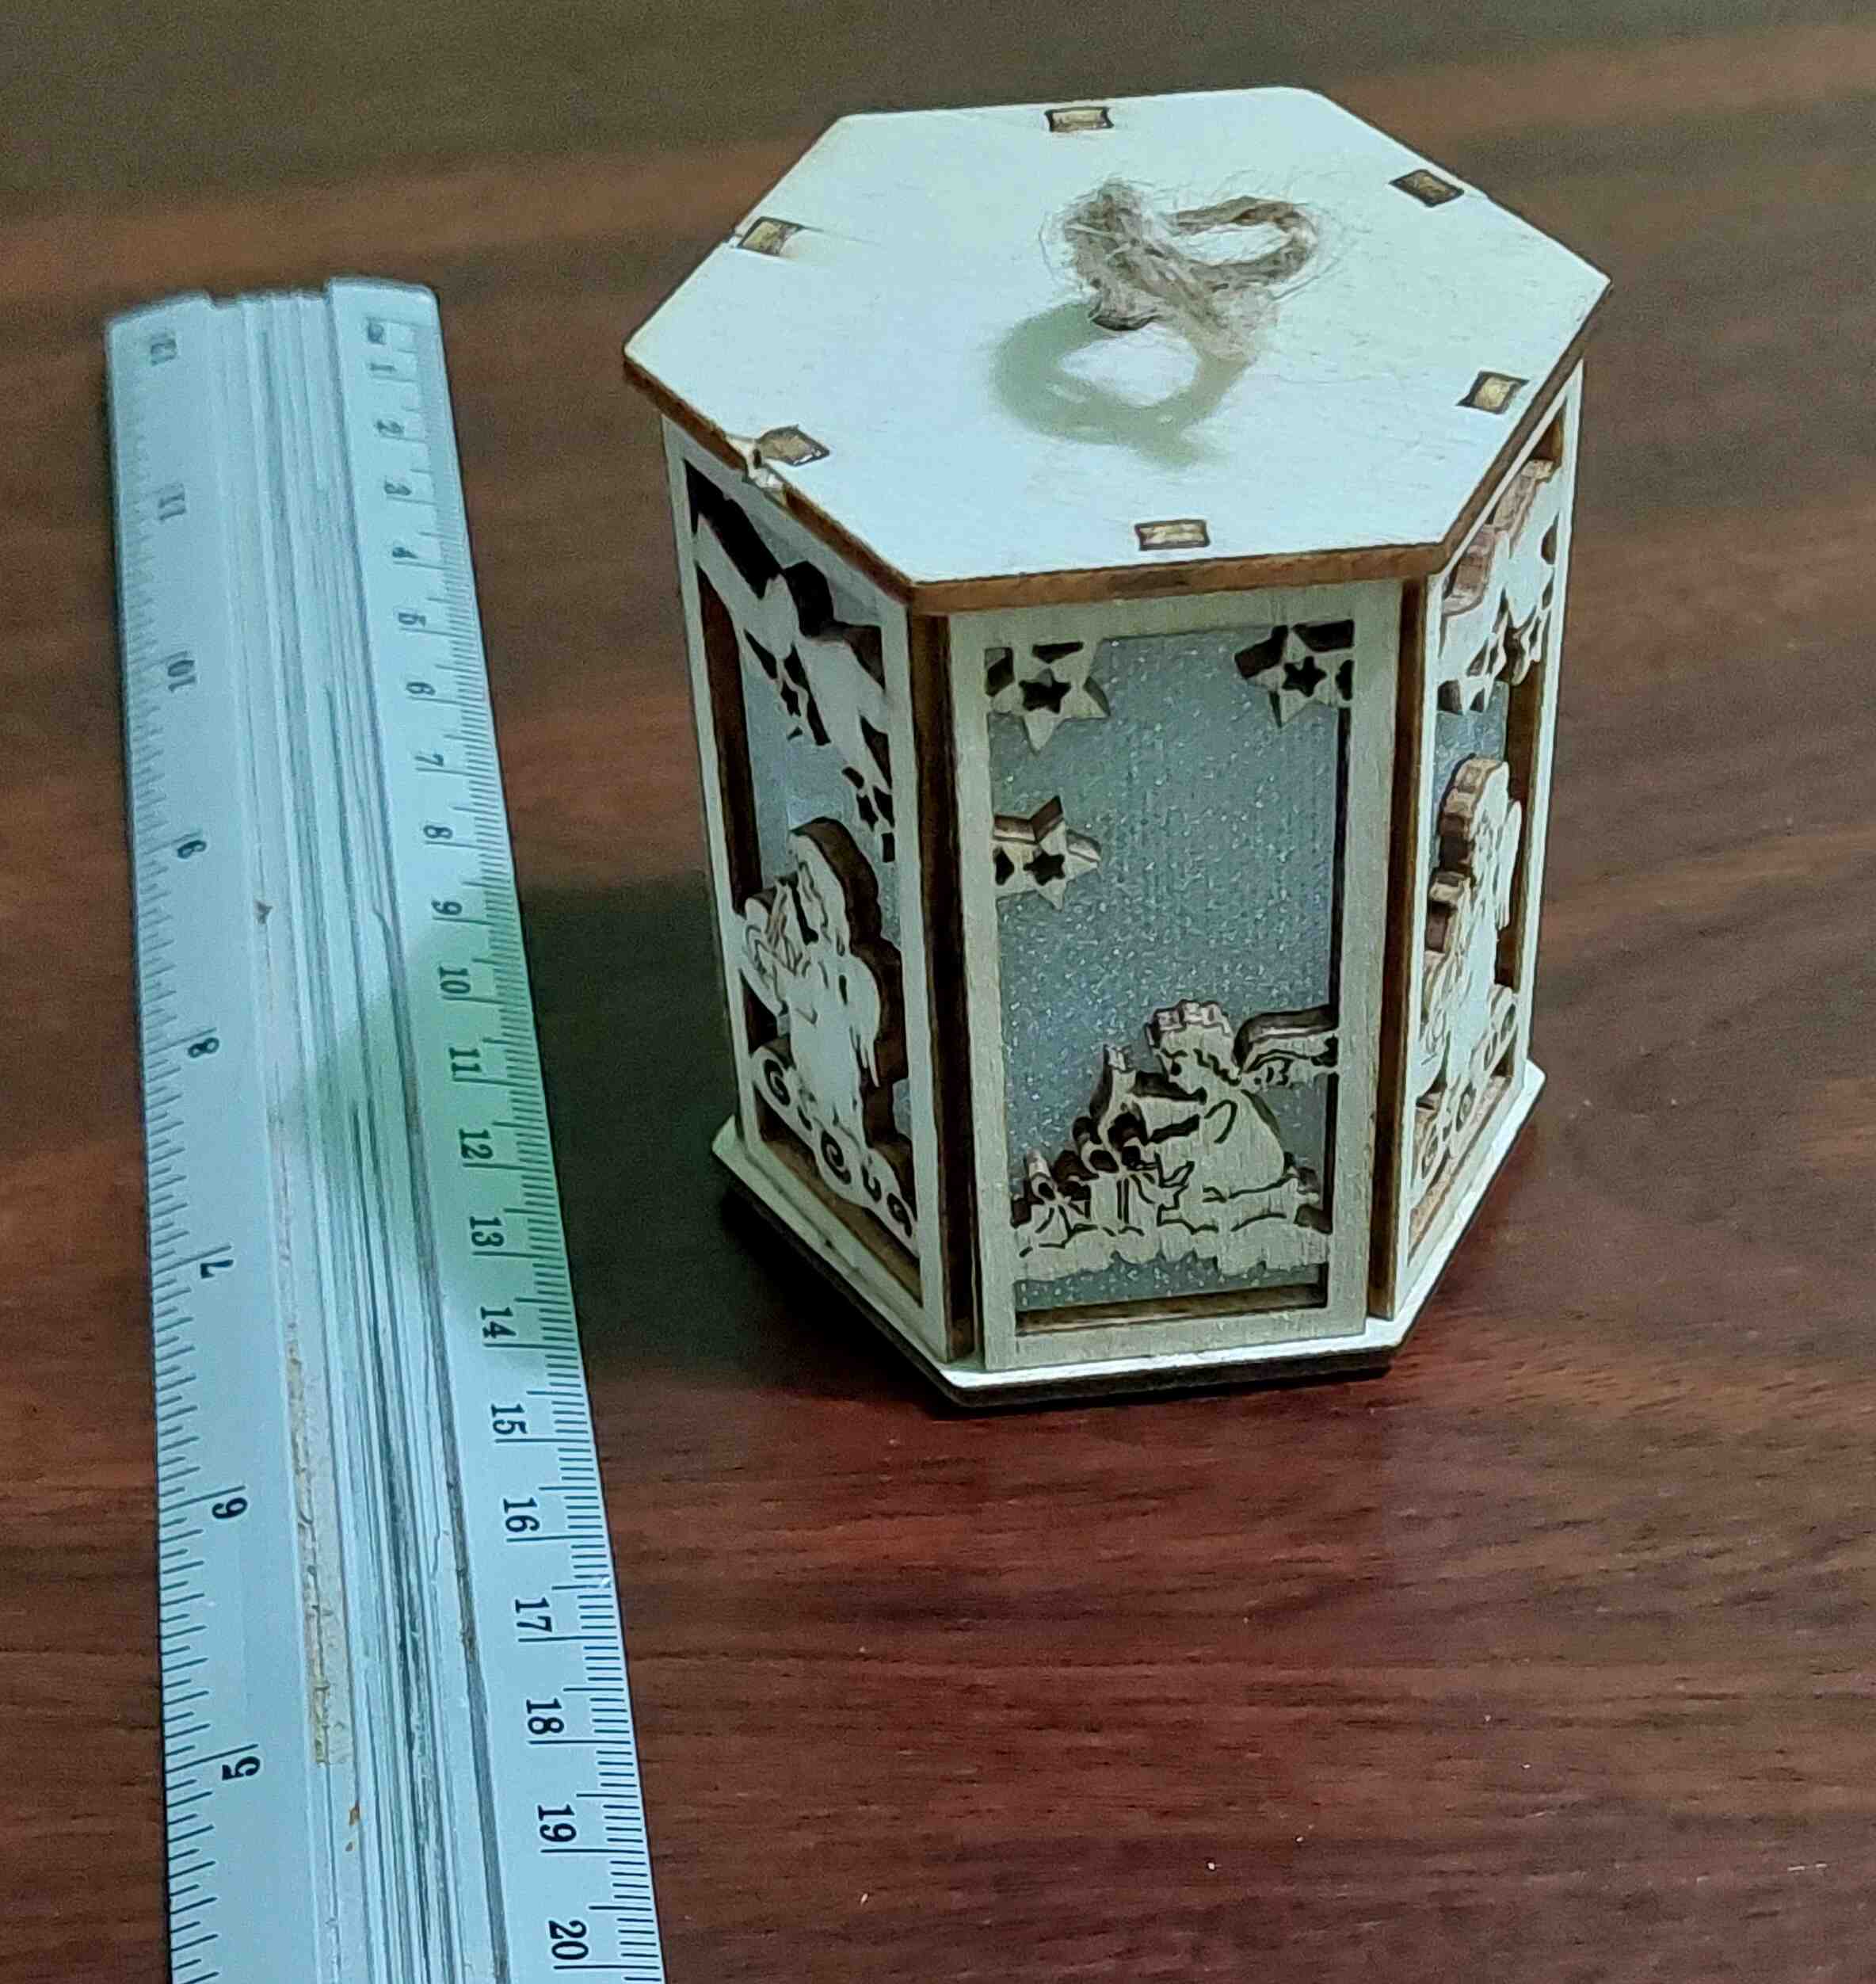
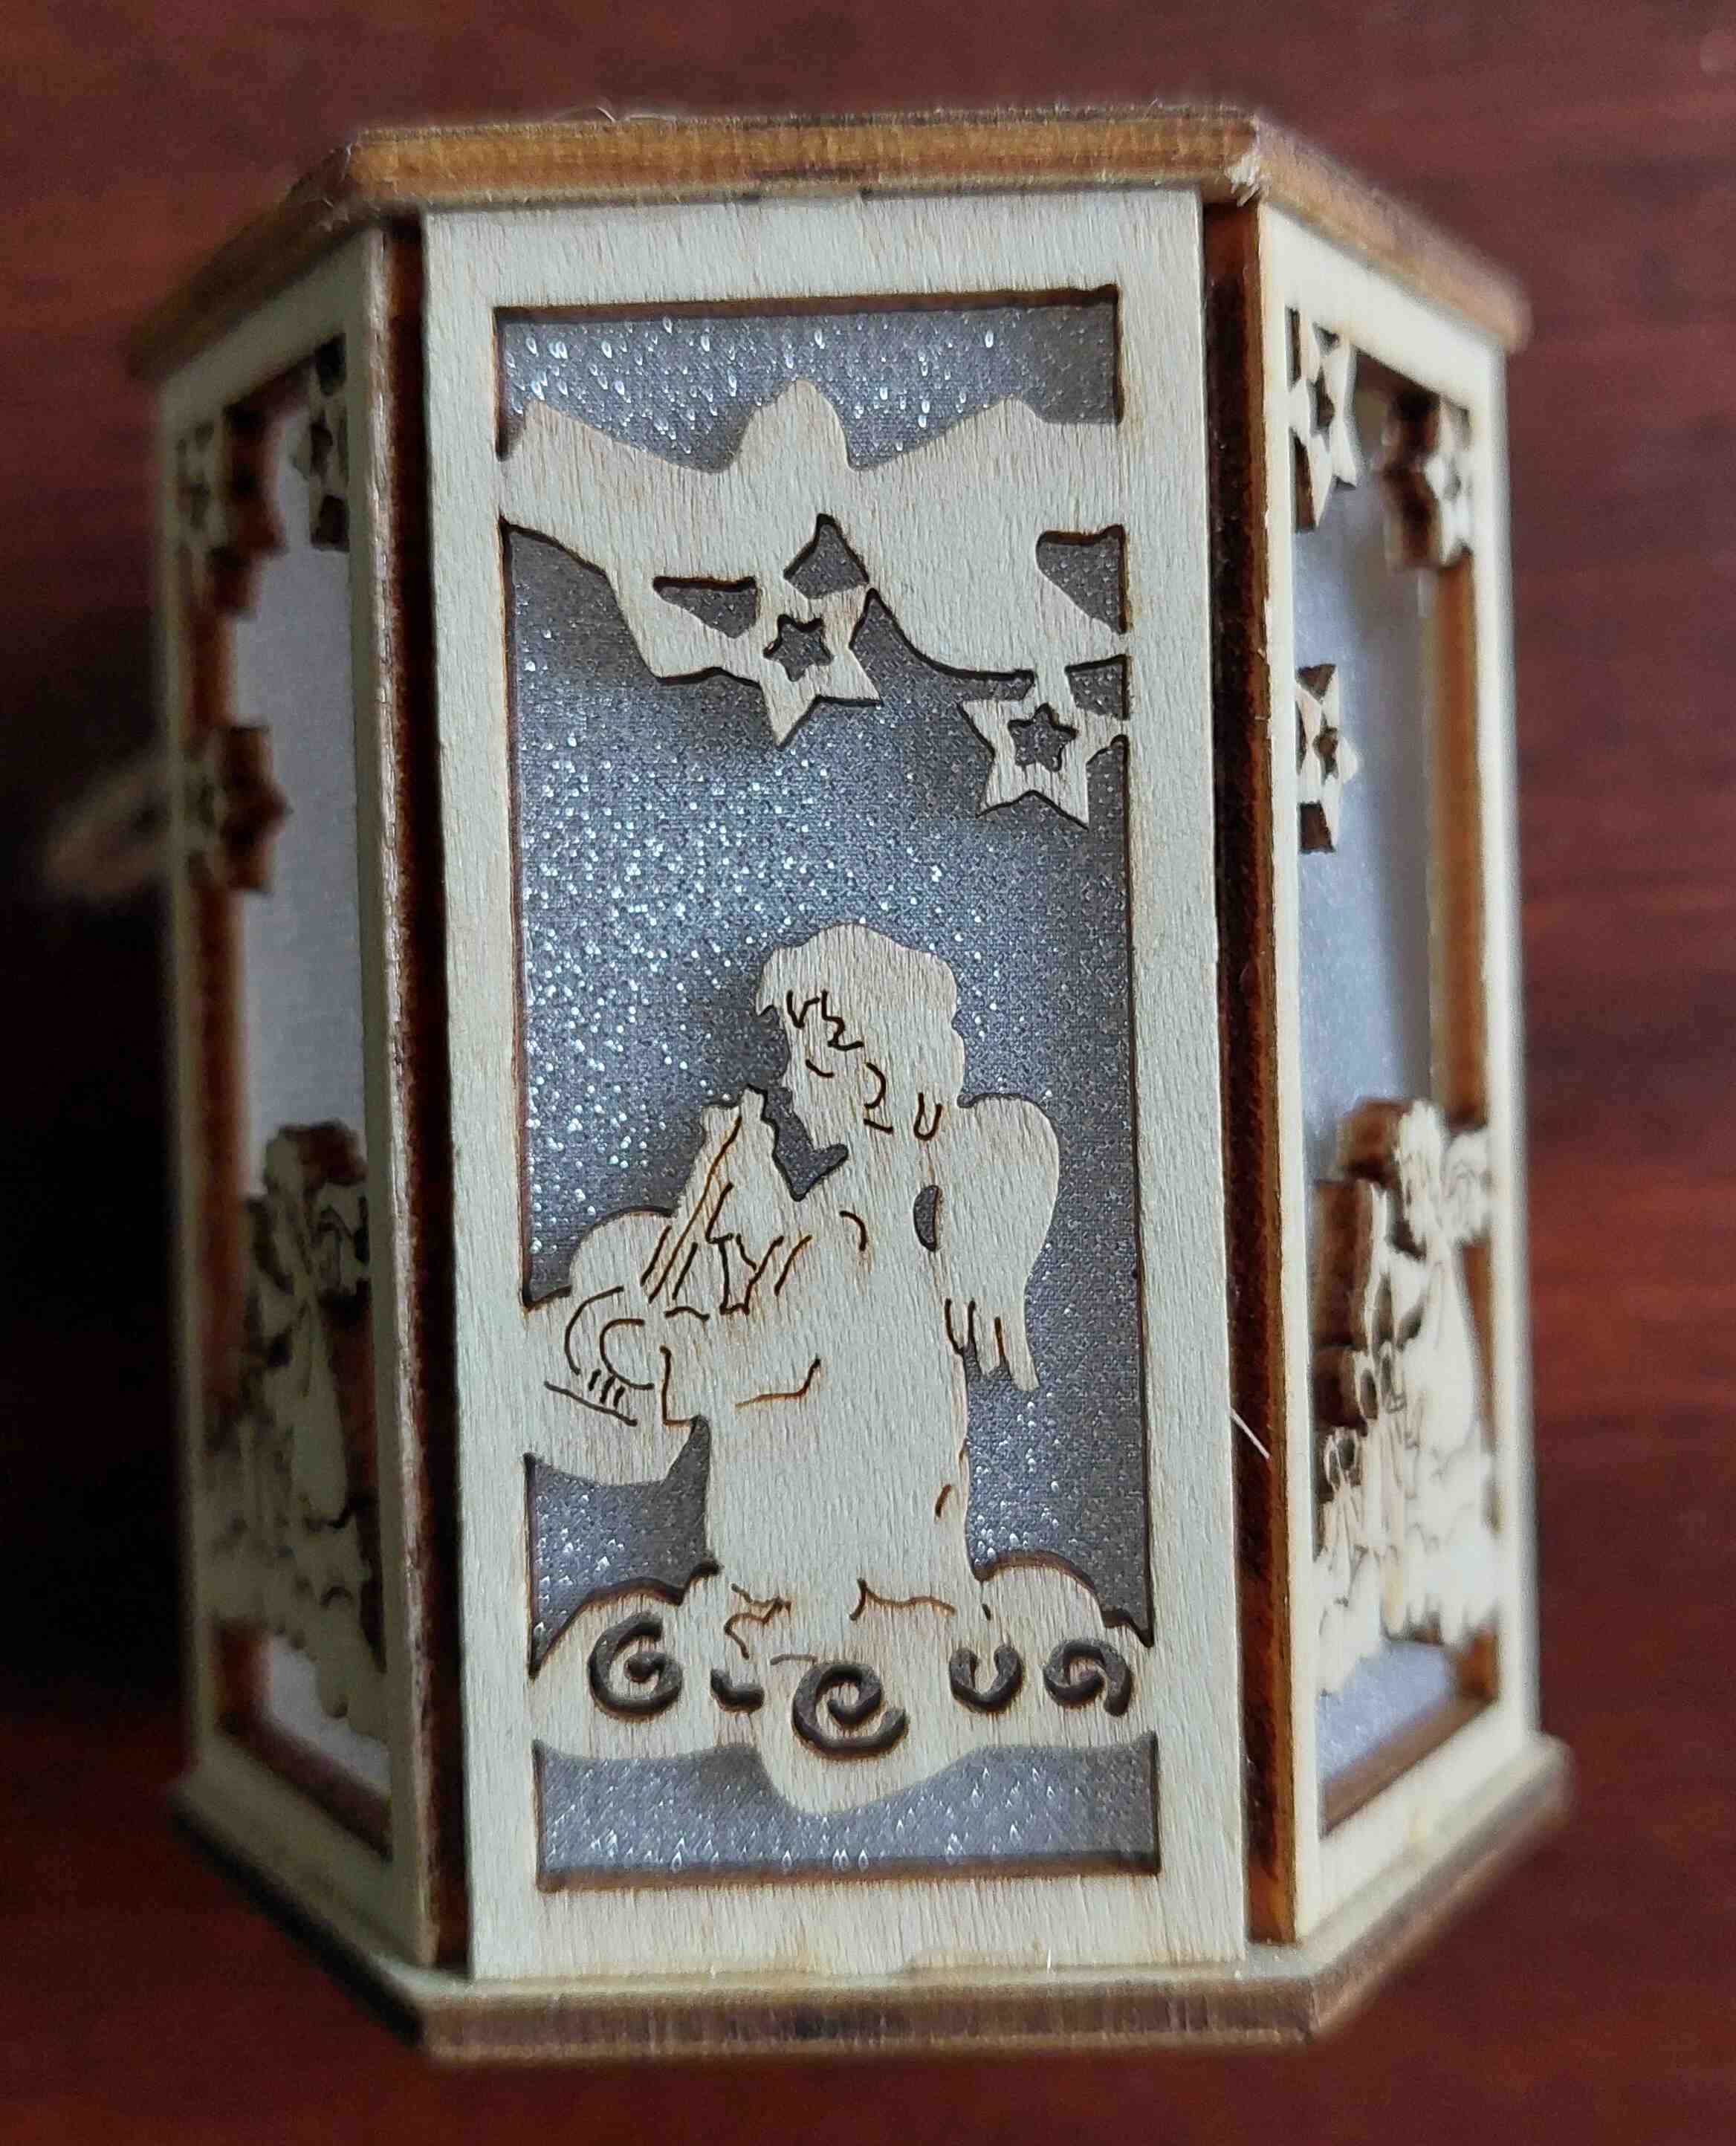
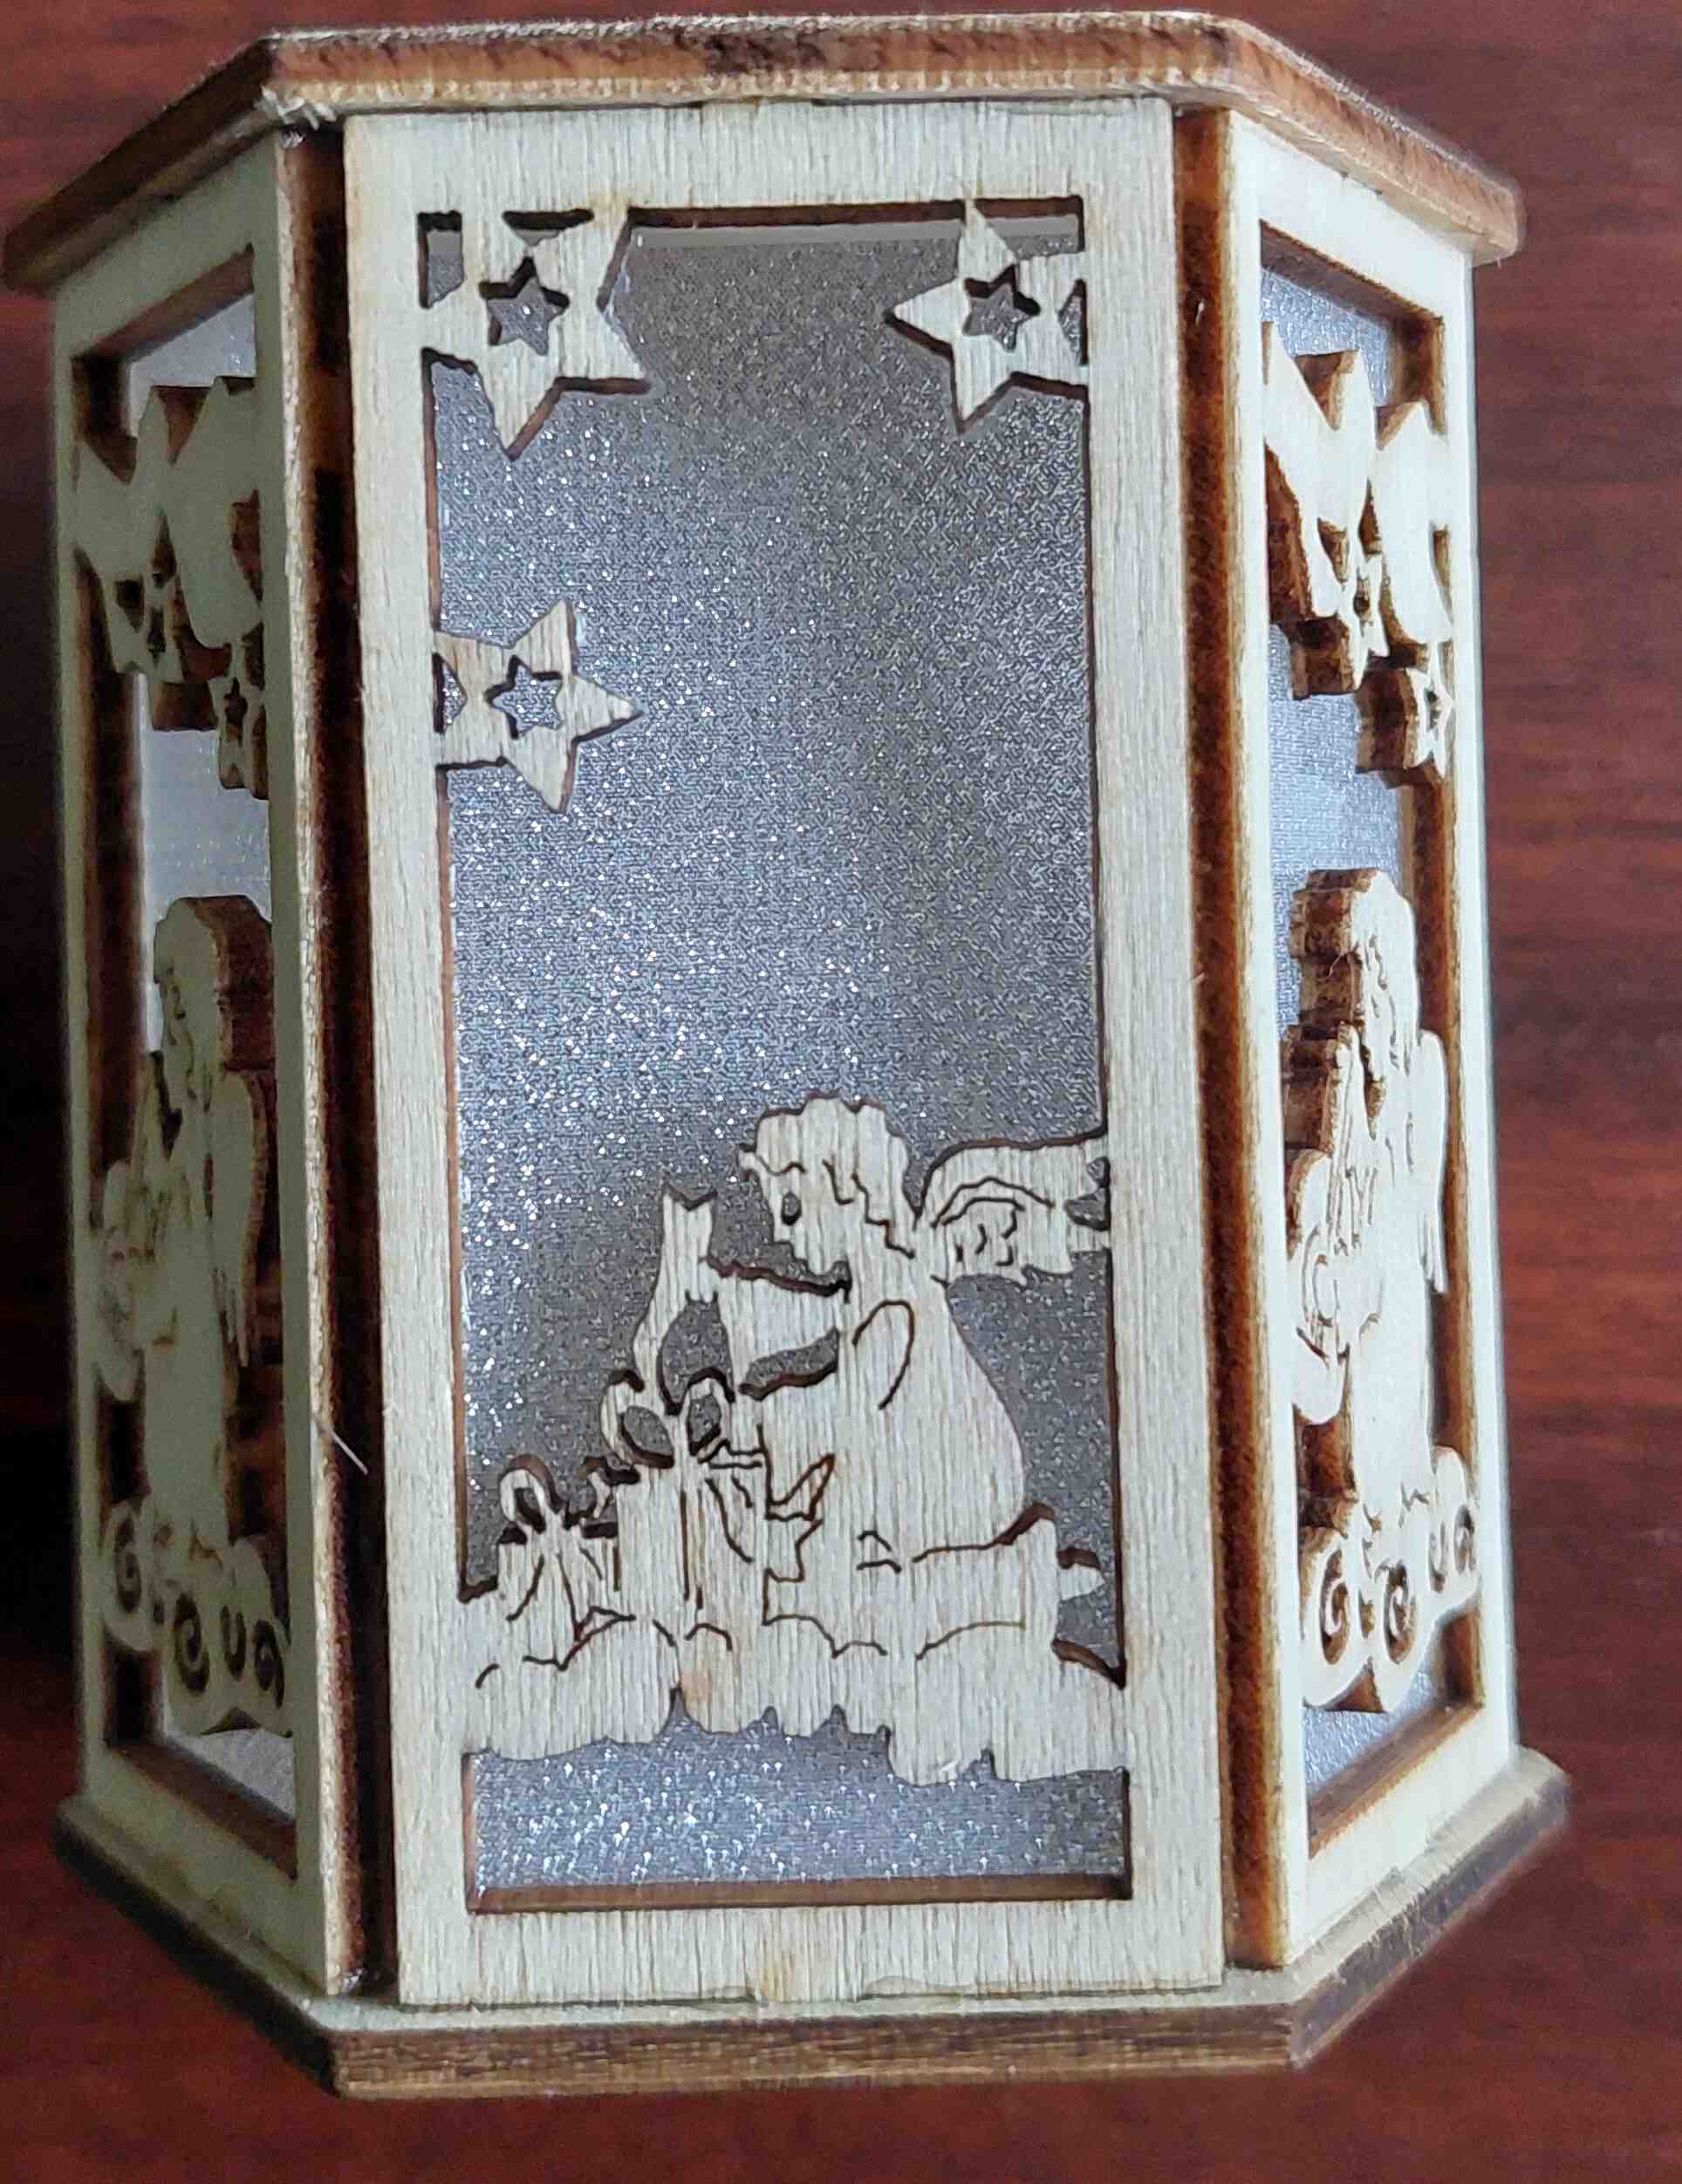
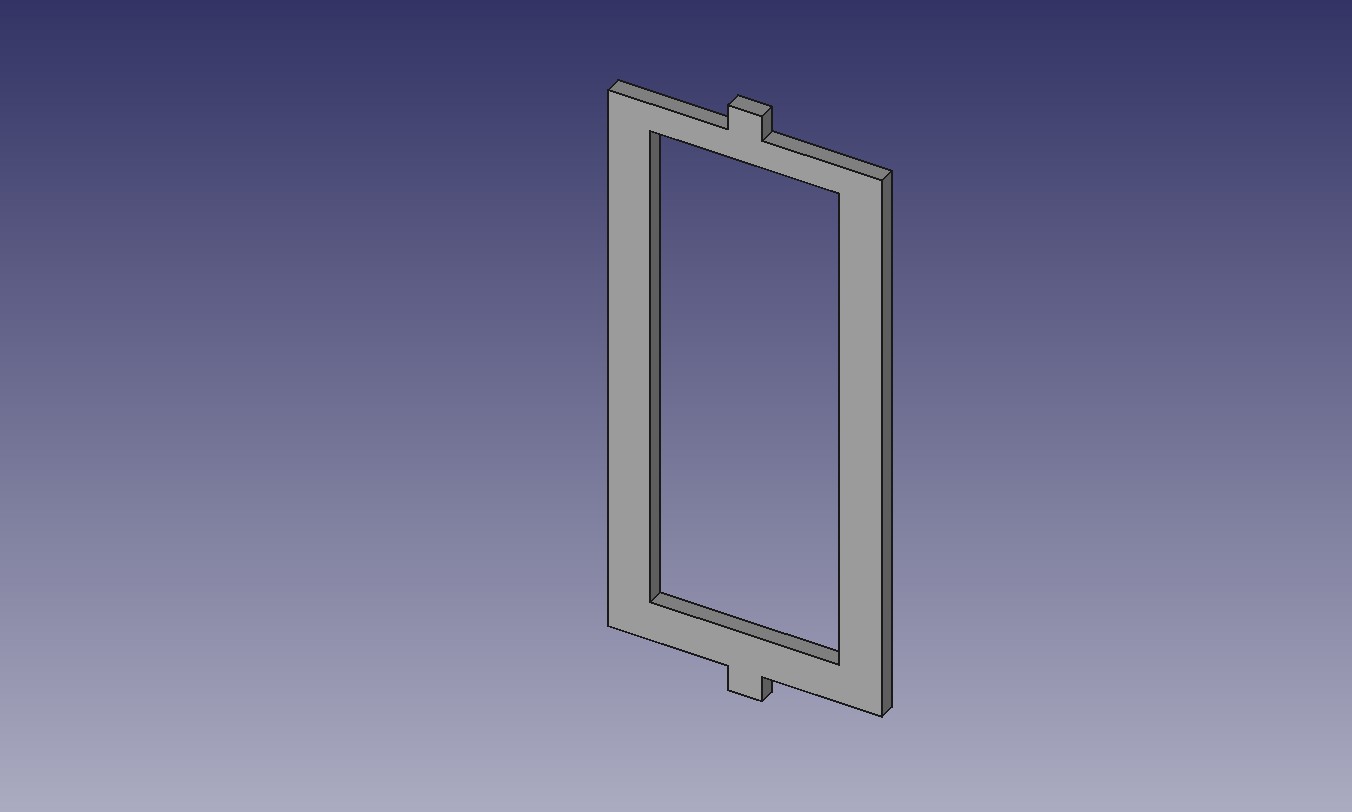
For this exercise I will use as a project the following 3D Christmas decoration to model it with FreeCAD.
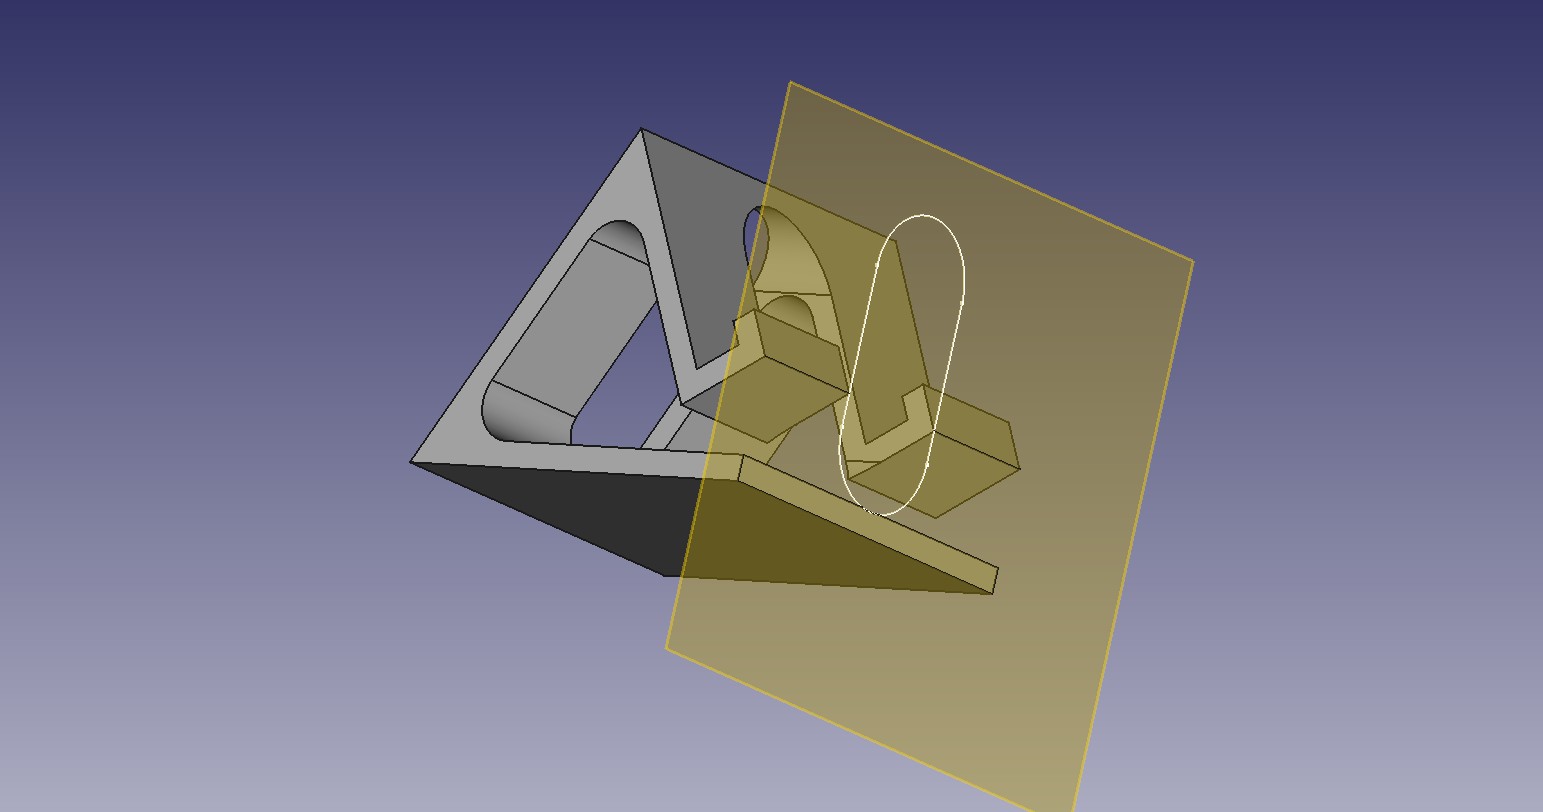
I start with some tutorials, written and video, exercizing some tutorials with Part Design workbench (phone-holder from here). It was quite instructive and you get the feeling of the flow, it feels quite an easy job stepping on a known path, see the result.
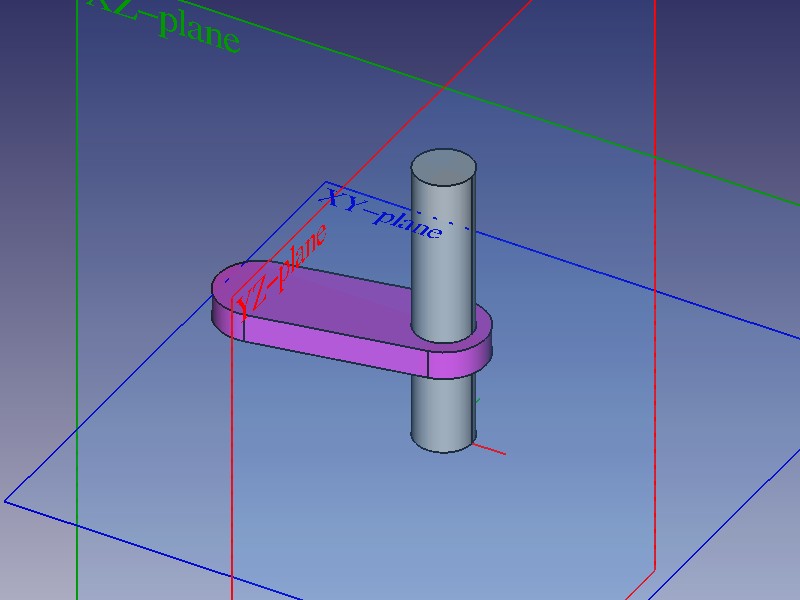
I go further with a tutorial about animation. For this one has to install the workbench Assembly 4 which is not part of the default distributions and needs instalation. After a while I come out with finished example coming from the following short and illustrative tutorial. See the output below, of a tube and a moving plate.
I also recorded a video with OBS that I just installed.
To take a snapshot directly from FreeCAD one has the option to Save the working window directly in the menu under Tools > Save Image…, but to be able to record an animation from within FreeCad you have to watch another 45 minutes tutorial that introduces you to using Macros and using Python. I will skip it for the moment.
Coming back to the project, I have succeded to create the components of theornament box, i.e two face, the top and on side face, the other being symmetric.
To make them I uses Spreadsheet workbench and I applied the PolarPattern to account for the symmetries. I still have to enforce some of the constrains in the sketches, but t looks ok for the moment. I just have to assemble and animate them.
Use SolidWorks
Postponed!
Simulation, rendering and animation
Started to study about the animation with FreeCAD, see above. For the other I will postpone them.
Video & Audio editing
Compress images and videos
> sudo apt install imagemagick
> convert input.png -quality 50% output.jpg
Example of other uses:
// Check which picture has transparent background or not.
> convert *.jpg -alpha on -alpha extract -format "%[opaque] %[fx:mean] %[fx:standard_deviation]\n" info:

// Check the information about an image file with the following command part oof the suit
>  identify -verbose  file.png  | less
Install and use ffmpeg
> sudo apt install ffmpeg
and use it to convert from .mkv to .mp4 format
ffmpeg -i inpu.mkv -b 1500k -vcodec libtheora -acodec libvorbis -ab 160000 -s 640x360 -g 30 output.ogg
or to create movies from pictures, see examples
$ ffmpeg -framerate 10 -i filename-%03d.png output.mp4
Other tasks performed
- Installed and used Imagemagick, OBS, ffmpeg
- Installed kdenlive, vlc
Todo list
Task for later passes on this homework
Website
- Display command line
Project files
- FreeCAD files
References
For this assignment I am following work from @nadieh, @nicolas.
I have discovered an website with tutorials produced by Fab Academy Community, it seems to not be maintained anymore but I find it useful for having a quick overview on the (mandatory) topics that we have to cover in the next weeks.