COMPUTER-CONTROLLED MACHINING
Make Something Big
Group assignment
The group's tasks:do your lab's safety training. Test runout, alignment, fixturing, speeds, feeds, materials, and toolpaths for your machine fablab website.
Inspiration
This week, we have to do something big with the CNC machine and explore the underlying difficulties, such as testing joints, using fixtures, adjusting feeds and speeds, cutting depth, as inspiration take ideas from OpenDesk and Denis Terwagne Design.
General Objective
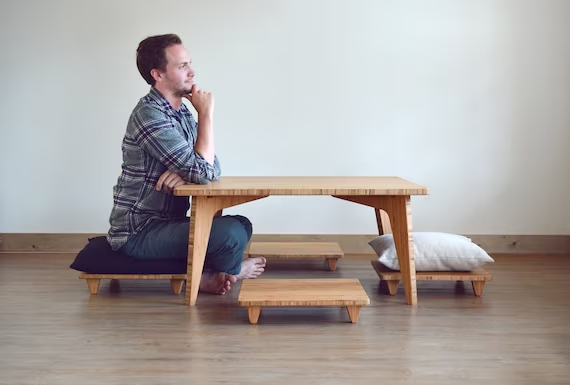
The idea is to make a kind of Japanese table, although perhaps not so close to the ground, that it works more as a place to put things than to write or eat.
Before Design
The Ulb Lab is well equipped with everything but it is important to always take into account the limitations of the equipment, for example the CNC from the company Step-CNC has a Max work area of 600x950mm, an important fact for our design.
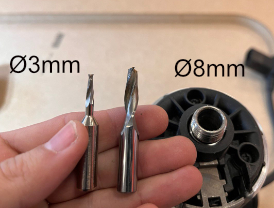
Another determining factor is the cutters, which come in various types, but in this section we will only use the flat tip (they are the most widespread and common), right now in the workshop the smallest cutter there is is 3mm so the slots cannot be very narrow.
Ok, Let's Design the Table

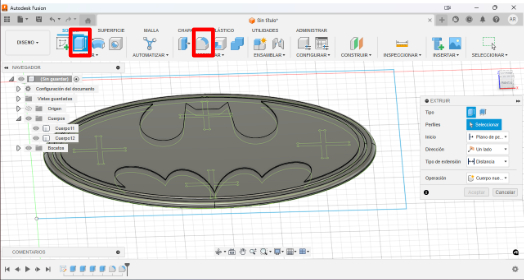
Unlike Week 2, this time we will not use Inventor but Fusion 360, another program from the Autodesk suite, not as complete and powerful as the first but very simple and comfortable for CNC machining.
Taking advantage of the benefits of CNC manufacturing we will give a little life to the table, for this I will look for a free SVG on the Web and I will apply the extrusion and splicing operations of week 2 to obtain and solid
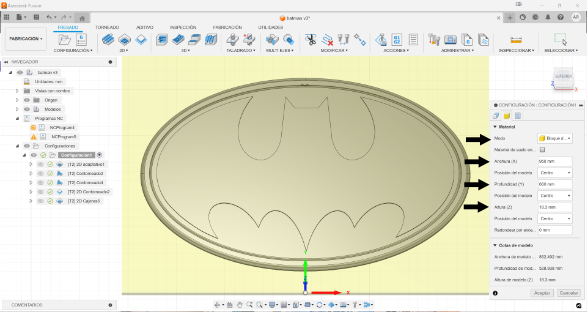
Once the design is ready, we move on to the Manufacturing part, where we establish the values of our material to work with (measurements and material), as well as placing the piece to be cut in the material and the point of origin.
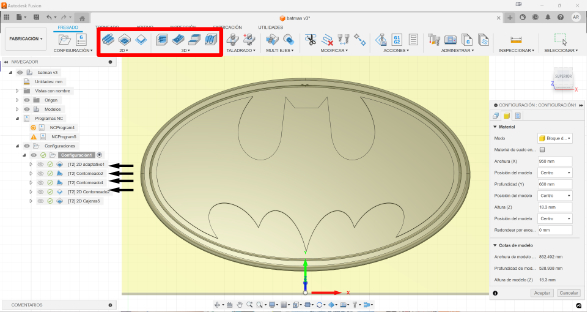
Now the operations are defined where I will do 3:
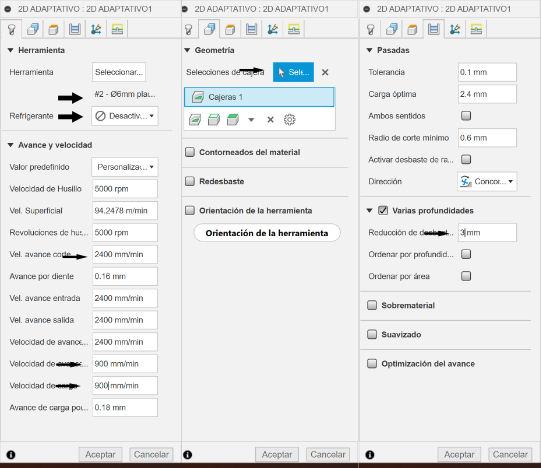
->Adaptive roughing to create the embossed batman
->3D contouring to smooth out height changes
->2D contouring to cut the part
In adaptive roughing we select the cutter, deactivate the coolant, configure the speeds, select the geometry to work and select the "various depths" option.
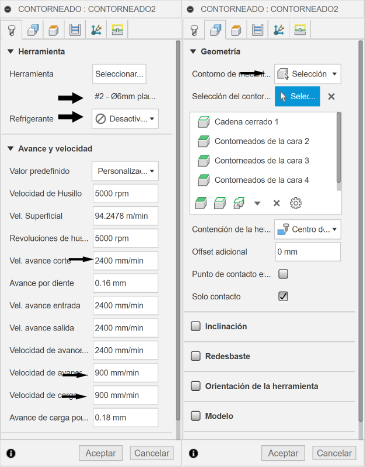
In 3D contouring we select the milling cutter, deactivate the coolant, configure the speeds and select the geometry to work.
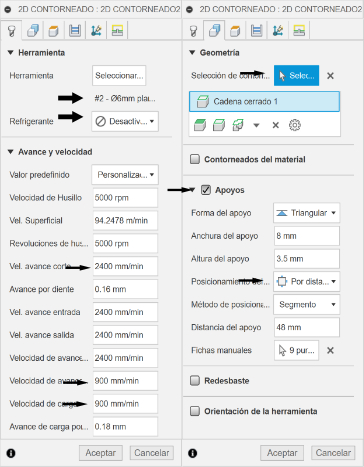
Finally, in the 2D contouring we select the milling cutter, deactivate the coolant, configure the speeds, select the geometry to work on and select the "Supports" option where we select the positioning by # of tabs and set it to 4.
Before manufacturing, the Fusion offers the option of simulating manufacturing to visually check the order of operations, depths, etc...
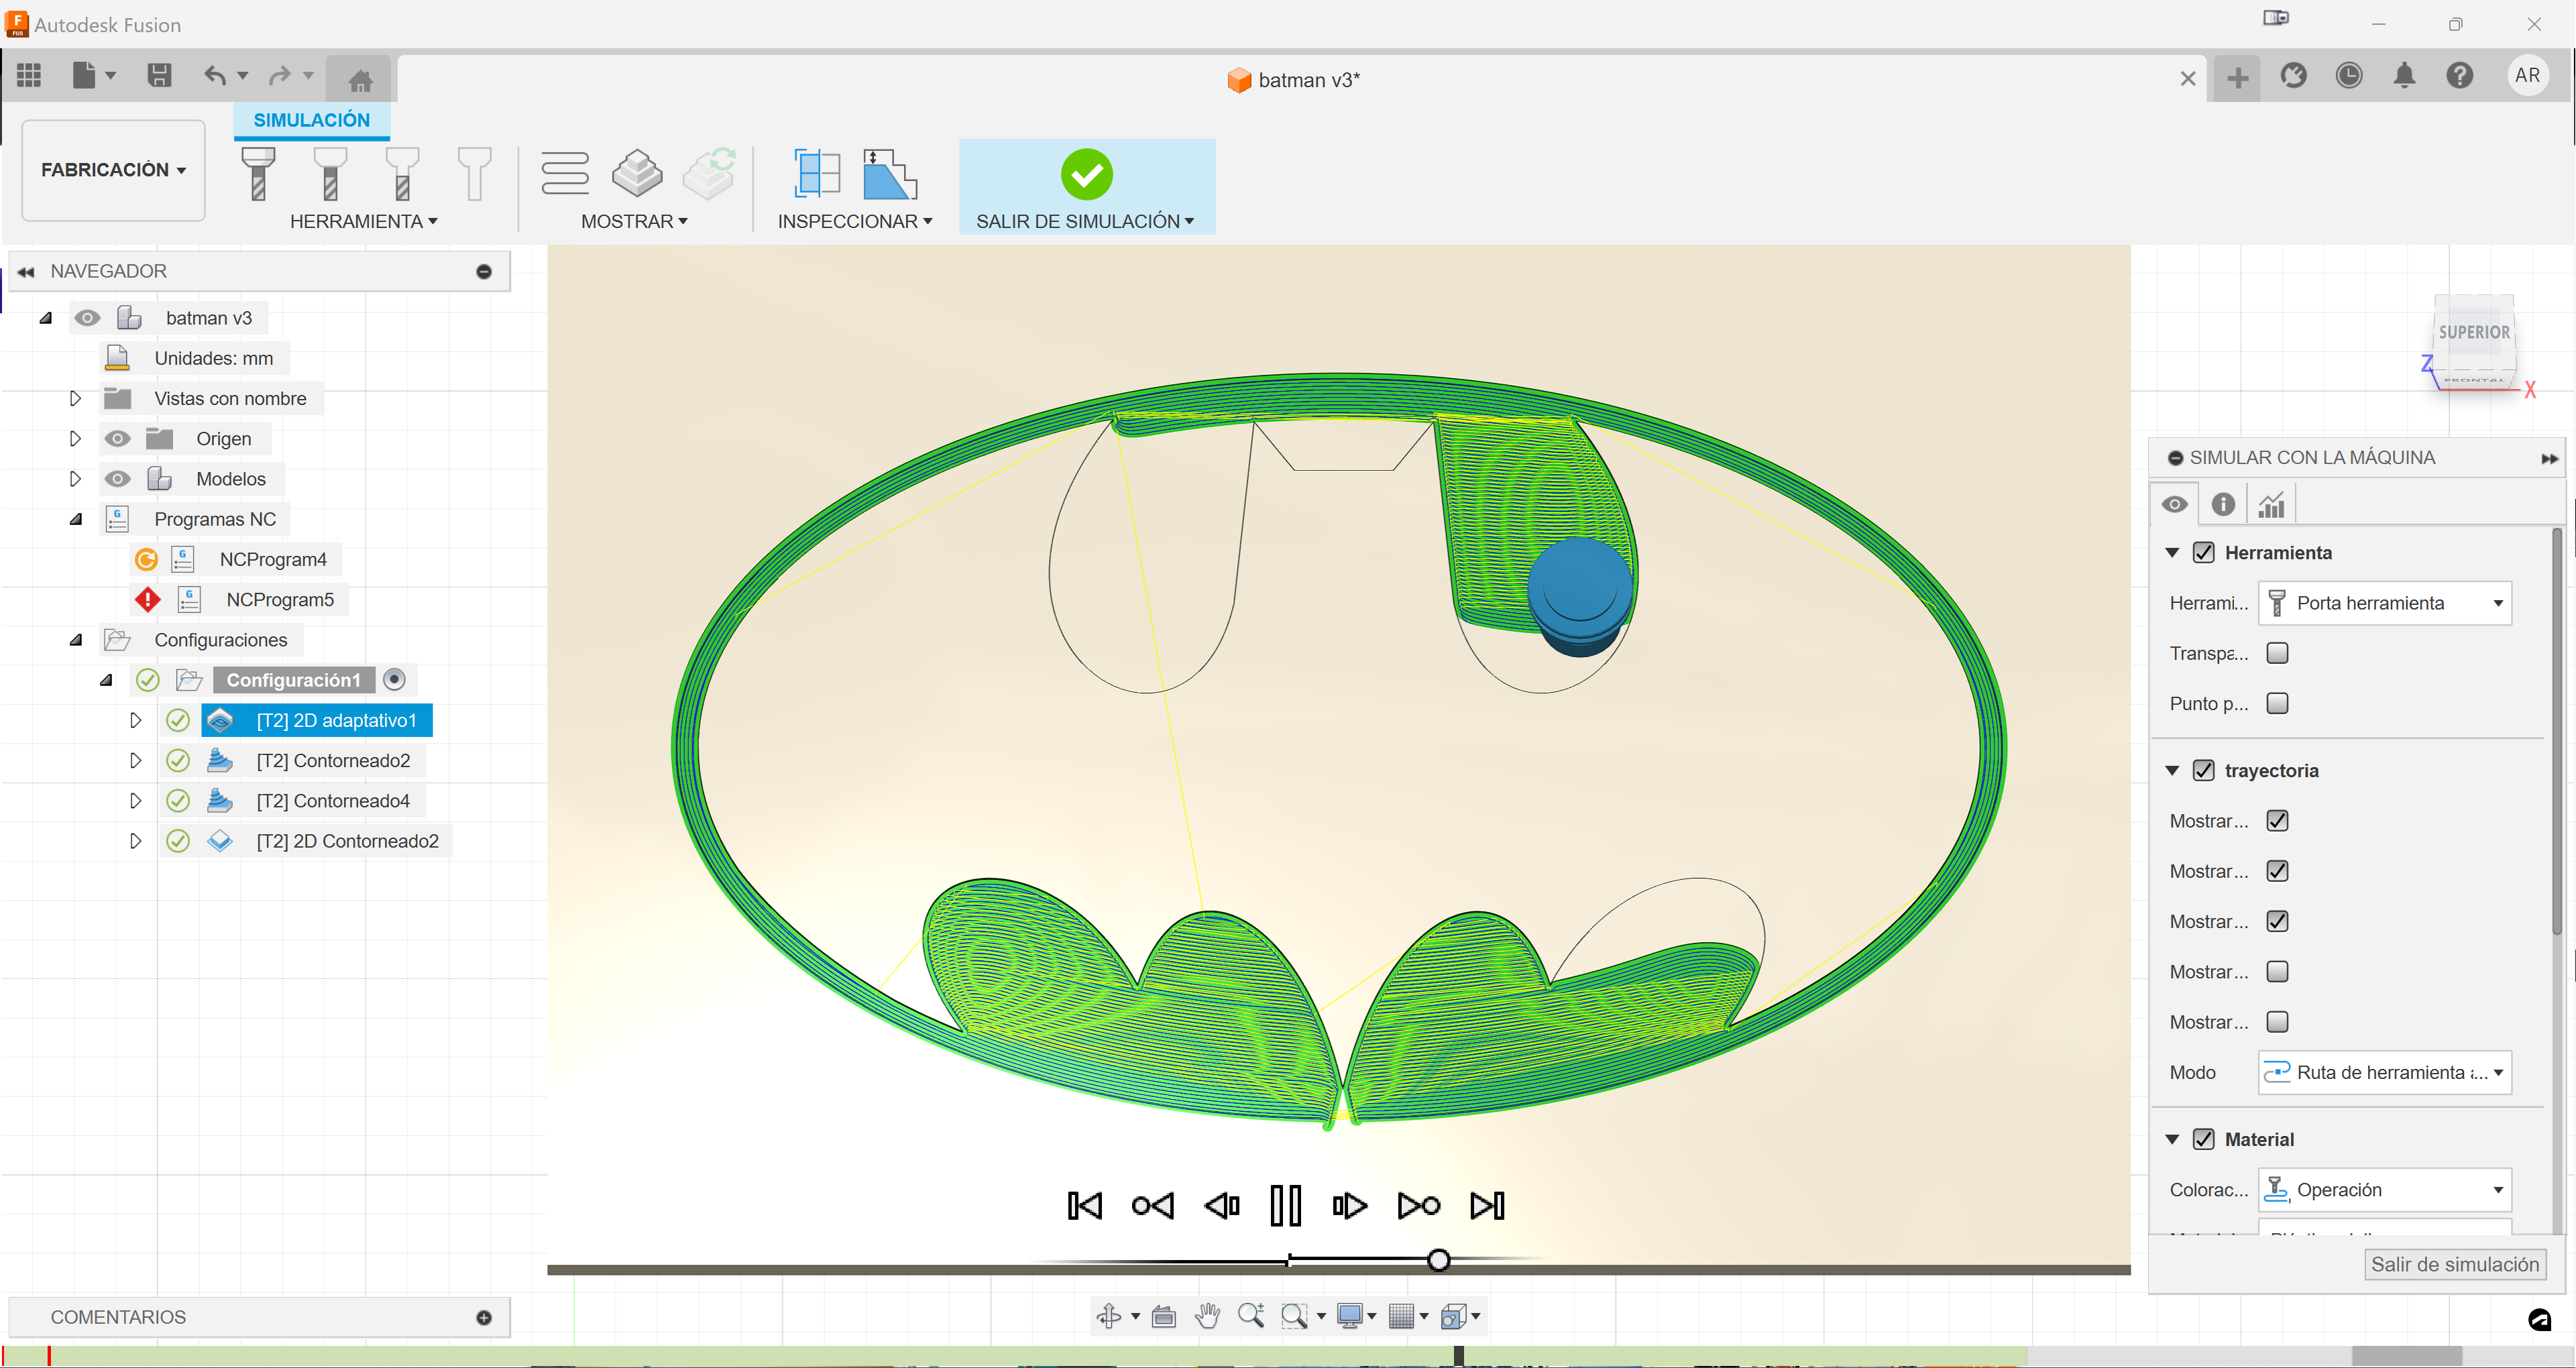
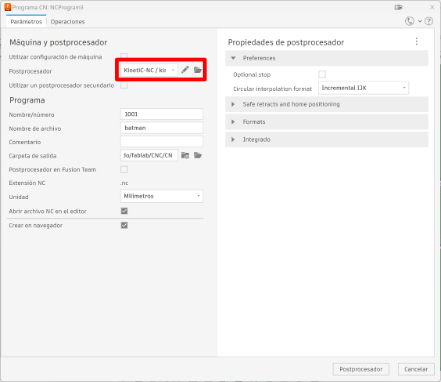
Once this is done, all that remains is to generate the code for the CNC, and it is very important to select the correct Postprocessor for the CNC in question (Kinectic-CNC in my case)
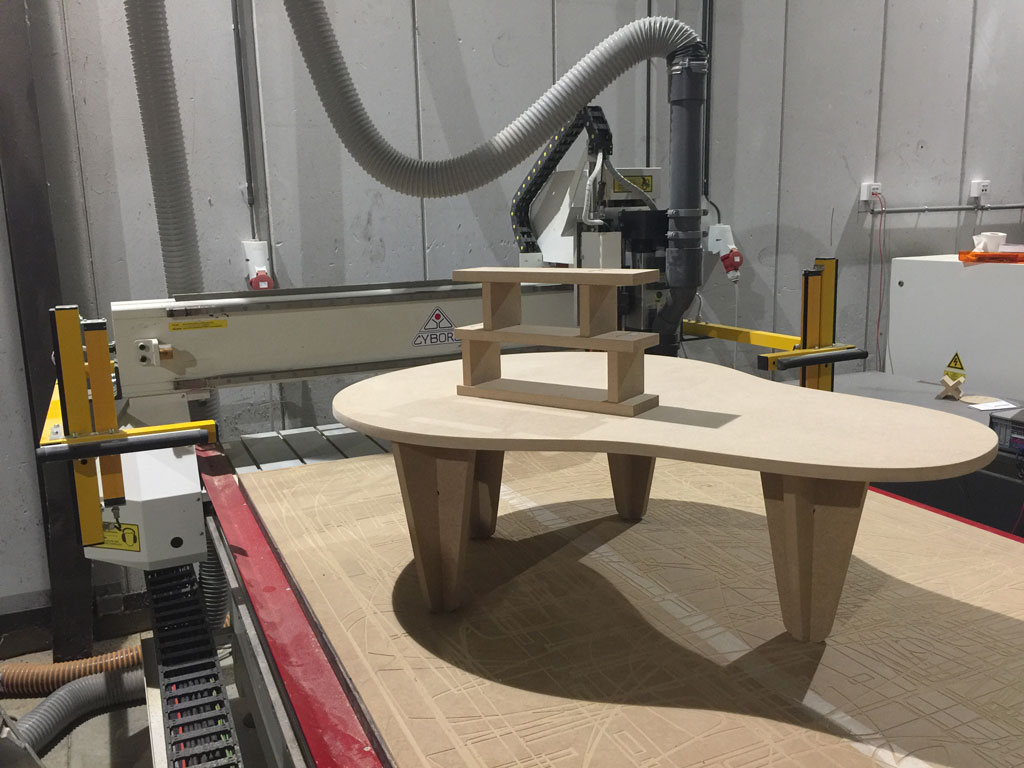
Manufacturing Time
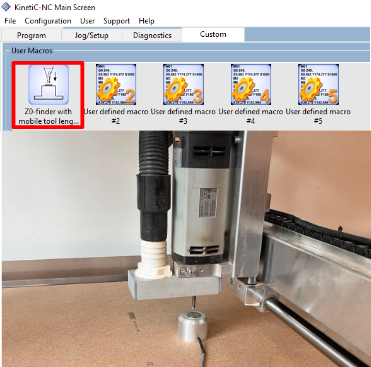
The first thing is to calibrate the Z axis, to do this we place the calibrate below the axis and calibrate with the software option
Integrating everything
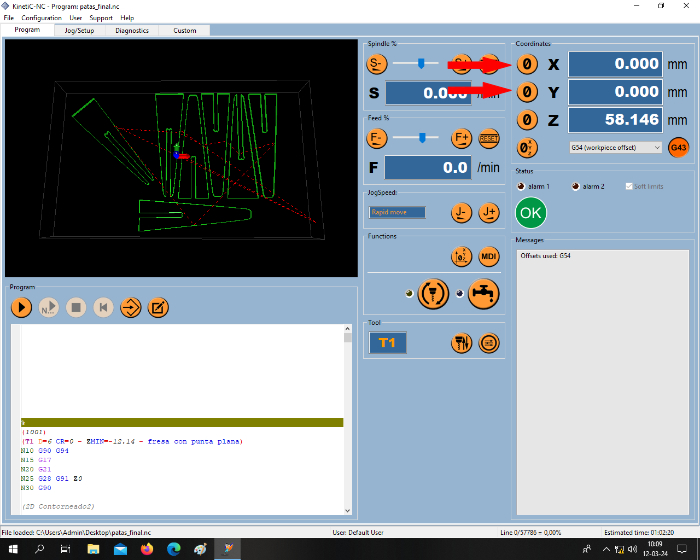
Then we match the X and Y axes of the machine with those selected in the design and establish them as the origin point. We load the code and the machine does all the work
In this video of the process you can see the work of the machine and if we look in detail you can see how I open the door on several occasions, highlighting the great safety of the machine.
A more manual job
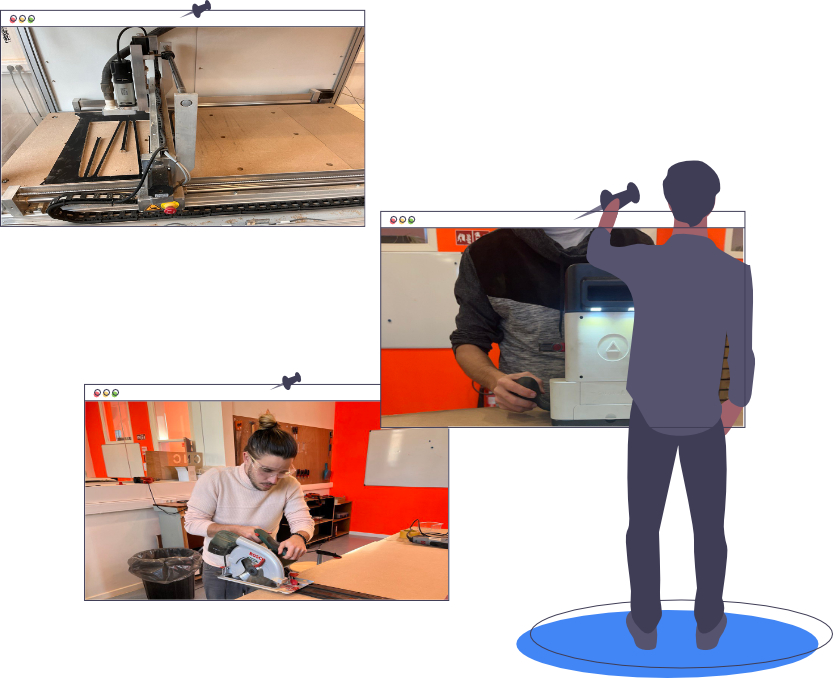
There is already a table but now the legs must fit, I could have used the CNC again but it seemed like a better idea to use the Shaper high pressure cutter.
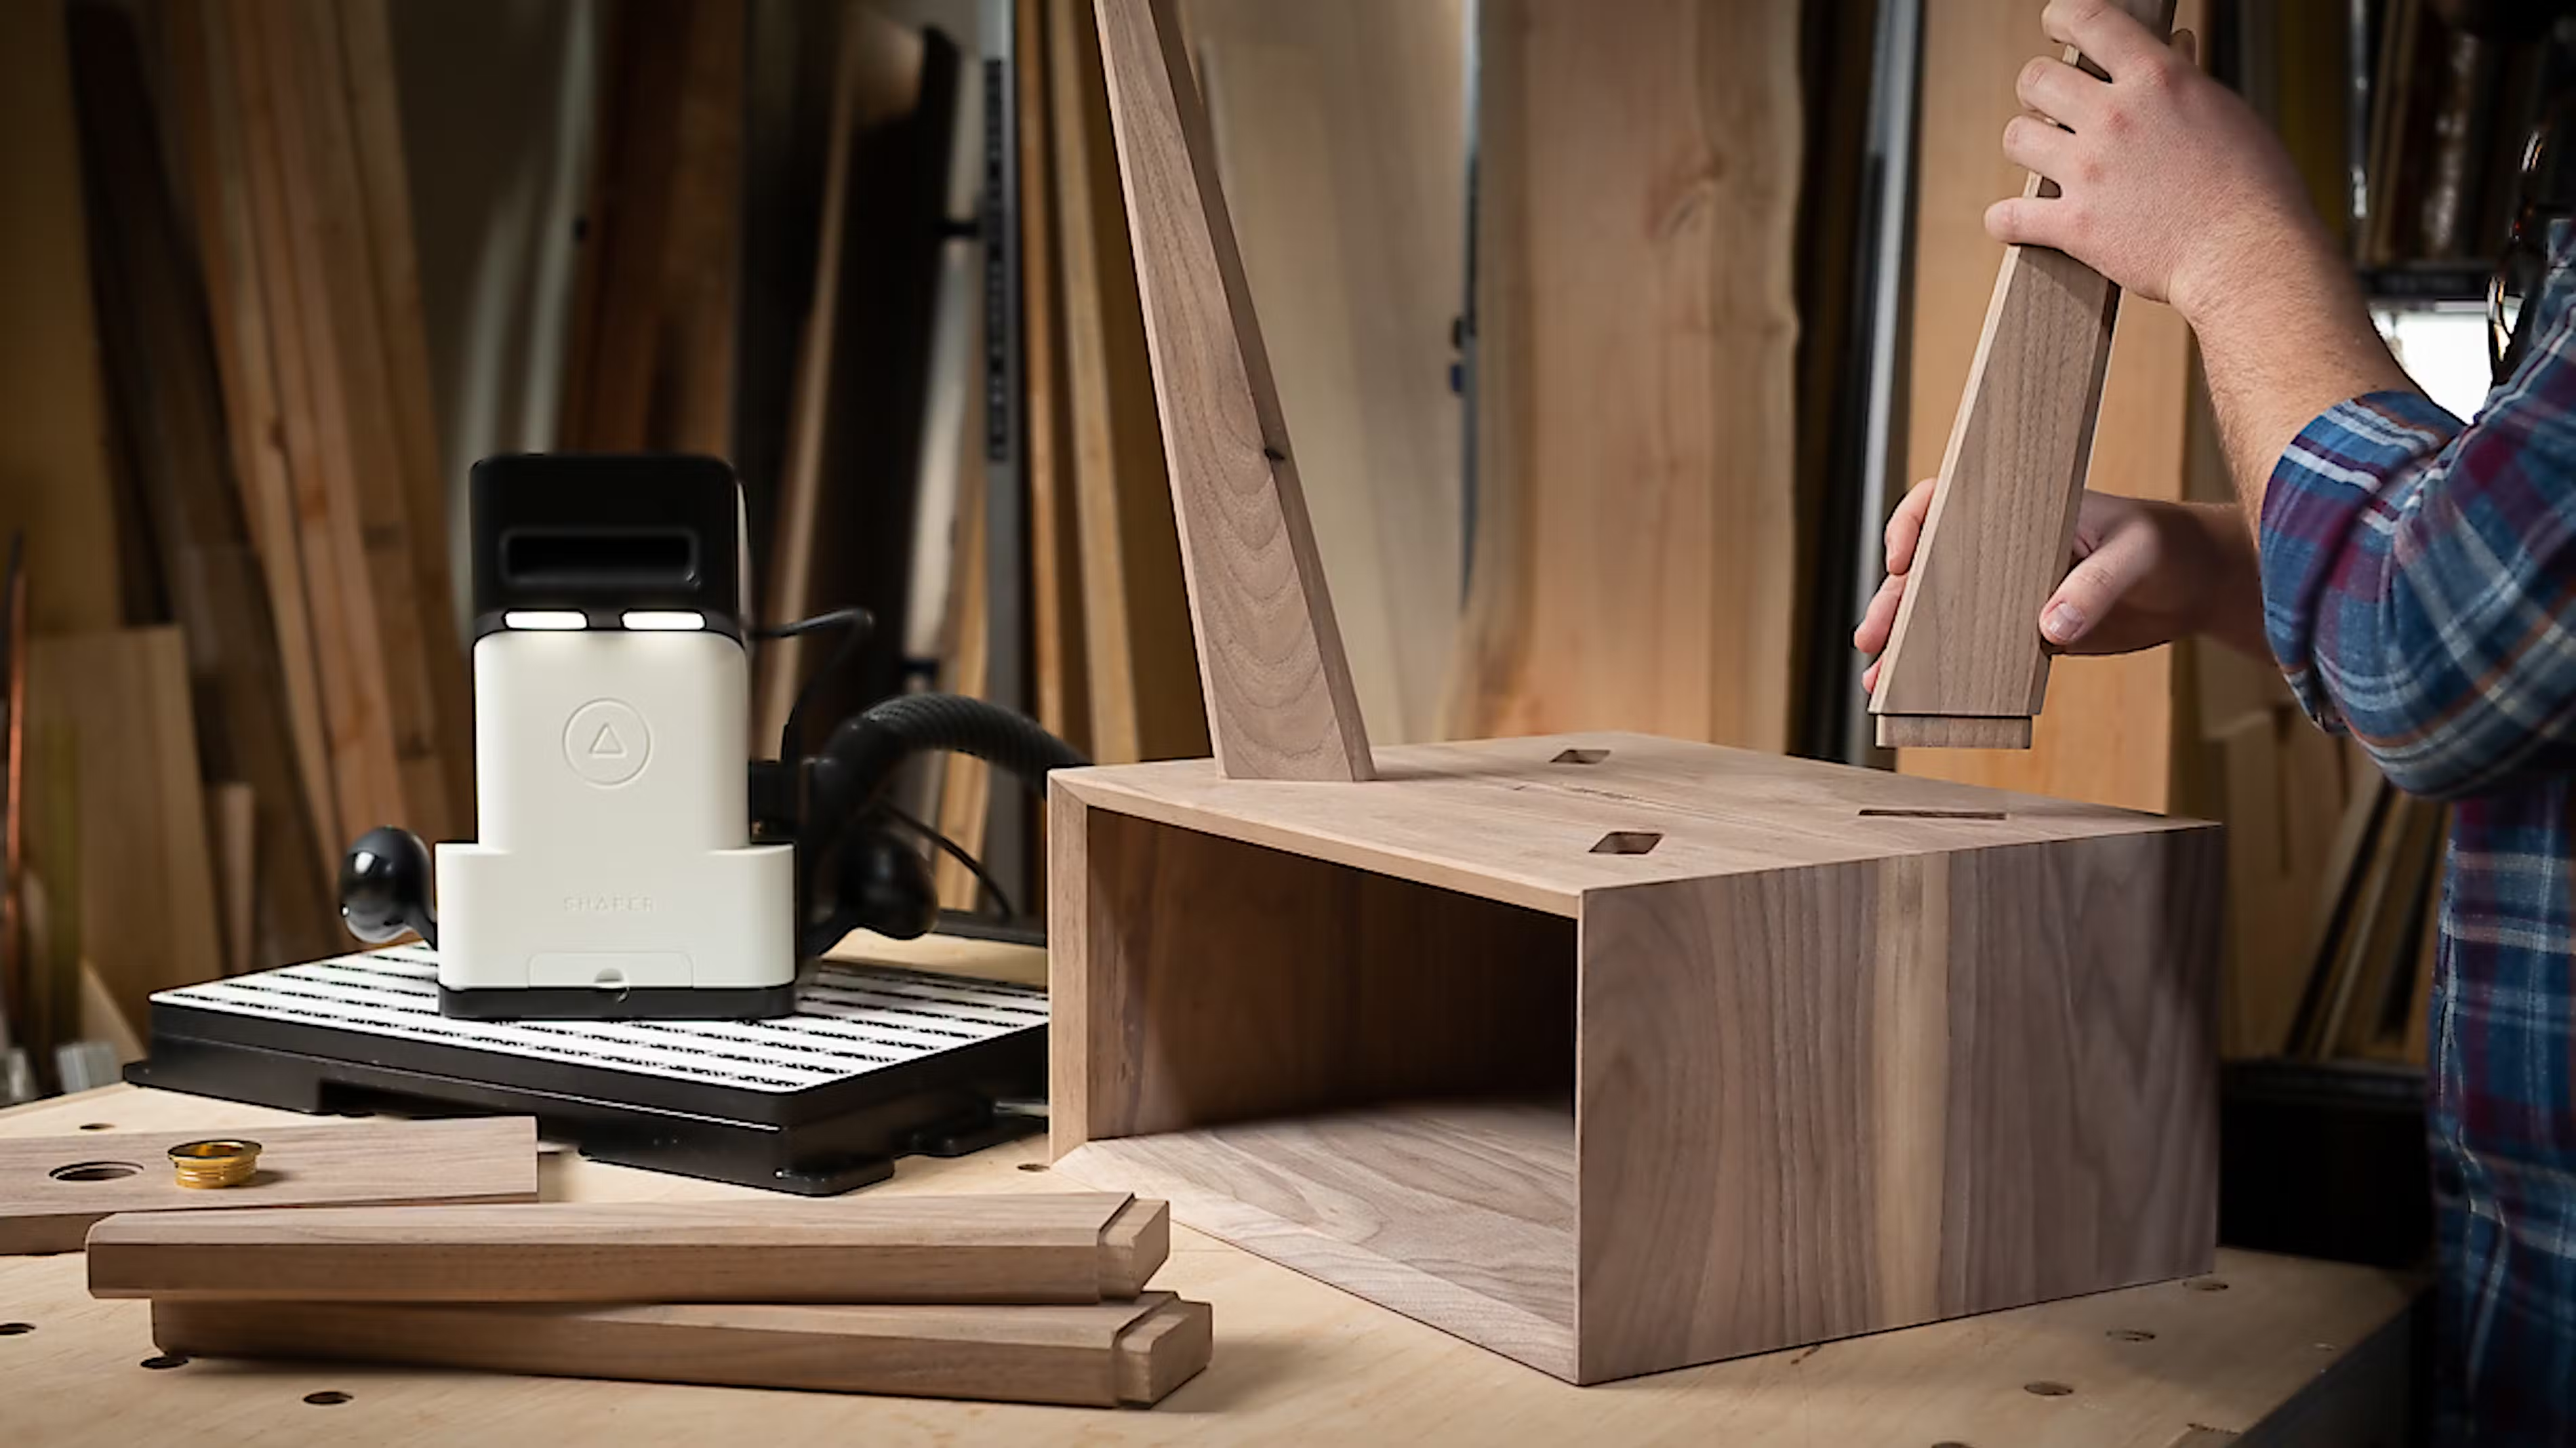
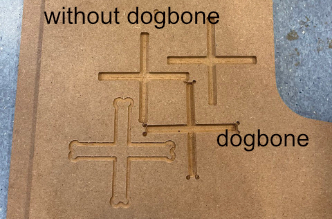
It was an iterative process of trial and error until I found the perfect fit point, saying that the dog bone technique was essential to achieve the perfect fit, but the milling cutter is not capable of making straight corners so this trick is necessary for it to work. the pieces fit
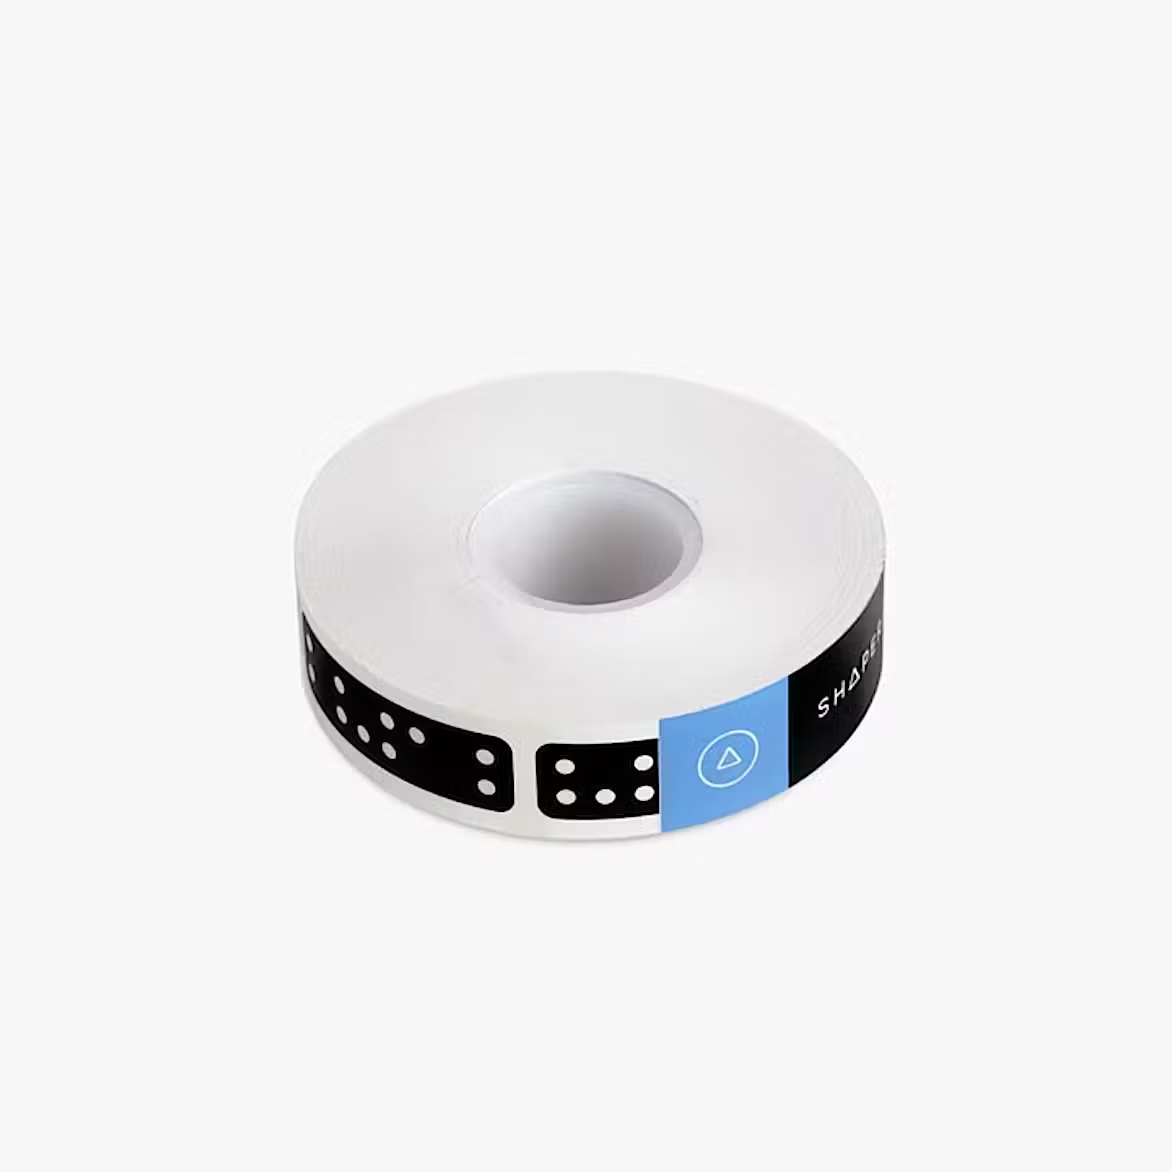
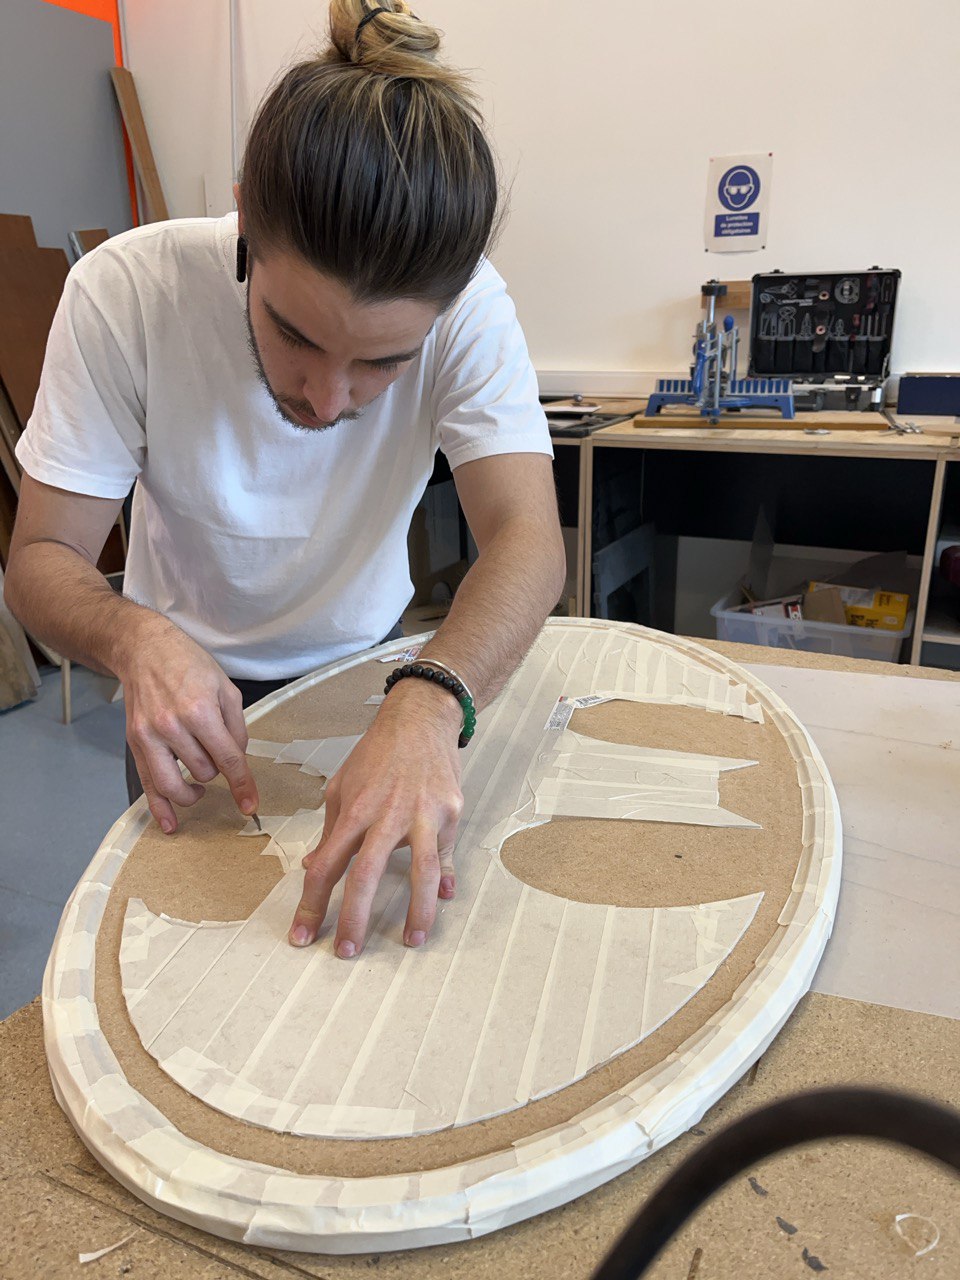
This CNC requires manual spatial positioning through a pattern of white dots on black rectangles with rounded corners and evenly spaced (much like dominoes), which allows the front camera of the CNC to be positioned.
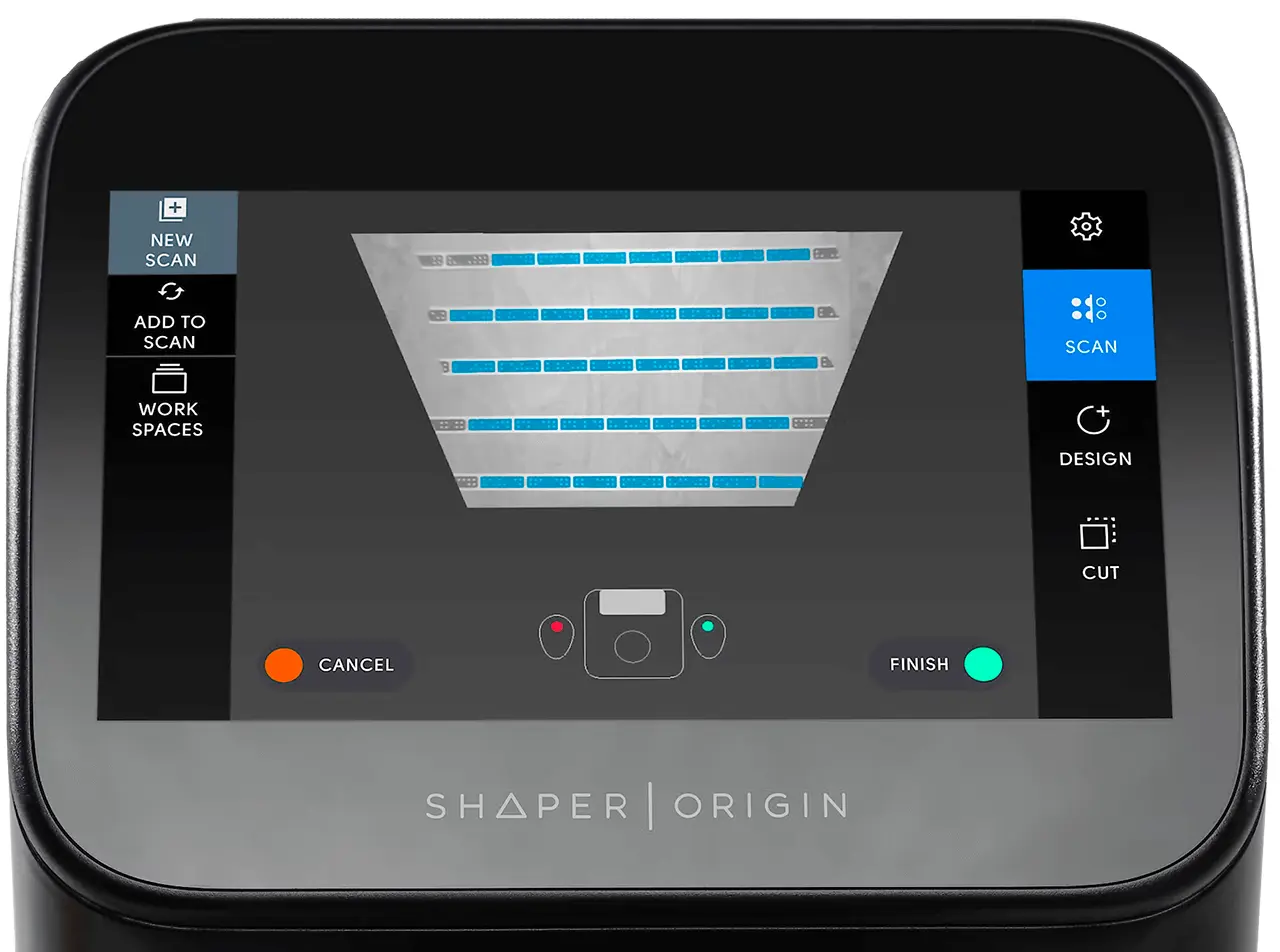
The tape is always placed parallel to the field of view of the front camera and with a separation of between 10 and 15 cm. The entire work area is then scanned, making sure to scan all sections of the Shaper tape, which will change color on the screen display as they are scanned. It is possible to modify the scanning process by adding new portions of tape.
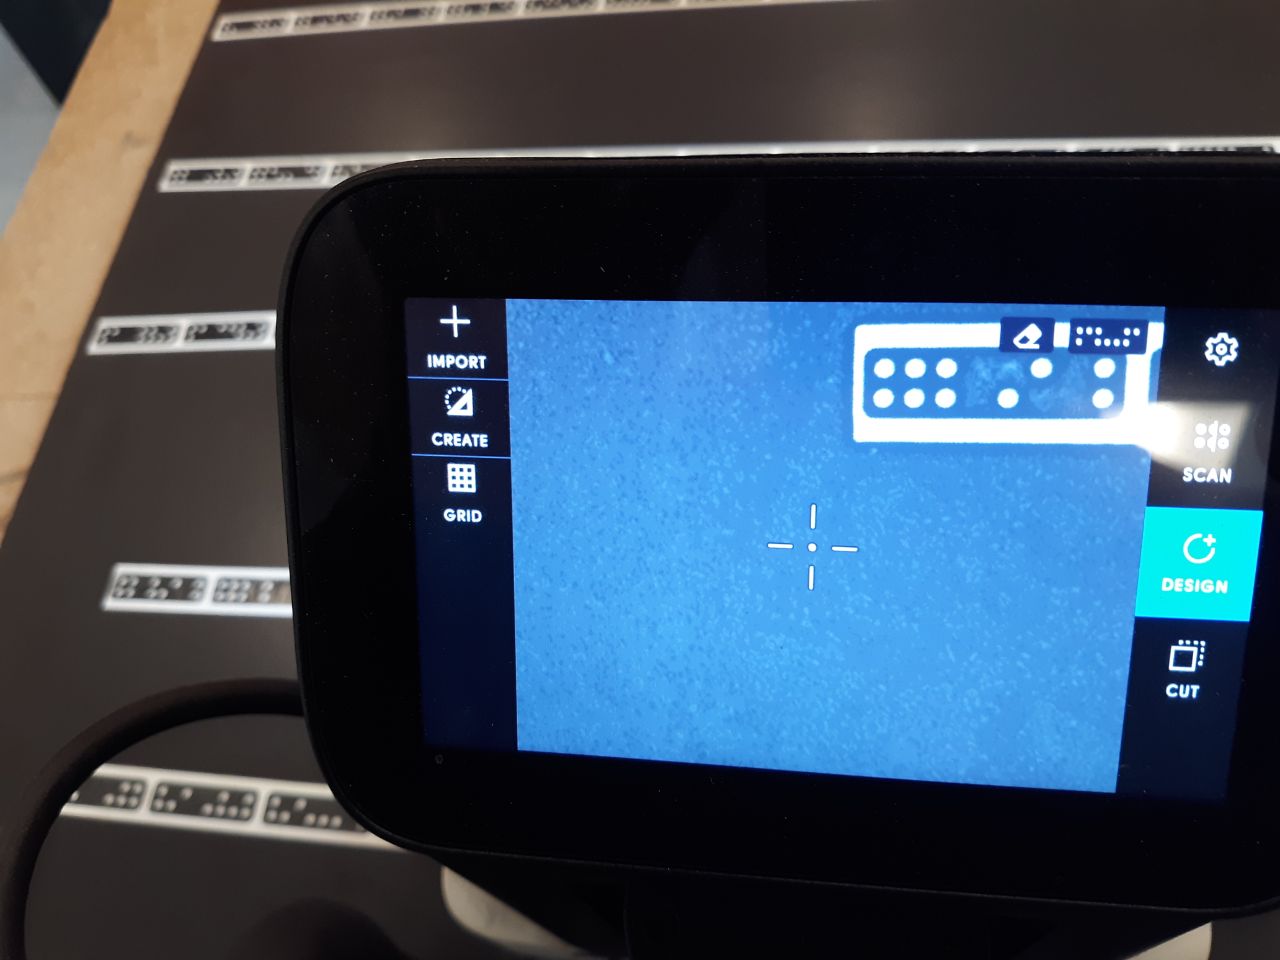
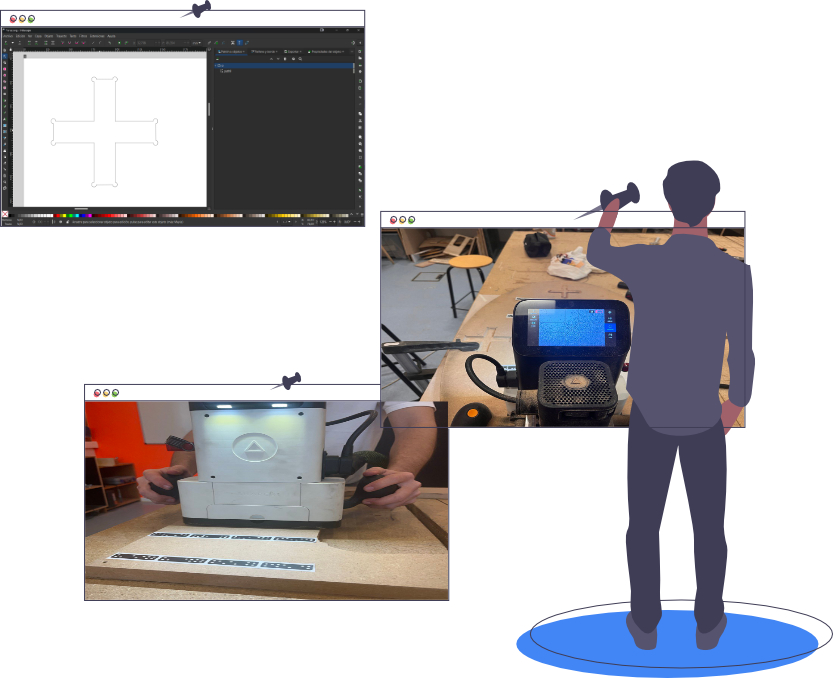
The desired design is created in the workspace, either in the CNC or by importing an already designed one. In this case only use the design loaded via USB, which are the crosses for the table legs to fit into.
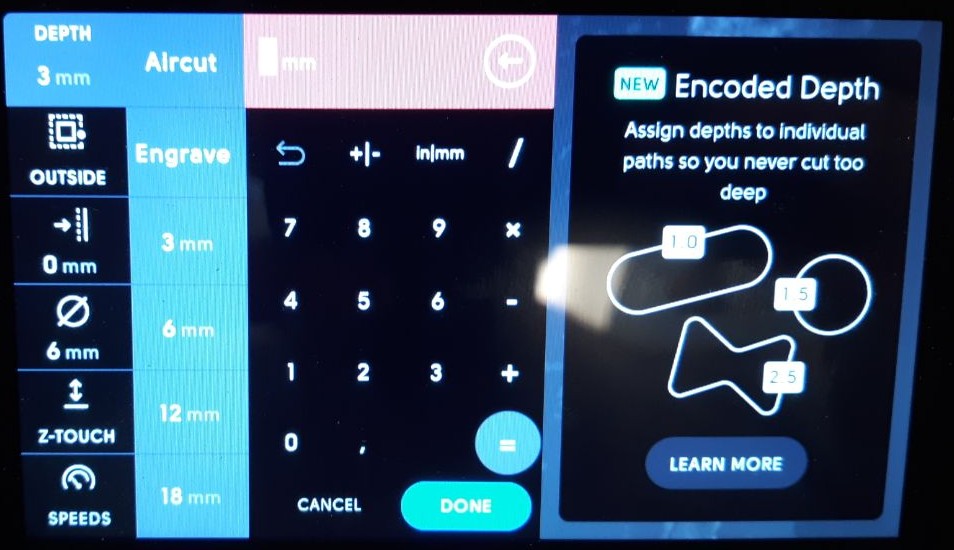
With the dominoes placed and the design ready, we configure the CNC for the last step, where we can choose the depth (in my case, since the barrier was 3mm, I set a depth of 1mm), you can also choose the operation ( such as internal or external cutting), we can adjust the tolerance and so on.
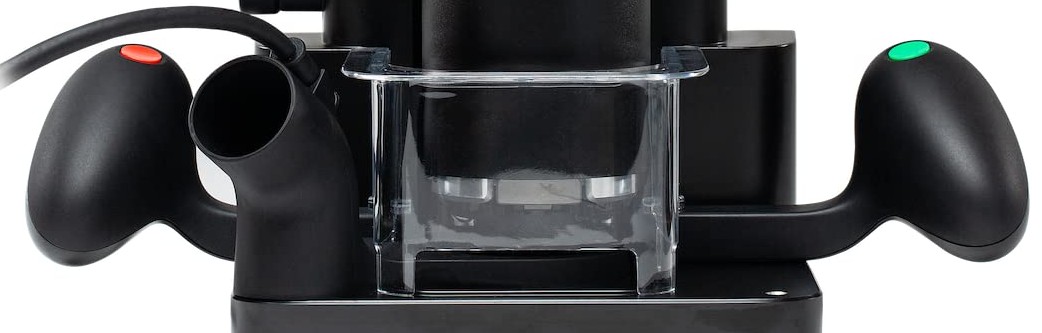
With these adjustments made, we have to keep in mind that the green button (always pressed) is for working and the red is for stopping, although it is possible to touch the green button twice quickly and the CNC enters an automatic mode. It is important to place the vacuum cleaner in the cleaning slot, otherwise it will be impossible to work.
In general, the use of the machine is very intuitive...the first thing you do is scan the dominoes, then you load the designed SVG and place it on the work surface, finally you adjust parameters such as depth, diameter of the milling cutter or cut to be made.
Art Attack
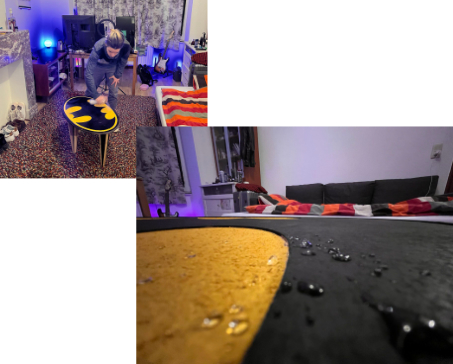
Seeing the final result, it deserves one last effort, so I will give the table a little life by applying paint. The logo is original in 2 colors so I will respect it, so with a little painter's tape and a lot of patience I begin the process.
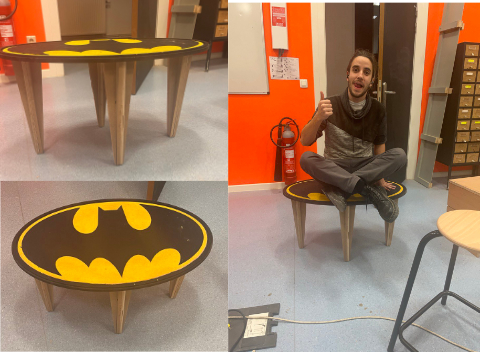
The result is very beautiful and quite resistant (although I am not very heavy).
When I transported it home it was raining and taking into account that the table is made of bagasse, it may not last long if water falls on it, so I put a final coating of acrylic spray on it and now it is perfect.In this link I leave all the files generated this week