5. 3D Scanning and Printing
Week 5, in this part we are going to use the most common tool within the FABLAB, the famous 3D printers, as well as the complementary equipment to this, a 3D scanner.
Group assignment: - Test the design rules for your 3D printer(s). - Document your work on the group work page and reflect on your individual page what you learned about characteristics of your printer(s).
Individual Assignment: - Design and 3D print an object (small, few cm3, limited by printer time) that could not be easily made subtractively. - 3D scan an object (and optionally print it).
Assignment Checklist.
| item | Activity | Status |
|---|---|---|
| task 1 | Linked to the group assignment page | DONE |
| task 2 | Explained what you learned from testing the 3D printers | DONE |
| task 3 | Documented how you designed and 3D printed your object and explained why it could not be easily made subtractively | DONE |
| task 4 | Documented how you scanned an object | DONE |
| task 5 | Included your original design files for 3D printing | DONE |
| task 6 | Included your hero shots | DONE |
Group assignment
3D PRINTER DESCRIPTION
The equipment that will be used for this week, in 3D printing, is an Ultimaker 2+, one of the equipments that are within the 3D printing area, in the Digital Fabrication Laboratory of the Continental University based in the city of Cusco.

Equipment Description.
Printing Technology: FFF (Fused Filament Fabrication)
Printing volume: 223x223x205 mm.
Filament Diameter: 2.85mm
Printing materials: PLA, ABS, CPE, CPE+, PC, NYLON, TPU 95th.
Nozzle diameter: 0.4mm / 0.6mm / 0.8mm.

These are some of the most common features for the use of the equipment, in addition to the software required for 3D printing.
Software used.
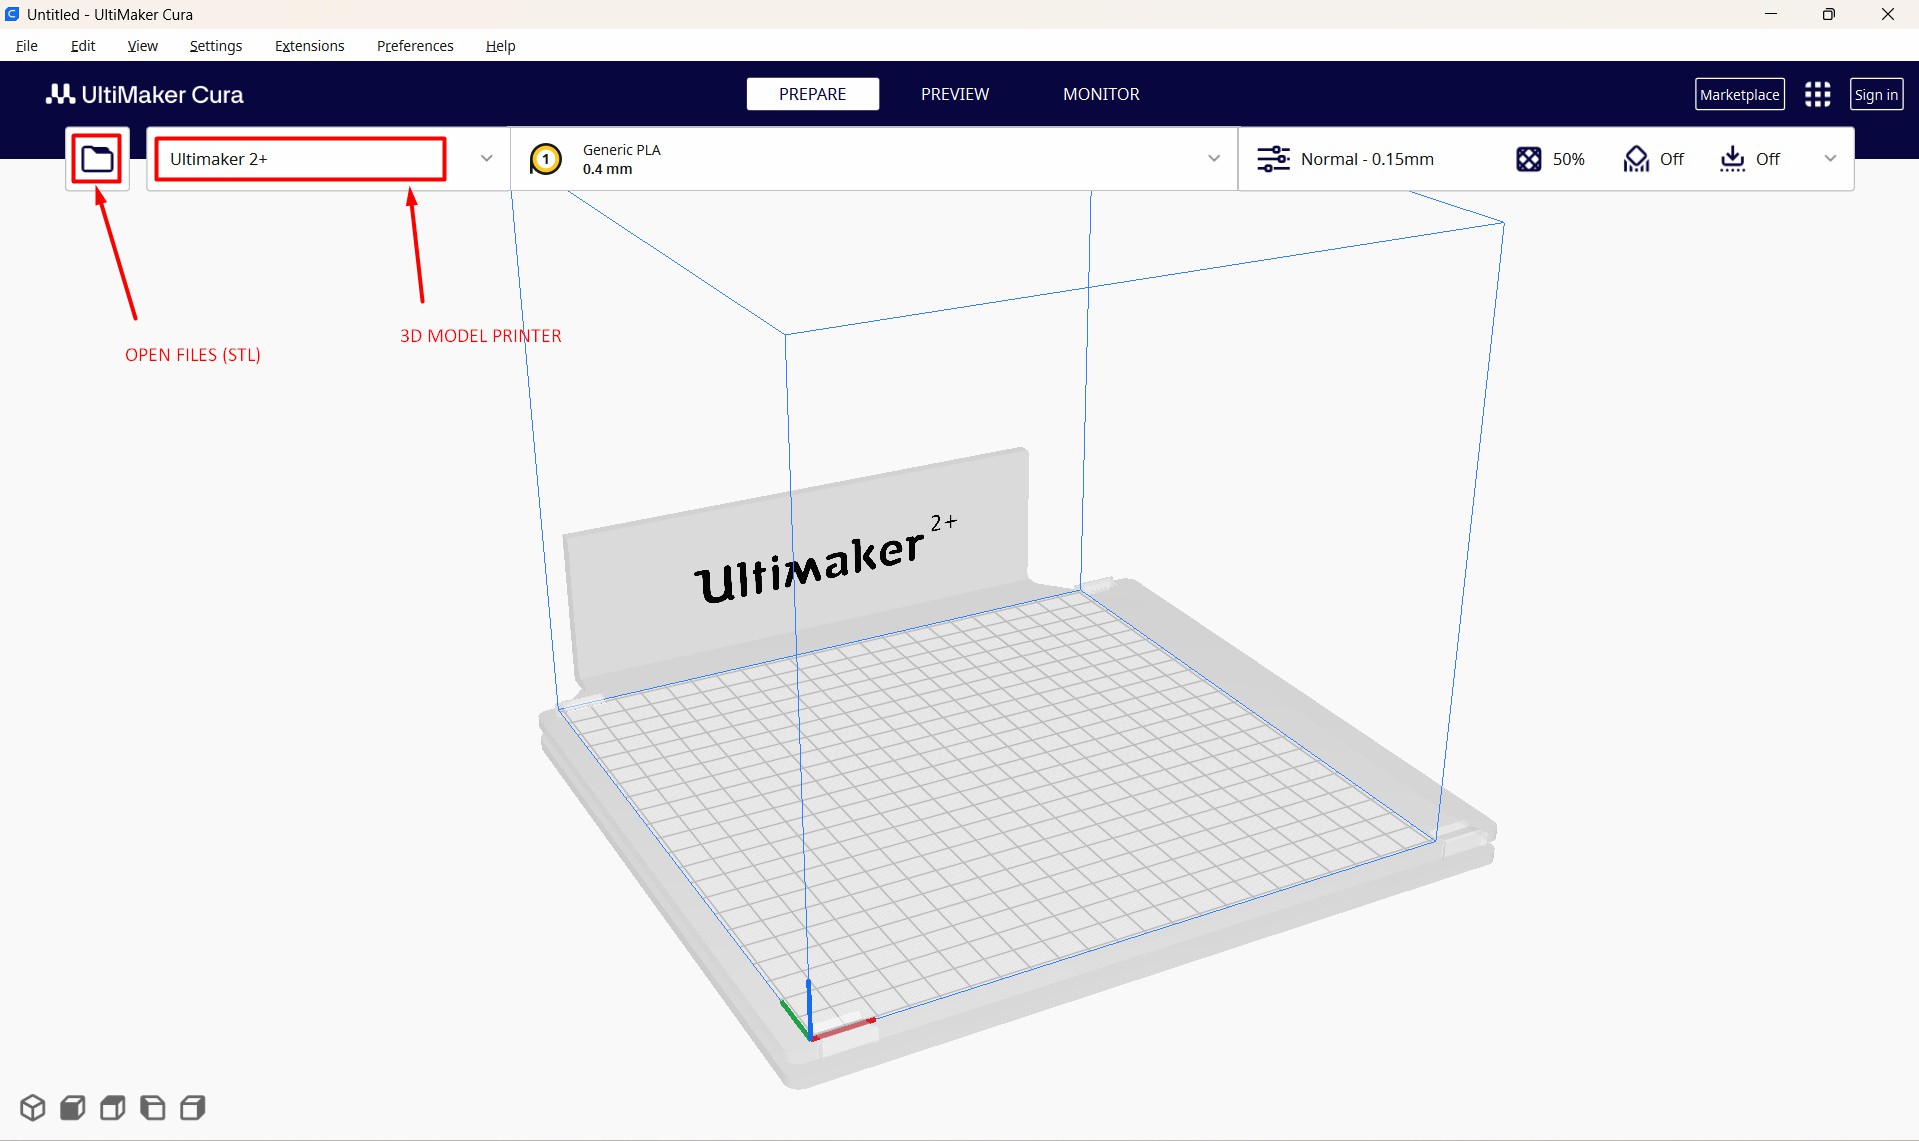
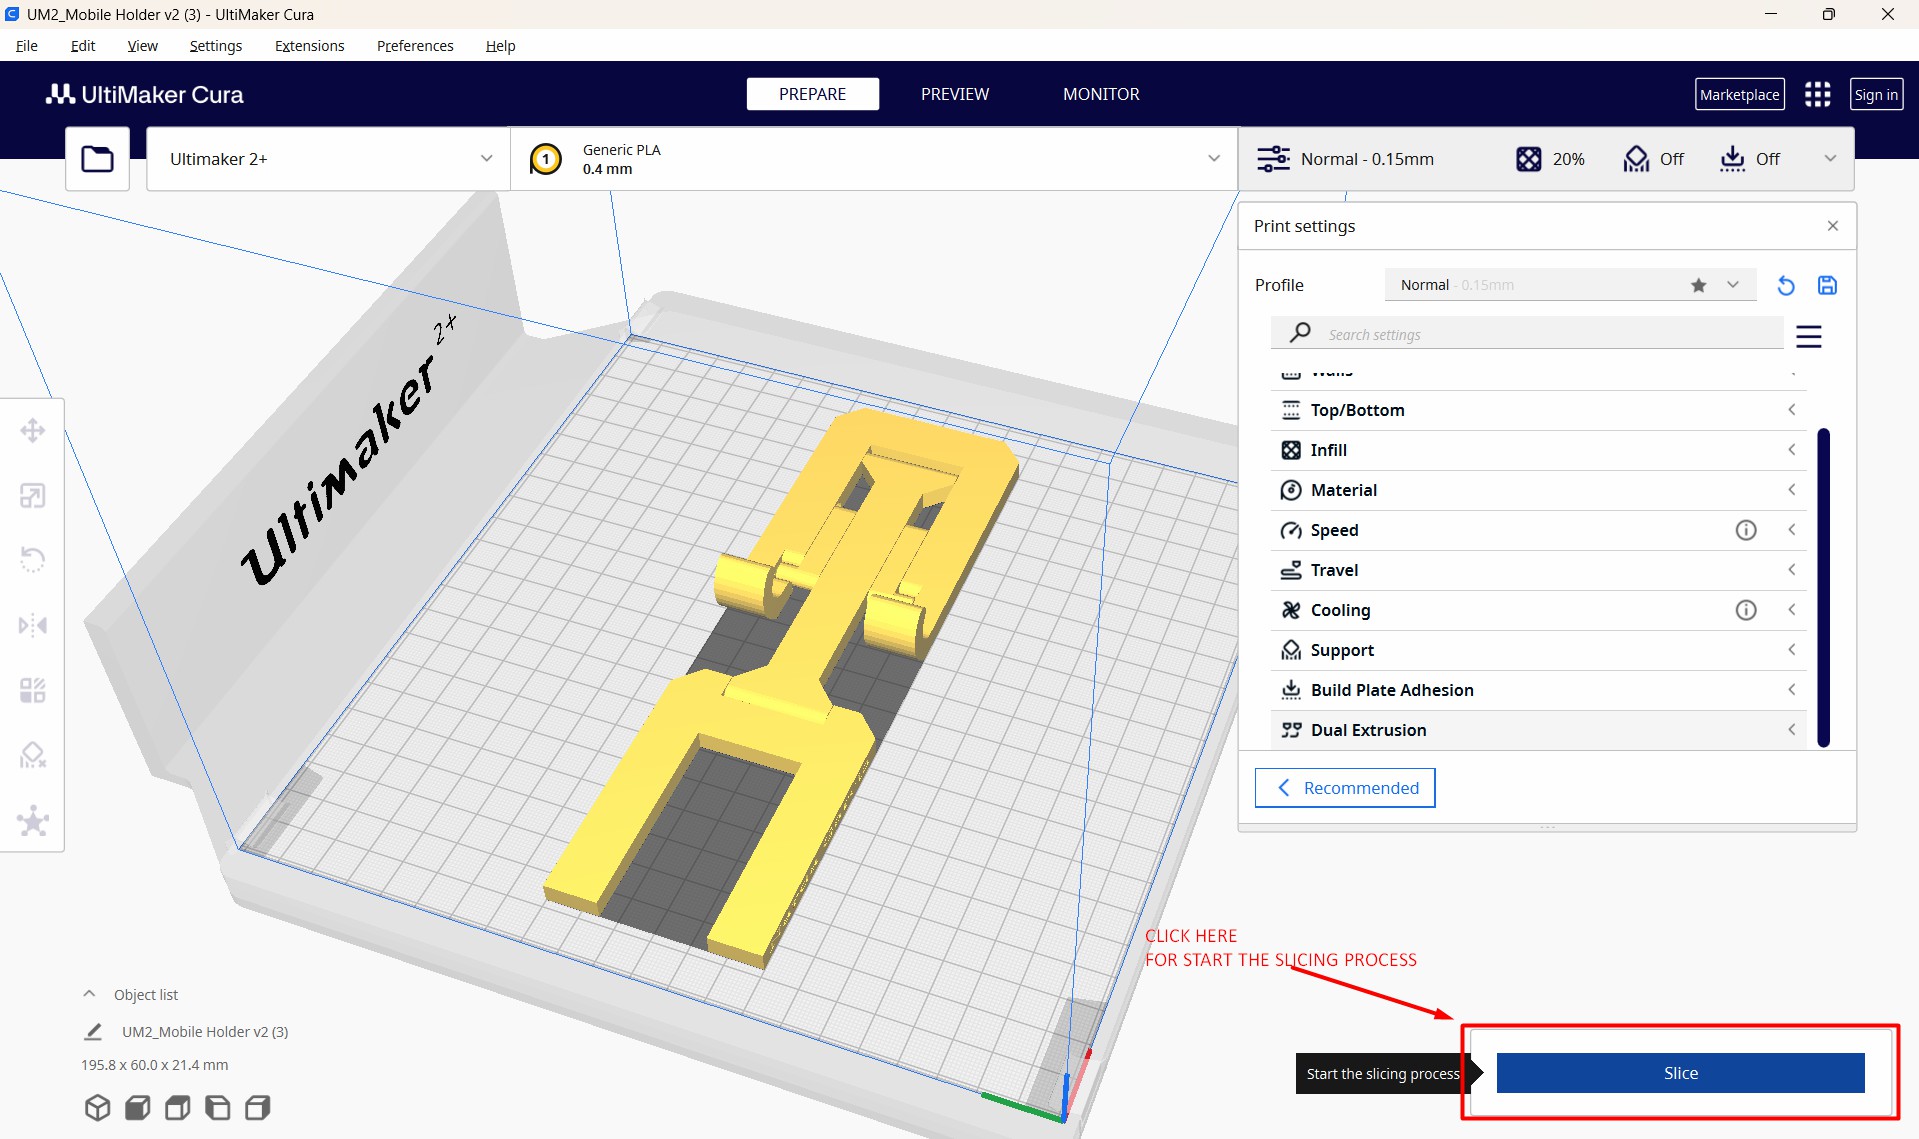
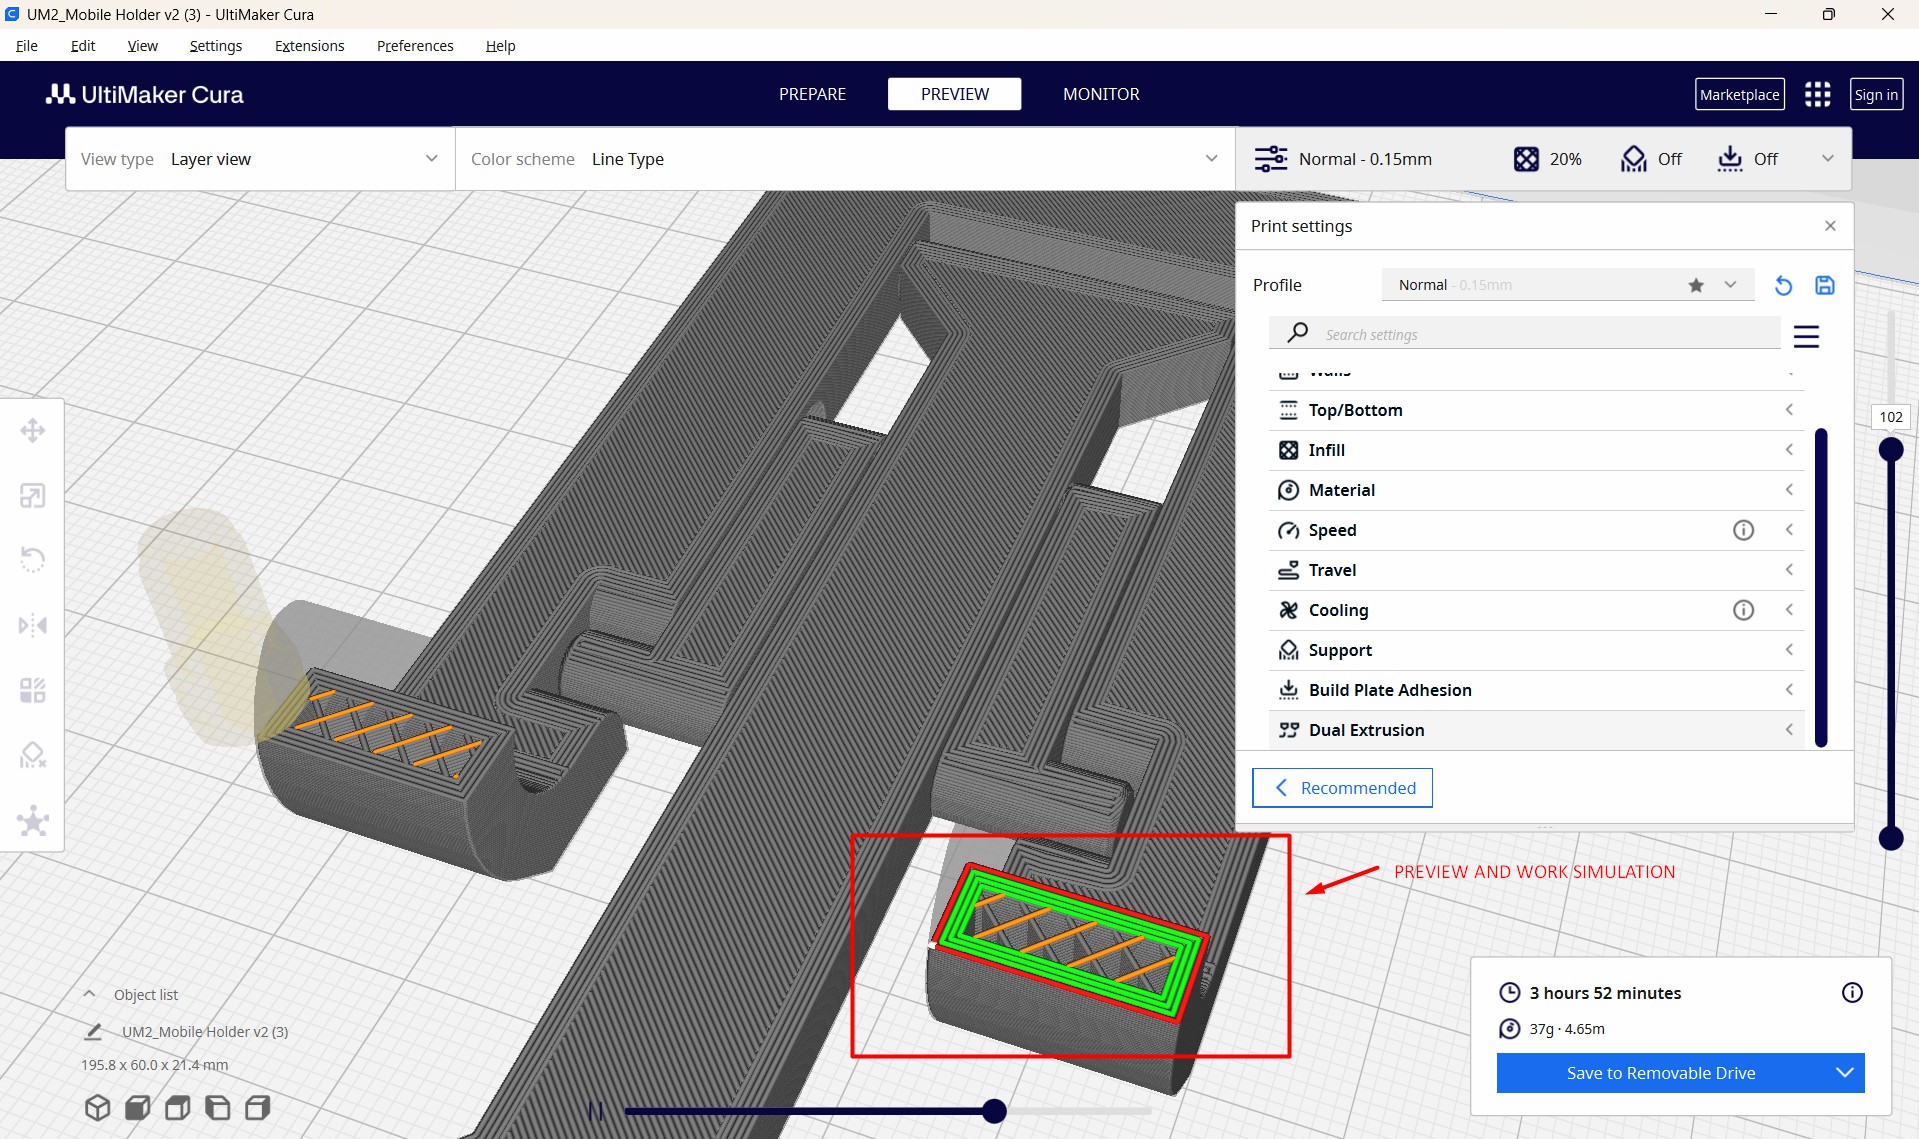
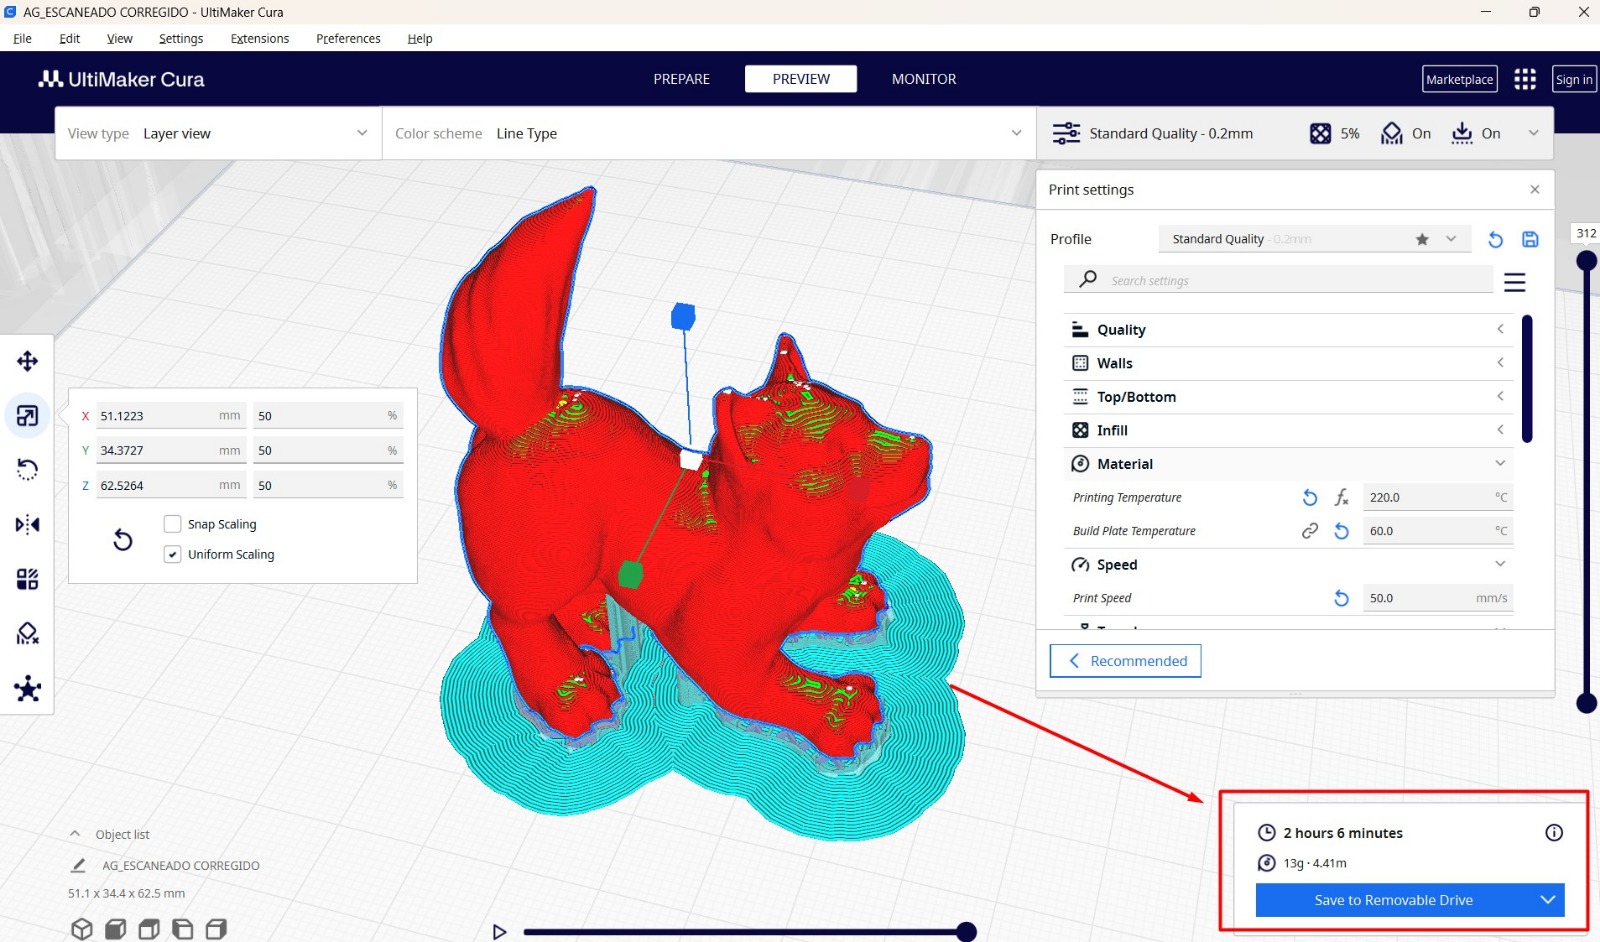
For print management, the use of the CURA software, which is the device’s own software under the ultimaker brand name, is considered further. In it you can modify some parameters
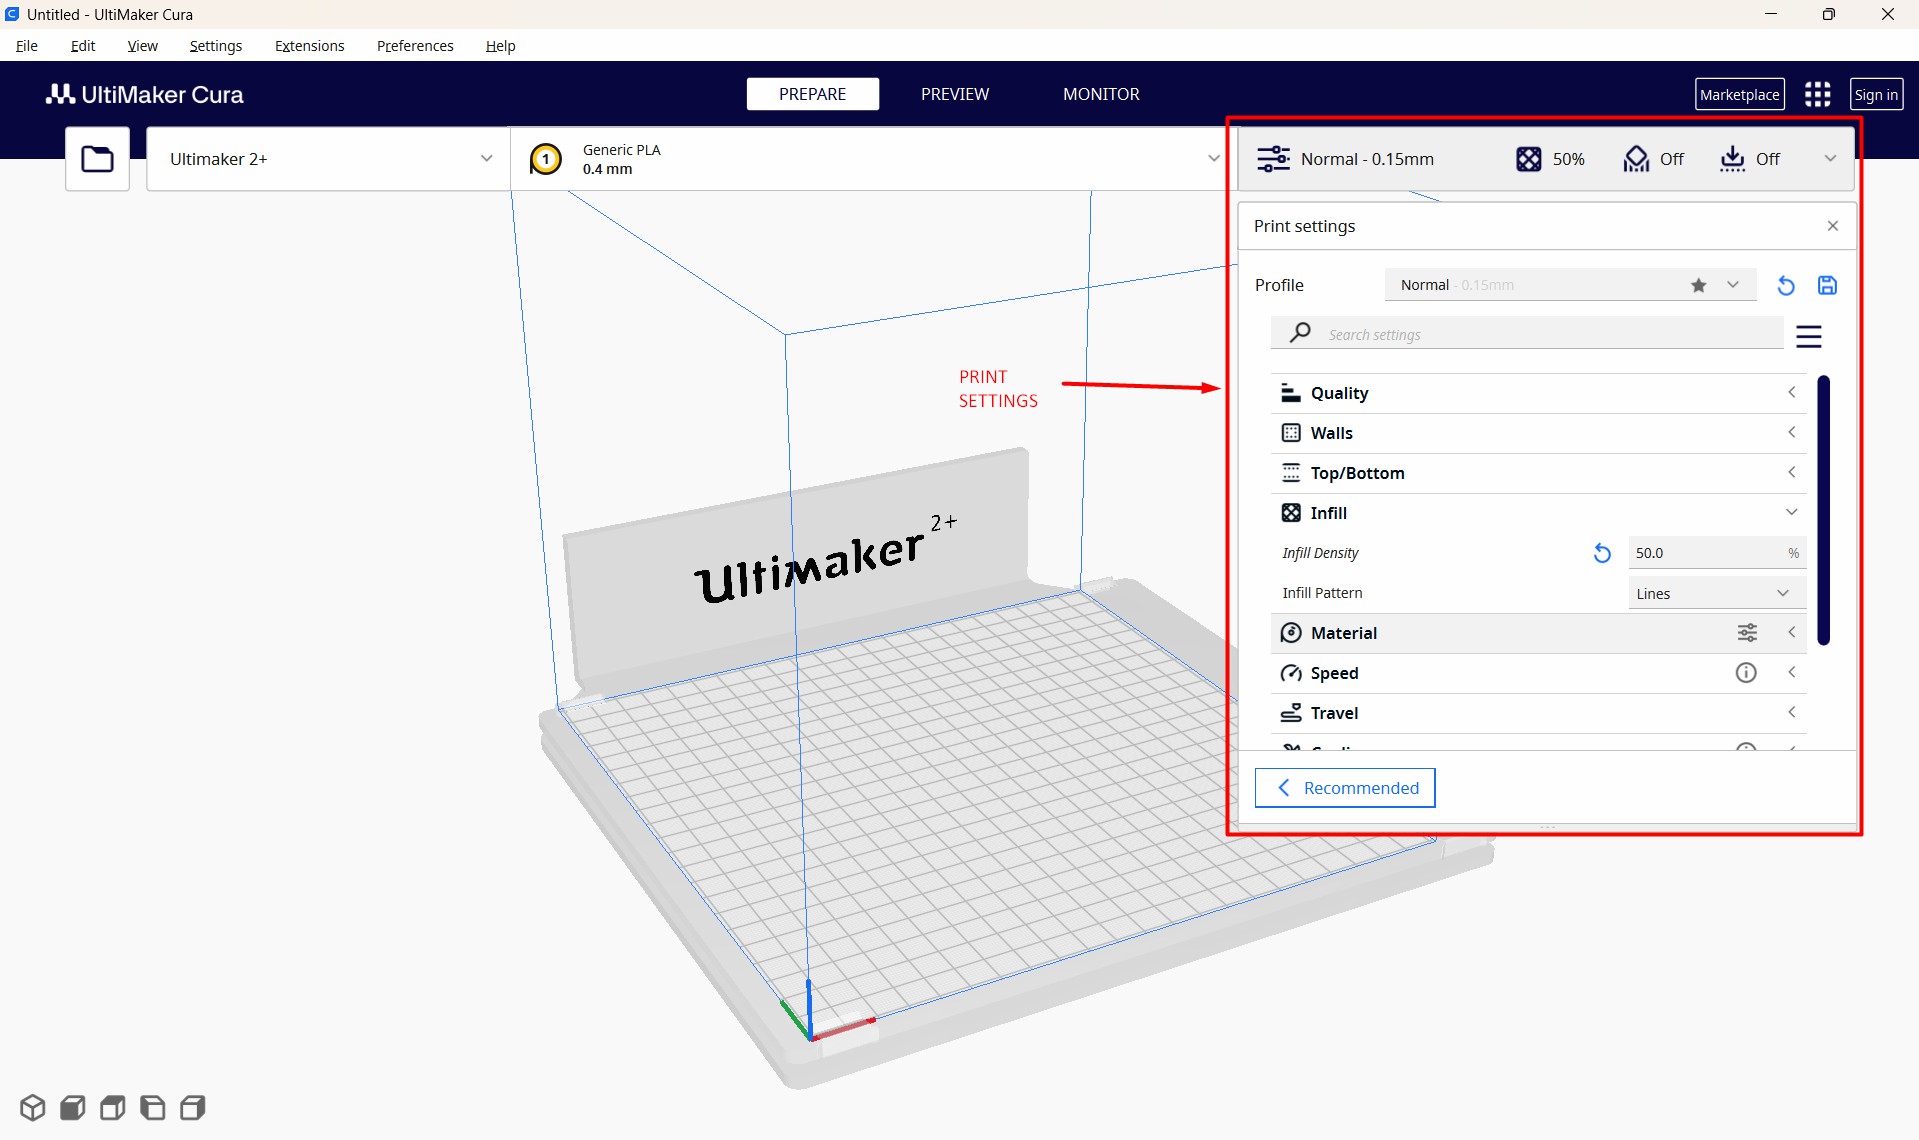
Rules for 3D printing management.
- Side and top faces: They help the design to have a certain shape, if they were hollow, as well as vases or completely solid.
- Filling: Parameter that allows to regulate if the piece will be completely solid or will have a certain density to save material, this helps the piece to have rigidity. Well, that will depend on the field of application.
- Support: The support is generated at points where the piece can be violated by gravity, since we are talking about molten plastic material at about 200 ° C, in short, so that the material does not go down and damage the figure is done that technique.
- Adhesion: Adhesion is a tool that can help the printed parts to hold better to the base so that it can not come off, this usually occurs in elements that occupy less space on the base, but are extensive in case of height, example: print a shaft of more than 100mm.
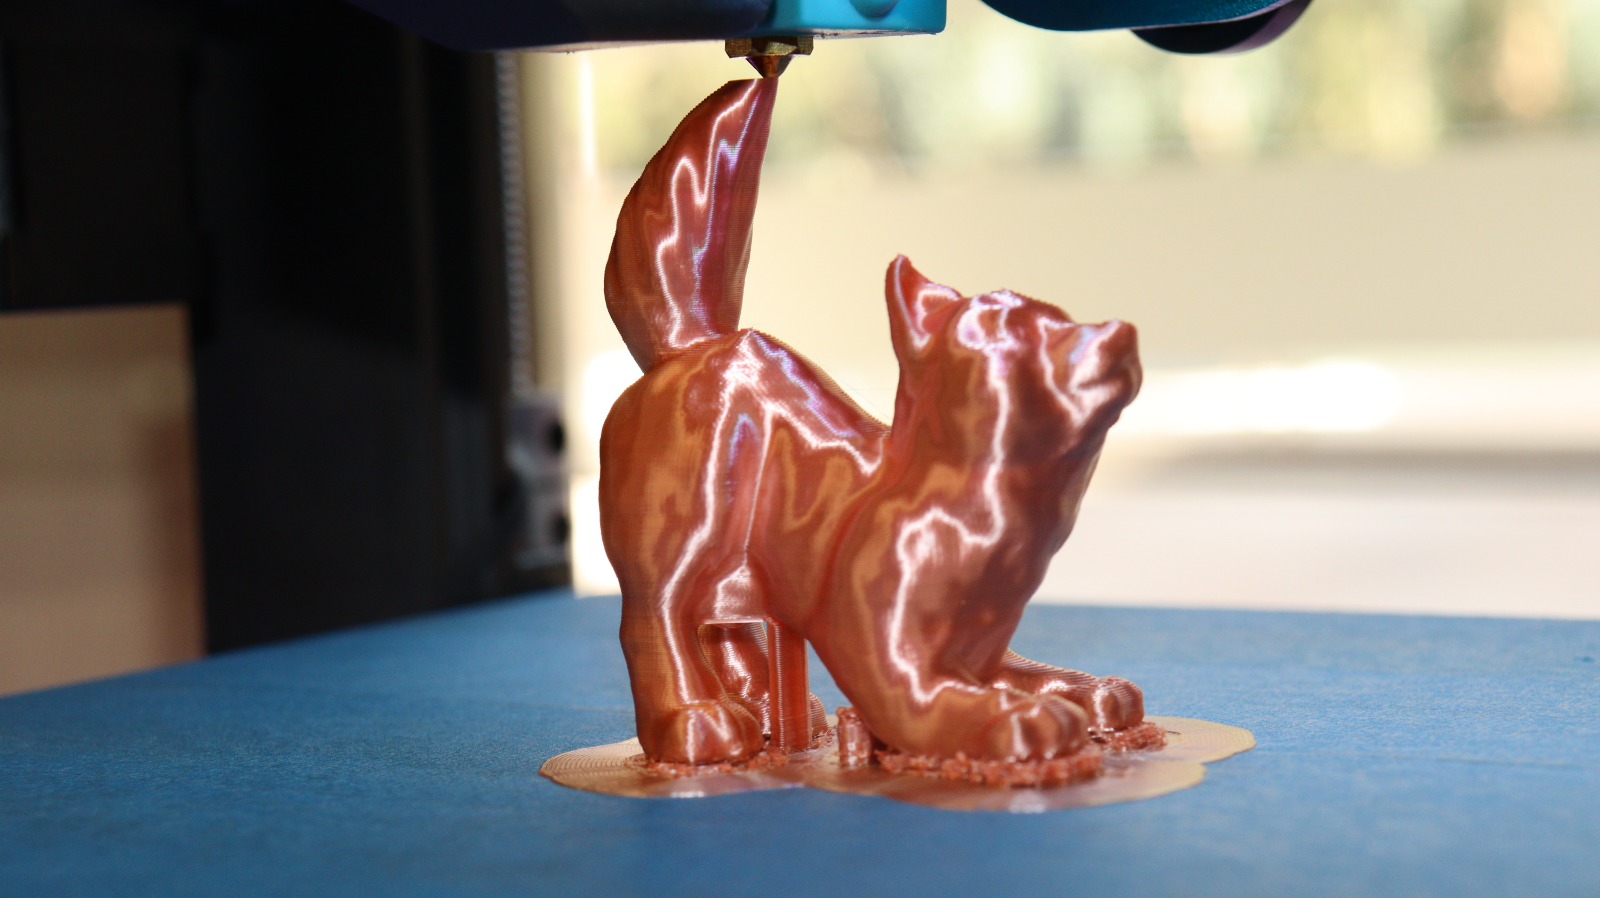
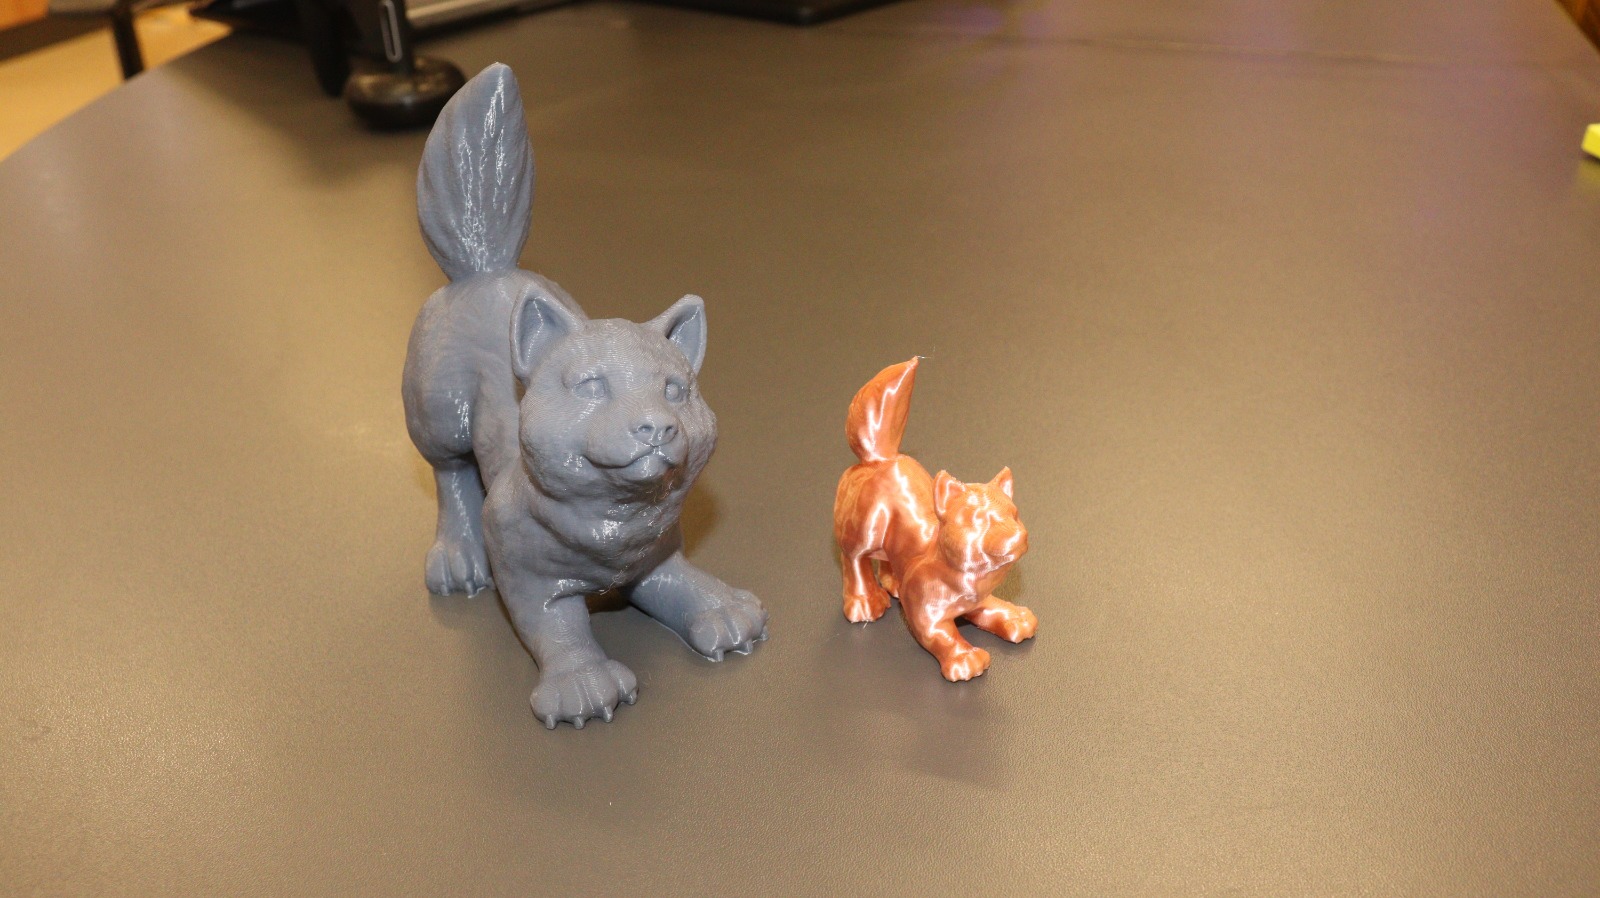
In order to prove the description, a test printout is made where we explain in detail the necessary considerations.
Examples.


Individual Assignment.
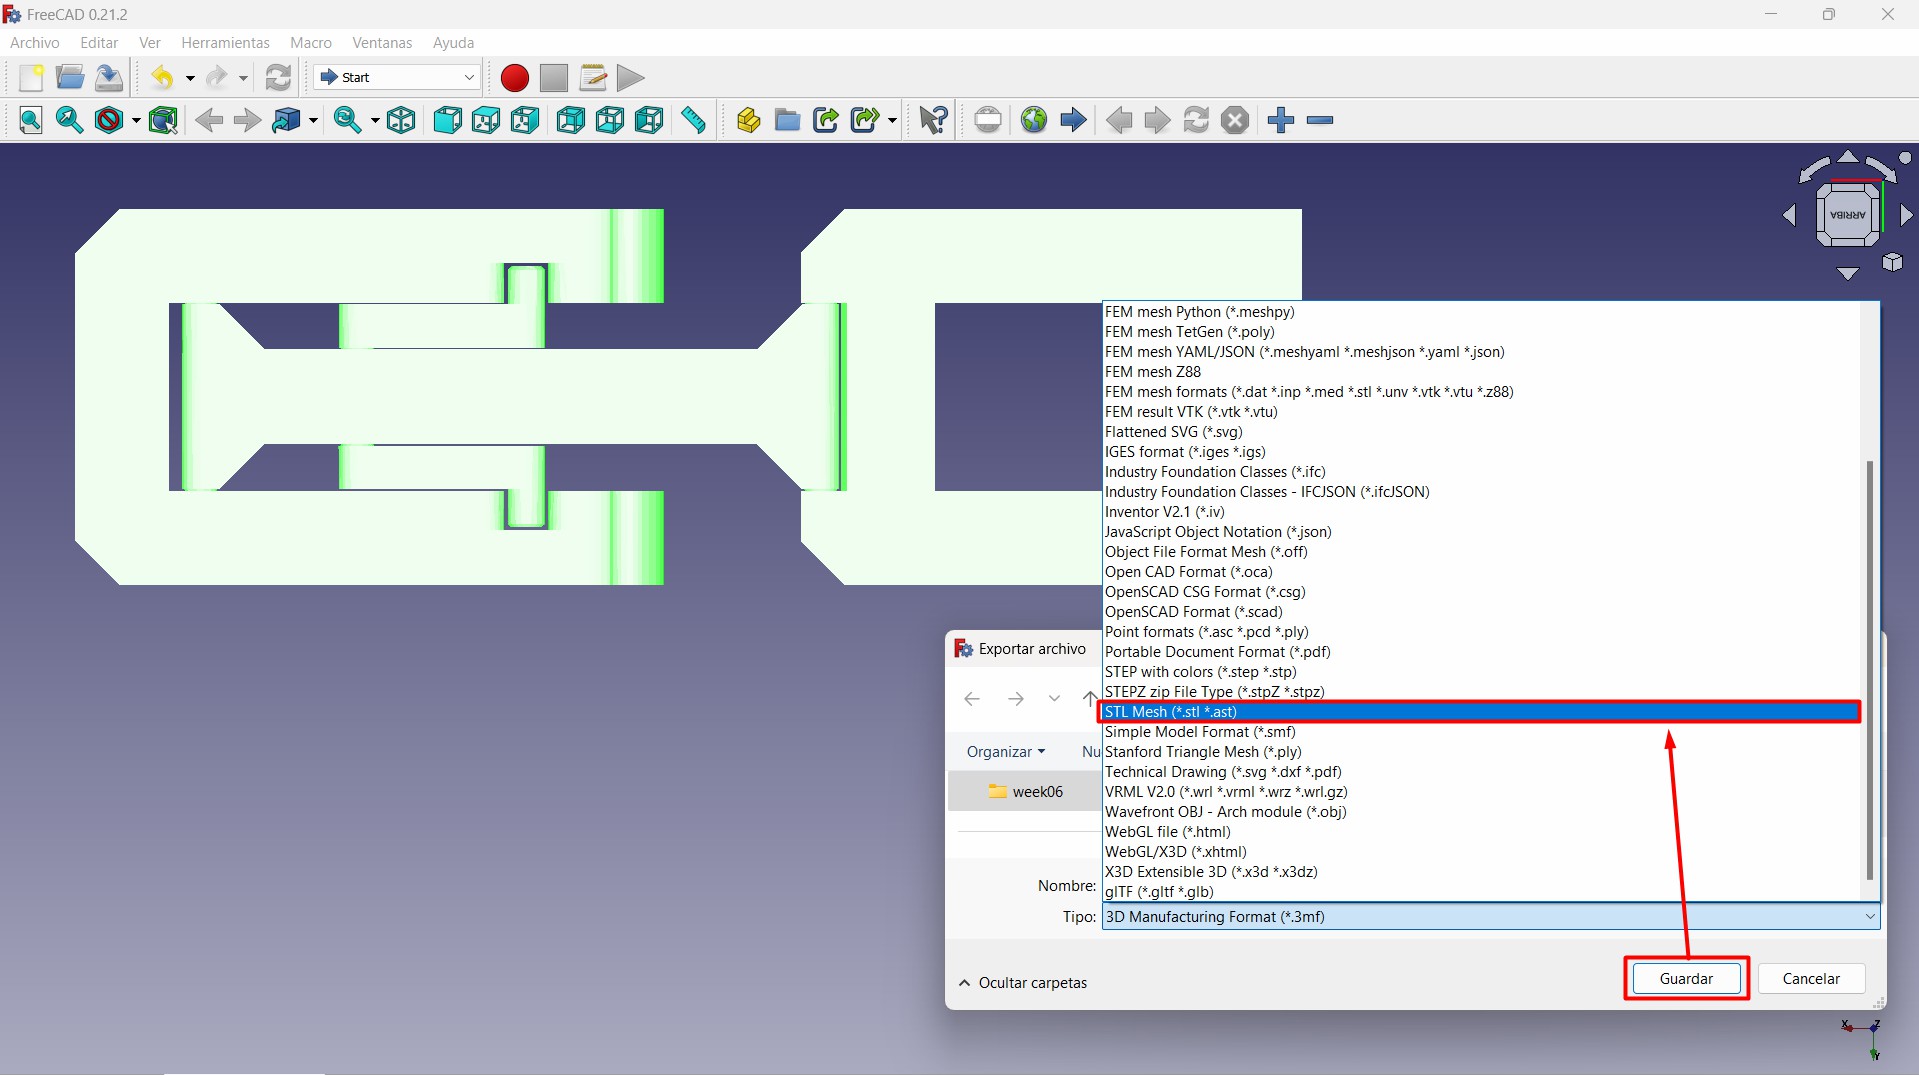
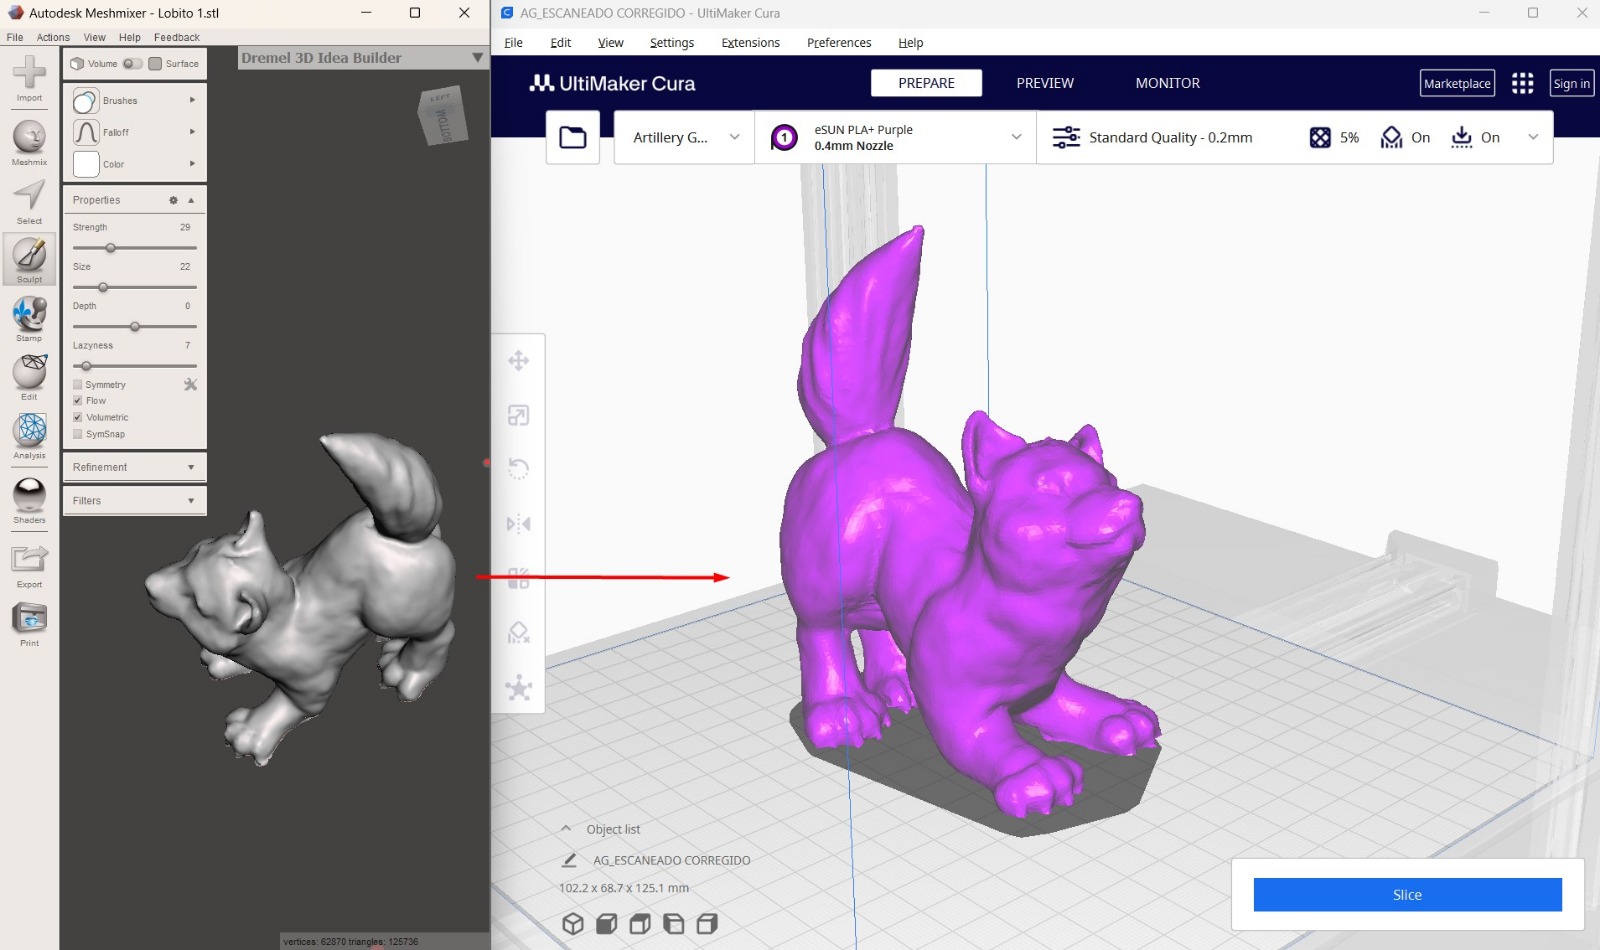
In the case of the design, we have worked with FreeCad.


3D Scanning
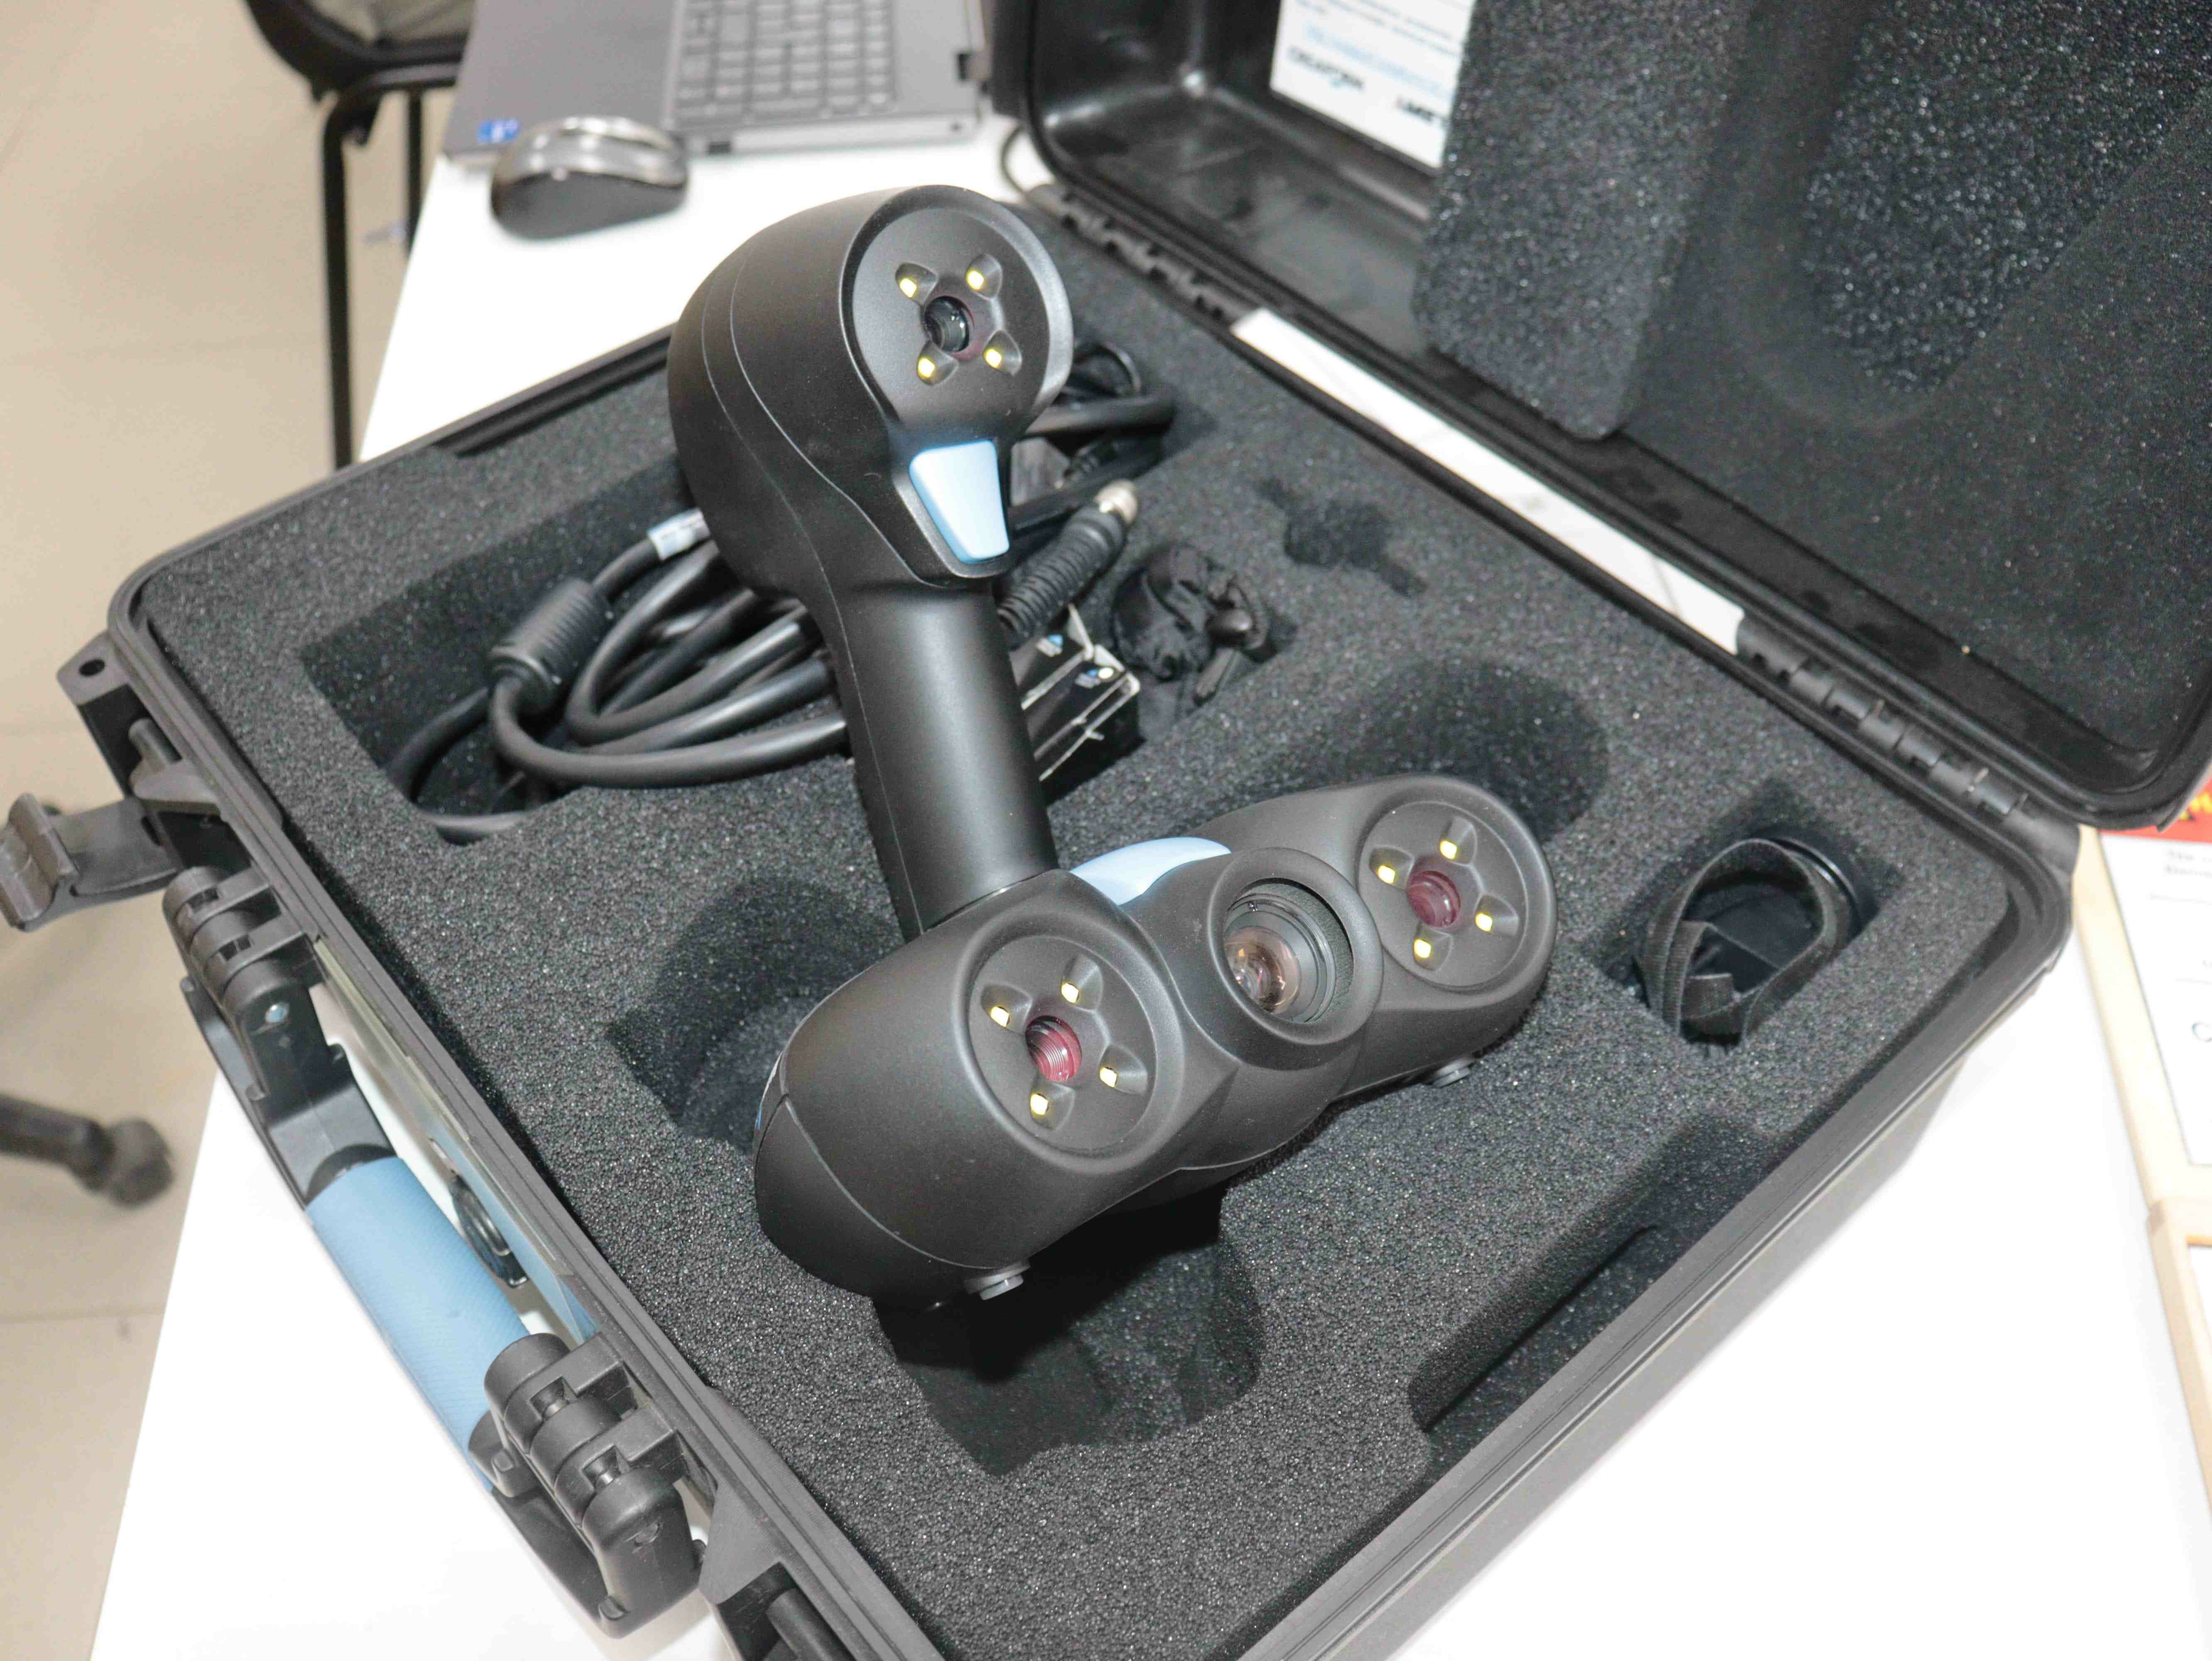
In the case of 3D scanning, use is made of the ACADEMIA 20 equipment, a professional scanner for academic use that belongs to the CREAFORM company. We proceed with the installation of the software plus the activation of the license for use.
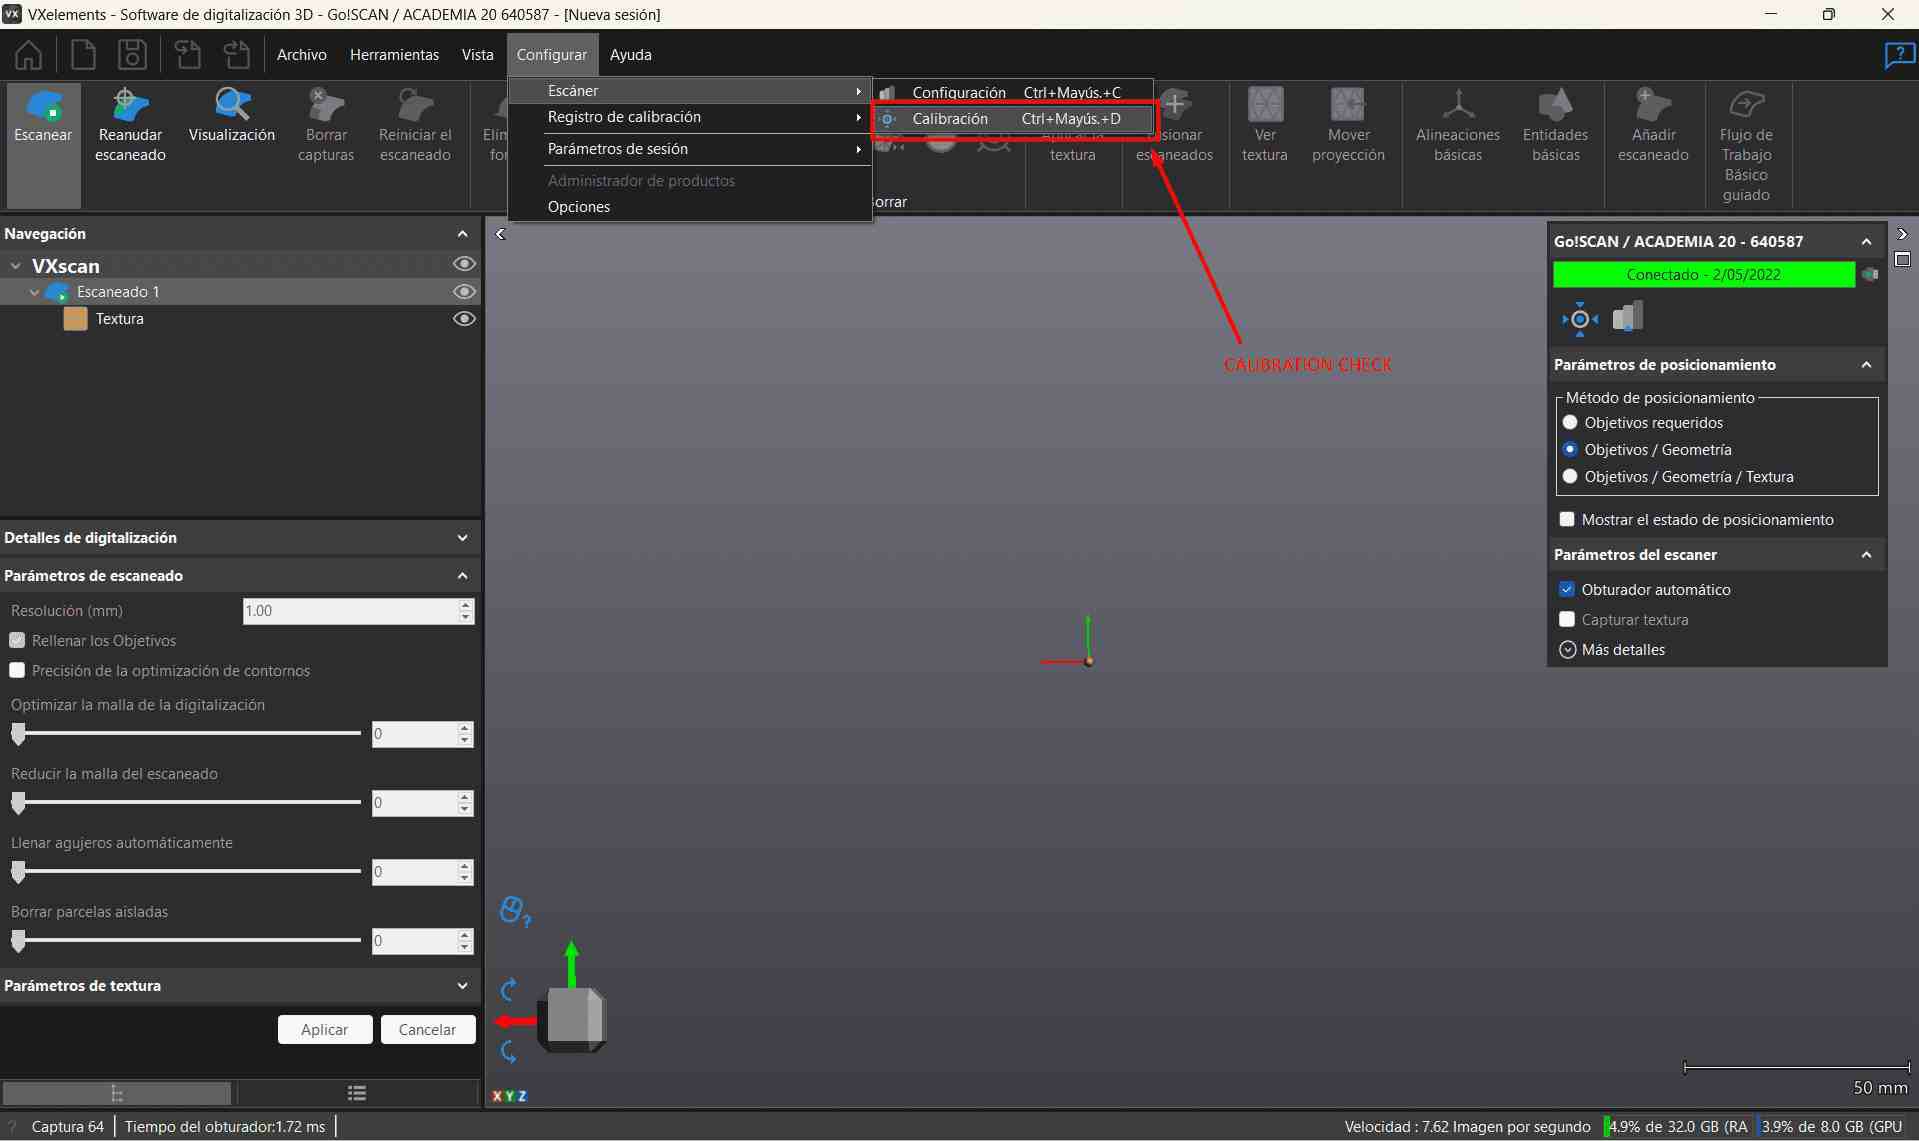
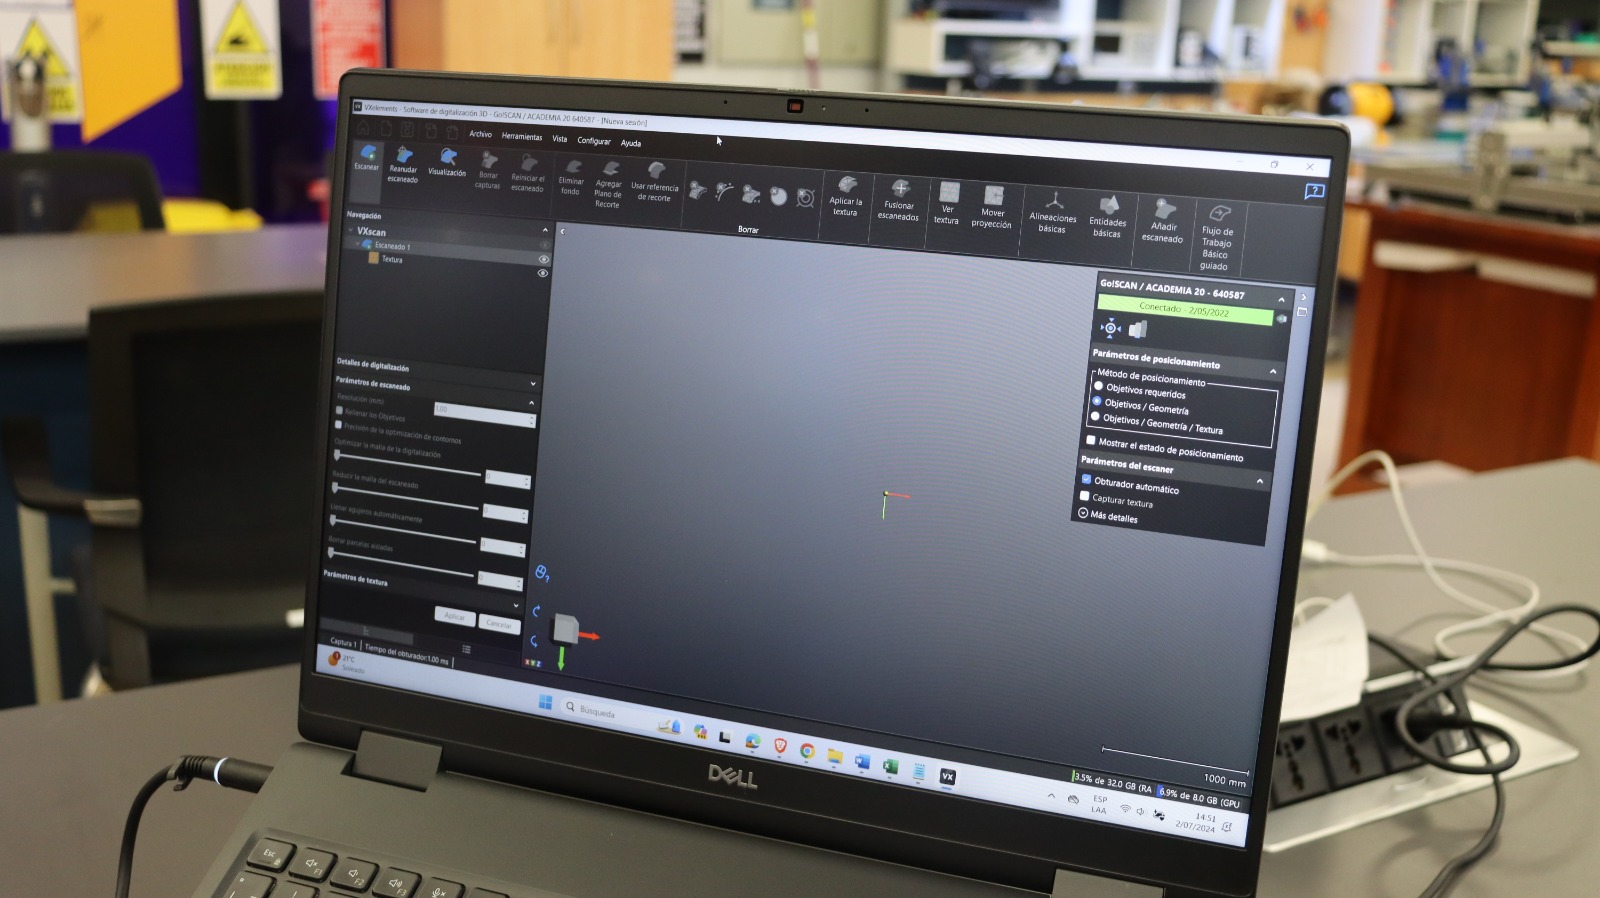
We start the program to control the equipment.
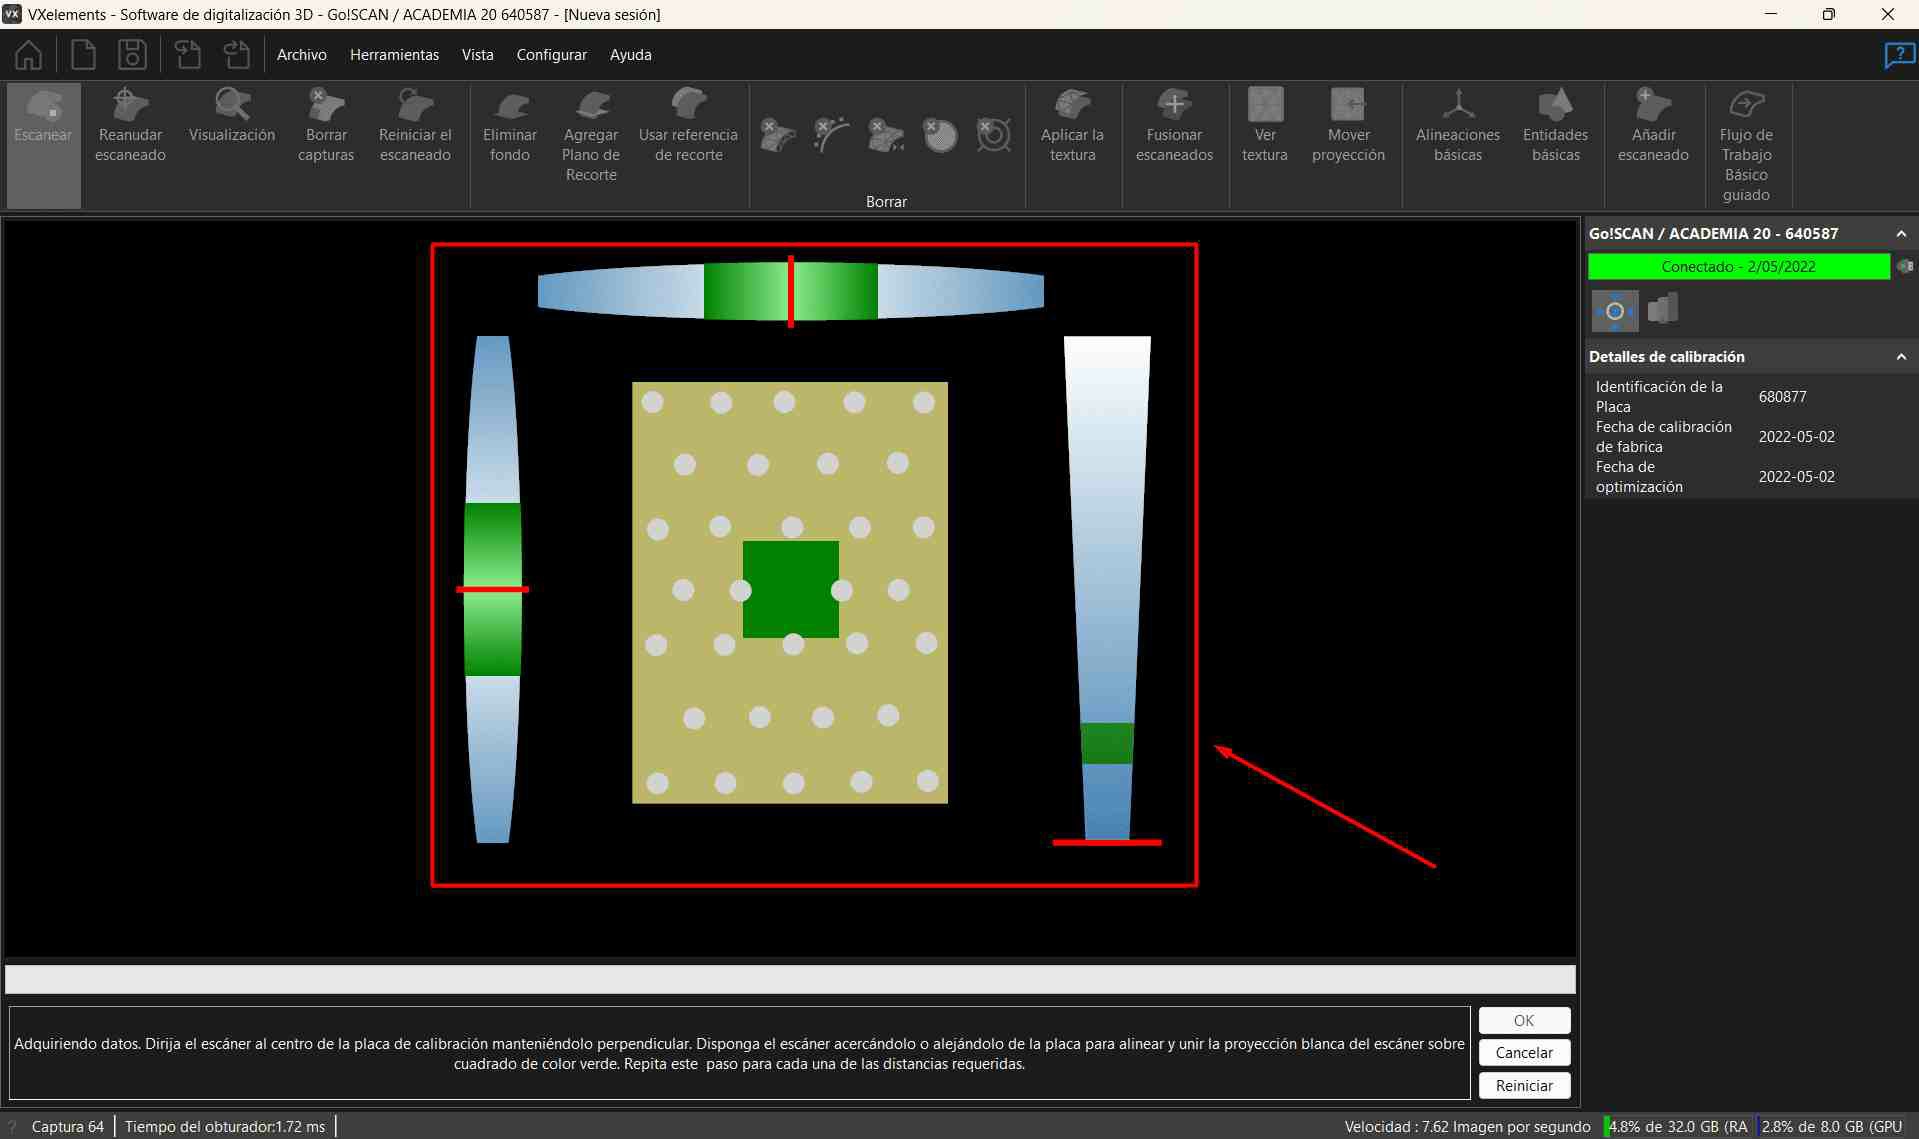
 We proceed with the equipment calibration issue, if necessary, but here we leave it as an example.
 We proceed with the help of the table for the calibration process, this thanks to the targeds.
 We adhere the targeds or reference points to achieve accurate scanning of a complex object, also mention that the scanner presented some difficulties on reflective surfaces.

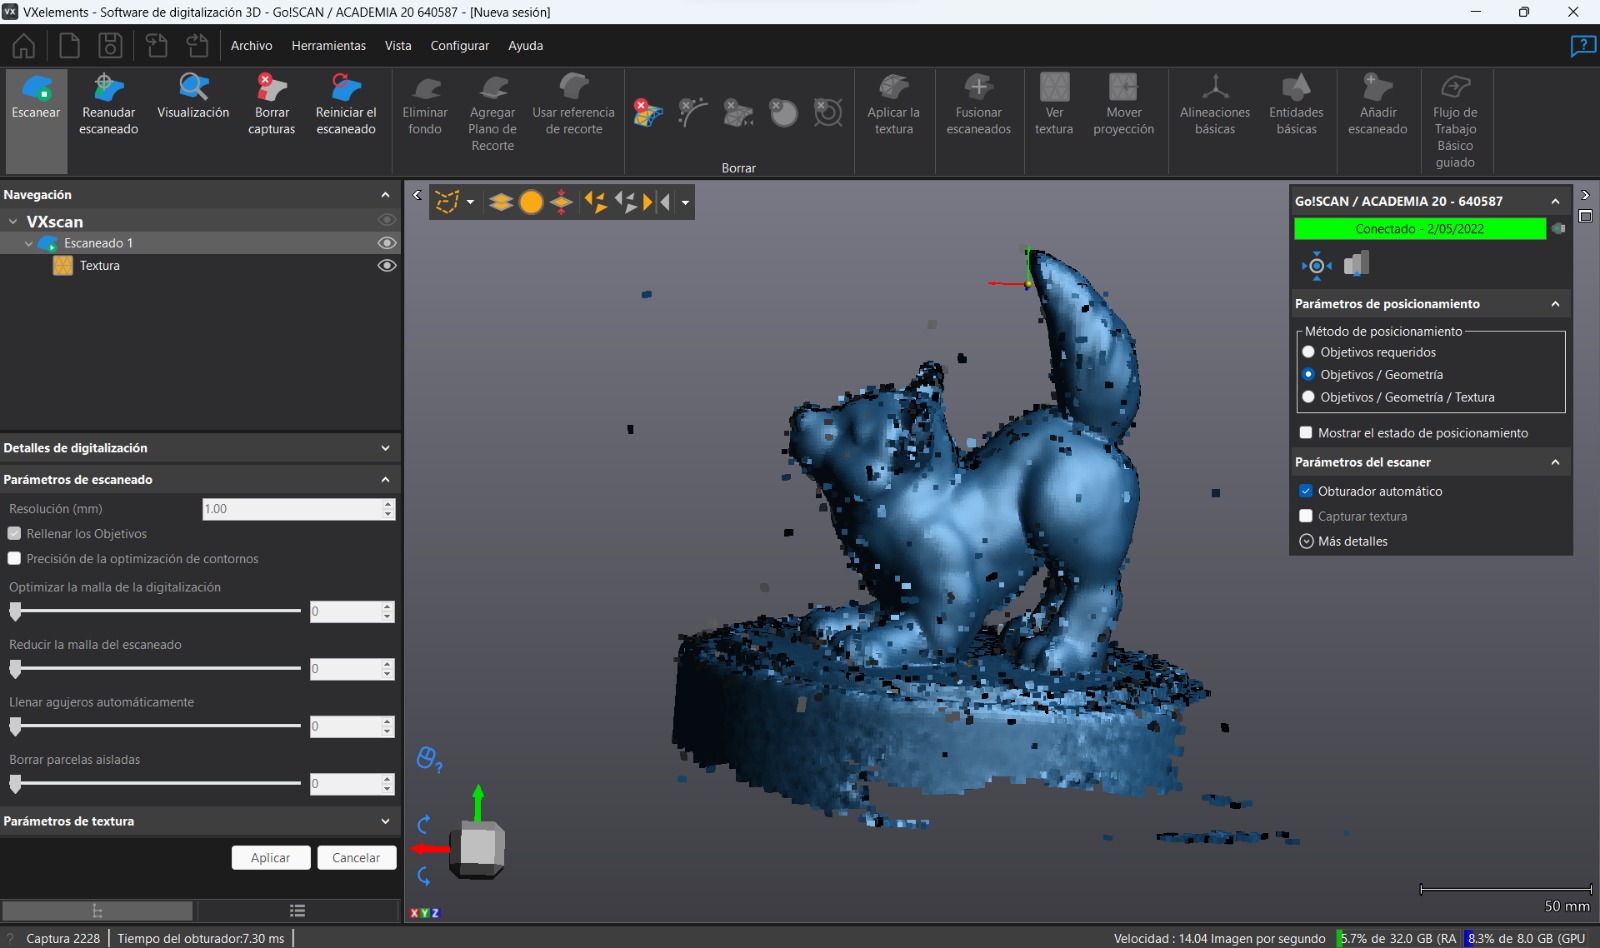
We start within the program for 3D scanning
We position the scanner at a distance of about 30 to 40 cm from our selected model and start pressing the trigger so that it can collect the information and store it.
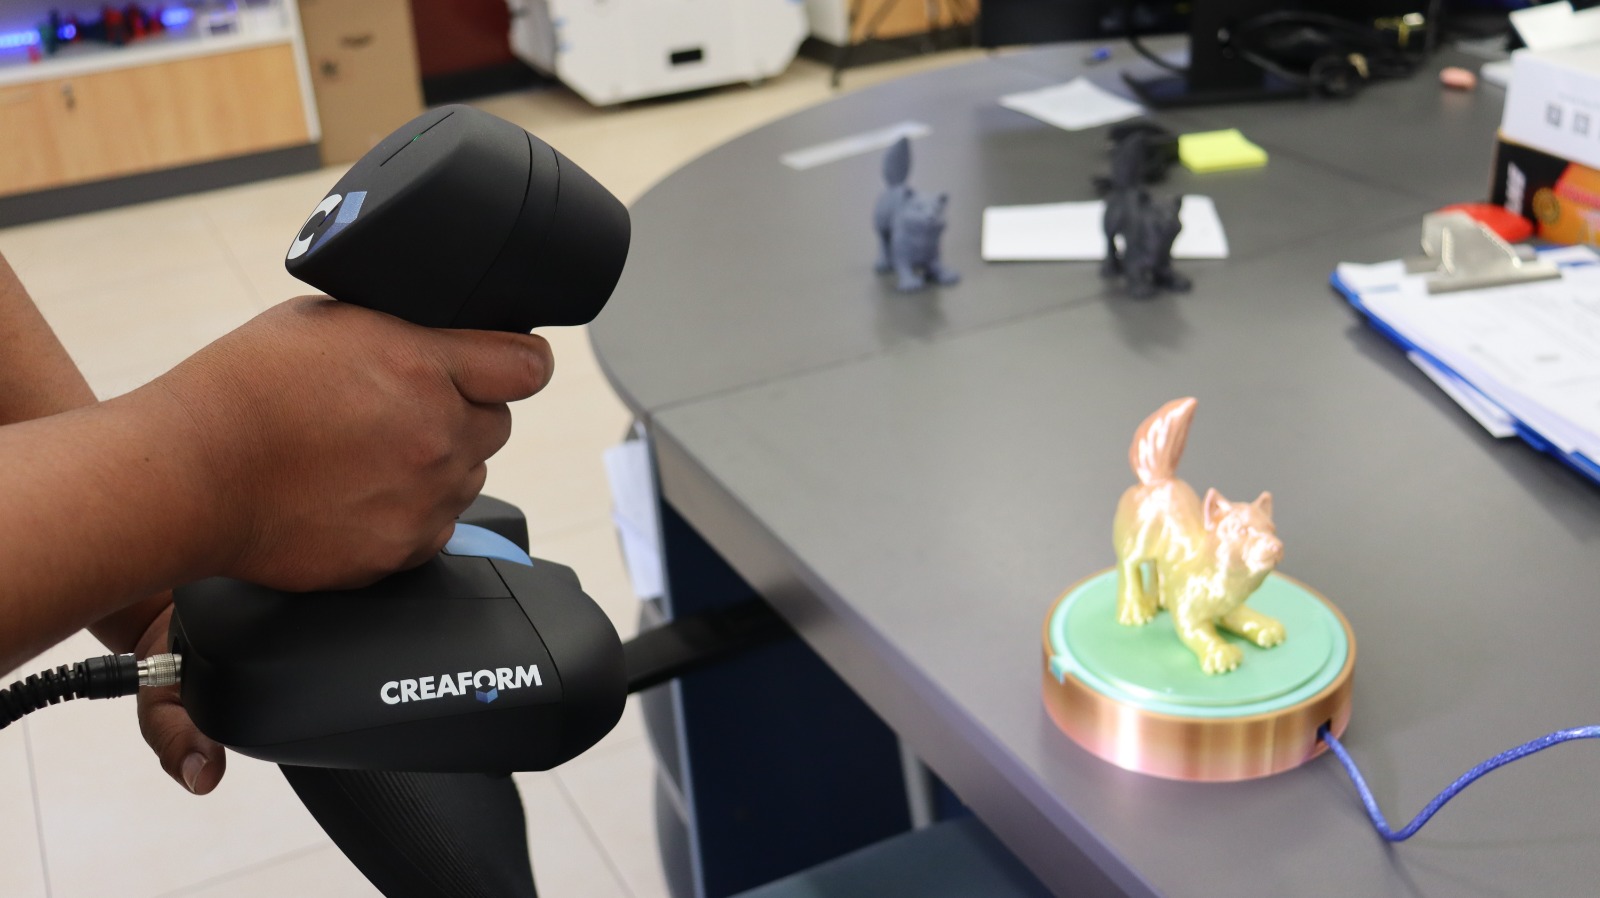
We regulate the speed and direction of rotation on our rotating base, also printed in 3D.
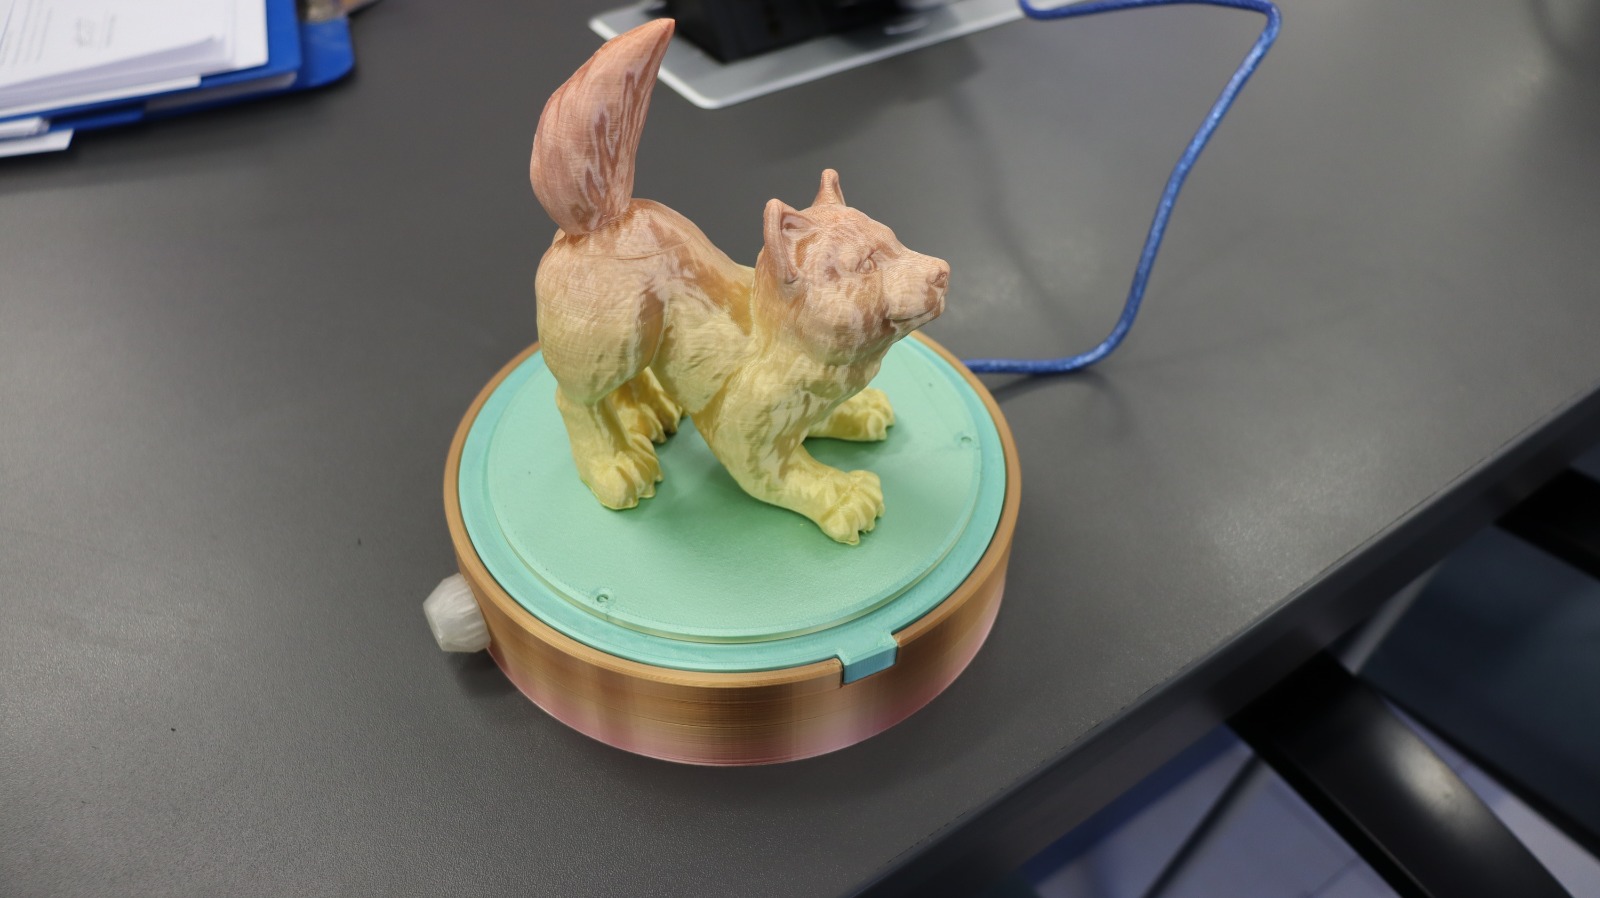
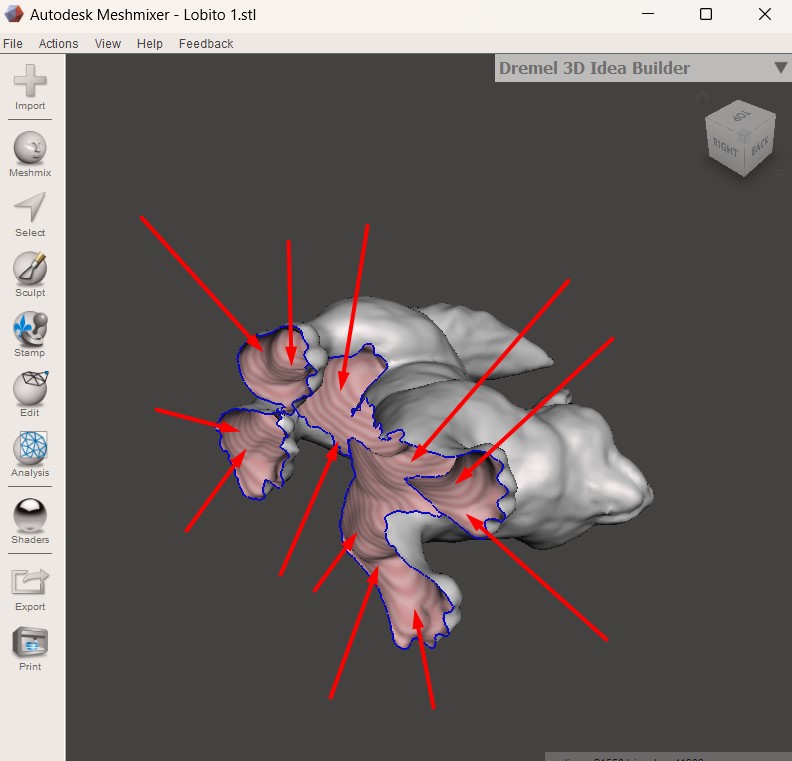
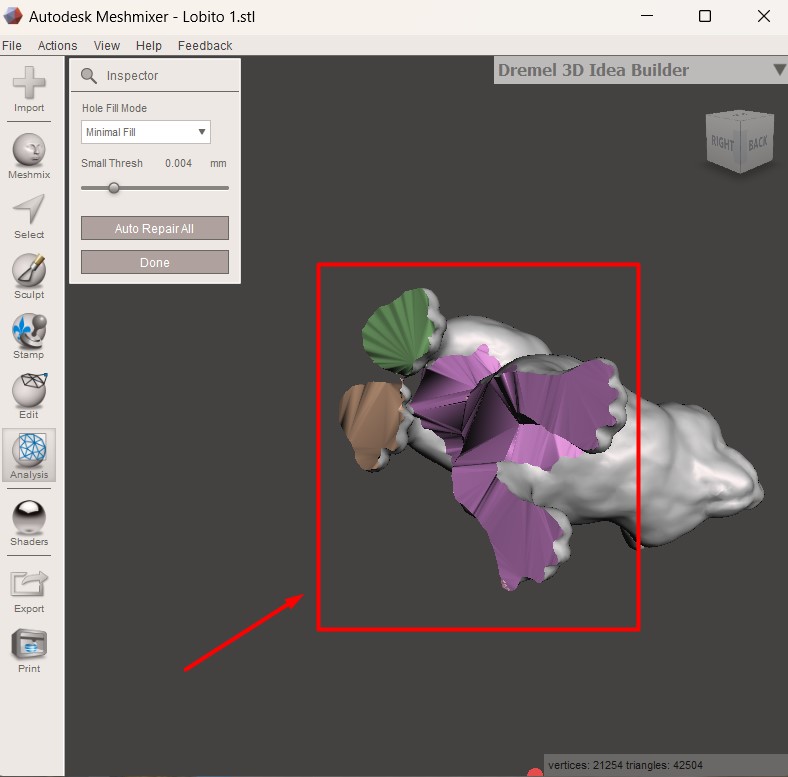
Image with a little noise due to the image itself, this usually happens in shiny objects with very smooth and reflective surfaces.
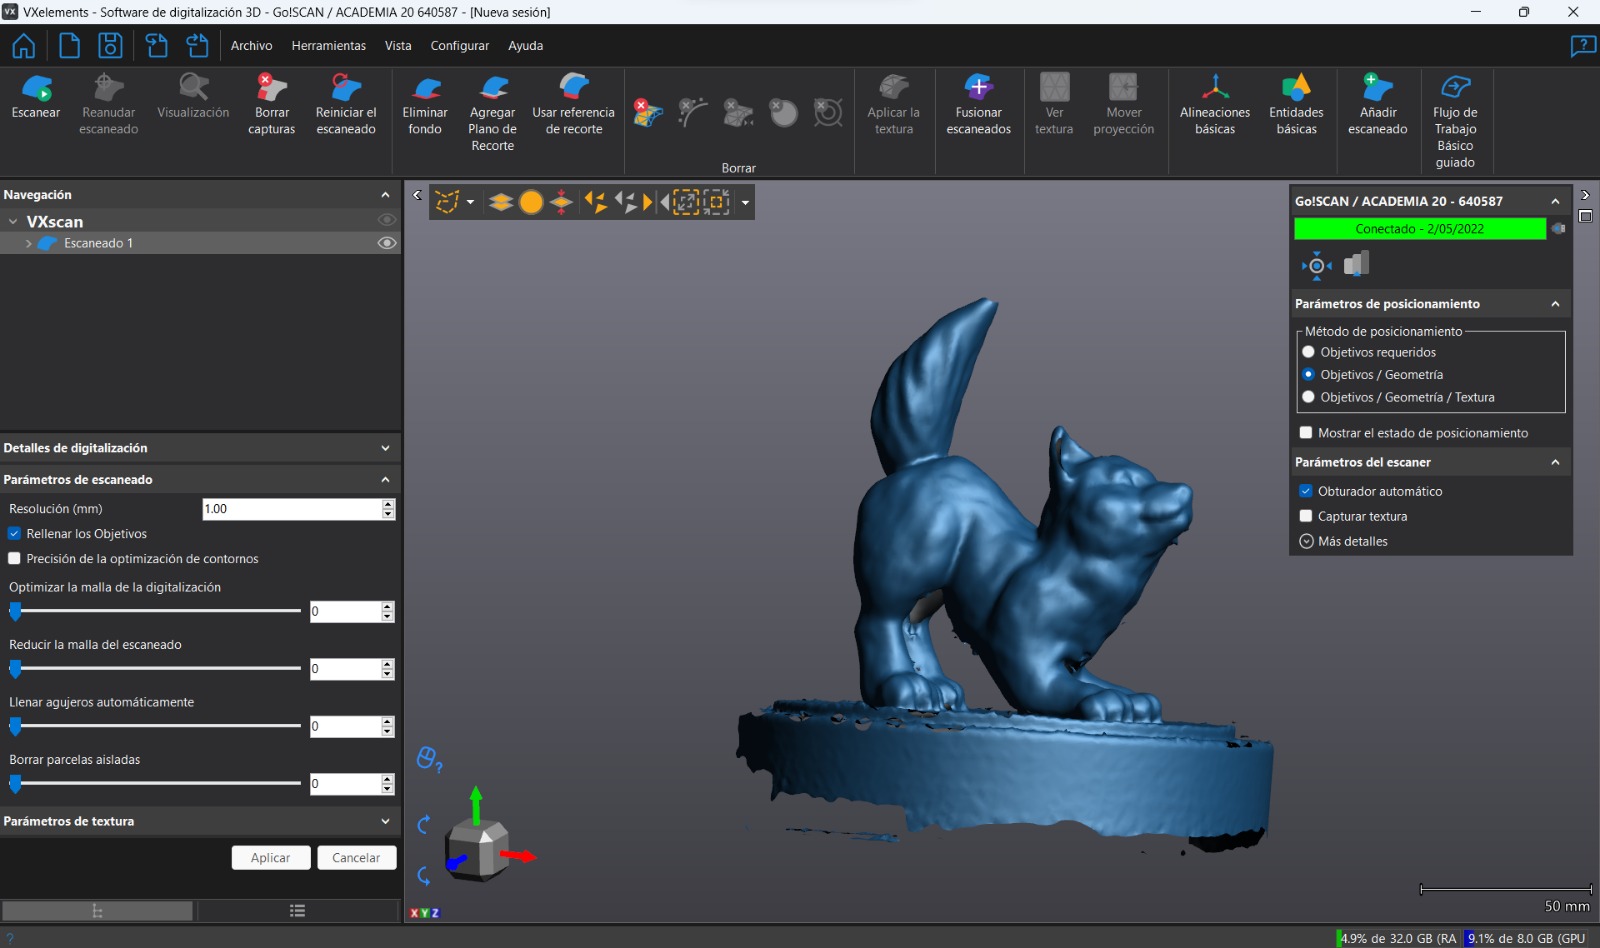
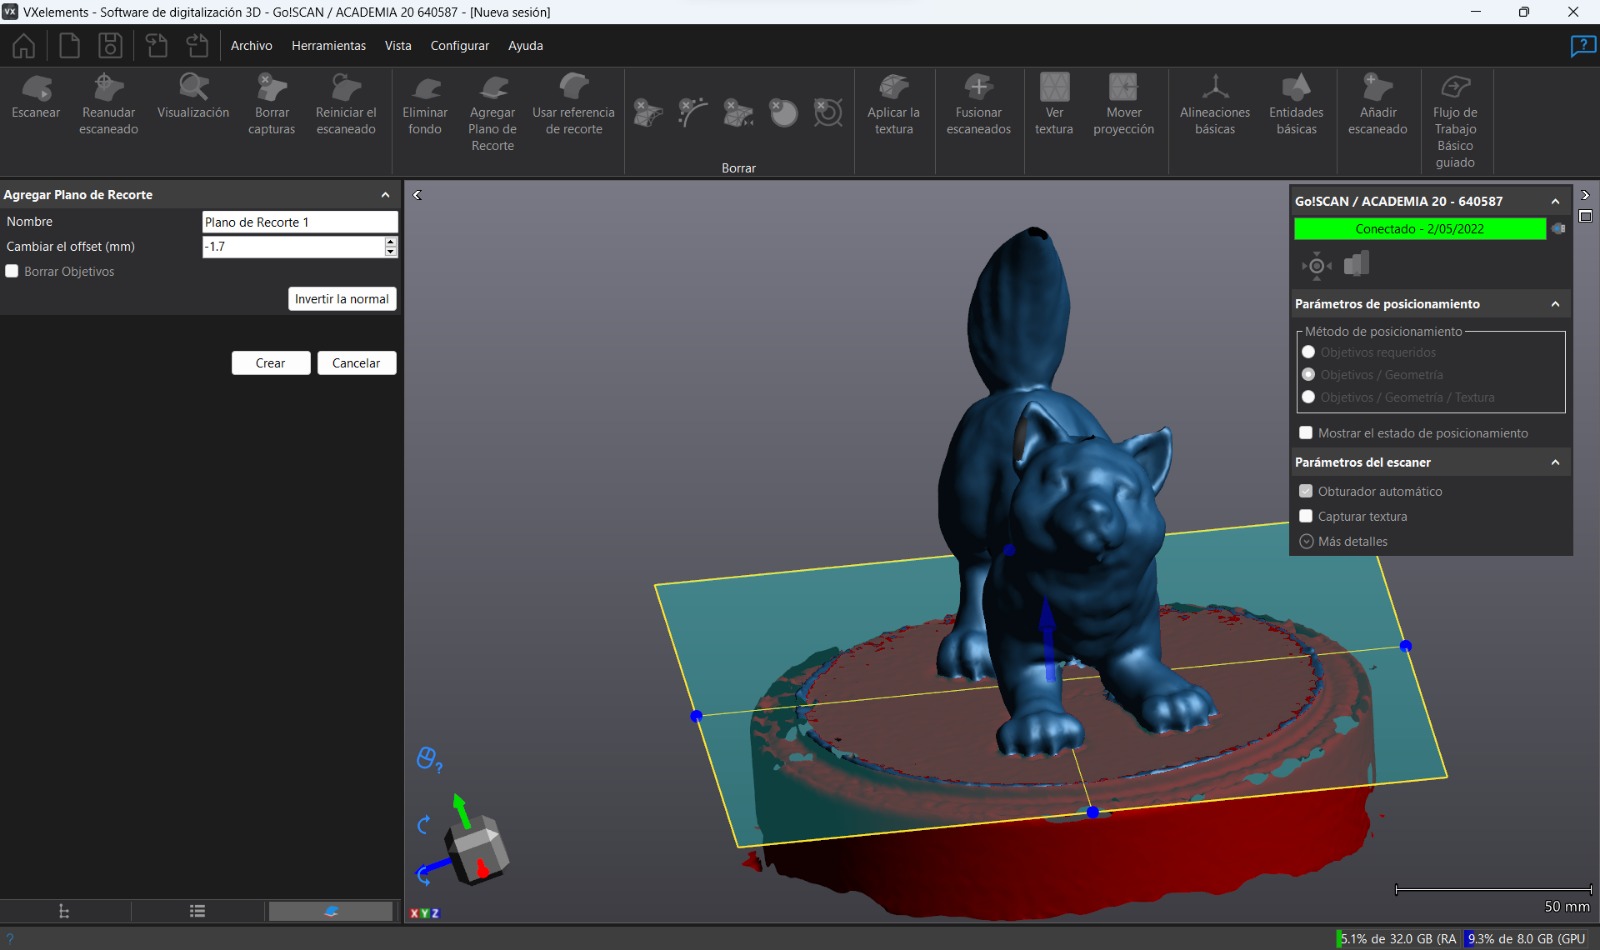
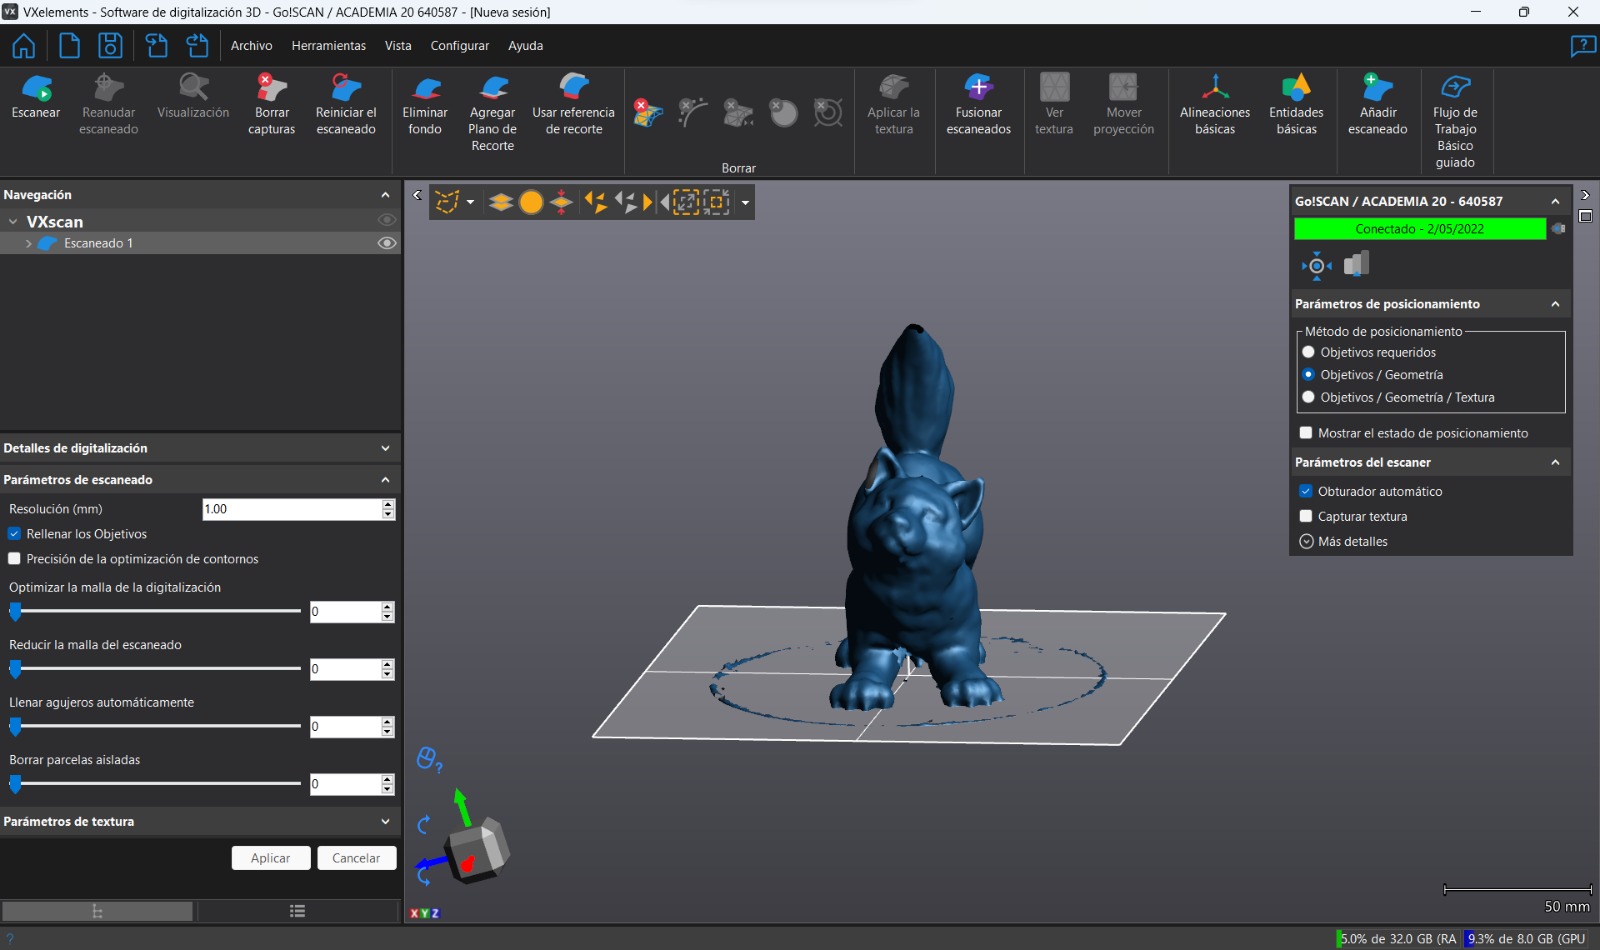
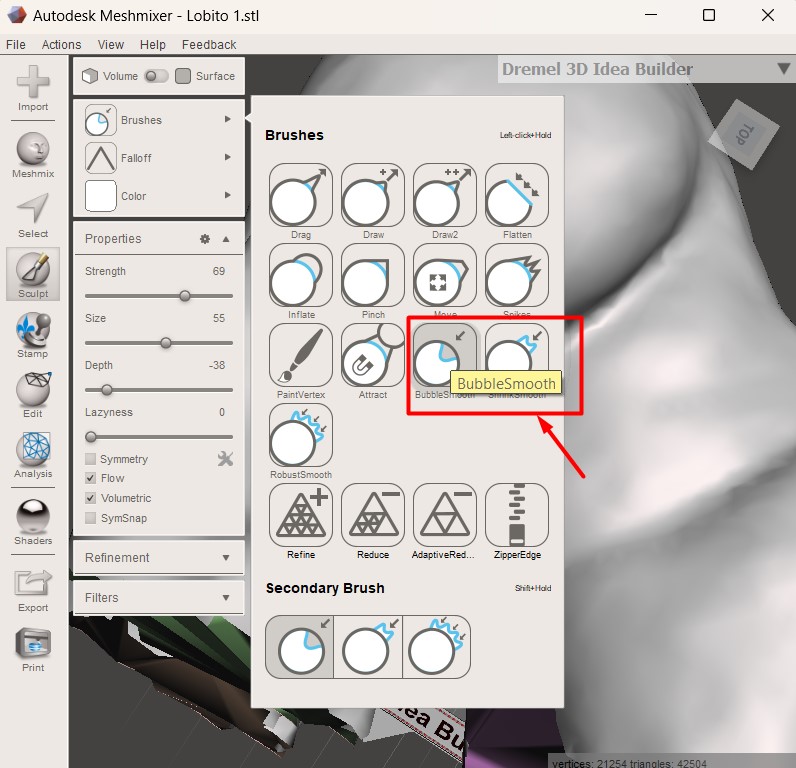
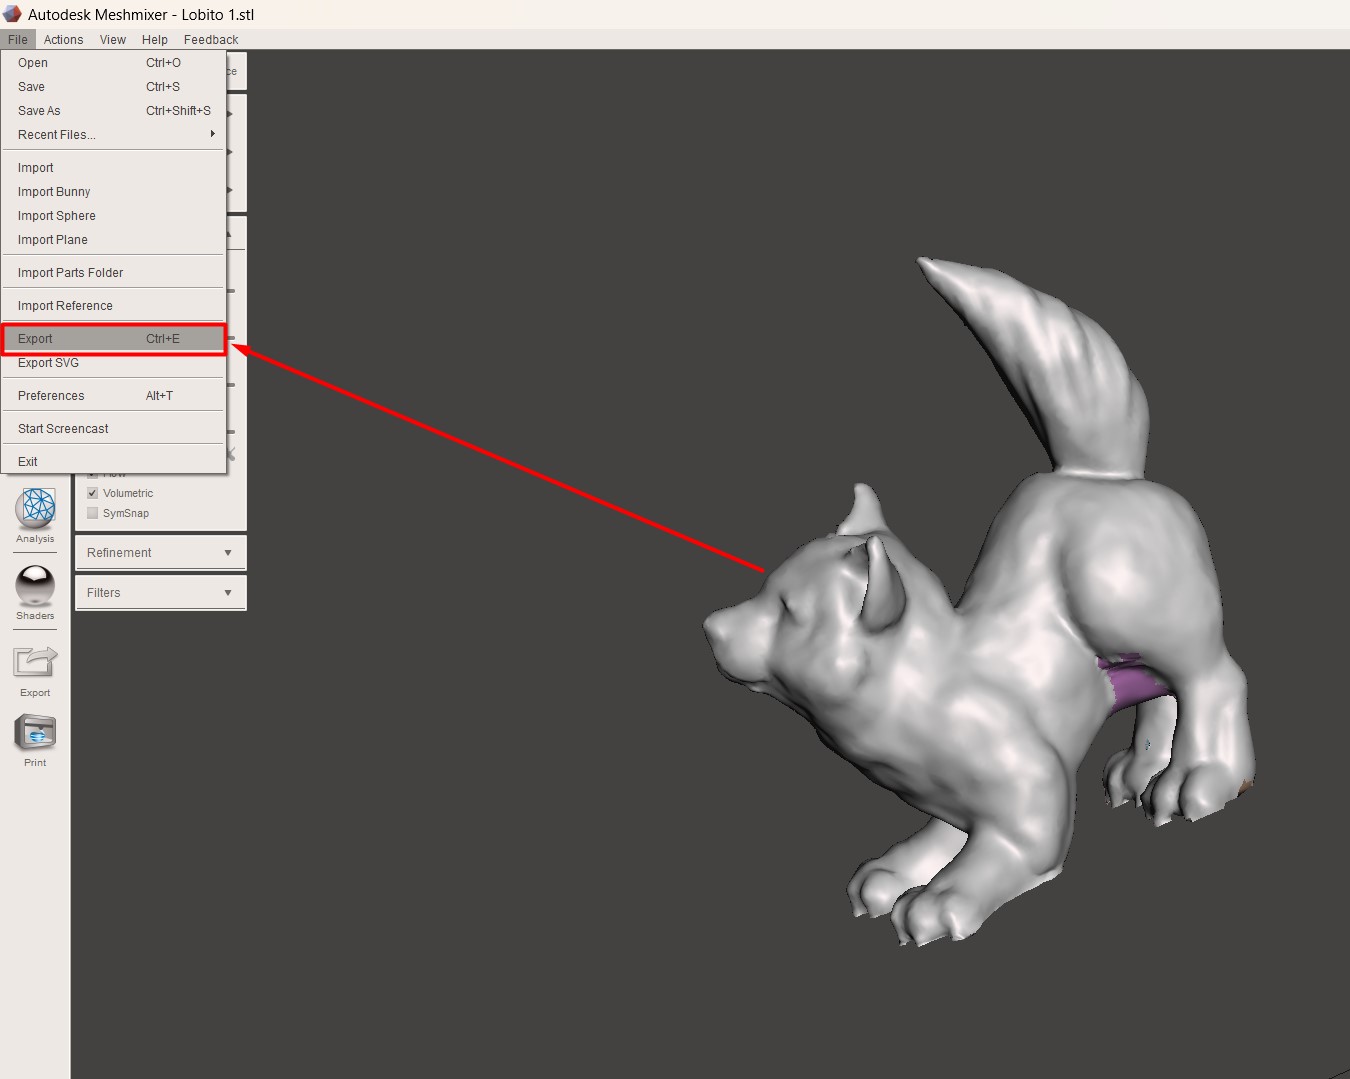
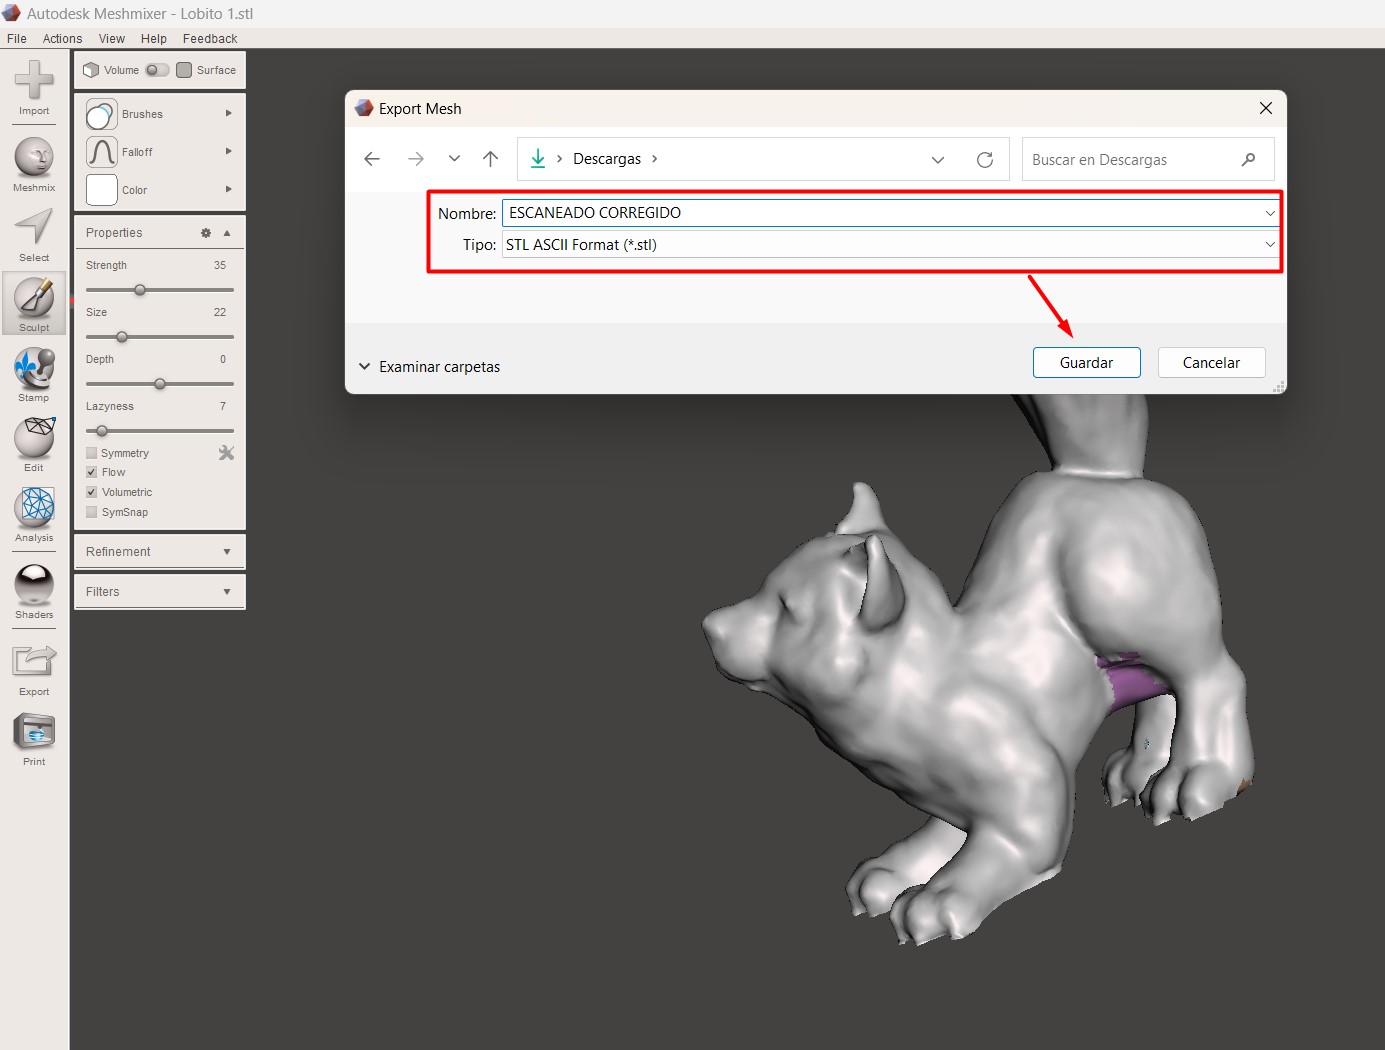
We clean the image so we can have it


File download area
- STL file of cell phone holder Click Here
- STL file of scan result Click Here
LEARNING, FINDING AND LESSONS
The printing process will depend on certain factors such as the equipment configuration, parameters, lamination software and above all the printing material, at least the latter because it must be within the useful life time, otherwise we will have problems.
In relation to 3D scanning, it is important to correctly calibrate the equipment, use the appropriate techniques for a better capture of what we want to replicate, now in my experience in this task, it is about taking the necessary time to properly capture each frame and optimize that with the help of the equipment’s own software or using one that also helps with this.
The main lesson in this activity is: Be thorough, have patience and repeat the process again if necessary.