
Week 5
3D Scanning and Printing
3D scanning is a process of capturing the physical shape and dimensions of an object or environment and converting this data into a digital 3D model. This technology uses various methods to collect data points from the surface of the object, which are then processed to create a precise, three-dimensional representation.
Assignments
Our task for this week is:
Group assesment
- Test the design rules for your 3D printer(s)
- Document your work on the group work page and reflect on your individual page what you learned about characteristics of your printer(s)
Individual assignment:
- Design and 3D print an o bject (small, few cm3, limited by printer time) that could not be easily made subtractively
- 3D scan an object (and optionally print it)
Group Assignment
The group assigment link is available here on the fabalab page.
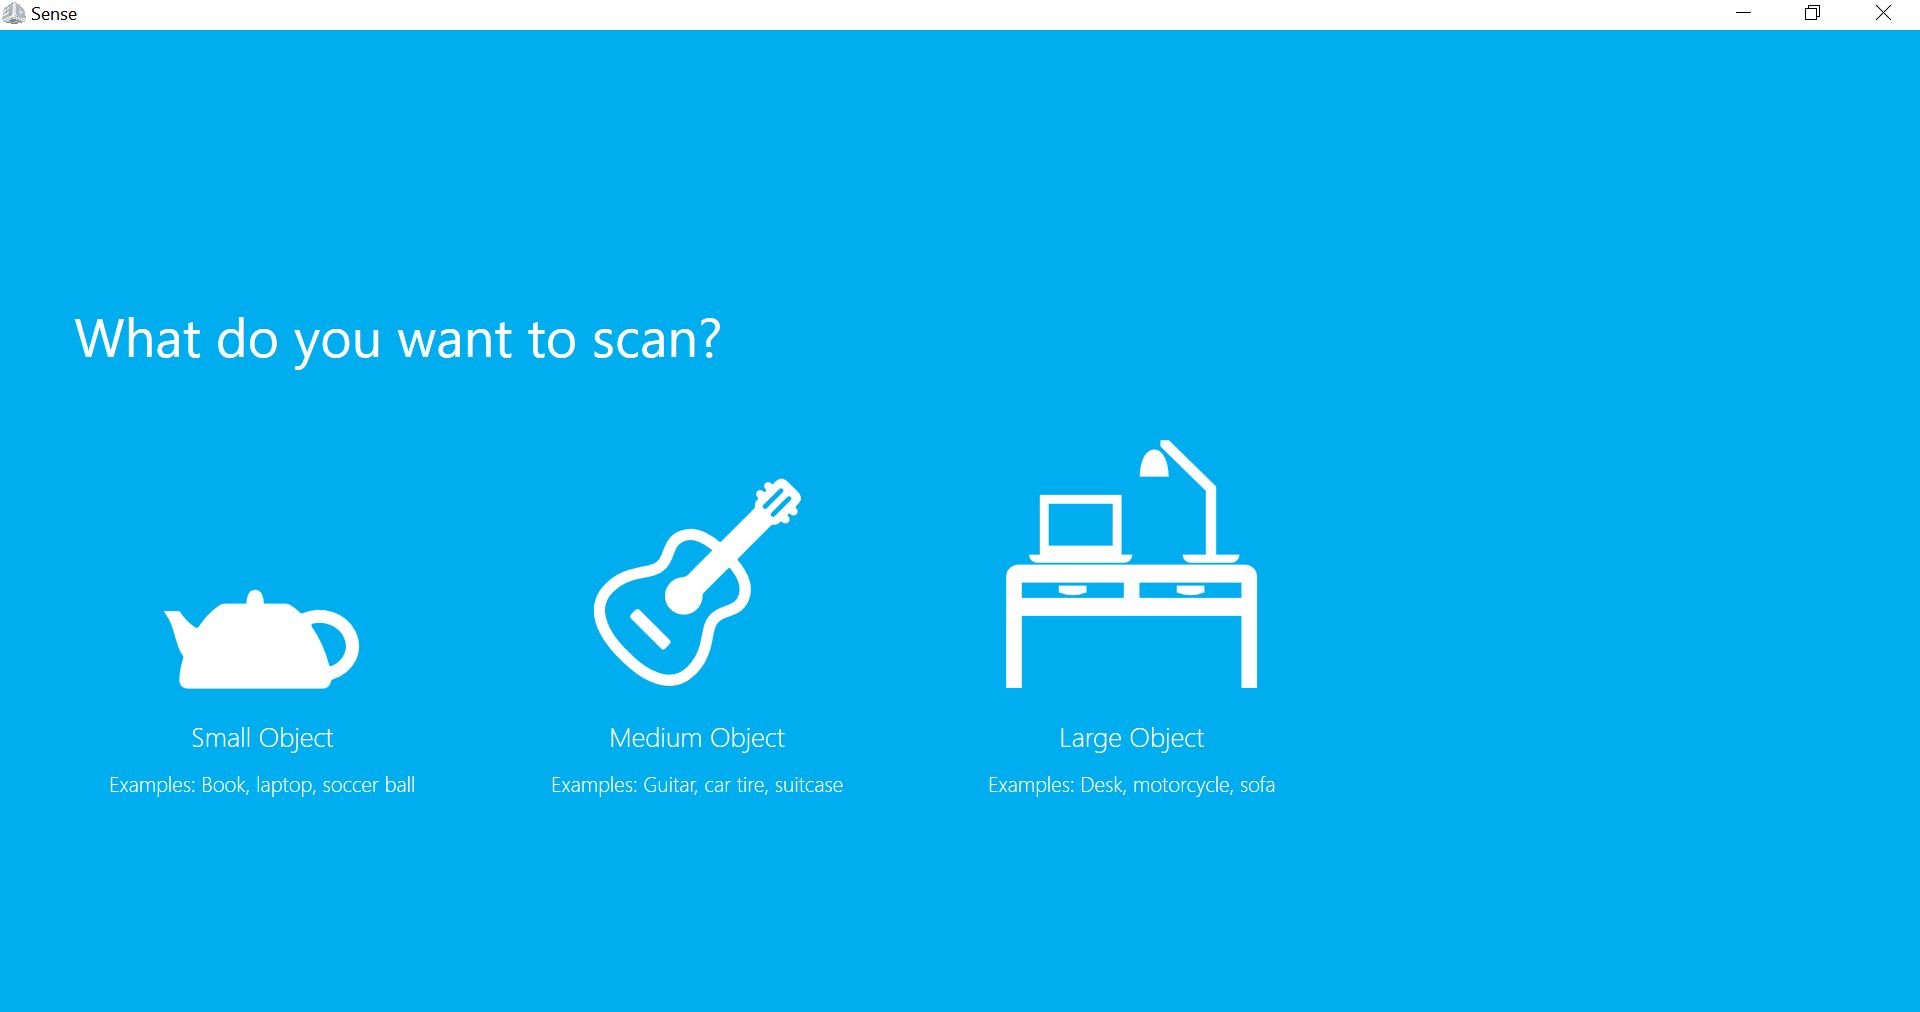
Let's start using the 3D scanner! In FabLab RWA, we have a Sense 3D scanner. Here’s more information about this scanner and its capabilities:
Sense 3D Scanner Overview:

The Sense 3D scanner, developed by 3D Systems, is a versatile and user-friendly device designed for capturing high-quality, full-color 3D scans. It is well-suited for a variety of applications, from creating 3D models of objects and people to aiding in reverse engineering and design.
Key Features of the Sense 3D Scanner:
- The Sense 3D scanner captures detailed scans with a resolution of up to 1 mm, ensuring that even fine details are accurately represented.
- The scanner captures not only the geometry but also the color information of the object, producing realistic and vivid 3D models.
- It can scan objects ranging from small items (as small as 0.2 meters) to larger objects (up to 2 meters), making it highly versatile for different scanning needs.
- With its intuitive interface and user-friendly software, the Sense 3D scanner is accessible to both beginners and experienced users. The software provides tools for editing and refining the scanned models.
- Lightweight and compact, the Sense 3D scanner is portable and can be easily used in various environments, from classrooms and labs to workshops and fieldwork.
- It is compatible with Windows and Mac operating systems, and integrates well with various 3D printing and modeling software, making it easy to export and use scanned models for further processing or printing.
Applications of the Sense 3D Scanner:
- Ideal for teaching 3D modeling and design, allowing students to create digital replicas of real-world objects.
- Helps designers and engineers to quickly prototype and iterate on their designs by capturing accurate models of existing objects.
- Used for creating custom-fit prosthetics and orthotics, as well as for detailed anatomical studies.
- Enables the digital preservation of artifacts and artworks, providing detailed records for restoration and study.
- Allows developers to create realistic 3D models for use in virtual environments and video games.
- Facilitates the creation of personalized items, such as custom-fit accessories, bespoke jewelry, and tailored consumer products.
Advantages of Using the Sense 3D Scanner at FabLab RWA:
- Provides practical experience with cutting-edge technology, enhancing the learning process.
- Enables the creation of unique and innovative projects, from custom-designed products to detailed replicas of complex objects.
- Encourages collaboration and sharing of ideas within the FabLab community, fostering a creative and supportive environment.
By utilizing the Sense 3D scanner at FabLab RWA, I can explore the limitless possibilities of 3D scanning technology and apply it to my this week assesment. Let's dive in and start creating!
Install Software
We have used a software called 3D Systems Sense for our 3D scanning needs. I downloaded and installed it on my computer running Windows 10. Using this software, I was able to scan my face, capturing a detailed 3D model. The 3D Systems Sense software is user-friendly, providing intuitive controls and robust features that make the scanning process straightforward. It offers various customization options and tools for refining the scanned models, ensuring high-quality outputs. The ability to create accurate 3D representations of objects and people highlights the software's versatility and effectiveness in both professional and personal projects.
I went to their websote and downlaod the setup. click here to downlaod it.
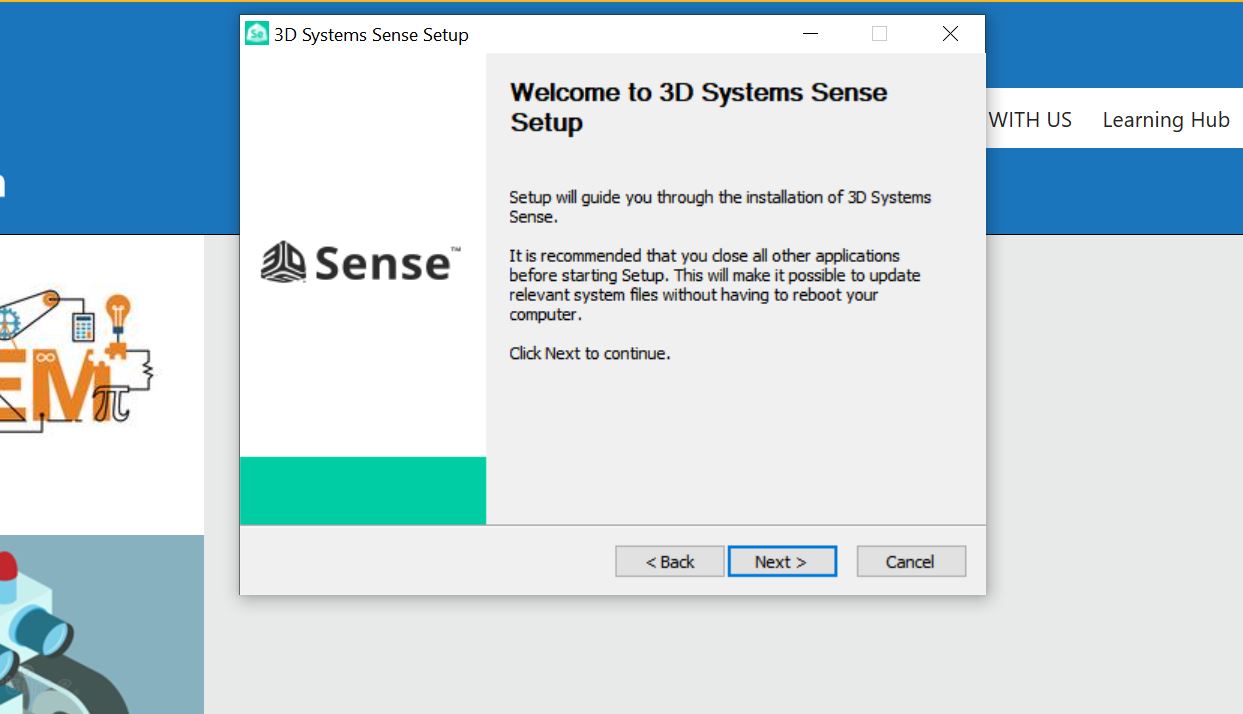
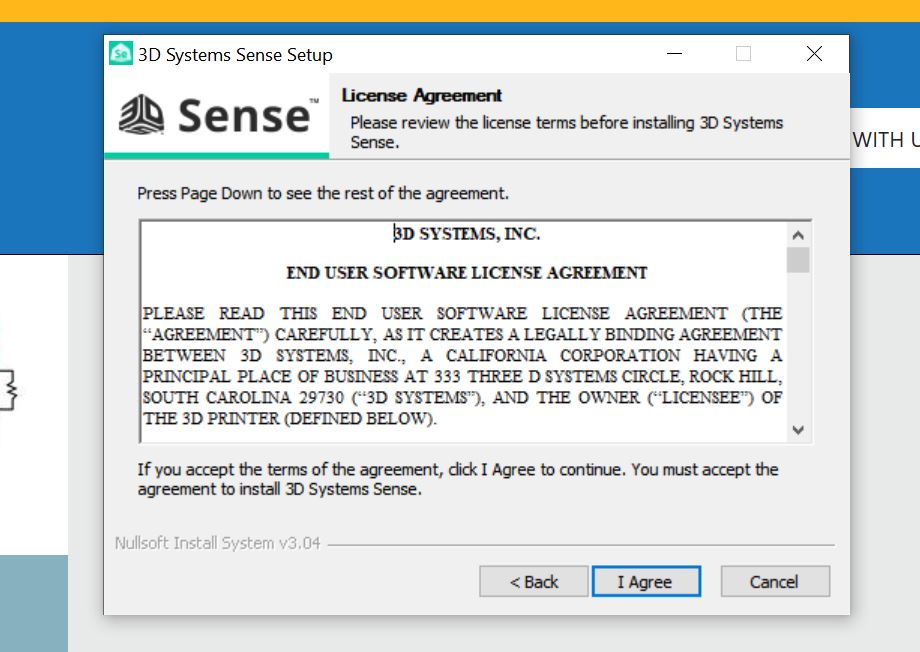
After downloading the 3D Systems Sense software, I followed the installation steps to set it up on my computer. The installation process was straightforward, guided by an easy-to-understand wizard that walked me through each step. Here’s a more detailed overview of the process:
I visited the official 3D Systems website and downloaded the latest version of the Sense software compatible with Windows 10.
Once the download was complete, I launched the installer file. The installation wizard began with a welcome screen, followed by prompts to agree to the software's terms and conditions.
The wizard allowed me to choose the installation directory and select additional options, such as creating a desktop shortcut for easy access.
The software installation included necessary drivers for the 3D scanner hardware to ensure smooth communication between the device and my computer.
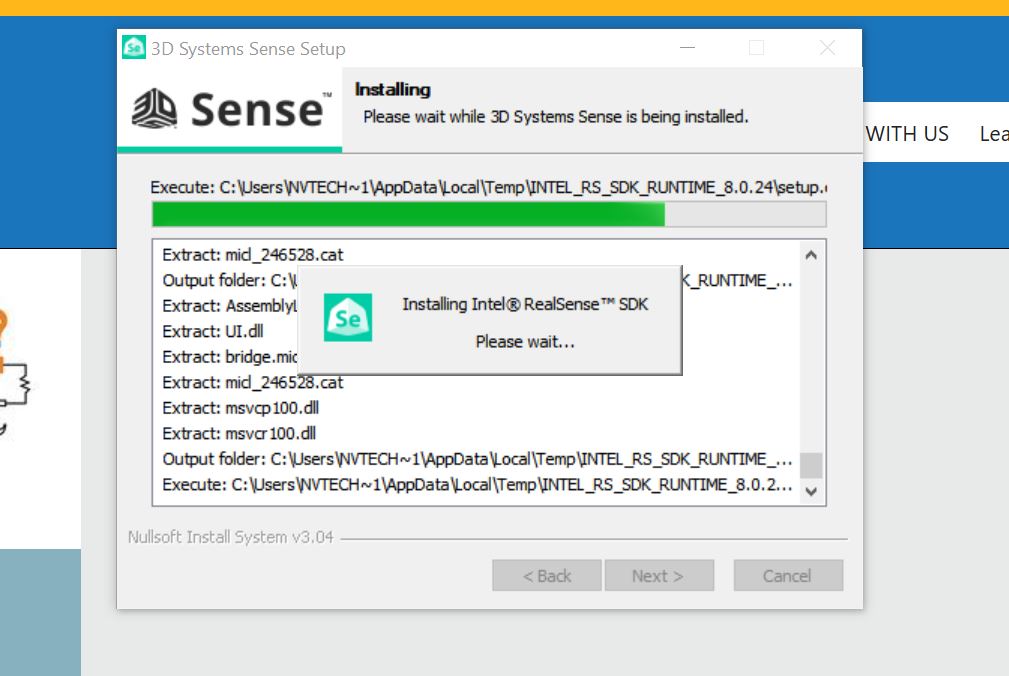
After confirming the preferences, the installation process began, copying the necessary files to my system. The progress bar kept me informed of the installation status.
Once the installation was complete, I launched the 3D Systems Sense application from the newly created desktop shortcut. The software opened with an introductory screen and a tutorial guide to help new users get started with their first scan.
I connected my 3D scanner to the computer via USB. The software immediately recognized the device, prompting me to begin the scanning process.
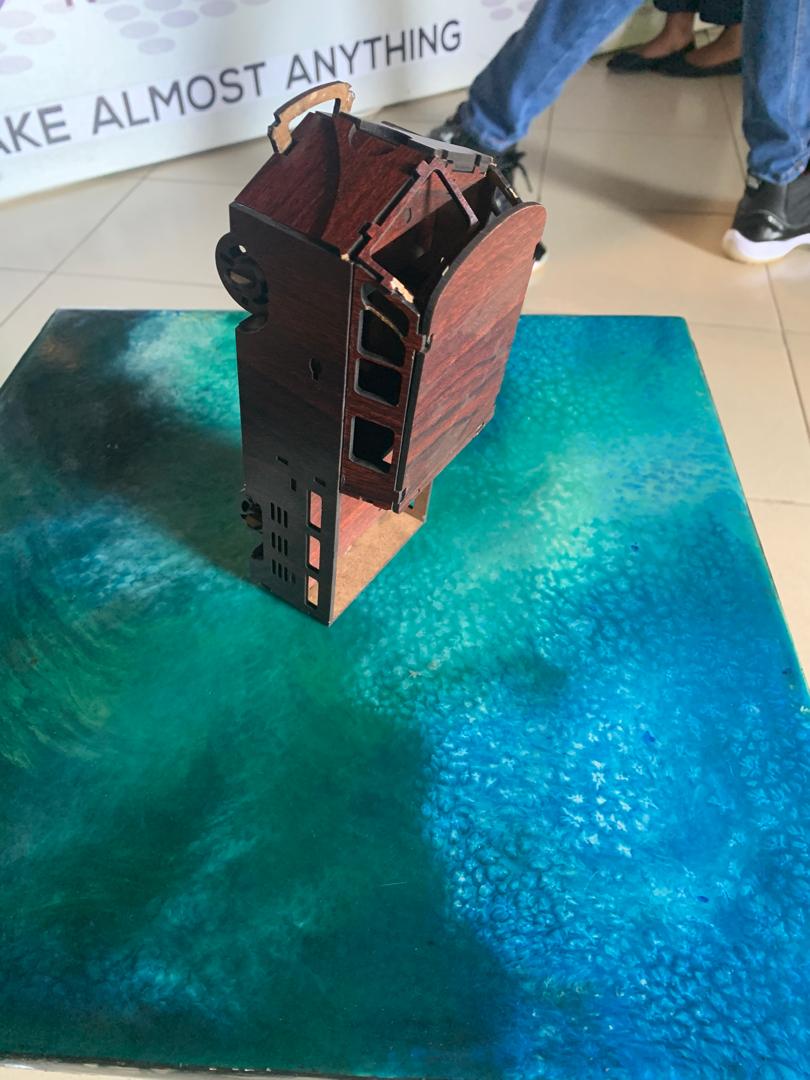
This week, I plan to scan an object of personal interest. The object, a detailed miniature model of a vintage car, presents an ideal challenge for exploring the capabilities of 3D scanning technology.
3D scanning this vintage car model will not only preserve its digital replica but also allow for various applications such as virtual exhibitions, custom modifications, and even scale reproduction through 3D printing. By carefully planning the scanning process and utilizing advanced features of the 3D Systems Sense software, I aim to create an accurate and detailed digital representation of this cherished object. This project will further my understanding of 3D scanning technology and its practical applications in capturing and preserving intricate details of physical objects.
Following the on-screen instructions, I positioned myself in front of the scanner and initiated the scan. The software captured my facial features accurately, creating a detailed 3D model.
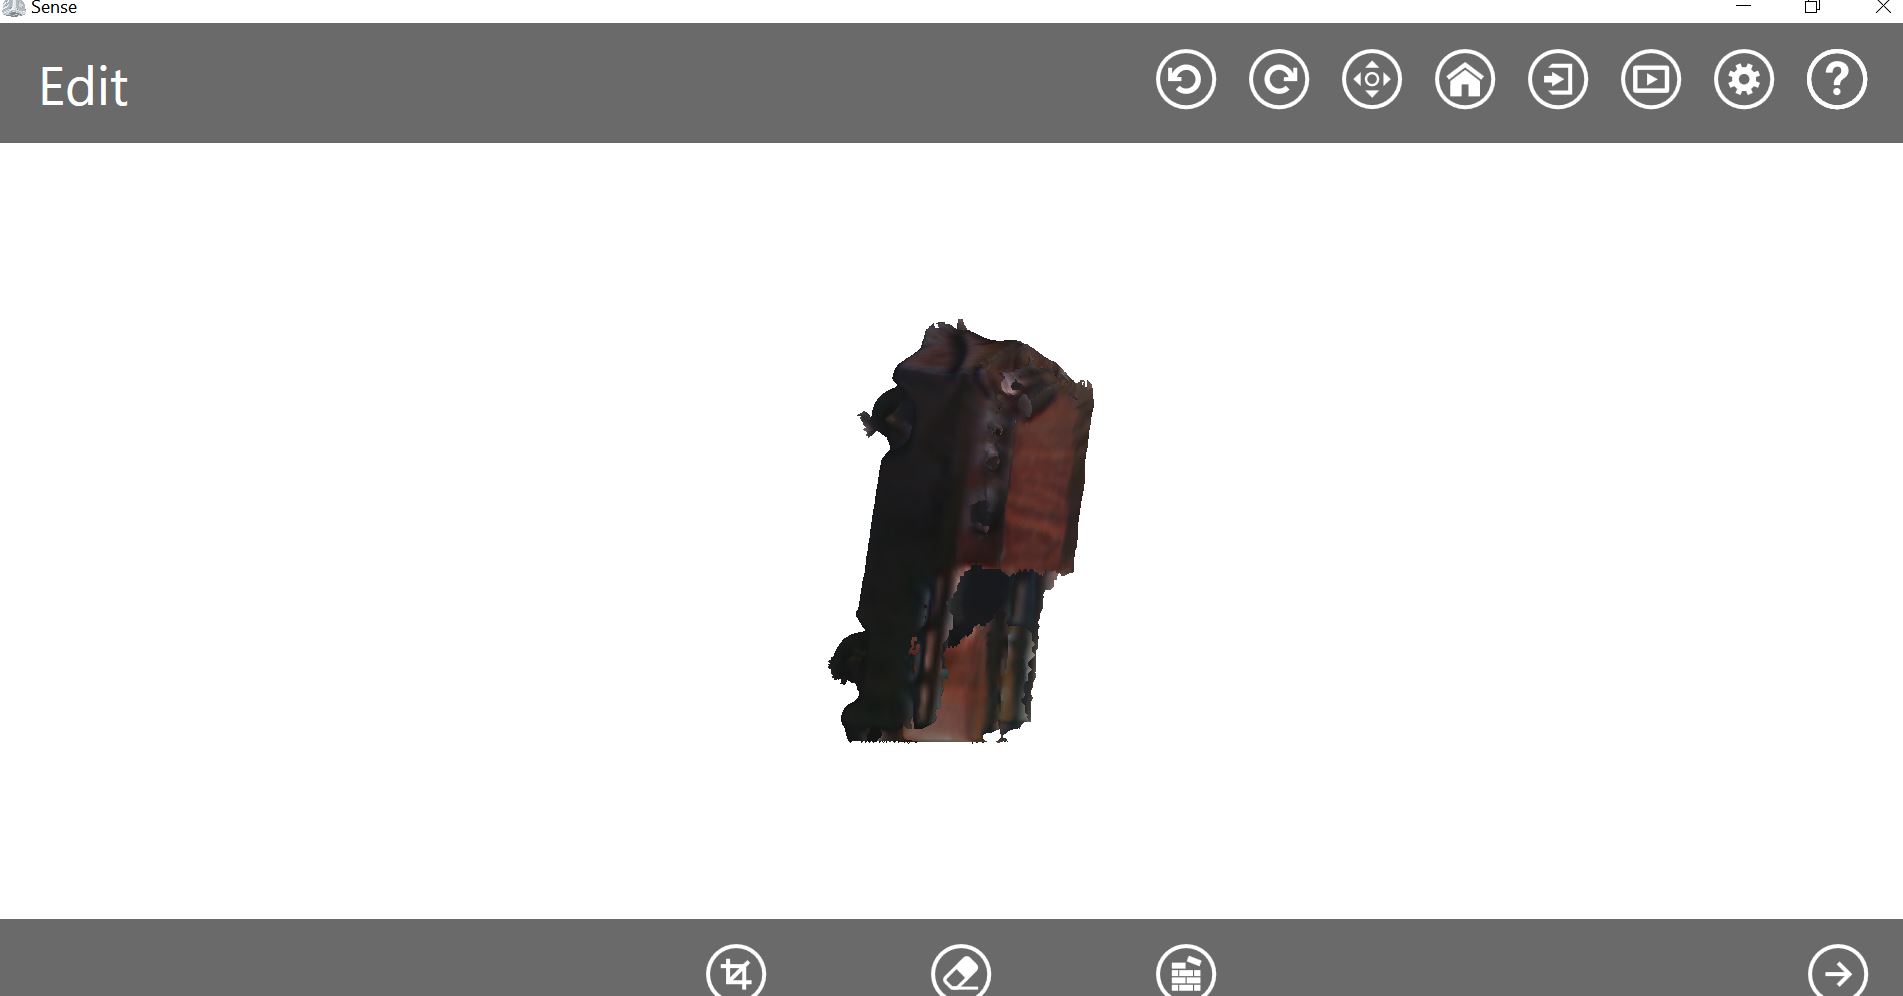
Here, at this step, you can click on the arrow to proceed to the next stage. This action will guide you through the process of generating a file suitable for 3D printing. Here’s a more detailed breakdown of the steps involved:
Detailed Steps:
- Click the Arrow:
- By clicking on the arrow icon, you will advance to the subsequent step in the workflow.
- File Preparation:
- The software will prompt you to select the desired file format for 3D printing, such as STL, OBJ, or 3MF. STL is the most common format used in 3D printing due to its compatibility with most 3D printers.
- Choose the resolution settings for the file. Higher resolution files capture more detail but result in larger file sizes.
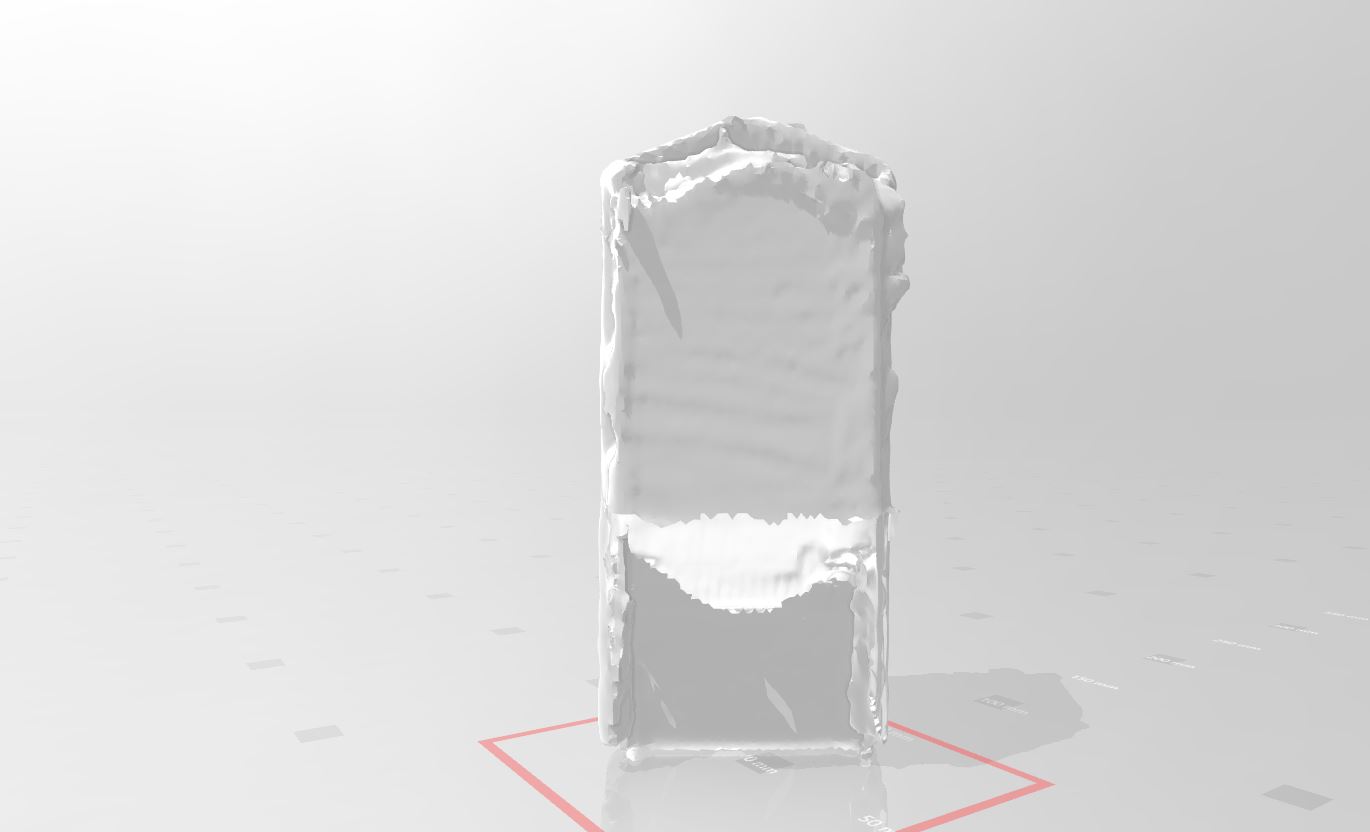
Here is the final object after being scanned with the 3D scanner. This digital model accurately captures every detail of the original item, showcasing the precision and capabilities of the 3D scanning process.
The final scanned object demonstrates the powerful capabilities of 3D scanning technology. From accurate replication to versatile applications, the digital model opens up numerous possibilities for innovation and creativity. Whether for personal projects or professional use, 3D scanning transforms the way we interact with physical objects, bridging the gap between the physical and digital worlds.
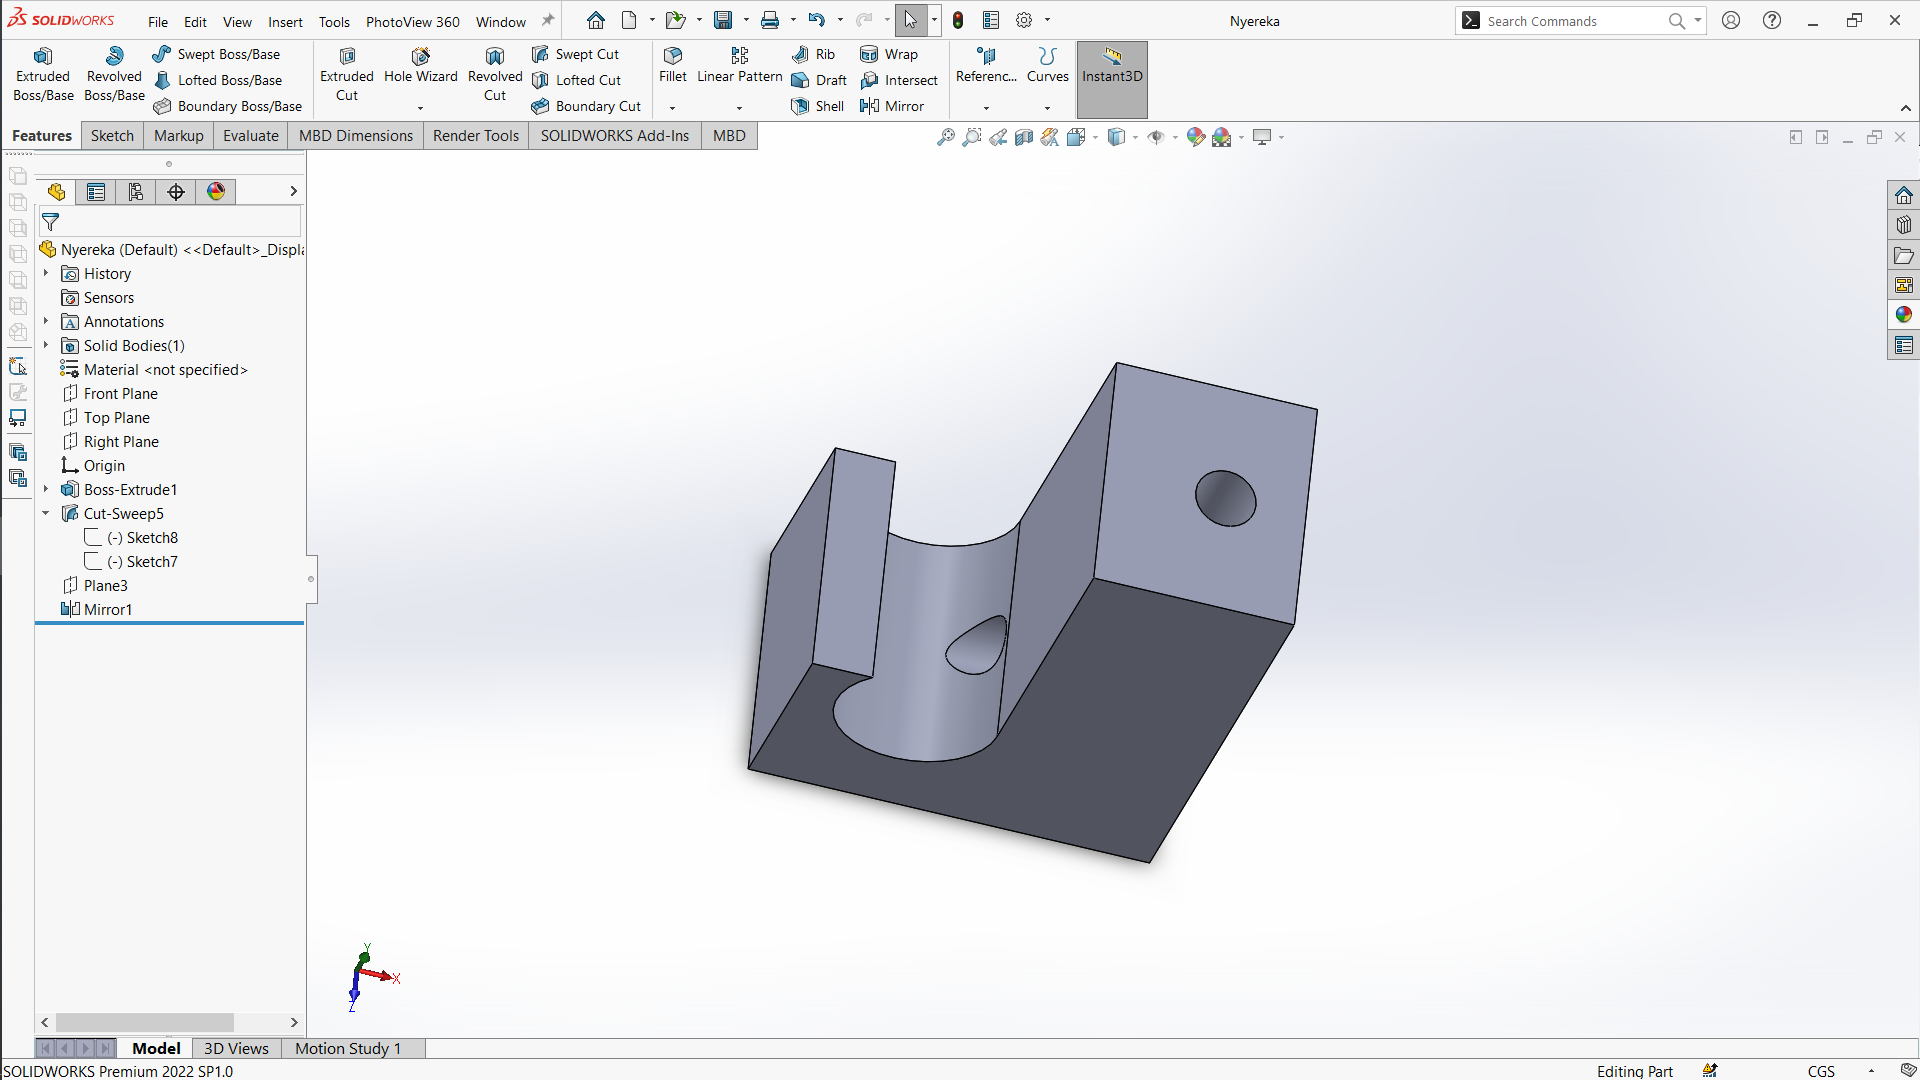
Design and 3D printing
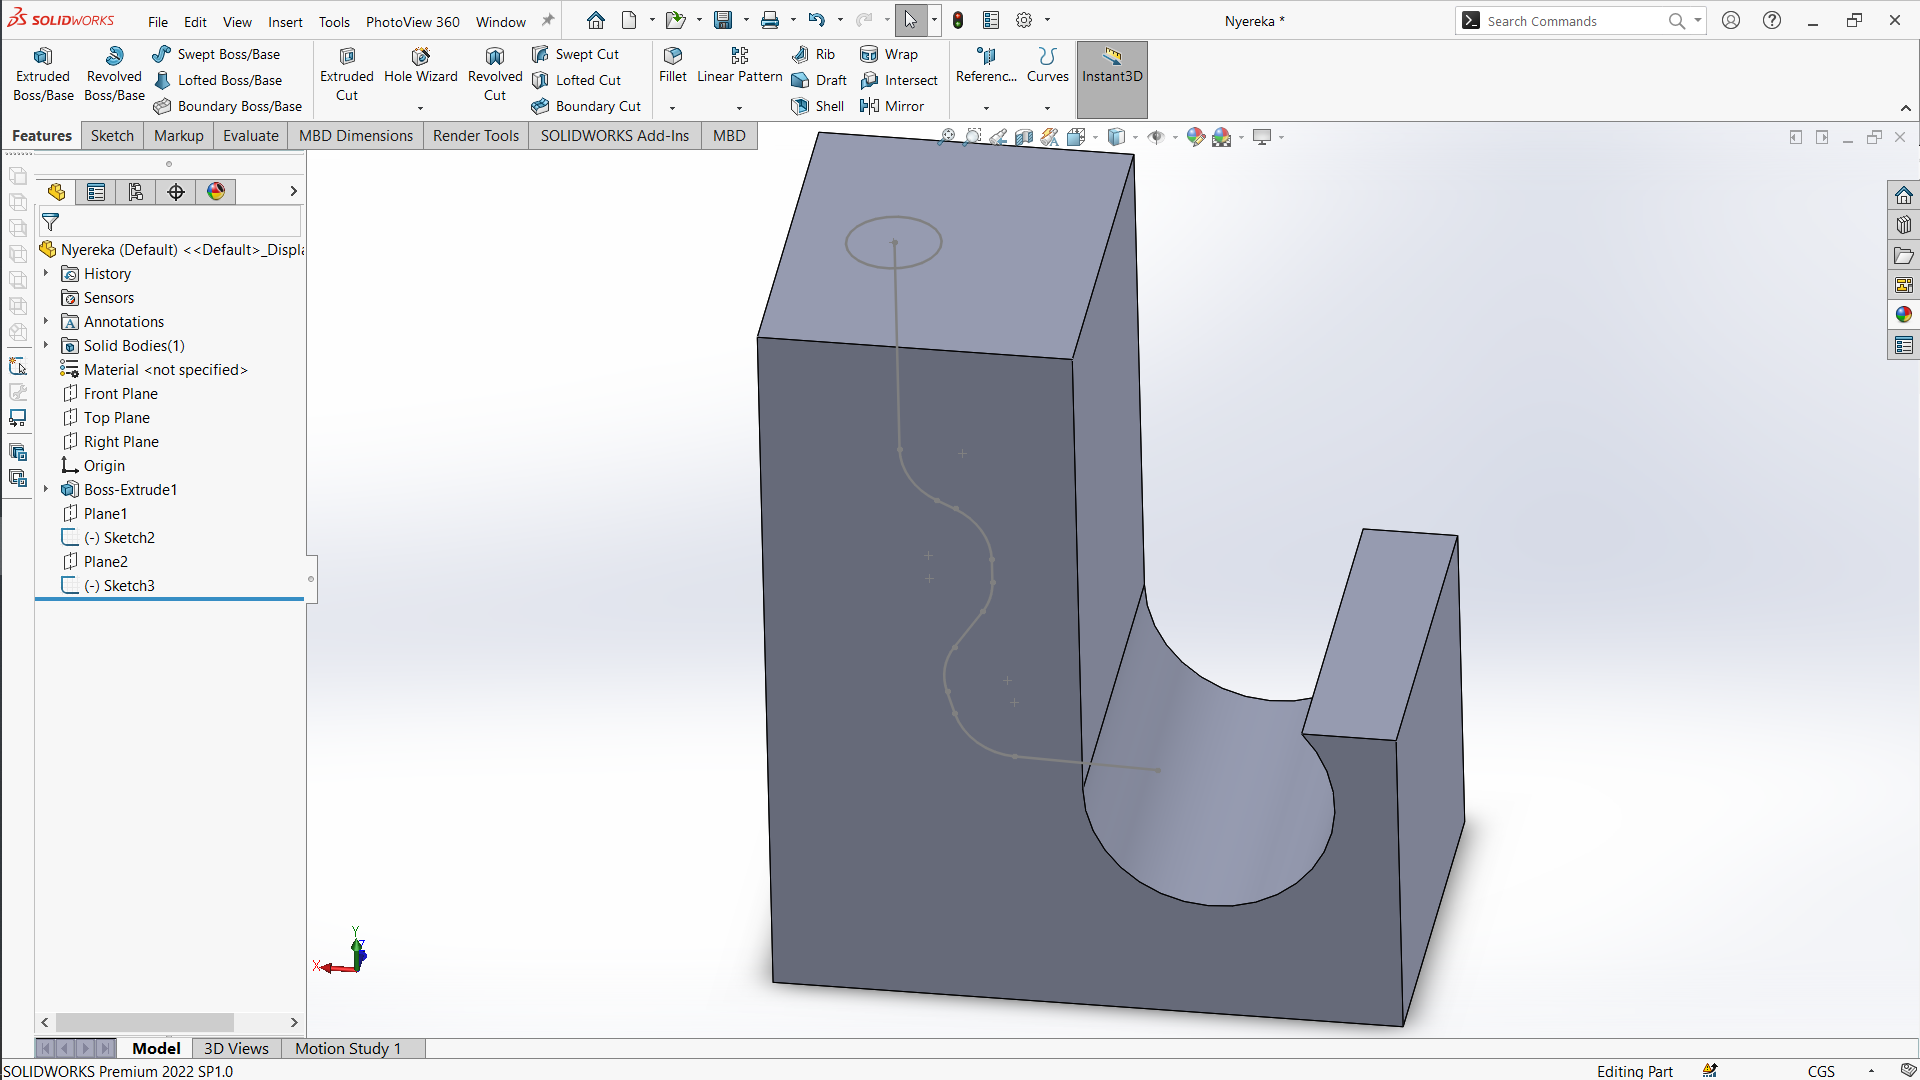
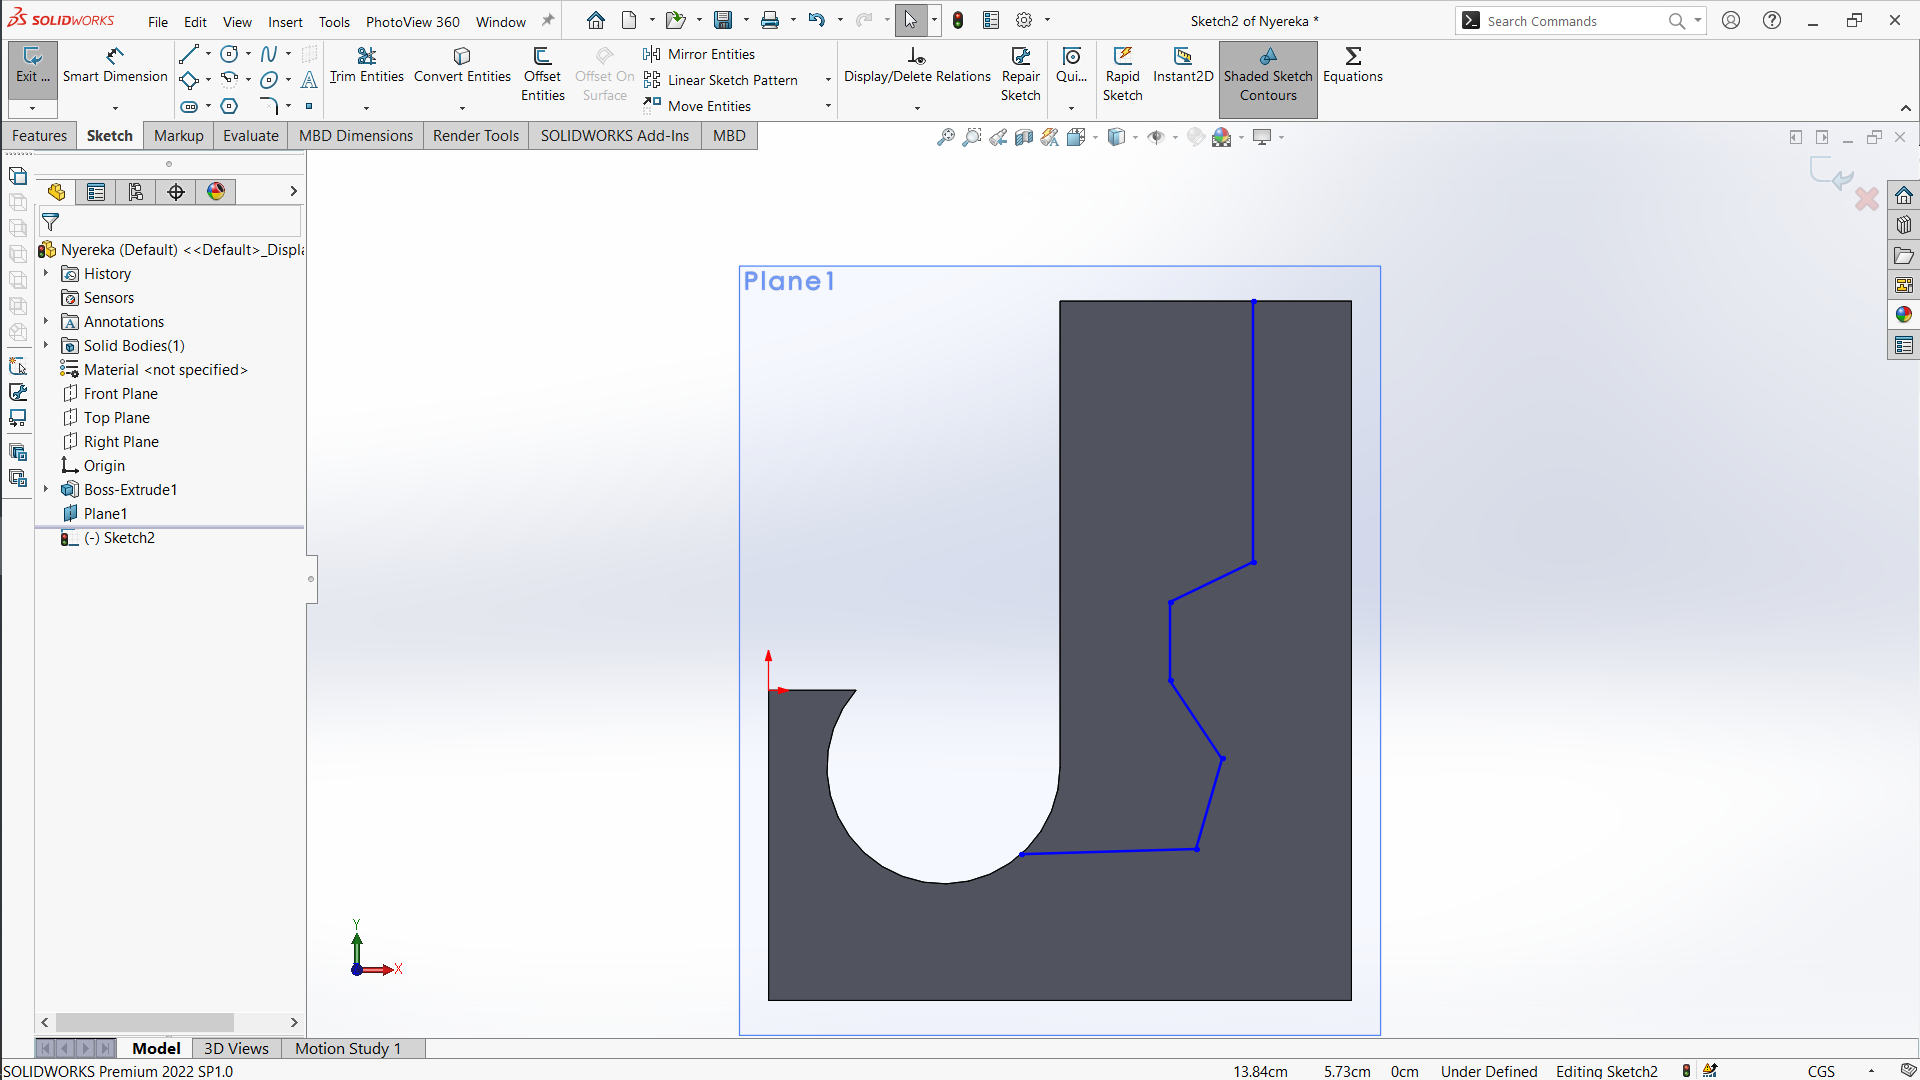
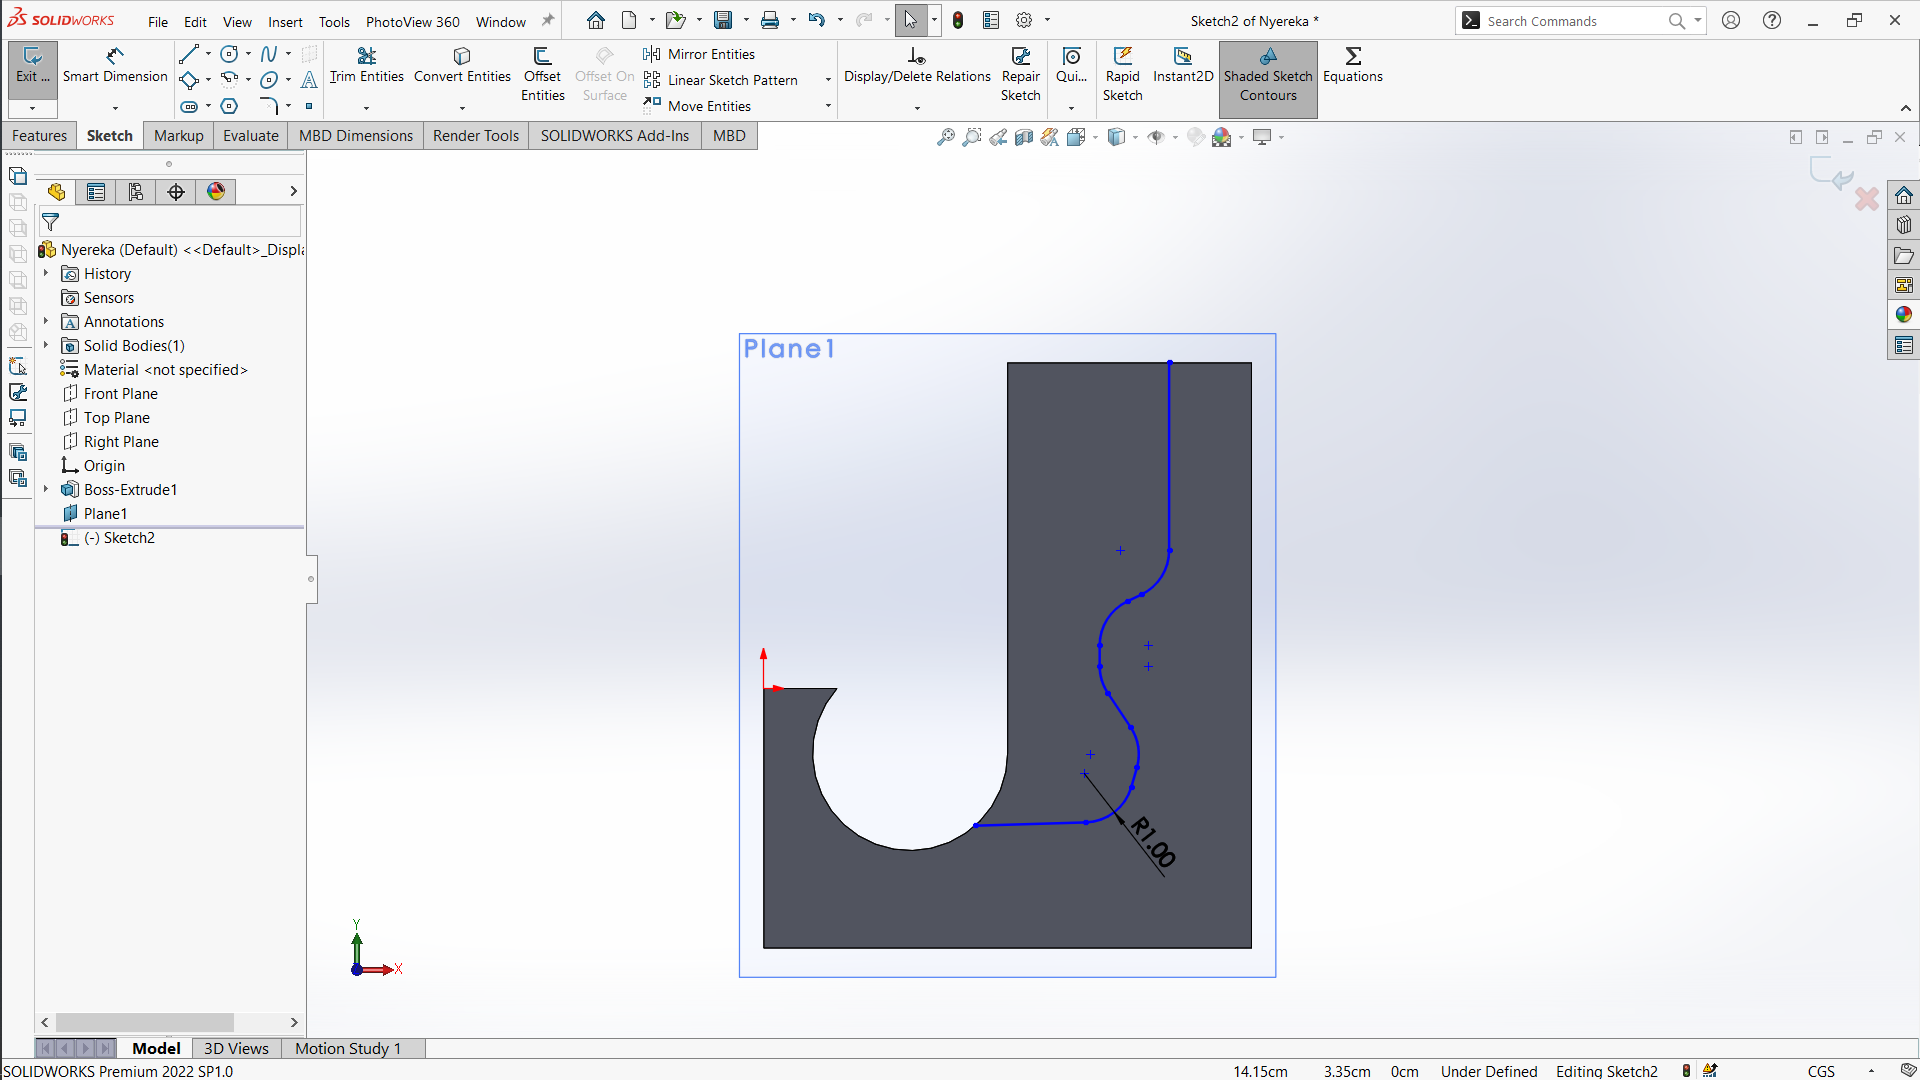
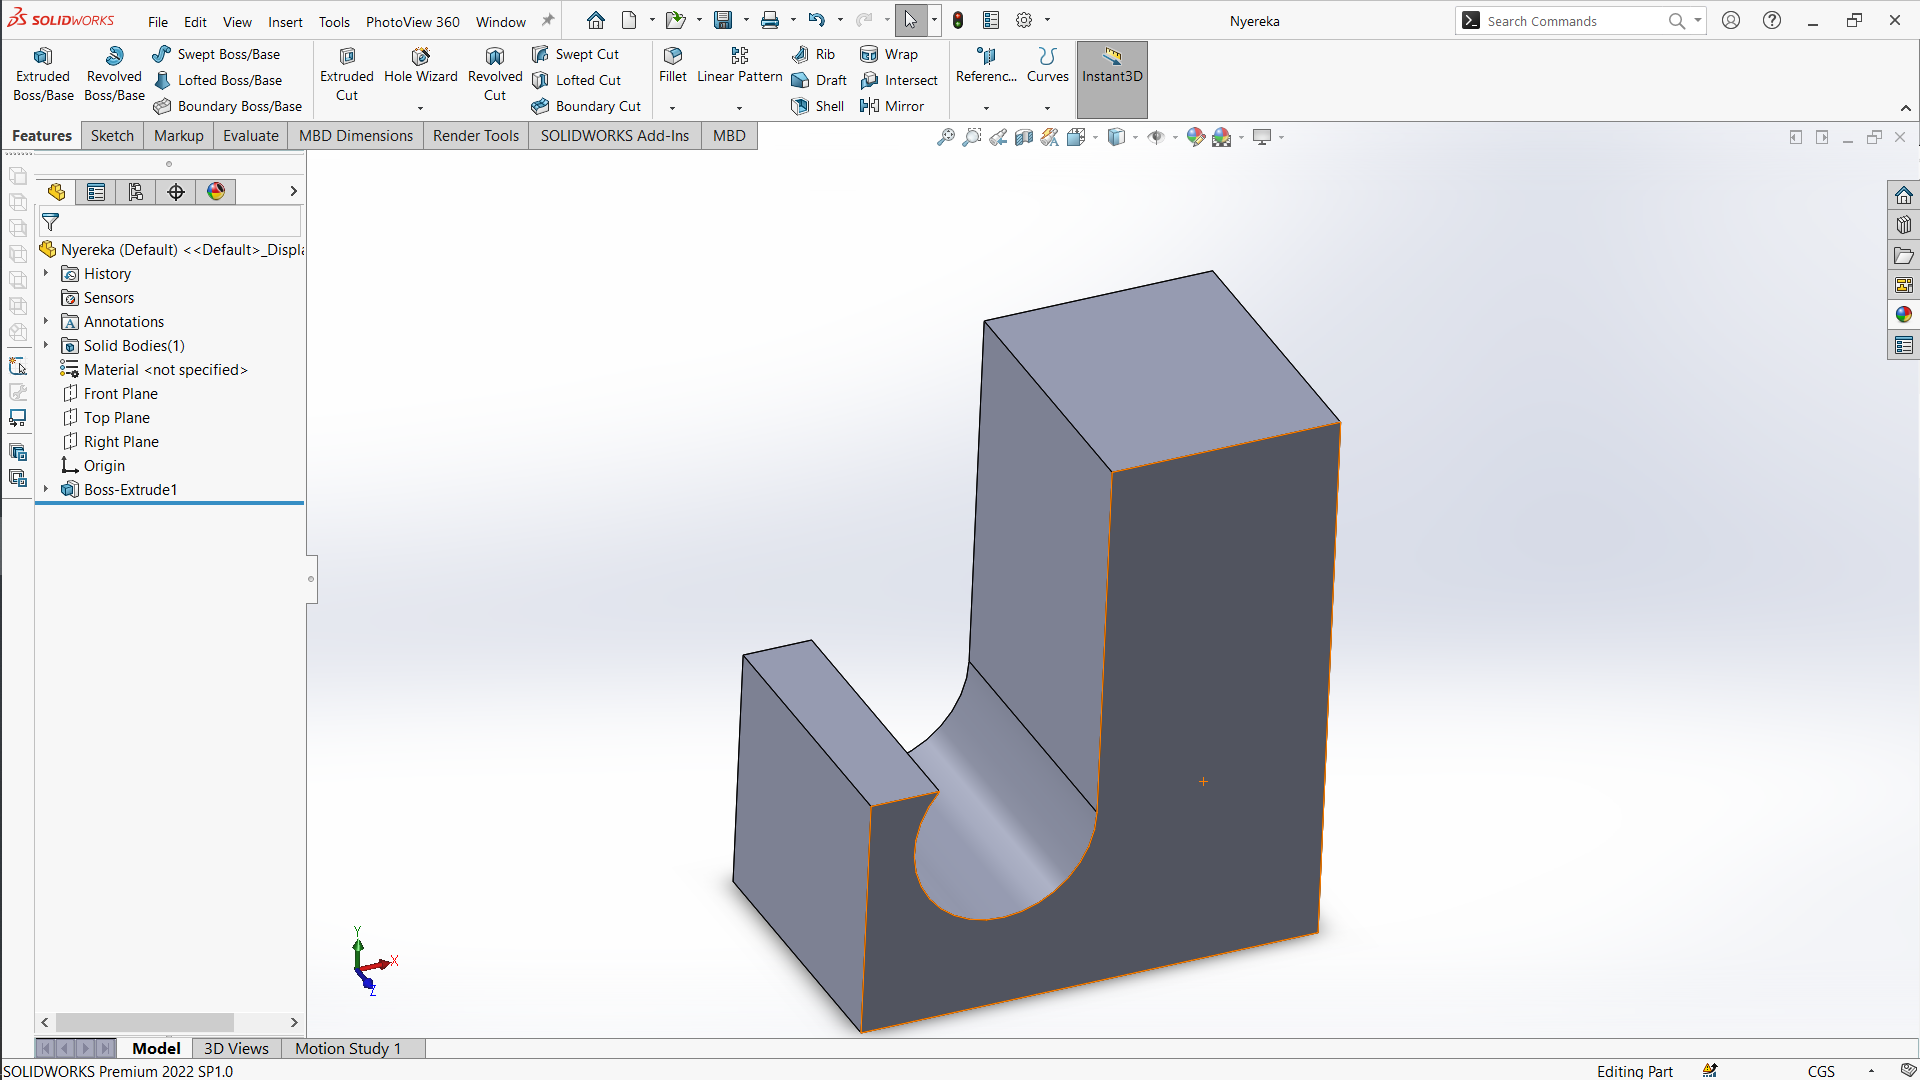
To complete this assessment, I began by sketching the object I wanted to print on paper. My idea is to design a device where you can pull a ball from the top, guide it through a tunnel within the object, and have it exit on the other side. This concept is illustrated in the image below.
I started by sketching the basic shape and structure of the object, focusing on how the tunnel would be positioned to ensure smooth passage of the ball. I considered various design aspects, such as the dimensions of the tunnel, the size of the ball, and the material to be used for printing. These initial sketches helped me visualize the final product and plan the steps needed to create it.
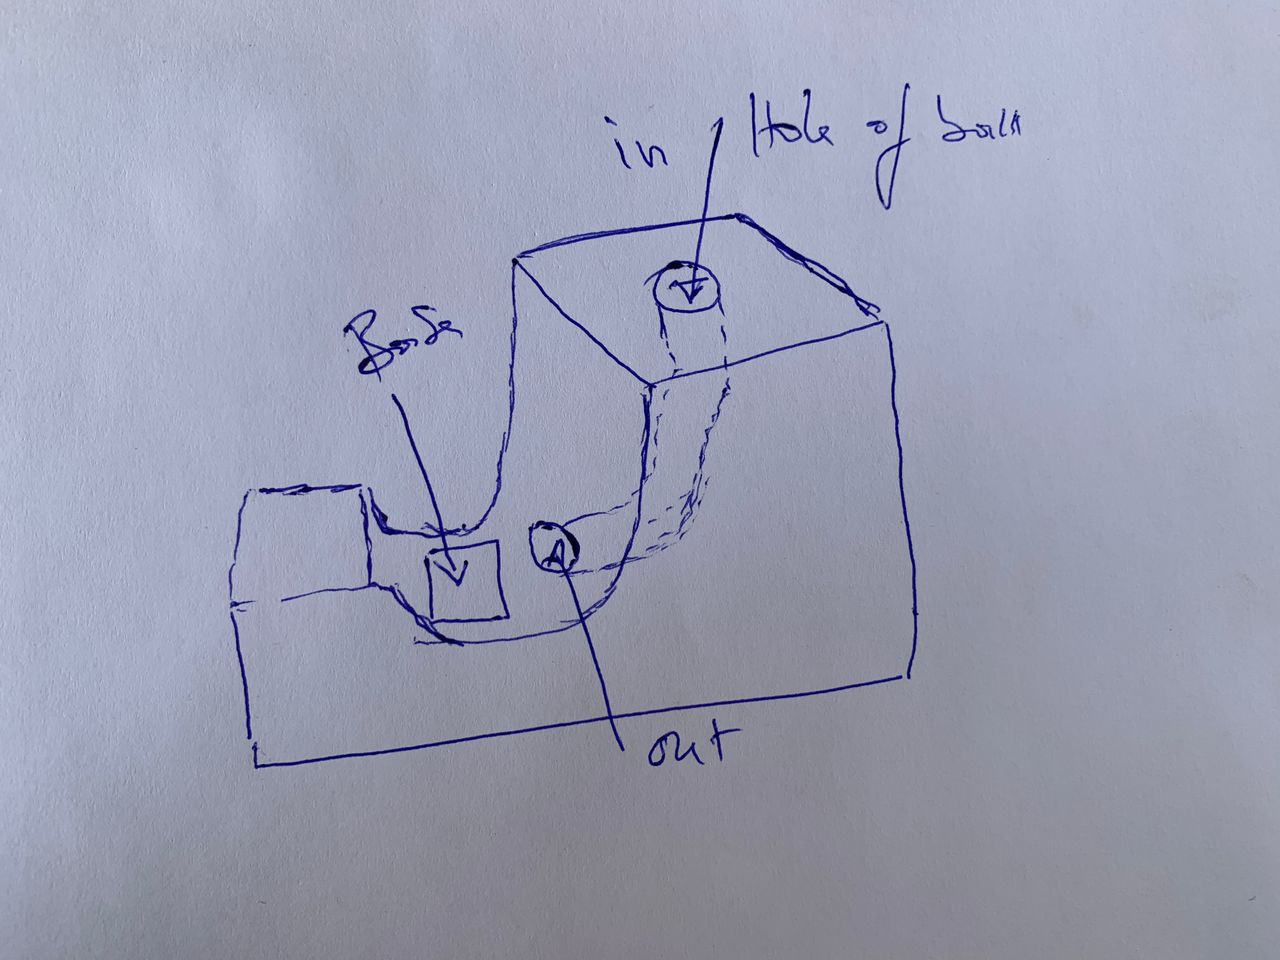
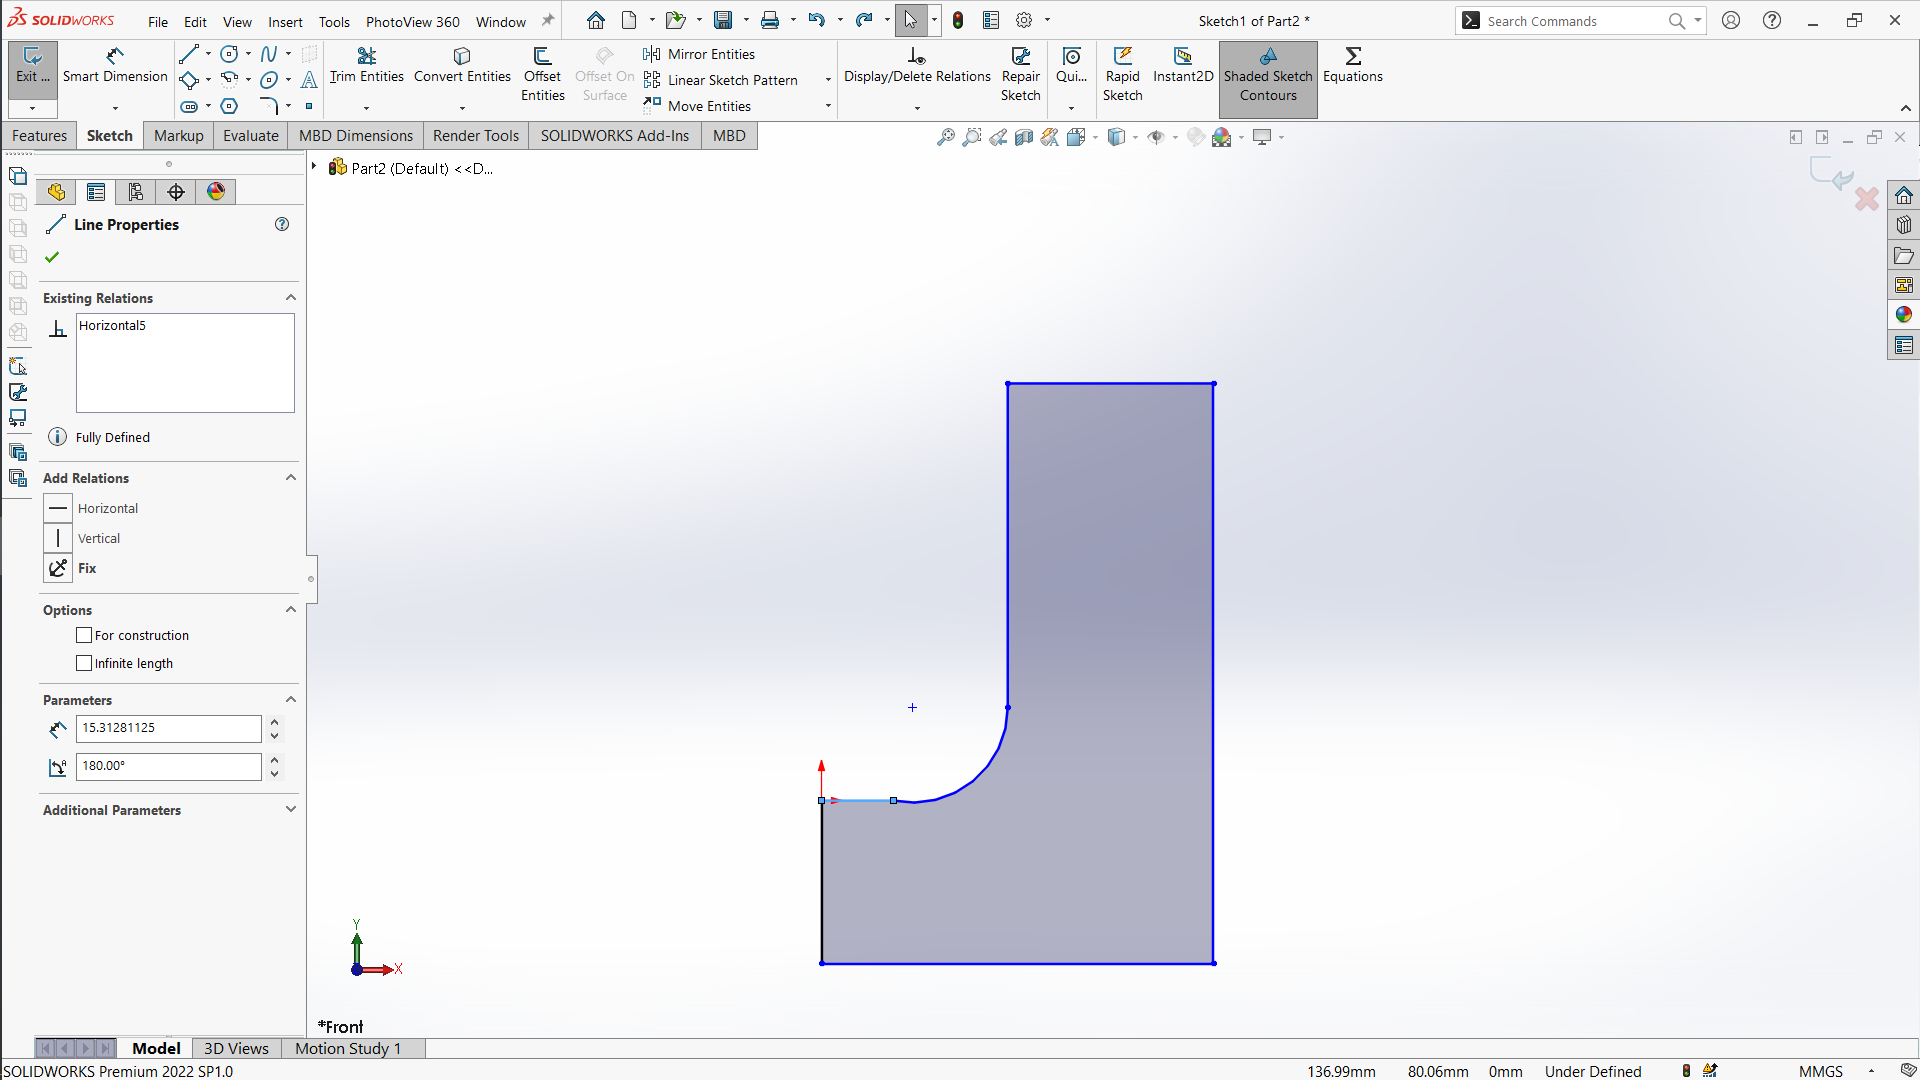
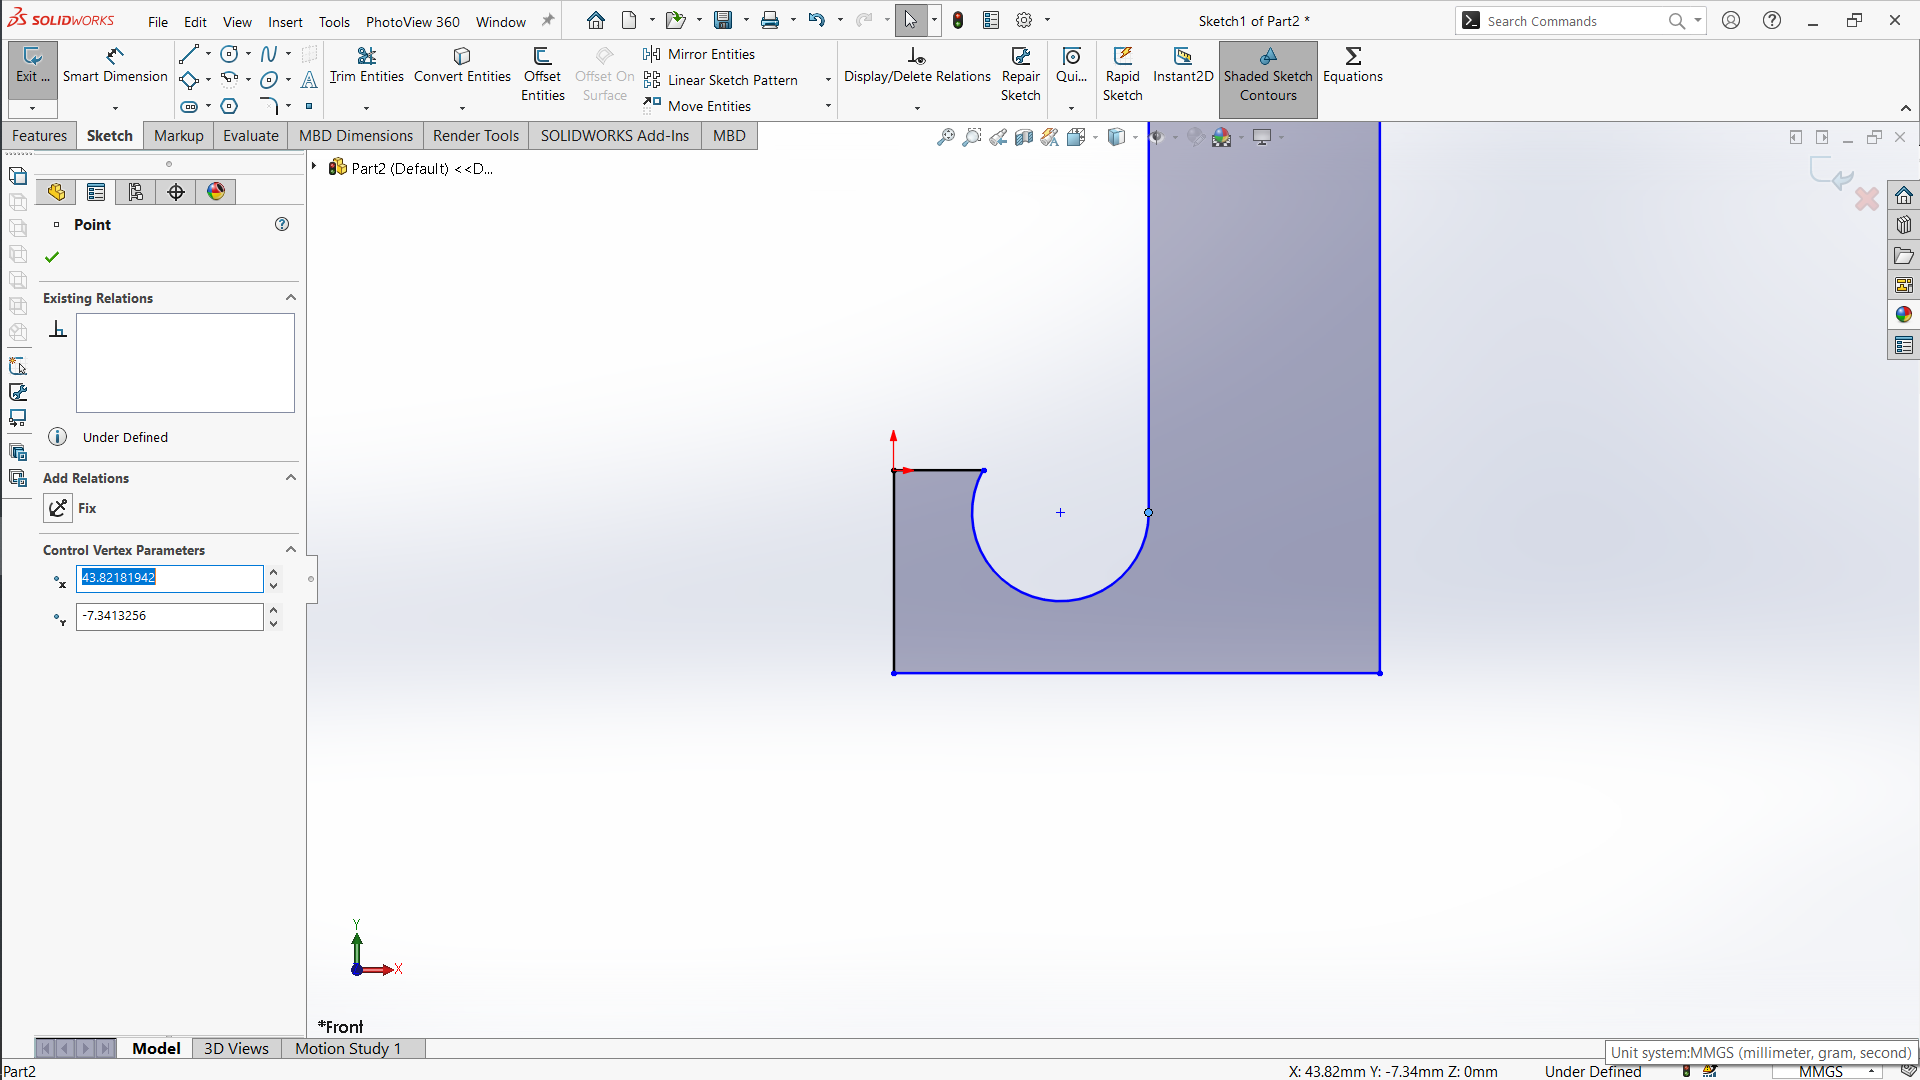
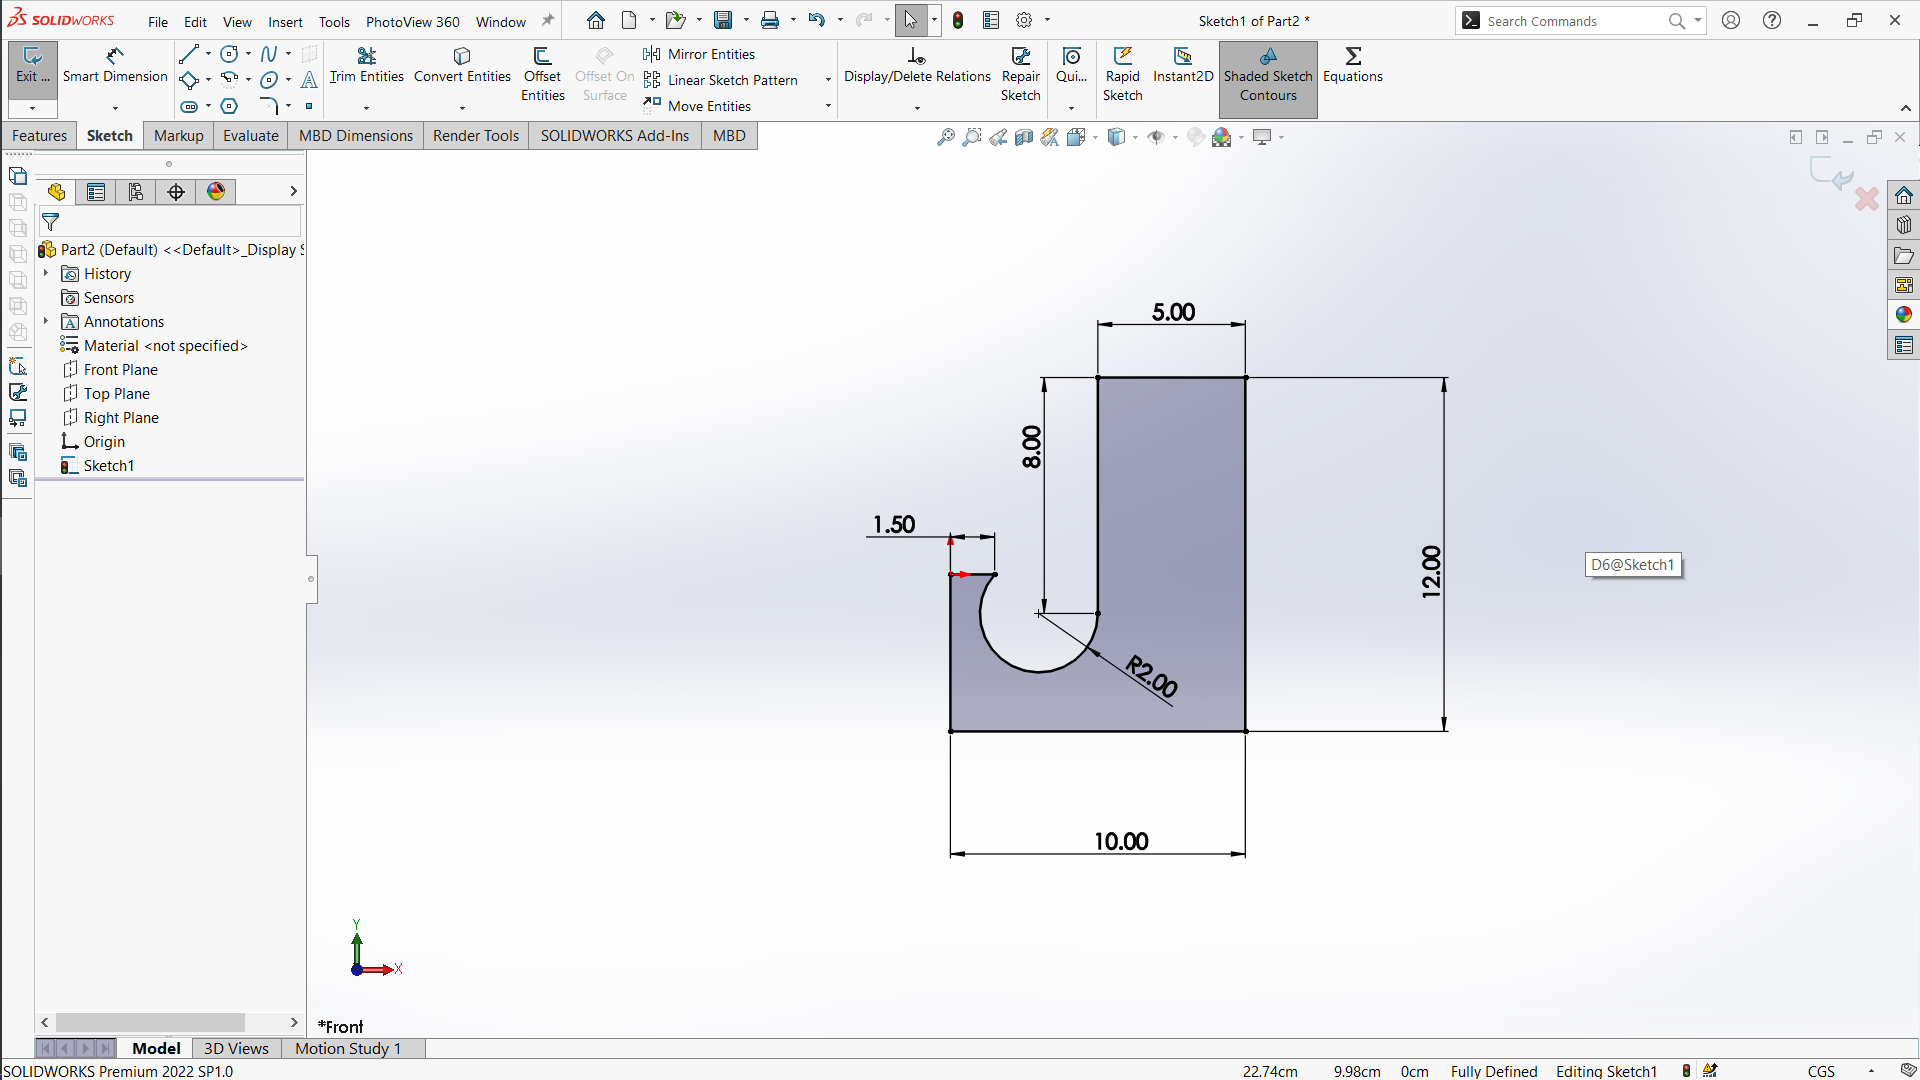
Next, I moved on to digital design, using CAD software to create a 3D model of the object. This allowed me to refine the design, ensuring that all measurements were accurate and that the ball would move through the tunnel as intended. I paid special attention to the entrance and exit points of the tunnel, making sure they were properly aligned and wide enough for the ball to pass through smoothly.
To complete this assessment, I began by sketching the object I wanted to print on paper. My idea was to design a device where you can pull a ball from the top, guide it through a tunnel within the object, and have it exit on the other side. This concept is illustrated in the image below.
To create the design, I used SolidWorks software. This allowed me to translate my initial sketches into a detailed 3D model. I started by defining the overall shape and structure of the object, ensuring that the tunnel was positioned correctly to allow for smooth passage of the ball.
In SolidWorks, I focused on several key design aspects:
- I precisely measured the tunnel's diameter to ensure it was large enough for the ball to pass through without getting stuck.
- I made sure the entrance and exit points of the tunnel were properly aligned to facilitate smooth movement of the ball.
- I chose a material that was both durable and smooth to enhance the ball's movement through the tunnel.
Images of what I did
After finalizing the digital model, I exported the file in the appropriate format for 3D printing. I set the necessary parameters for the printer, such as layer height, infill density, and print speed, to ensure a high-quality print.
<5>The printing process took several hours. During this time, I monitored the printer to ensure there were no issues. Once the print was complete, I carefully removed the object from the printer and inspected it for any defects.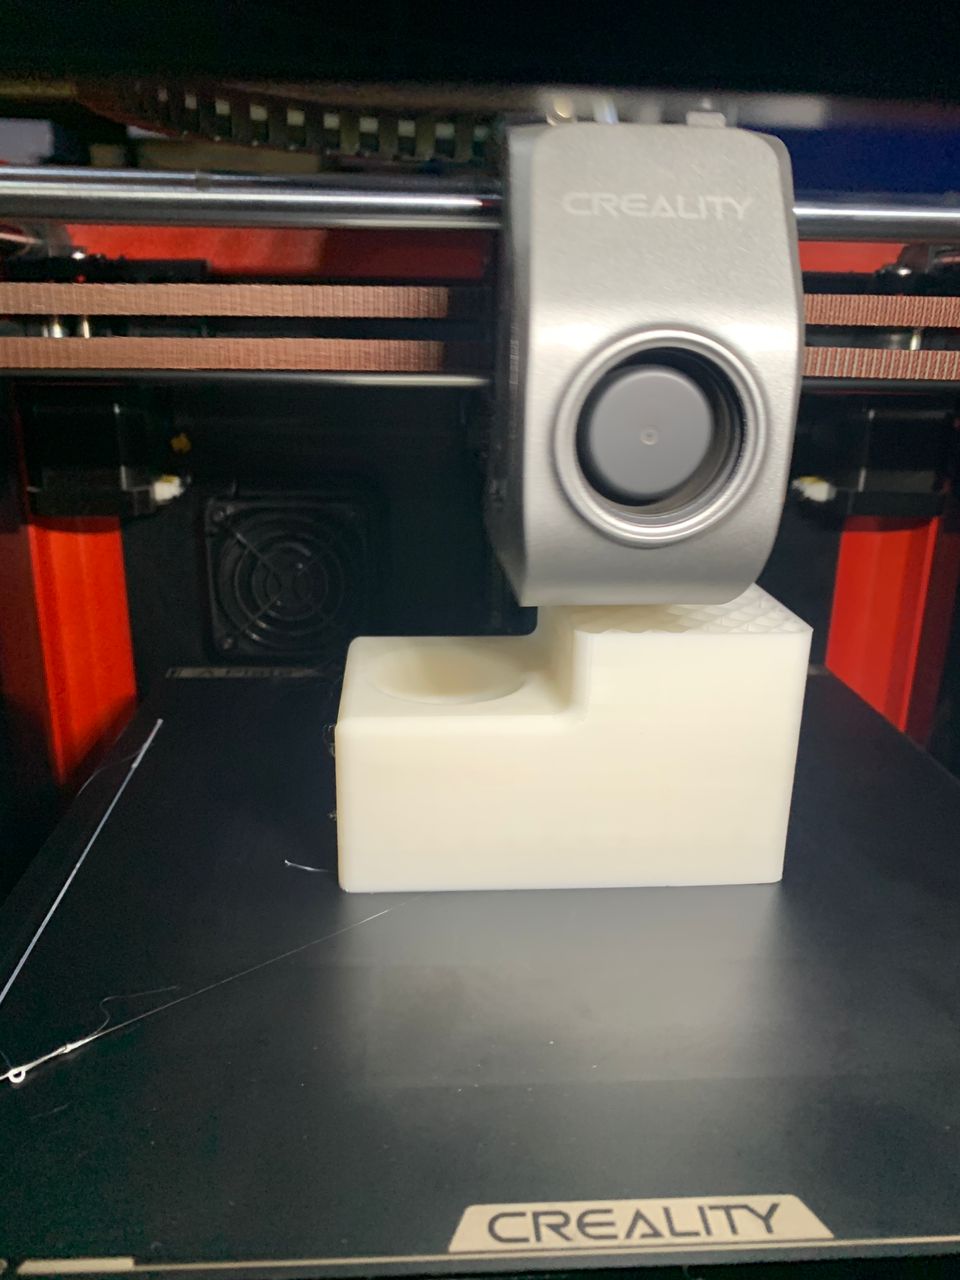
Video
Output Video
Output
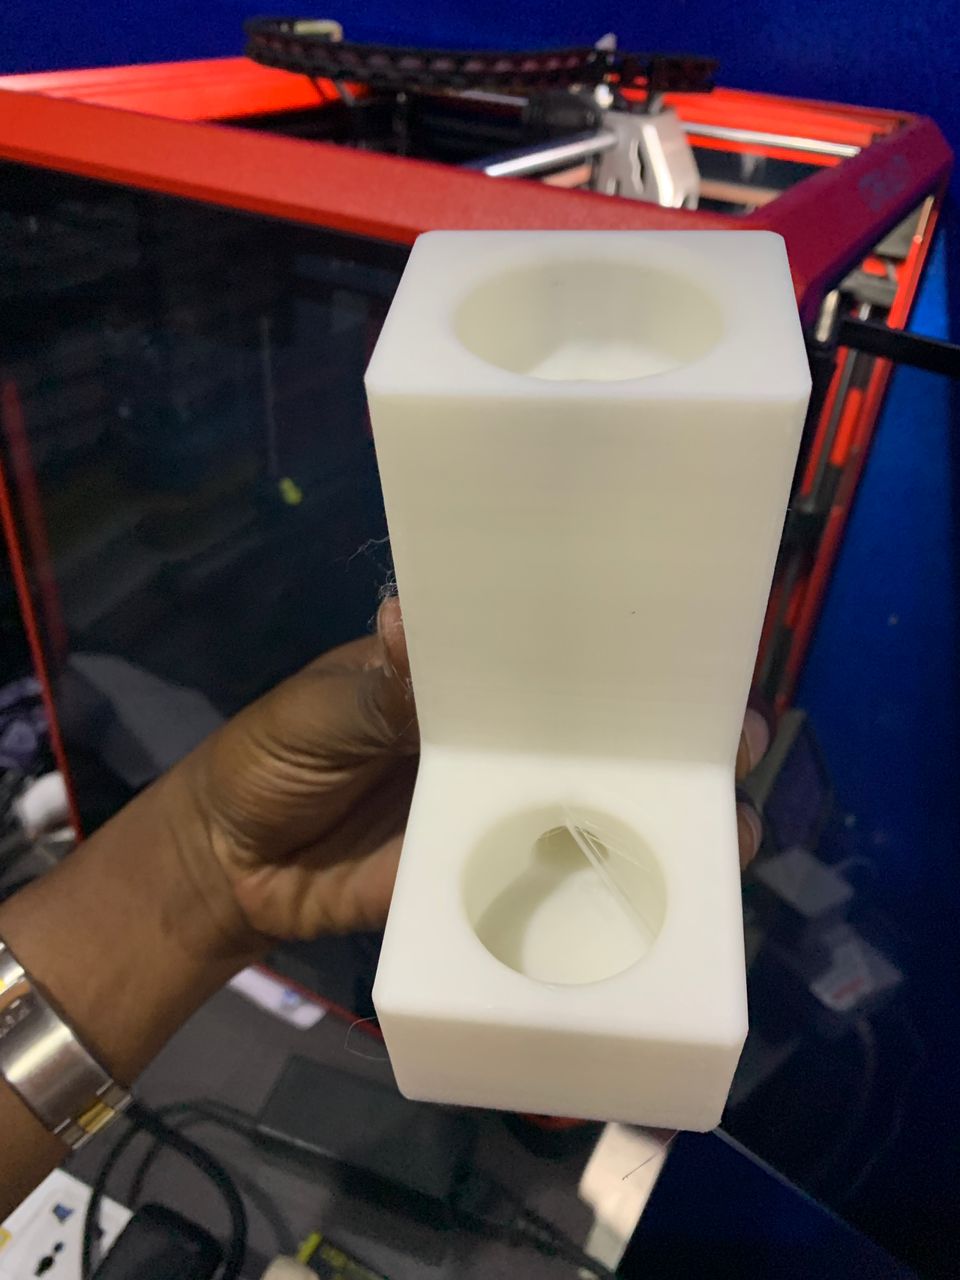
Finally, I tested the object by pulling the ball through the tunnel to confirm that it worked as intended. The ball moved smoothly through the tunnel and exited on the other side without any issues, validating both the design and the effectiveness of the printing process.
The successful completion of this assessment demonstrates my ability to take an idea from a simple sketch to a fully functional 3D printed object using SolidWorks and 3D printing technology.
Testing Video
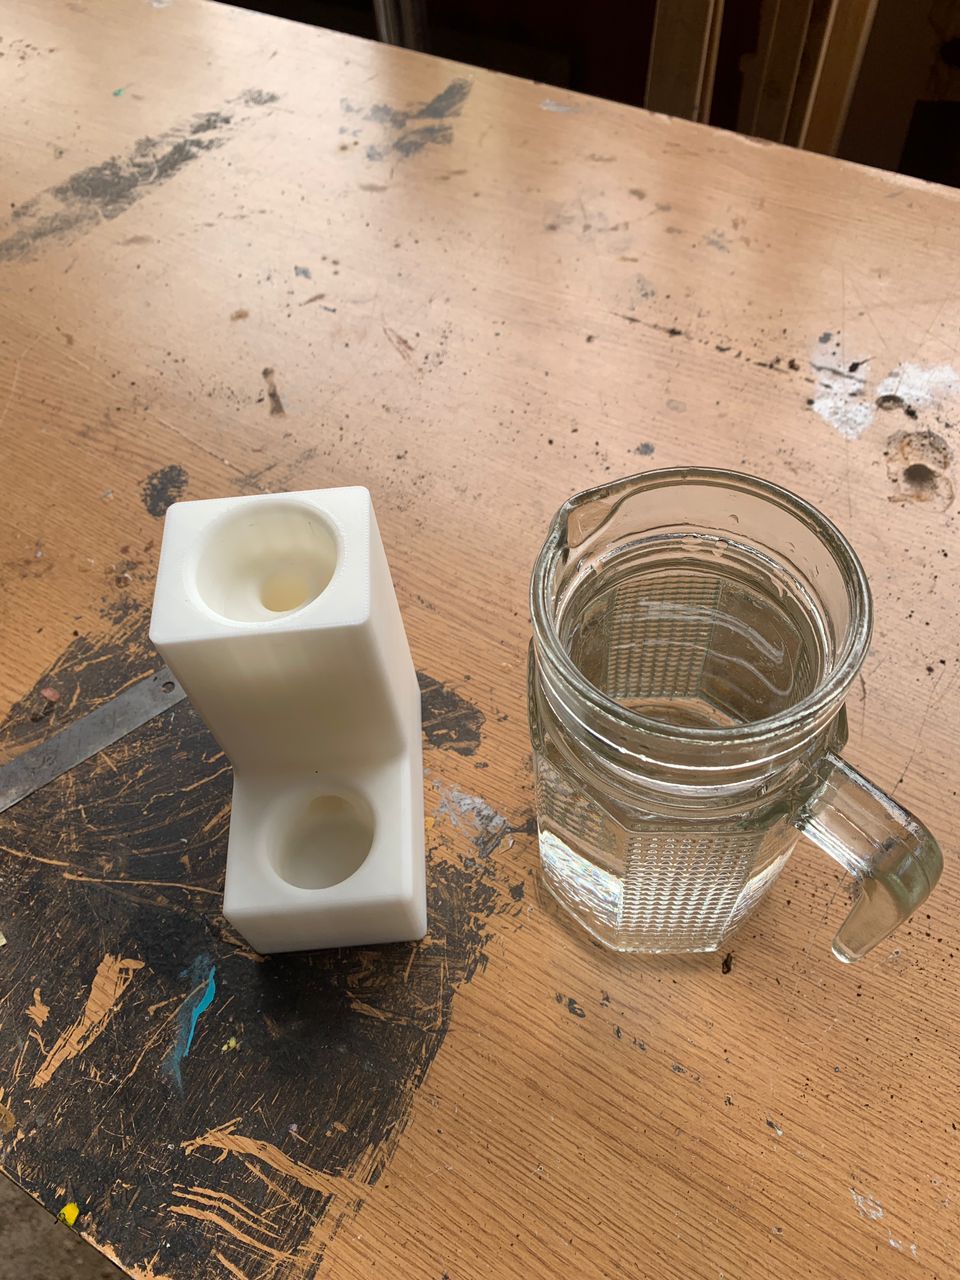
The successful completion of this assessment demonstrates my ability to take an idea from a simple sketch to a fully functional 3D printed object using SolidWorks and 3D printing technology. Additionally, the water test validated the design in the absence of a ball, ensuring that the tunnel was properly constructed and could handle fluid movement.
Download file
Click the button below to download file.
Download STL FileDownload SOlidwork File