3D Scanning and printing
For this week's agenda, we delve into the realm of 3D printing and scanning, activities I find particularly engaging. The primary task for this week entails designing and 3D printing an object that couldn't be feasibly produced through subtractive or formative manufacturing methods. Additionally, we're tasked with scanning a 3D object, with the option to subsequently print it. Before embarking on the assignment, let's establish a foundational understanding of 3D printing as an additive manufacturing process.
Understanding the basics of 3d Printing?
3D printing, often referred to as additive manufacturing, employs computer-aided design (CAD) to construct three-dimensional objects layer by layer. This revolutionary technique entails depositing materials like plastics, composites, or bio-materials sequentially, yielding objects with diverse shapes, sizes, strengths, and hues.
Advantages, Dis advantages and Limitations
Advantages
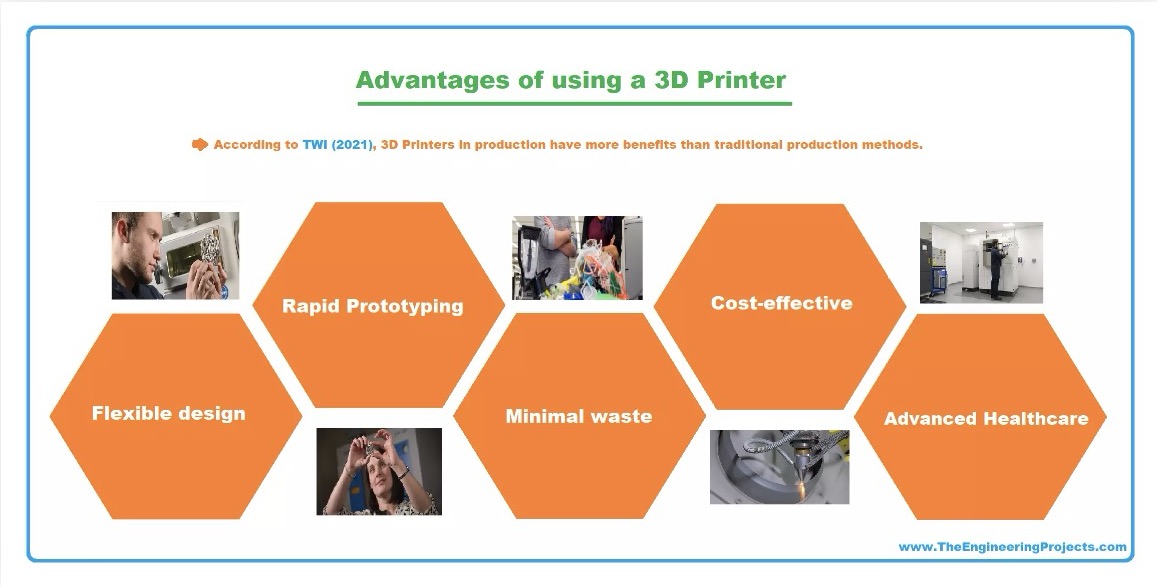
Advantages of 3D printing are multifaceted, offering a range of benefits across various industries and applications. One significant advantage lies in customization, as 3D printing enables the creation of highly personalized products tailored to individual needs and preferences. This customization extends to rapid prototyping, where designers can quickly iterate and refine their designs, reducing time-to-market for new products and innovations. Additionally, 3D printing can be cost-effective for low-volume production runs, eliminating the need for expensive tooling and molds, and enabling on-demand manufacturing to reduce inventory costs and waste.
Dis advantages and limitations
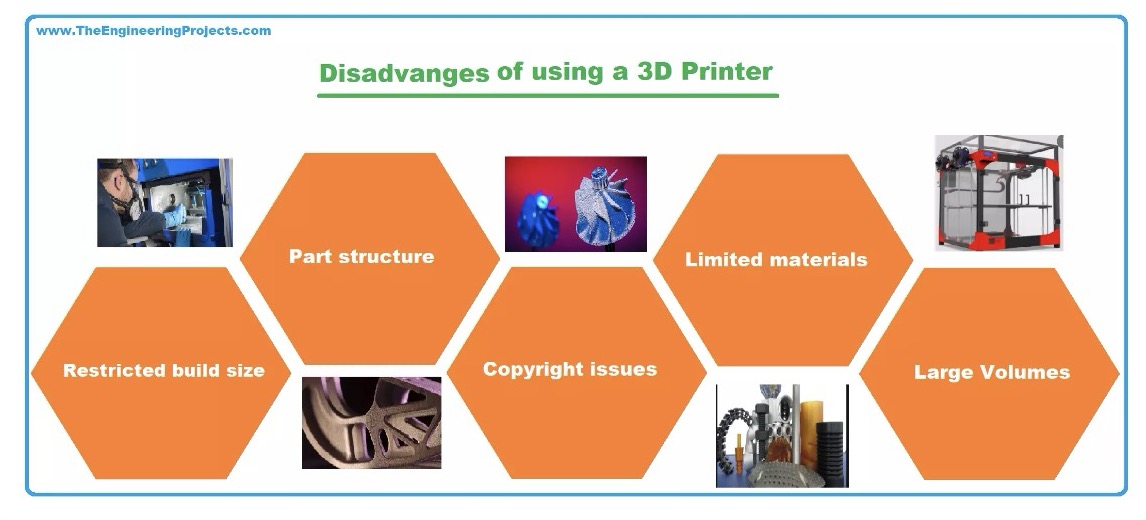
3D printing also comes with its share of disadvantages and limitations. While the range of printable materials is expanding, there are still limitations compared to traditional manufacturing processes, and achieving desired surface finishes may require additional post-processing. Speed can be a concern, particularly for large or intricate designs, and 3D-printed parts may exhibit different material properties and mechanical strengths compared to conventionally manufactured parts. Size limitations and the initial investment in equipment and software can also pose challenges for some users.
Manufacturing methods for 3D printing
When it comes to manufacturing methods for 3D printing, three primary approaches are commonly used: additive manufacturing, subtractive manufacturing, and formative manufacturing.
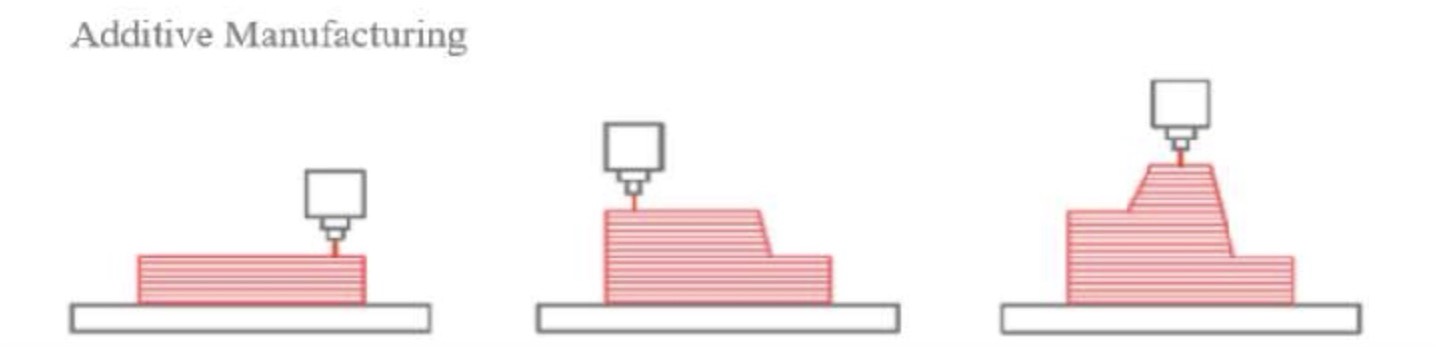
1. Additive Manufacturing:
Additive manufacturing, often referred to as 3D printing, involves building objects layer by layer. It begins with a digital model sliced into thin horizontal layers. The 3D printer then deposits material layer by layer according to the digital design, gradually building up the object. This method is highly versatile and allows for complex geometries, customization, and minimal material waste.
2. Subtractive Manufacturing:
subtractive manufacturing, in contrast, involves removing material from a solid block to achieve the desired shape. This traditional method typically uses machining processes such as milling, turning, or drilling to carve out the final object from a larger piece of material. While subtractive manufacturing can be precise and produce high-quality parts, it often generates significant material waste and may be limited in the complexity of shapes it can produce.

3. Formative Manufacturing:
Formative manufacturing, also known as deformation manufacturing, involves shaping materials through processes such as bending, forging, or molding. Unlike additive and subtractive manufacturing, formative manufacturing does not involve adding or removing material but rather reshaping it to achieve the desired form. This method is commonly used for producing metal components with specific mechanical properties and shapes.

Let's start the assignment
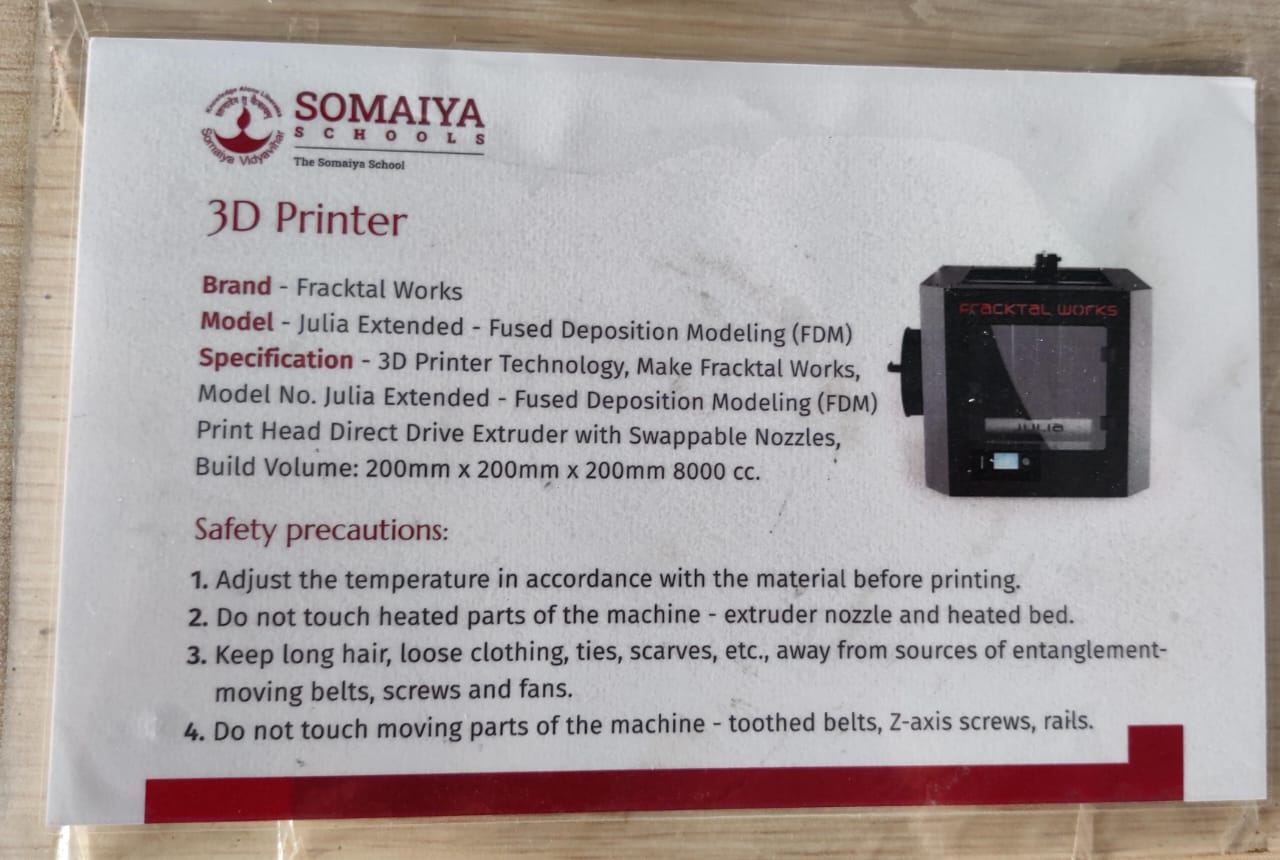
Before starting any machine 1st step is to know about safety measures,
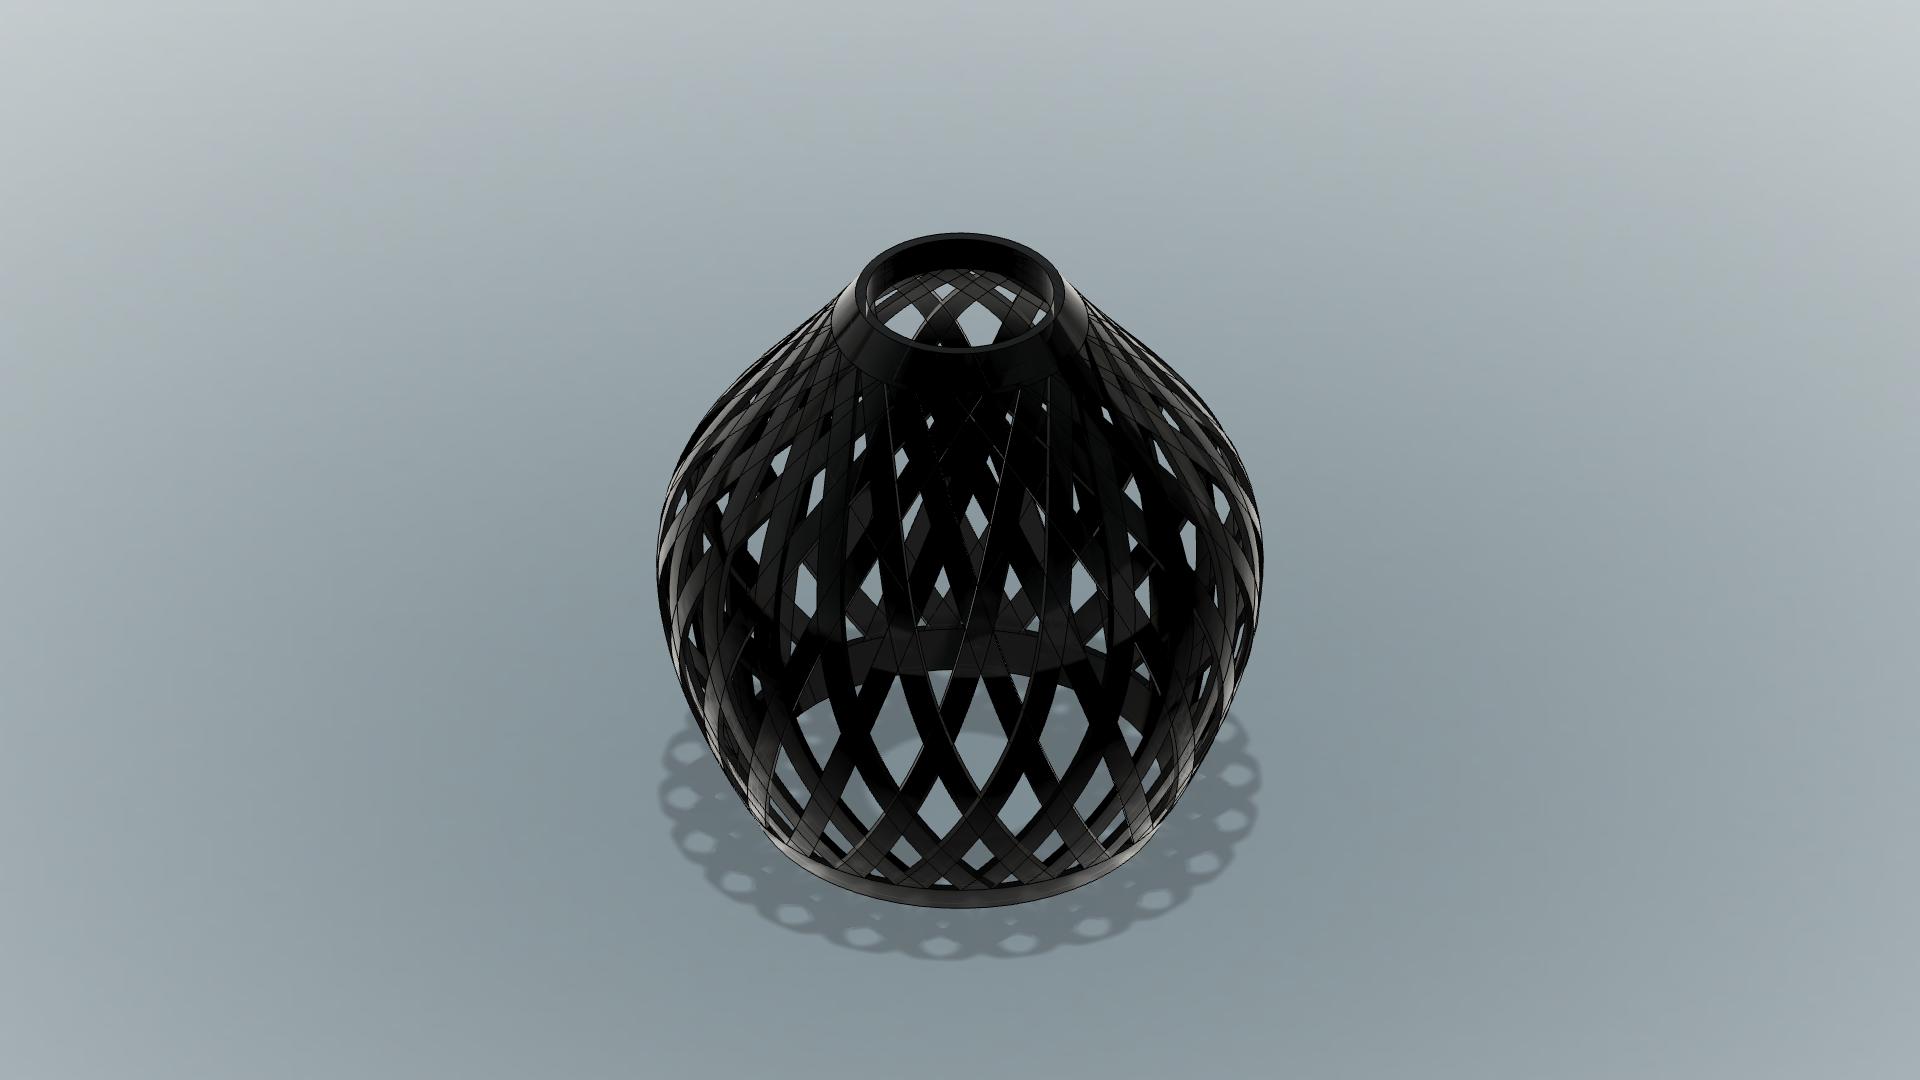
For the 3d printing part of the assignment I 3d printed my lamp and a voronator bowl which I made in week 2, the link of the documentation for the design is in Week 2.
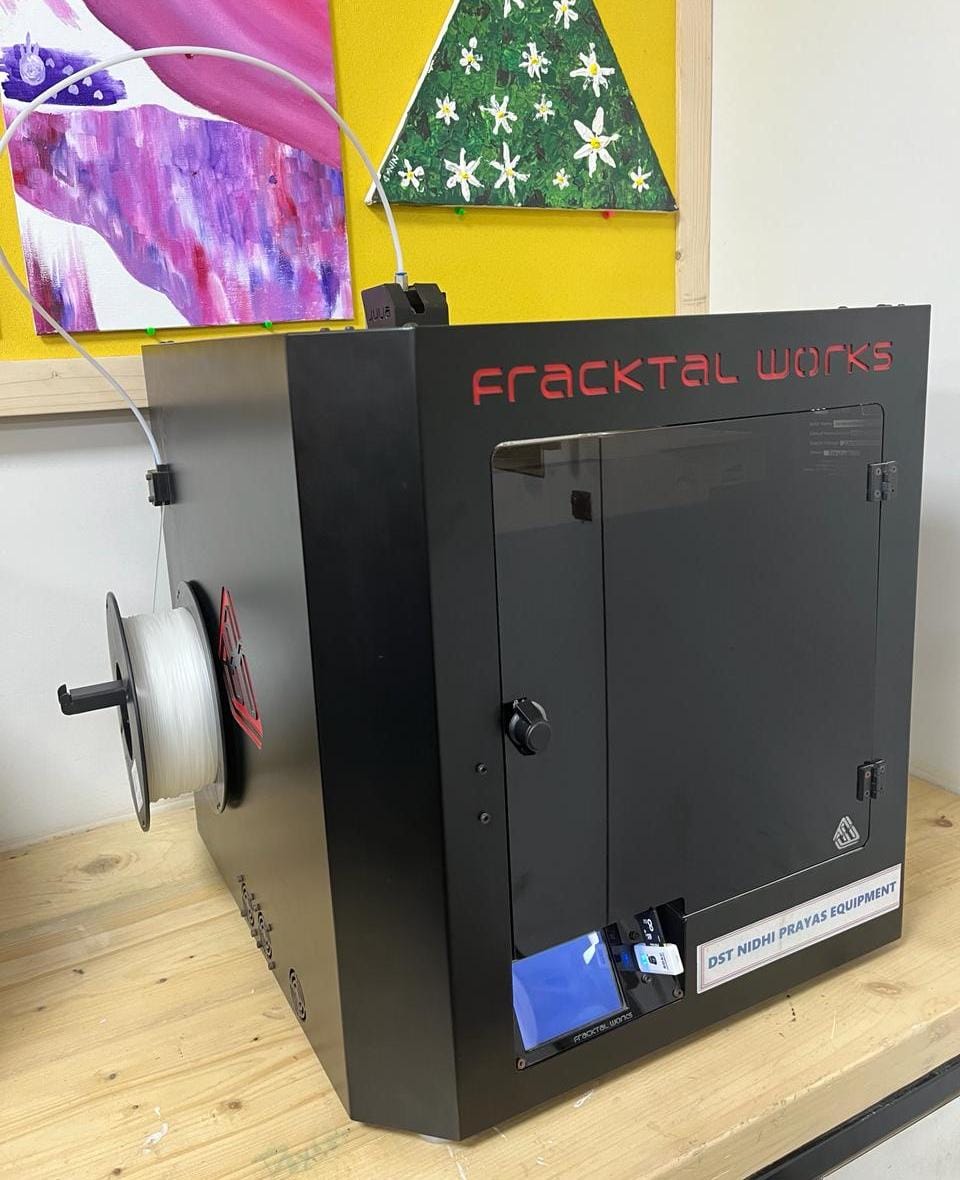
Printer details
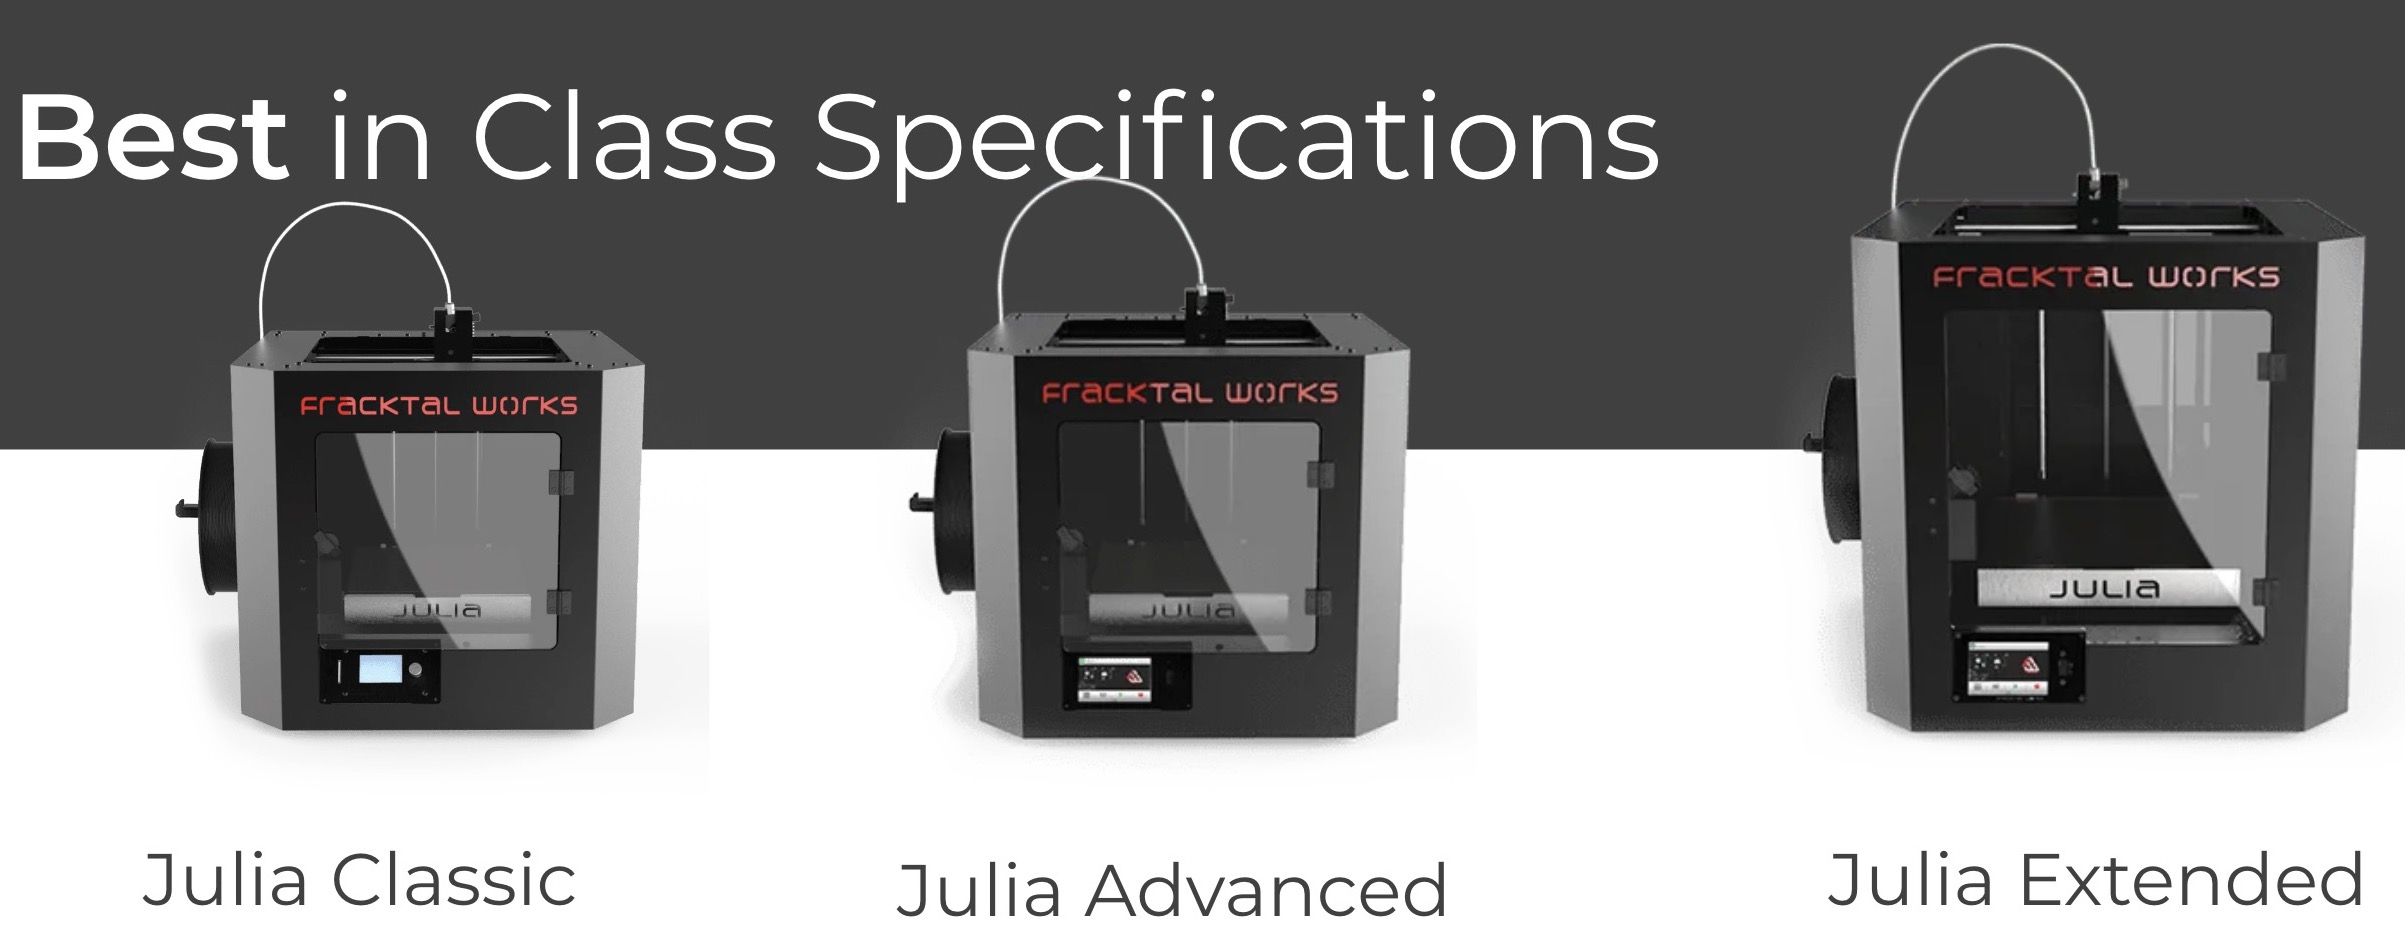
In the fracktal works julia series printer there are 3 types julia classic, julia advance and julia extended, We have a fracktal works julia extended 3d printer. To know more about the 3d printer visit this site 3d printers
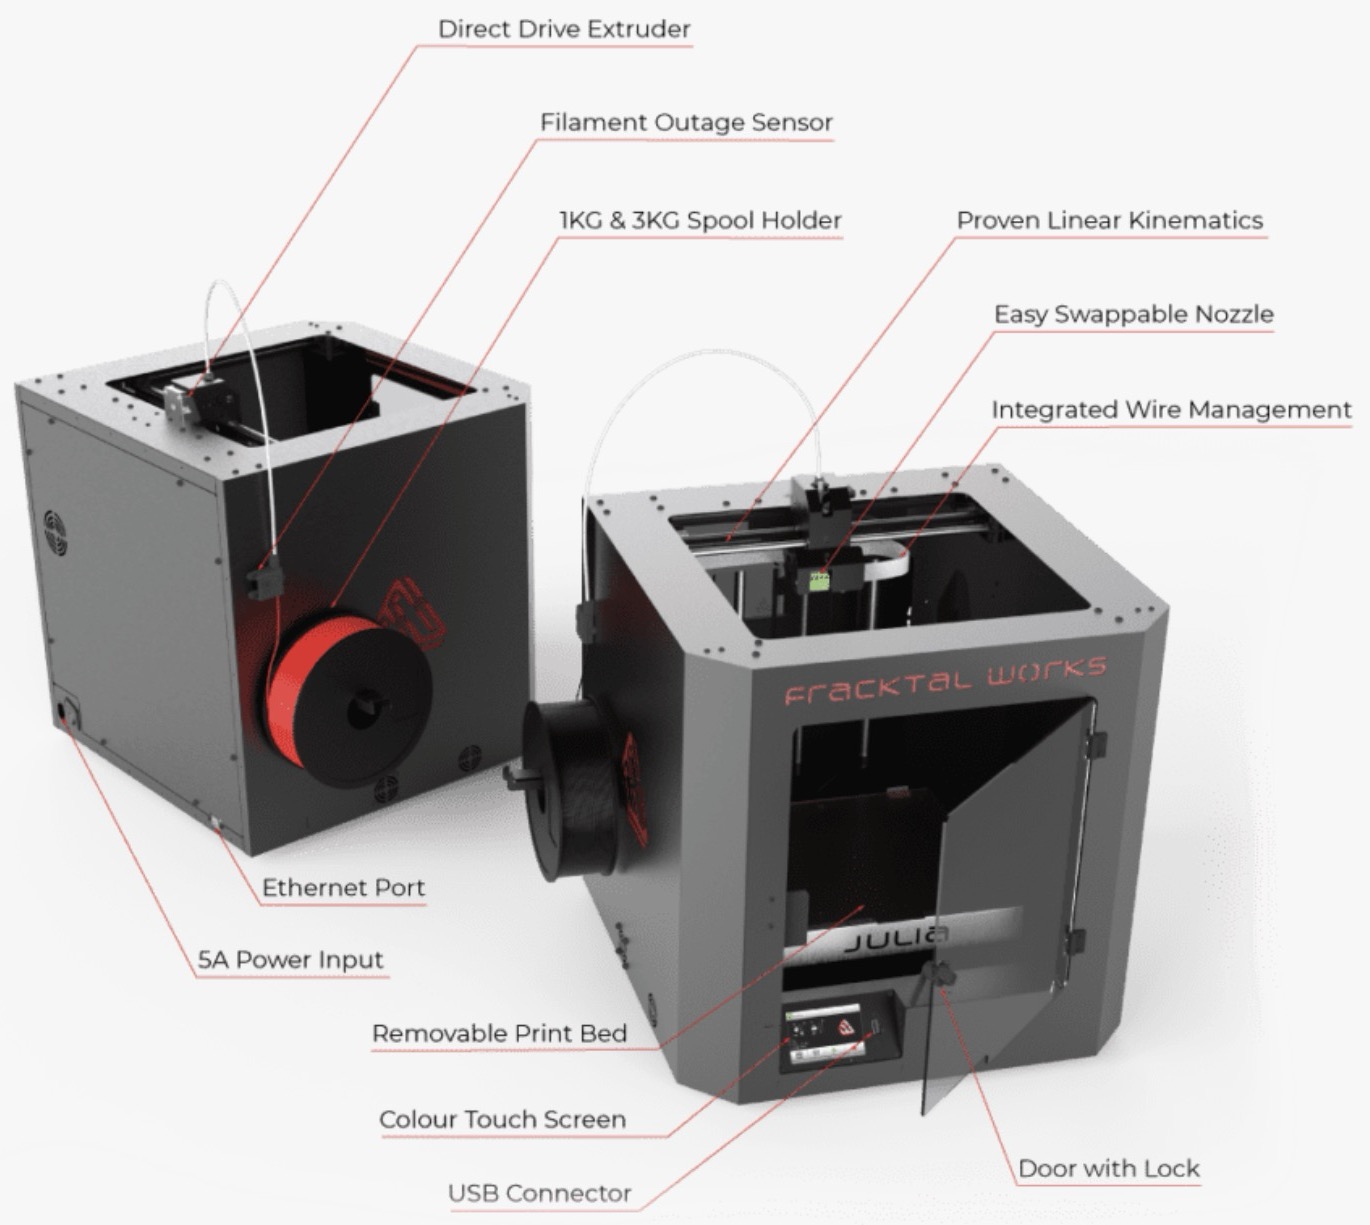
I started understanding the different parts in the 3d printer.Here is the image of the same.
Types of files needed for making G Code
So the 3D printers only understand gcode files. And these gcode files can be made of softwares like Ultimaker Cura, Prusa and Fractory. Basically these softwares are designed by the 3D printer companies and are obviously suitable to be used for the specific printers. SO if you want to print on a Ultimaker printer then designing the gcode file of cura, for us as we have a fracktory works we made out g-code files in fracktal, is the most optimum thing to do. But before that, these softwares can open only .stl or .obj files.
What is a STL file?
STL is a file format commonly used for 3D printing and computer-aided design (CAD). The name STL is an acronym that stands for stereolithography — a popular 3D printing technology. You might also hear it referred to as Standard Triangle Language or Standard Tessellation Language. Each file is made up of a series of linked triangles that describe the surface geometry of a 3D model or object. The more complex the design, the more triangles used, and the higher the resolution. You can recognize an STL image by its .stl file extension and by its lack of color and texture.
How did I 3d printed my file?
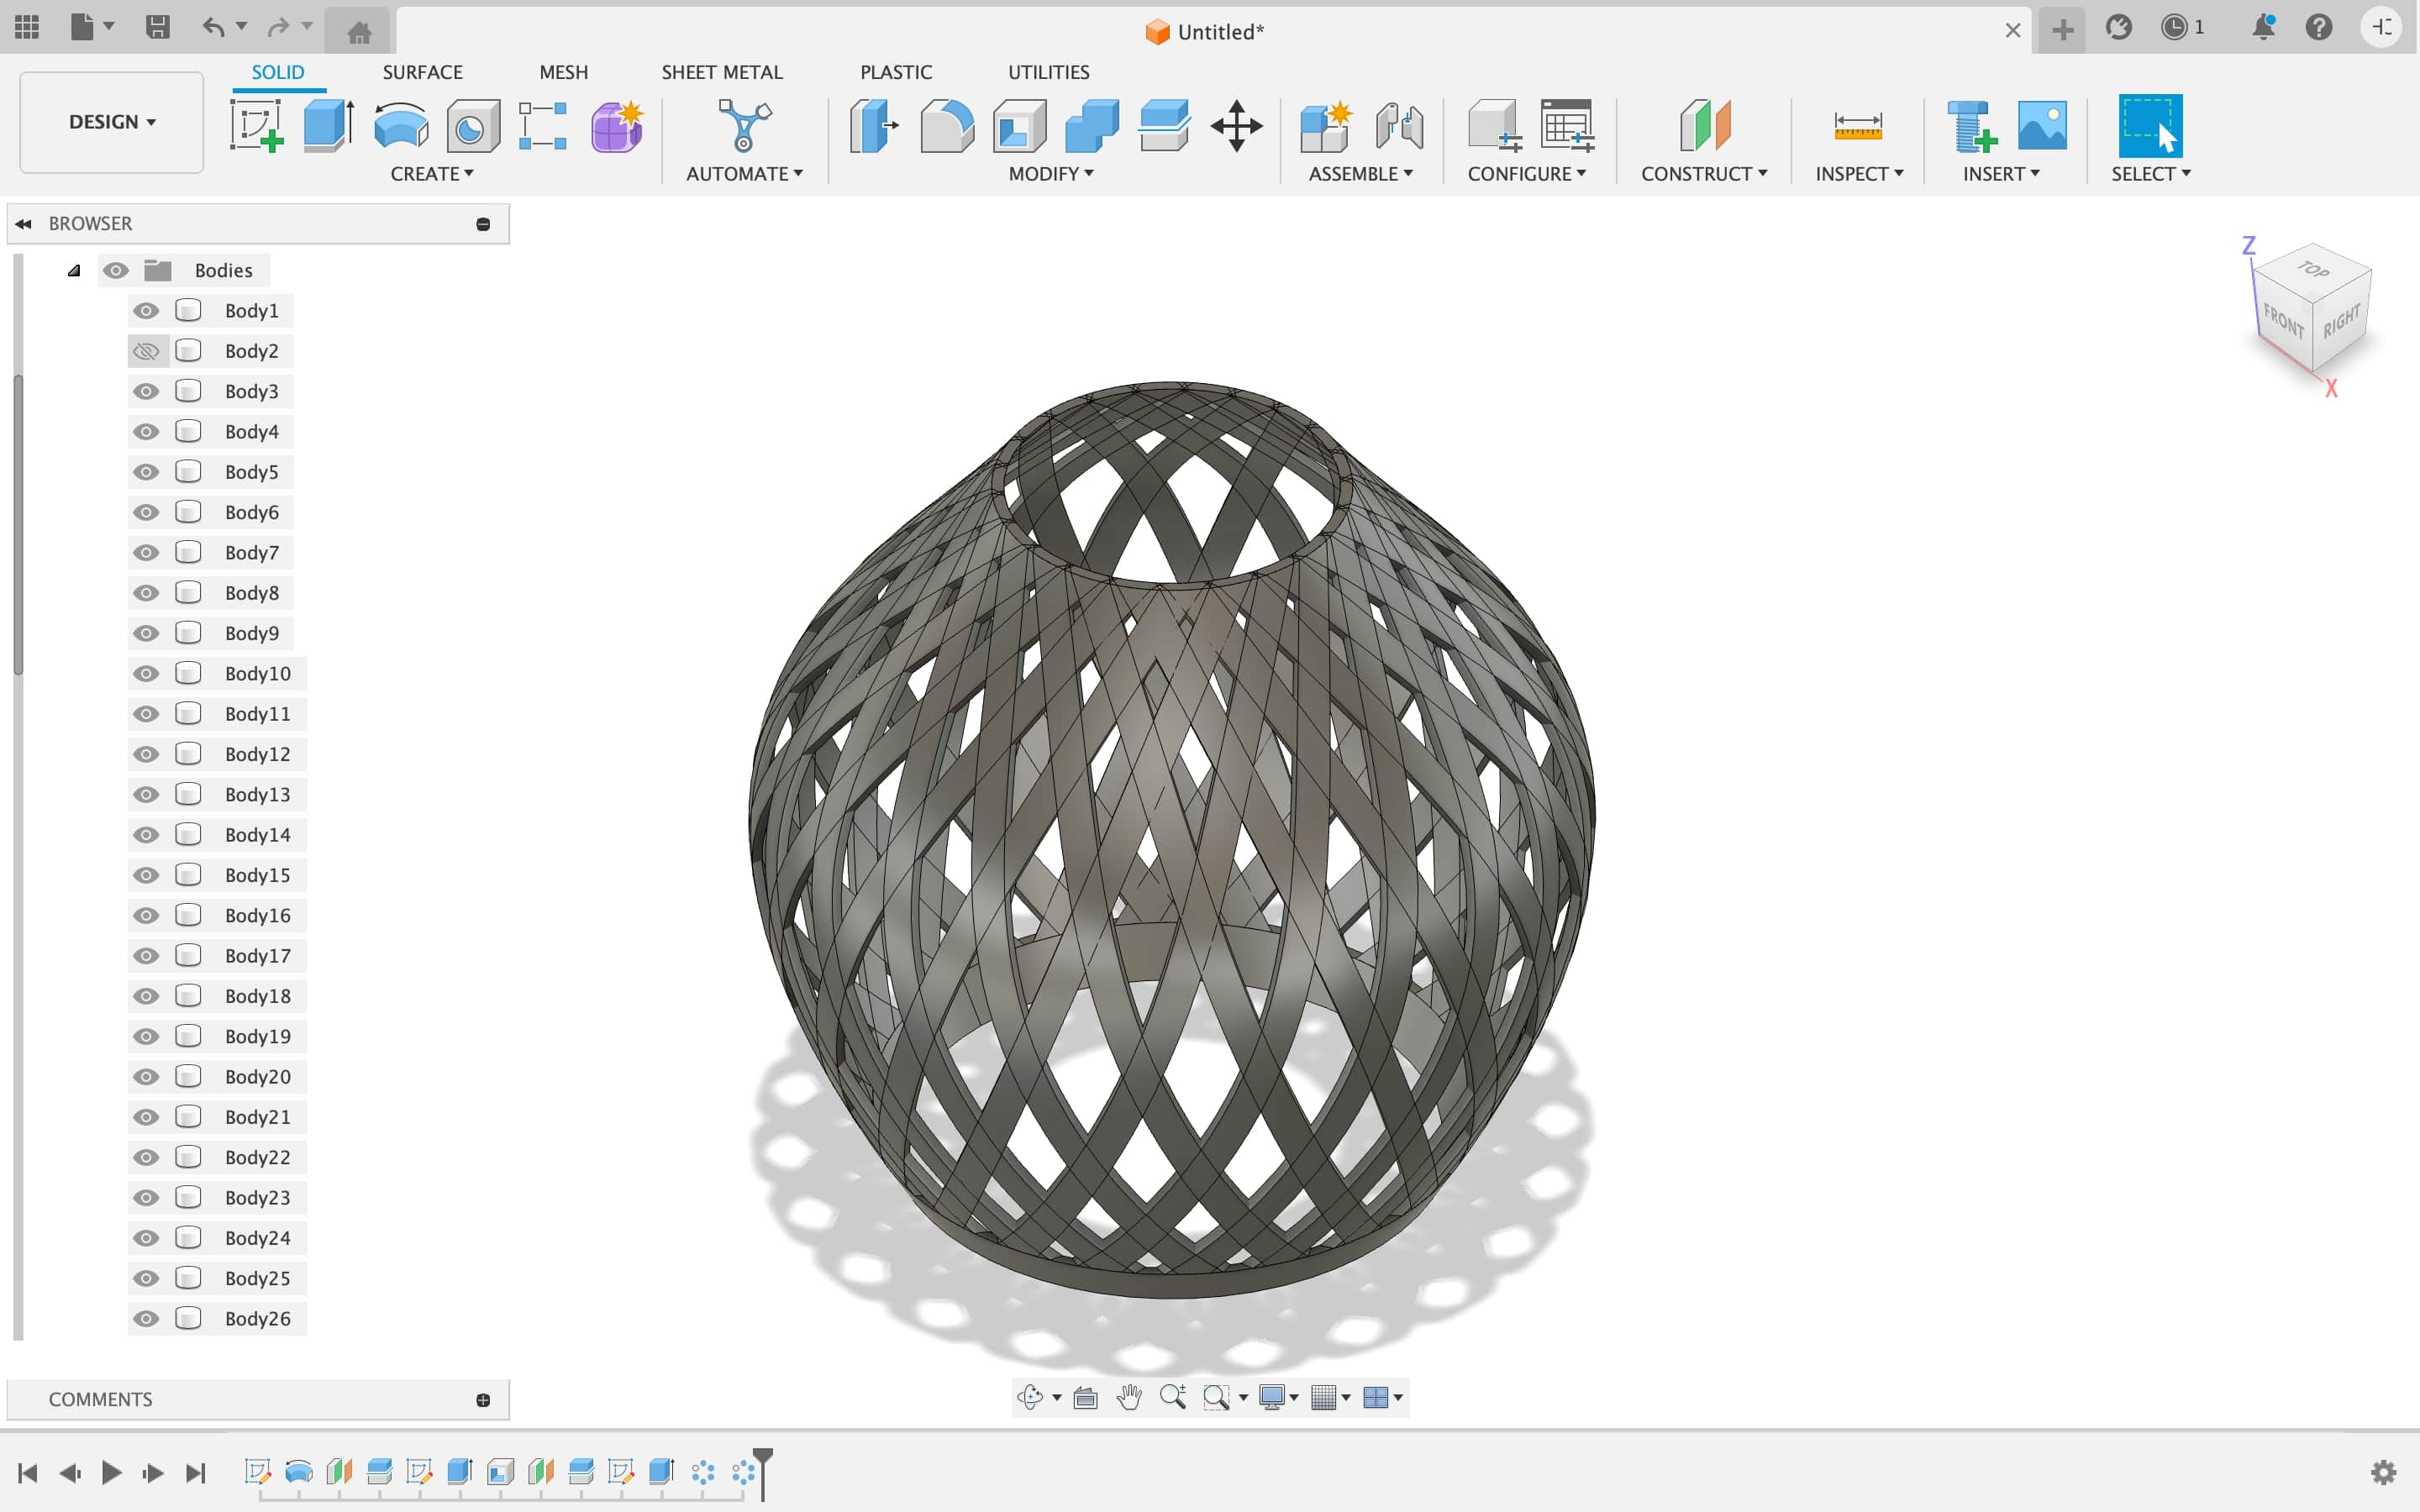
Steo 1- Make your design in any CAD software.
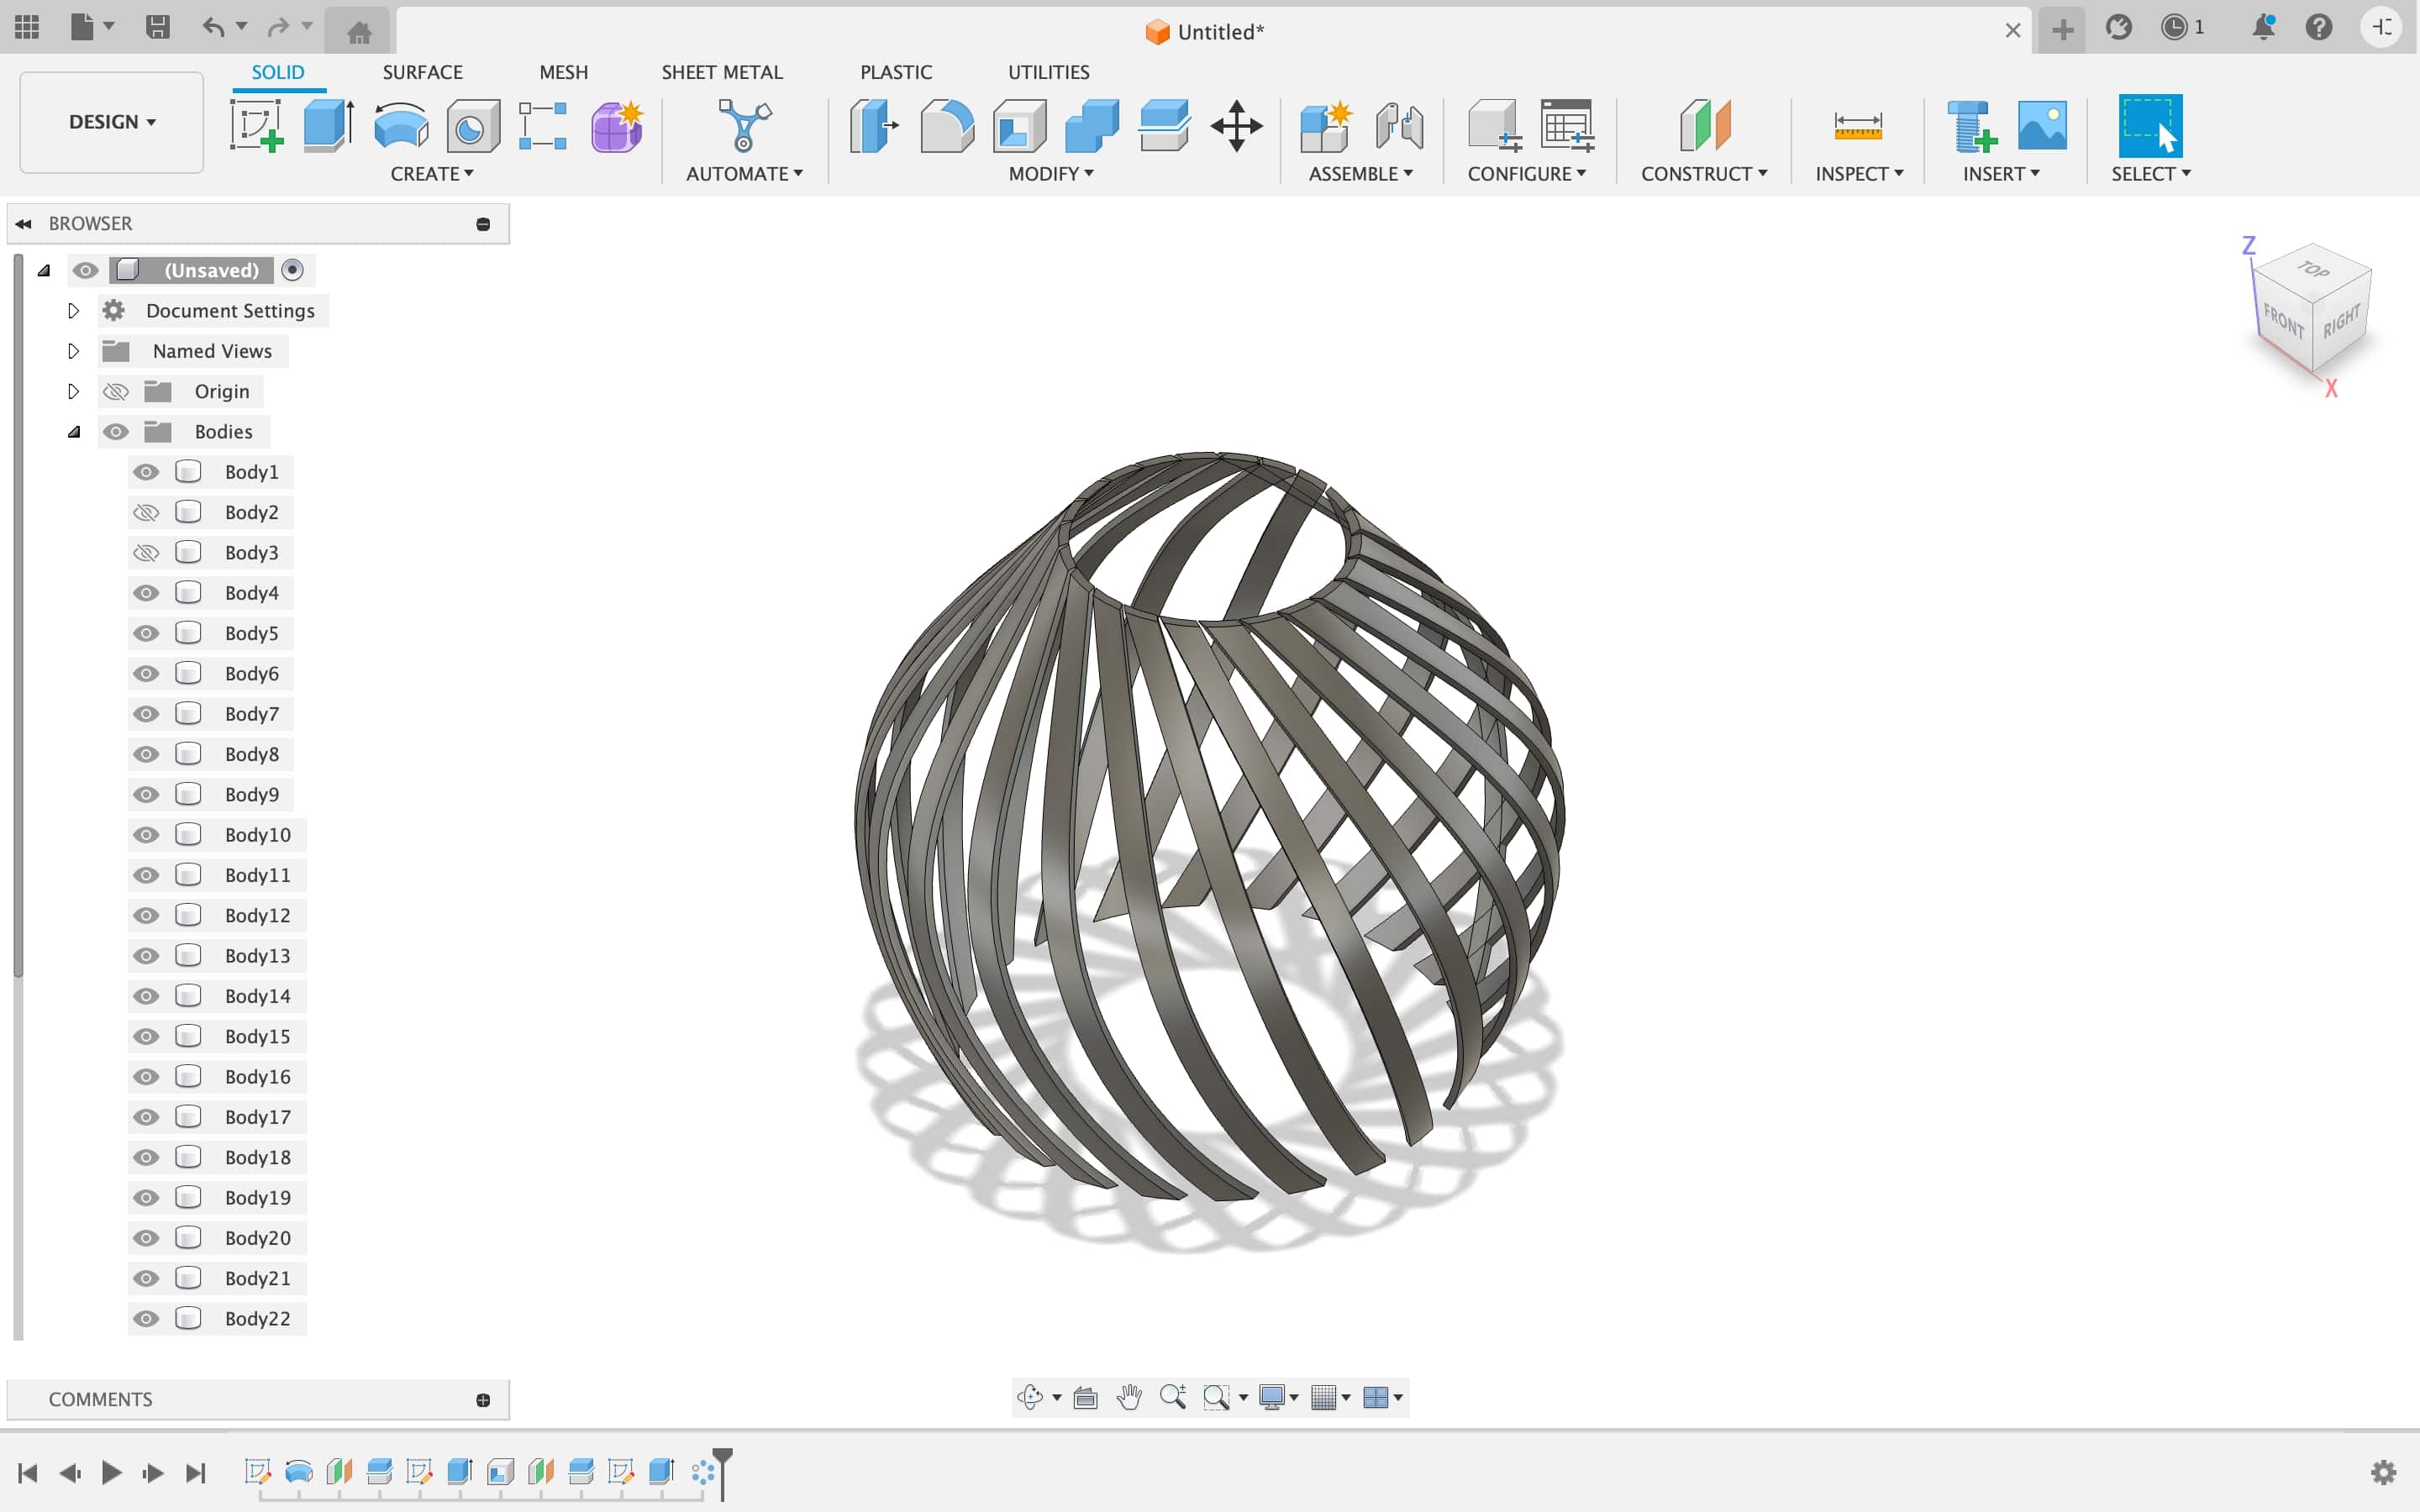
I used fusion 360 to make my designs, after making the design export the design in STL format. If you want to see the entire process of making my 3d file visit Week 2
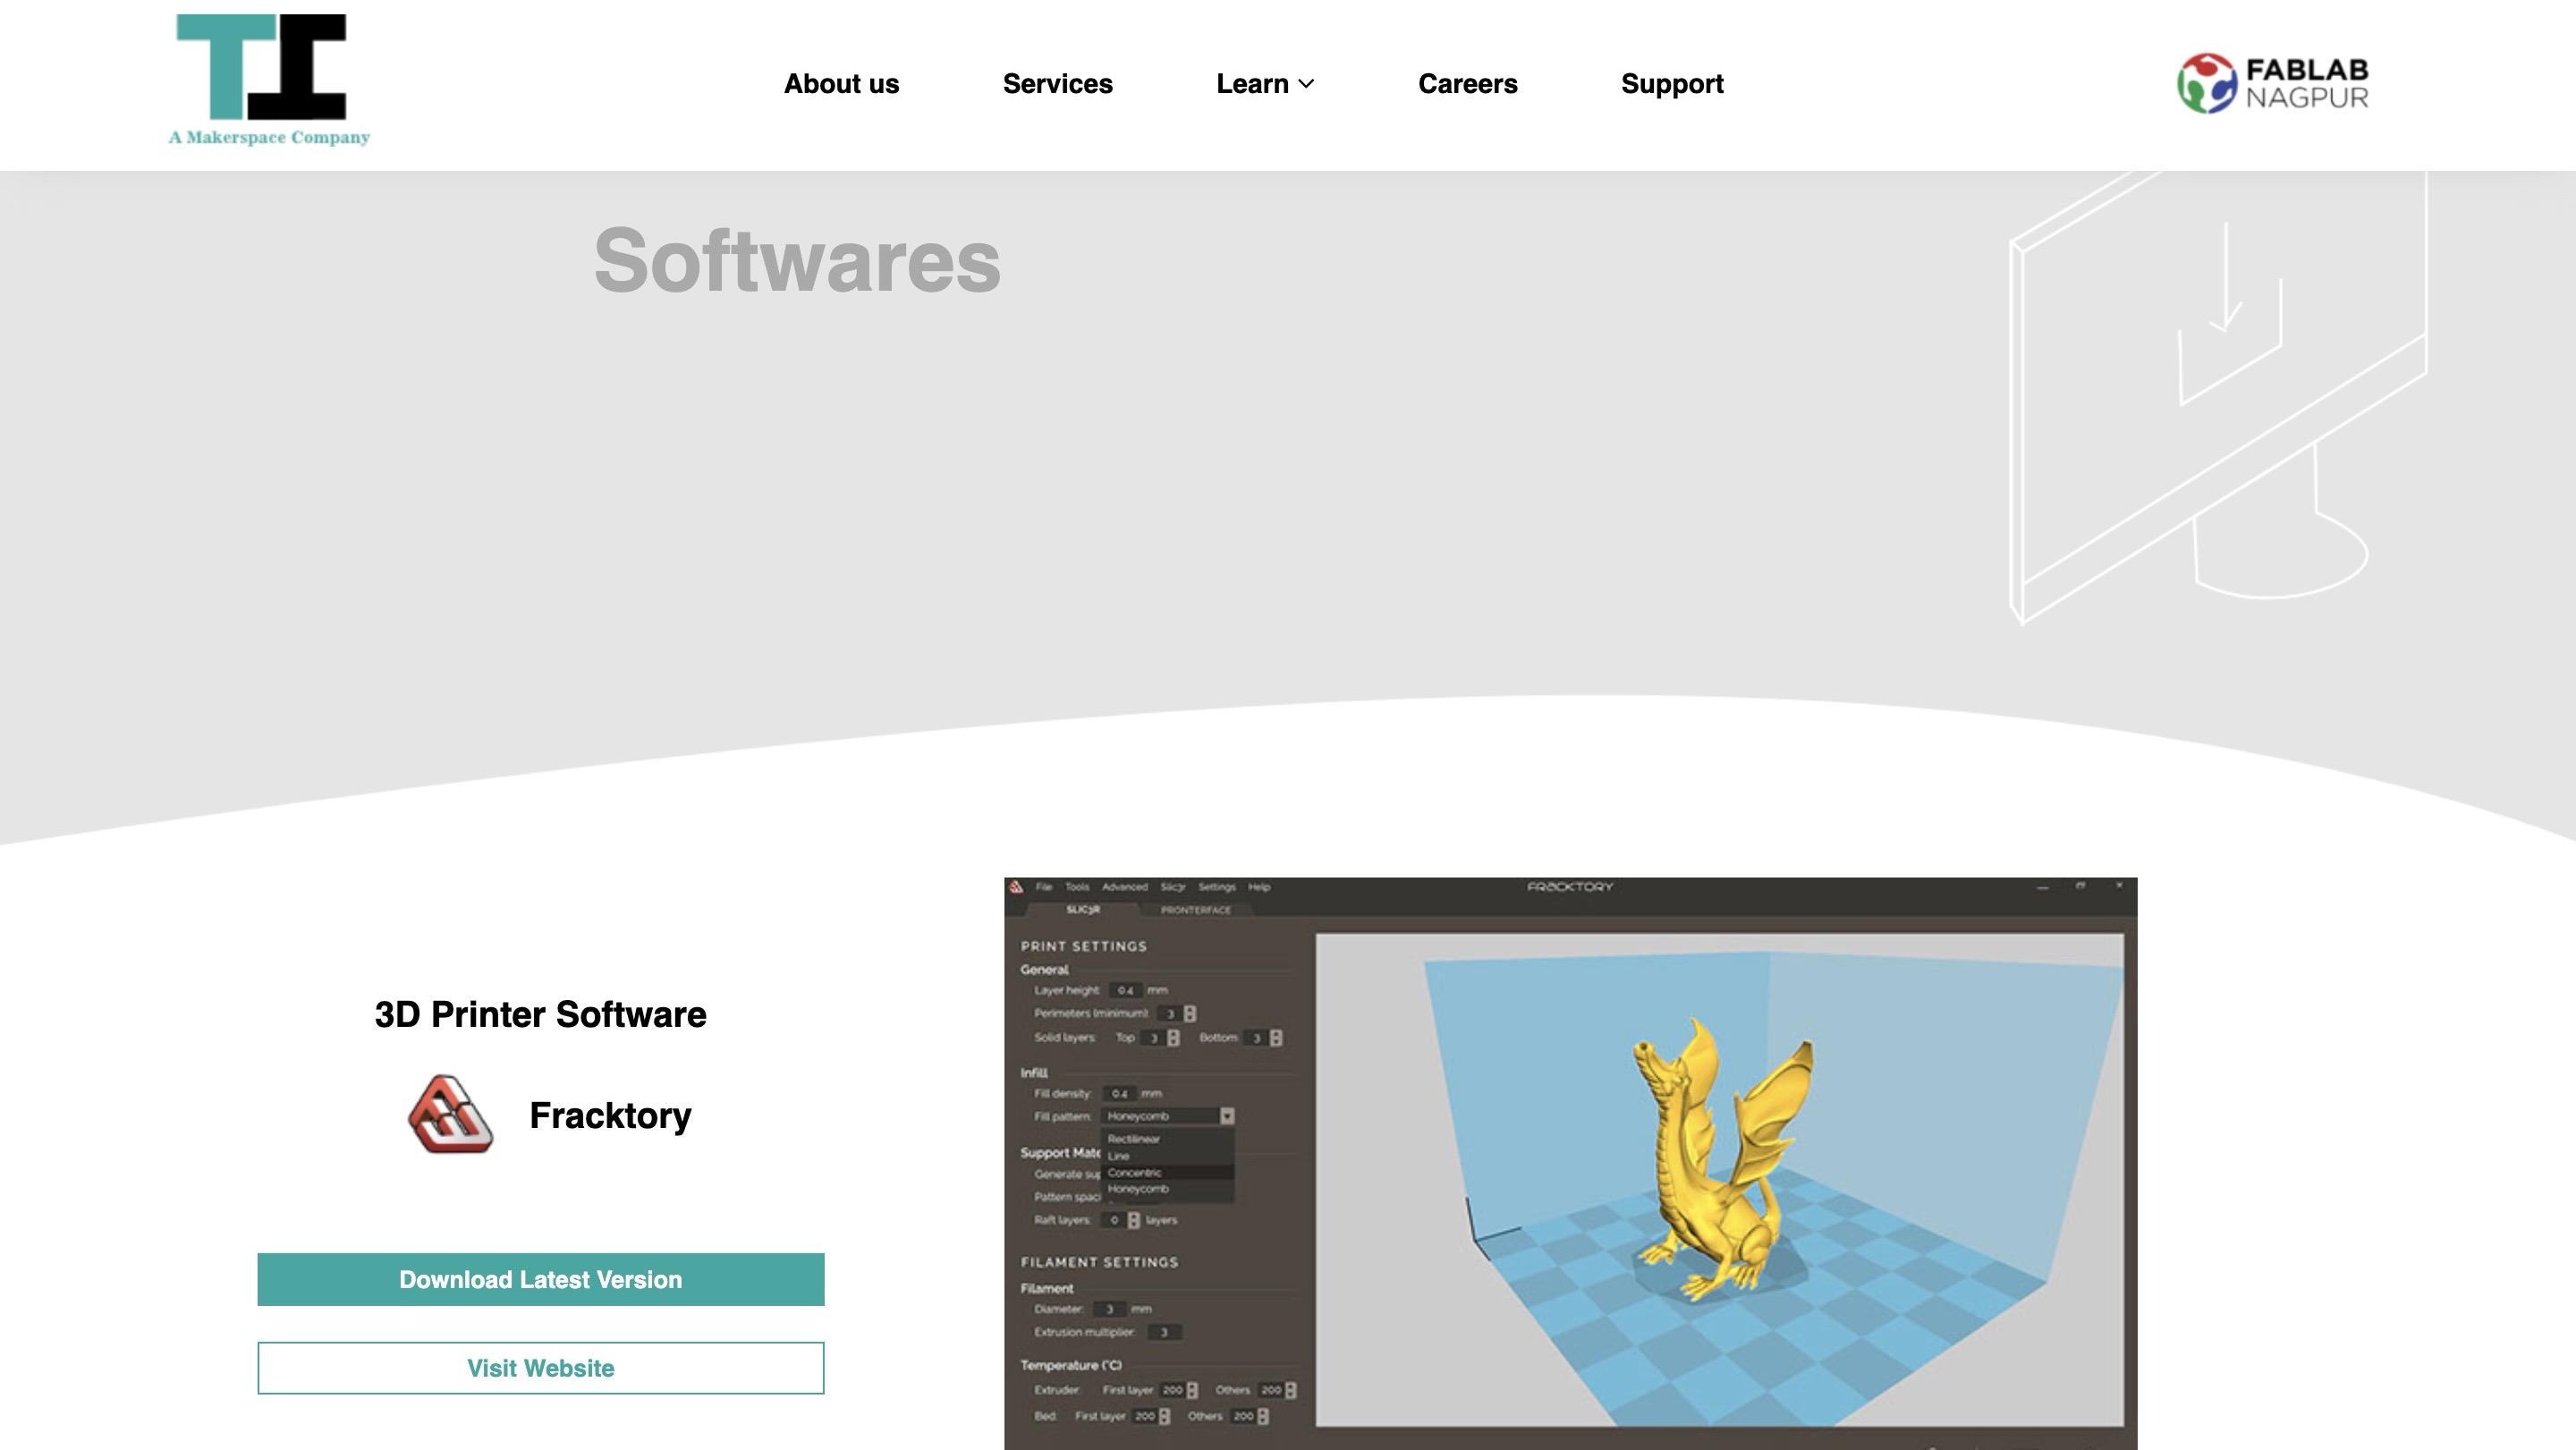
Step 2- Download the software for making the G- code.
I downloaded fracktal as our machine was fracktory works. To download the software Click here. The interface looks like this
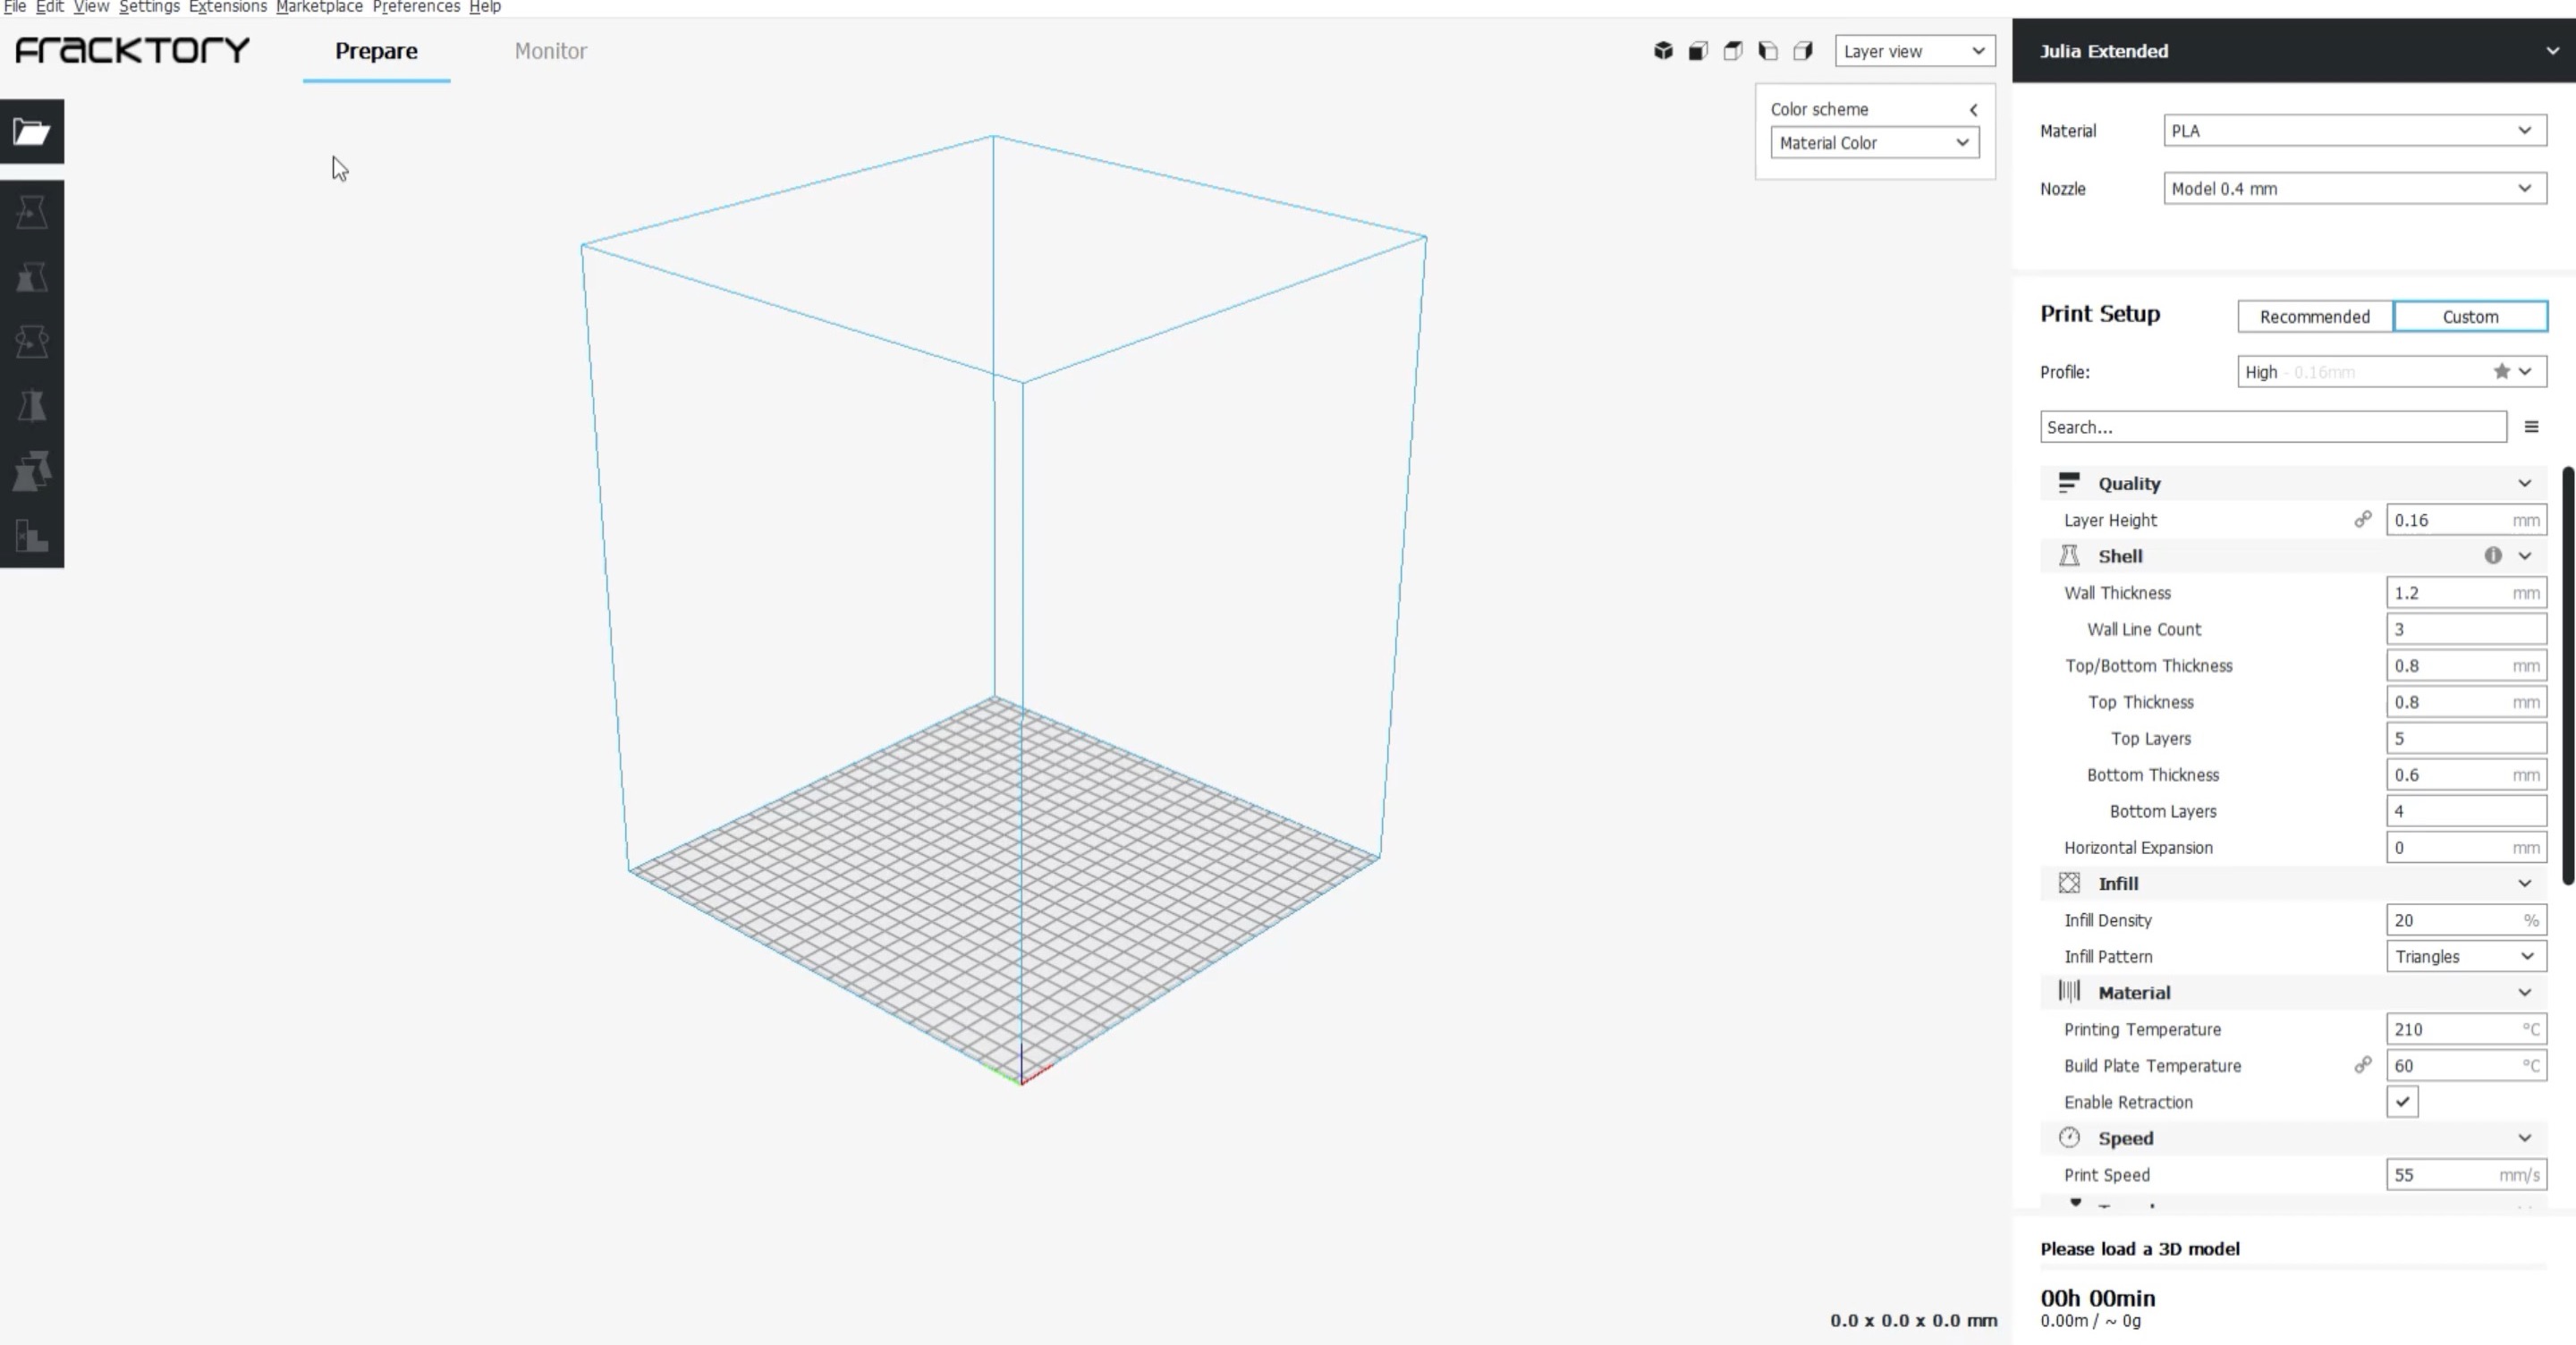
Step 3- Open the software
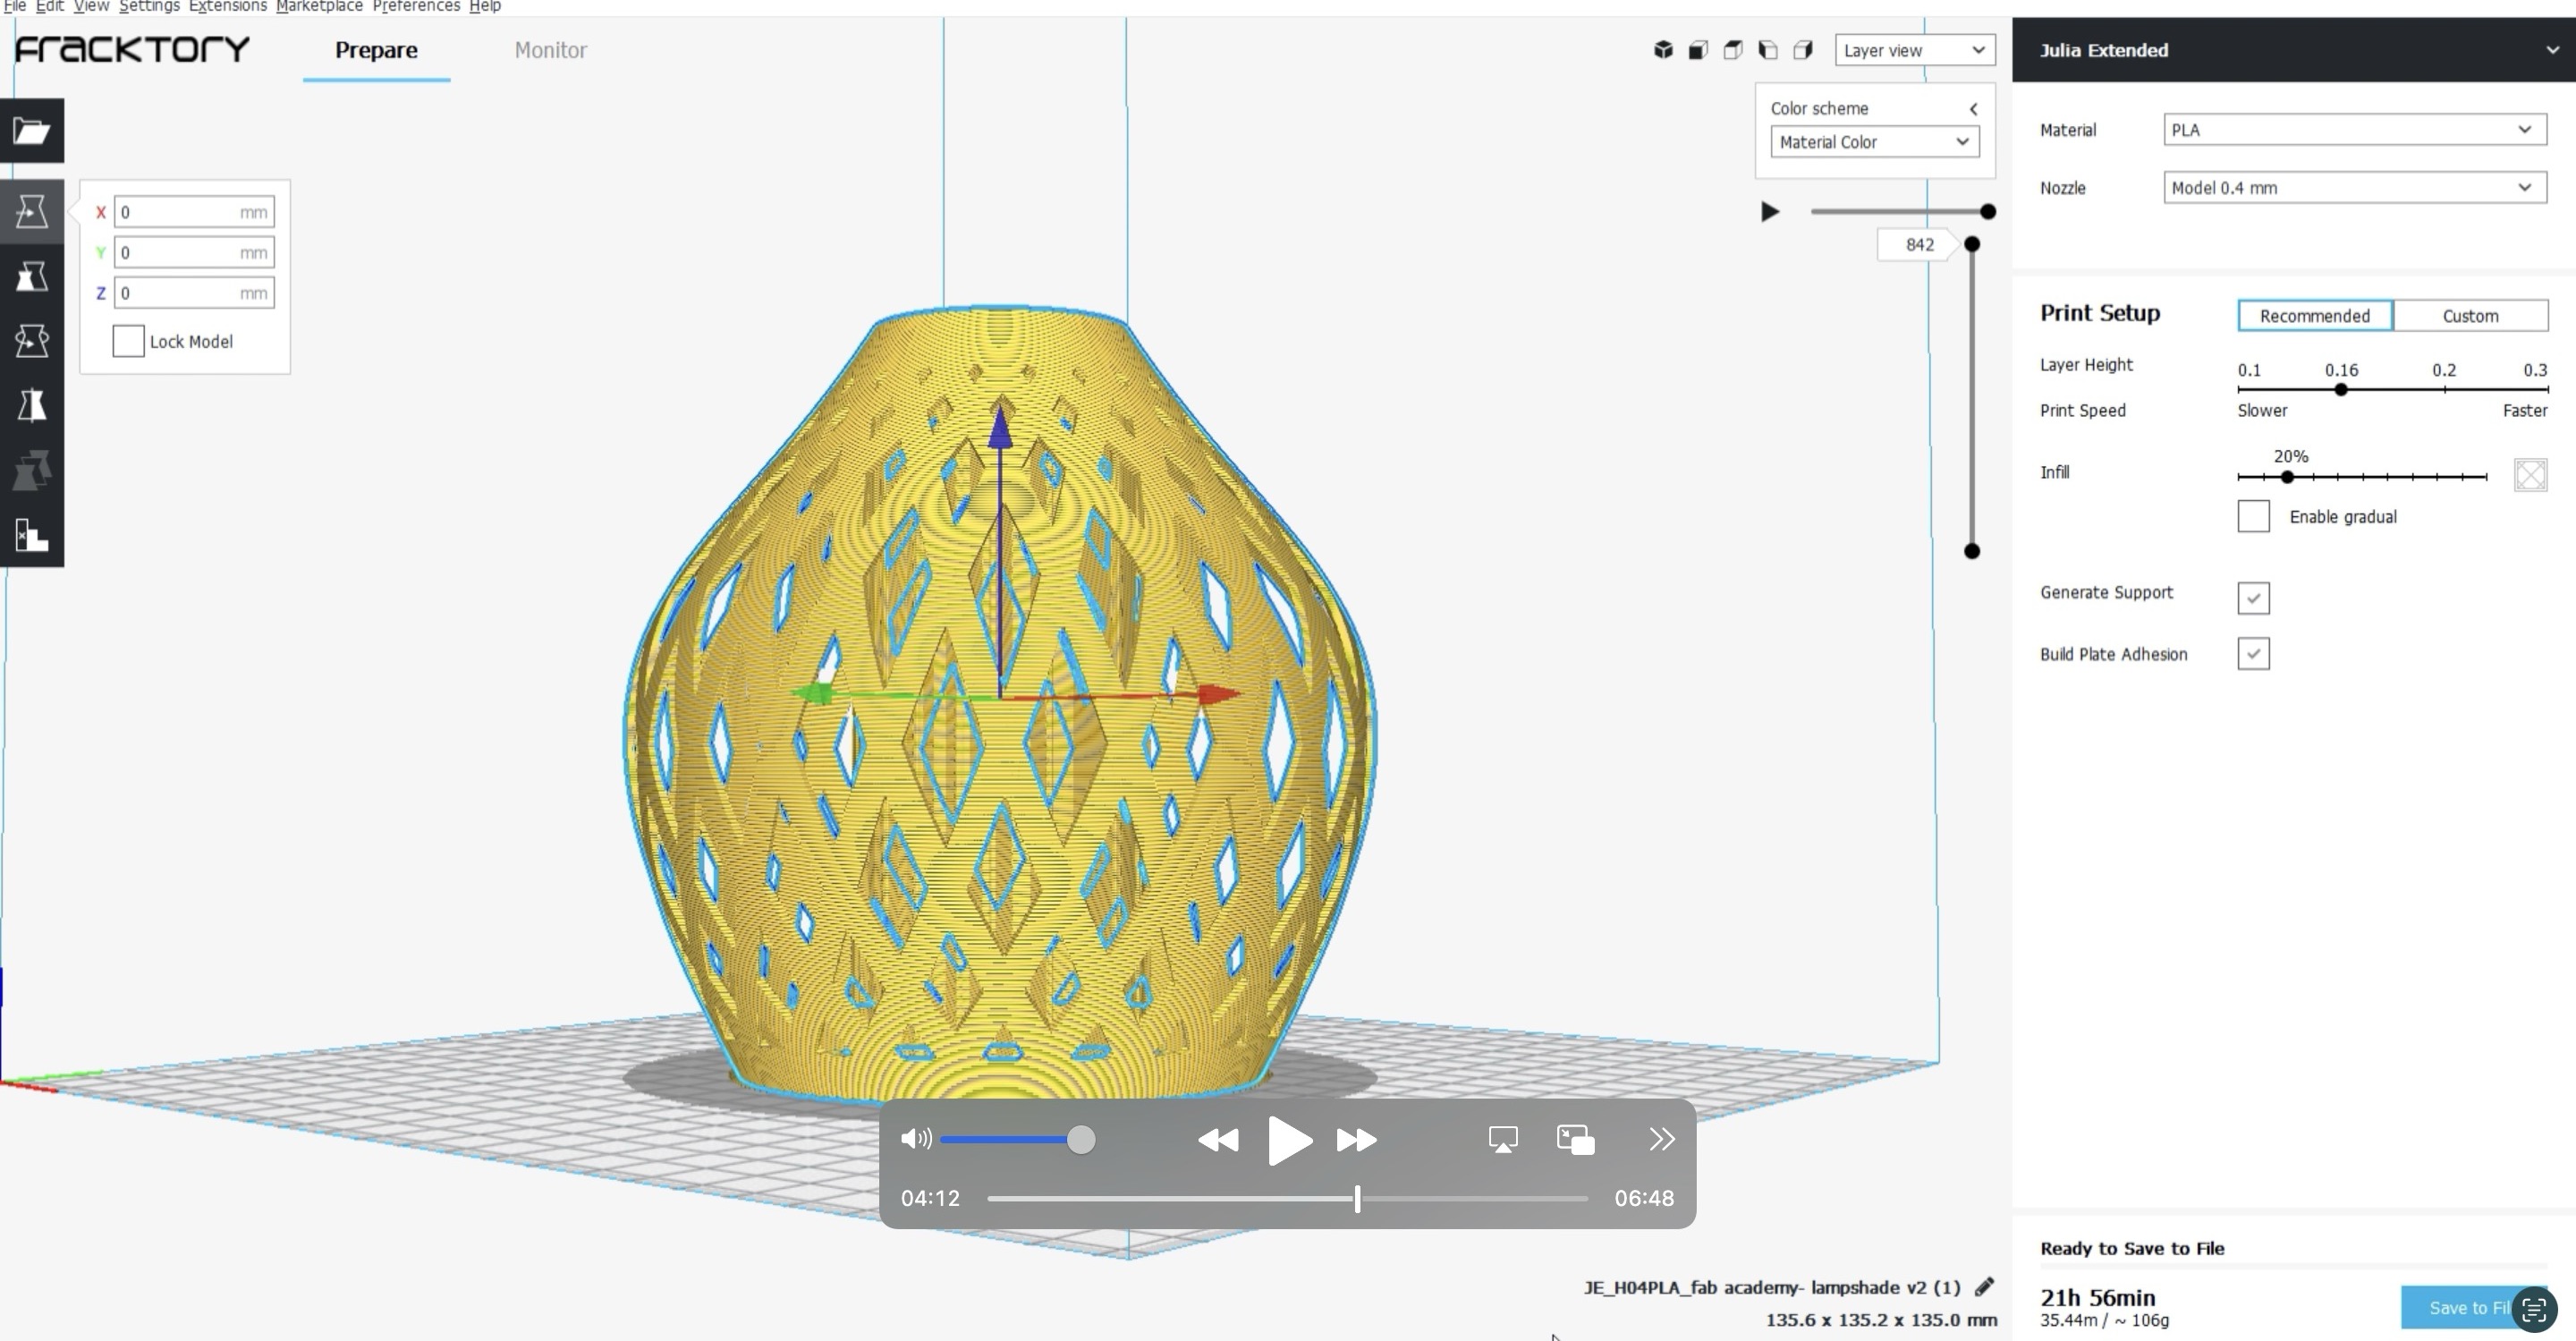
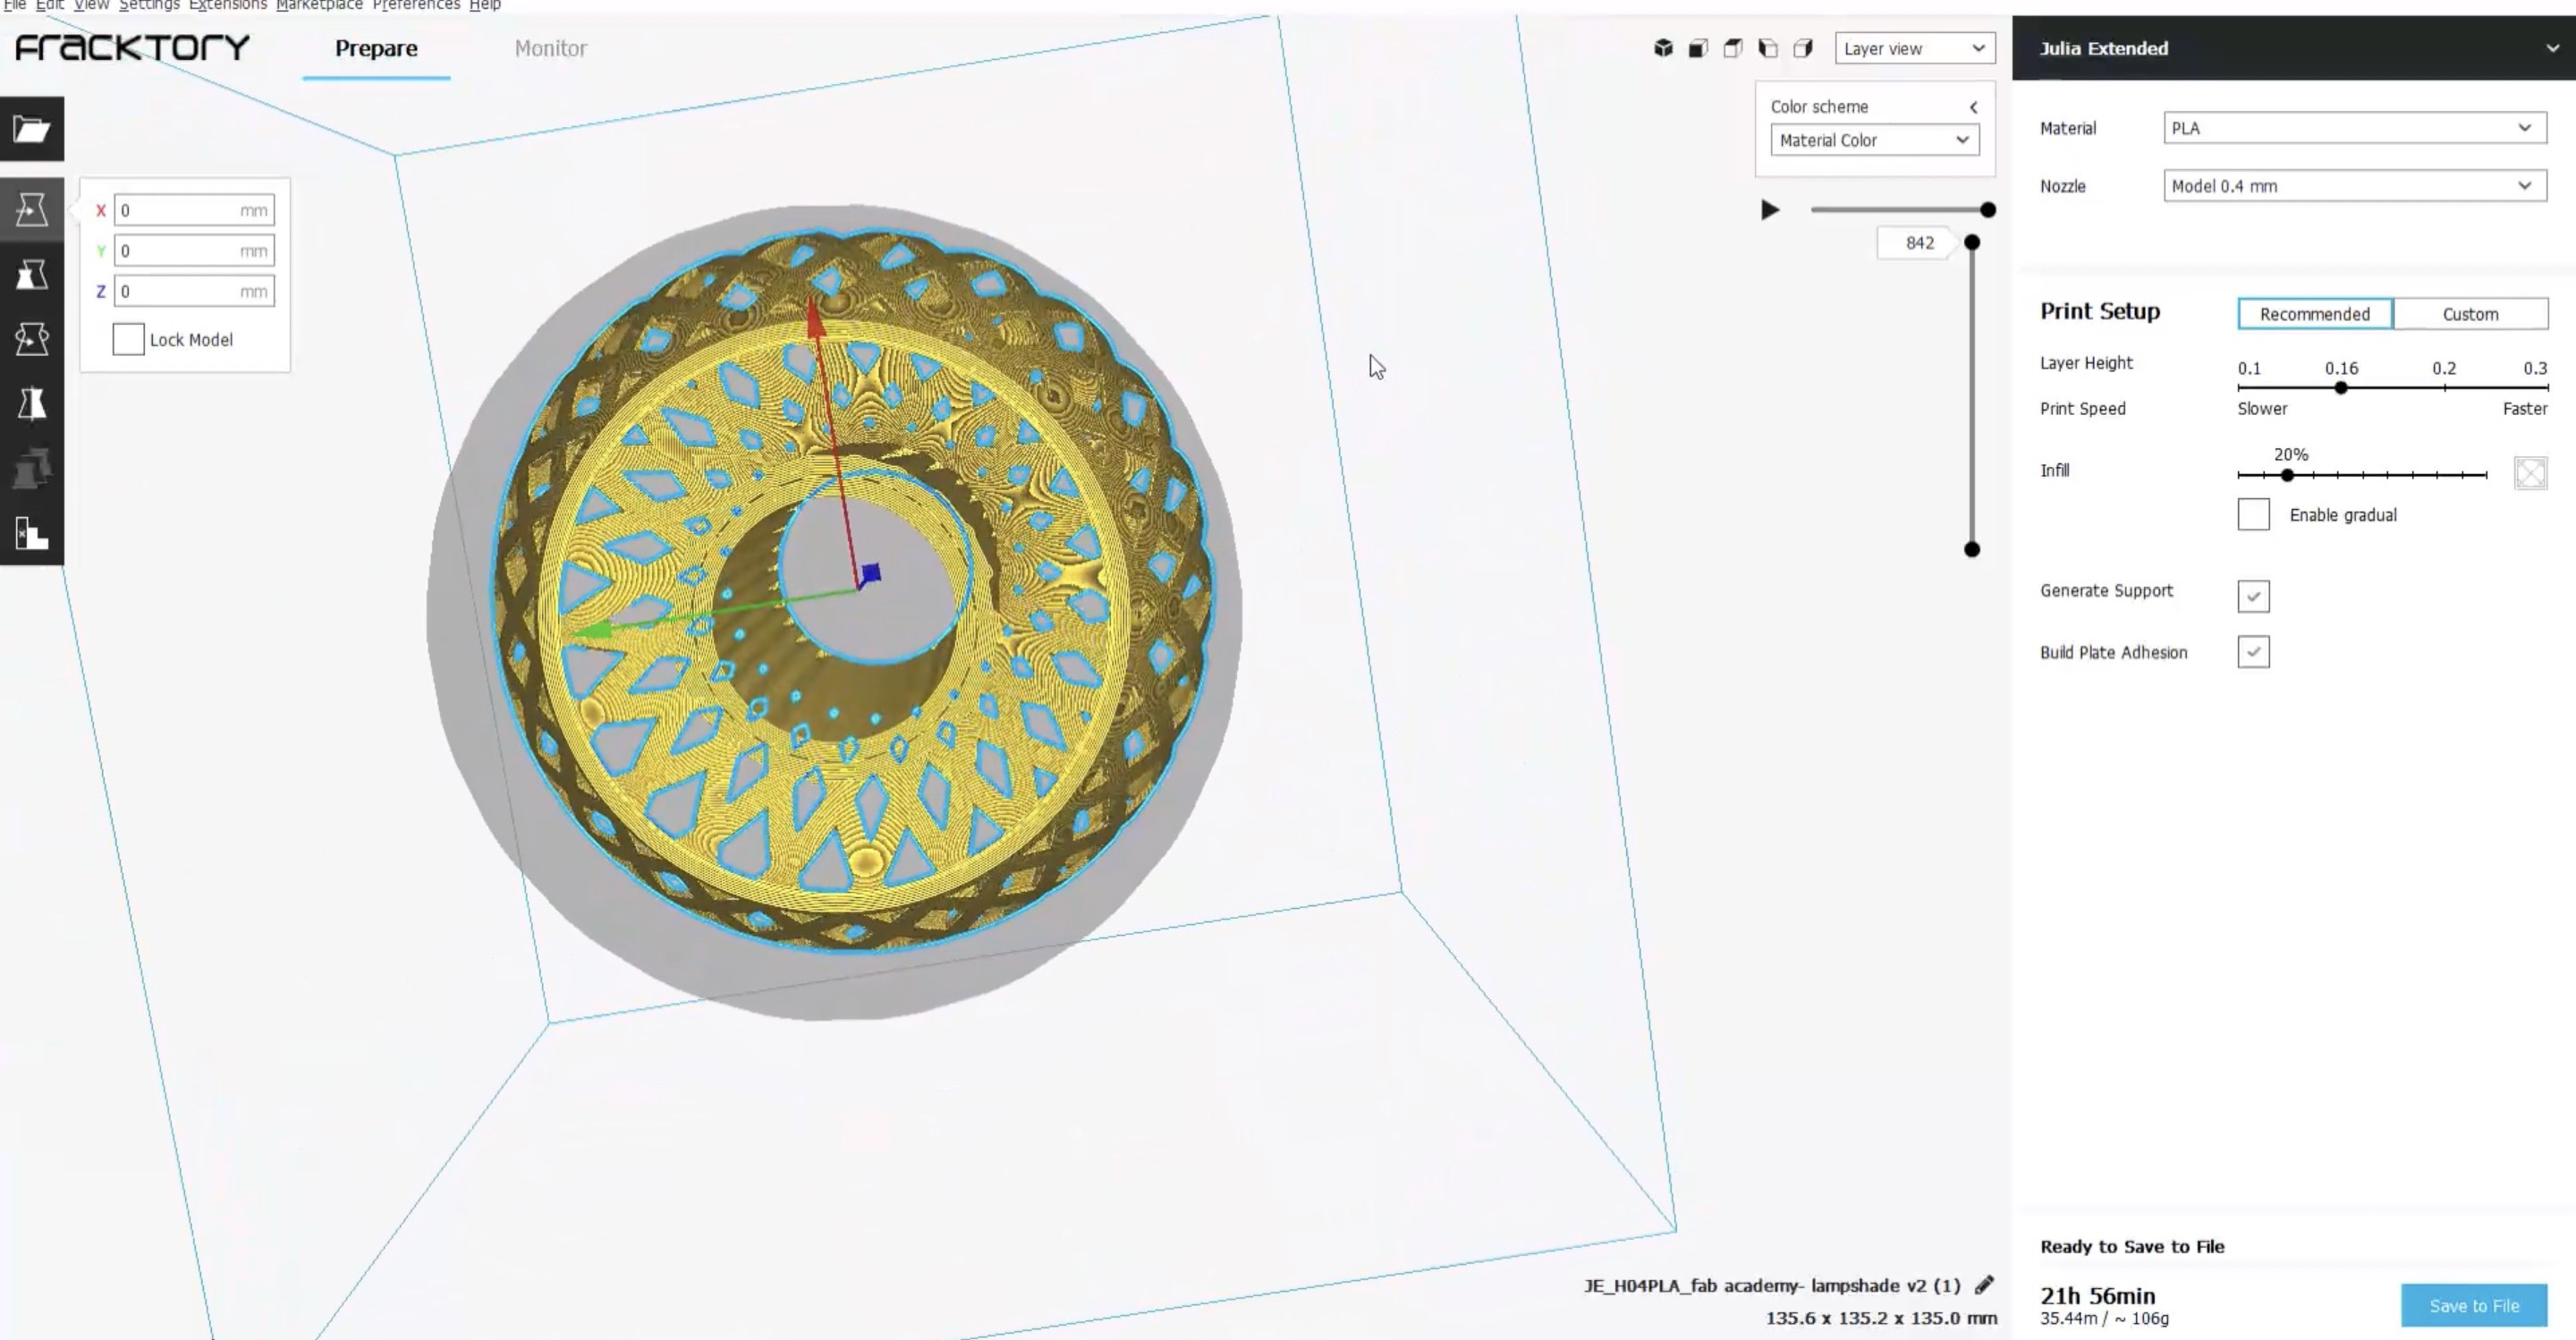
The interfcae looks like this. There are multiple settings in the right so the settings depends on what type of file we are printing.
Step 4- Insert the STL file in the software
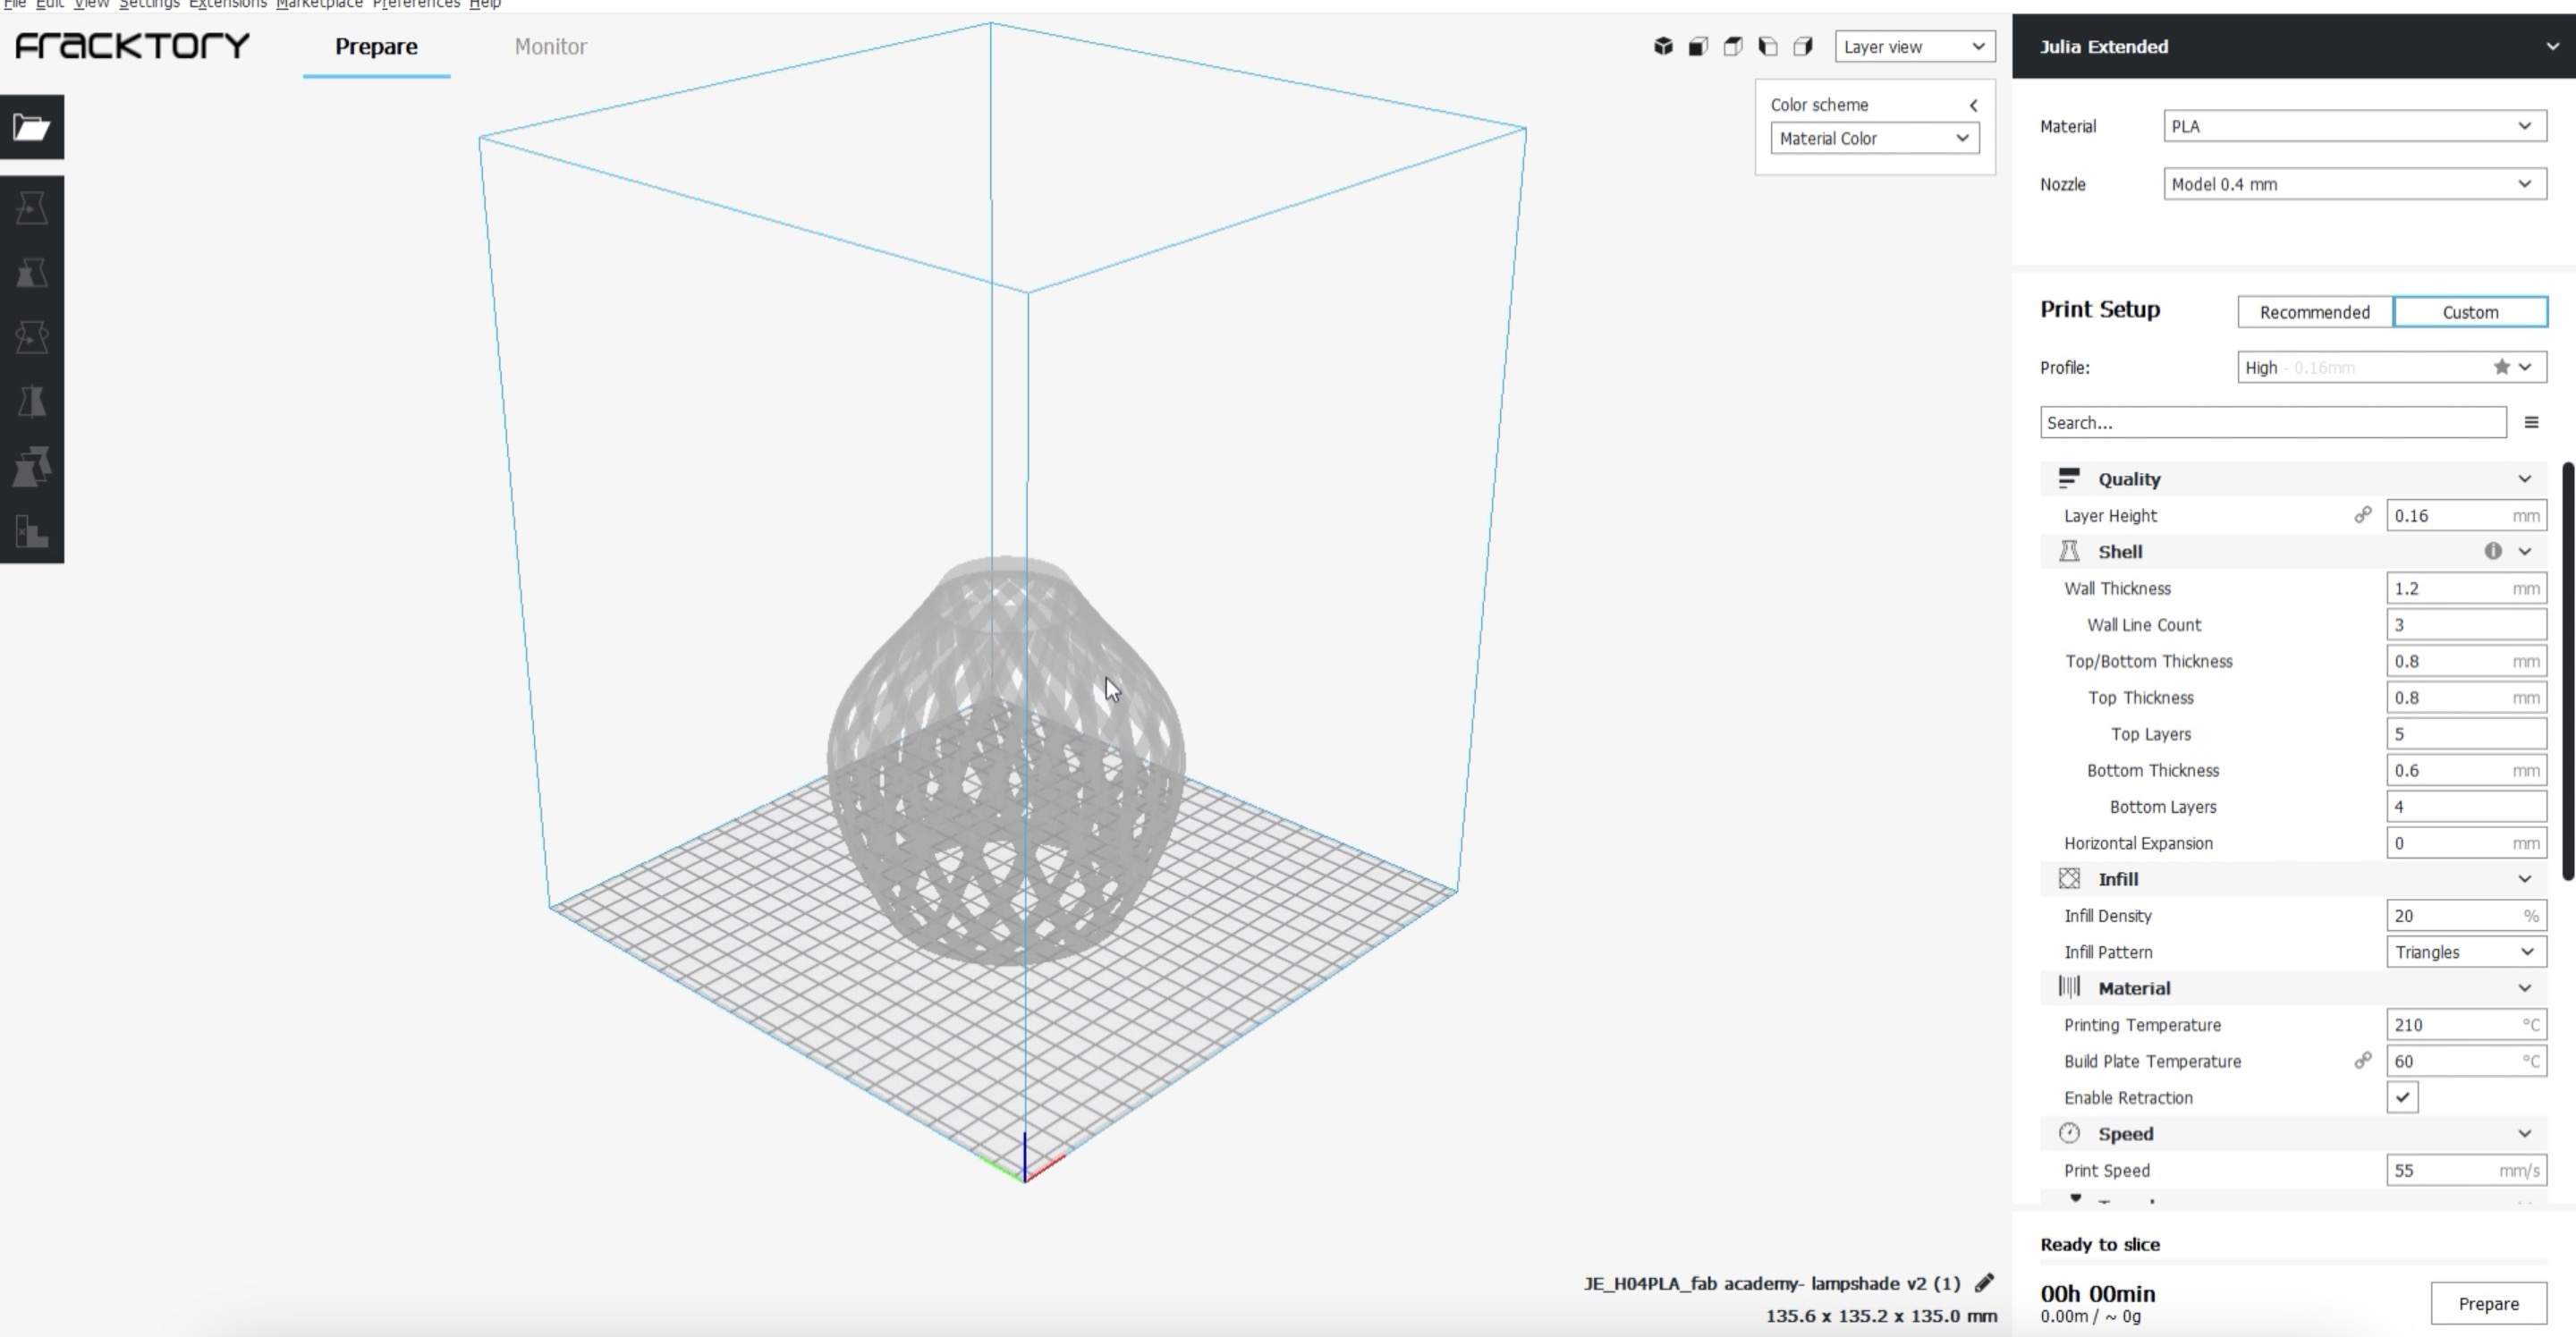
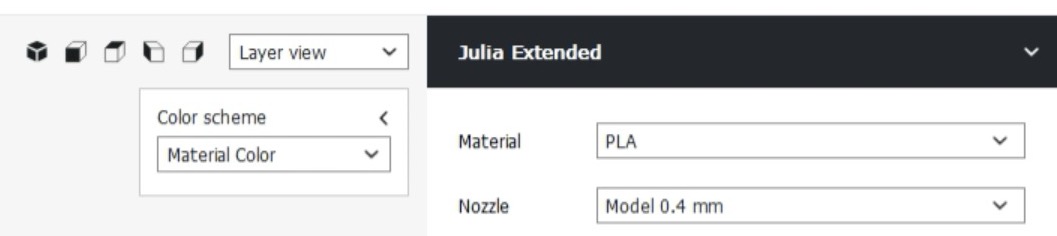
Step 5- Select the type of printer you have I selected Julia extended
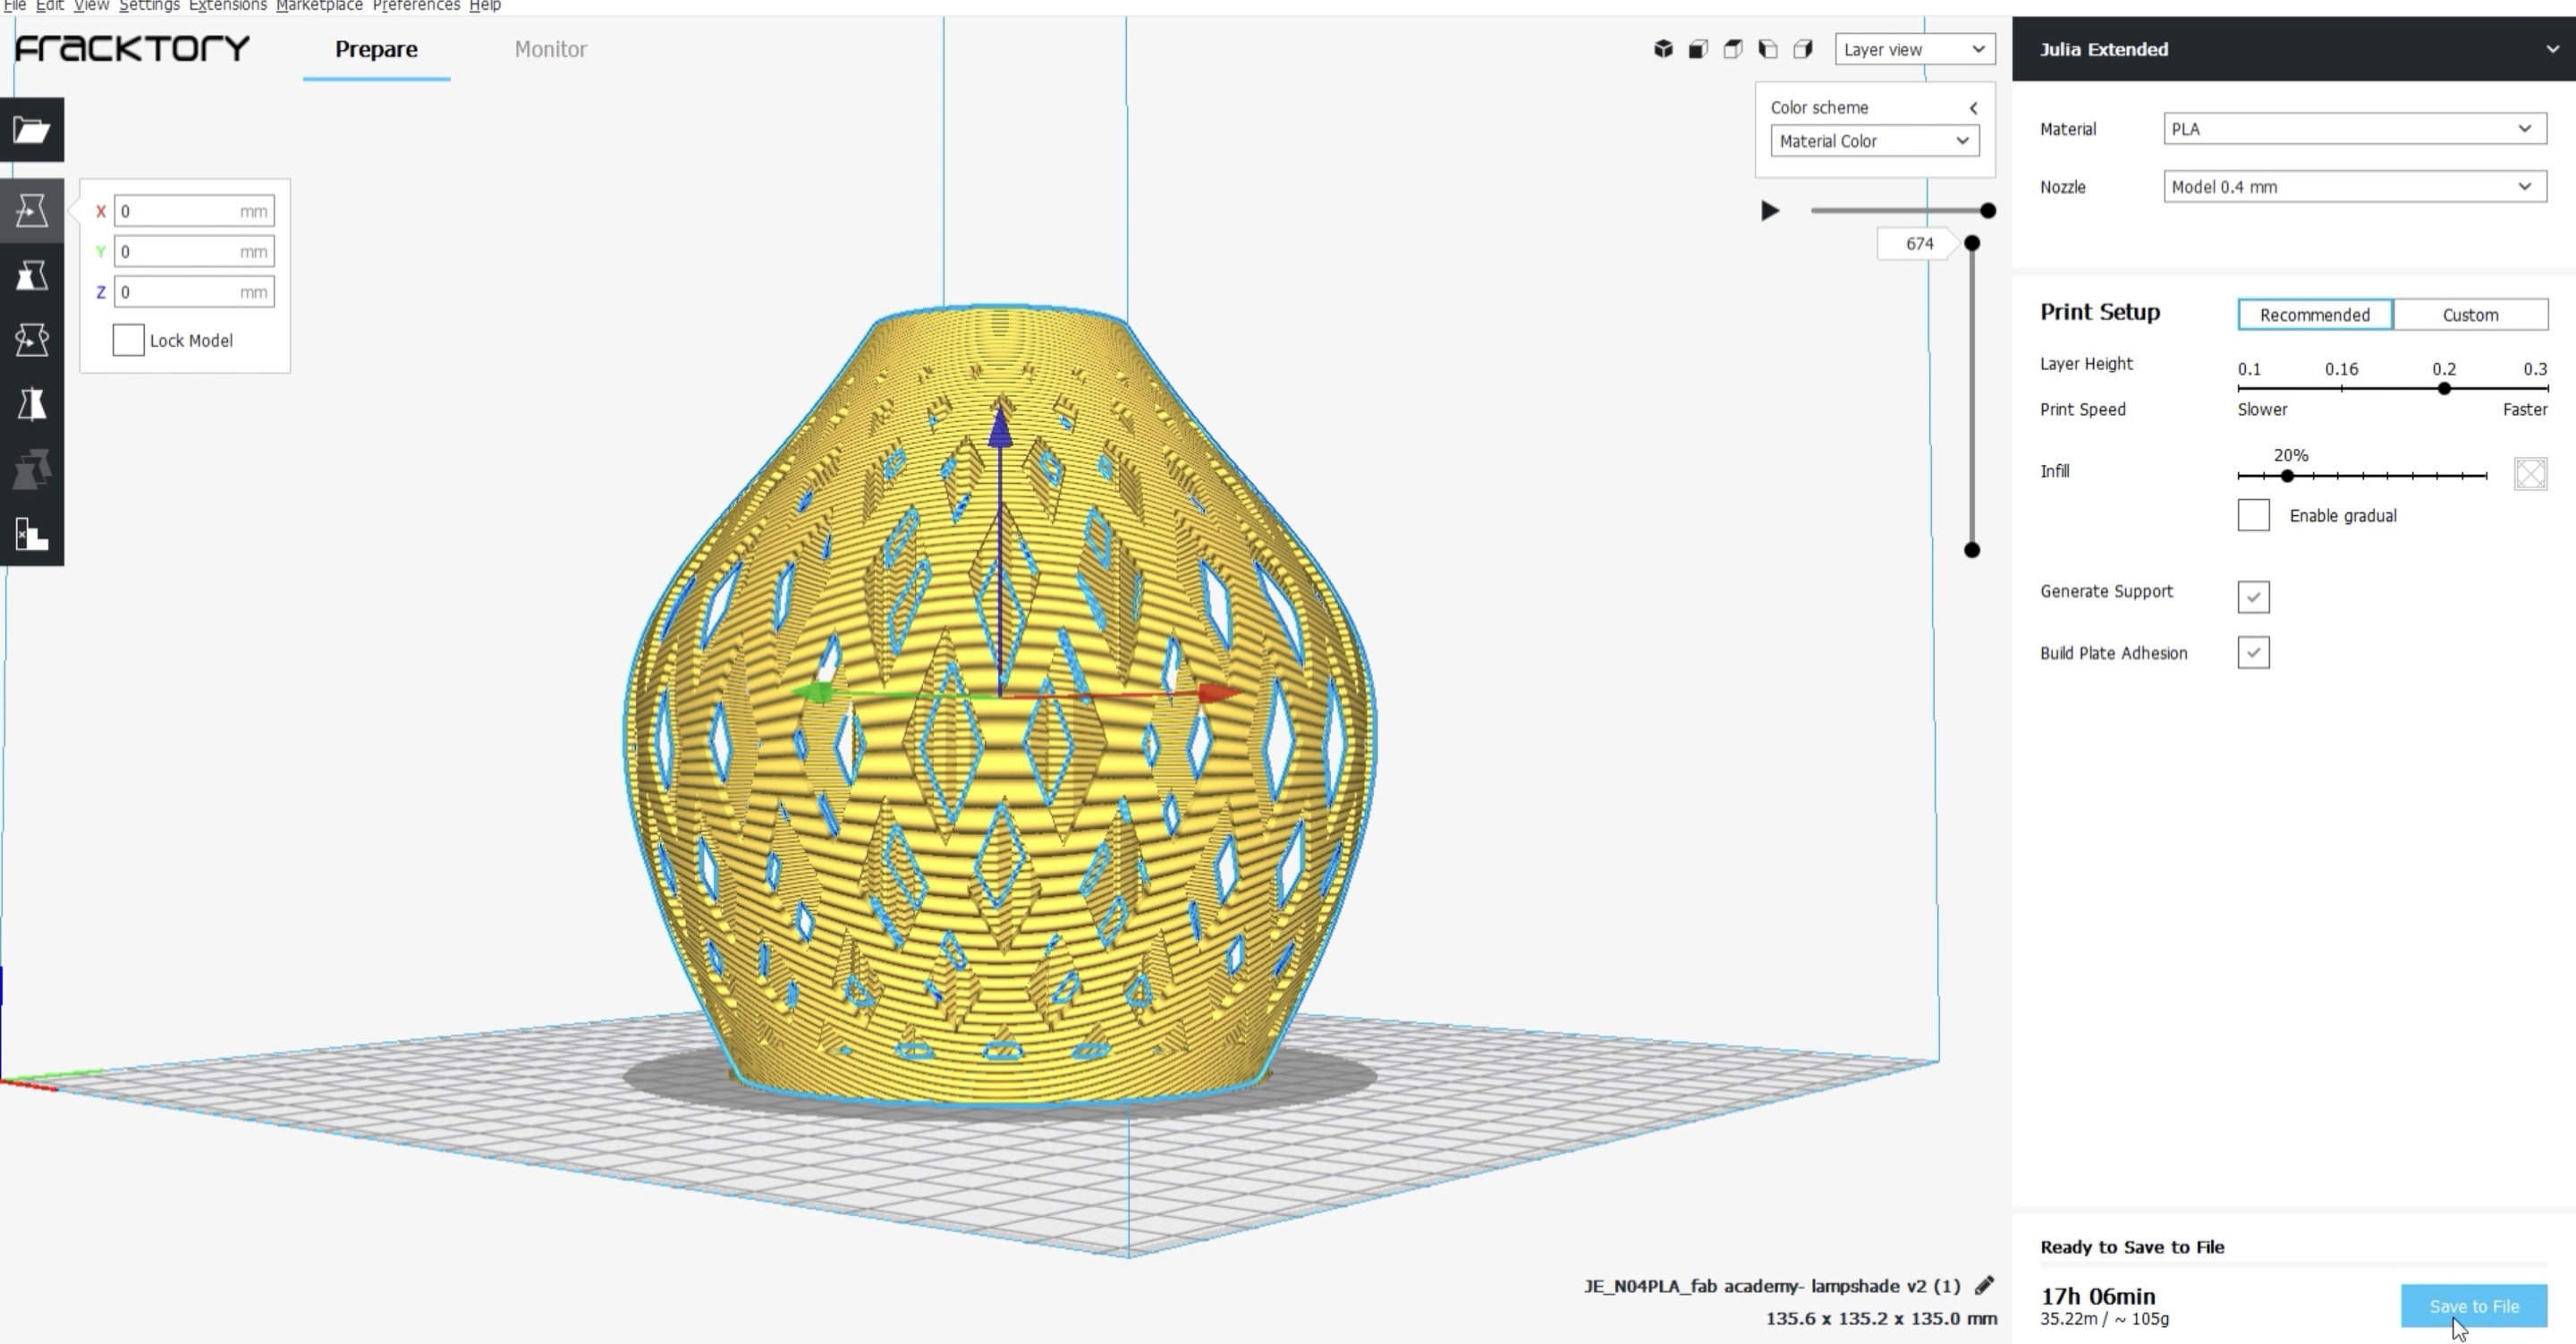
Step 6a- Change the settings
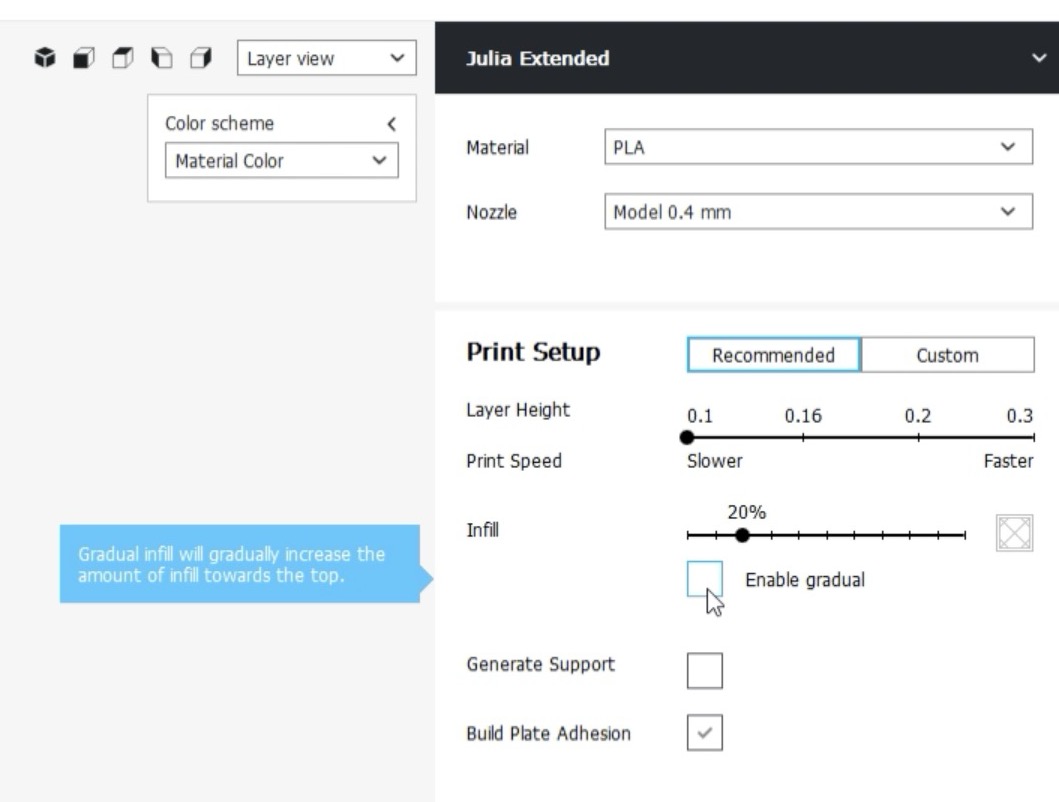
I started playing with the settings, 1st I changed print setup, I kept the layer height as 0.1 as that is more accurate but when I checked the printing time it showed akmost 2 day. As there was time limitation and everyone wanted to use that machine I changed the layer height to 0.16.
I did not knew what was enable gradual so this software has a good thing that when you hower on that title you can read about that topic and understand as I did for enable gradual.
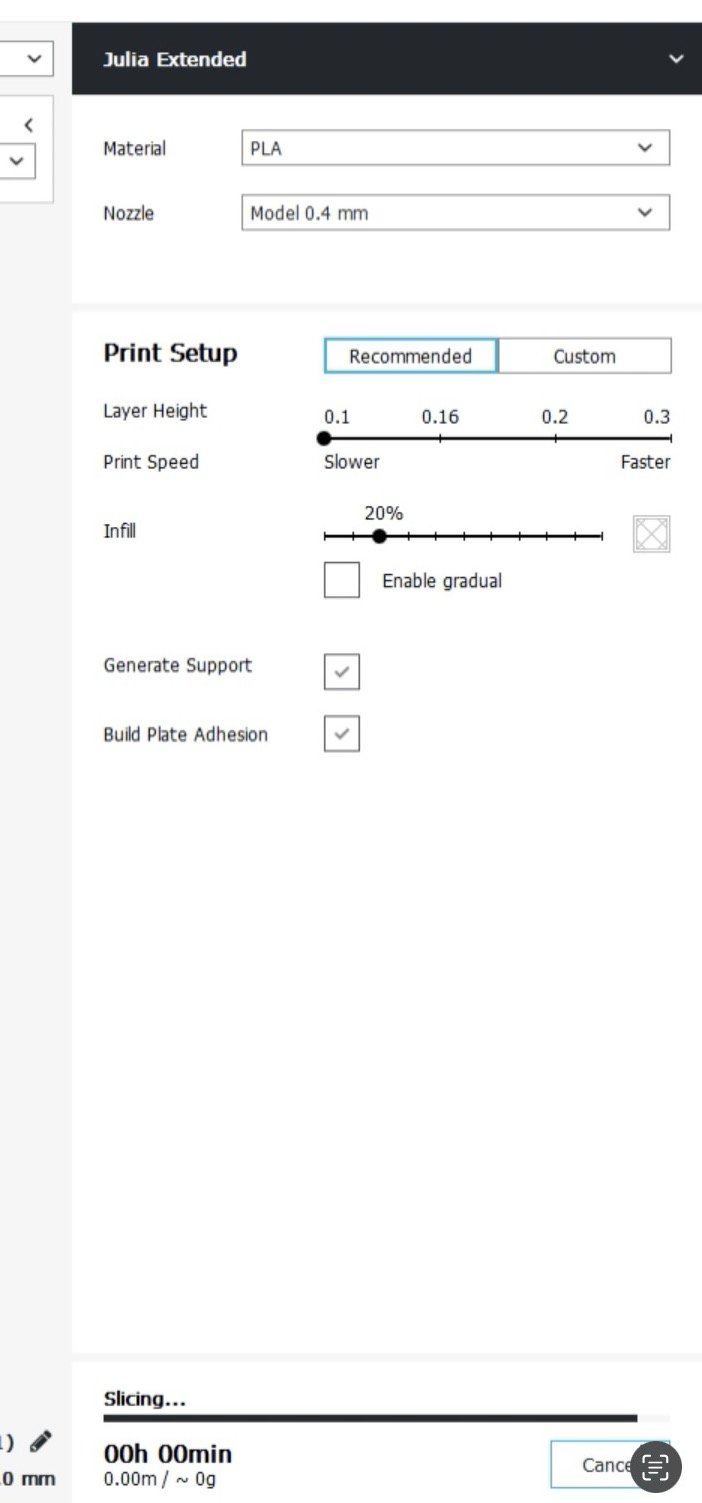
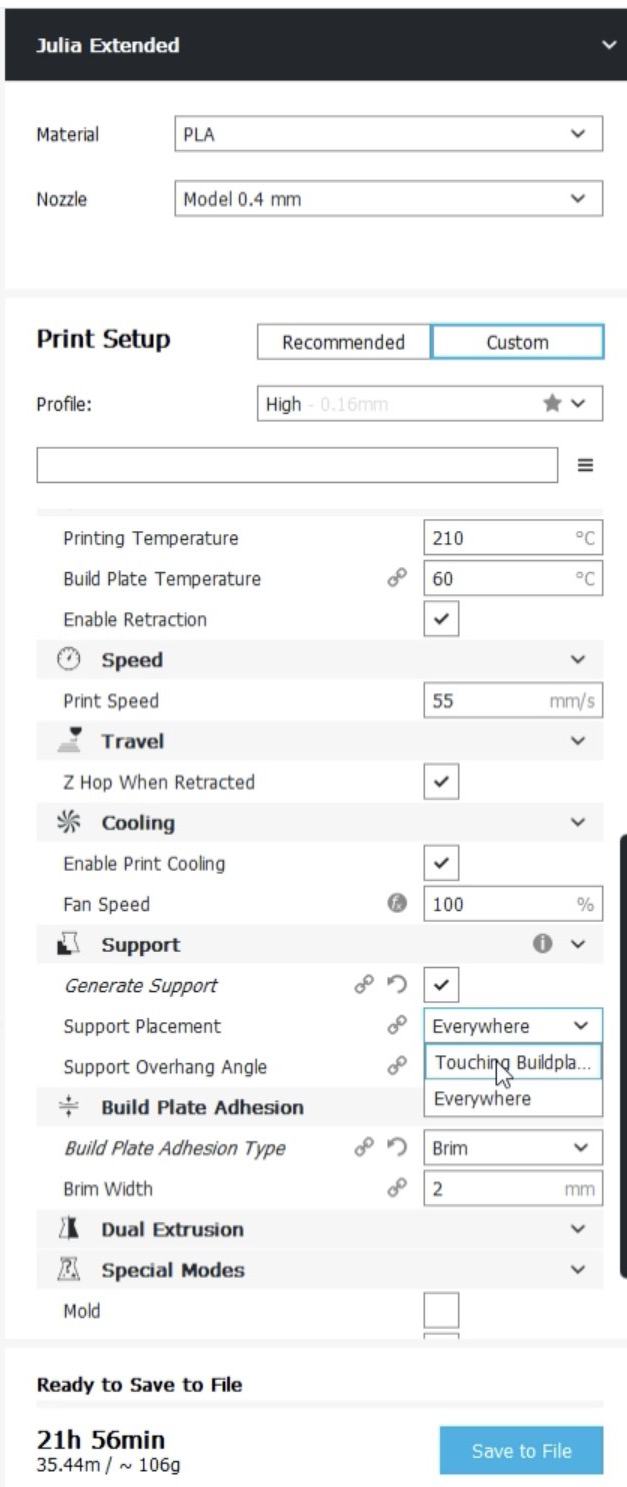
Step 6b- Generate support
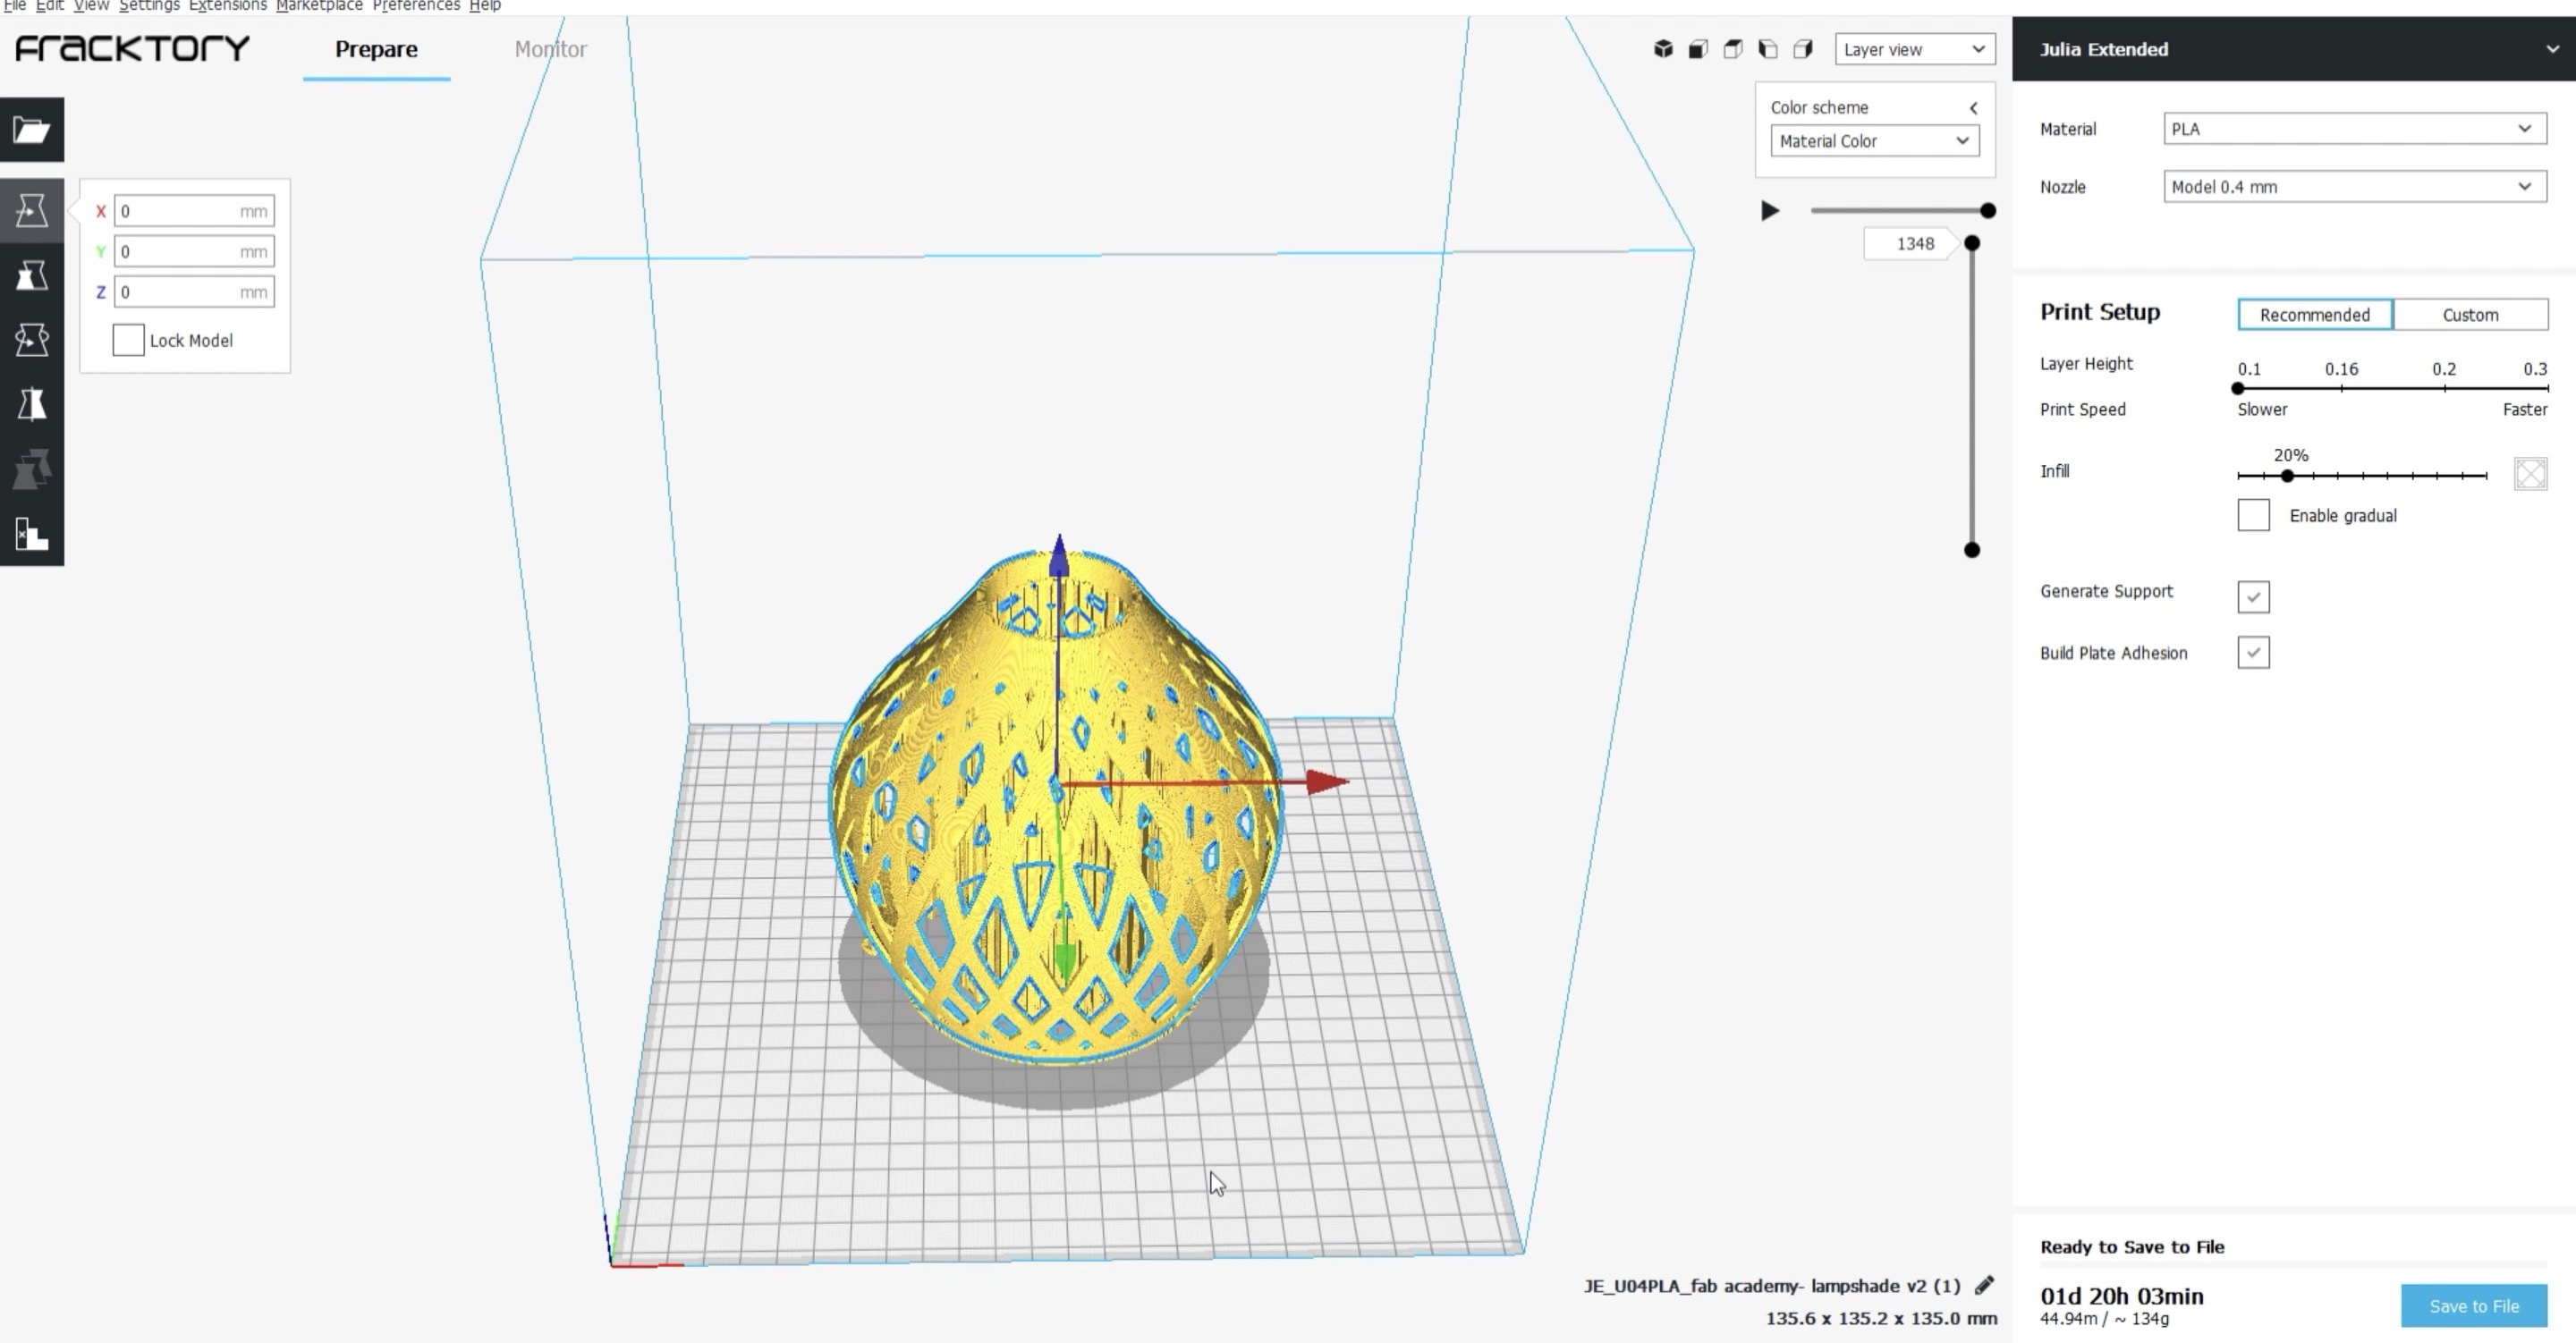
In fracktal software there is only generate support it generates supports automatically, there is no option like tree support, we cannot change anything related to support here, so this was one limitation in this software.
It was showing 1 day 23 hours and 3 minutes
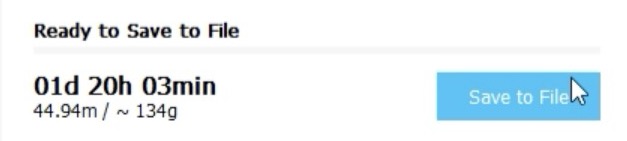
The major time was taken by supports only and there was no way I could have edited supporters
Then I started playing with the settings to reduce time and at the same time try to get a perfect print, I thought I can print the same file without supports so I checked that too it was showing 1 day 4 hours 34 minutes and it was risky to put it without supporters.
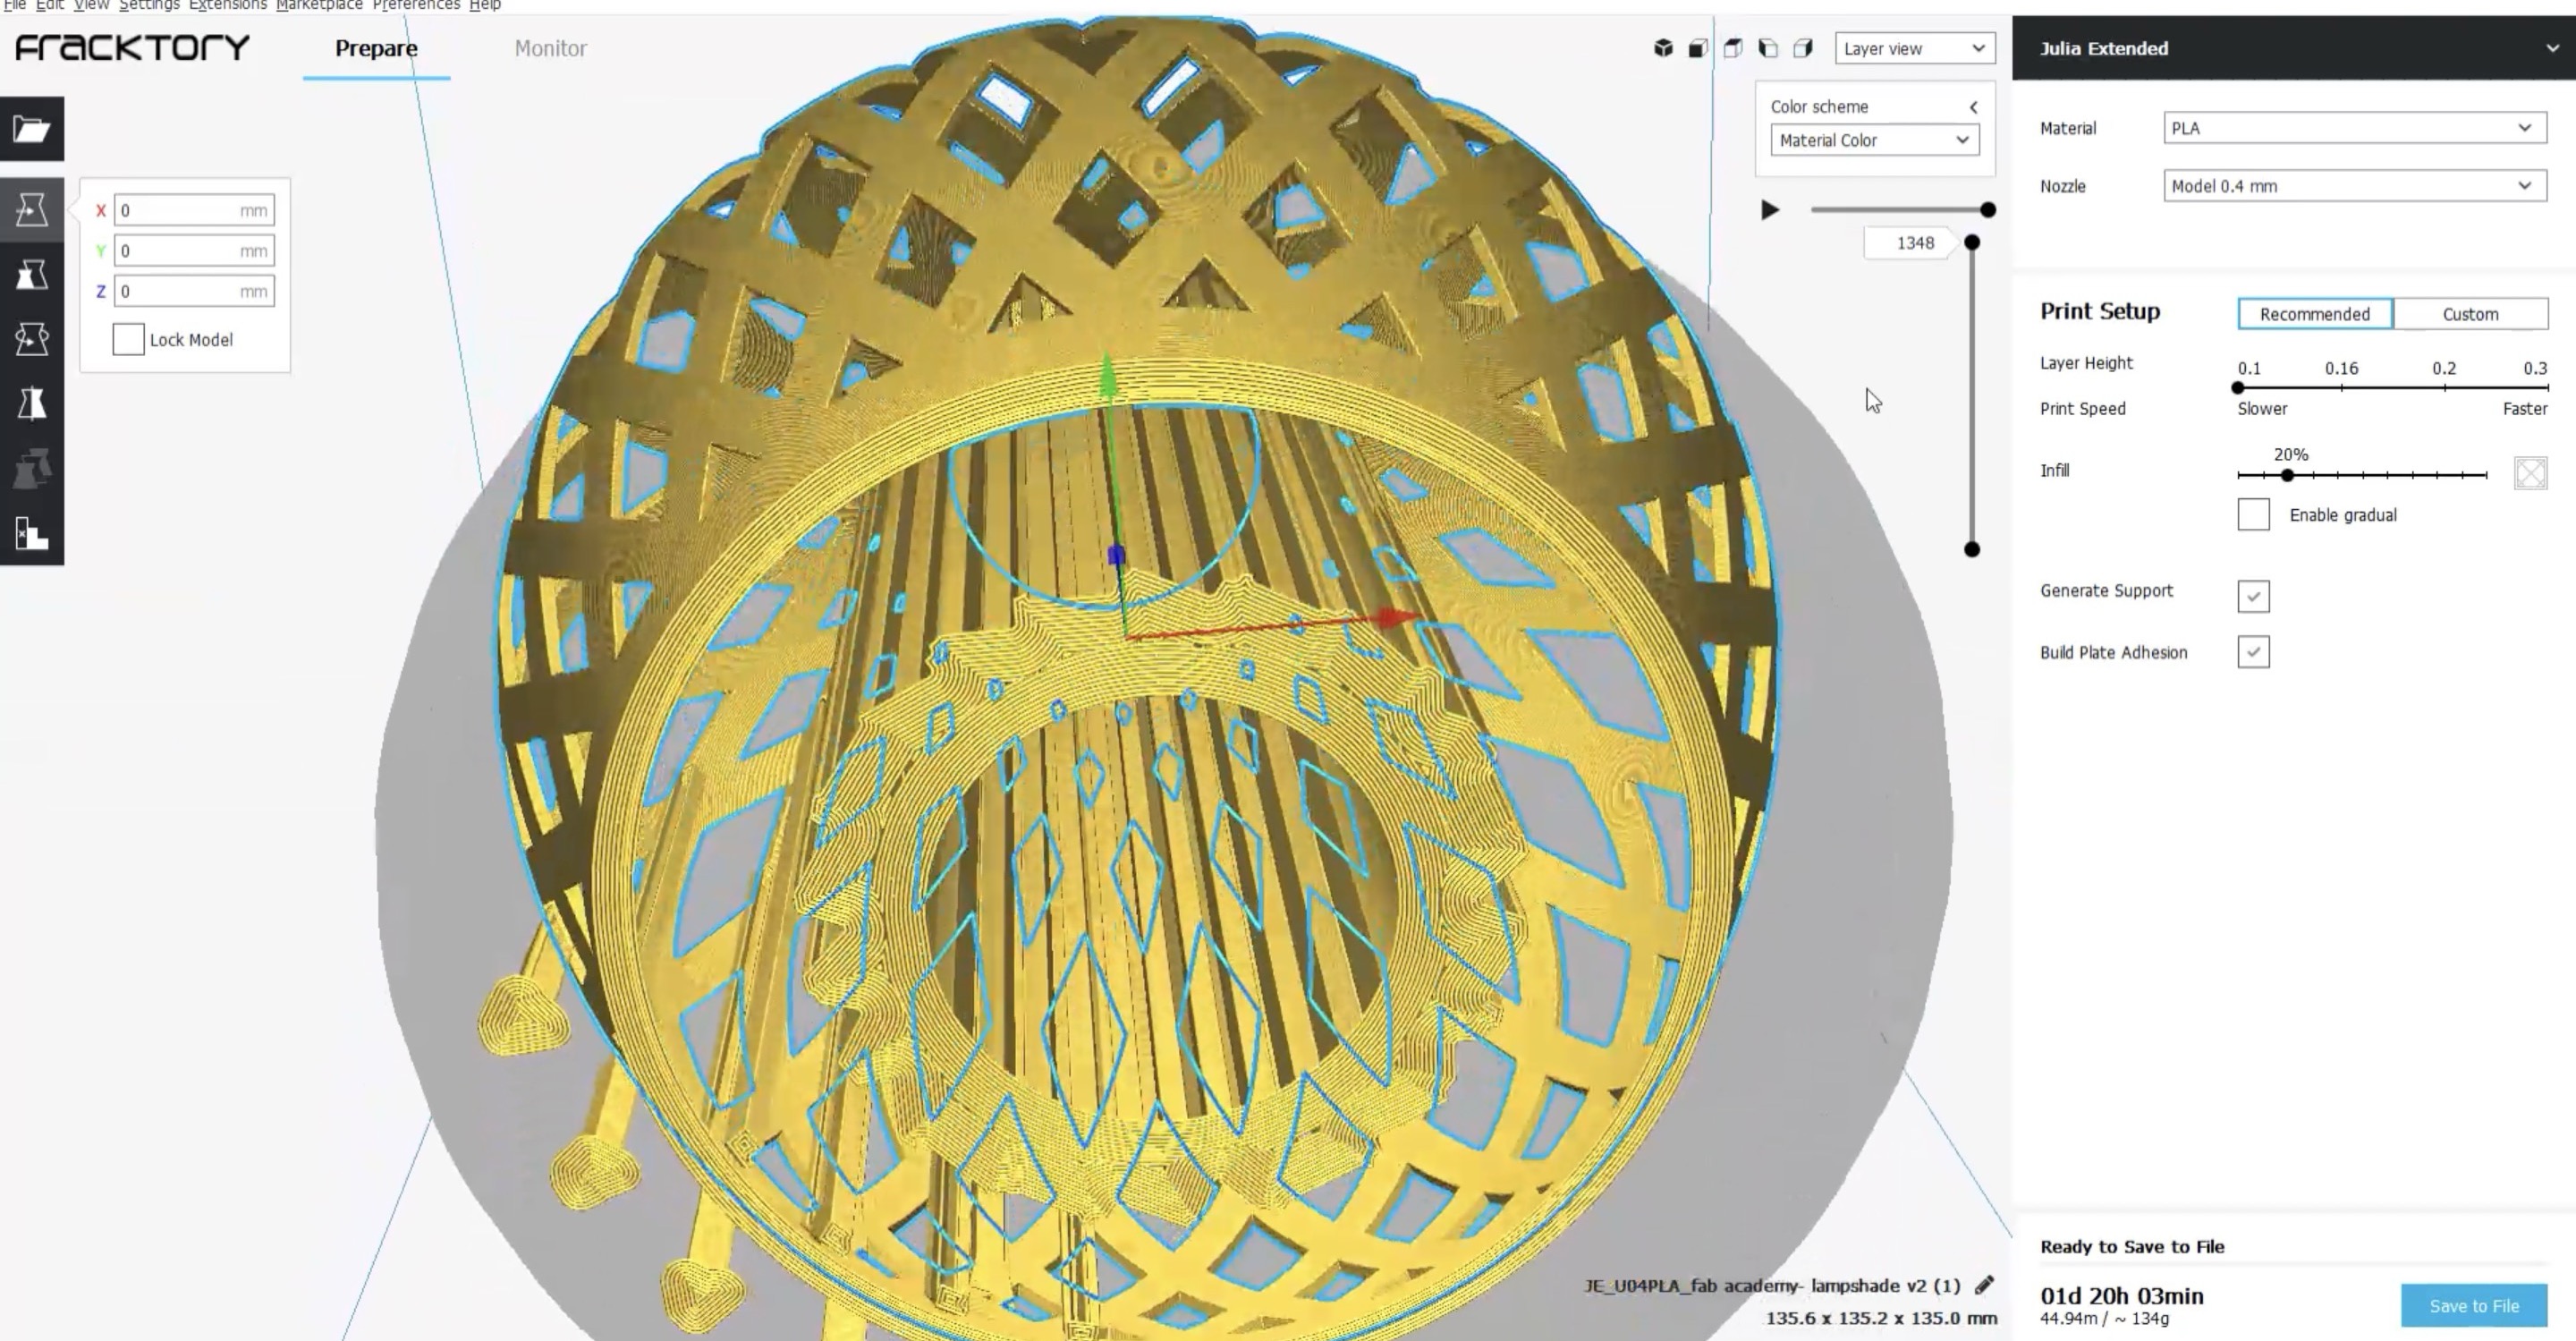
I now changed the layer height to 0.2 and then generated the supports it was showing 17 hours.
I had 24 hours time to print my file, so I changed the layer height to 0.16 for more accurate results.
Then I changed support placement and changed it to everywhere, support overhang angle to touching.
After all changes I saved my g code file and inserted the file in the pendrive.

Step 7- UI of Fracktory 3d printer
We have fracktory works julia extended 3d printer, here is the image of the same.
To see the video of how to insert the file in 3d printer click below:
At the start you need to insert the filament in the machine through the pipe and press load filament it will load the filament and if there is existing filament left it will melt that and remove that. If your filament is white in colour see to it that you see a white thread that means the old threads are clear and new filament is uploaded successfully.
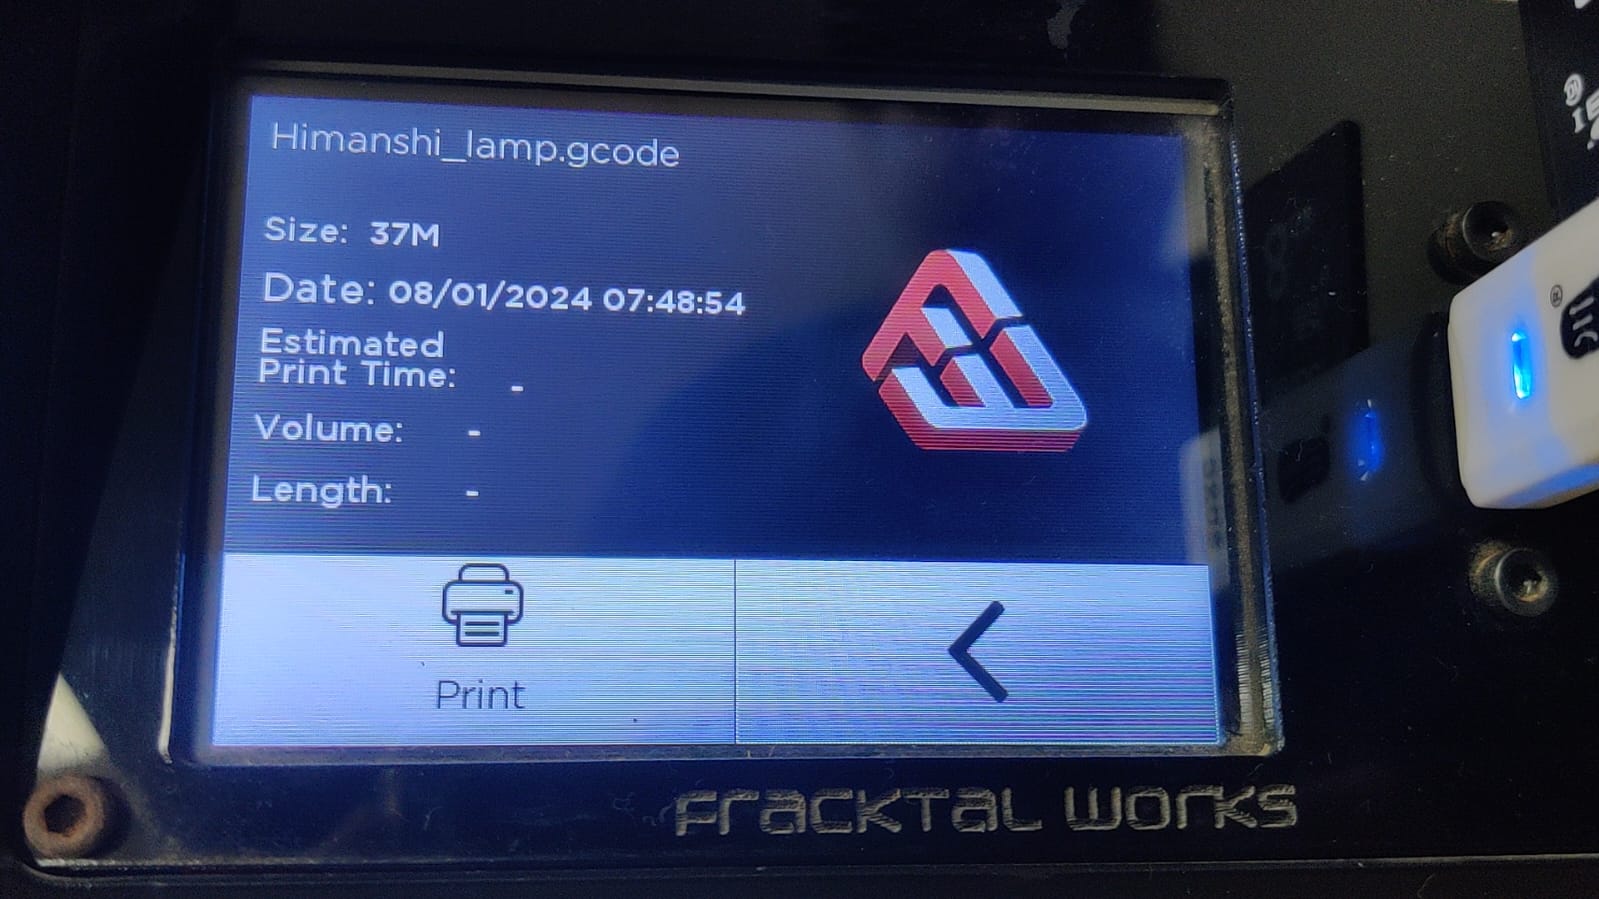
Then you need to upload your file from the pendrive.
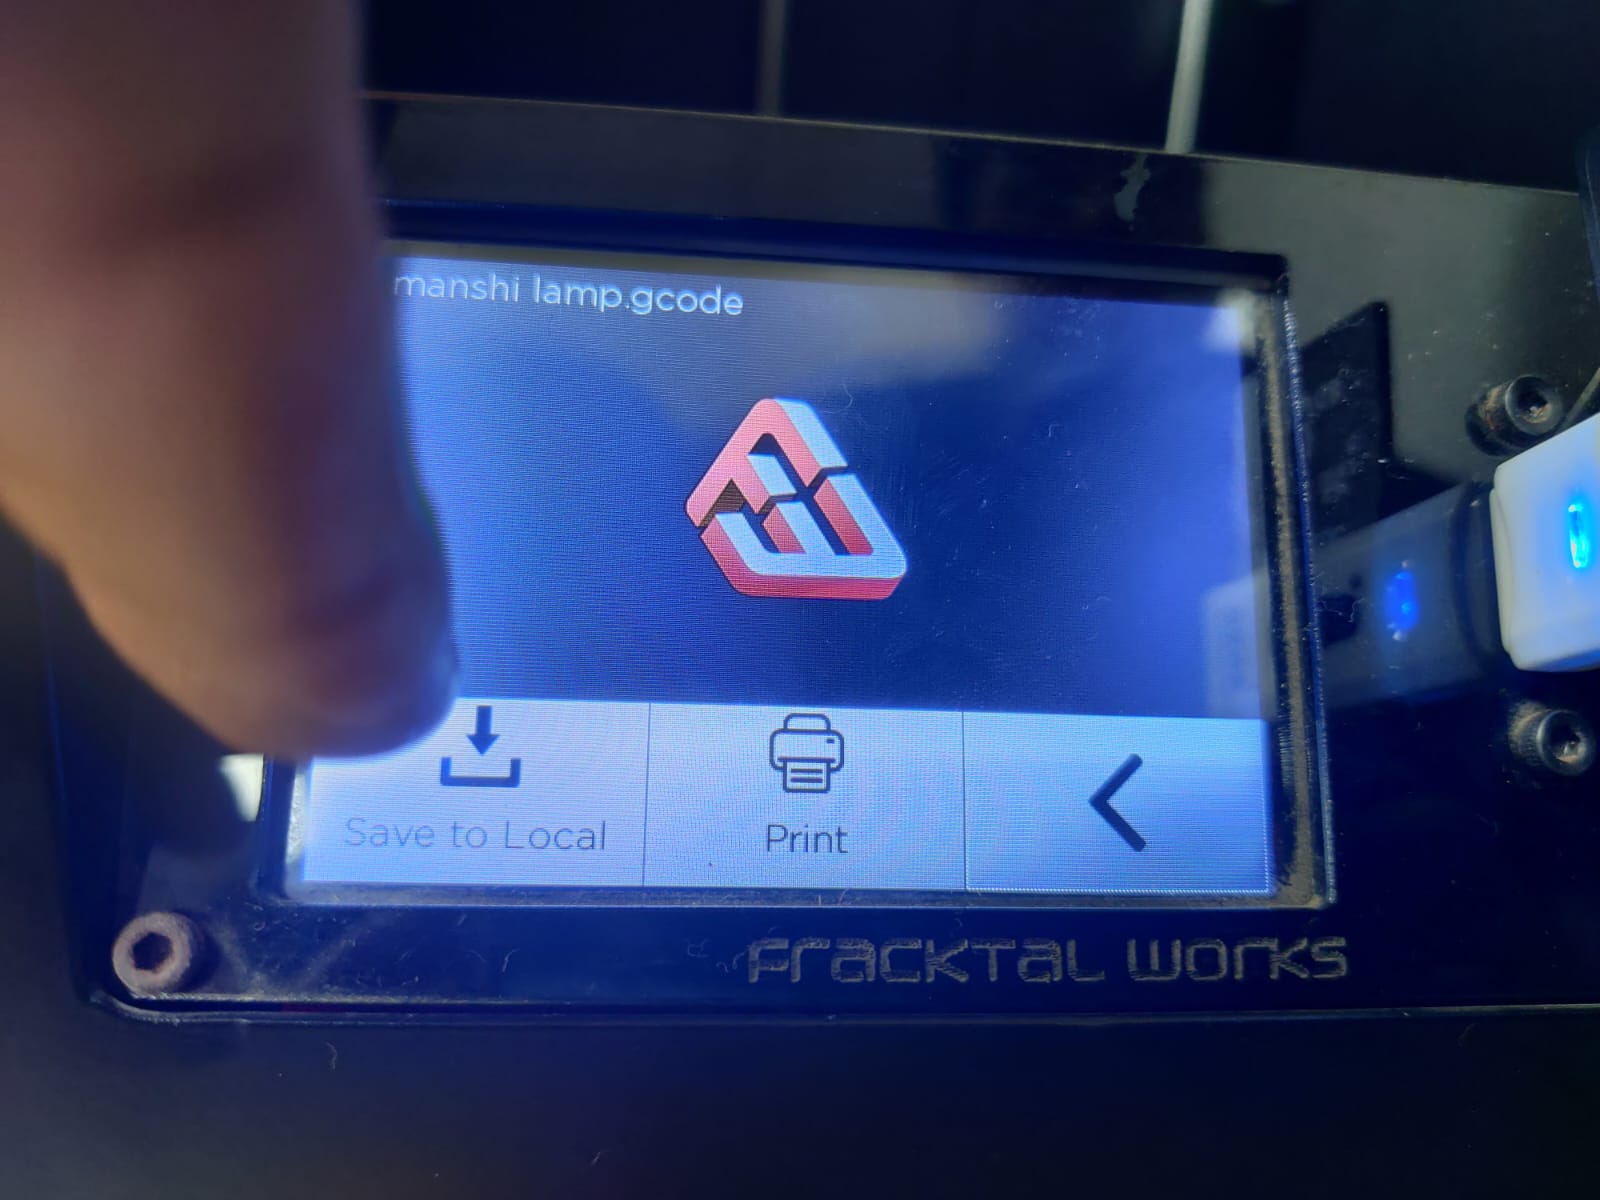
See for your file in the pendrive and upload it.

Then the file will get uploaded.
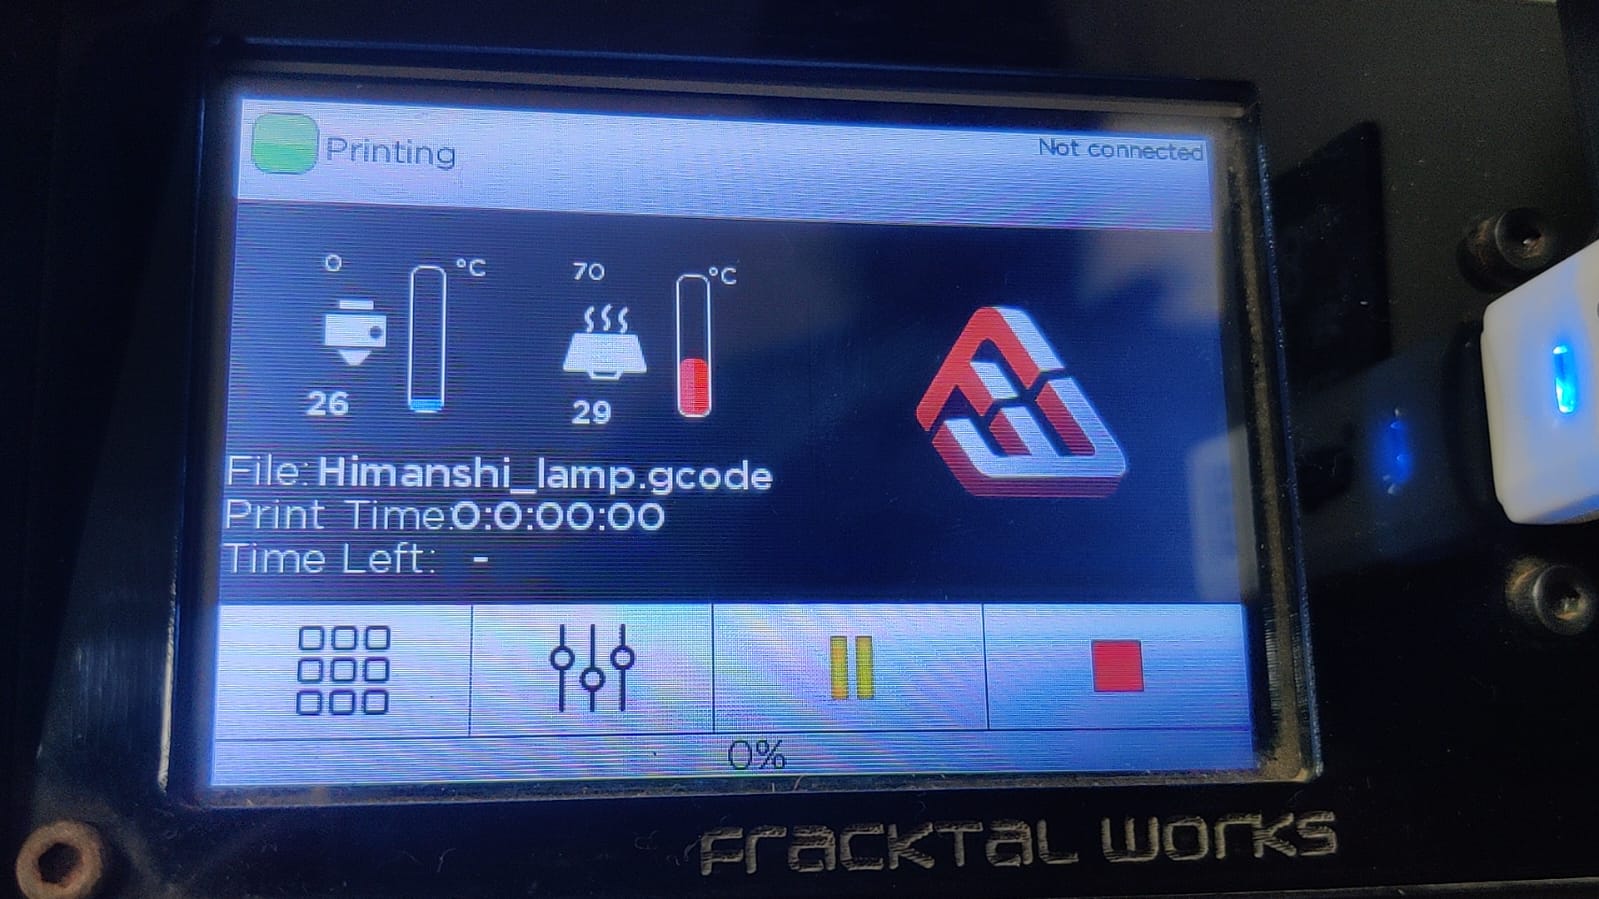
We adjusted temperature in the g code itself, one can do it here too. Here one can see temperature, print time, time left and below you can see % of file that is completed.
My settings
Material : White PLA 9 (ESun)
Nozzle Temp : 210 C
Bed Temp : 60 C
Layer Height : 0.16 mm
Infill : 15%
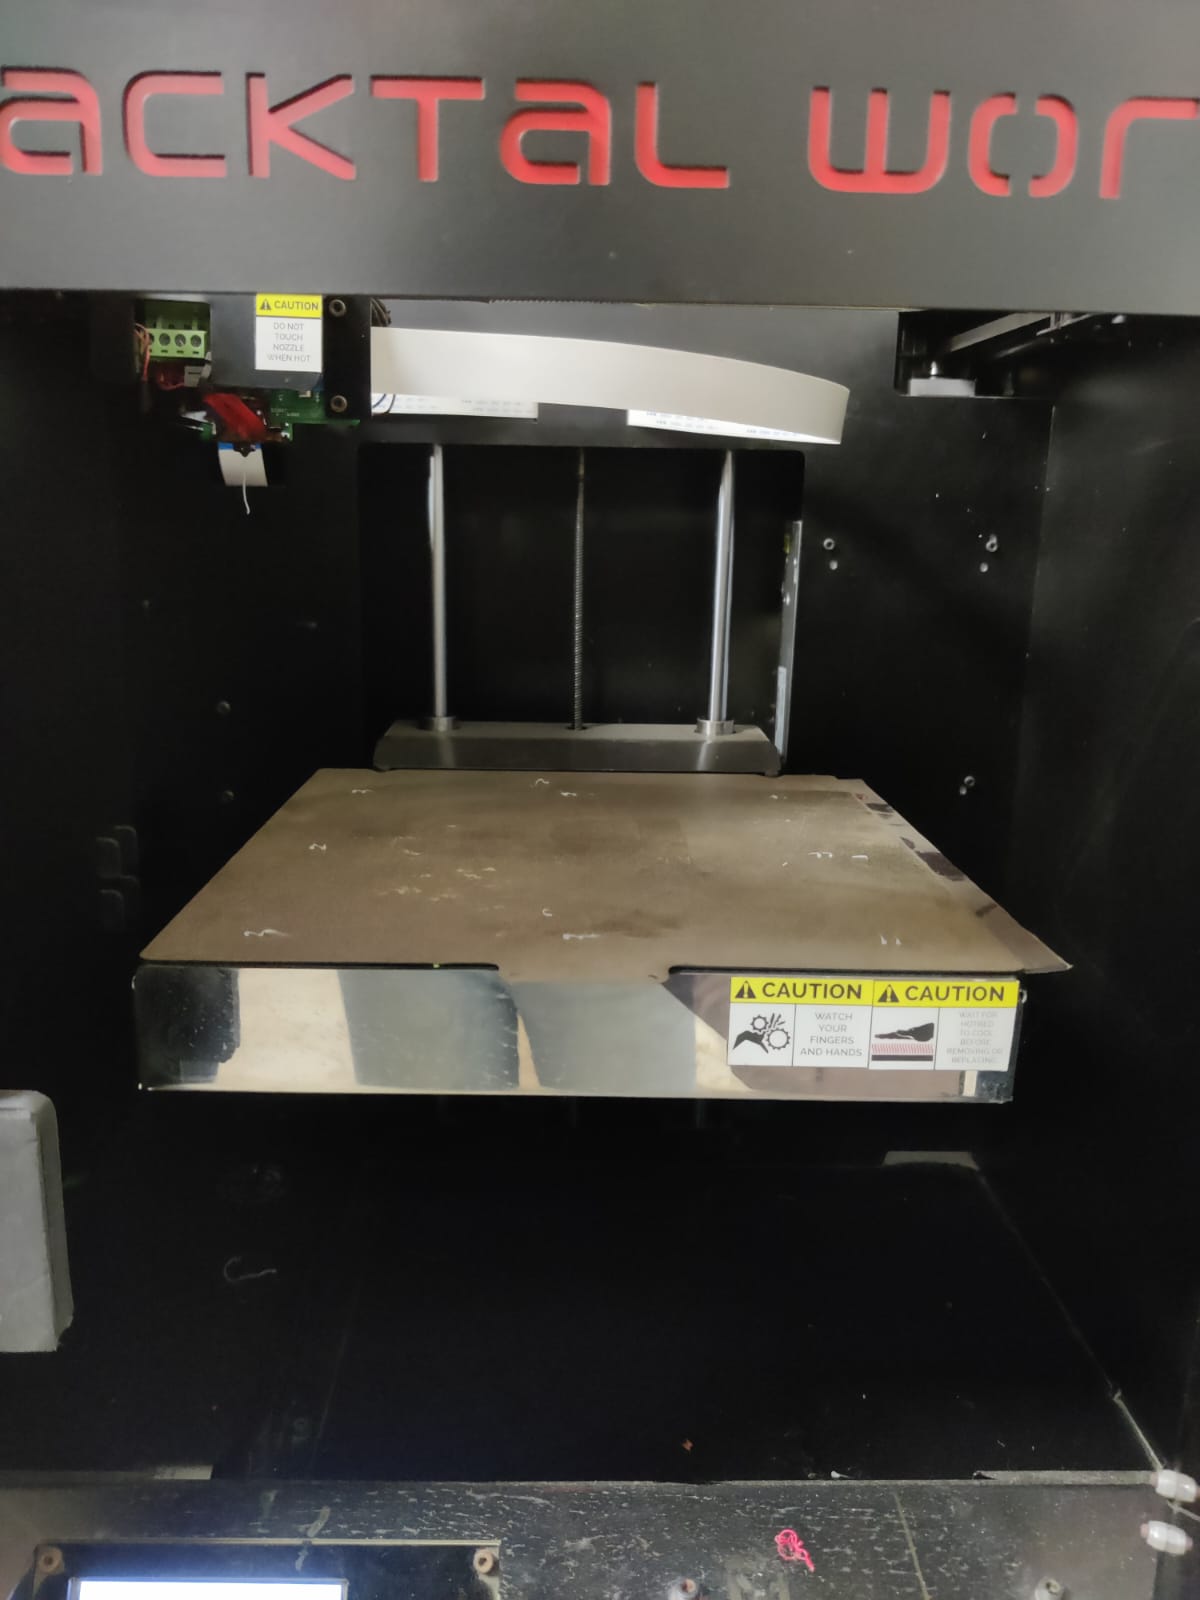
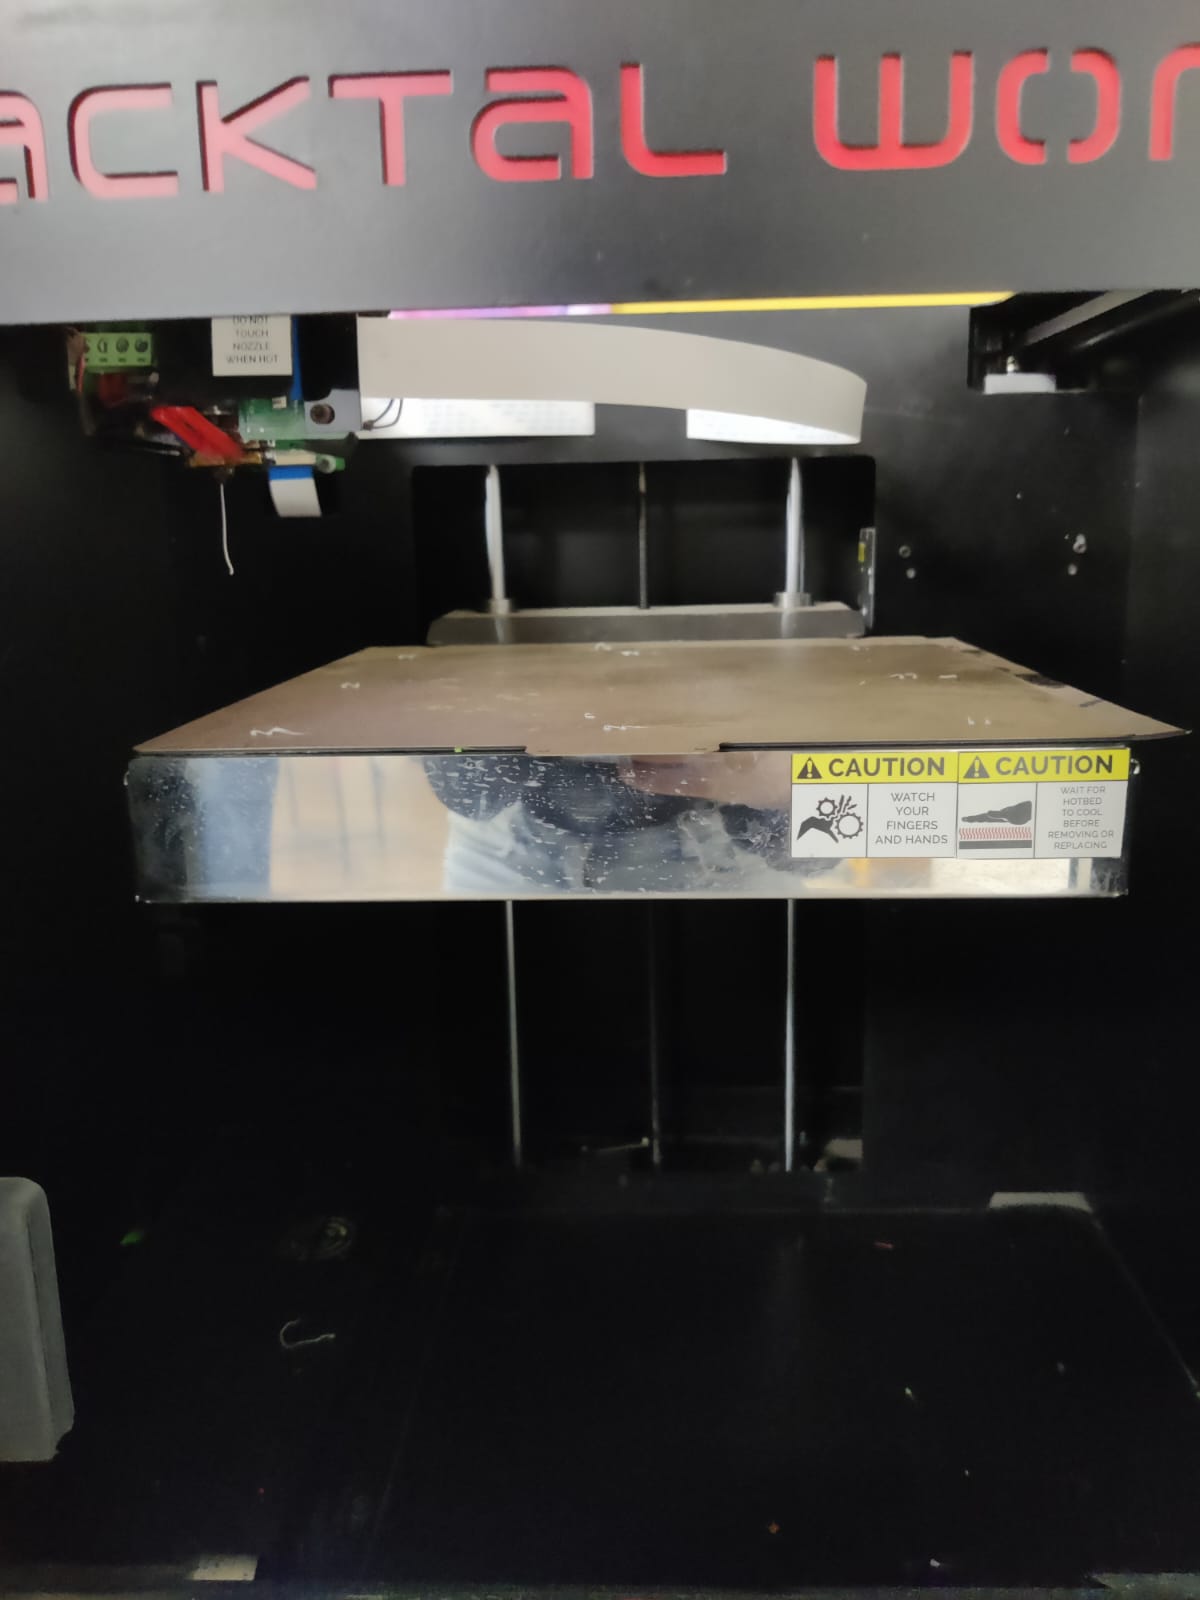
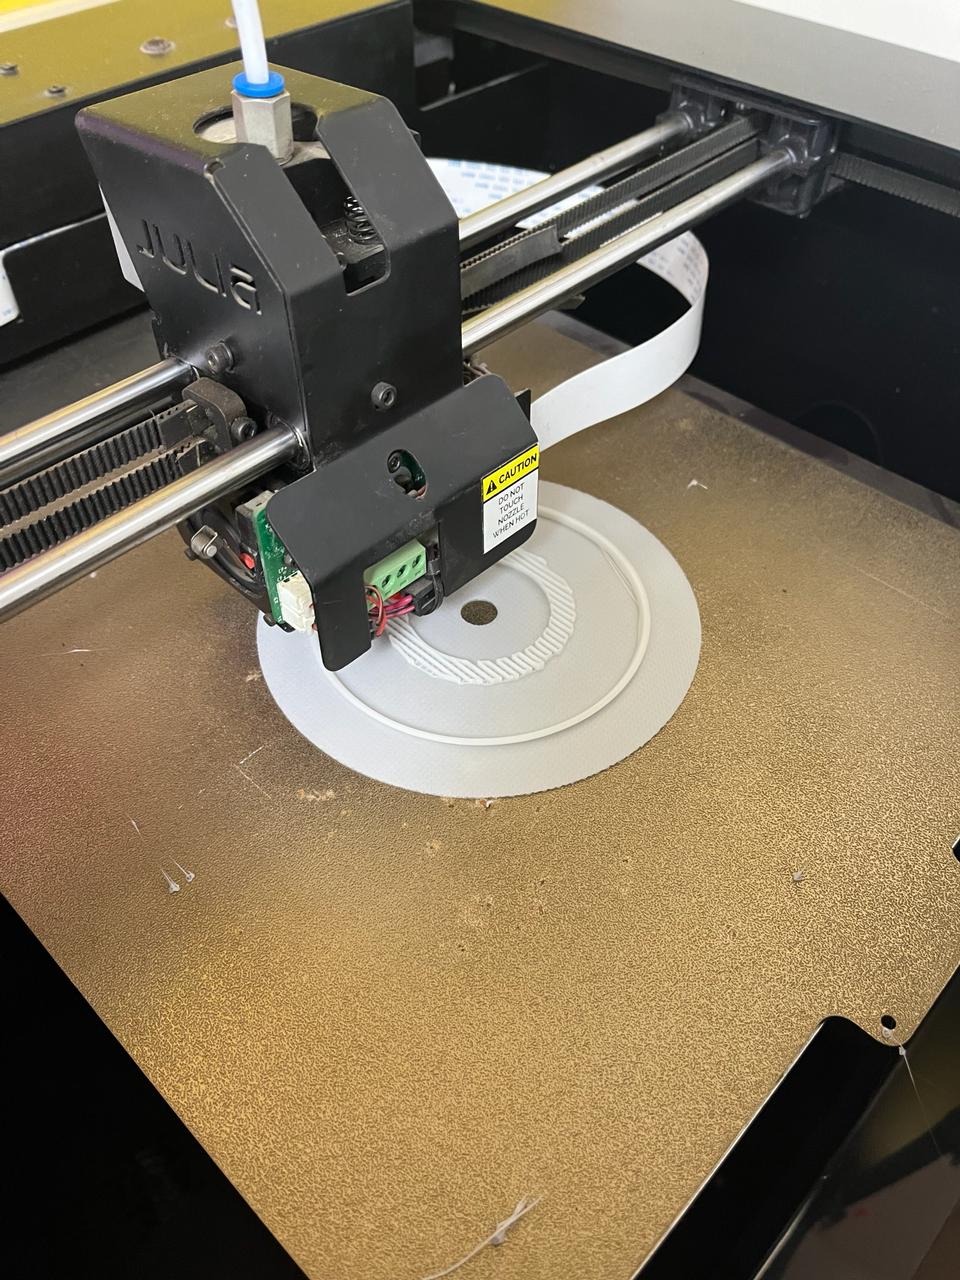
Step 8- File in 3d printer
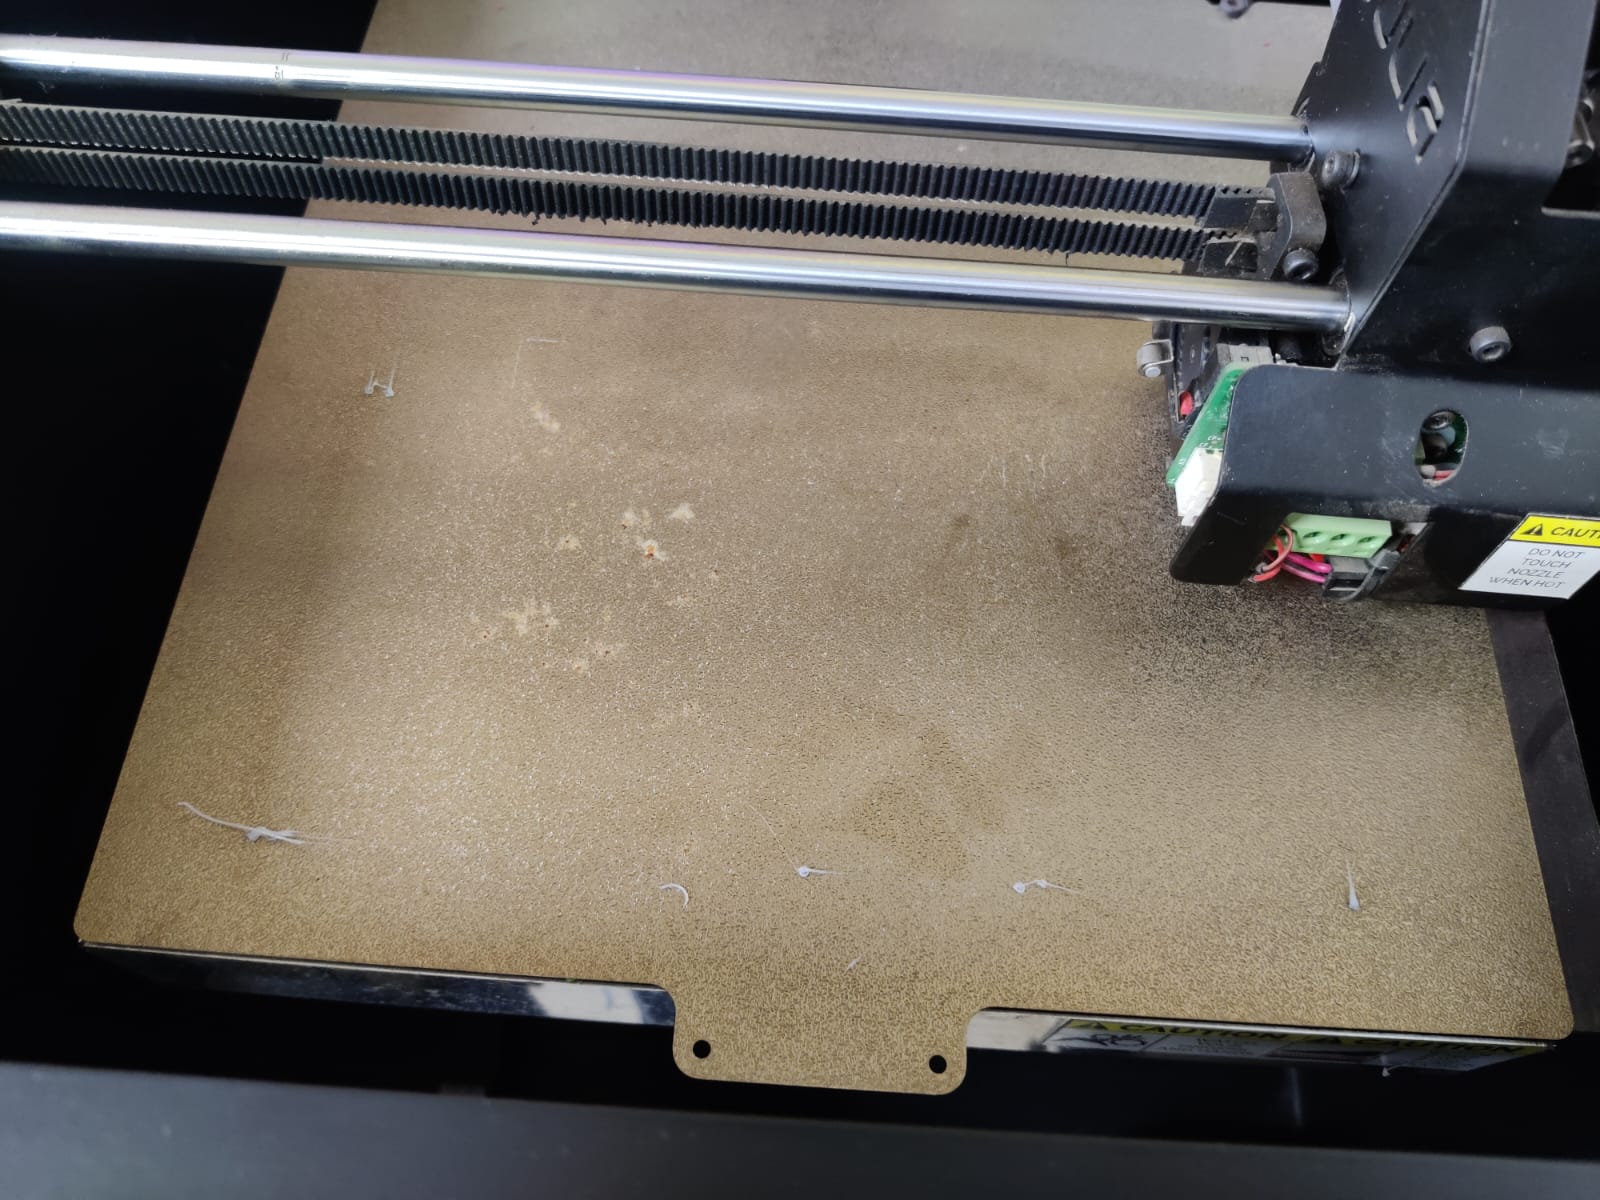
Once everything is done the bed starts moving upwards slowly.
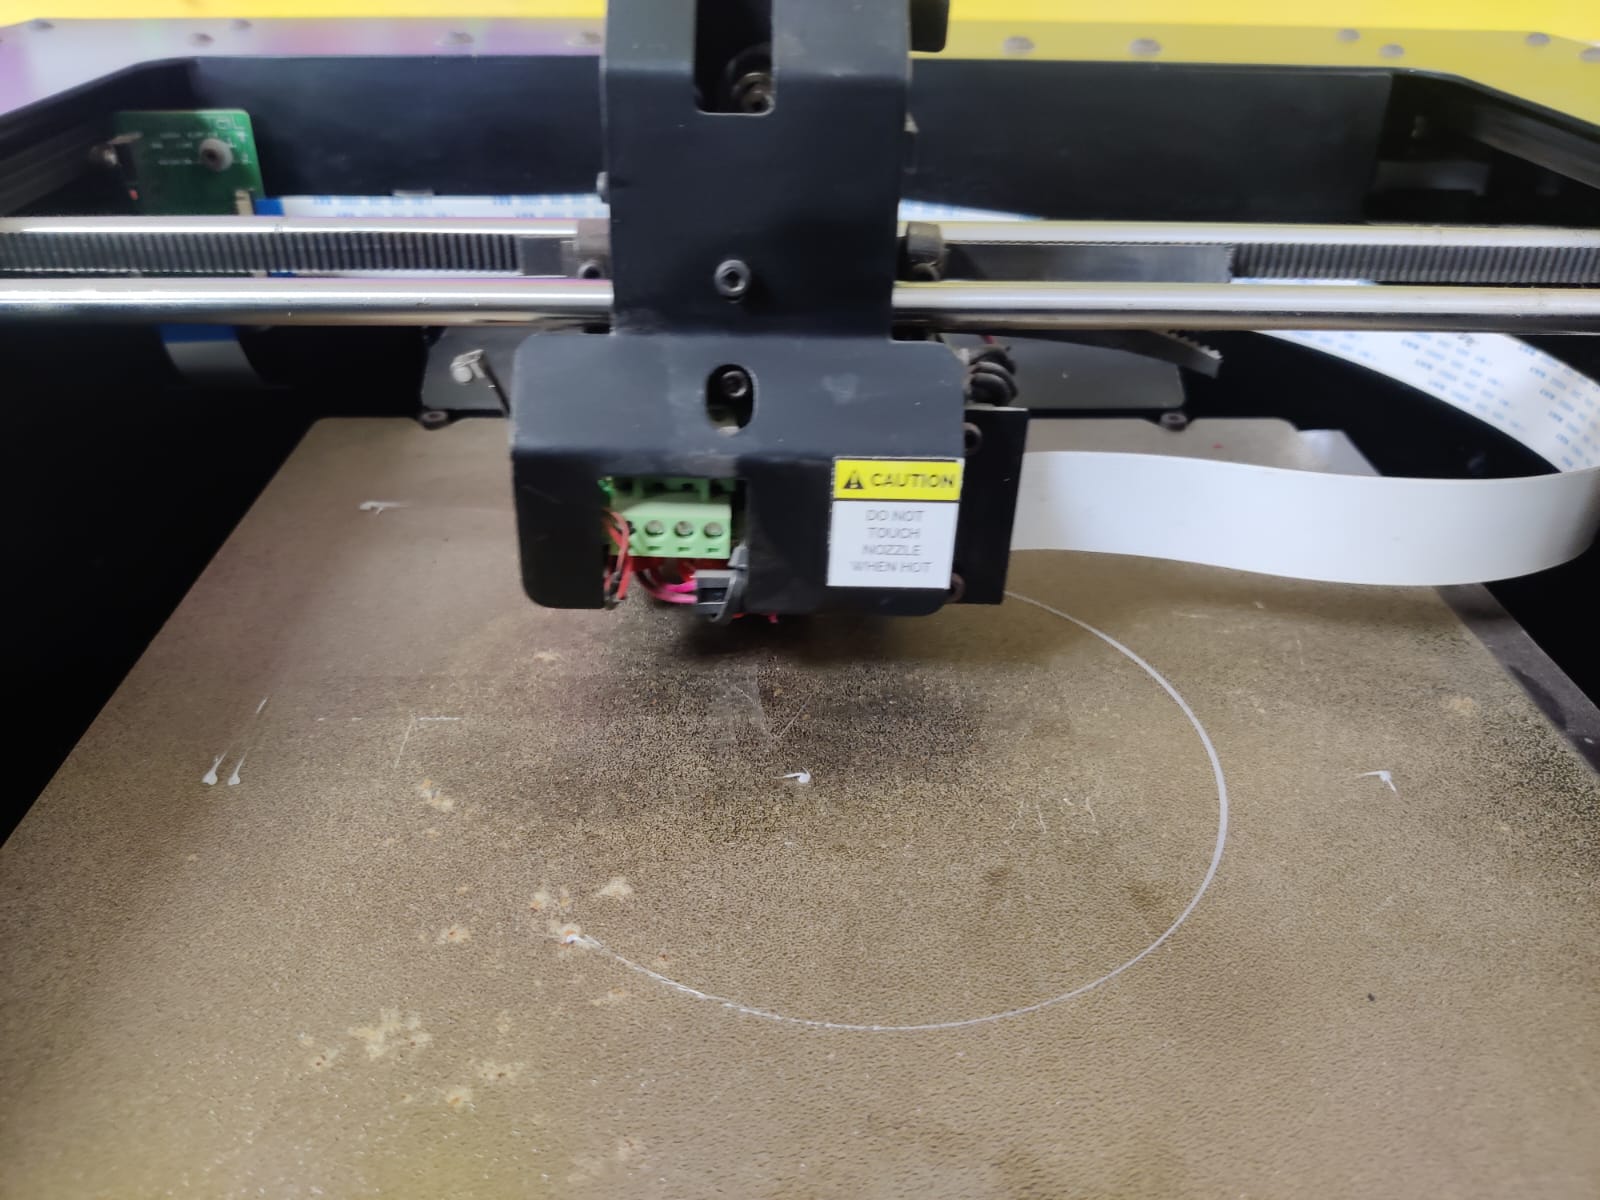
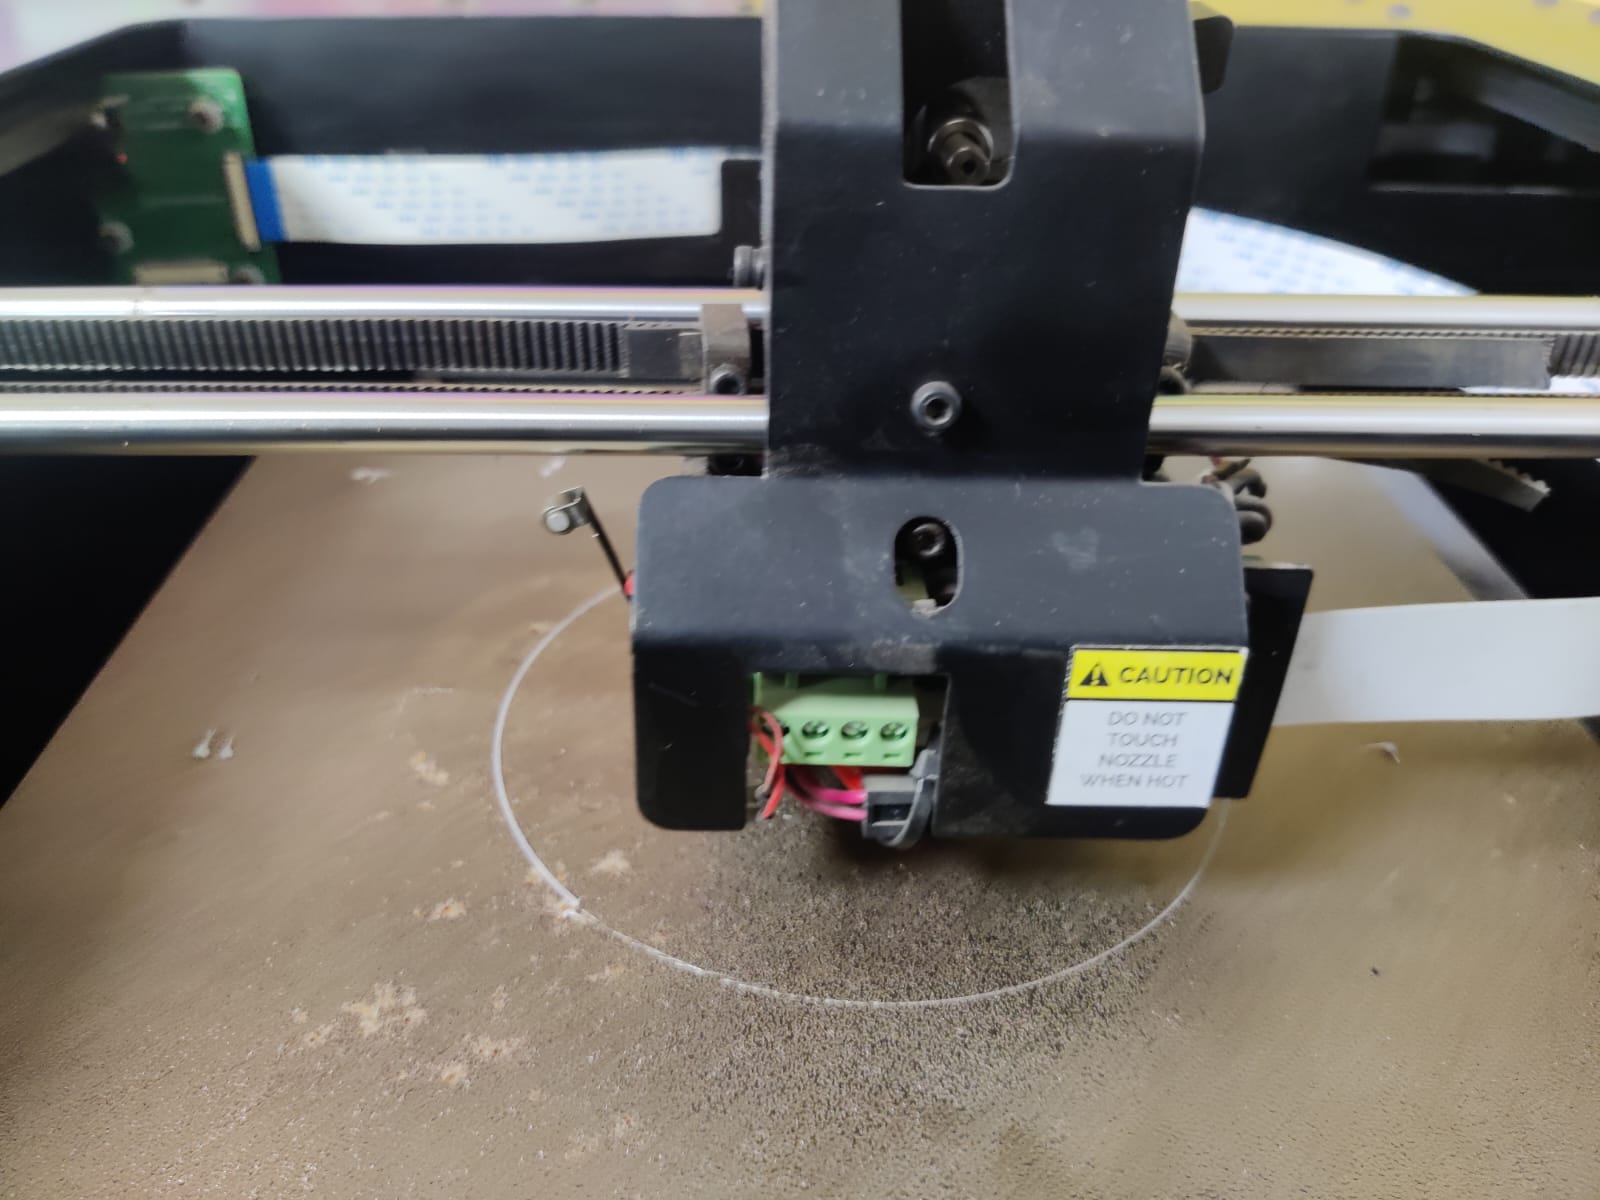
Then the printer starts marking the edges where it is going to print.
Then it starts printing slowly by printing the raft layer first.
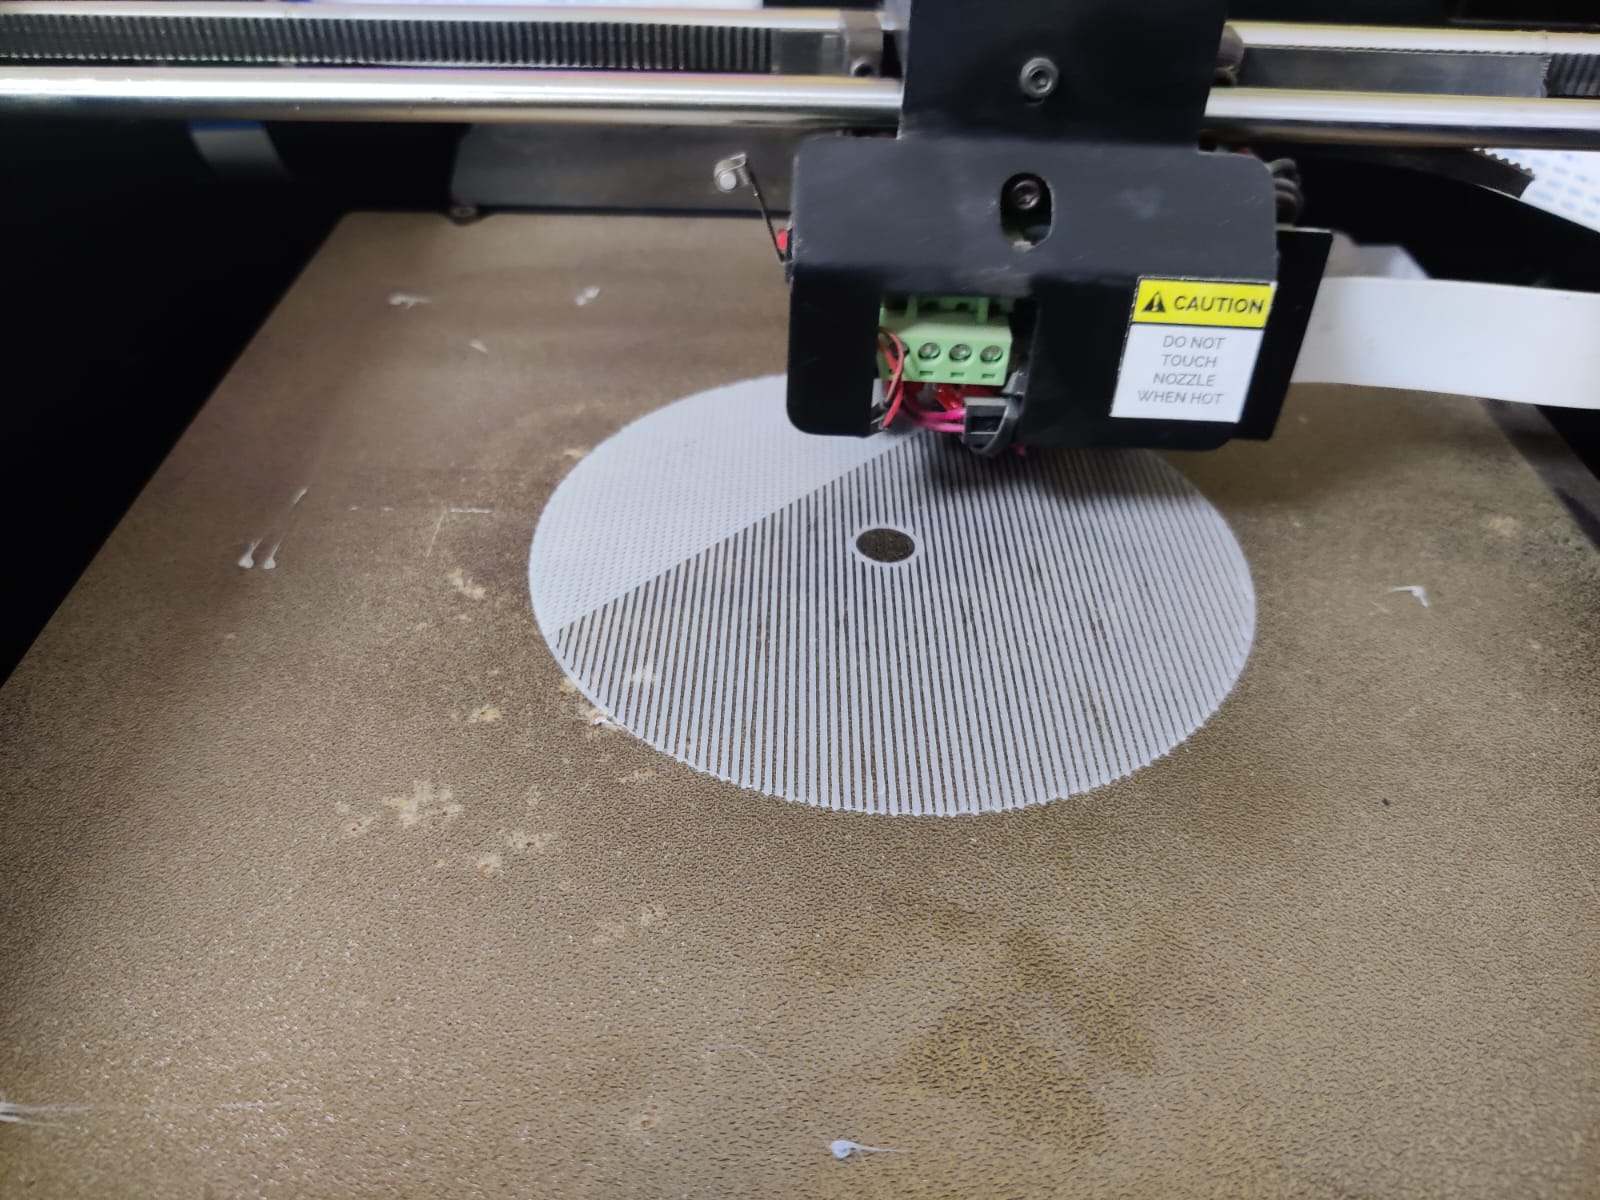
To see the video of how it is getting printed, below:

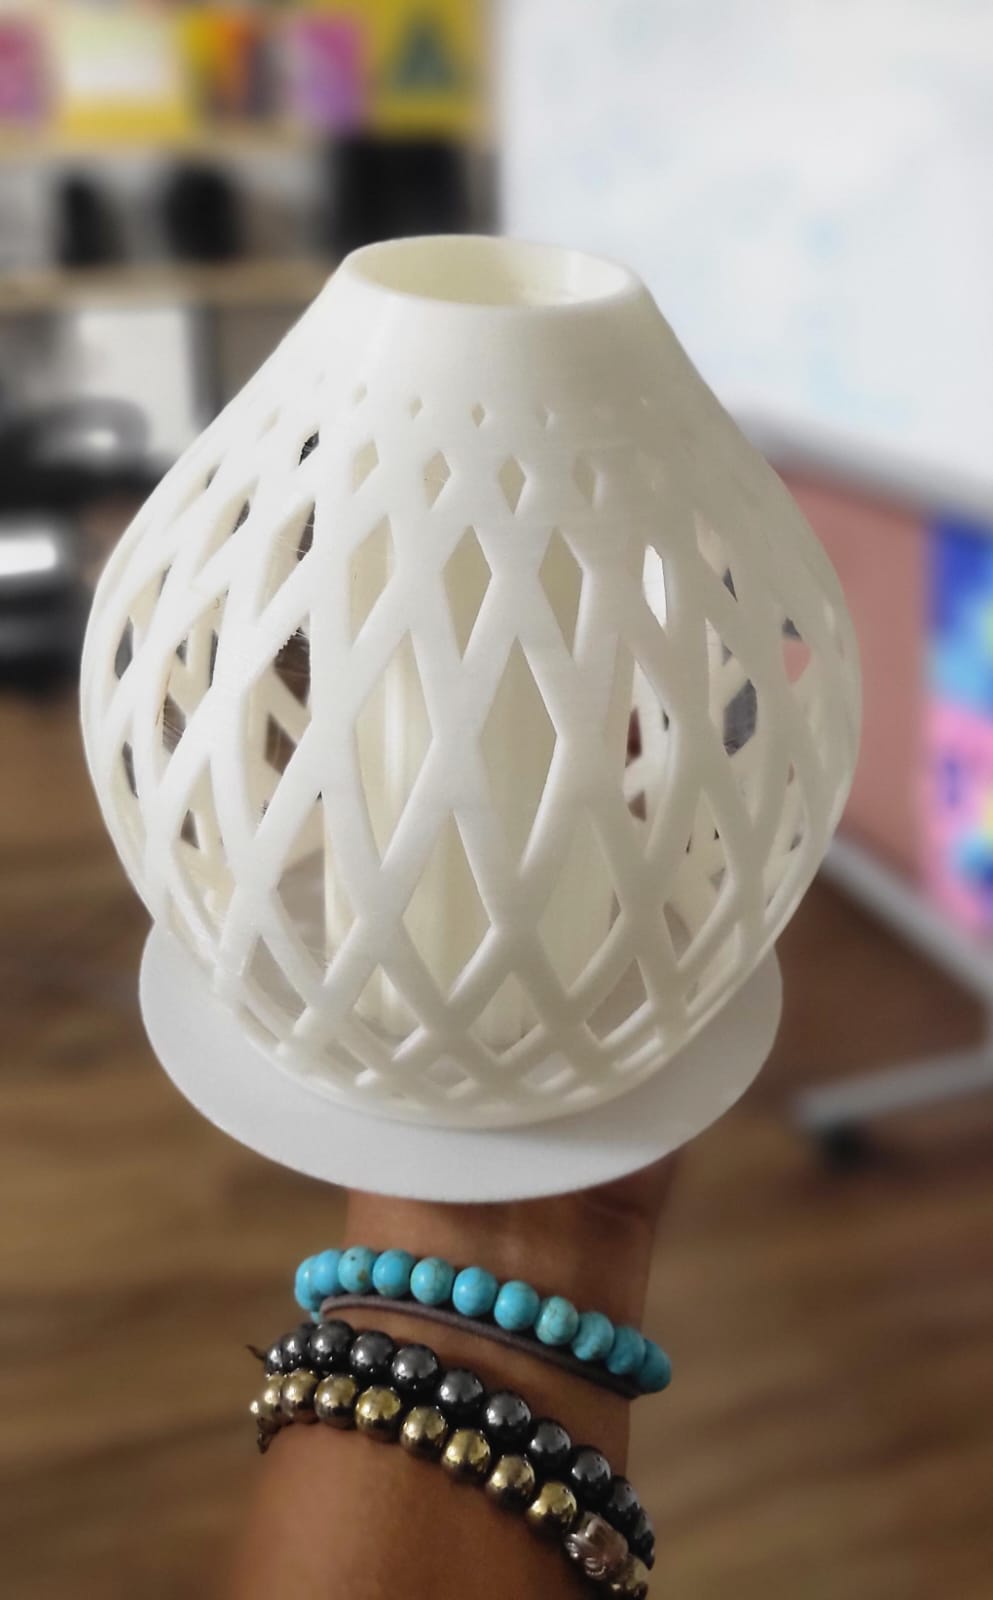
Hero Shots
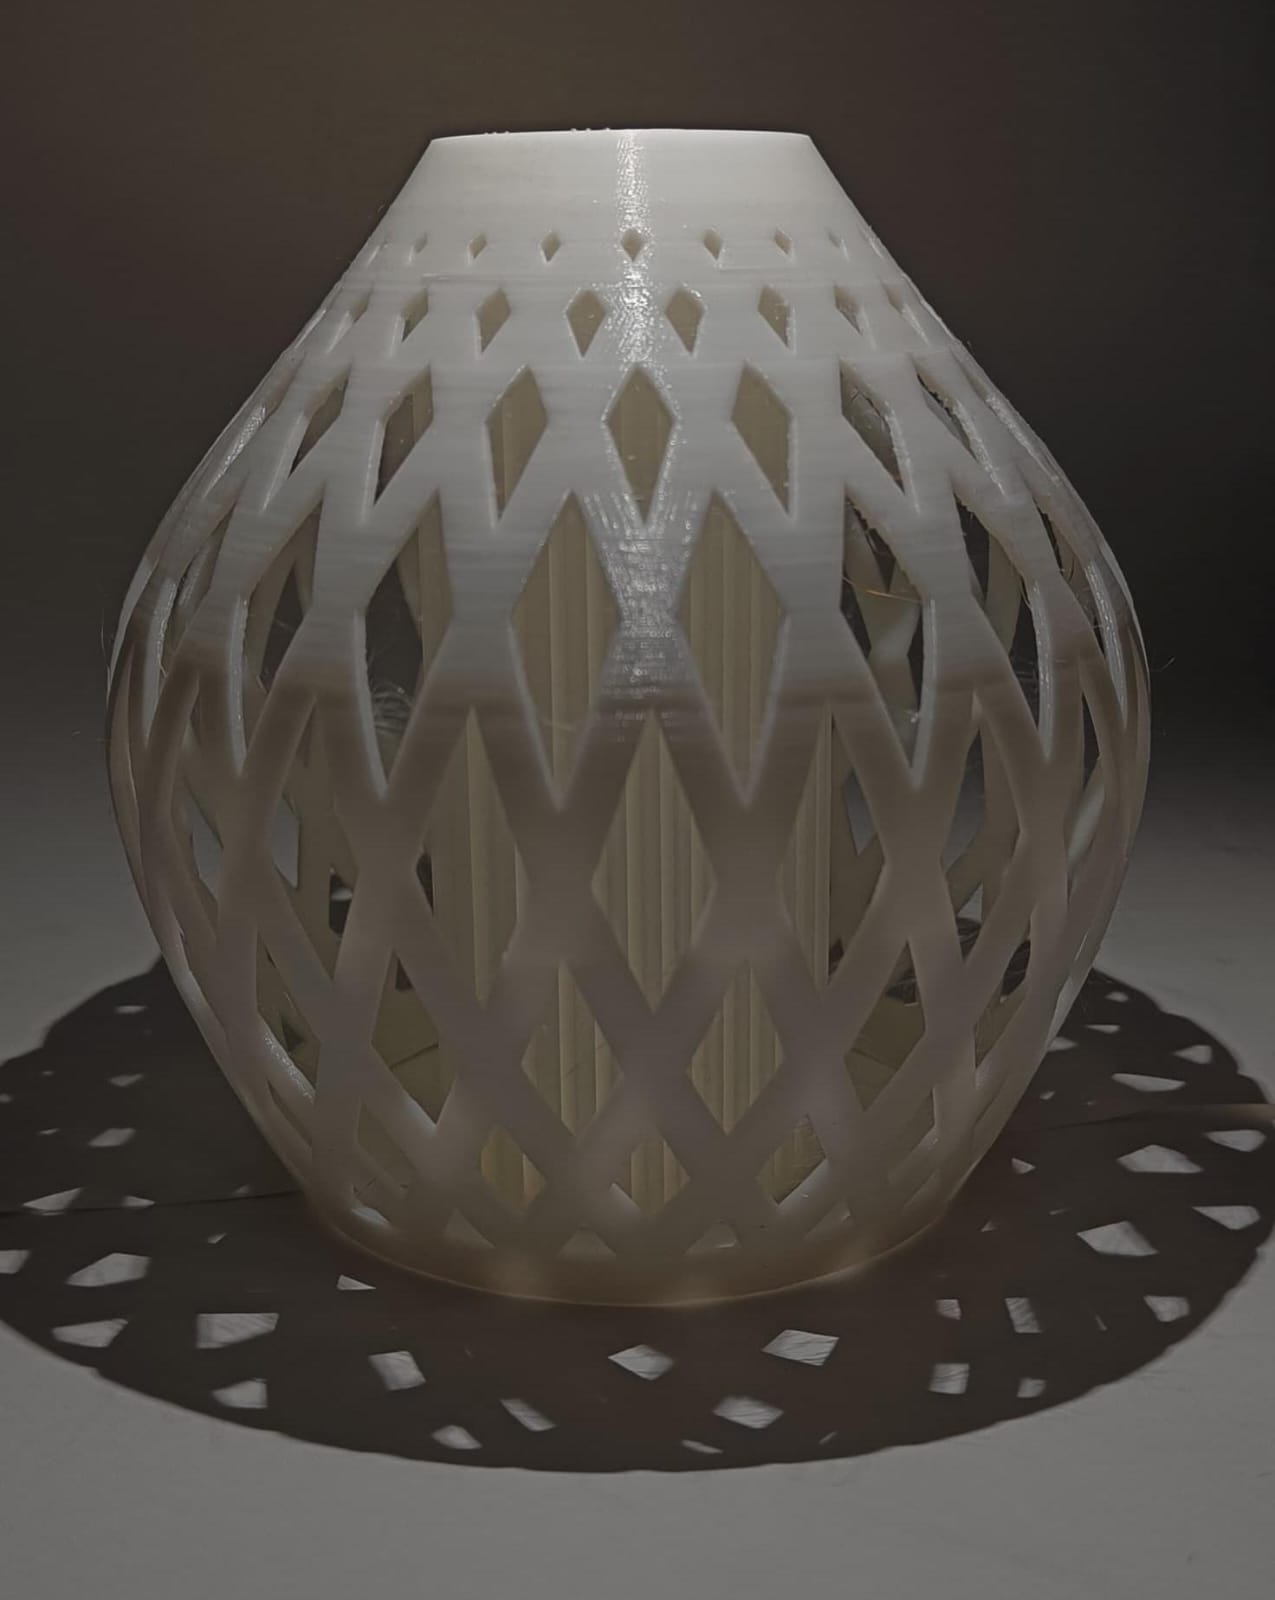
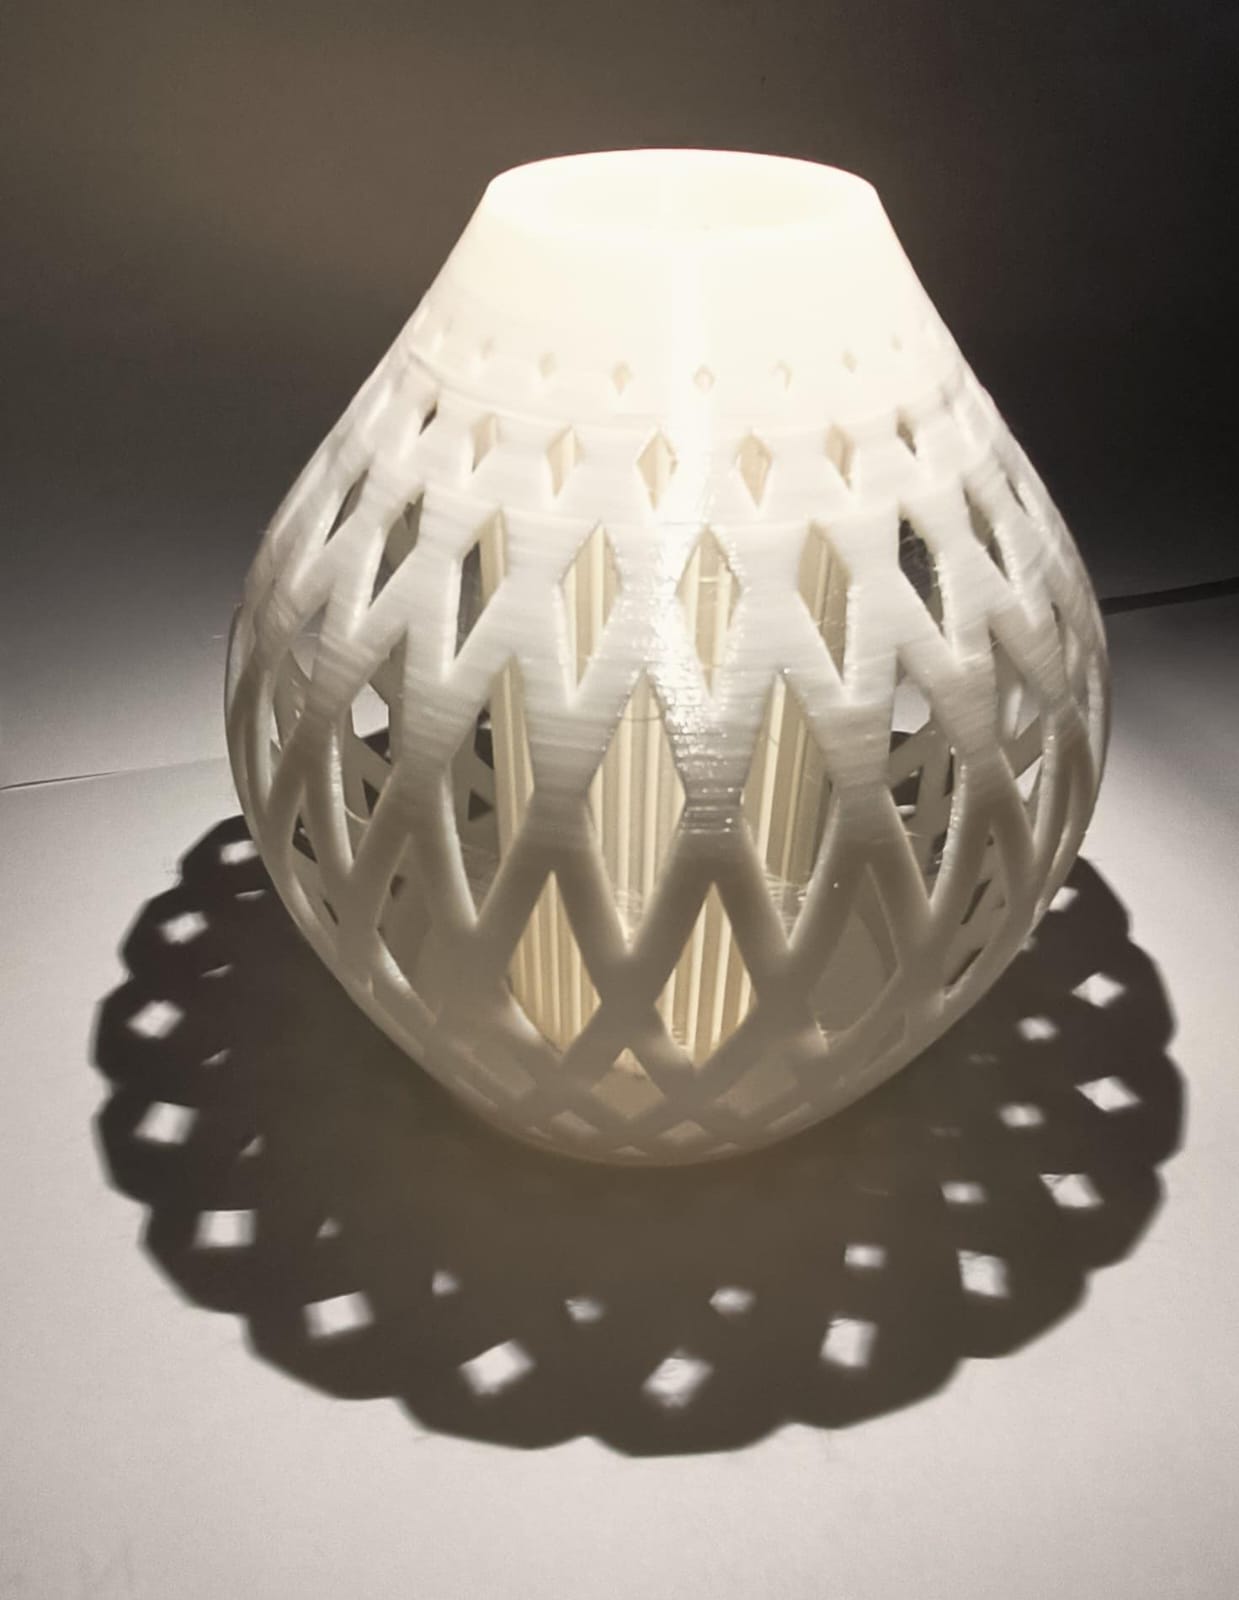
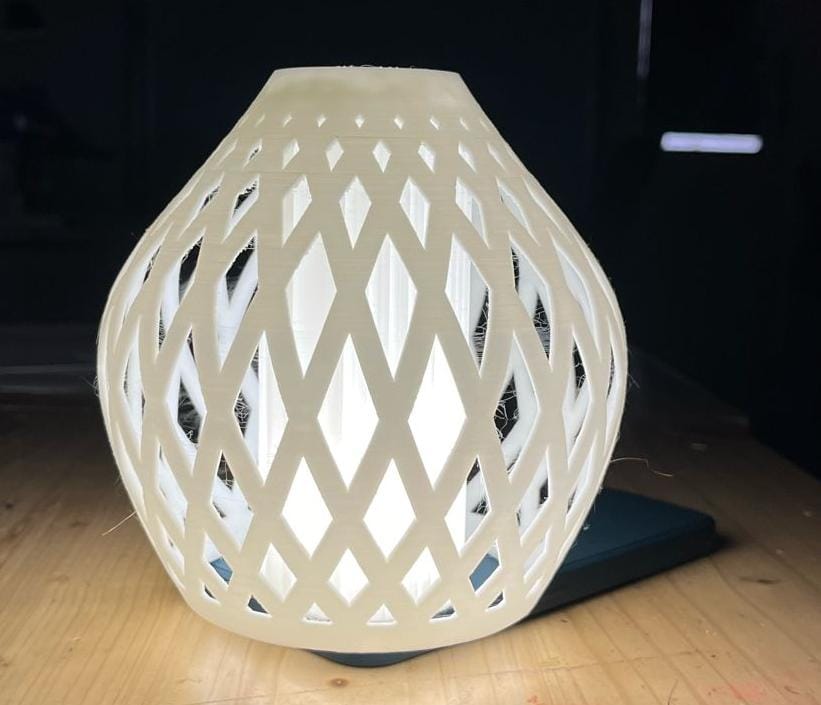
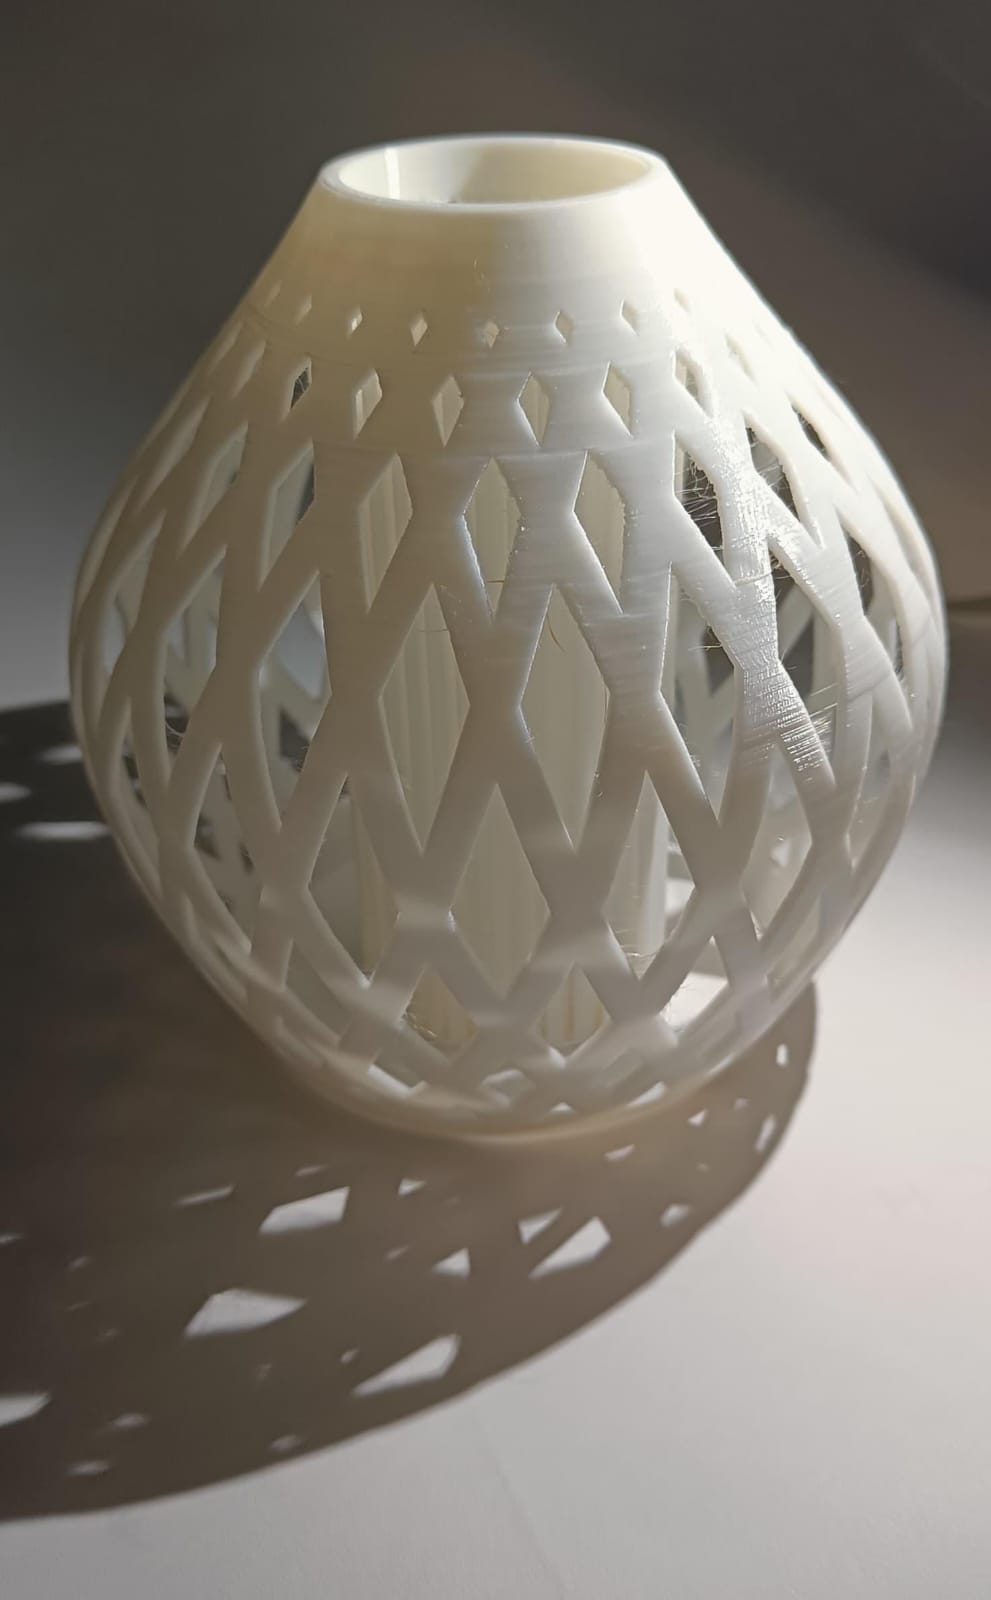
To see the effect of the play of light in the lamp, click below:
Why I kept supporters while printing?
Since the shape was circular and hollow, I was concerned that it might not hold its form without supports. With only one machine available and limited time, and considering that my file was already estimated to take 21 hours to print, I didn't want to risk the print failing. Therefore, as a precaution, I decided to keep the supports in place.
Why I did not remove the supporters?
After adding the light effect, I noticed that the lamp was too bright, even with a diffuser. Instead of removing the support, I repurposed it as the diffuser itself.
3D Scanning
What is 3d scanning?
3D scanning is the process of capturing the shape and appearance of real-world objects or environments to create digital 3D models. It involves using various technologies to collect data points from the surface of an object and then assembling these points into a digital representation.
Types of 3d scanning technologies
1. Laser-based scanning:
Laser scanners emit laser beams onto the object's surface and measure the time it takes for the beams to reflect back. This information is used to create a point cloud, which is then processed to generate a 3D model. Types of laser scanning include:
a. Time-of-Flight (TOF): Measures the time taken for laser pulses to return to the scanner.
b. Phase-Shift: Calculates distances based on the phase shift of laser light.
2. Structured Light Scanning:
This method projects patterns of light onto the object's surface and uses cameras to capture images of the patterns. By analyzing distortions in the projected patterns, the scanner can calculate the shape of the object.
3. Photogrammetry:
Photogrammetry involves taking multiple photographs of an object from different angles and then using specialized software to analyze the images and reconstruct the object's 3D geometry.
4. Contact Scanning:
Contact scanners physically touch the surface of the object to capture its shape. These scanners typically use probes or tactile sensors to measure surface geometry.
5. Computed Tomography (CT) Scanning:
CT scanners use X-rays to capture cross-sectional images of an object. These images are then reconstructed to create a 3D model, providing detailed internal information.
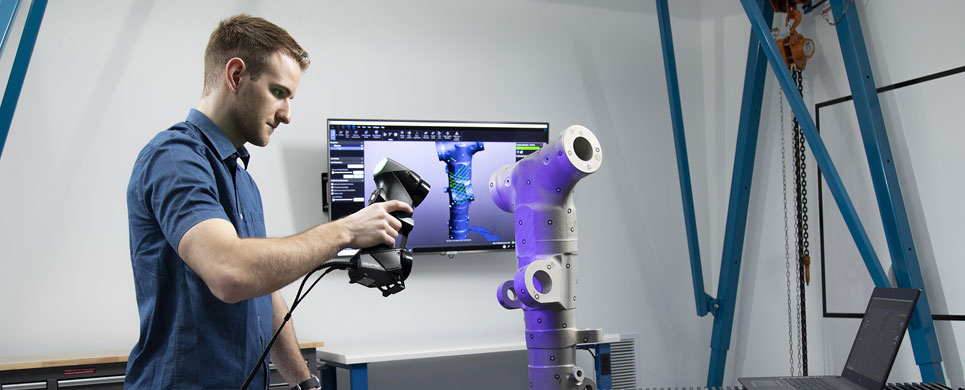
3D Scanning using EinScan One Handheld Scanner
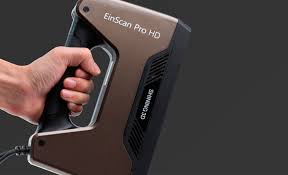
Riidl FABLAB has a handheld portable scanner EinScan Pro HD.
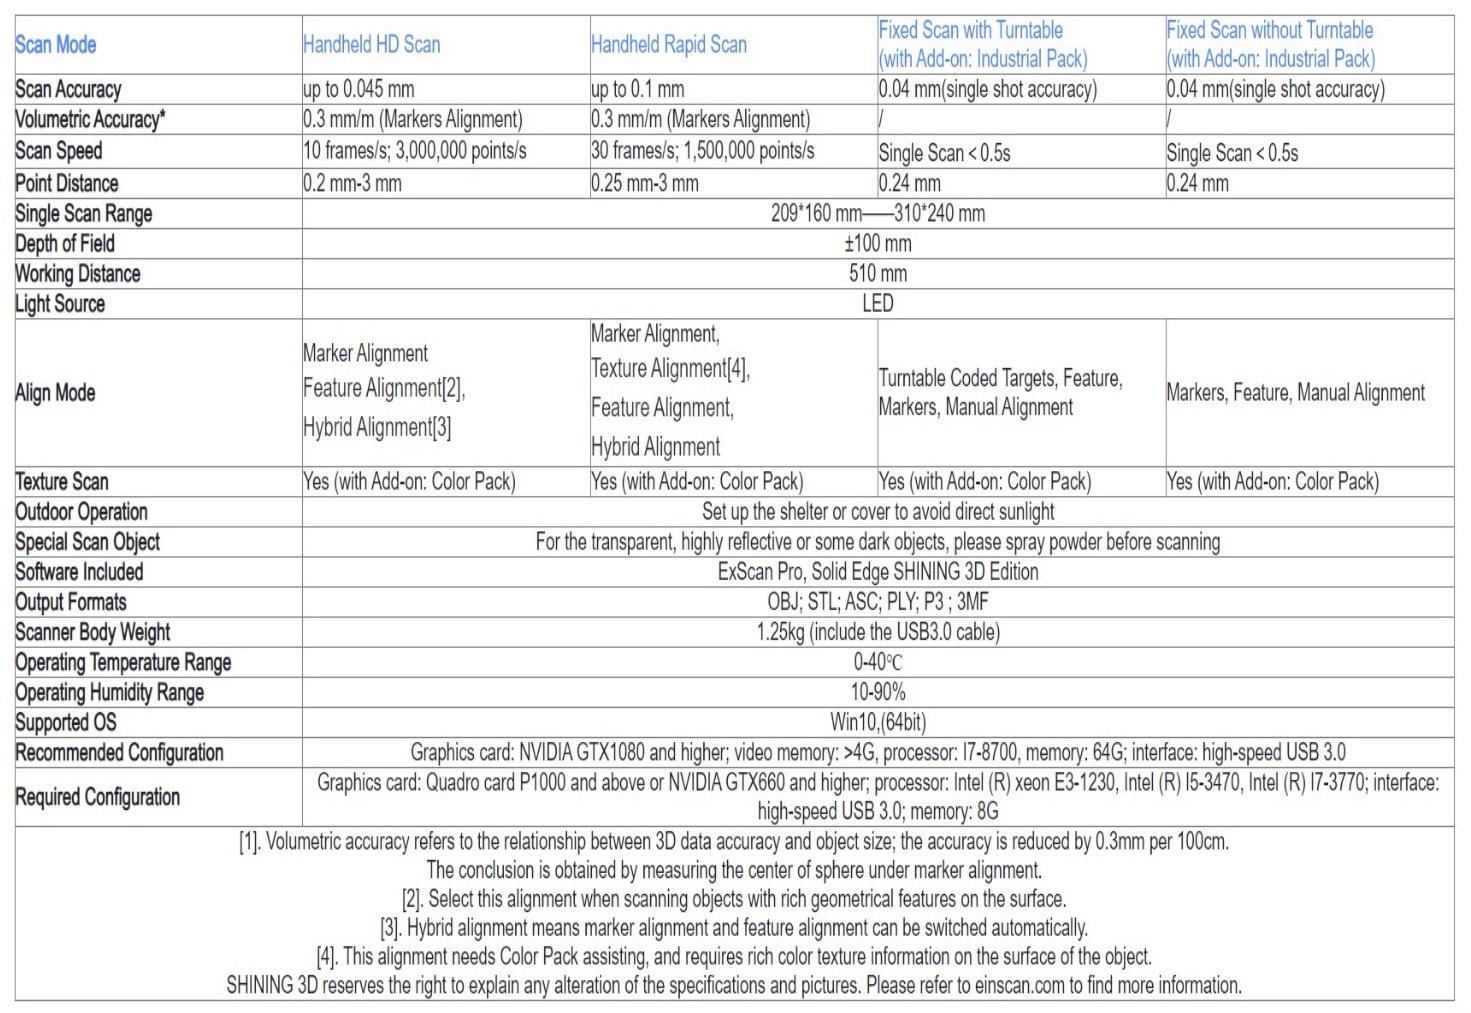
About the Scanner:
The EinScan Pro HD demonstrates a significant advancement in scanning performance, achieving a processing speed of up to 3,000,000 points per second during handheld scanning mode. Additionally, it takes less than 0.5 seconds to capture each frame in Fixed Scan Mode. With its enhanced capabilities, the EinScan Pro HD can effectively scan a broader array of objects, including those with dark or black-colored surfaces and casting metal materials, thereby expanding its utility for 3D scanning applications.
To use the scanner, we need to install the ExScan pro software as shown below: ExScan Pro is a professional software for 3D scanning and data processing with a collection of both scan and mesh editing tools for generating high-quality 3D models.
We could not really use the machine as the camera was not detecting the object. So for timming we explored Kiri engine and matterport app. Till the time we reached week 7 the machine was repaired and now if the time permits we will explore this machine too.
1. Kiri Engine app- Mobile phone
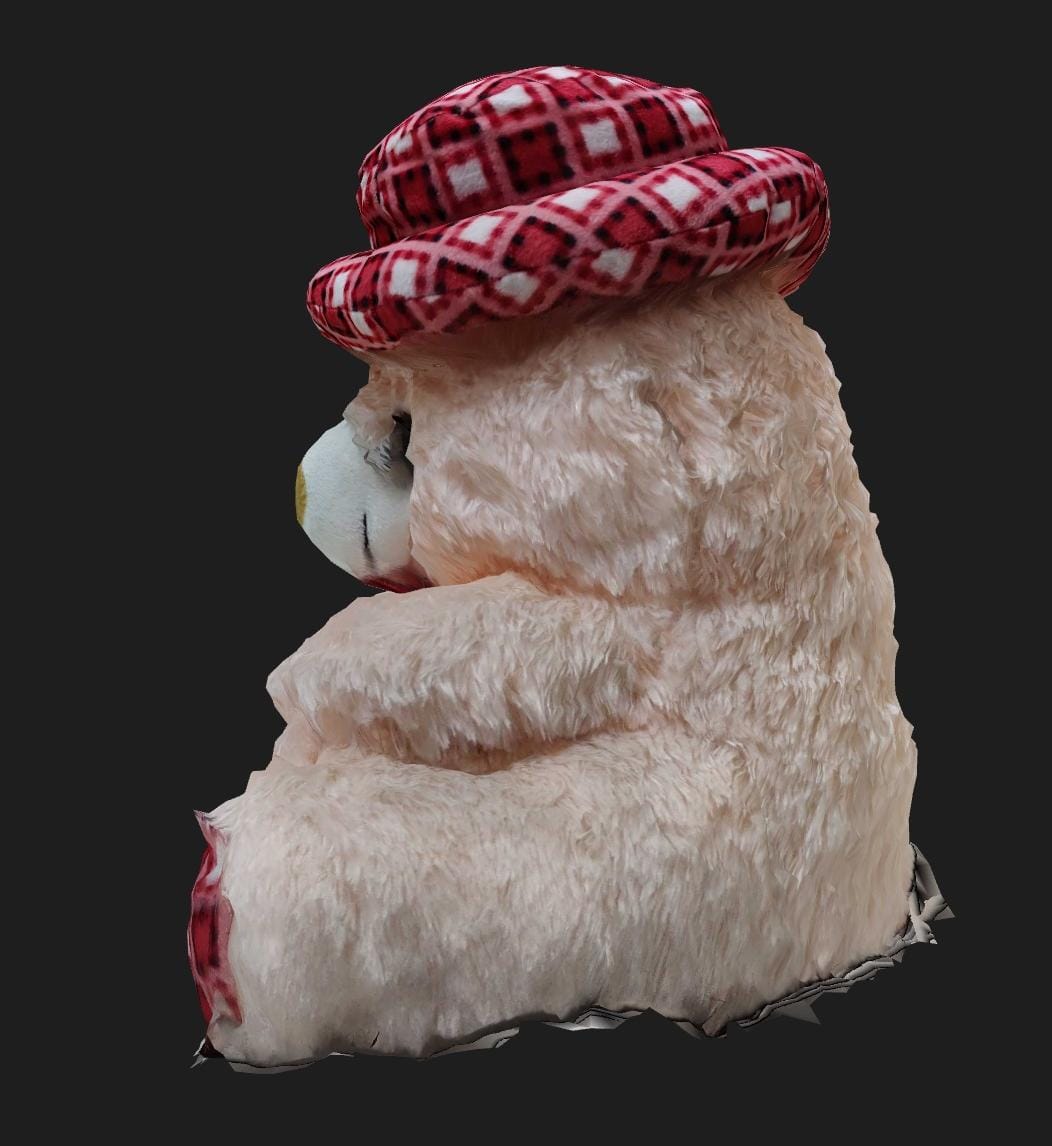
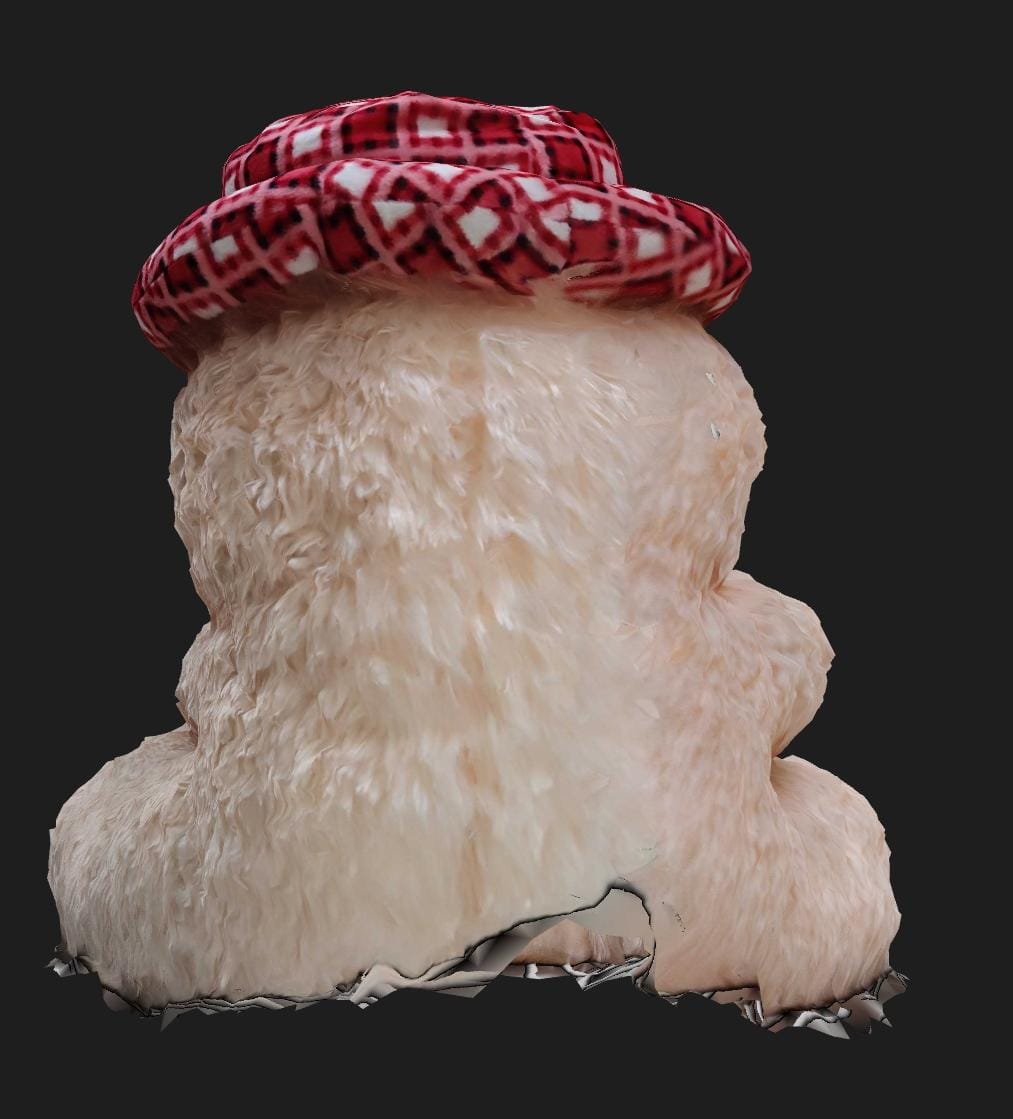
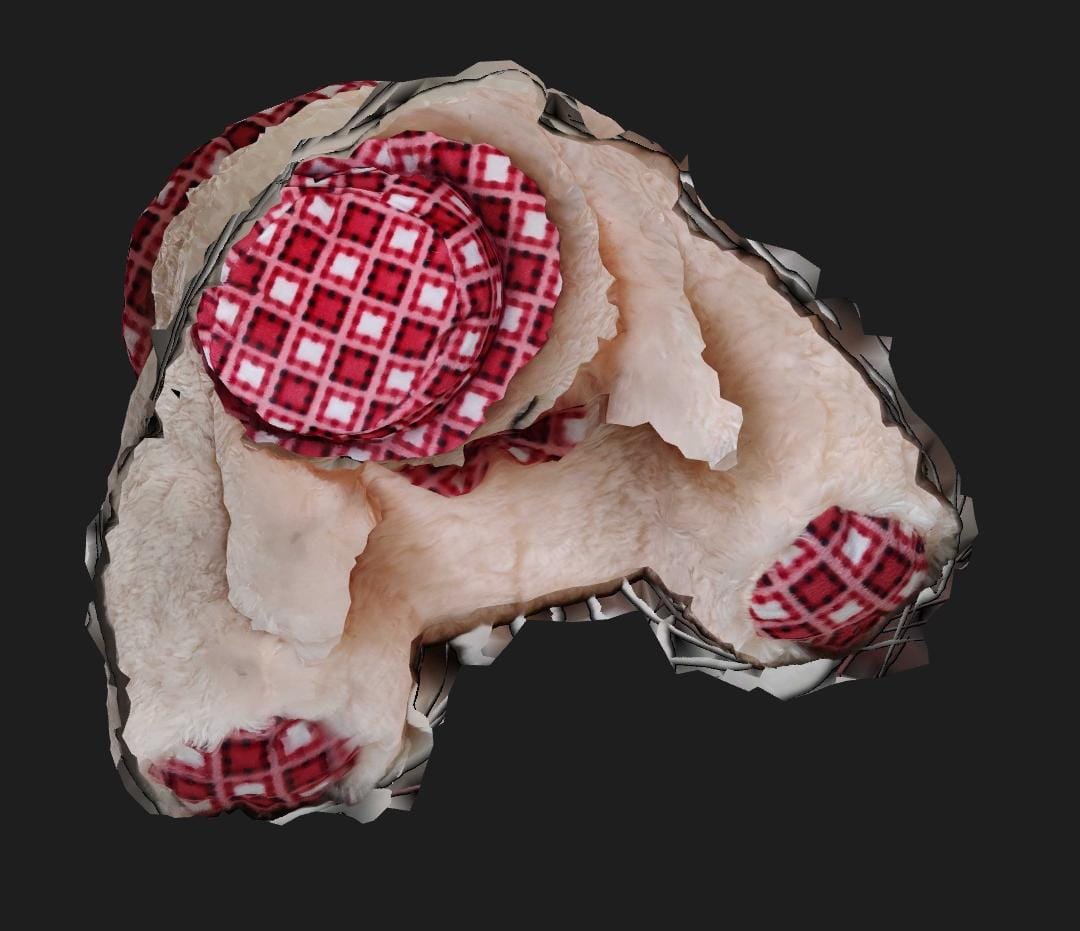
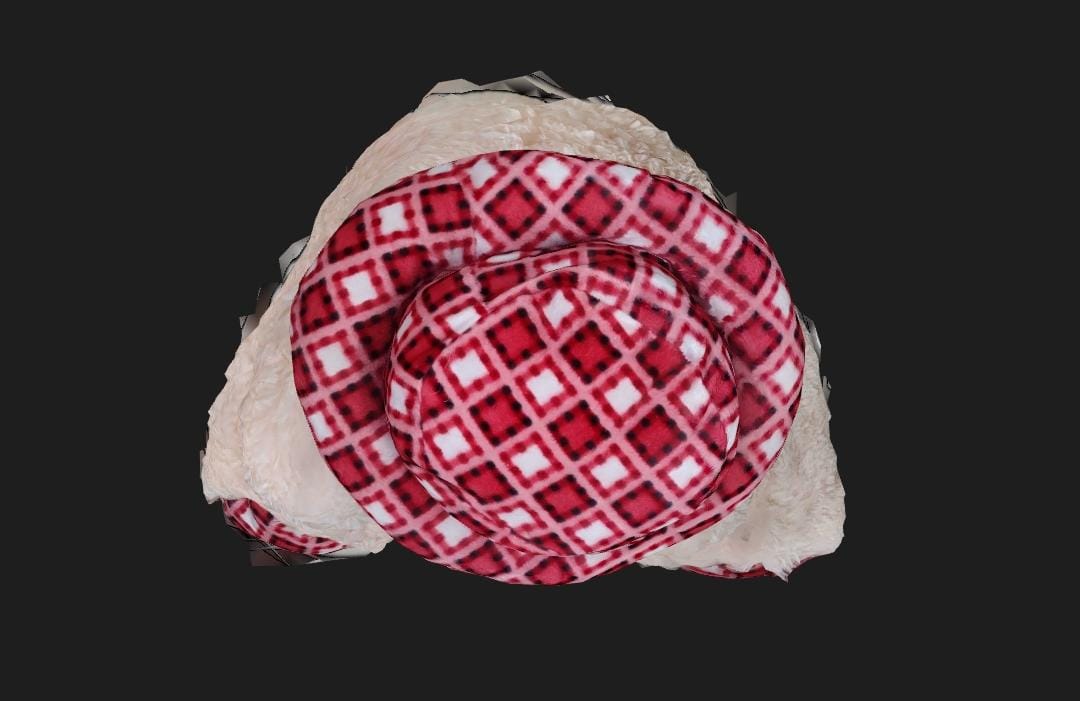
I took soft toy as my object as it was furry and I wanted to test the accuracy of the scanner, so it was an interesting object in that sense.
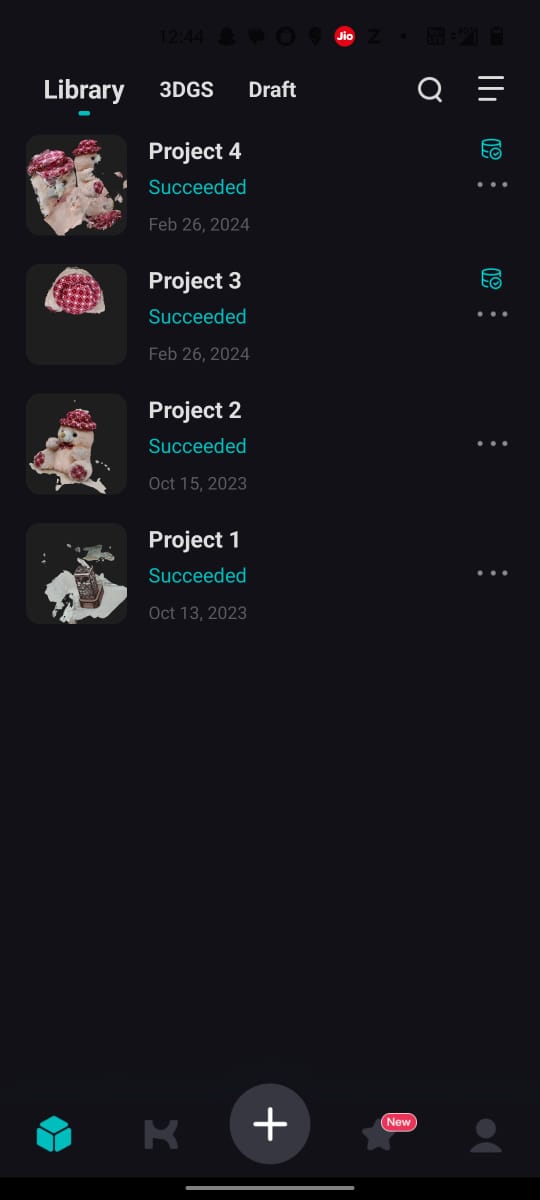
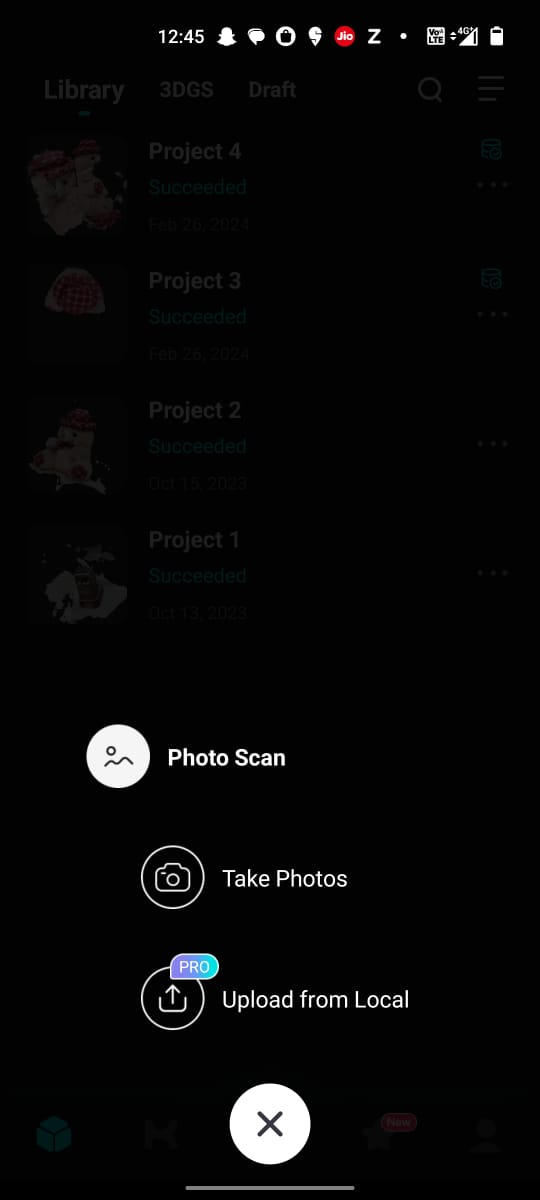
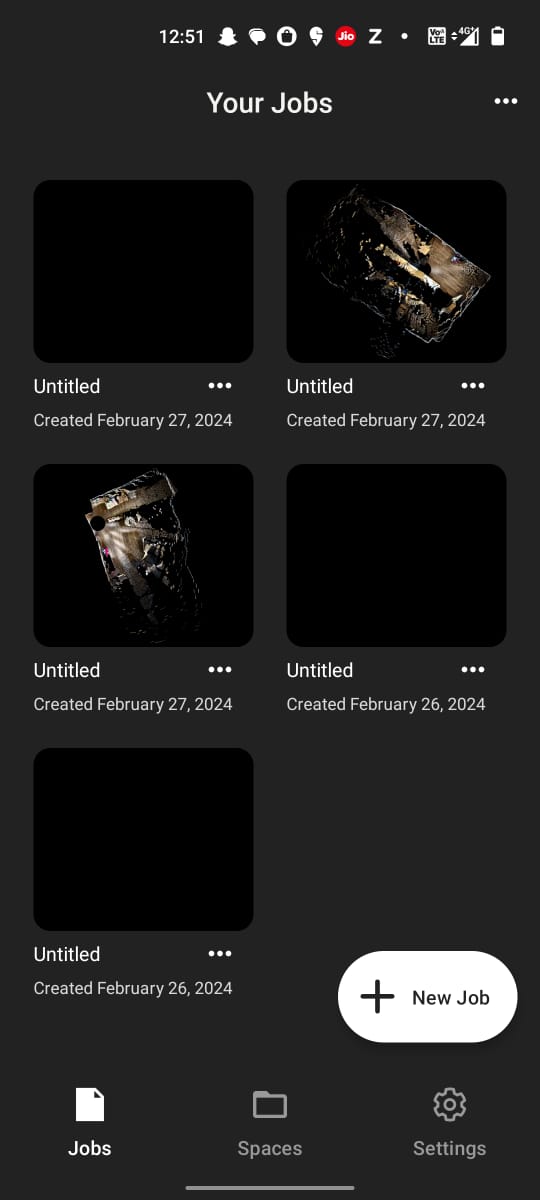
This is what you see on the interface, all your projects which you have already done.
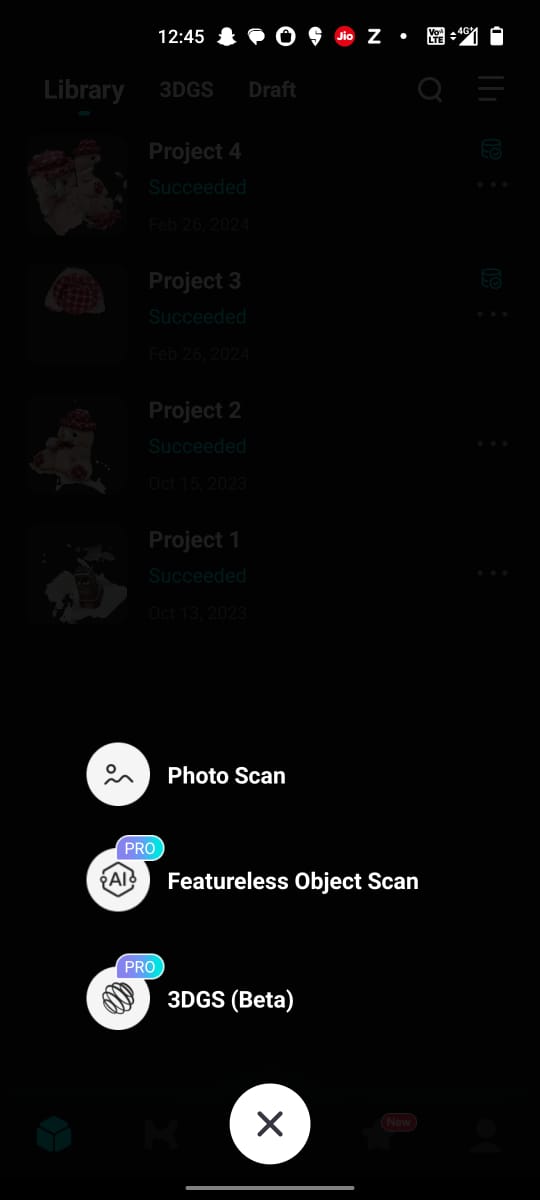
Click on the plus sign and you will see photo scan, featureless object scan and 3DGS Scan, as I was not using pro version only option left for me was photo scan
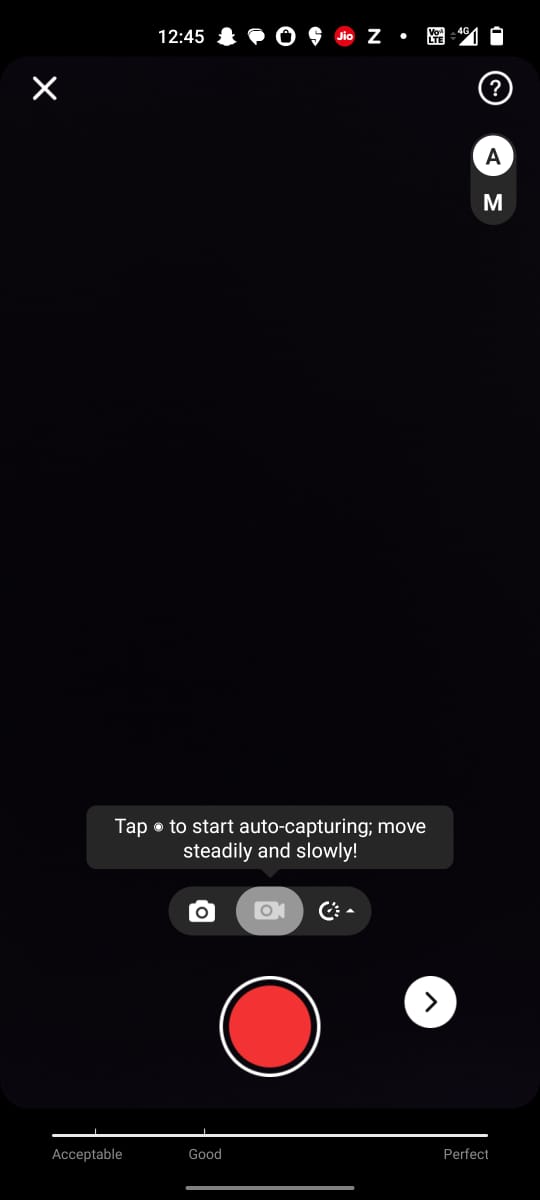
I selected photo scan and then again there are 2 options take photos and upload from local, as I did not have an option I selected take photos.
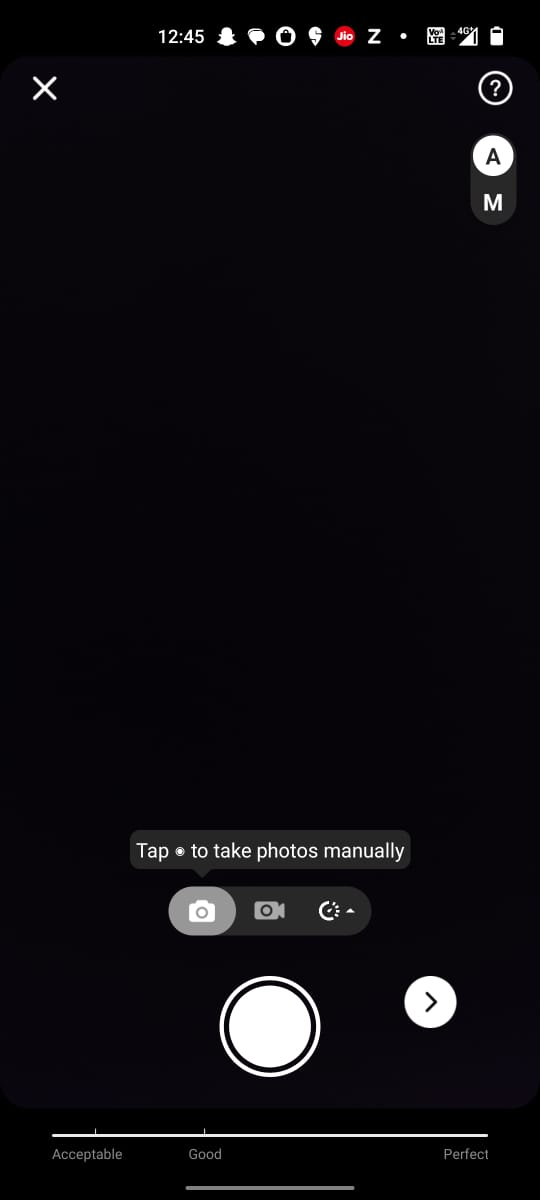
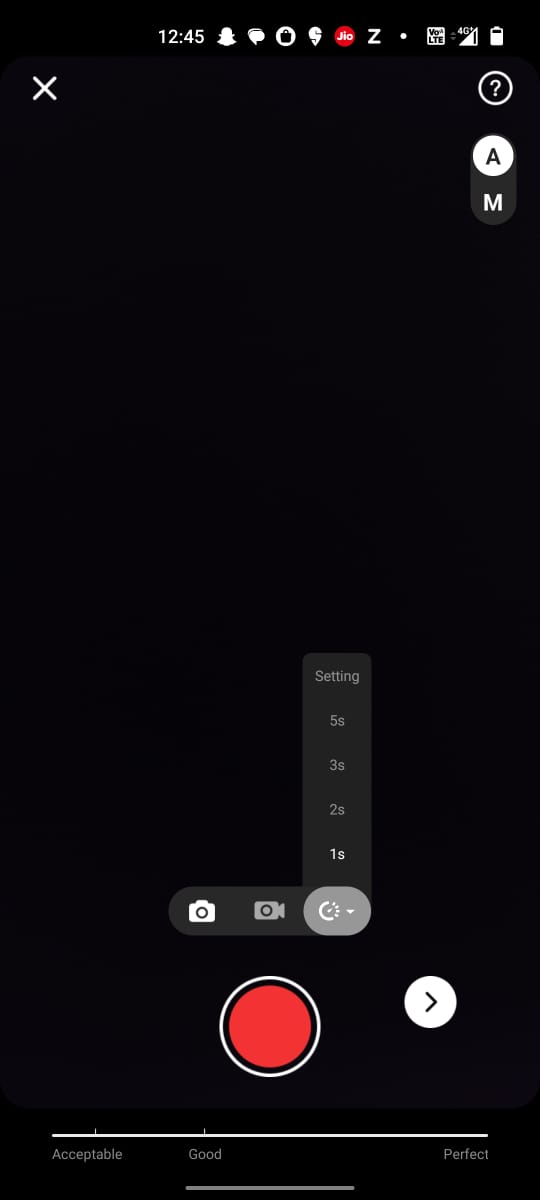
Now there are again 3 options of taking photos manually, tap to start auto capturing- you just need to rotate your phone around the object or rotate the object and it will automatically start clicking photos, and the 3rd option is settings.
As I am using normal version the maximum limit is 70 photos and after clicking photos you get the result and if you like it you can download the BJ file which is a file format for 3d file.
Hero Shots
To see the entire 3d view of the model, click below:


2. Matterport app- Mobile phone
Matterport is an app and website as well, it is good for scanning spaces, it gives 360 degree view of that space
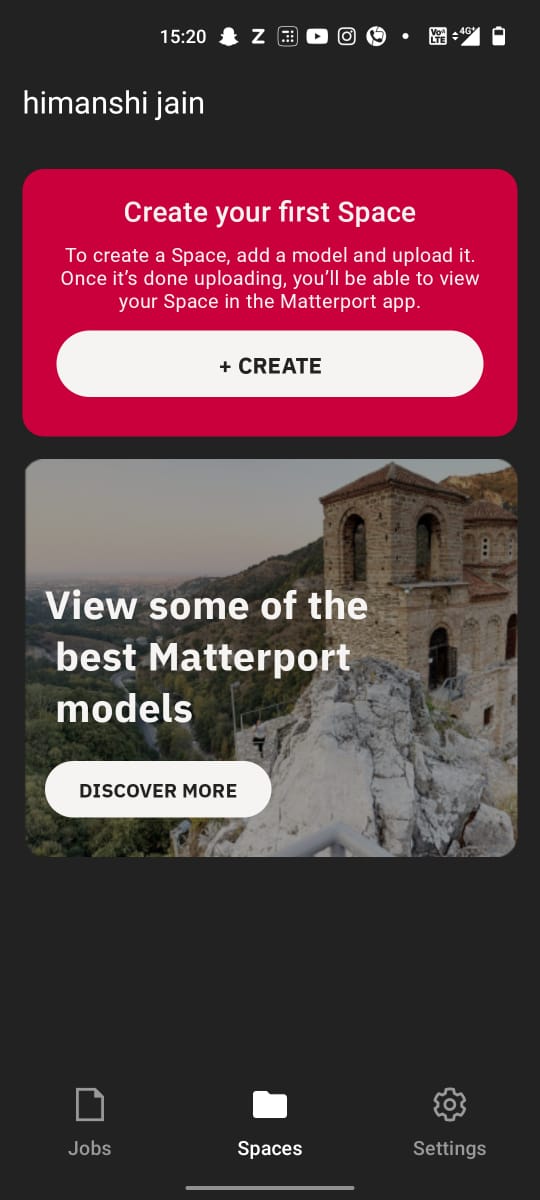
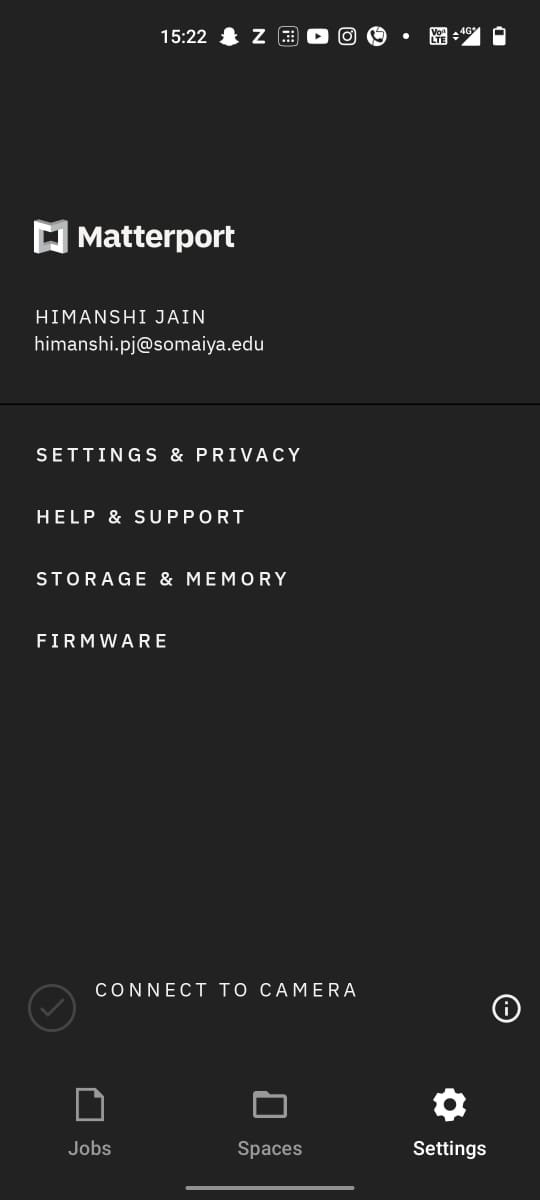
Initially when you open the app for the first time it will guide you throughout the journey and teach you the entire app.Below is the image of the basic interface, jobs are the projects which you have already captured, if you select spaces here you can upload your model and you can see your model in matter port, and the 3rd is settings
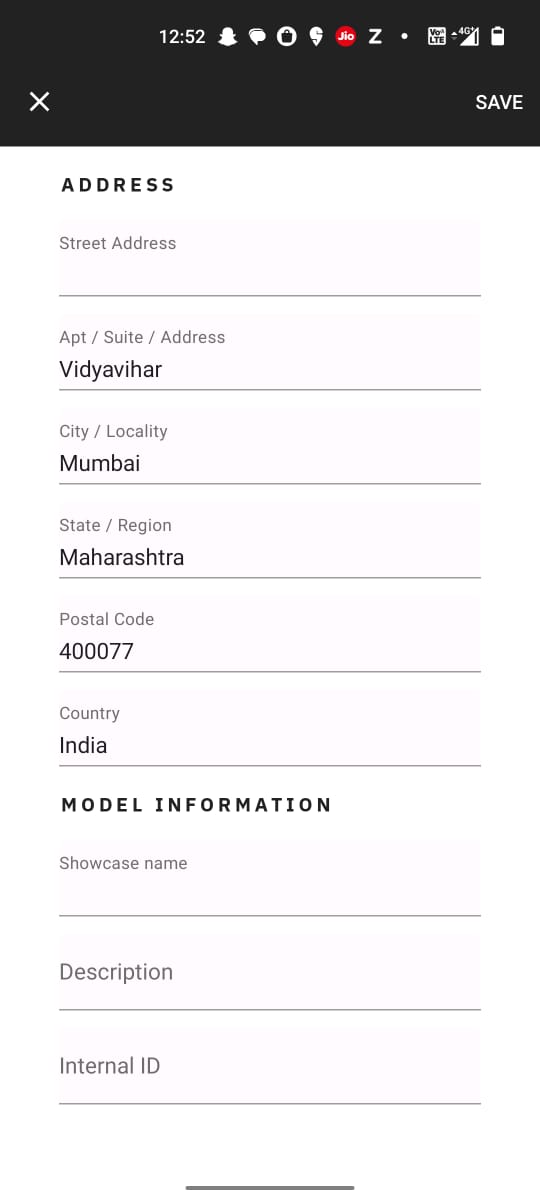
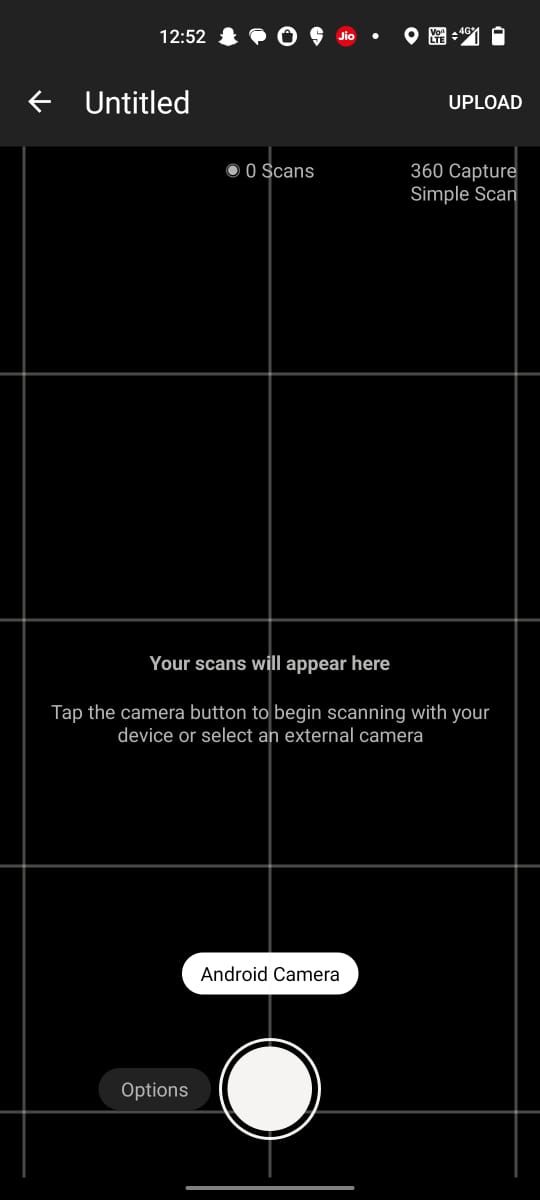
To start something new click on new job, there you need to enter some basic details like address, model information and so on as seen in the image below.
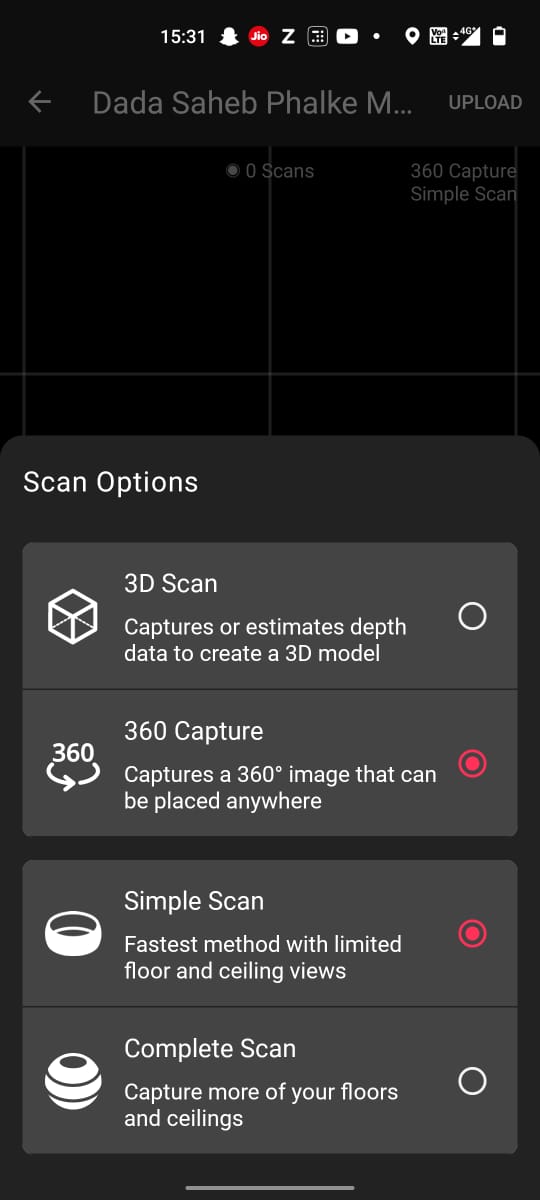
After entering all the details click on save, there is an option button on the left here you get an option whether you want to 3d scan, 360 degree capture, simple scan and complete scan select any one. I selected 360 degree scan, then you need to tap on the circle of camera.
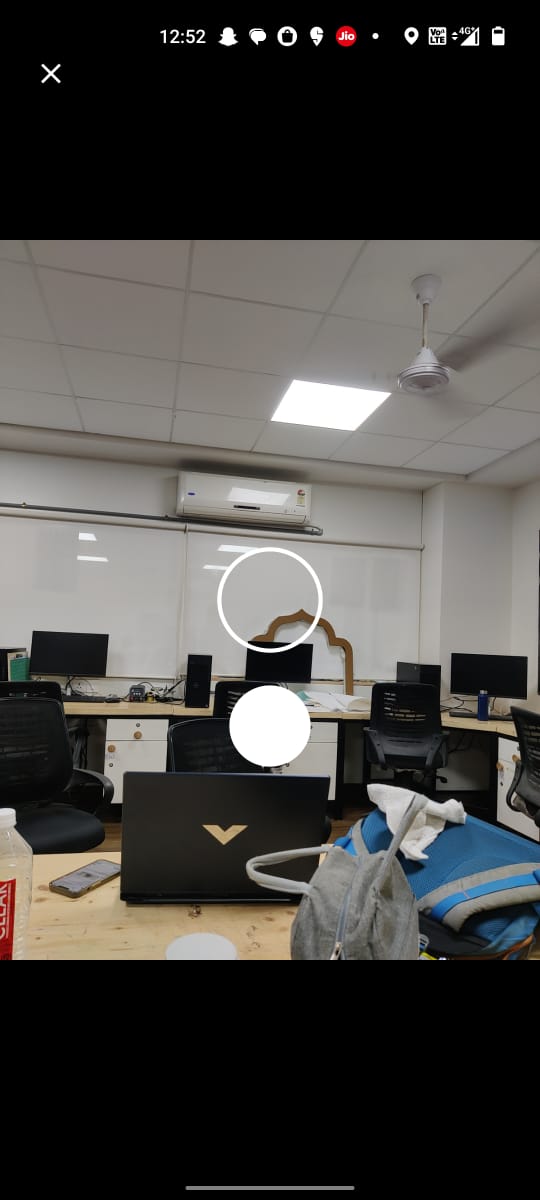
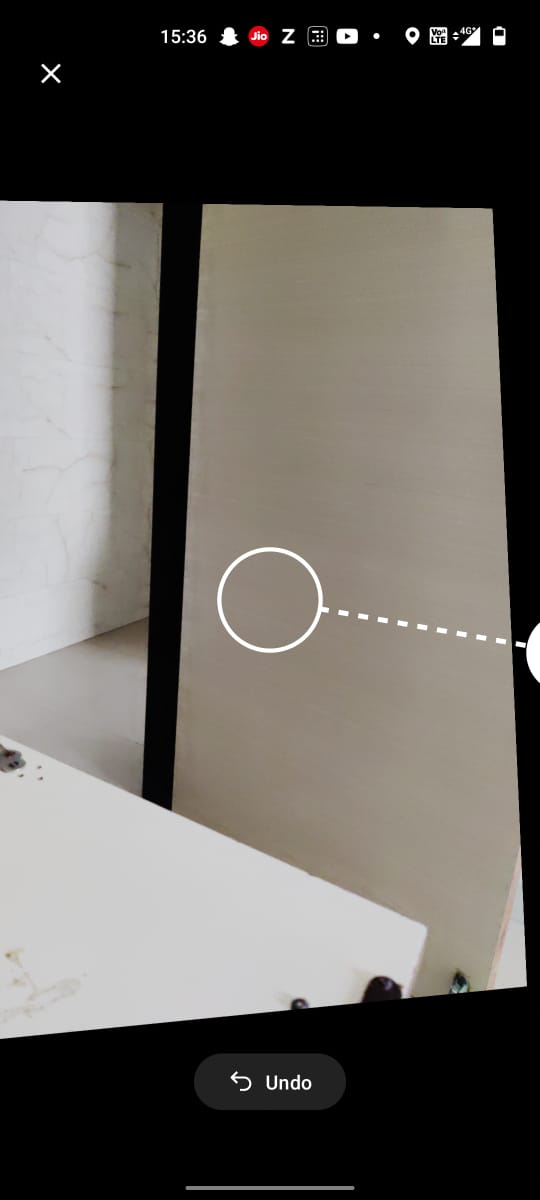
You will be able to see 2 circles, place the white coloured circle in the ring circle by moving your phone and it will click picture automatically, then it will guide you to click more pictures in all direction follow the dotted line and circle as shown in the images below.
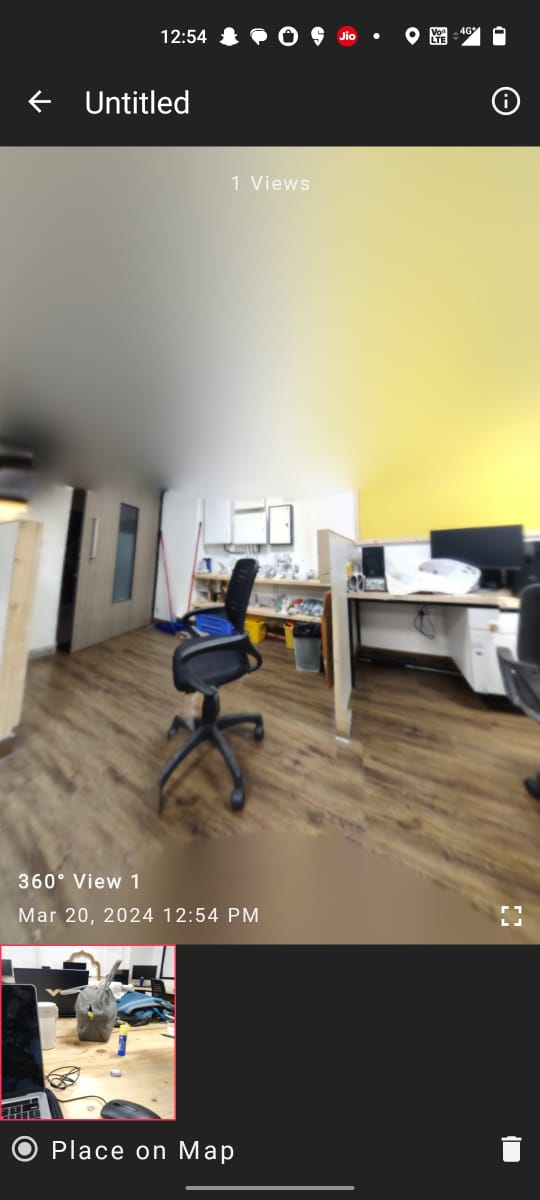
After the entire scan is done you will be able to see entire 360 degree view and you can save the model if you like it.
Hero Shots
To see the entire 3d view of the model, click below:

Group Work
Group work is uploaded on Siddhart's Page
Learnings
From our group work on 3D scanning and printing, I gained valuable insights into the intricacies of material properties and printing parameters. Through a series of tests with PLA and TPU materials, I discovered the critical role of support structures in achieving successful prints. My experiments revealed the importance of optimizing nozzle and bed temperatures, layer height, and infill percentage for each material type. I learned that angles up to 40° are feasible without supports for PLA, while TPU printing requires careful attention to stringing issues. Additionally, I encountered challenges with the default temperature settings of the Fracktal 3D Printer for TPU, highlighting the need for manual adjustments to achieve optimal print quality. Overall, our group work provided valuable hands-on experience and deepened my understanding of the nuances involved in 3D printing.
Conclusion From this Week
This week, I learned a lot about 3D printing. First, I worked with my classmates to test the printing machine. We tried different materials and settings to see what worked best. Then, on my own, I made a lamp using the printer. It was cool to see how everything I learned in the group project applied to my individual assignment. I got better at using the machine and figuring out the right settings for different materials. Overall, it was a fun and educational week!
Download Design files
Image Credits
3d Printing
All images of cover page are credited below:
https://images.app.goo.gl/2m61JUqEq1B55sR77.
https://images.app.goo.gl/i6gCUcivwMELoiCR9
https://images.app.goo.gl/LSBXV4nCx6GFnCgt6
https://images.app.goo.gl/rAZDgJpw6EfxGmko8
https://images.app.goo.gl/hThvo1R2UyNUuiPv9
https://images.app.goo.gl/smt4HNpfK5n2KKNs9
3d Scanning
https://images.app.goo.gl/gZVHc6JxL3CBuzGE6
https://images.app.goo.gl/GfJg8J5G93AoZjVw9