Moulding and Casting
For this week's assignment, I was tasked with designing and creating a mold. I took inspiration from the balloon dog design for reference.
Team Practice
Here its the link of our team practice.
MATERIALS LIST
| Material | |
|---|---|
| Plaster | 30 Kg |
| Cardboard box | |
| Industrial ceramic for casting | 5 kg |
| Router CNC | Machine |
These materials, along with water and the use of the CNC machine, were the materials for this week.
3D Mold design
Step 1
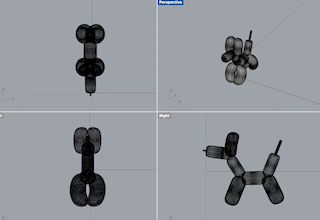
I used the Rhinoceros program to create the design, as it allows me to make designs with curves or more complex shapes.
Step 2
I downloaded a 3D model of the balloon dog for the design of my mold.

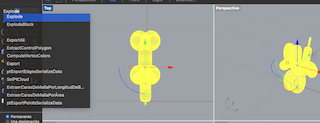
Step 3
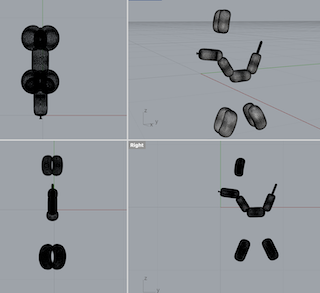
With the model in Rhinoceros, I 'exploded' it to have all the parts of the model separately.
Step 4
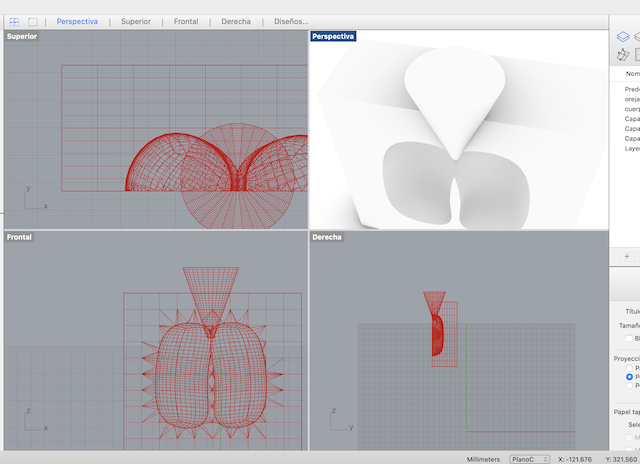
For the molds, I decided to separate the body into one and the feet into another, since the feet also function as the ears.
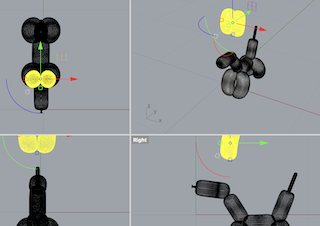
Step 5
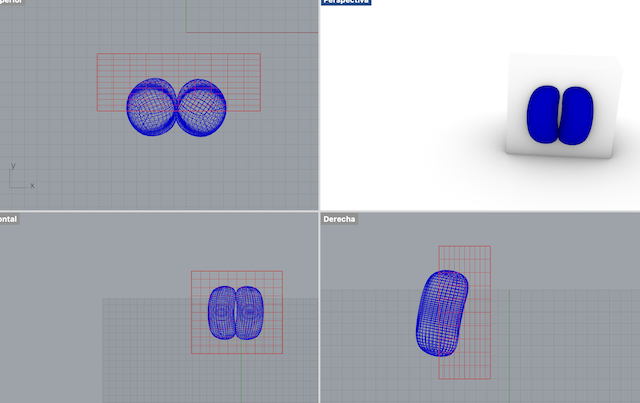
For this, I divided the body and legs in half.
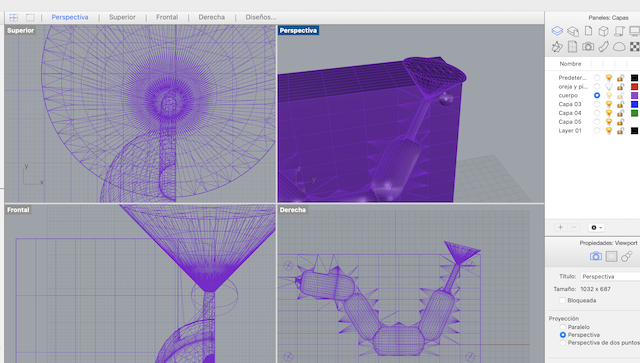
Step 6
So I could make a base for each one and cut them to shape.
Step 7
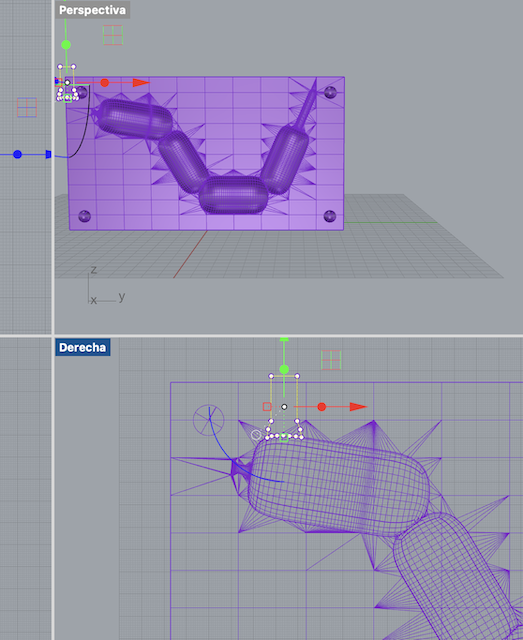
To each part of the molds, I added a part for pouring the ceramic and thus filling the mold more easily, as well as one for the air to escape.
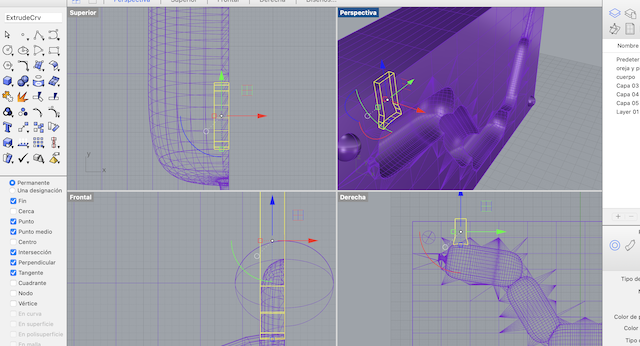
Step 8
I also added connectors to the molds, one positive and one negative, so that when they come together, they fit perfectly.
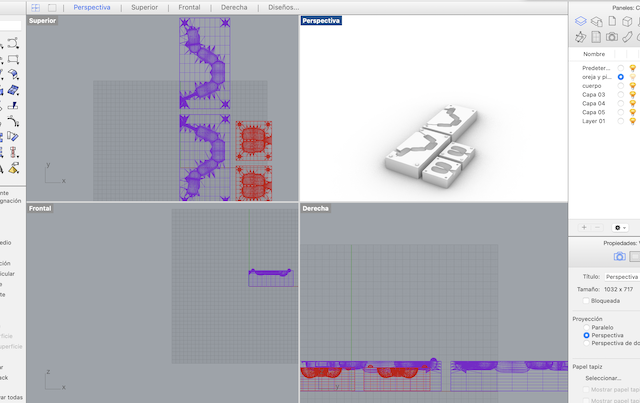
Step 9
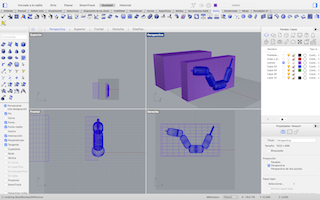
Once the 3D molds were ready, I arranged them on a single base to cut them all in one go.
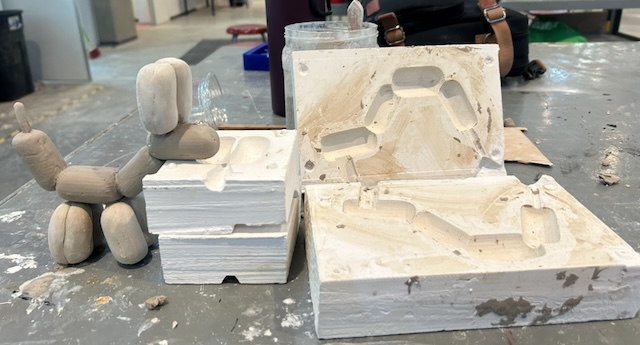
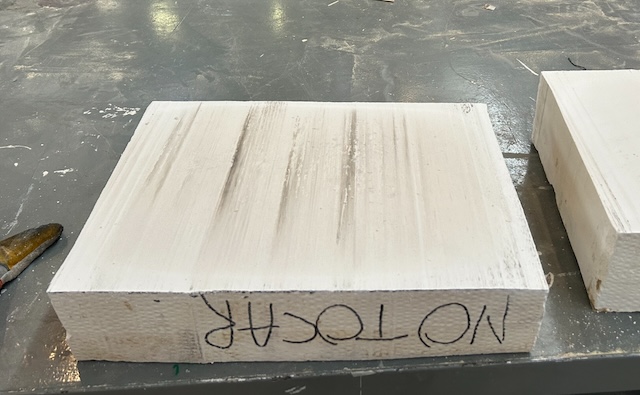
Plaster Block
For my mold, I needed a plaster block. Although a plaster block may seem simple, the process is long and time-consuming.
Step 1
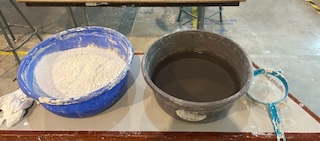
First, we need to know that to make the plaster mix, you need 4 liters of water per 5.2 kilograms of powdered plaster.
| Water (liters) | Plaster Powder (kilograms) |
|---|---|
| 4 | 5.2 |
Step 2
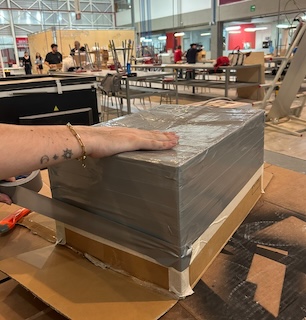
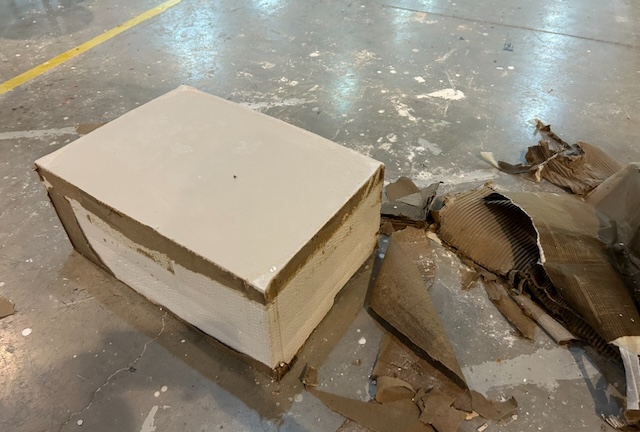
Also, have your cardboard box ready, sealed with strong tape to prevent the material from spilling.
Step 3
With the box ready, prepare the mixture a total of 6 times to fill the box. The process involves adding the mixture to the water and stirring by hand, then pouring it into the box. This should all be done quickly.
Step 4
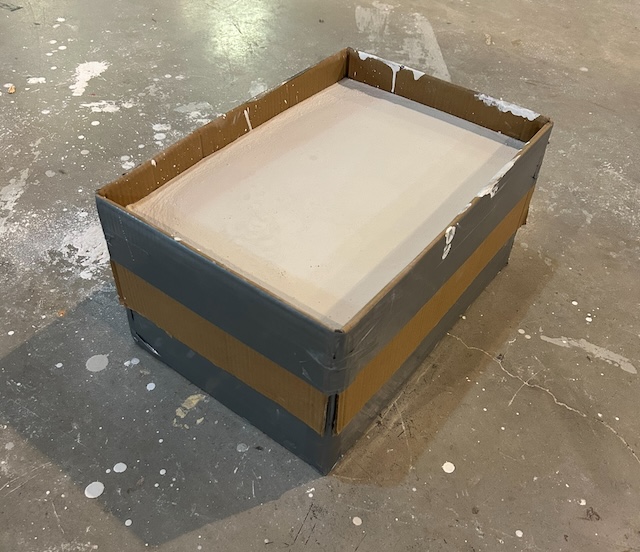
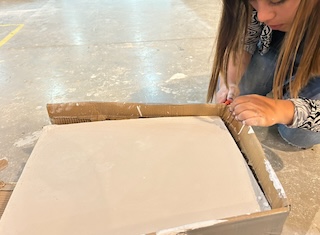
We let the mixture rest inside the box for approximately 40 minutes. We will be able to feel the heat emanating from the mixture during this time, until the temperature drops. This is when we 'peel' our plaster block, removing all the cardboard that has absorbed enough water from the block.
Step 5
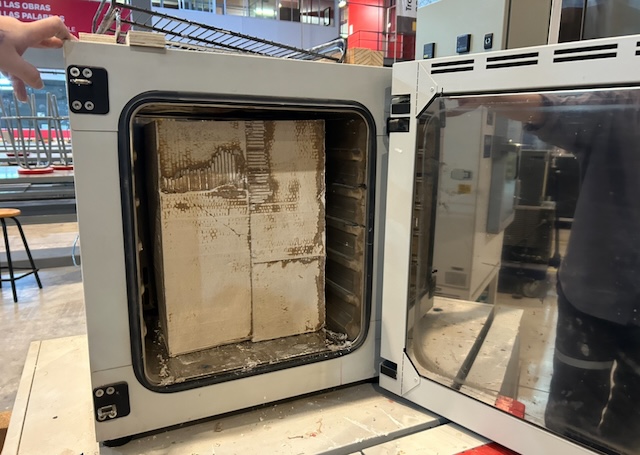
When we have our block ready, we leave it in the oven for 36 hours at 80 degrees Celsius, as drying it under the sun can take up to a week or more.
Vcarve desing for CNC router
While our plaster block finishes drying, in the Vcarve program, we will add our 3D mold design so that we can have the formats ready to use on the Asia Router.
| Parameter | Description |
|---|---|
| Speed | 15000 RPM : The velocity at which the machine operates. |
| Feed Rate | 2500: The rate at which the cutting tool moves through the material. |
| Depth of Cut | 400: The distance the cutting tool penetrates into the material on each pass. |
| Tool Diameter | One of : 1/2 " and the define tool |
Step 1
First, you must open a new document in Vcarve, where you will input the measurements of your material to be cut. In this case, it was 425 x 310 x 95 mm.
Step 2
Once the measurements are set, we will import our 3D model in STL format. It will be centered and adjusted to fit the mold right away.
Step 3
The cutting parameters are adjusted using a roughing end mill, and then the same process is repeated with a finer end mill to polish the entire mold. The increments are exported in the ASIA CNC machine format.
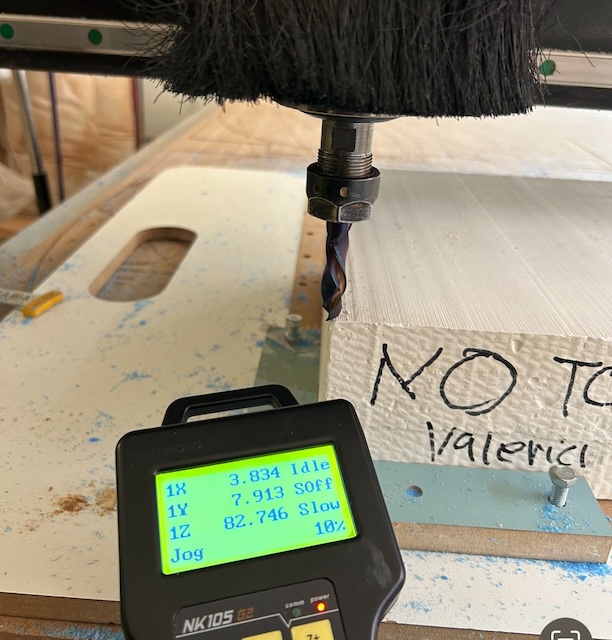
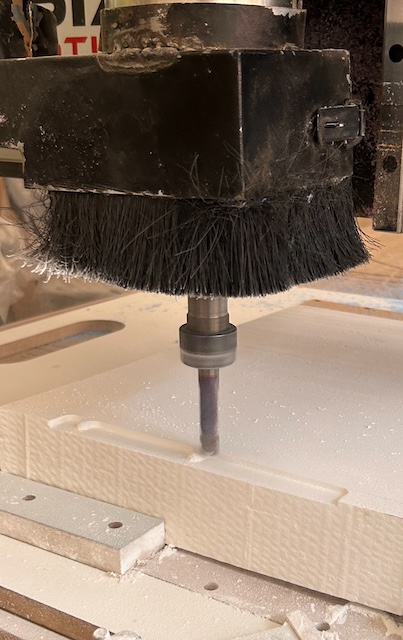
Cutting mold in ASIA ROBOT.
With the documents ready in my memory, I headed to the ASIA Robot machine. I installed my first 1/2" roughing drill bit, adjusted the material plate on the cutting table, and marked the origin on the x, y, z axes.
| Materiales | Description |
|---|---|
| 1/2" drill bit | This is the roughing drill bit. |
| 1/8 " finish drill bit | This is the finishing drill bit. |
Step 1
First, I positioned the material plate on the table and secured it to prevent any movement, despite its heavy weight.
Step 2
Then, I placed the first drill bit into the machine's spindle and set the origin point in the x, y, z axes.
Step 3
I loaded the roughing document into the machine, and it began to work.
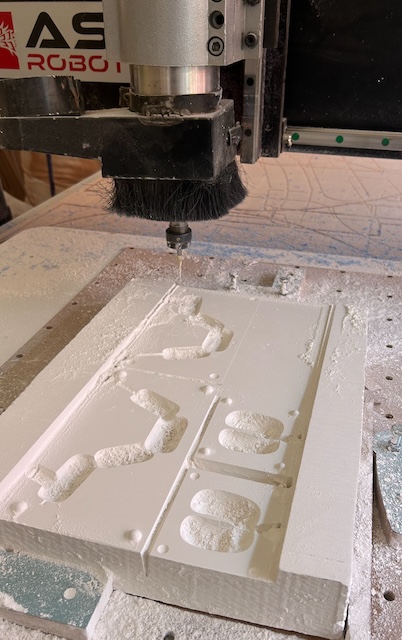
Step 4
I performed the same process, but with the finishing drill bit, and after an hour and fifteen minutes, the molds were finished.
Creating a ceramic piece with my mold.
For casting the piece, it's necessary to mix the ceramic material and adjust the mold pieces well.
| Materiales | Description |
|---|---|
| Industrial ceramic for casting. | 5kg |
| Water | 2.5 ltrs |
Step 1
The mixture needs to be half water and half ceramic powder.
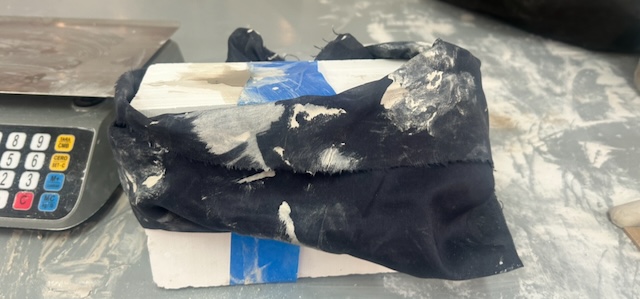
Step 2
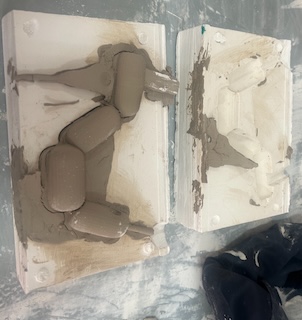
Afterward, we join the molds with their counterparts, adjusting them with rubber bands or fabric, and with the mixture ready, we pour it into the mold until they are filled, giving small taps to ensure proper filling.
Step 3
We wait for 8 hours for the mold to perform its function and dry the piece enough to be removed from the mold.
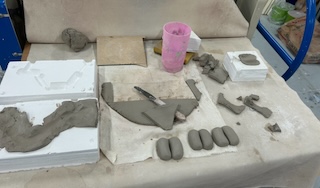
Step 4
We remove the pieces from both molds and join them with a bit of water to let the piece dry.
FINAL RESULT