How can I operate a Computer-Controlled Machine without totally fabulously DYING
Hey there guuuuurl, welcome to this week's assignment where we're diving into the world of Computer Controlled Machining, I'm super pumped up for this week’s assignment cause we’re about to tackle some serious machining magic with you all! From calculating our design like a complete instructor to mastering the art of "dogbones" and "T-bones," we're about to take our woodworking design game for REAL. Get ready for some really cool stuff ahead.🧸
Okay, so let me break it down for you in girl terms hun 💅🏼.
-
Let's start with 🦴dogbones🦴 Imagine that you're cutting out a shape with your CNC router, but the bit of the tool is round (ALWAYS). That means your corners are gonna come out rounded too, which might not be what your design wants right?. That’s where we will enter the "dogbone" technique! Basically, you add these tiny little indentations at the corners of your shape. It's like giving your corners a little extra wiggle room, allowing your pieces to fit together without any ugly gaps.
-
Now, let’s talk about 🥩T-bones 🥩 Imagine you're working on a project that involves assembling pieces together. Sometimes, you need those pieces to interlock seamlessly, and that's where "T-bones" come in. They're similar to 🦴but instead of slots at the corners, you create these little extensions that fit into corresponding slots on another piece. JUST LIKE A T BONE LOL.
For this week’s assignment I implemented both in my design to increase stability, my favorite to use was the T-Bone for its easy way to lock it down. I will keep trying it out on my next furniture cause I LOVED not having to use screws at my house.
For all of this super knowledge and incredible lessons this is the Fab lab´s Puebla weekly task, feel free to take a look so you can undertsand it much better
⬇️
Nice very nice gurl but... how was your design made?
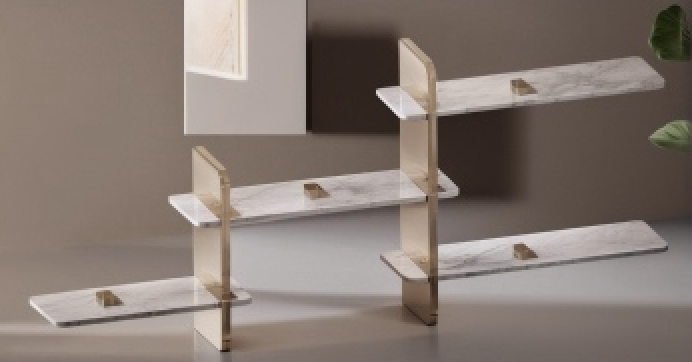
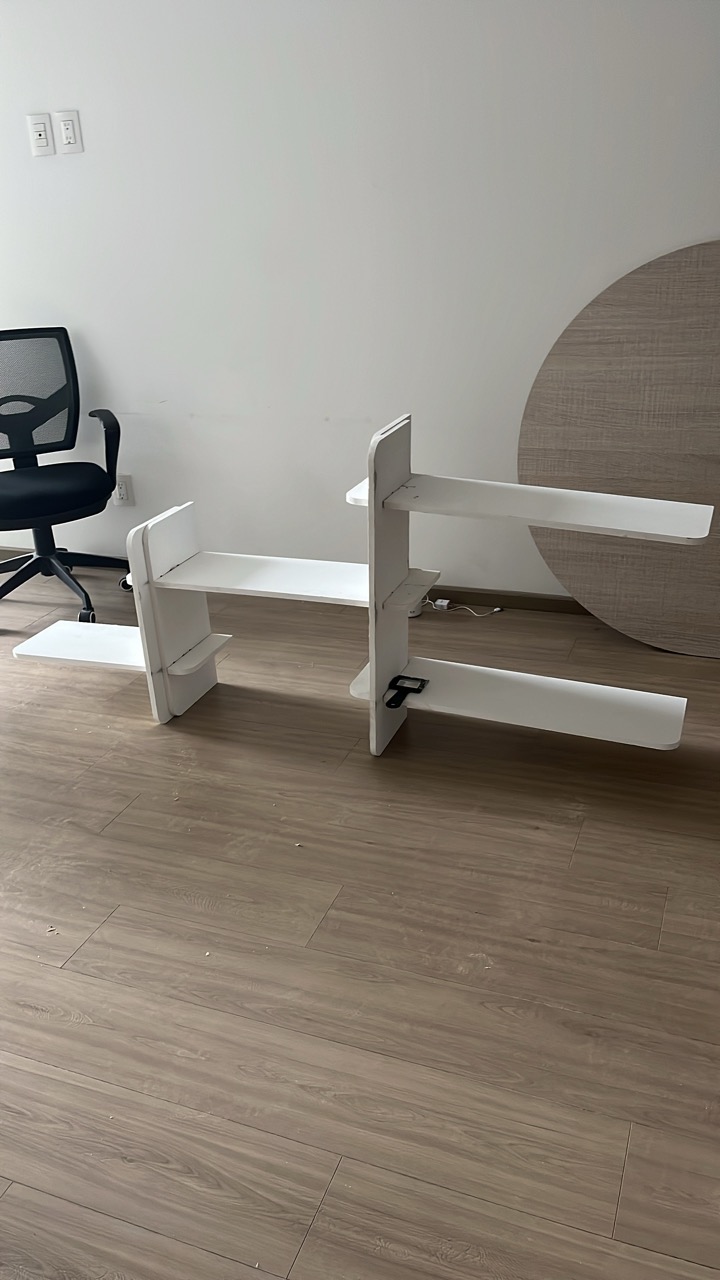
So at week 3 Fab lab´s teachers showed us how to make a parametric design and laser cut it right? Well I decided to use the same principle of making a parametric based design of a shelf which I wanted to furnish my new house. I NEEDED FURNITURE ASAP LOL.
-
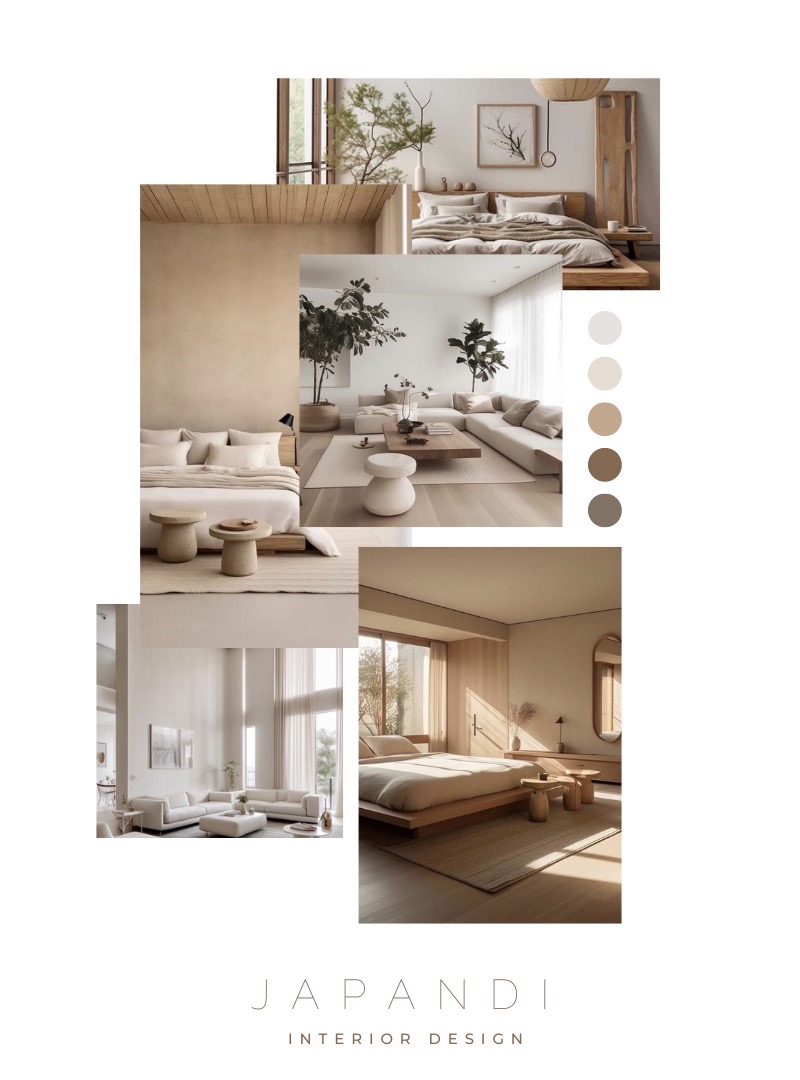
First I would like to explain to you guys that I got inspired at the super pretty JAPANDI interior design furniture, I´m trying to get all my furniture out of that style (hard I know but totally worth it) just look at this amazing Japandi rooms:
-
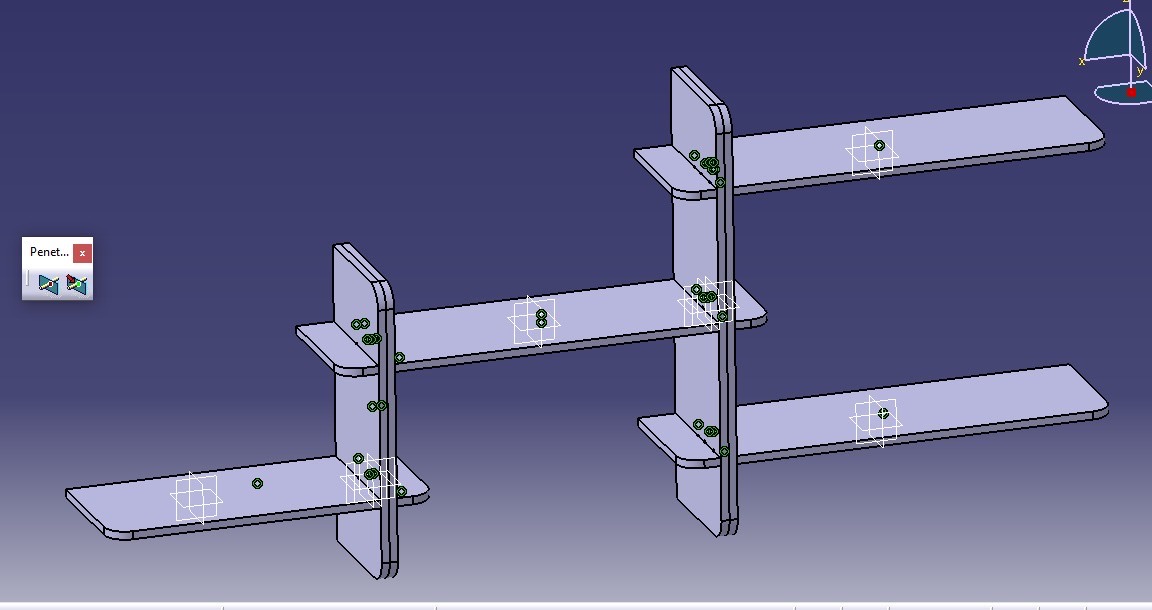
So now that you have totally fallen for it I will explain how I did it. First I opened up CATIA because she is my girl and started designing a sketch.
-
So, first things first, I draw up 8 rectangles, each about 50-60 cm long and 25 cm wide.
-
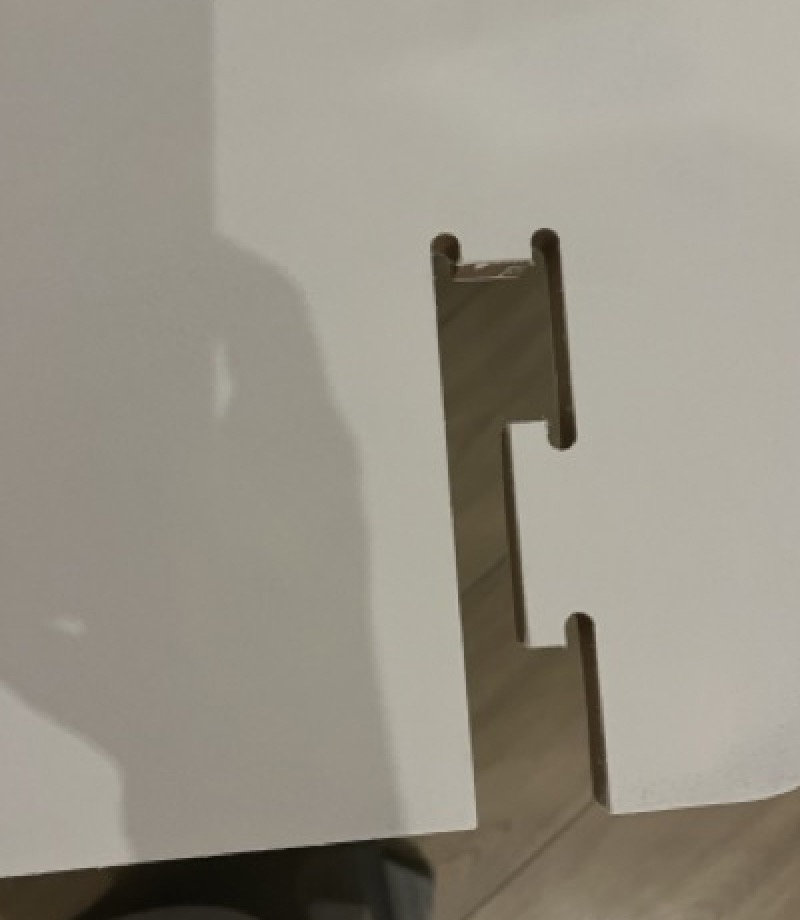
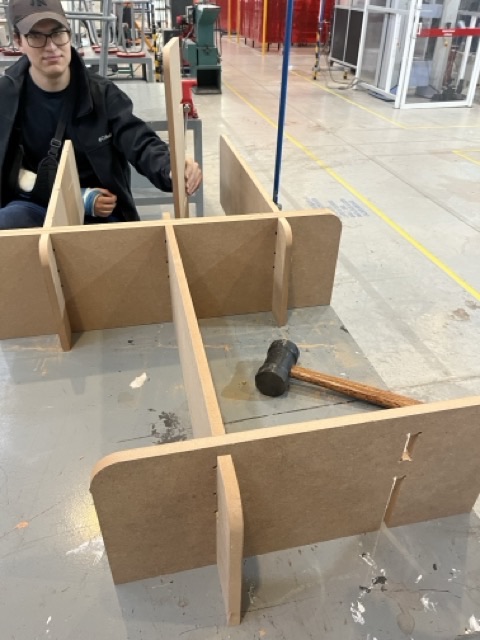
For this design I was all about that no-tool assembly thaaaang, so nails were a NO. Instead, I decided to make joints.

-
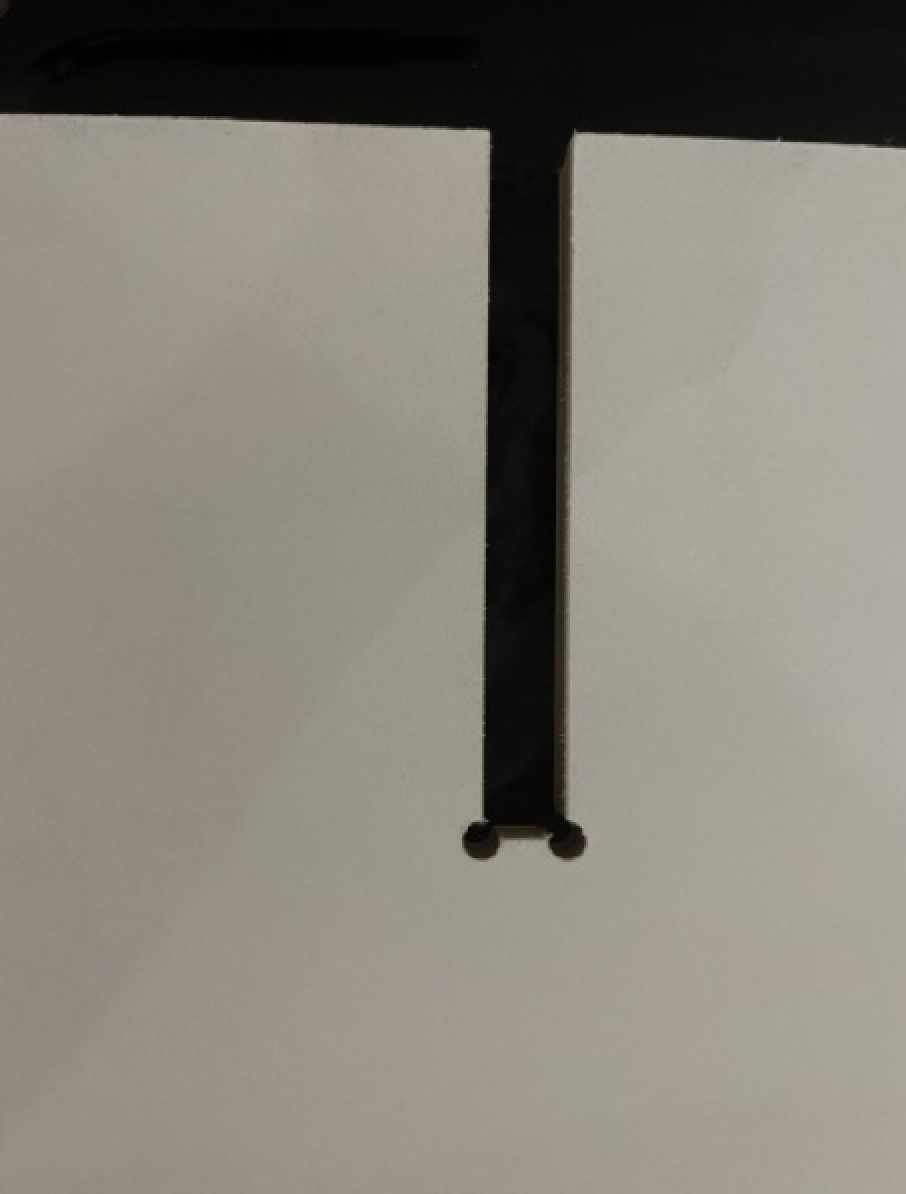
I put two boards together at right angles and drilled a 15 mm-wide hole so they could fit super cuddly, all at the same depth. Why? 'Cause when I hang this bad girl up, I want that weight to be spread out evenly.
-
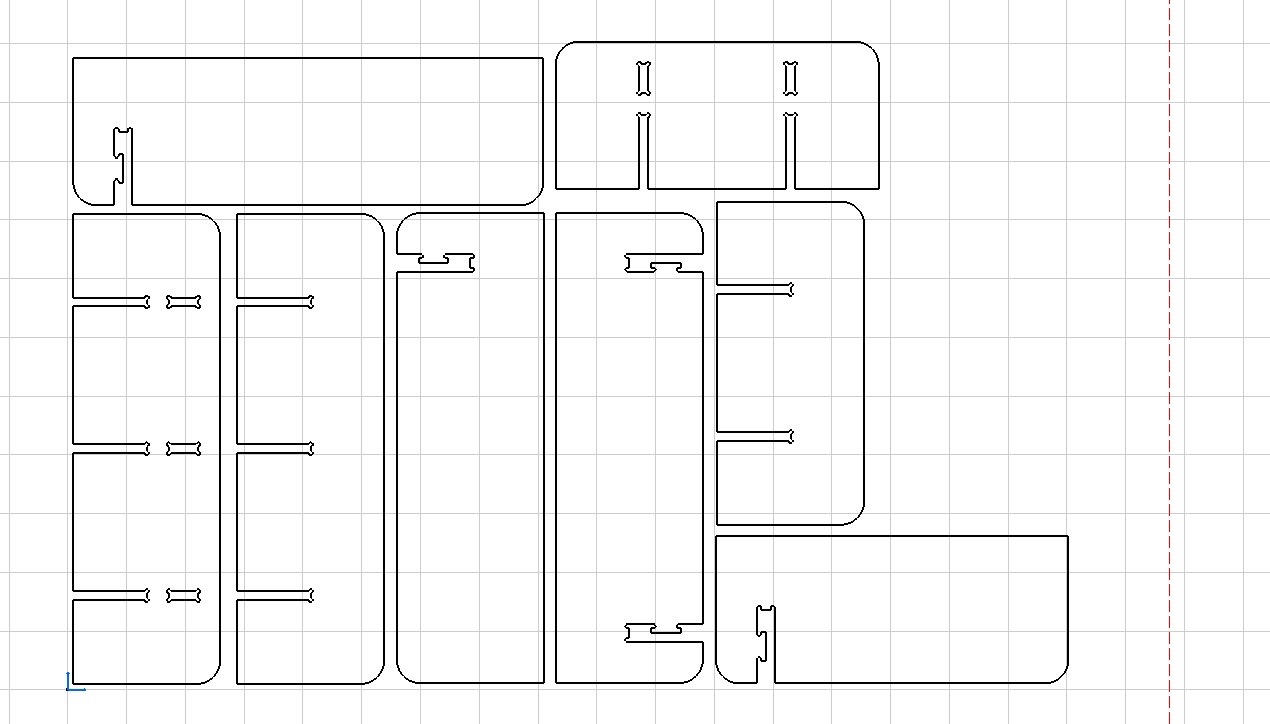
In CATIA, it's something like this --> Sketch out those rectangles in the Sketcher workbench, making sure to nail down those dimensions for length and width.
-
Then, pop over to the Part Design workbench and give those sketches some depth with the extrude command.
-
Now, let’s sketch out that hole on one of the rectangles, keeping it a cool 15 mm wide. Use the Pad command to bring that hole to life.
-
Last but not least, assemble those rectangles in the assembly file, making sure they're all lined up and ready to rock. CUTE RIGHT?
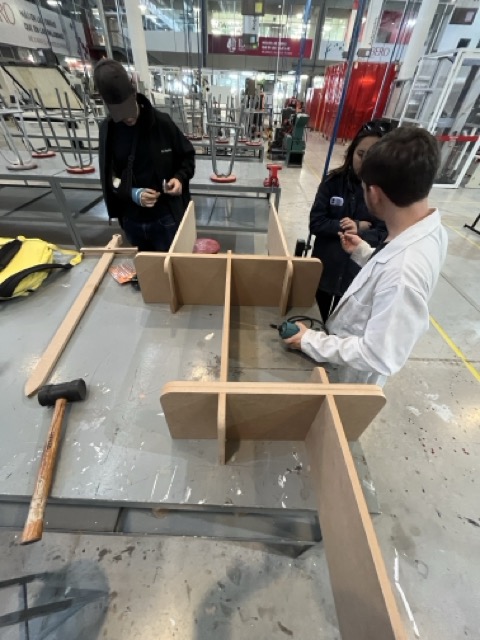
AND NOW THE MAIN 🍽️✨DISH✨🍽️ OF THE WEEK 7 GUUURL THE CNC ROUTER CUT
Okay so the most important thing for this week’s assignment was the safety training, especially when you're dealing with CNC machines.
-
👩🏻🔧So girl here’s the deal: you've got these machines spinning sharp tools at lightning speeds omg so dangerous, heavy parts flying around, and high voltages buzzing. Just like a techy adult superhero's playground, at this precise moment you can picture the room right...
-
⚠️First, you've gotta suit up properly. Think impact proof goggles to shield your eyes from flying chips, noise-canceling headsets to keep your ears safe from the machine's roar, and a 100% cotton lab coat to cover up.
-
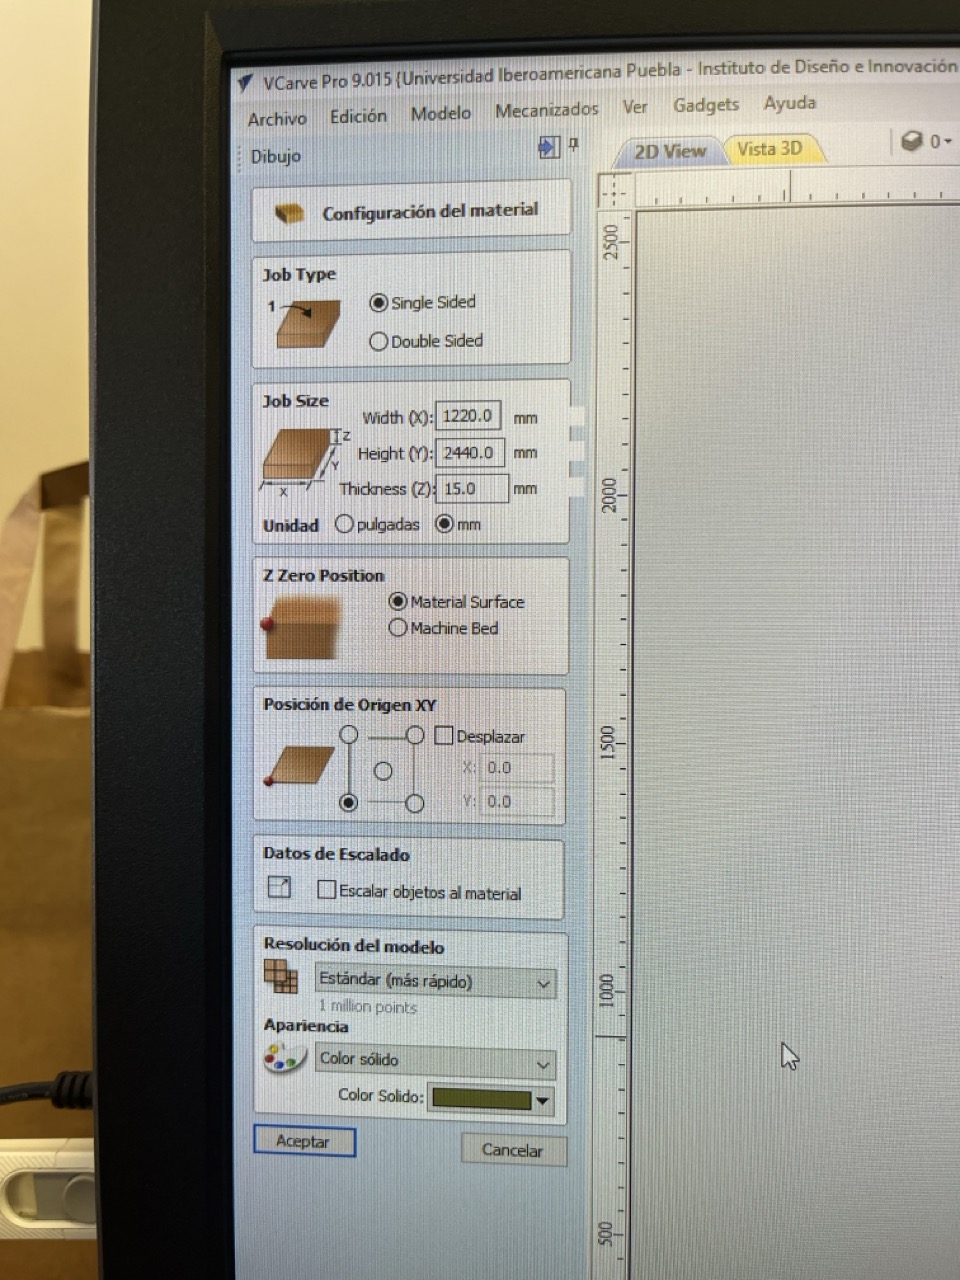
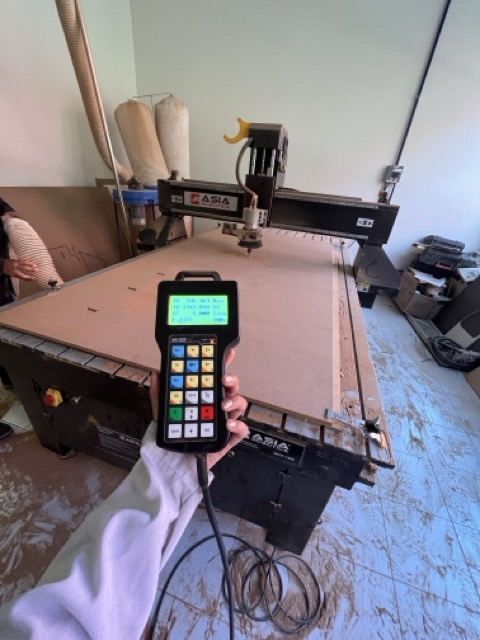
First start your CNC router and let it sizzle to life⚡️
Secure Workpiece with the clamp down in your material so it stays fabulous and firm. 💪
Then use jog controls to place the tool over the bottom-left of your workpiece for X and Y from your control software, hit "Zero X" and "Zero Y" to mark your starting glam spot. 🥳✨
And the most important thing: lower the tool until it kisses the top surface. Set "Zero Z" in your software. 💋🔝 Verify it honey always lift and jog to (0,0,0) to make sure it’s perfectly positioned.
-
⚠️Remember that the cotton coat really needs to be a 💯% COTTON COAT🌫️, if it has polyester in it immediately take it off because it can enlighten up. And forget about shorts and dangling jewelry ain't nobody got time for that in the lab hun. 💅🏼⏱️
For the 0 setting here´s the deal honey bee🐝🍯
And now you are ready to go!
Now continuing with the cutting situation 💁🏼♀️
⚠️When the machine's whispering , you've gotta be on your A+ game. Stay close, stay attentive, but hands off! No gloves allowed during operation, and keep that closet door shut tight. Only trained pros should be pushing buttons around here, and for good reason. And whatever you do, don't even think about reaching near that cutting area while it's doing its thing. For safety also remember staying away from the axles it can hit you and god knows it hurts.
🌟Now, when it's cleanup time, cue the vacuum extractor. But hold up hands off that green button! That's a no-go zone unless you wanna mess with the machine's X-axis. Beware of the static shock dust = static electricity, so watch where you're touching.
🌟Before you hit go, though, do a once-over on the machine. Clean floors, ✅. Keep your distance, ✅. And remember, these machines aren't about surprises unless that emergency stop gets hit, you never know when they'll spring into action. Be careful.
🌟Btw, you can totally cut super cool materials. We're talking ABS, acrylic, aluminum—omg yes! Each one needs its own set of tools and tricks to handle. From sharp single flute tools for ABS to carbide bits and coolant for acrylic, it's like a menu for machining. Yum.
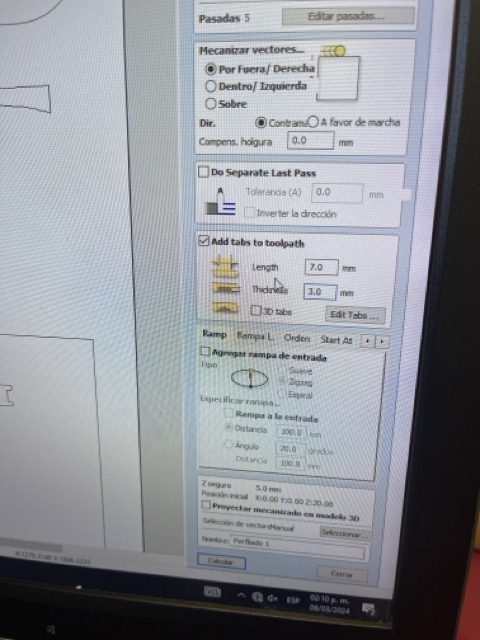
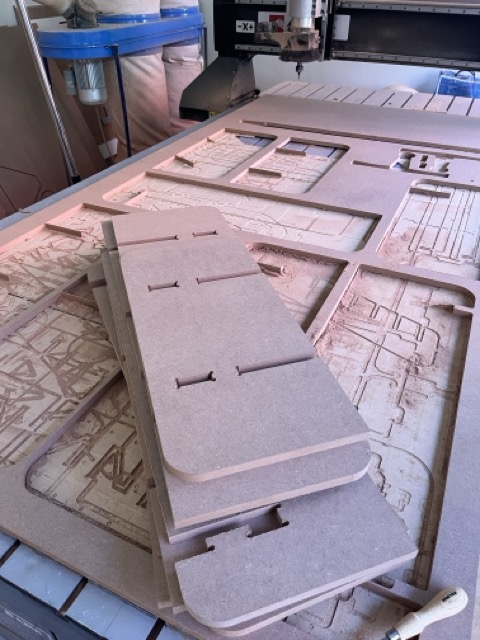
🌟And speaking of operations, we've got pocketing and cutting on the menu. Pocketing's all about clearing out that space inside a closed form, while cutting gets that tool moving along a path, cutting into the material. Plus, our instructors showed us there was a neat trick with "tabs" to keep your piece in place, so my tolerance was about 0.001.
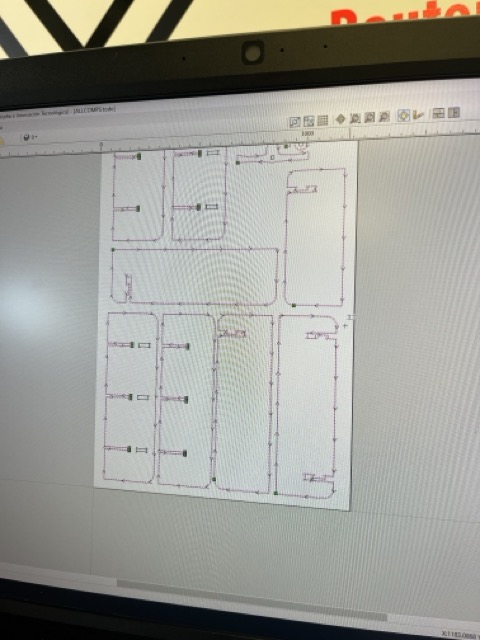
🌟For the machining process we used fixtures so the board didn’t moved. They are this little cute clamps that keeps everything at place.
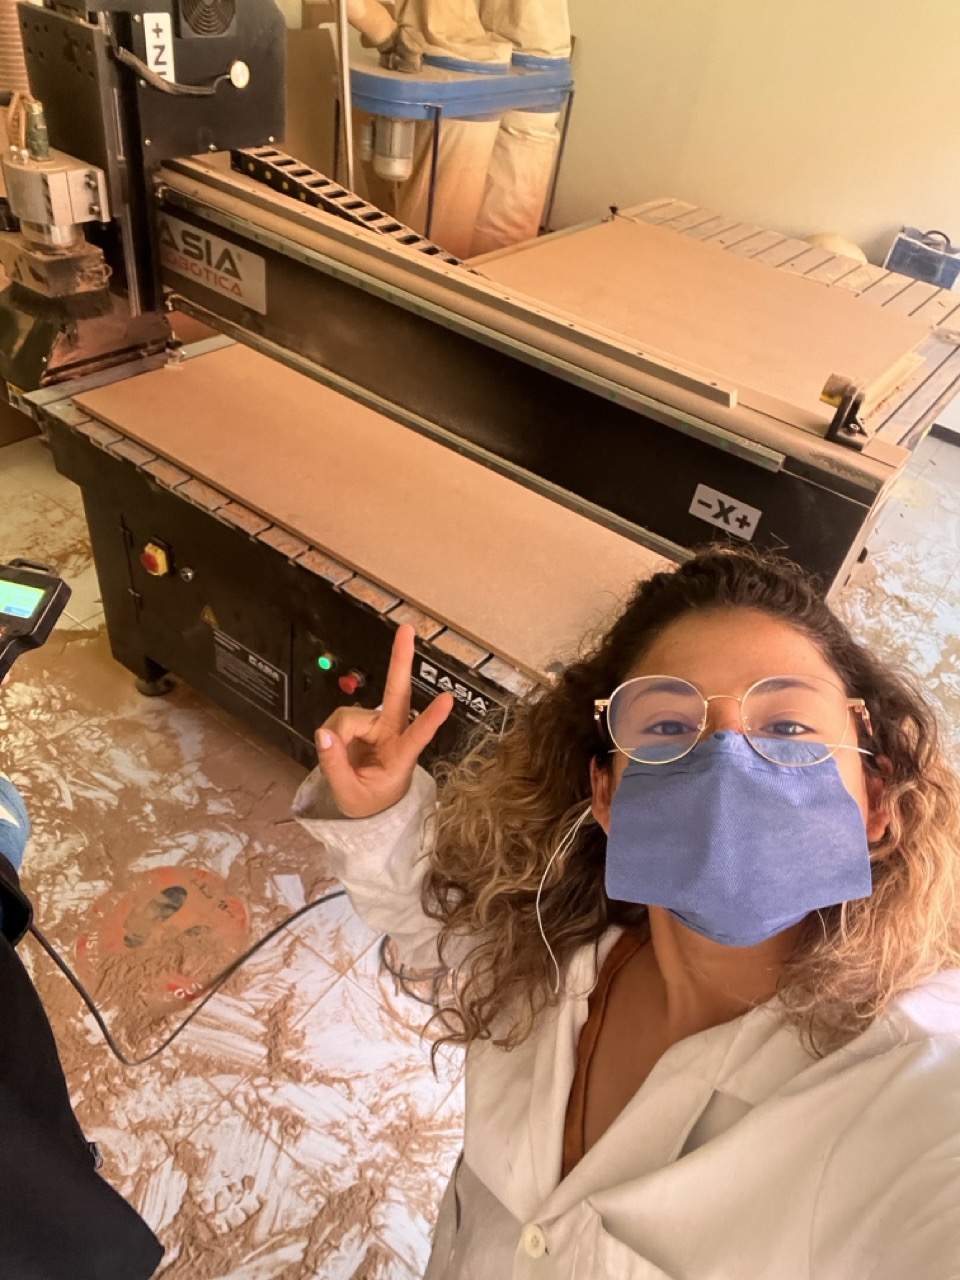
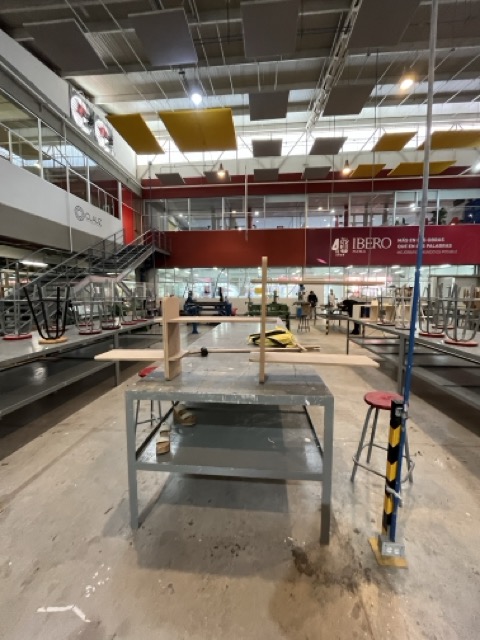
So for all of this amazing process the machine I used was the Asia Robotica shop-1325 and my totally fab parameters:


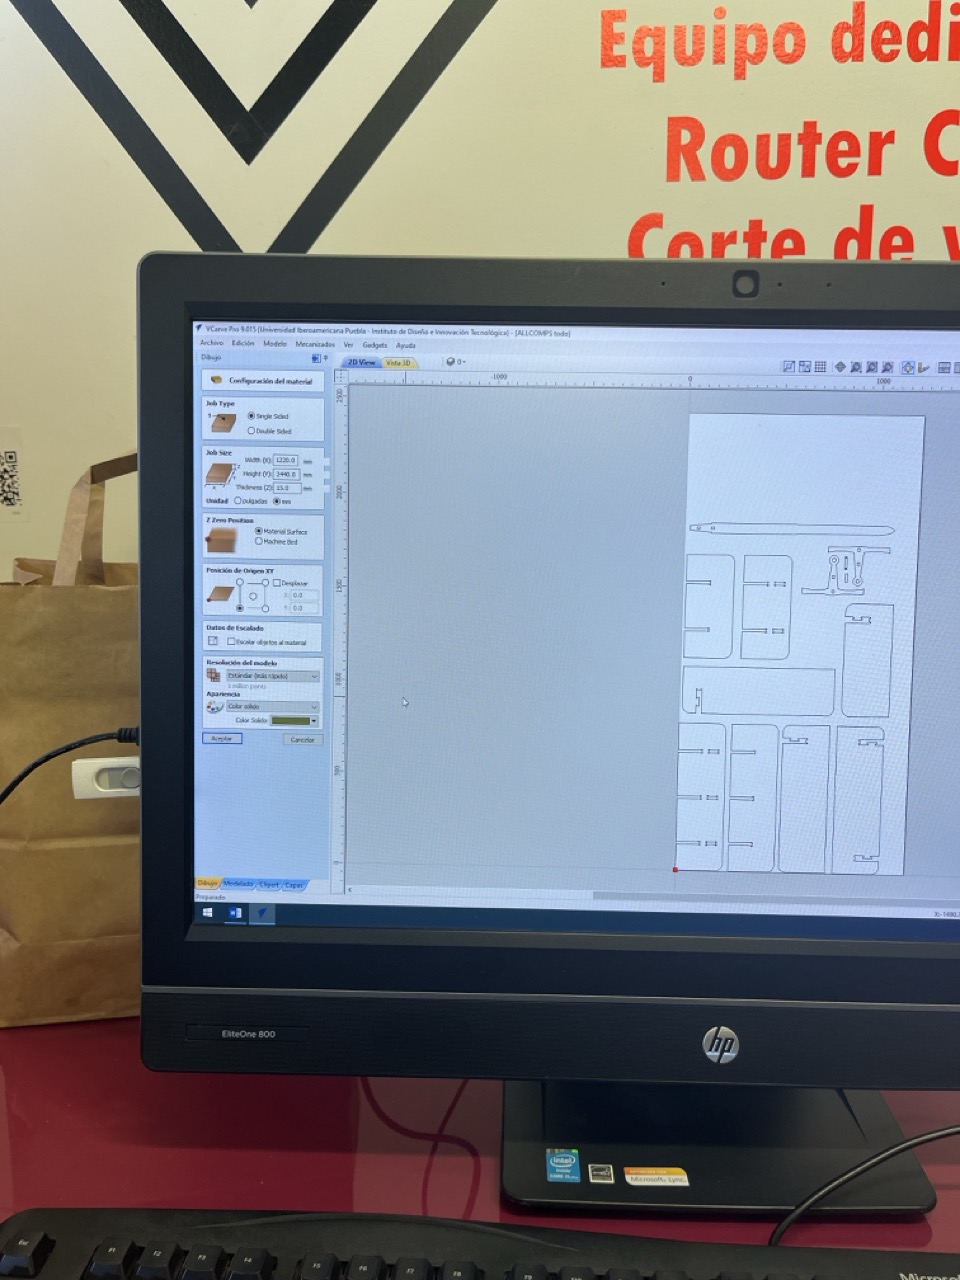
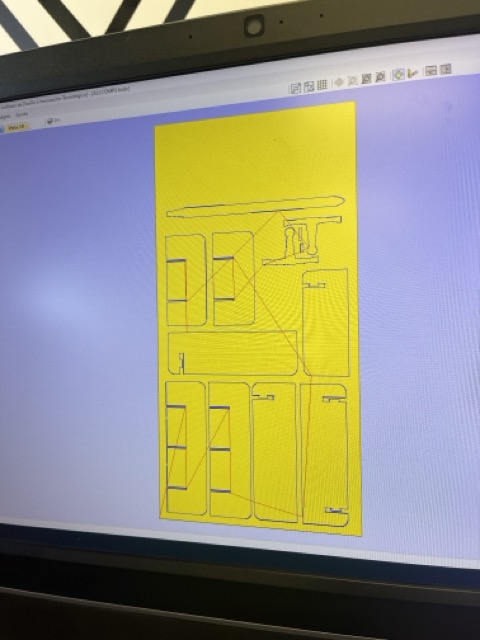
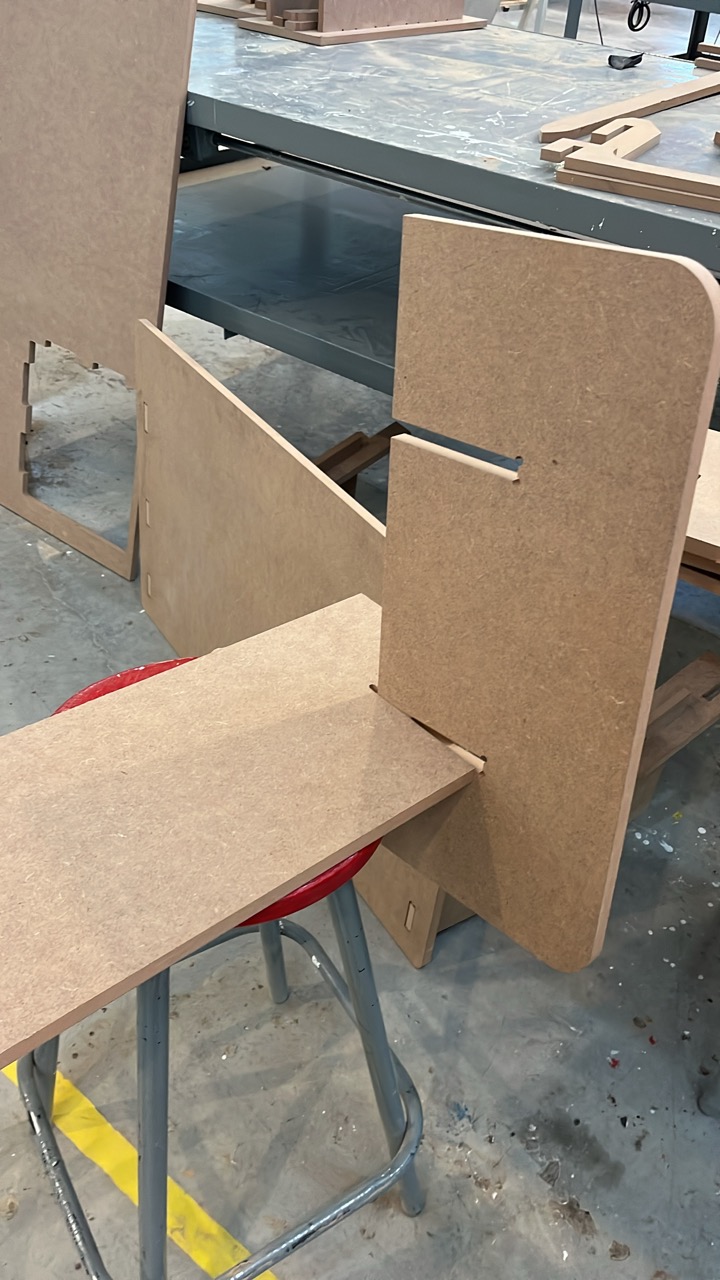
🌟I waited about 18 min. and then omg it was done! It looked so pretty, I swear I couldn’t kept my hands off it.
💕So there you have it, lab safety in a nutshell suit up with your pretty cotton coat, stay sharp, and keep those machines in ✅. Pretty girls do that bae.🧸
SUPER PRETTY, AMAZING! WOW... BUT HEY..HOW DOES IT LOOK?
LOOK AT MY BABY
🌟I totally get you hun, this were my results:
My hard work pics📸
My videos of the making omg so CUTE🌷
💫CHEAT SHEET💫
-
✨So, in summary, dogbones are used to compensate for the round shape of the router bit in inside corners, while T-bones are used to create interlocking joints between pieces for added strength and stability.
-
✨Amana Tools web page so it could gave us all the deets we needed to calculate the Feed Rate for our tool setup. They've got this cool thing called ChipLoad per tooth properties that's like the secret formula for making magic happen. Take notes gurl.
-
✨There is a neat trick and it’s all about setting tabs" to keep your piece in place.
My fab files
So Imma upload to you all of my CAT parts so you can assembly your own Japandi shelf. And also the dxf so you can cut it out yourself. You´re welcome babe!