10. Mechanical Design, Machine Design
First of all, in our team webpage (click here), you will find the machine building progress and our journey through one of the most hardest assignments that we have never had.
For this assignment, I dedicated myself to formulating the extrusion material for the food printer. We decided to use a sodium alginate mixture because it's a versatile material for adding flavor, and its texture when mixed with calcium chloride is gelatinous, which would allow us to make candies like gummies.
Experiment 1
Ingredients:
- 100ml water
- 5g alginate
- Tiny pinch mango powdered-flavoring
- 7% calcium chloride

Don't forget to tare the beaker you'll using before starting the process!
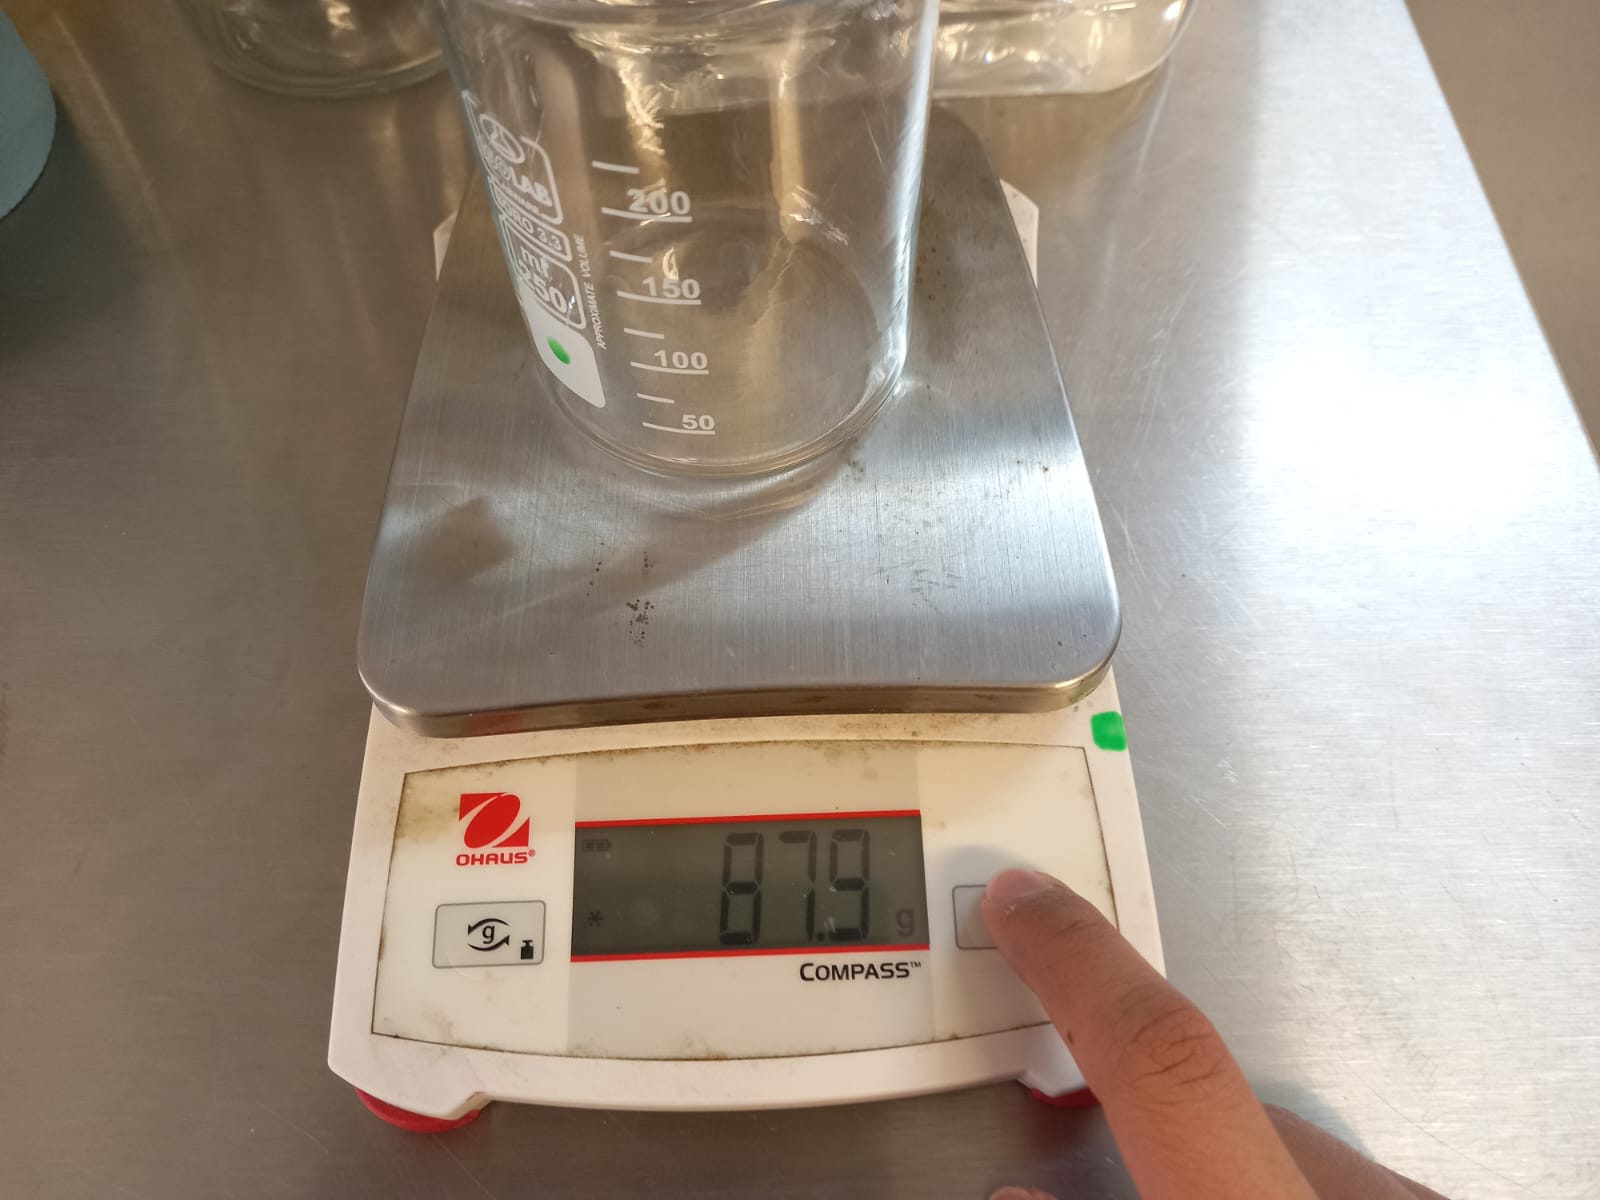 Place the beaker on the balance.
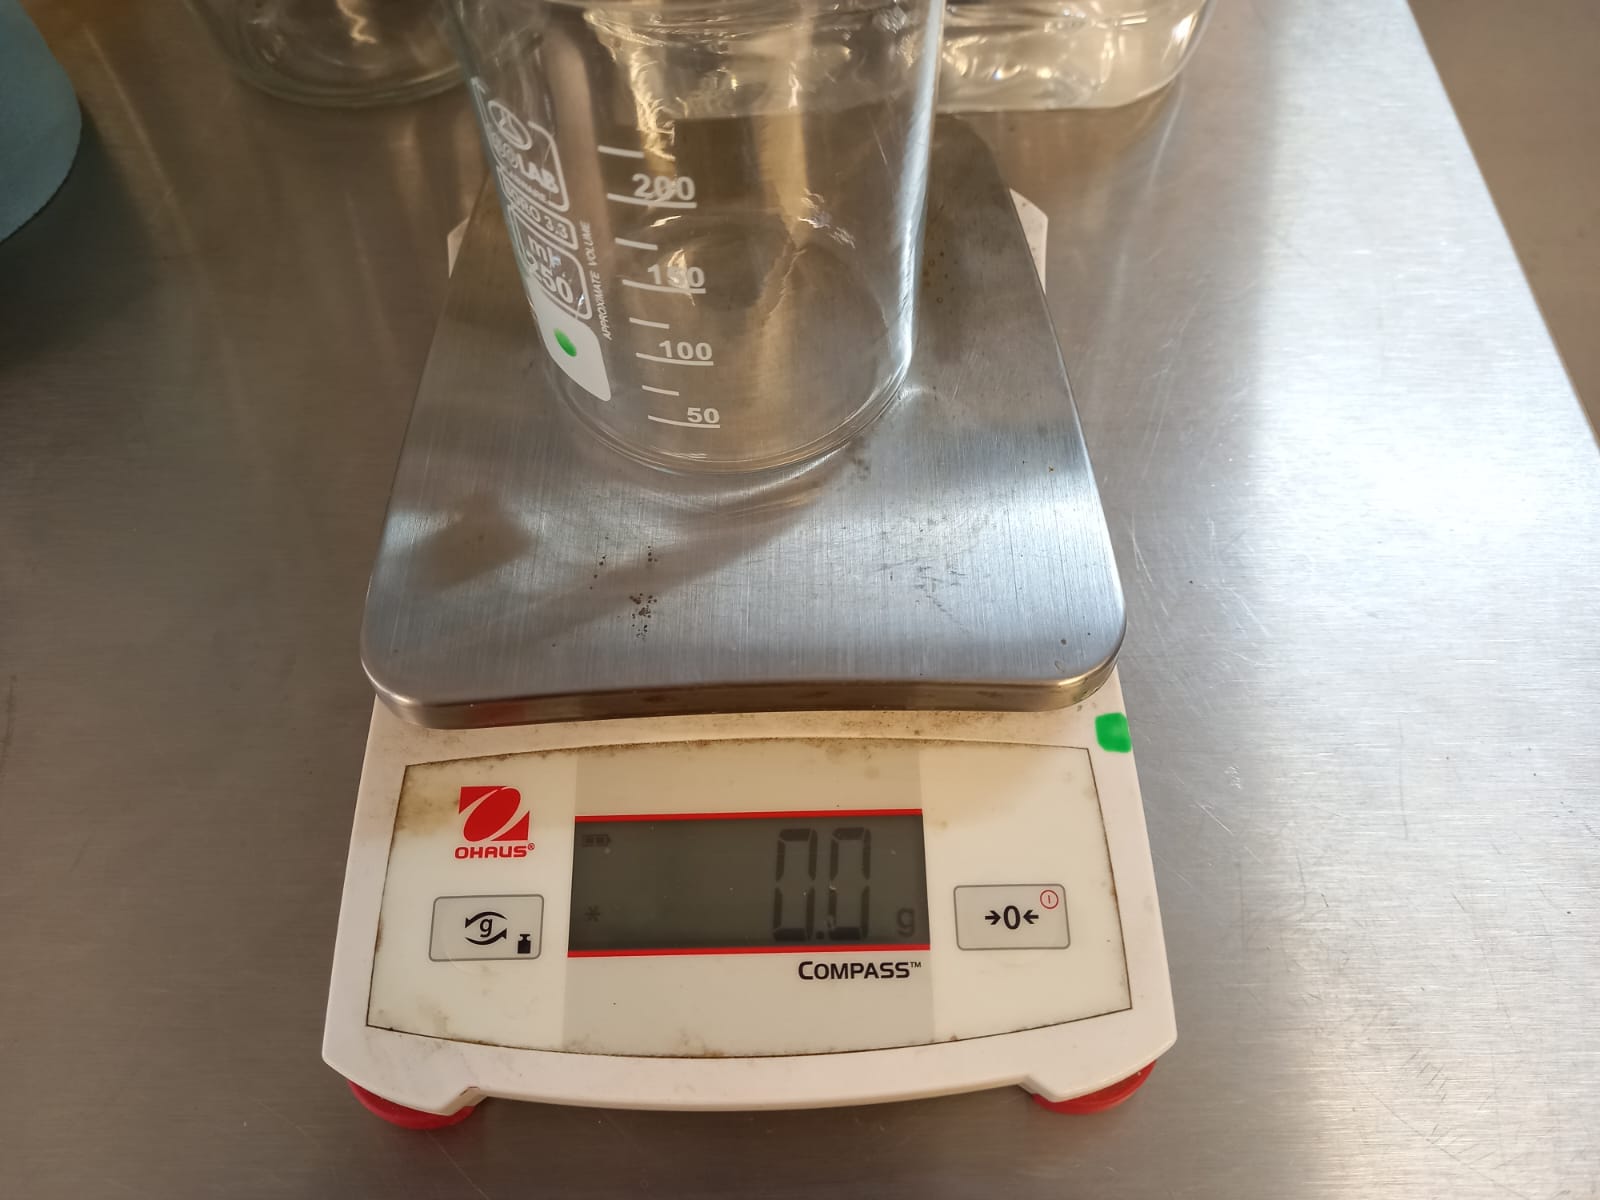 Press the button to tare.
For the first test, I used a beaker to add 5 grams of sodium alginate to 100 ml of water. Initially, I tried with 80 ml of water, adjusting to achieve a thick consistency for extrusion, but the water didn't mix well with the alginate, so I added 20 ml more.
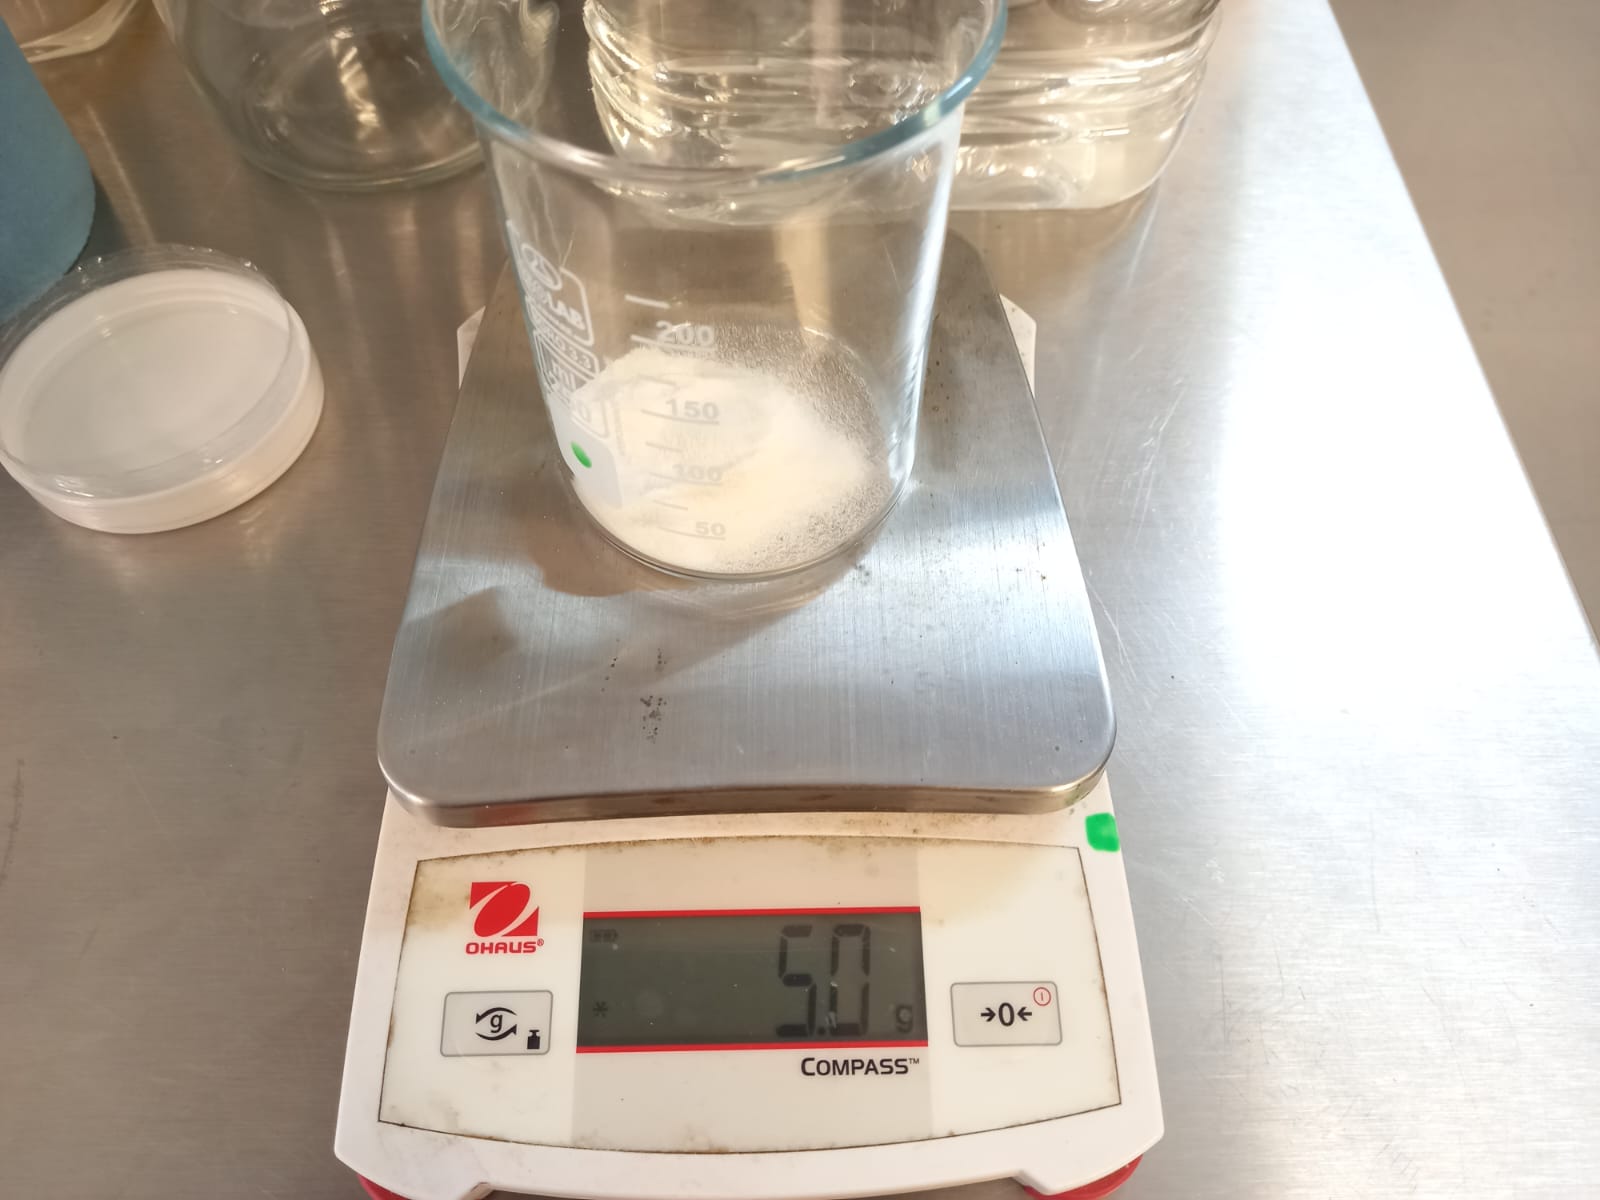
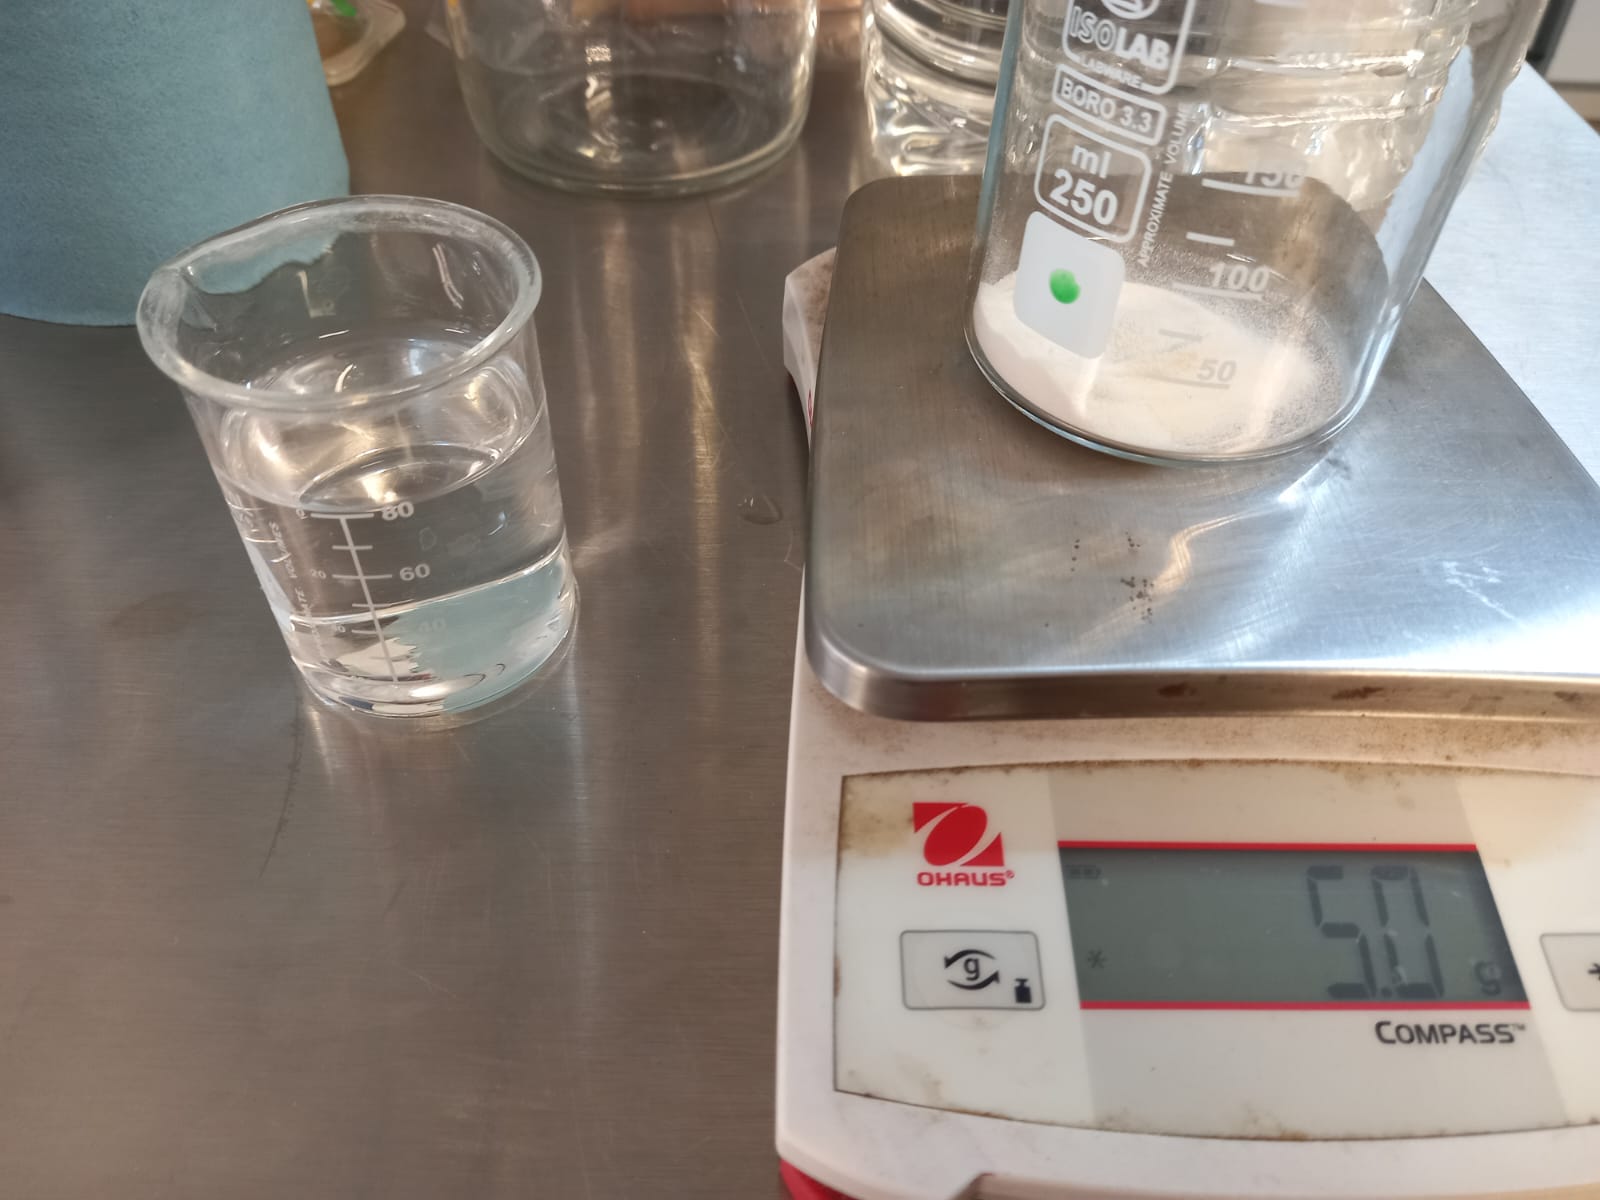
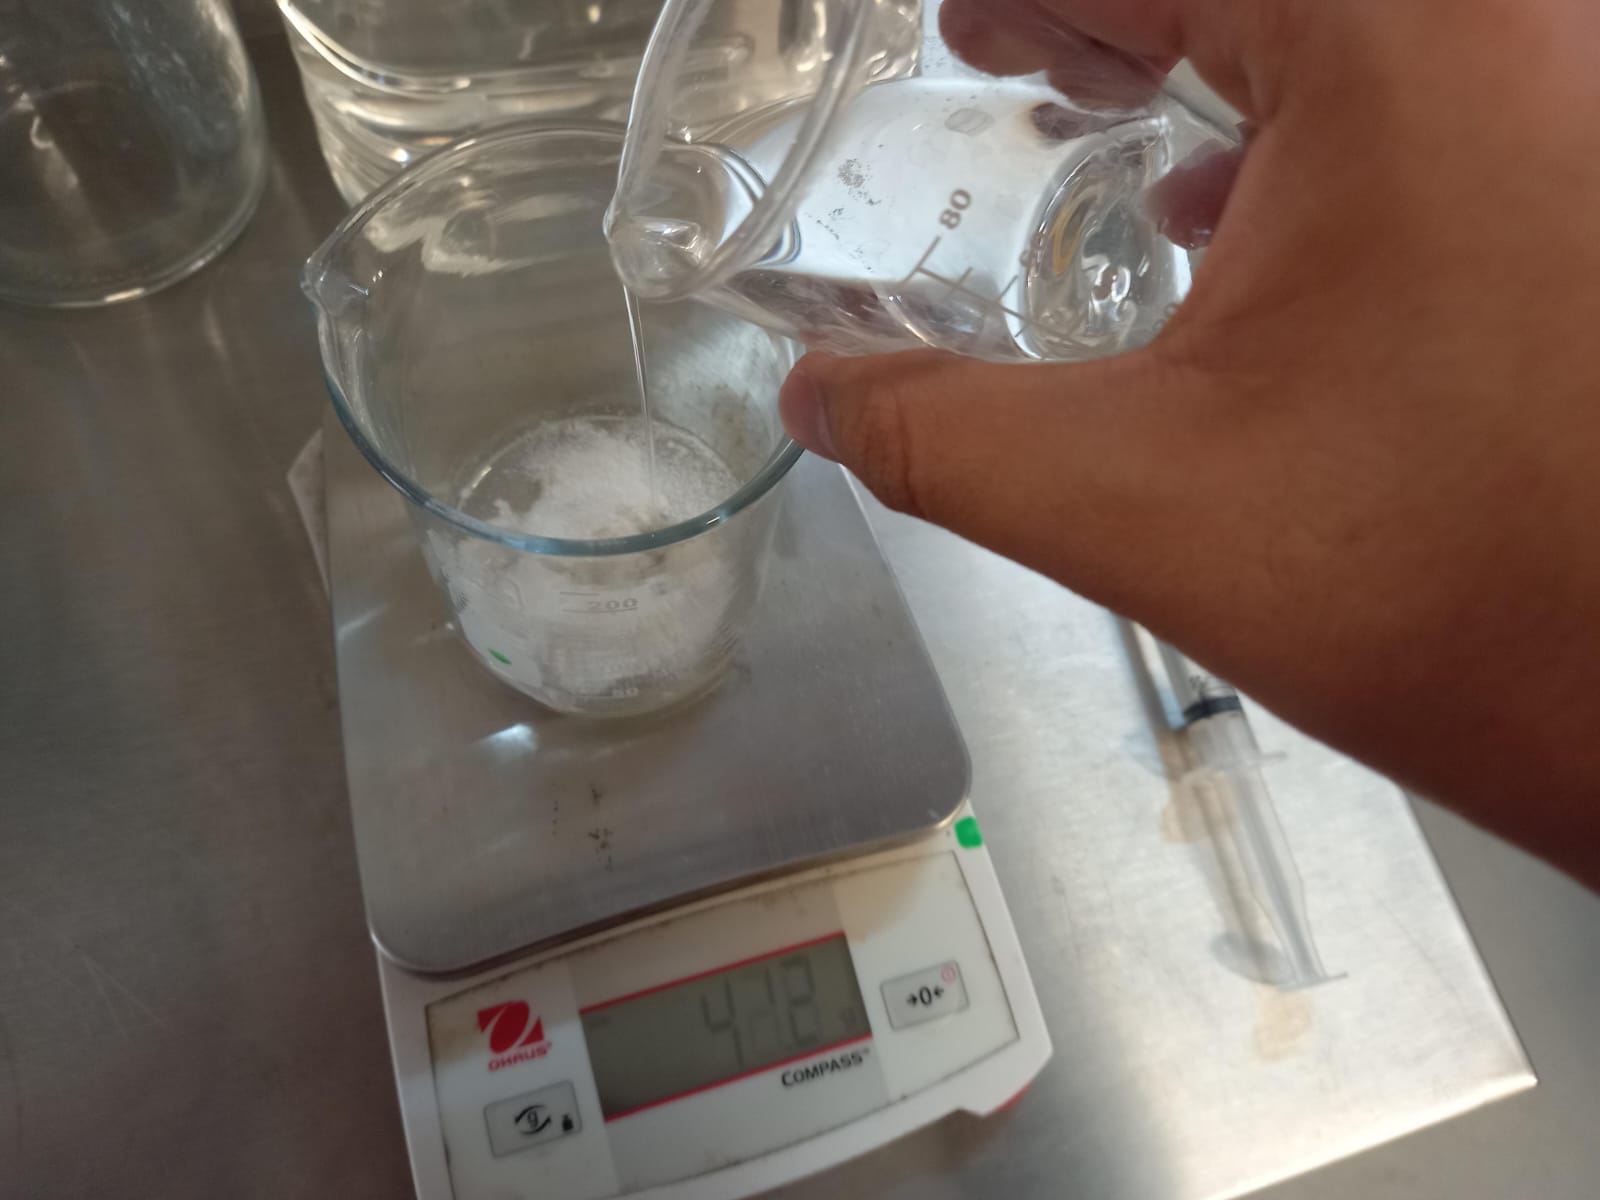
To mix it, you can stir with a spoon, but to make things easier, I used the double boiler technique to speed up the process and help the mixture become homogeneous.
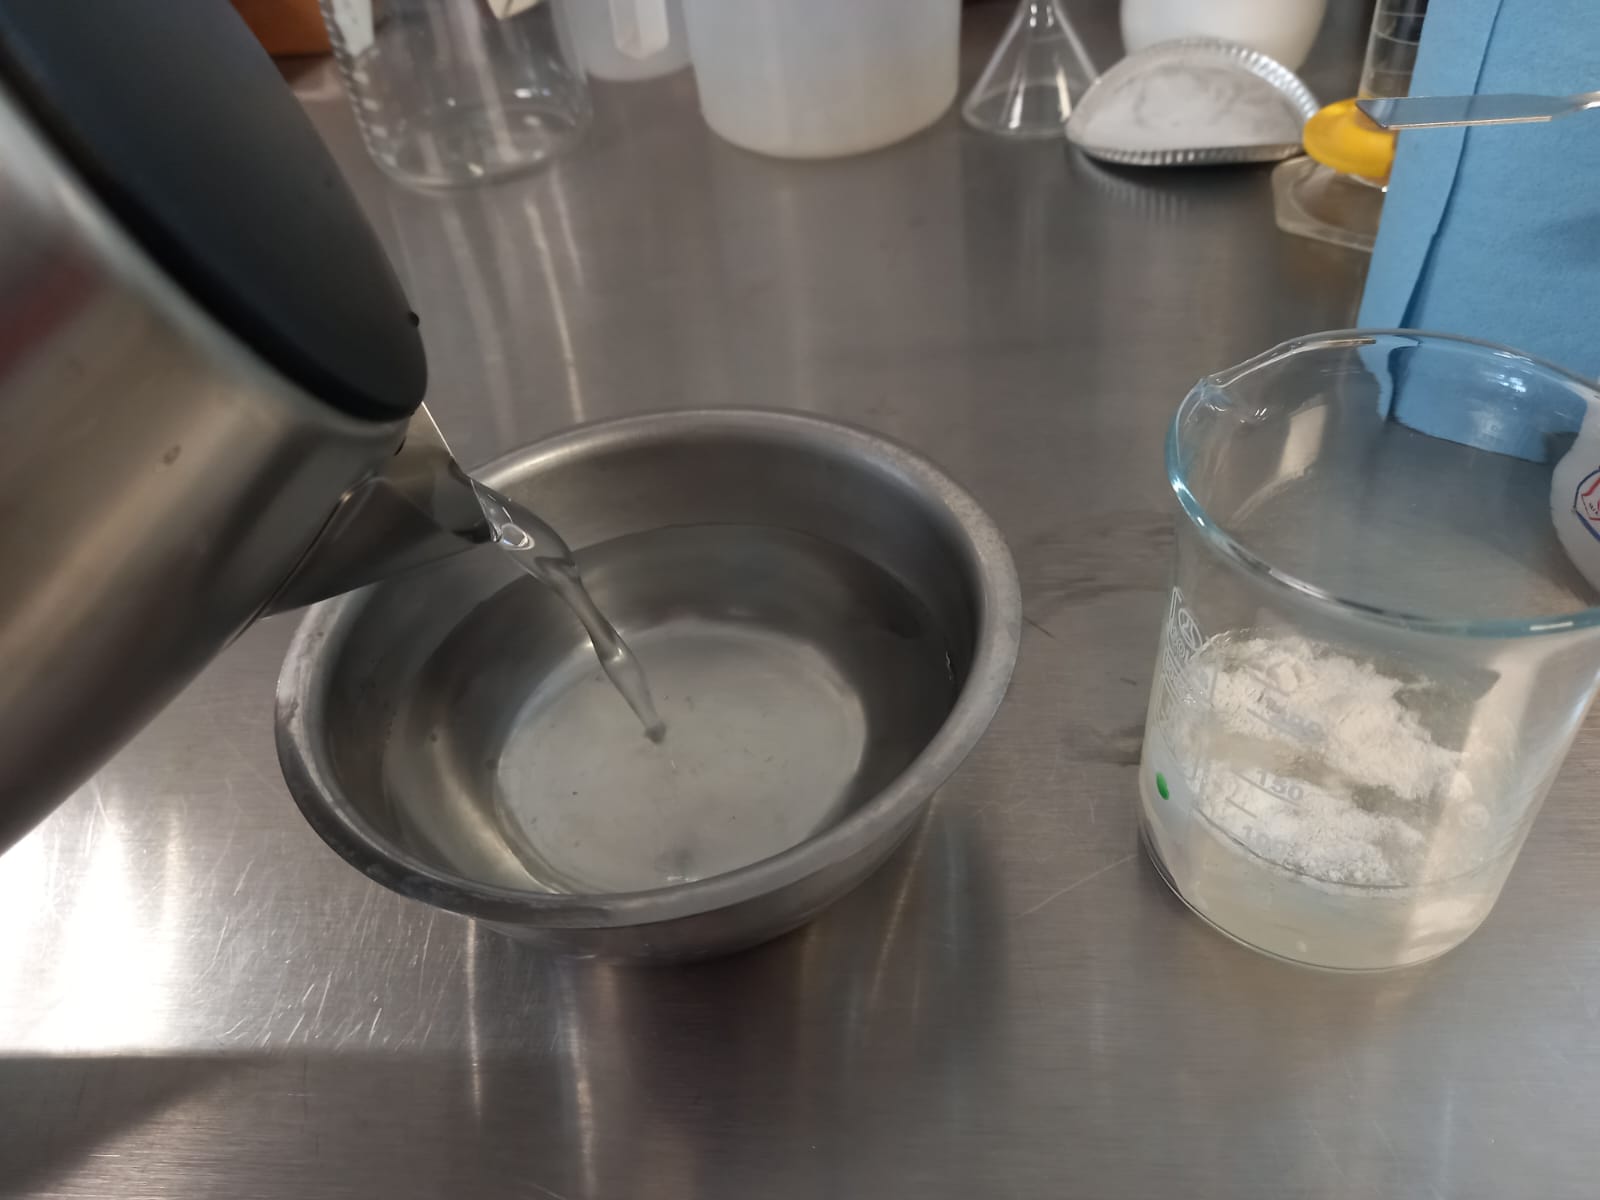
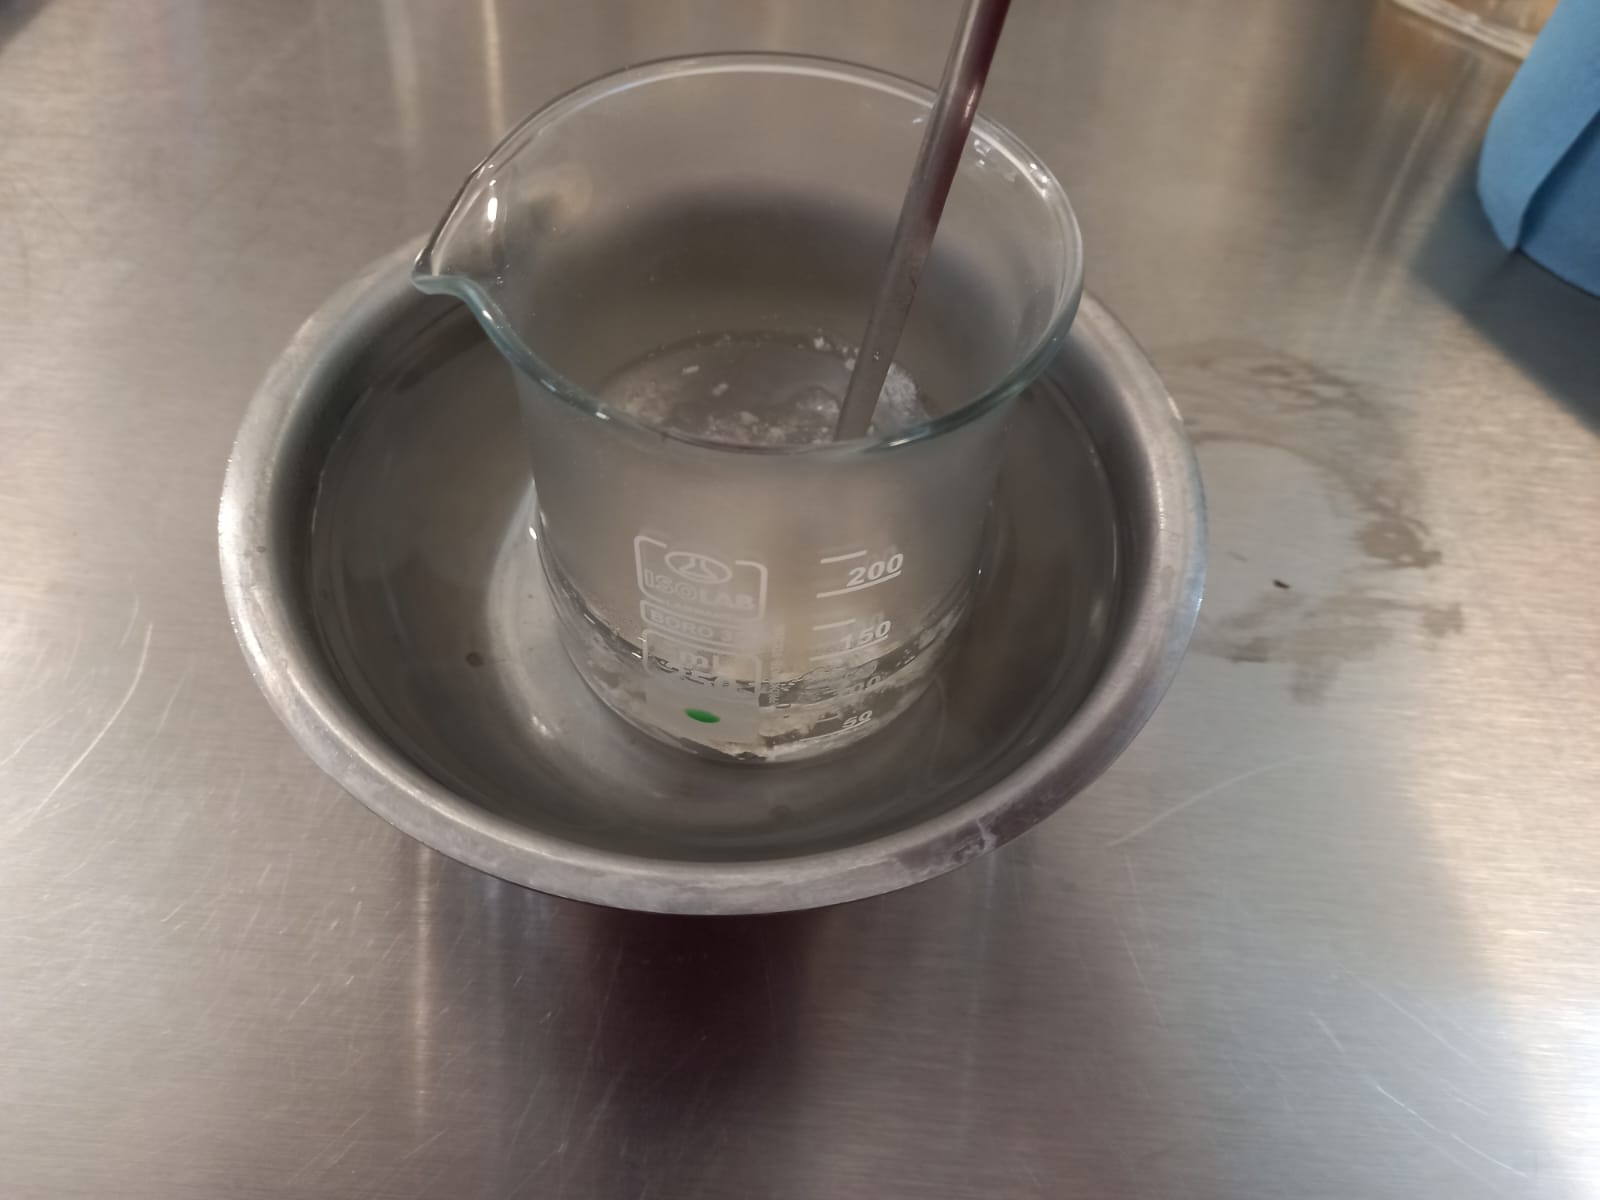

Then I added mango flavor. It's worth mentioning that according to the Mexican Official Standard (NOM), the amount of flavoring I bought is classified as good manufacturing practices, meaning it's to taste. But the lab instructors told me it was a small amount since it left a strong taste, so I added a tiny pinch.
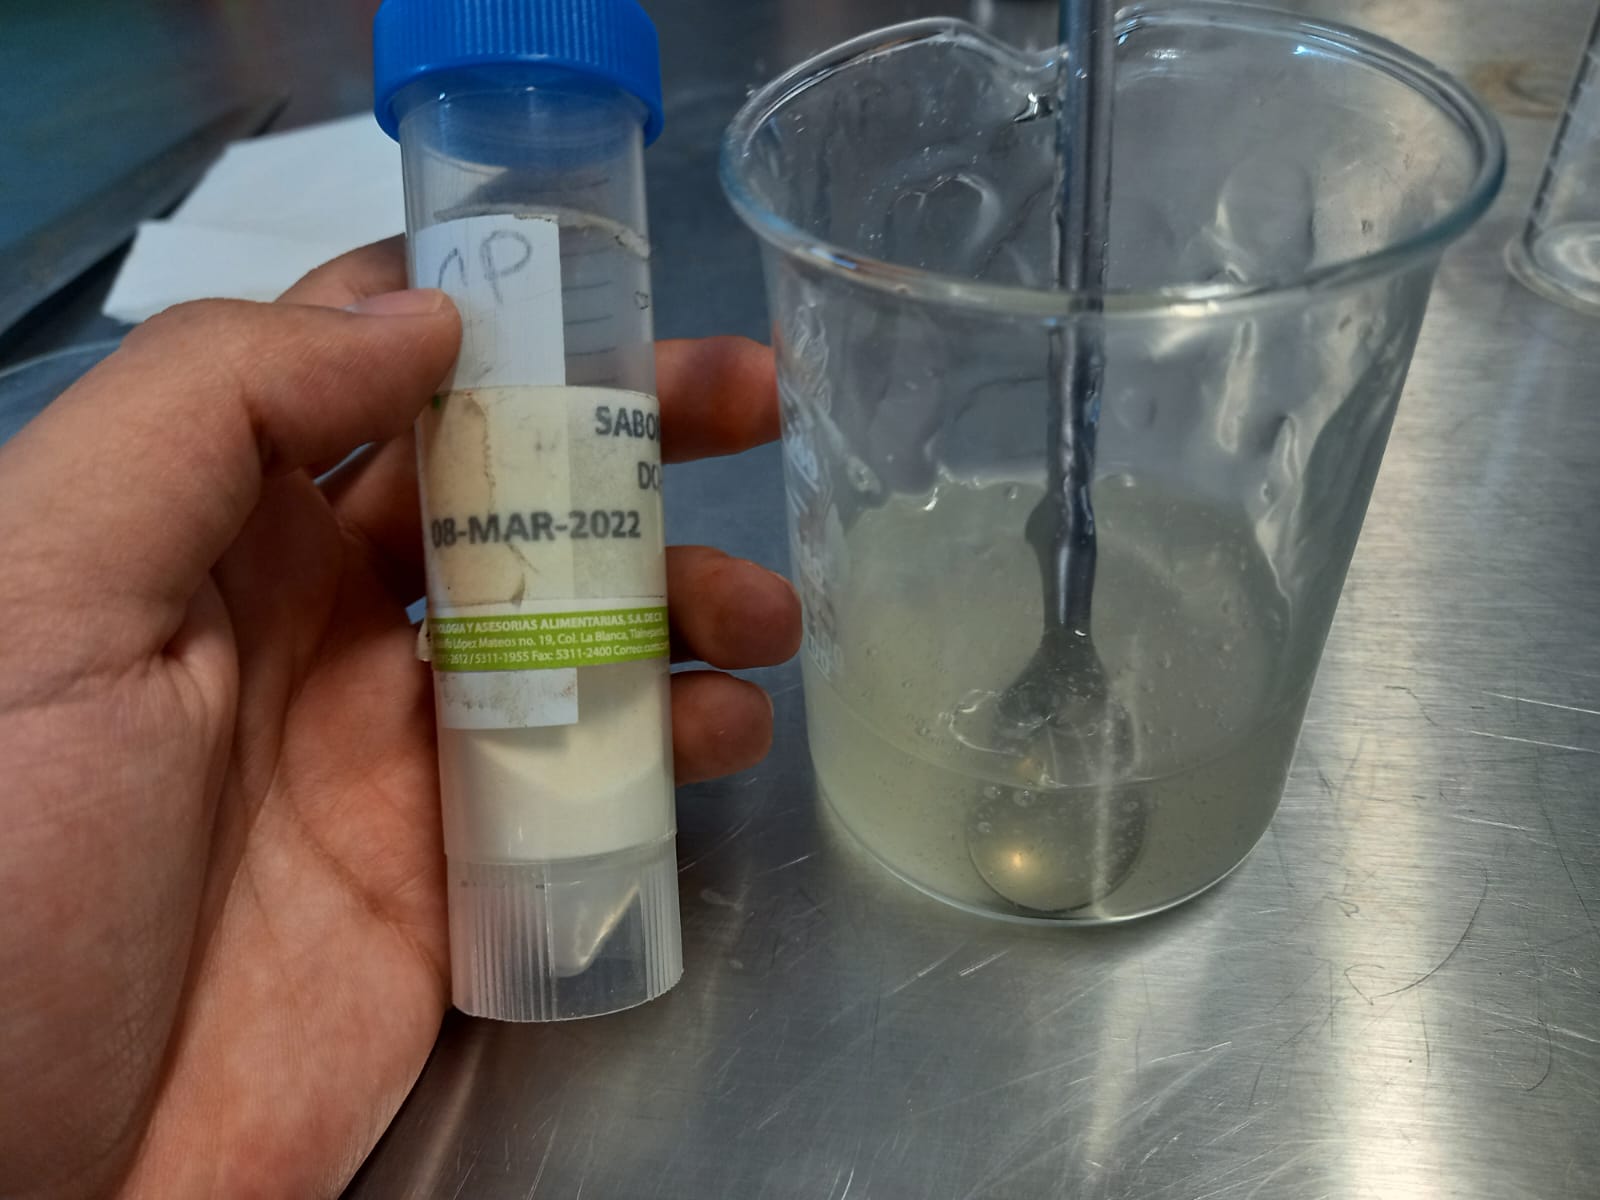
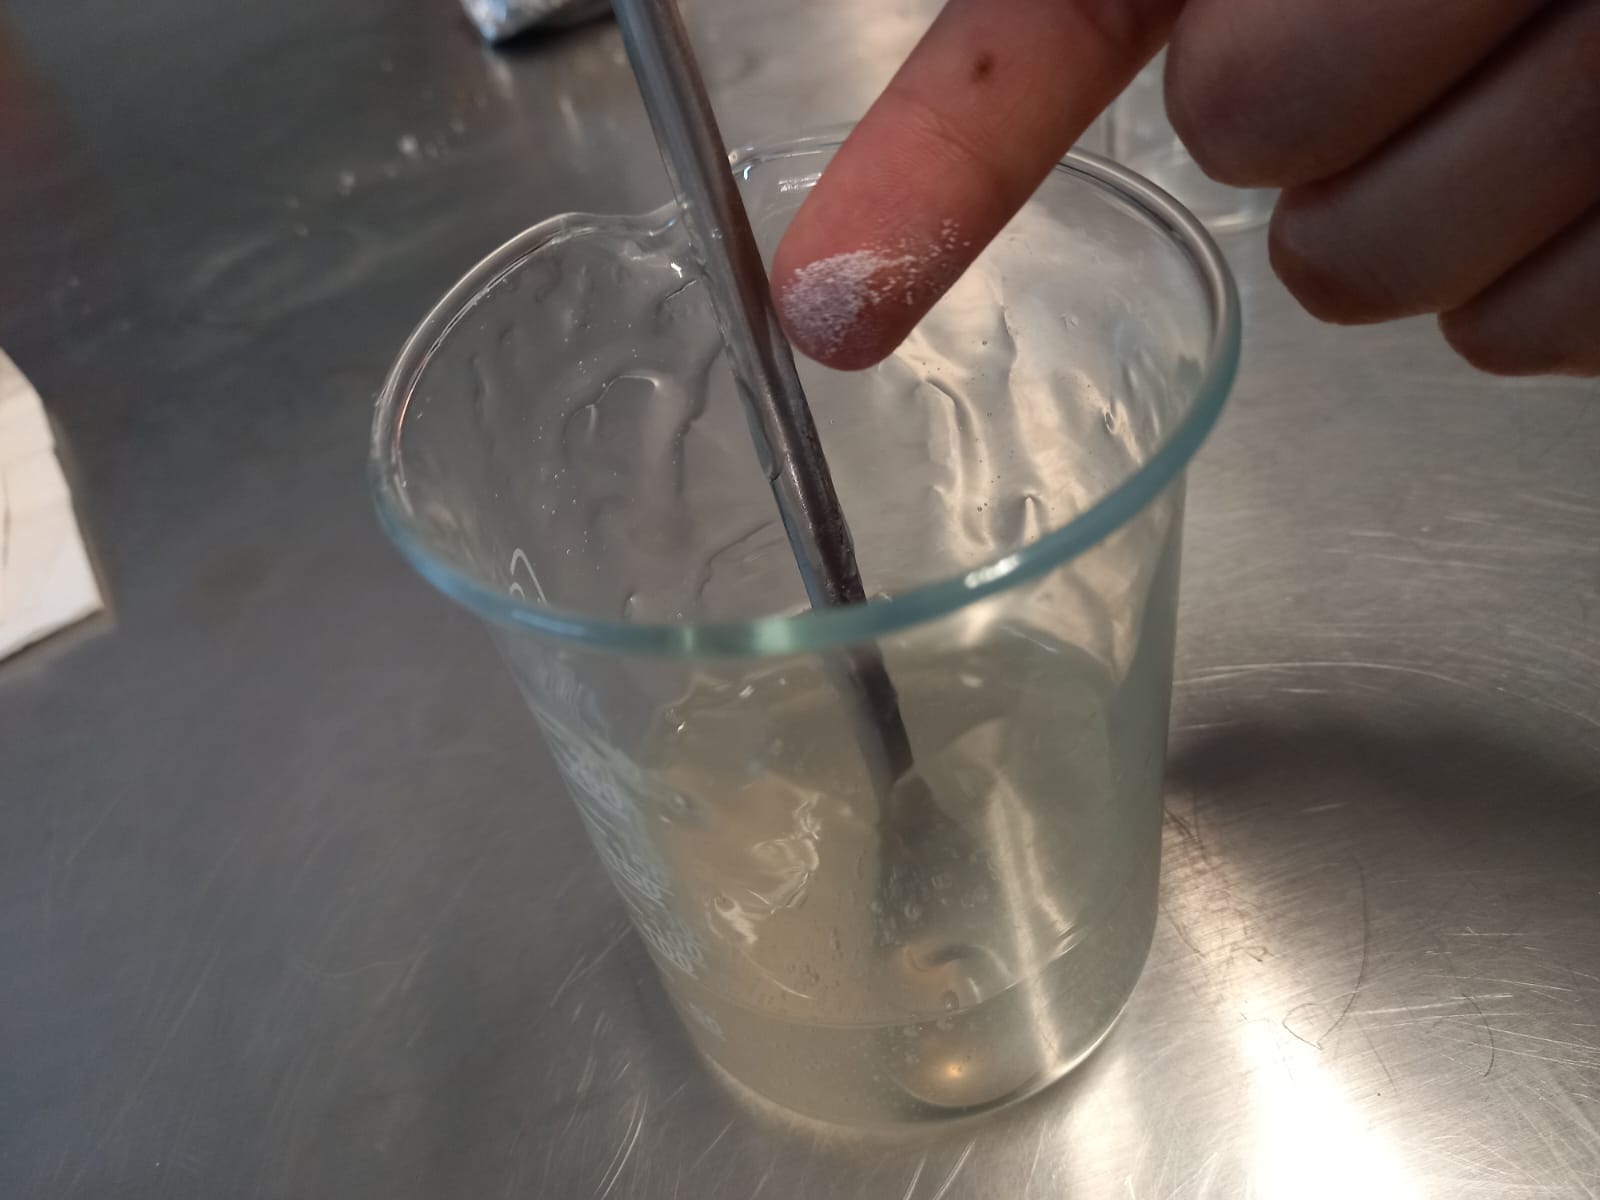
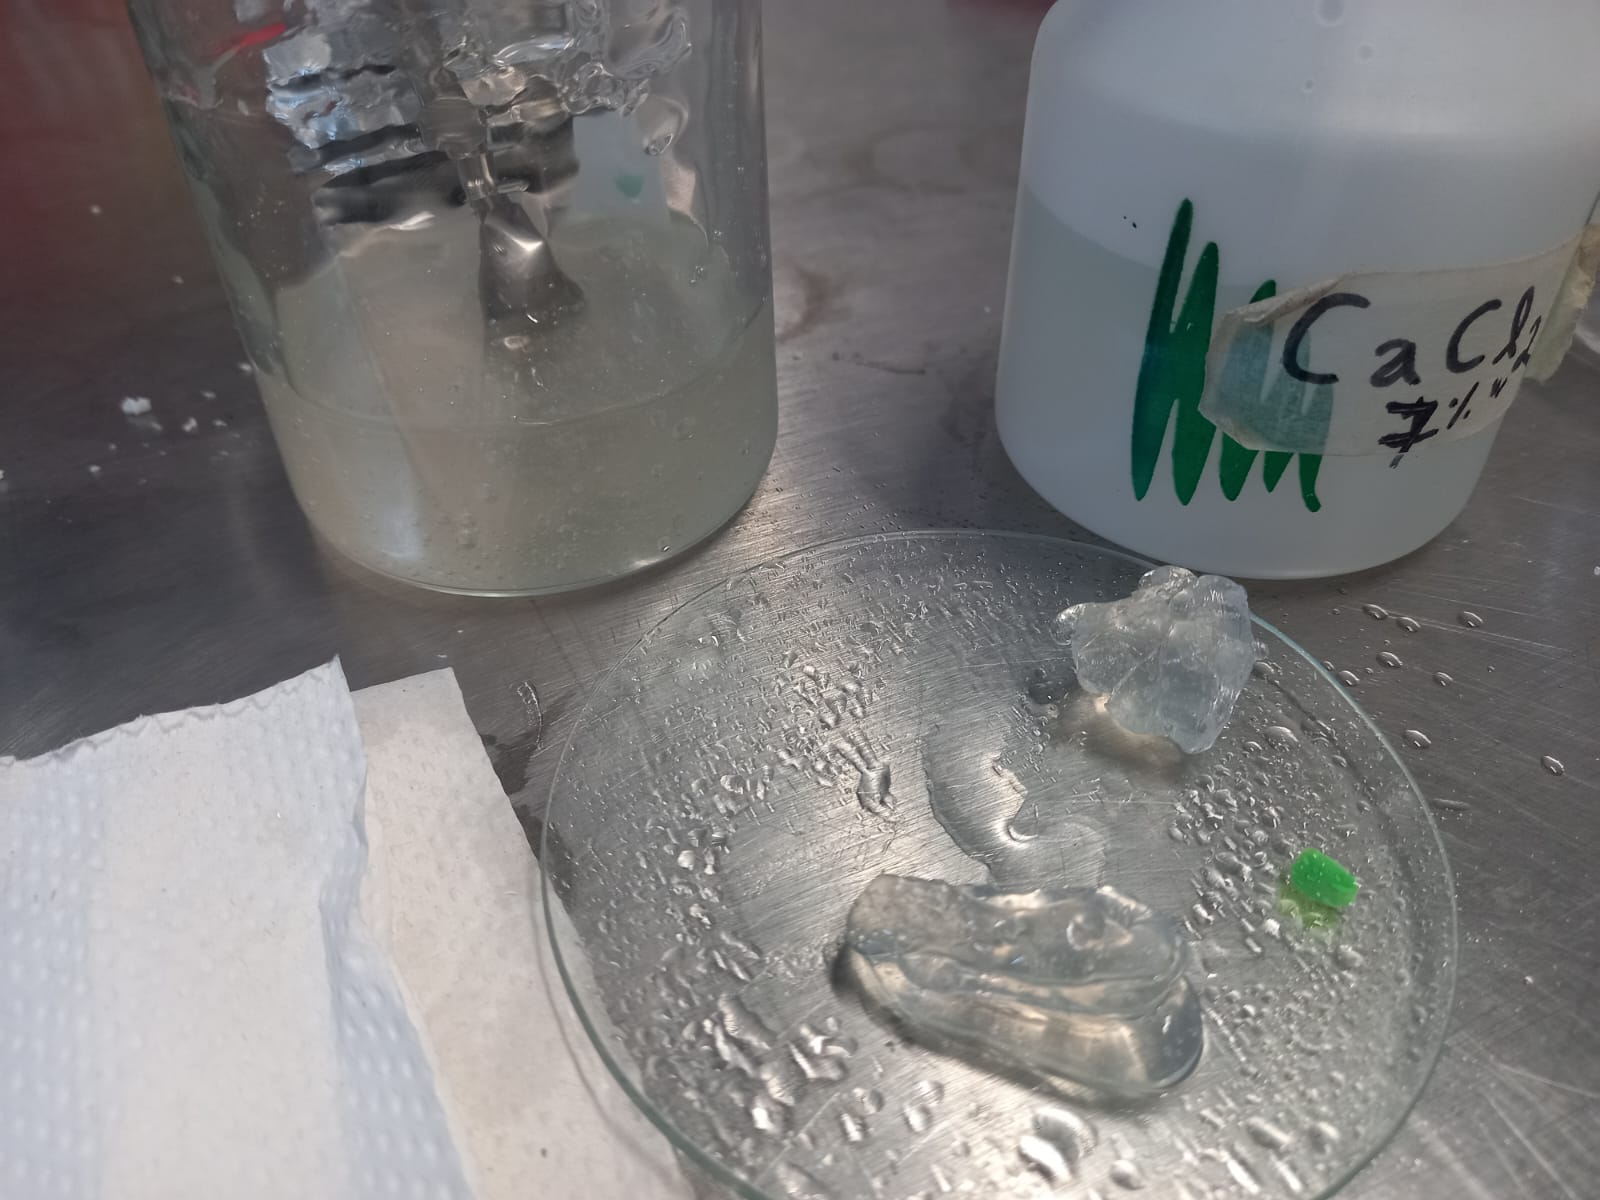
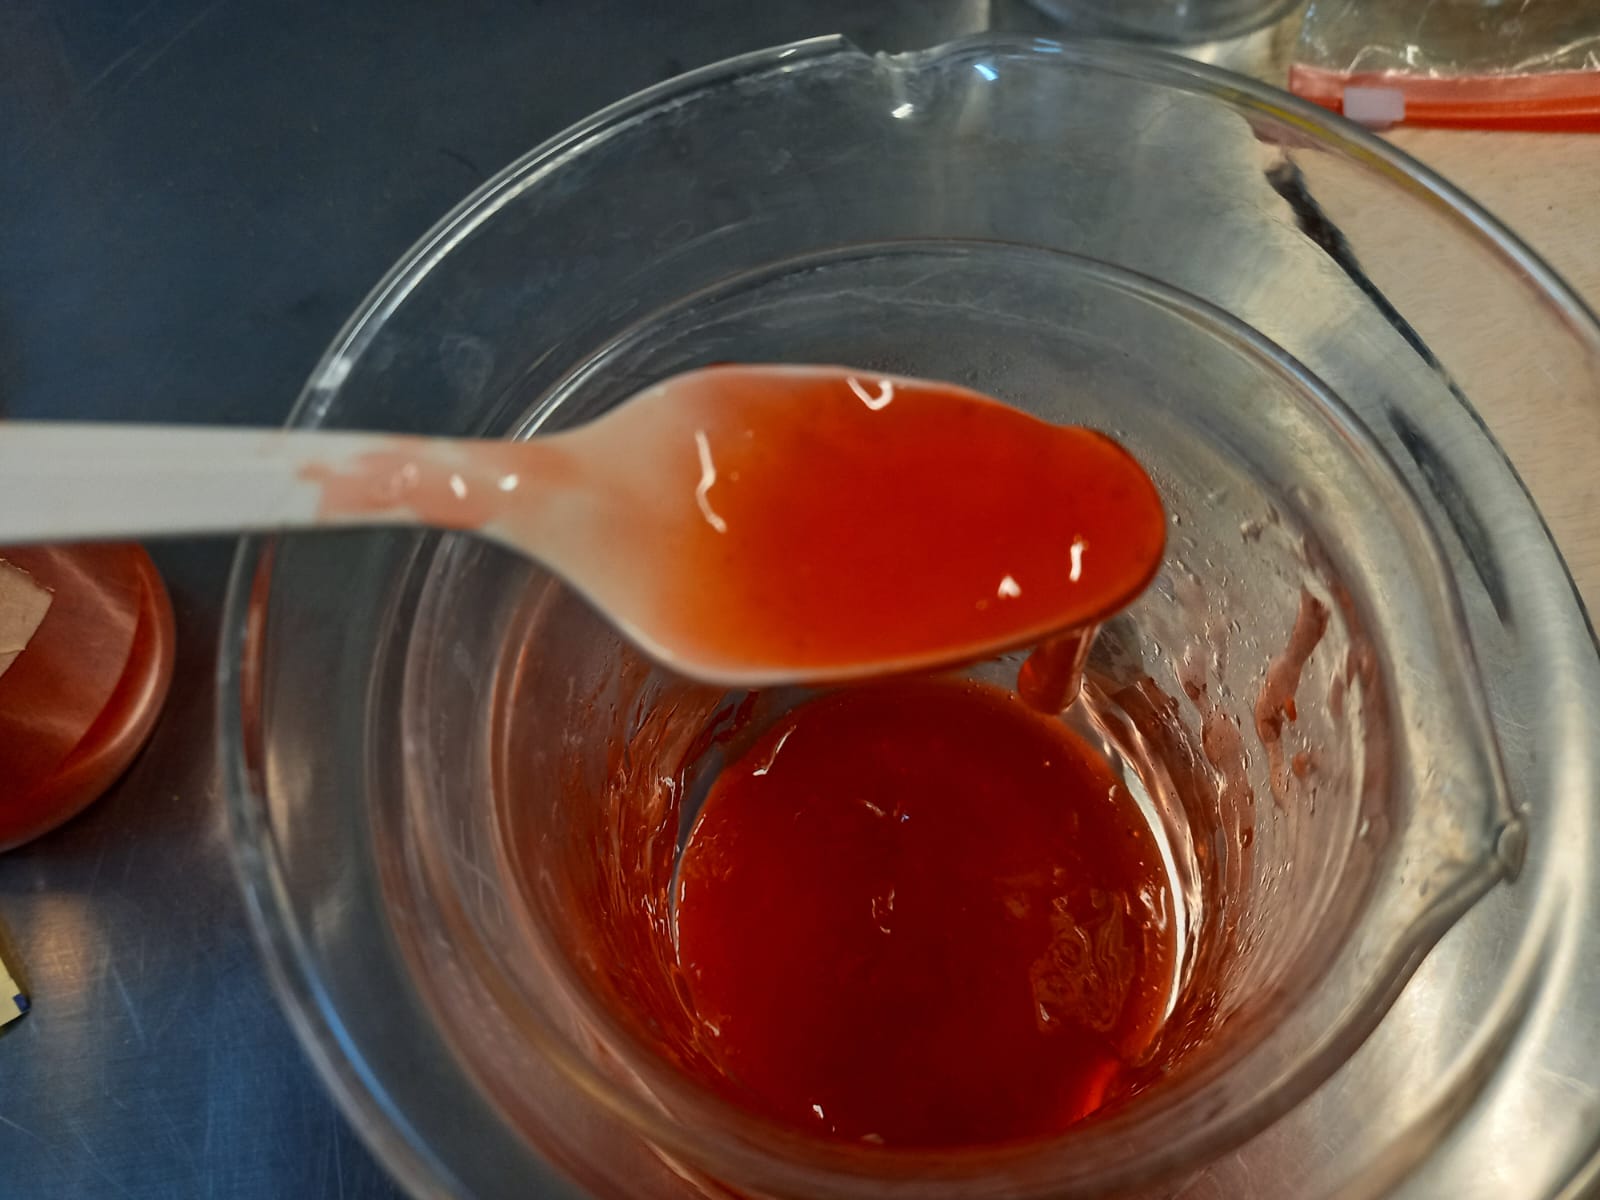
Subsequently, I extruded the sample onto a watch glass using a syringe and added 7% calcium chloride to gel it, but it didn't taste good haha. It tasted really bad, probably because we used too much chloride as seen in the picture, as well I didn't add sugar, and the flavoring hardly had any effect. I needed to add more.
Experiment 2
For experiment 2, we were advised to mix all the solutes (sugar, flavoring, and coloring) in water before hydrating the alginate to unify the flavor. Ingredients:
- 1g sugar
- 100ml water
- colored lemon flavoring

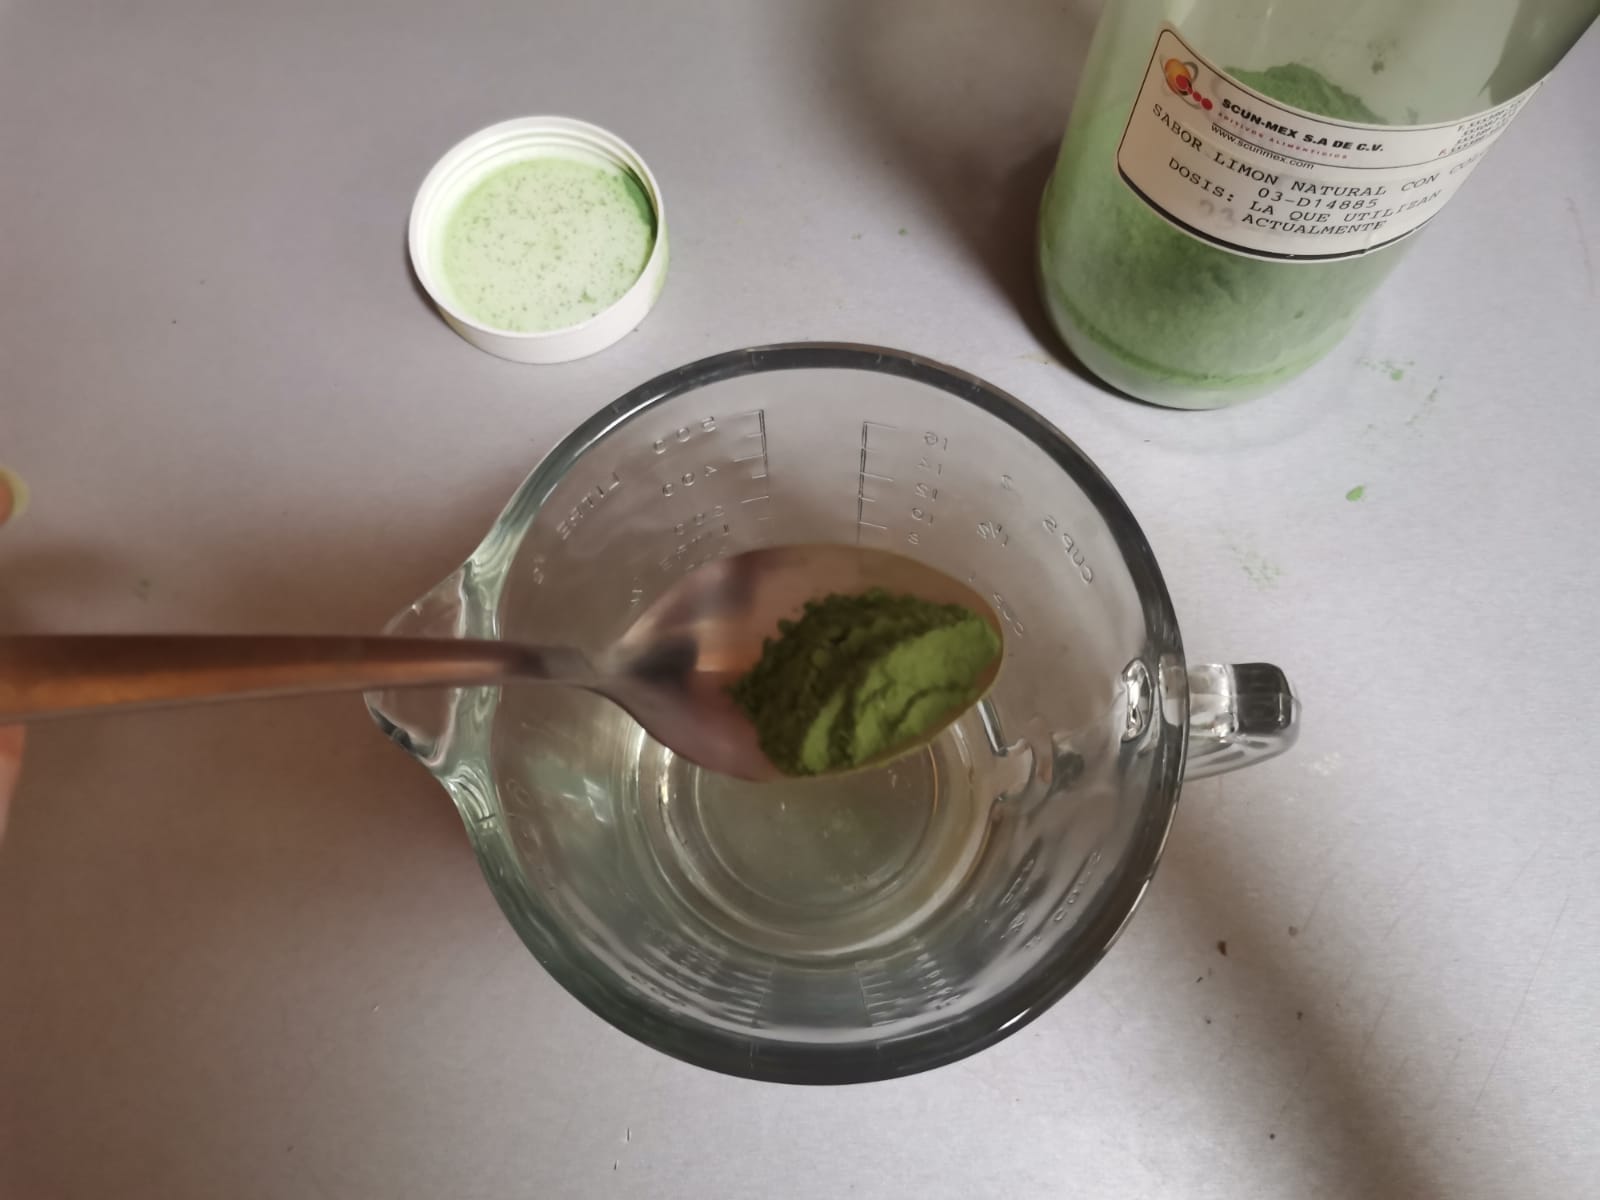 Add half a tablespoon of lemon-flavored coloring.
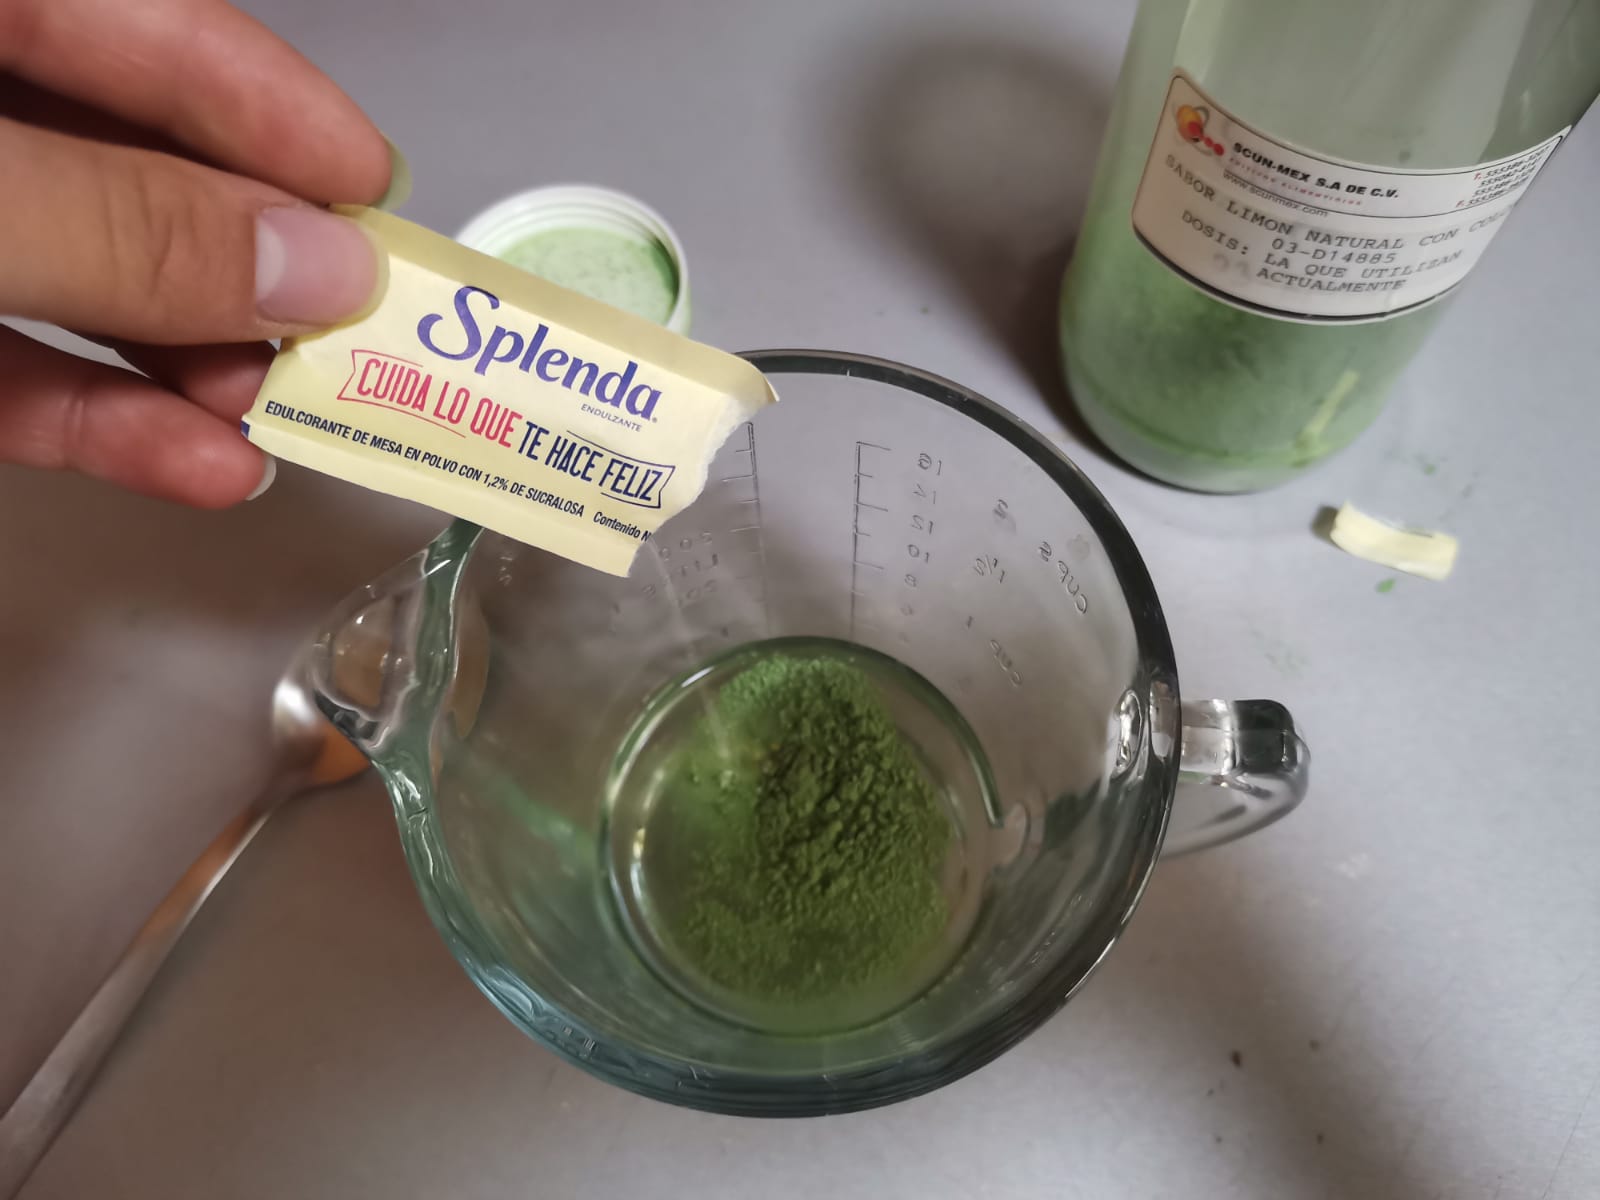 Add the sugar to the water.
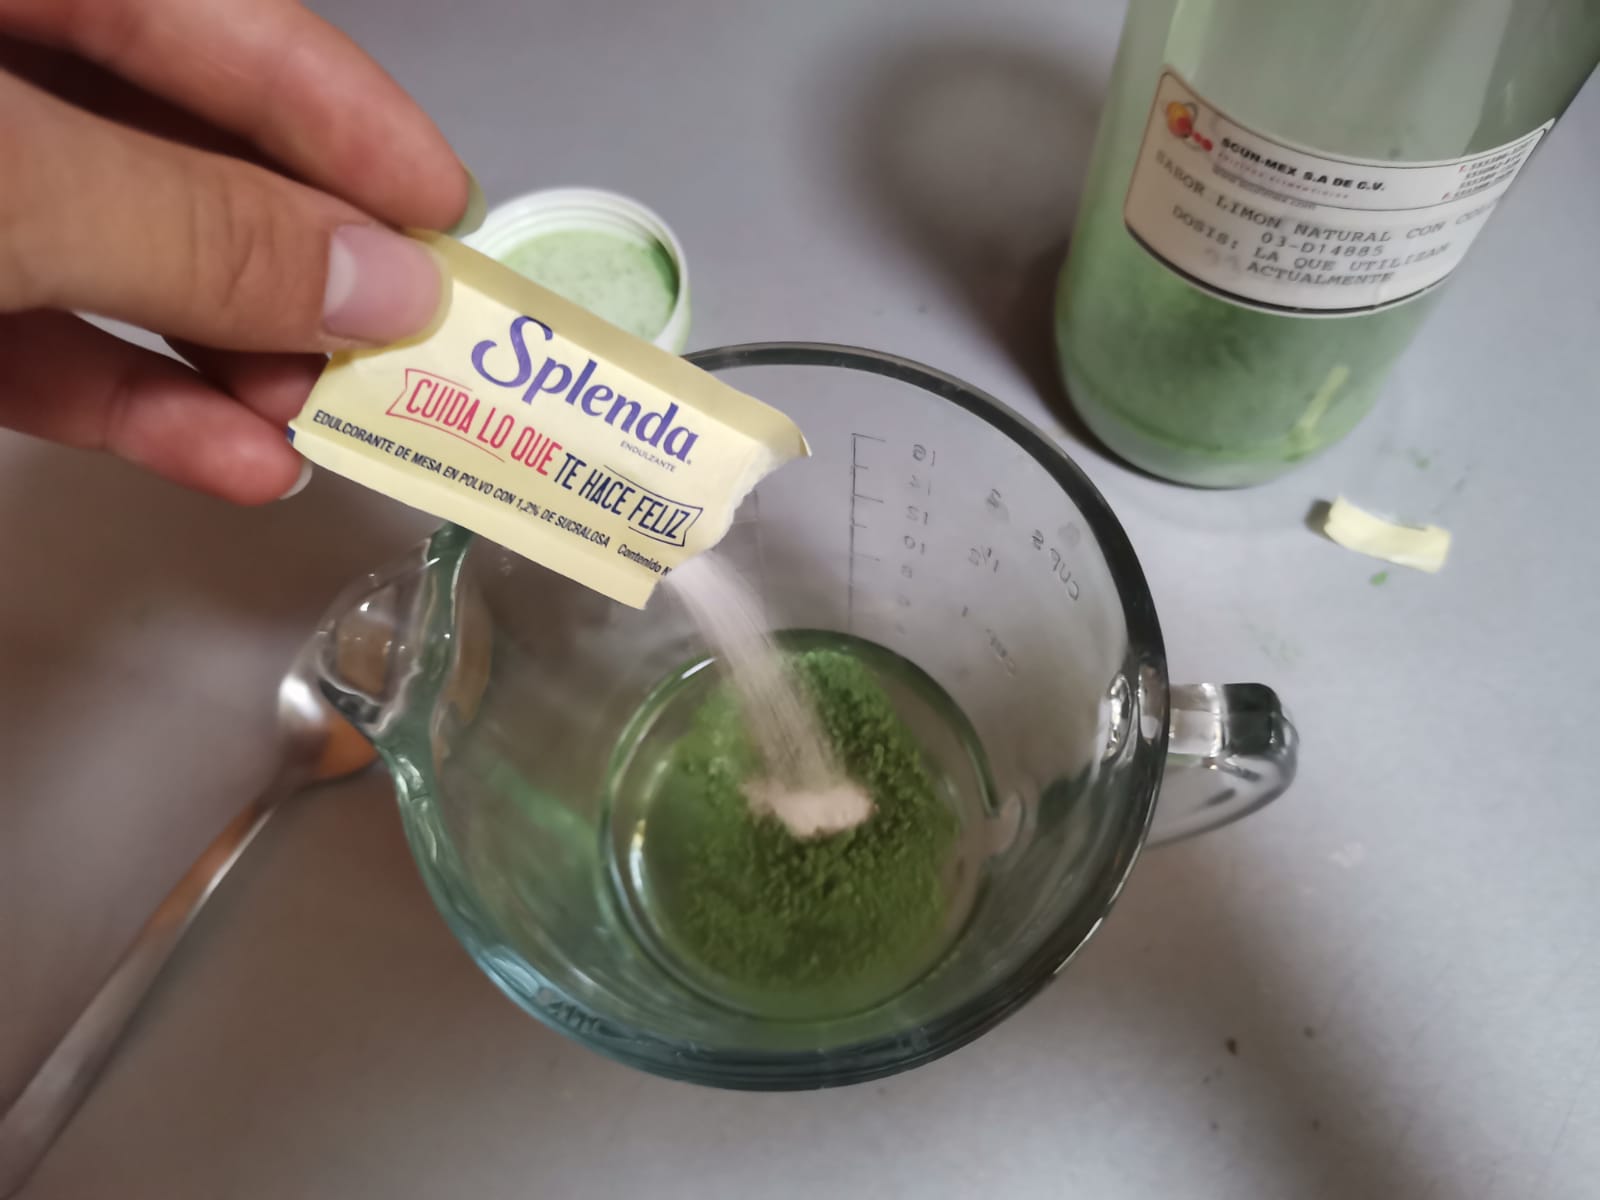
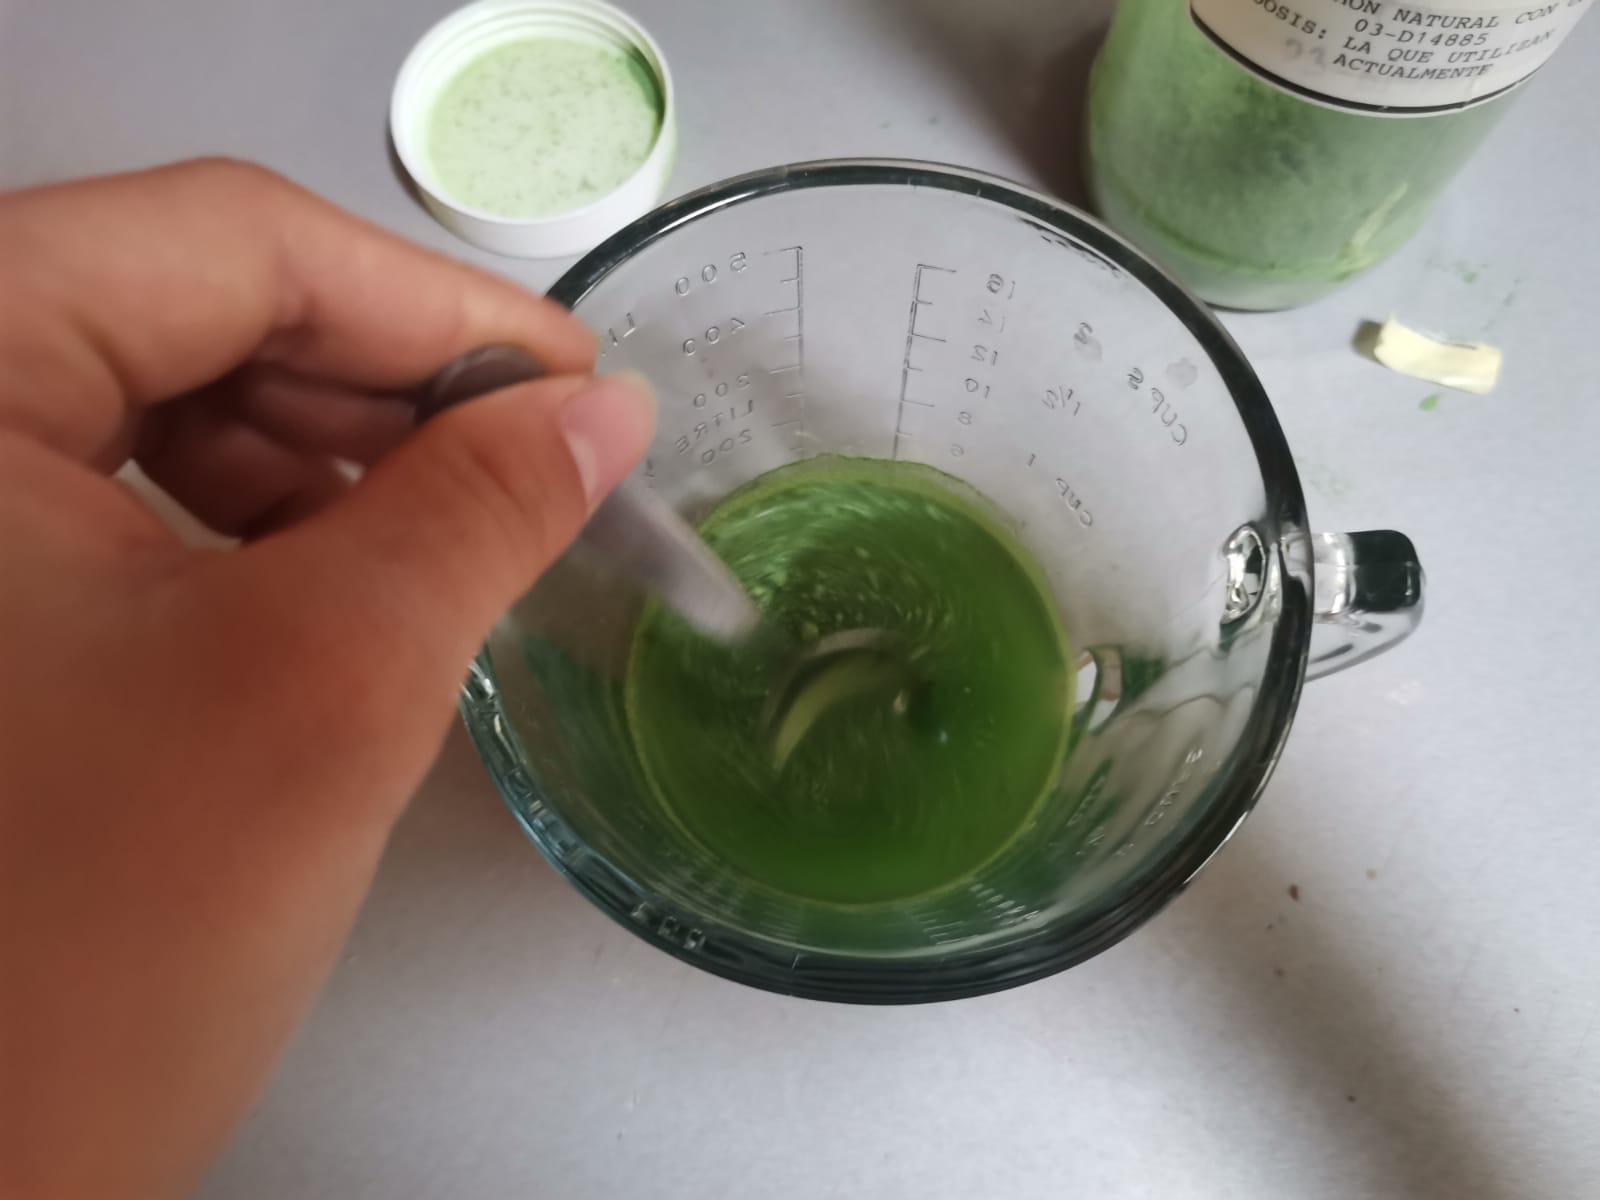 Mix it well until you don't see lumps.
 And that's all!
However, when hydrating the alginate with the water, it only tasted sweet without any lemon flavor, and clearly, since we didn't use citric acid, it felt flat, lacking any excitement.
Experiment 3
So for experiment 3, we decided to go all out. We used the following ingredients:
- A pinch of malic acid
- Half tablespoon monosodium glutamate
- 0.03g Allura Red 40
- 5g Sodium alginate
- 1 tablespoon tutti frutti flavoring
- 4g sugar.
- 100ml water

The NOM states that for Red 40 dye, it's 300mg per liter of water, but we were only going to use 100 ml of water, so we did a proportion (0.03g) and weighed it on an analytical balance.

To stir, I used a stirring hotplate and a magnetic stir bar so I wouldn't have to stir constantly haha, I set the hotplate to 240 rpm.
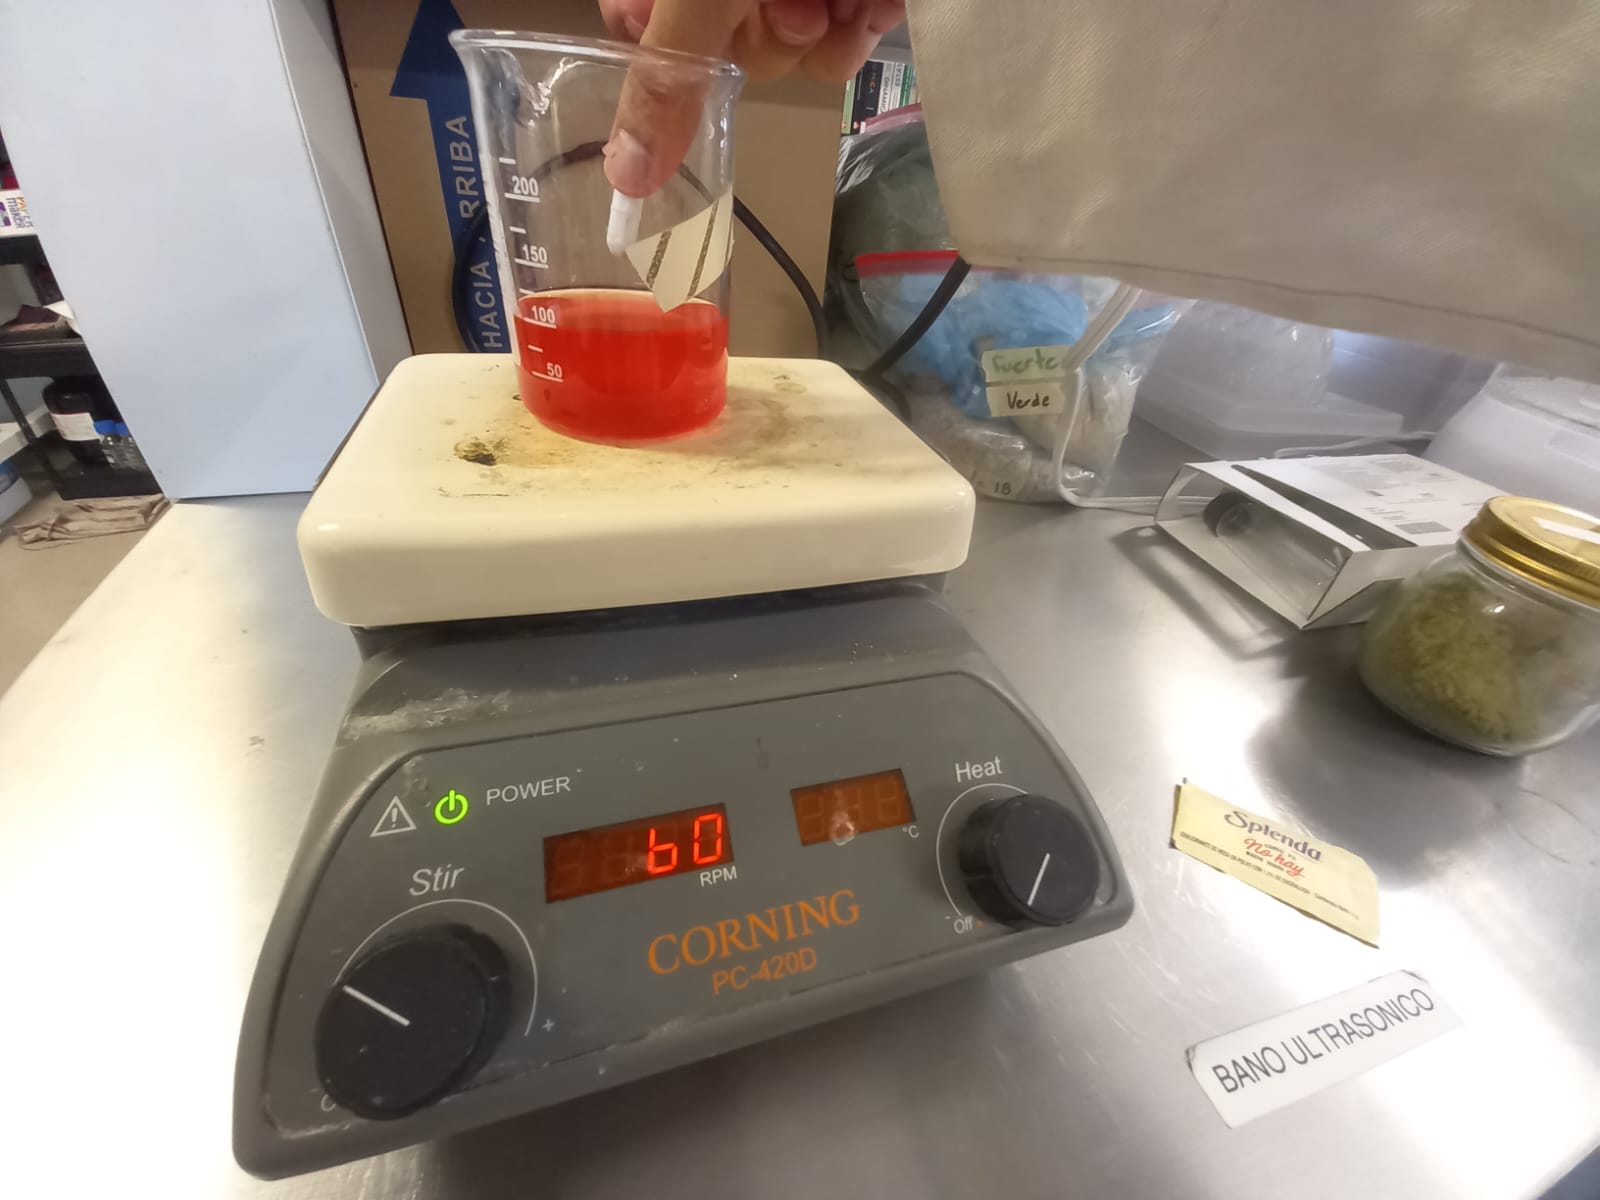
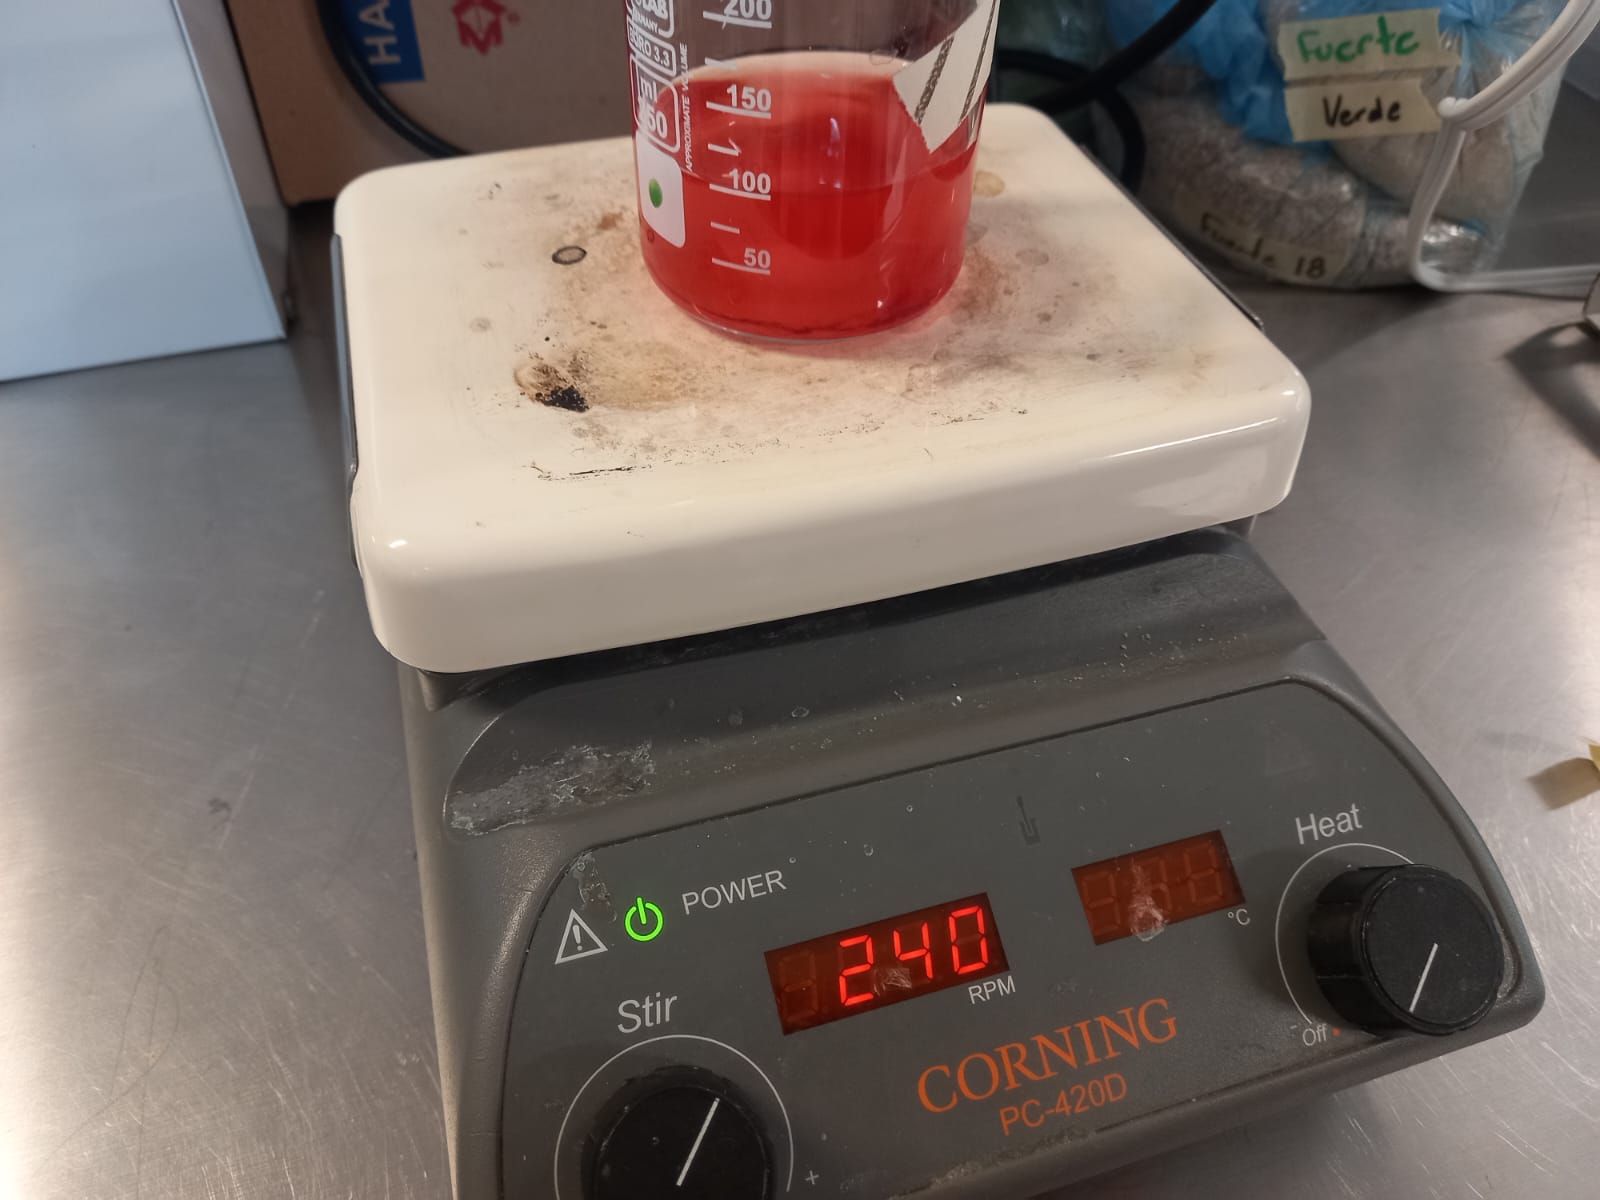
After that, I added sugar to the water, a tablespoon of flavoring (NOM Classification: Good Manufacturing Practices),
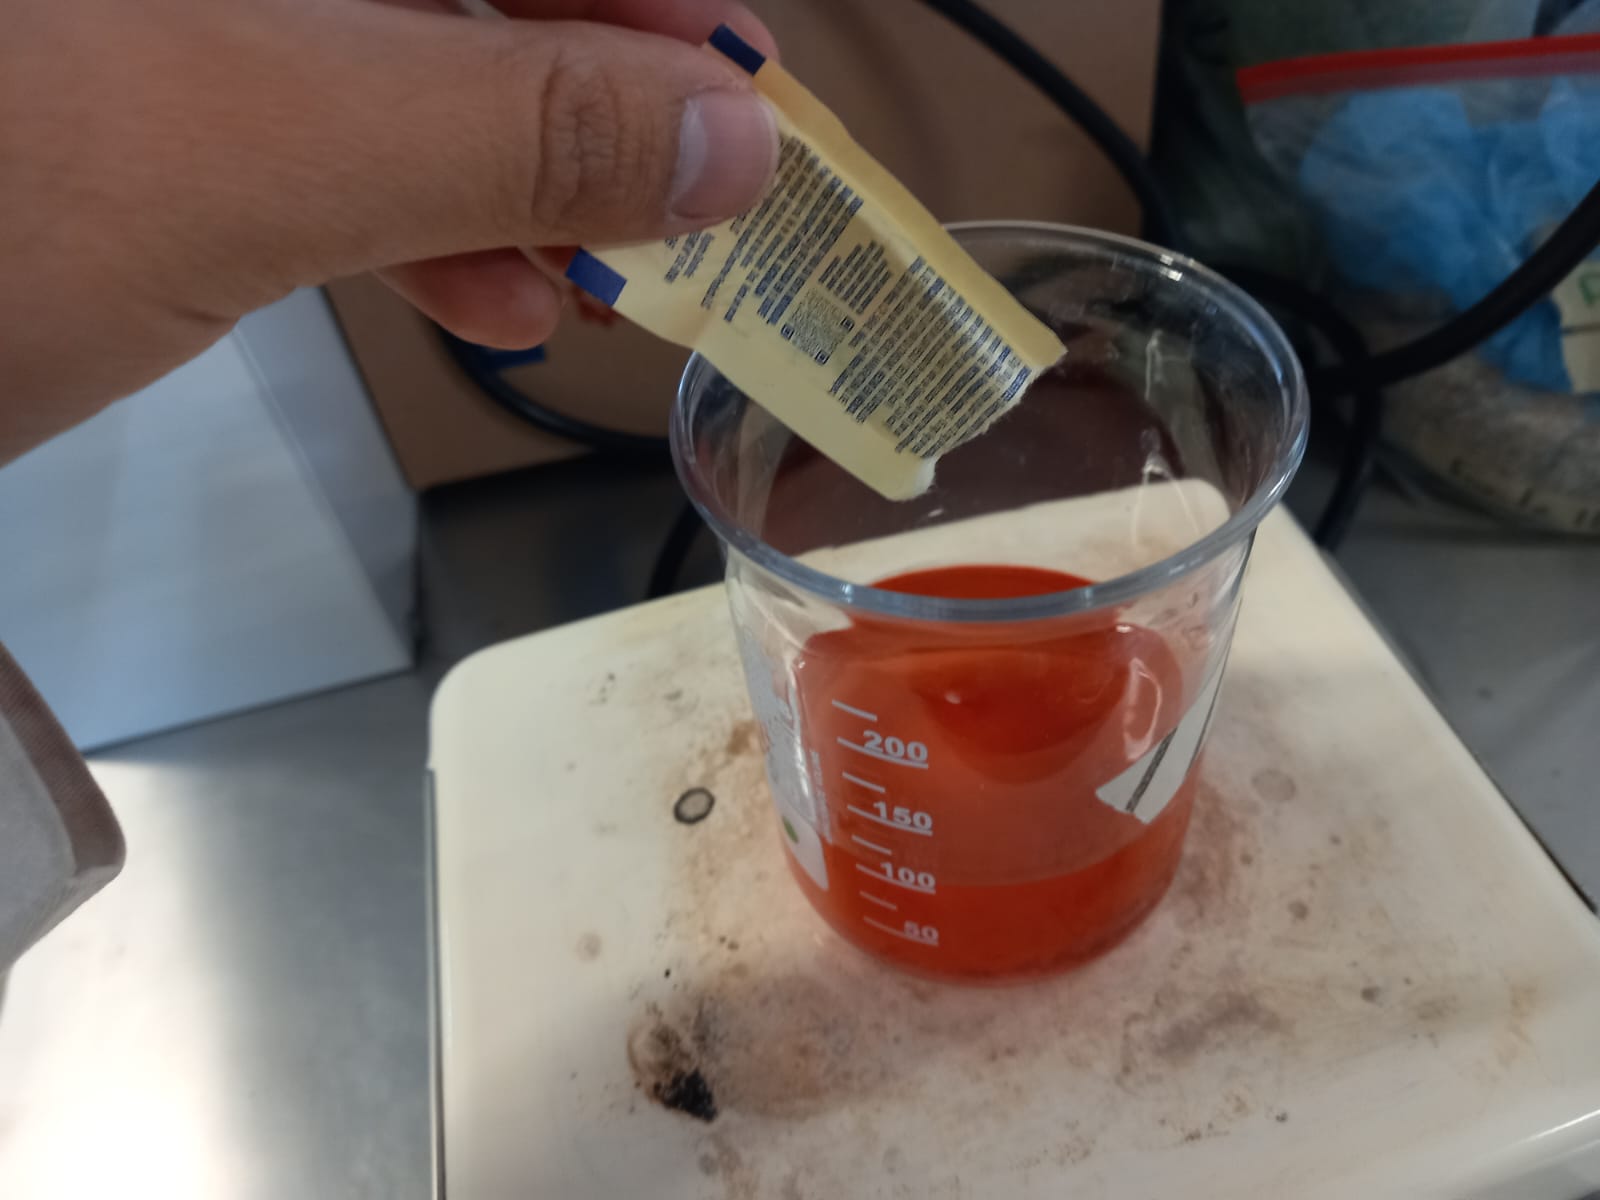
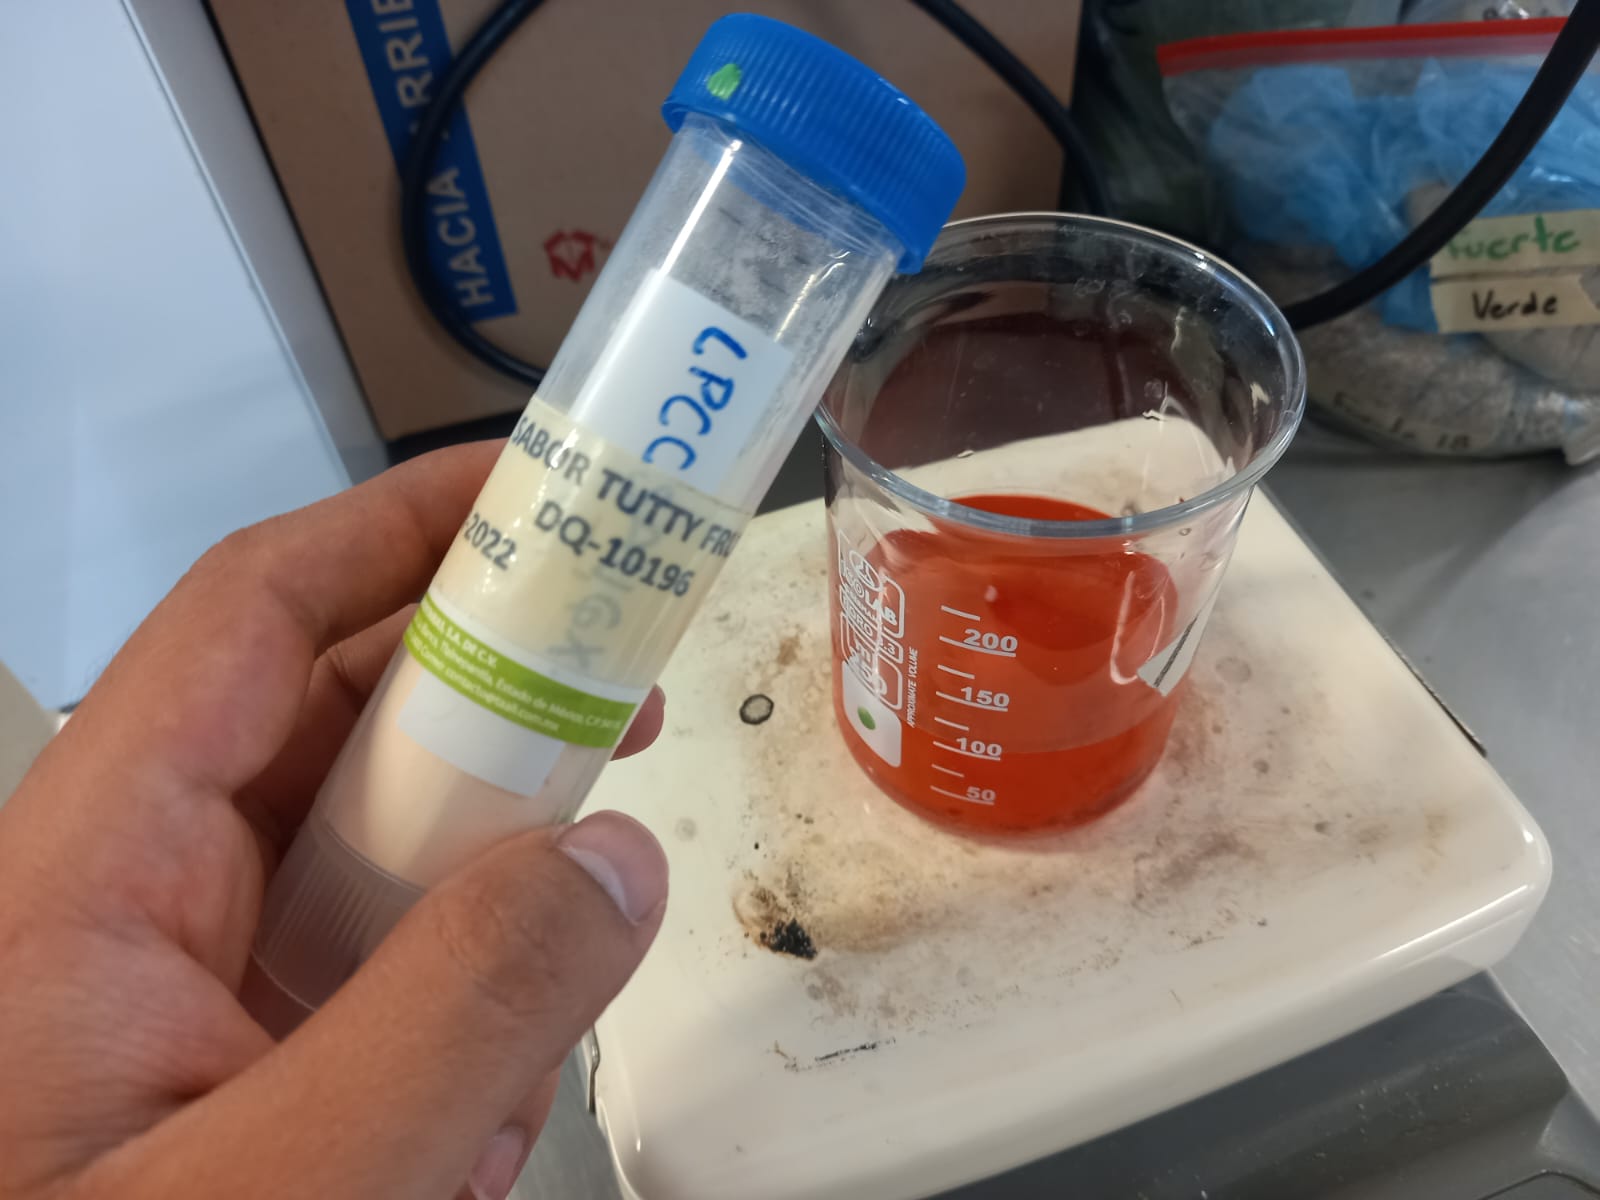
half a tablespoon of monosodium glutamate (NOM Classification: Good Manufacturing Practices), and a pinch of malic acid (NOM Classification: Good Manufacturing Practices), the latter intensifies sweet flavors, the opposite of citric acid.
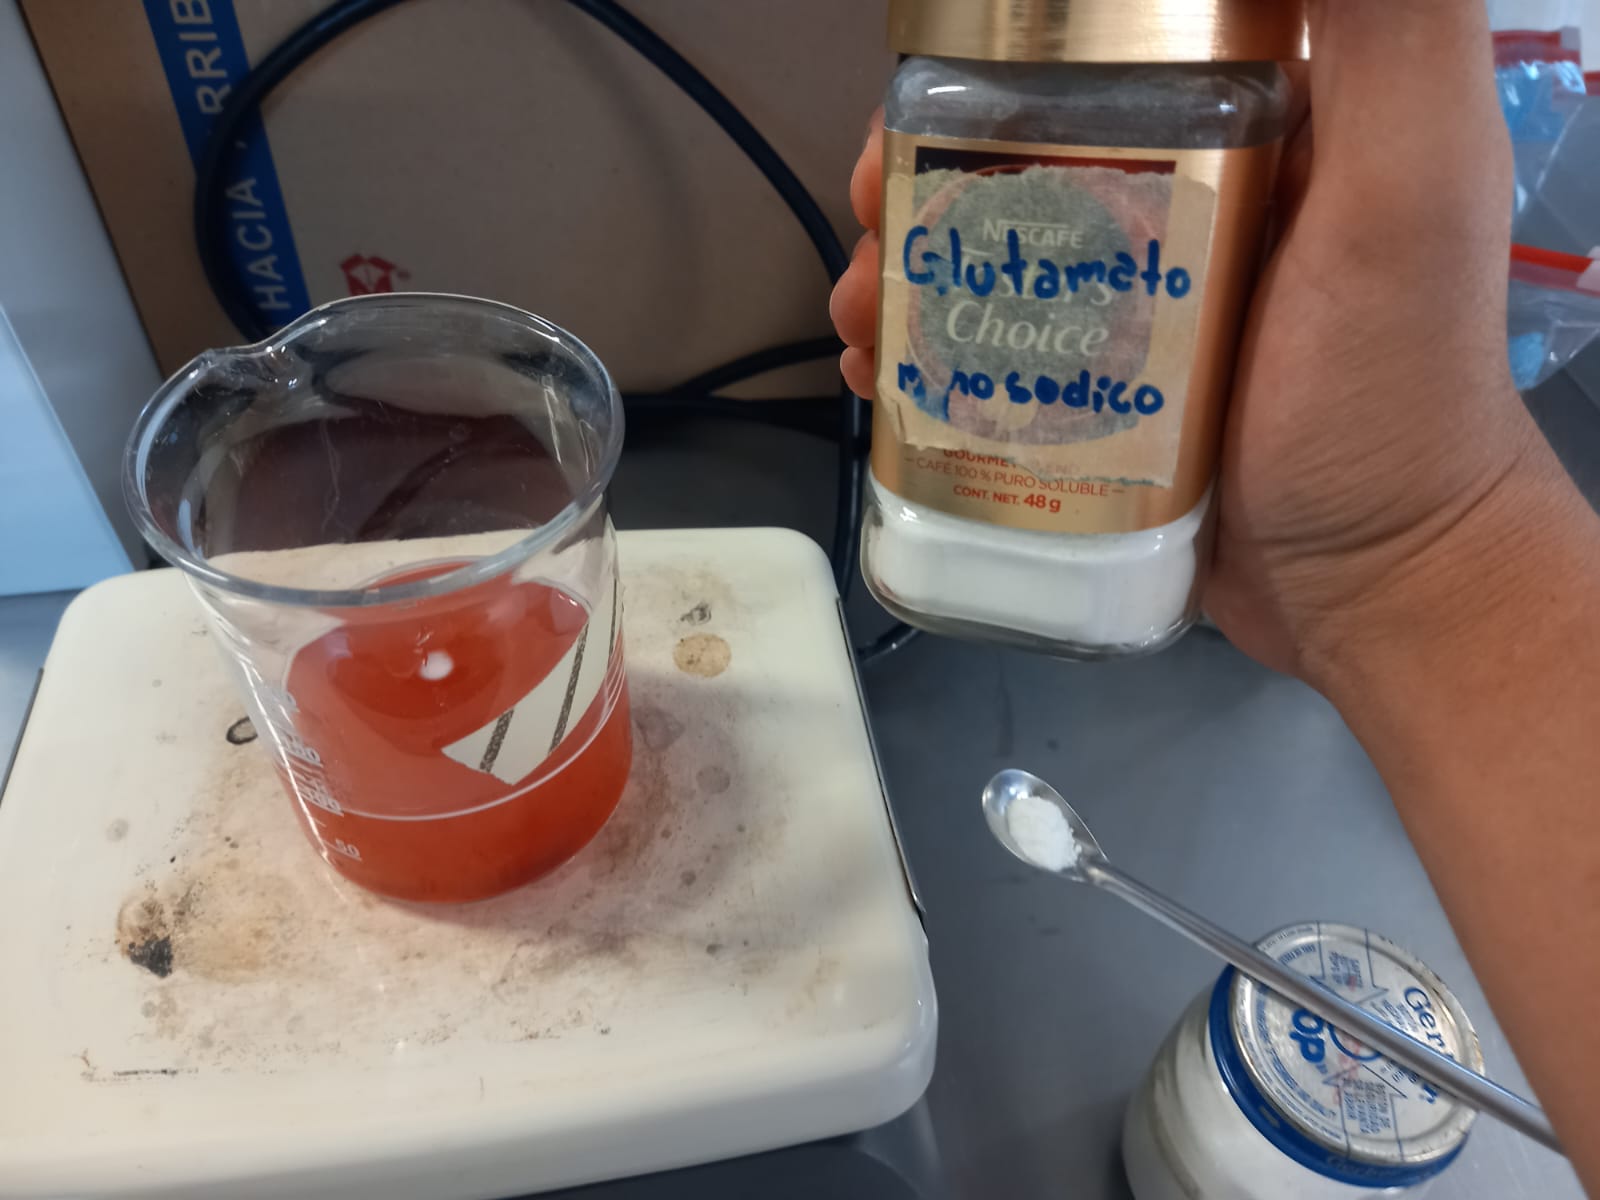
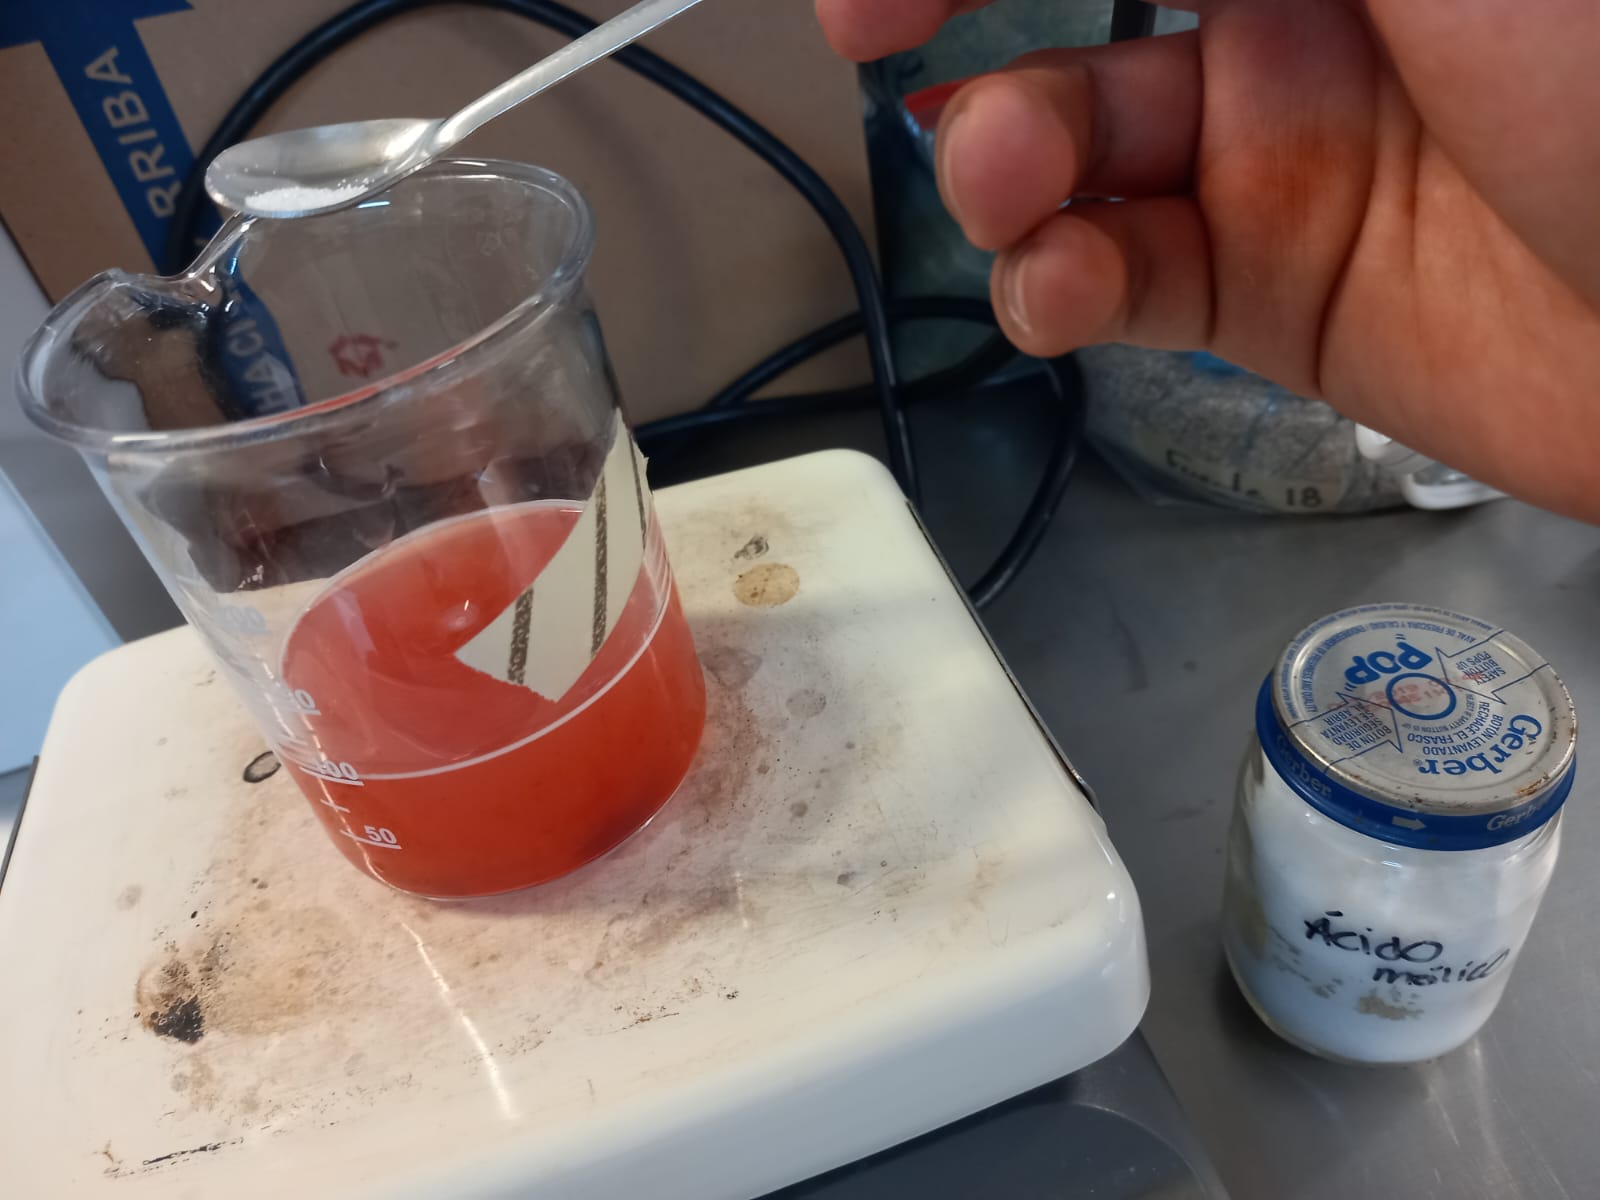
We ended up with an excellent mixture. We let several university friends try a drop of our mixture, and they confirmed, as we did, that now the mixture tasted good.
Design Machine
Likewise, during Holy Week vacations, Ivy, Daniela and I assembled the first design of the printer designed by Ivy; however, despite the hard efforts of our colleague (Ivy), it lacked stability and was very fragile since we cut it with 3mm MDF, which would make it difficult to use the motors due to excessive vibration. This would result in poor print quality. Nevertheless, here is the evidence: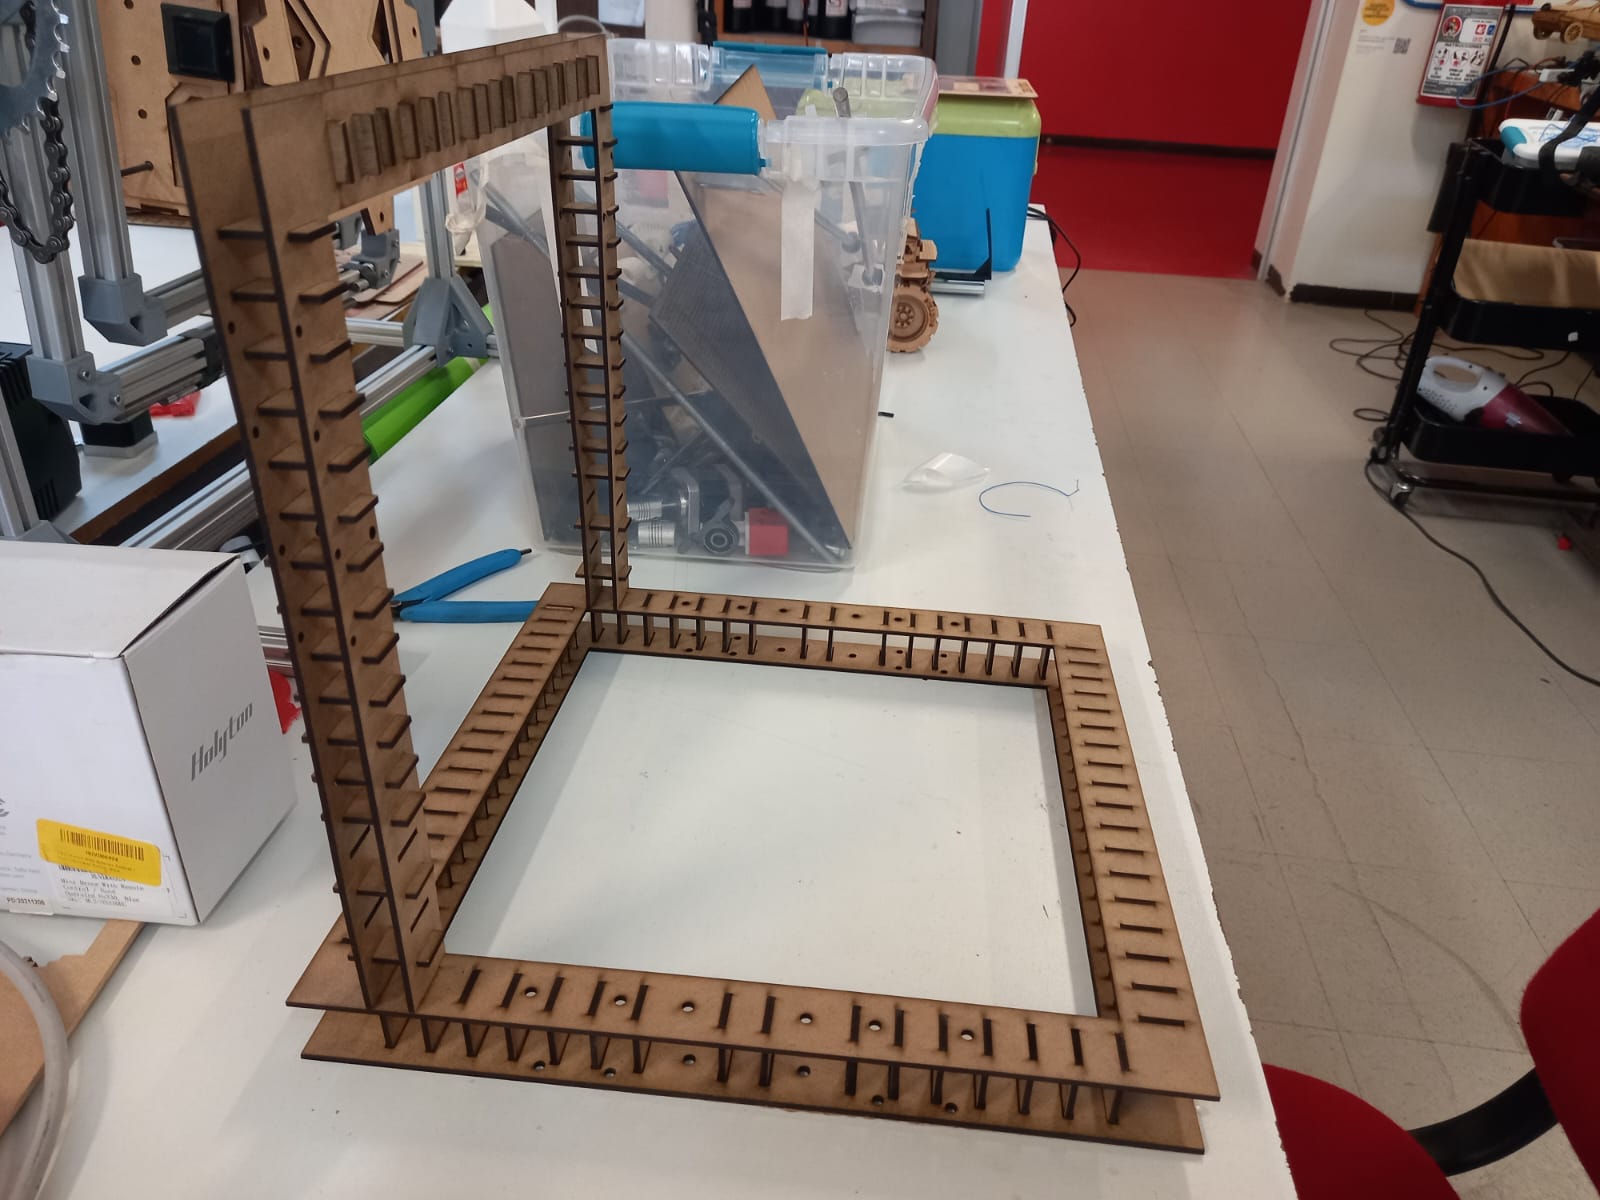
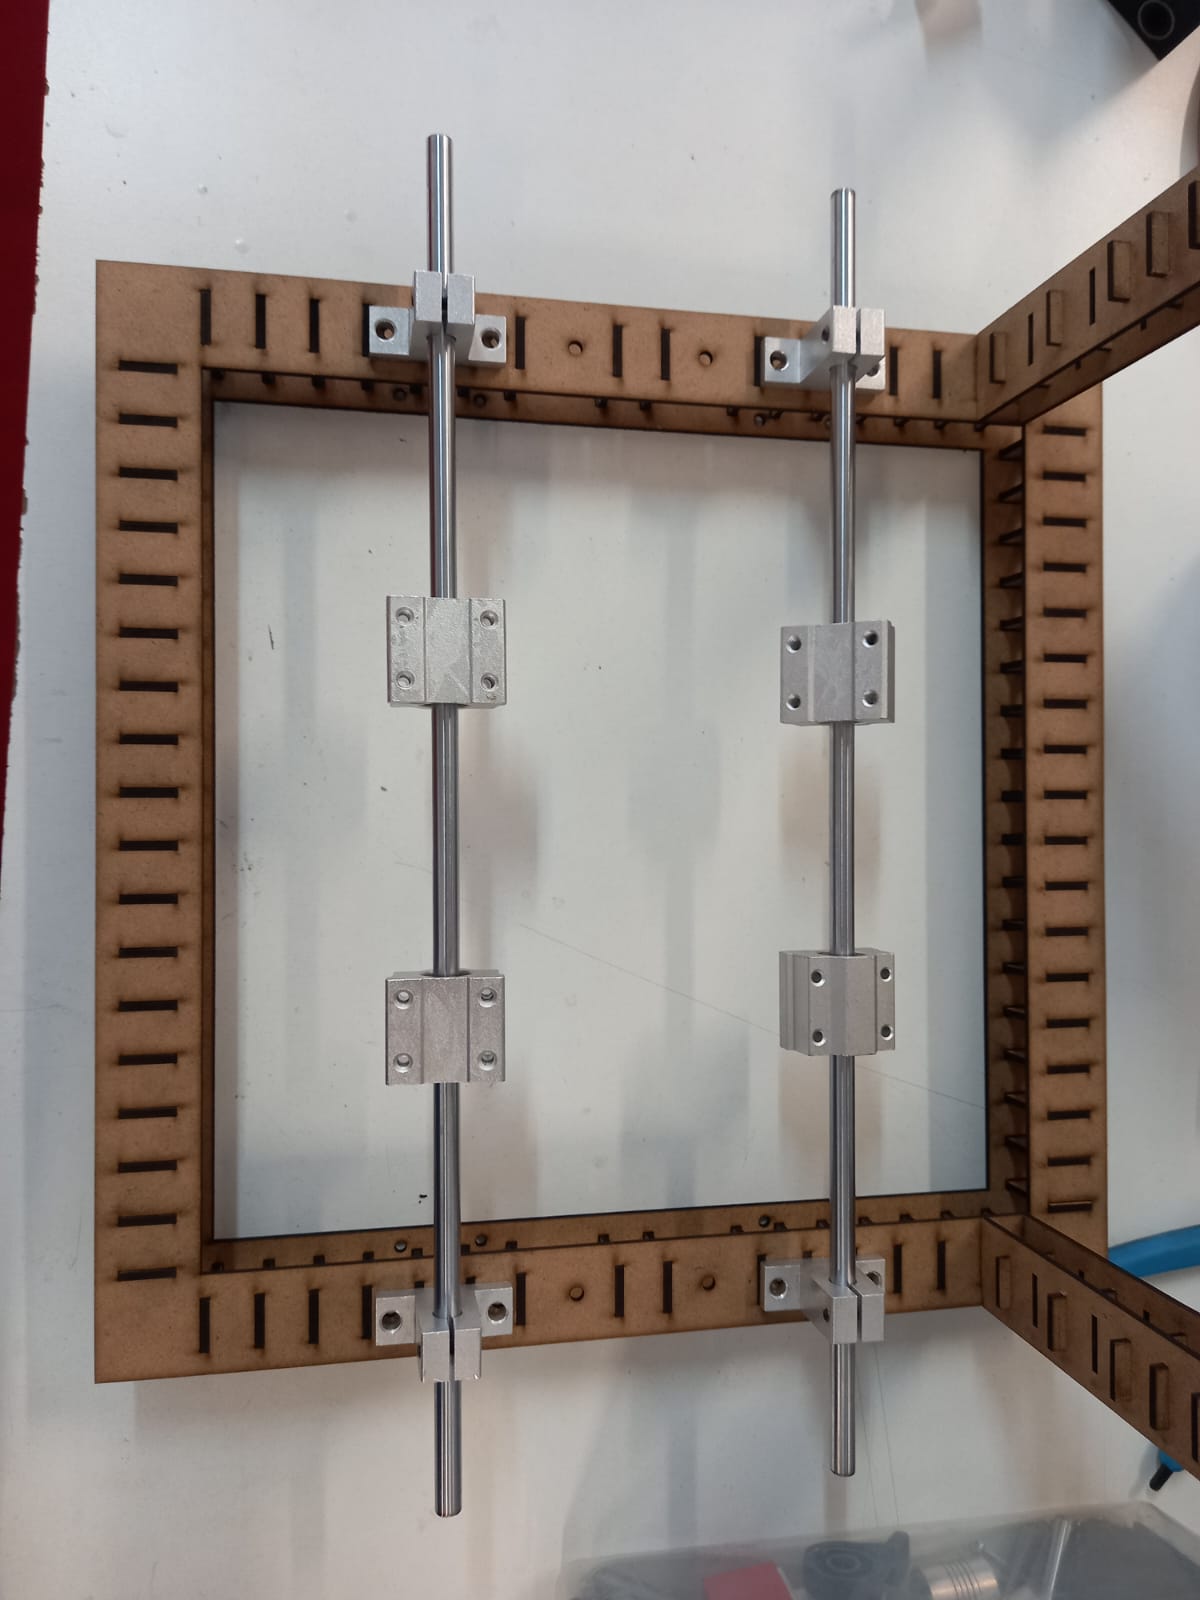
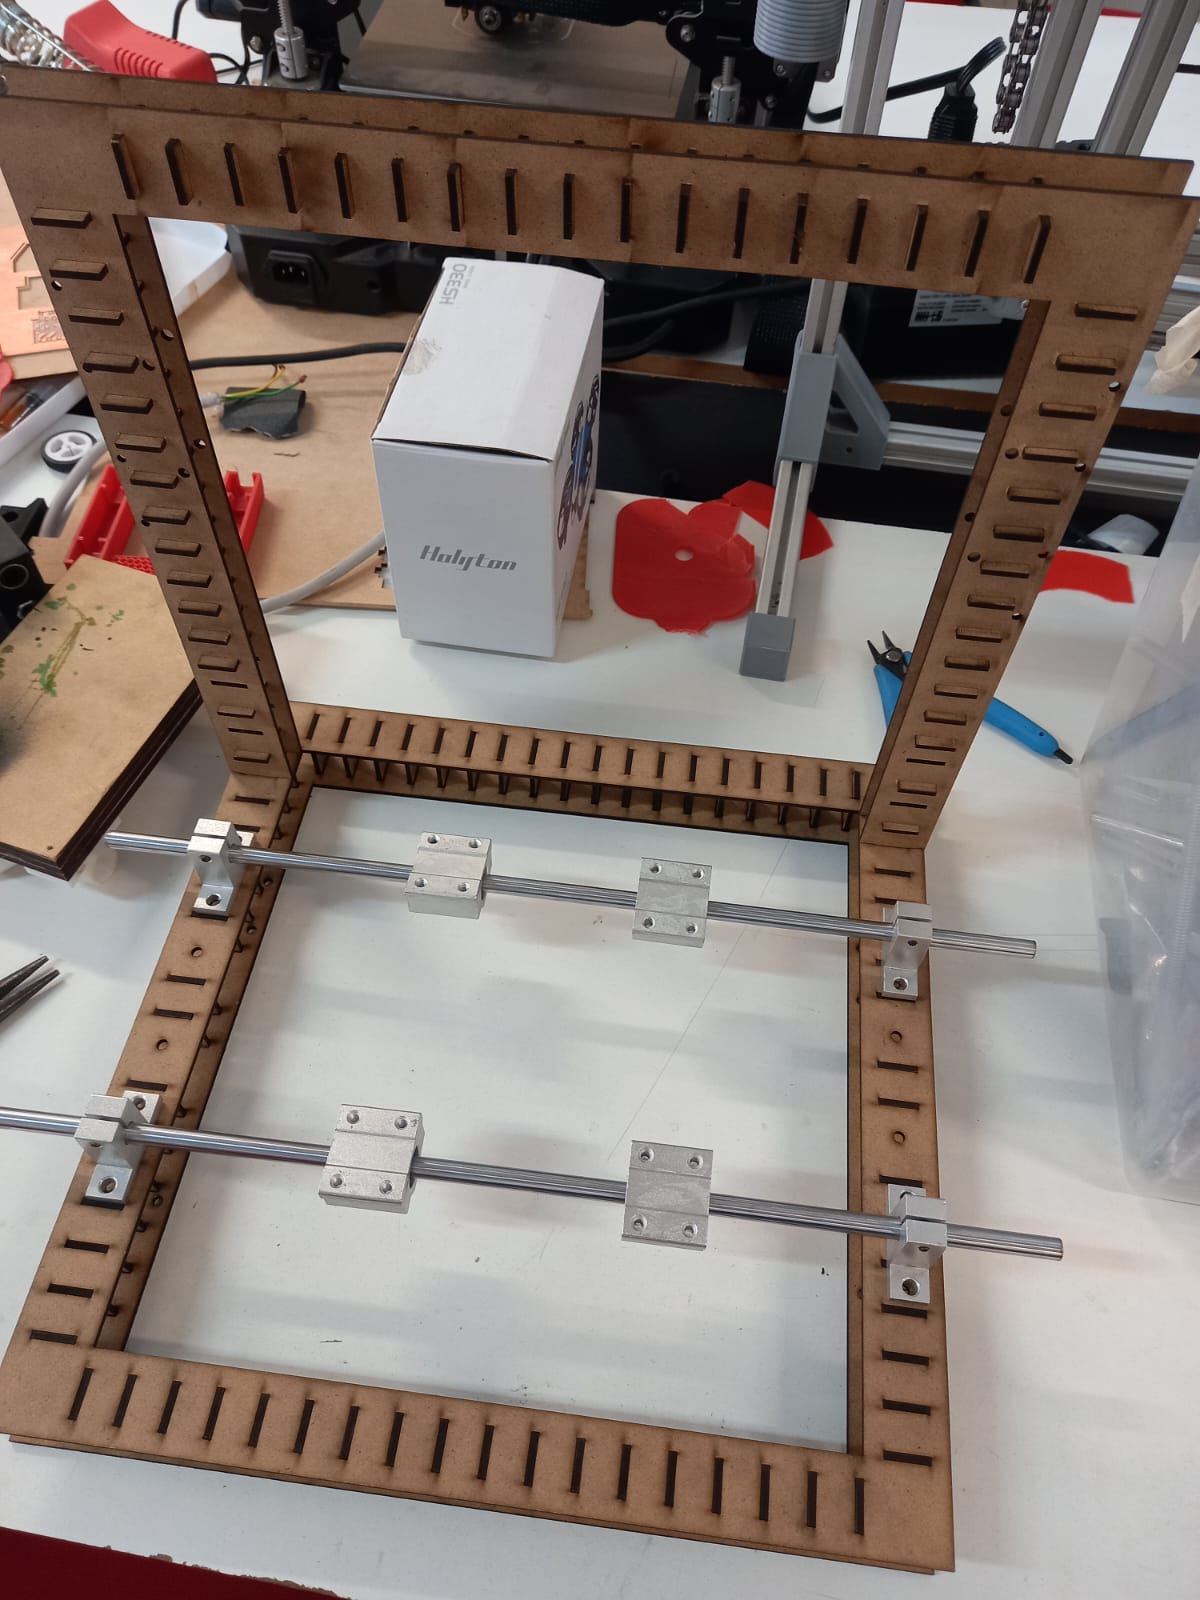
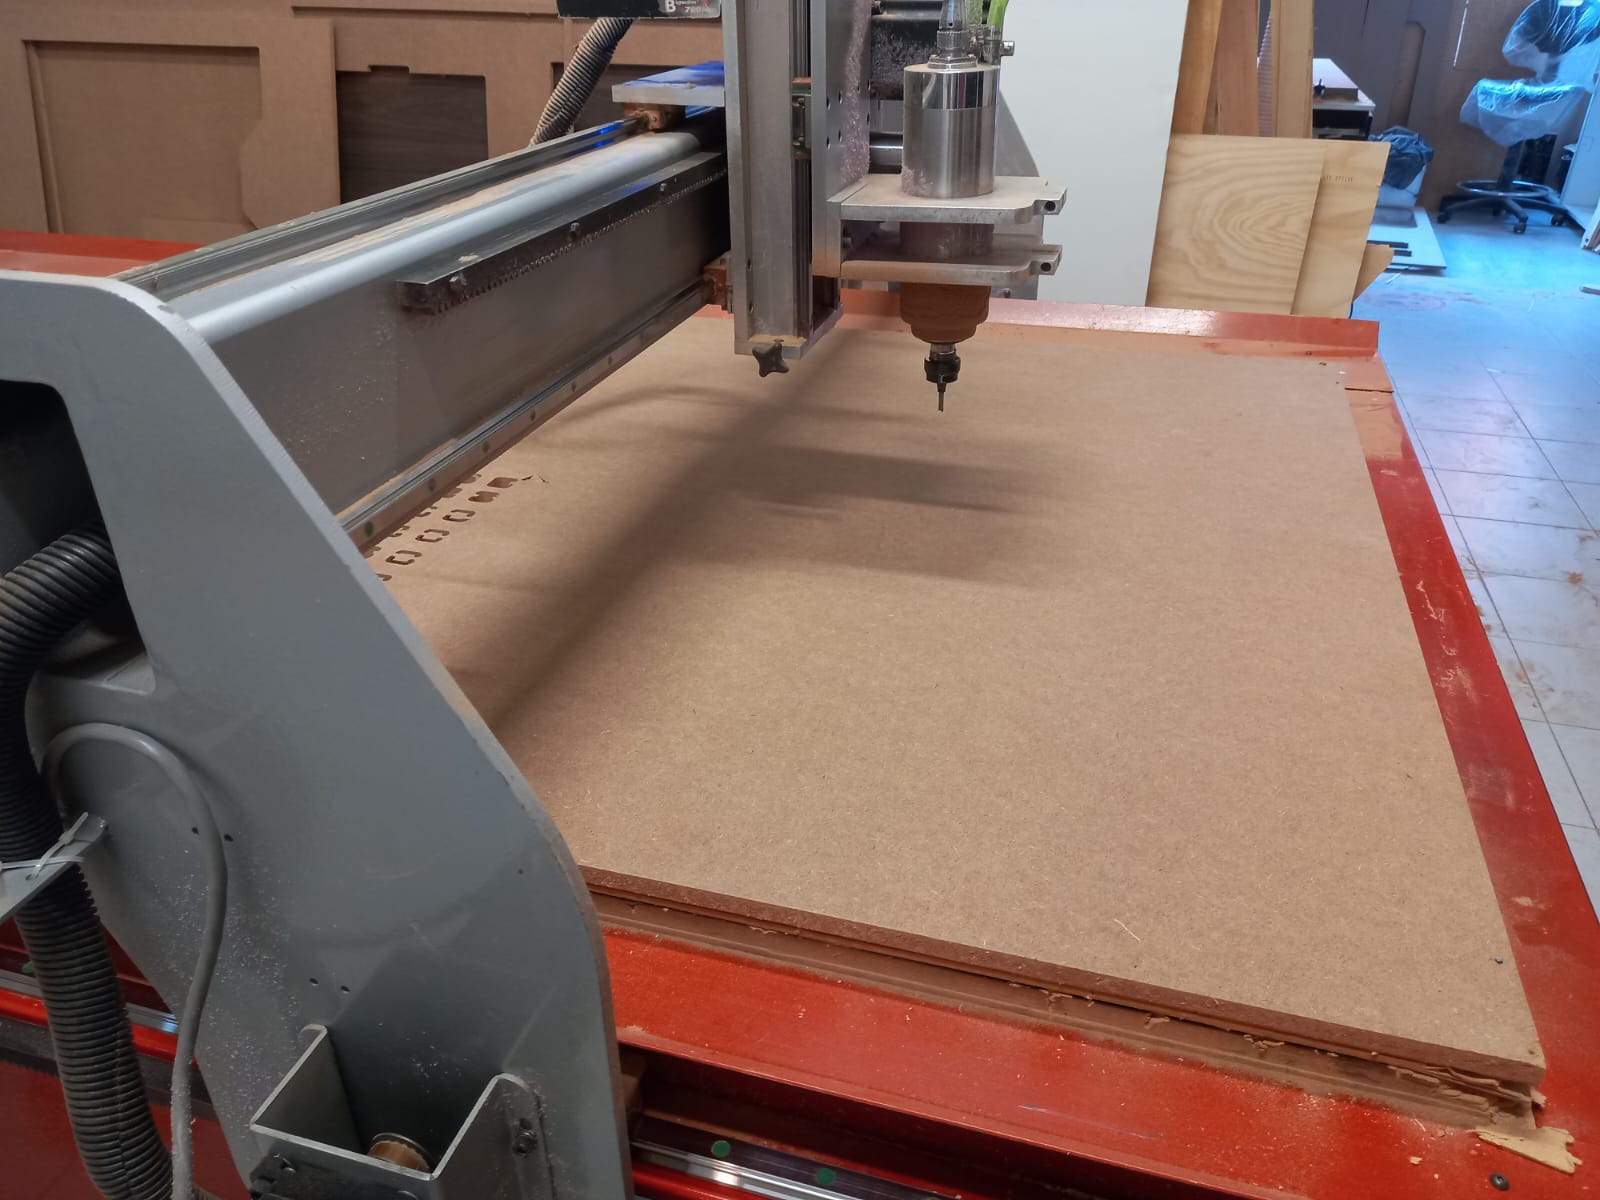
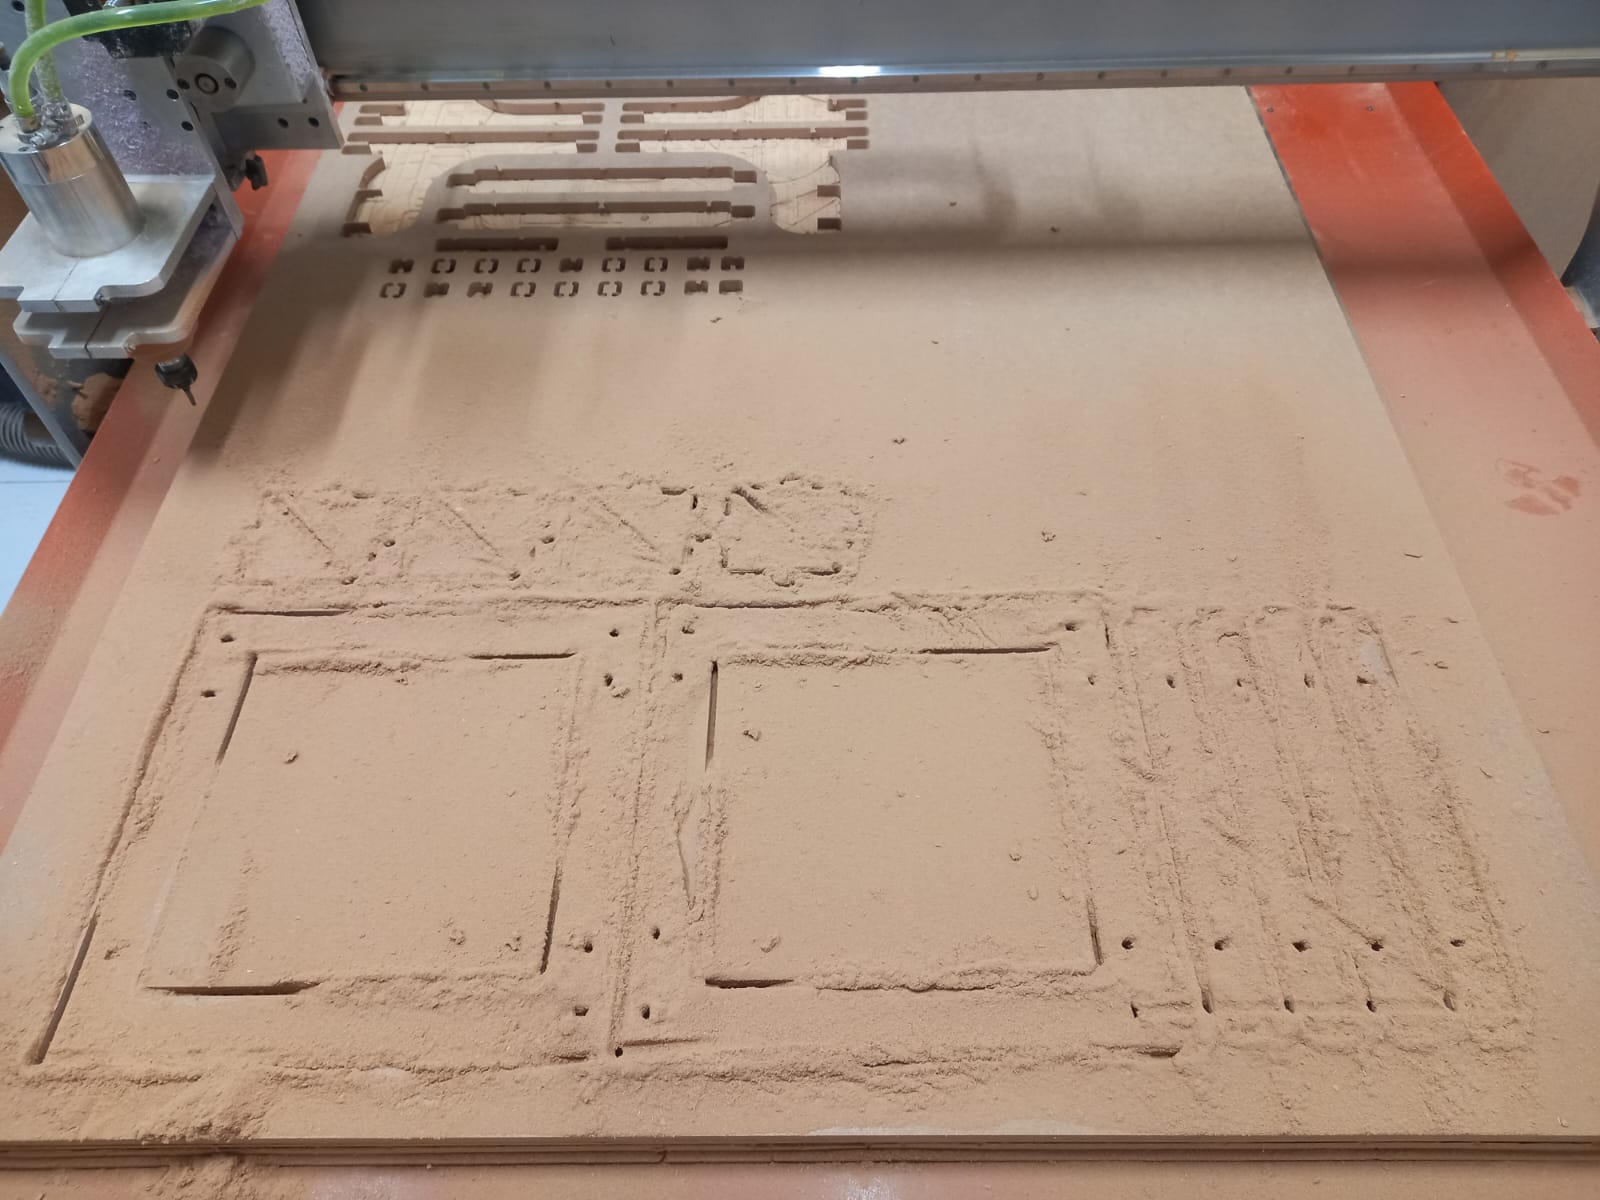
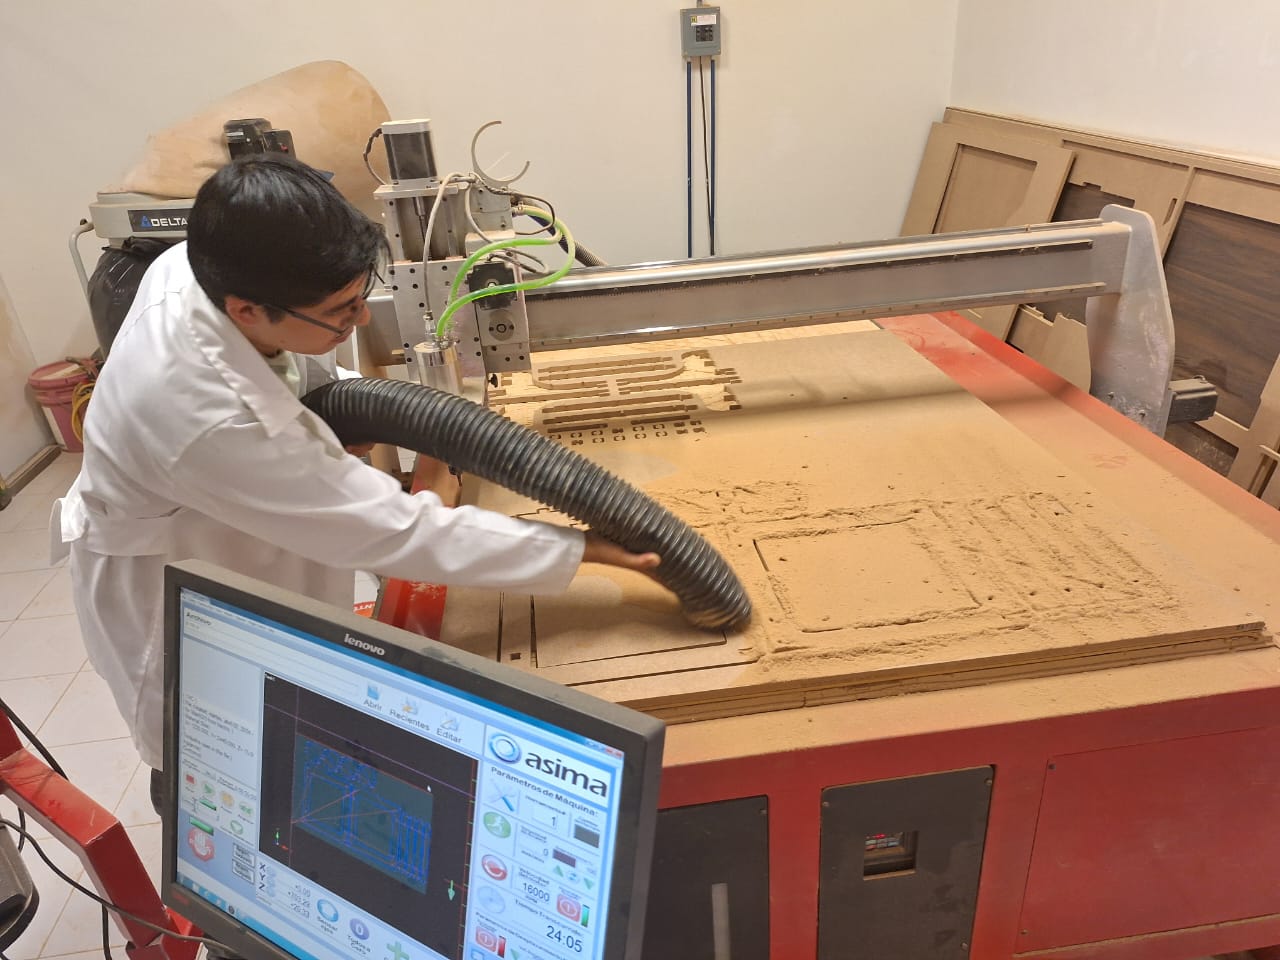
Therefore, Daniela and I designed a new model for our food printer in SolidWorks and we used the knowledge of the previous weeks for the following. It's like a wooden cube, aimed at enhancing stability and providing robust support. We plan to use 15mm MDF material, cut with a router machine, to give it some weight and make assembly easier. This setup will also accommodate all the electronic components while minimizing any vibration issues.



Joints Testing
Files
- Base
- Sides
- Triangles
- Assembly CNC
