7. Computer Controlled Machining
Week asignments
1. Group assignment: do your lab's safety training.
2.Individual assignment: Test runout, alignment, fixturing, speeds, feeds, materials, and toolpaths for your machine 3. individual assignment: make (design+mill+assemble) something big (~meter-scale)
Group asignment
Check out the Puebla FabLab repository: https://fabacademy.org/2024/labs/puebla/week7/
Individual asignment: Final project case
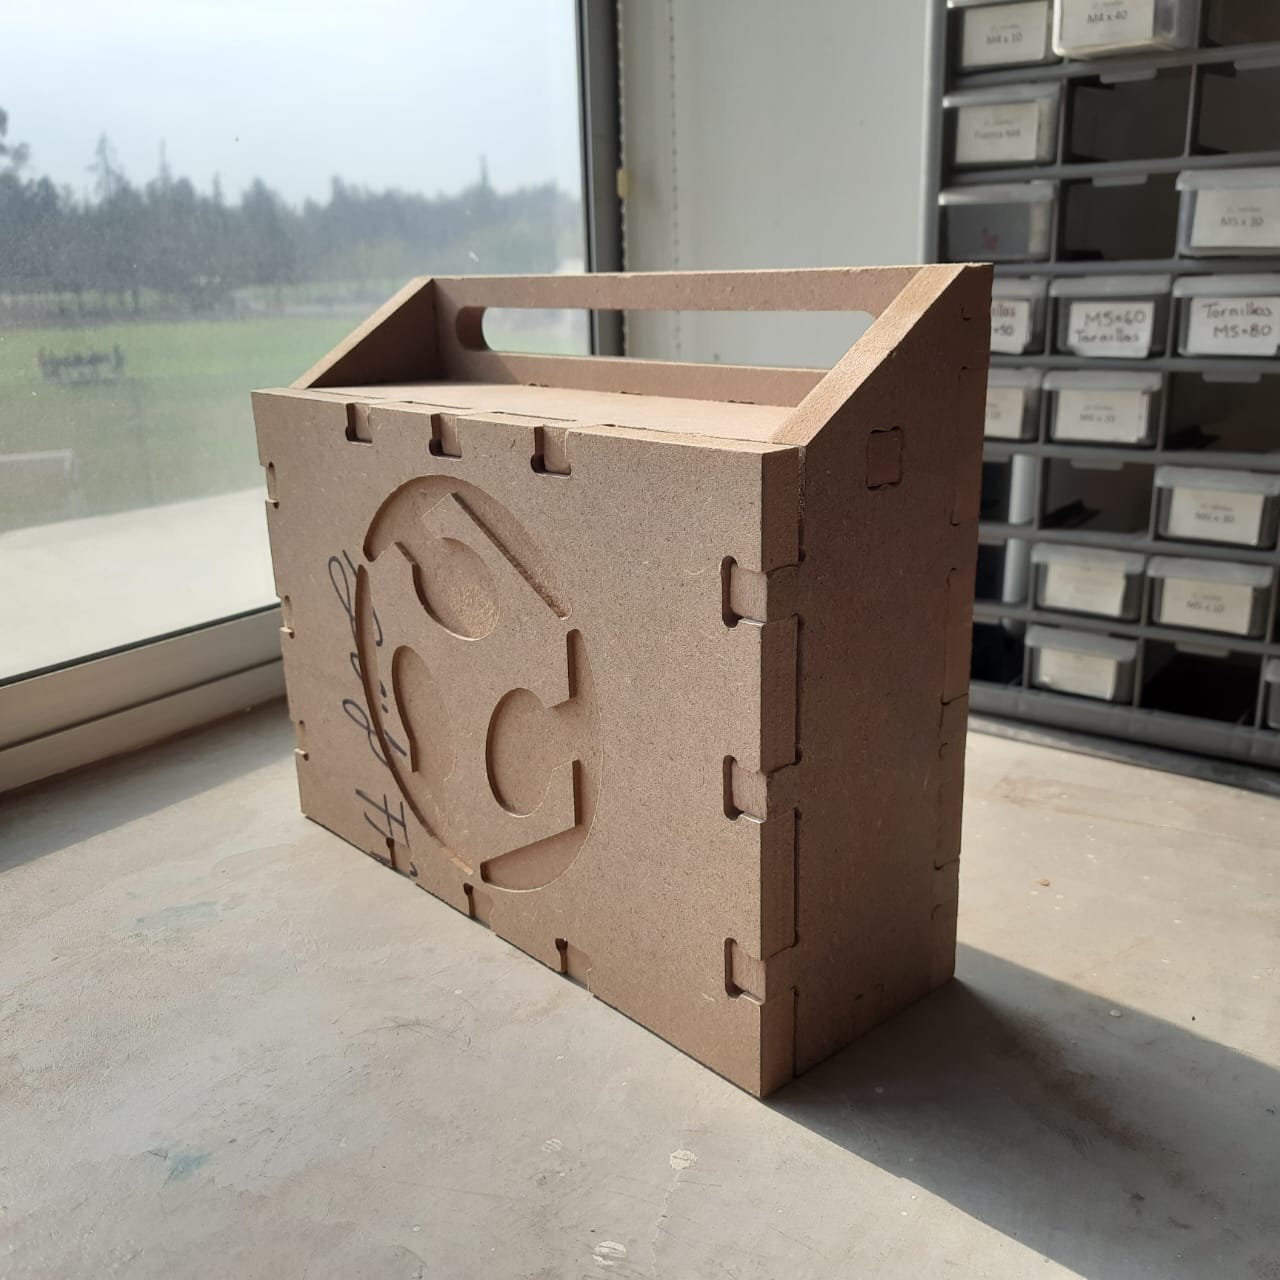
The first step for using the CNC machine, is to have something to cut. A design was developed in AutoCAD since this is the software I feel more confortable with. There is something about drawing using commands that makes it faster. I imagined a box that you can carry like a portfolio. After 2 iterations, this is the result:
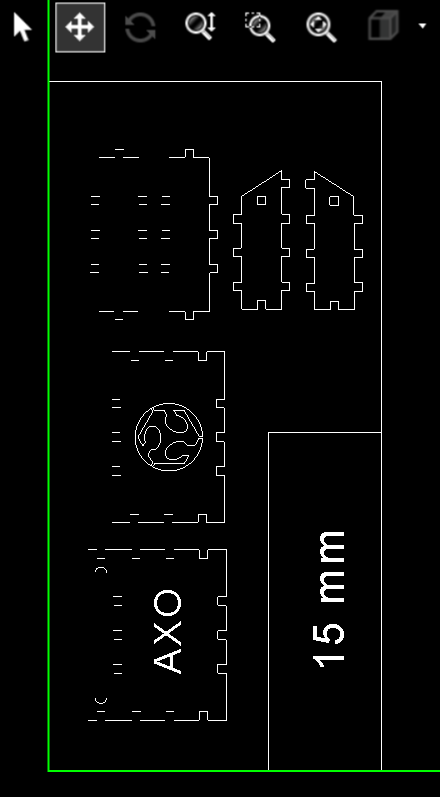
The next step is to export the .dwg to .dxf and import it to VCarve Pro 9.015 It is important to define the material width, height, and thickness as shown in the following image.
.png)
After importing the .dxf (File/Import) you need to close the open vectors. It is super important to be careful with the duplicated and overlaped vectors. You have the tools to remove them, close gaps, and do it automatically by adding a specific distance.
.png)
.png)
When your drawing consists only of closed regions, you are able to move them around the working area, and meassure distances in case your material is incomplete (that was my case)
.png)
.png)
It is very important to take into account the types of unions between your pieces. For educational purposes, I used both types: Dog Bone and T-Bone. Just imagine how hard the design would be if the software didnt have this properties.
.png)
.png)
.png)
.png)
You have to determine where you want the tool to go relative to the drawing: outside, centered, inside. This is determined by the type of operation. Remember the operation hierarchy: inside cuts first (inside), engraving second (inside for areas, centered for lines), finally, outside cuts (outside)
.png)
.png)
Remember that your design is dependent on the type of tools available in your FabLab. In this case, our most common tool is the 1/4 inch cutter. Dont forget to consider the feeding rates and spindle RPMs based on the information from the Puebla FabLab: since we are using MDF, the RPM=16000, Feed rate = 4500, Down speed = 900 (units expressed in mm/s) You can access the properties of said tools and add new ones under the following directory:
.png)
A very important last part of the process, is to determine where the tabs that support the pieces will be located. What worked for me is to locate the in at least 1 edge of the 2d drawing. If you have parts larger than 30 cm, then 1 tab every 30 cm is the rule you might want to follow.
.png)
.png)
Finally, the last paragraph will cover the final steps for preparing your file. Click the calculate button to check properties like the path simulation, render, estimated time, and file exporting. There will be an alert about cutting deper than the material thickness, but thats ok as long as you dont exceed 5mm more, thats the purpose of the sacrifice layer. You can change the order of the milling process in the work tree.
.png)
.png)
.png)
.png)
AT THE SYSTEM
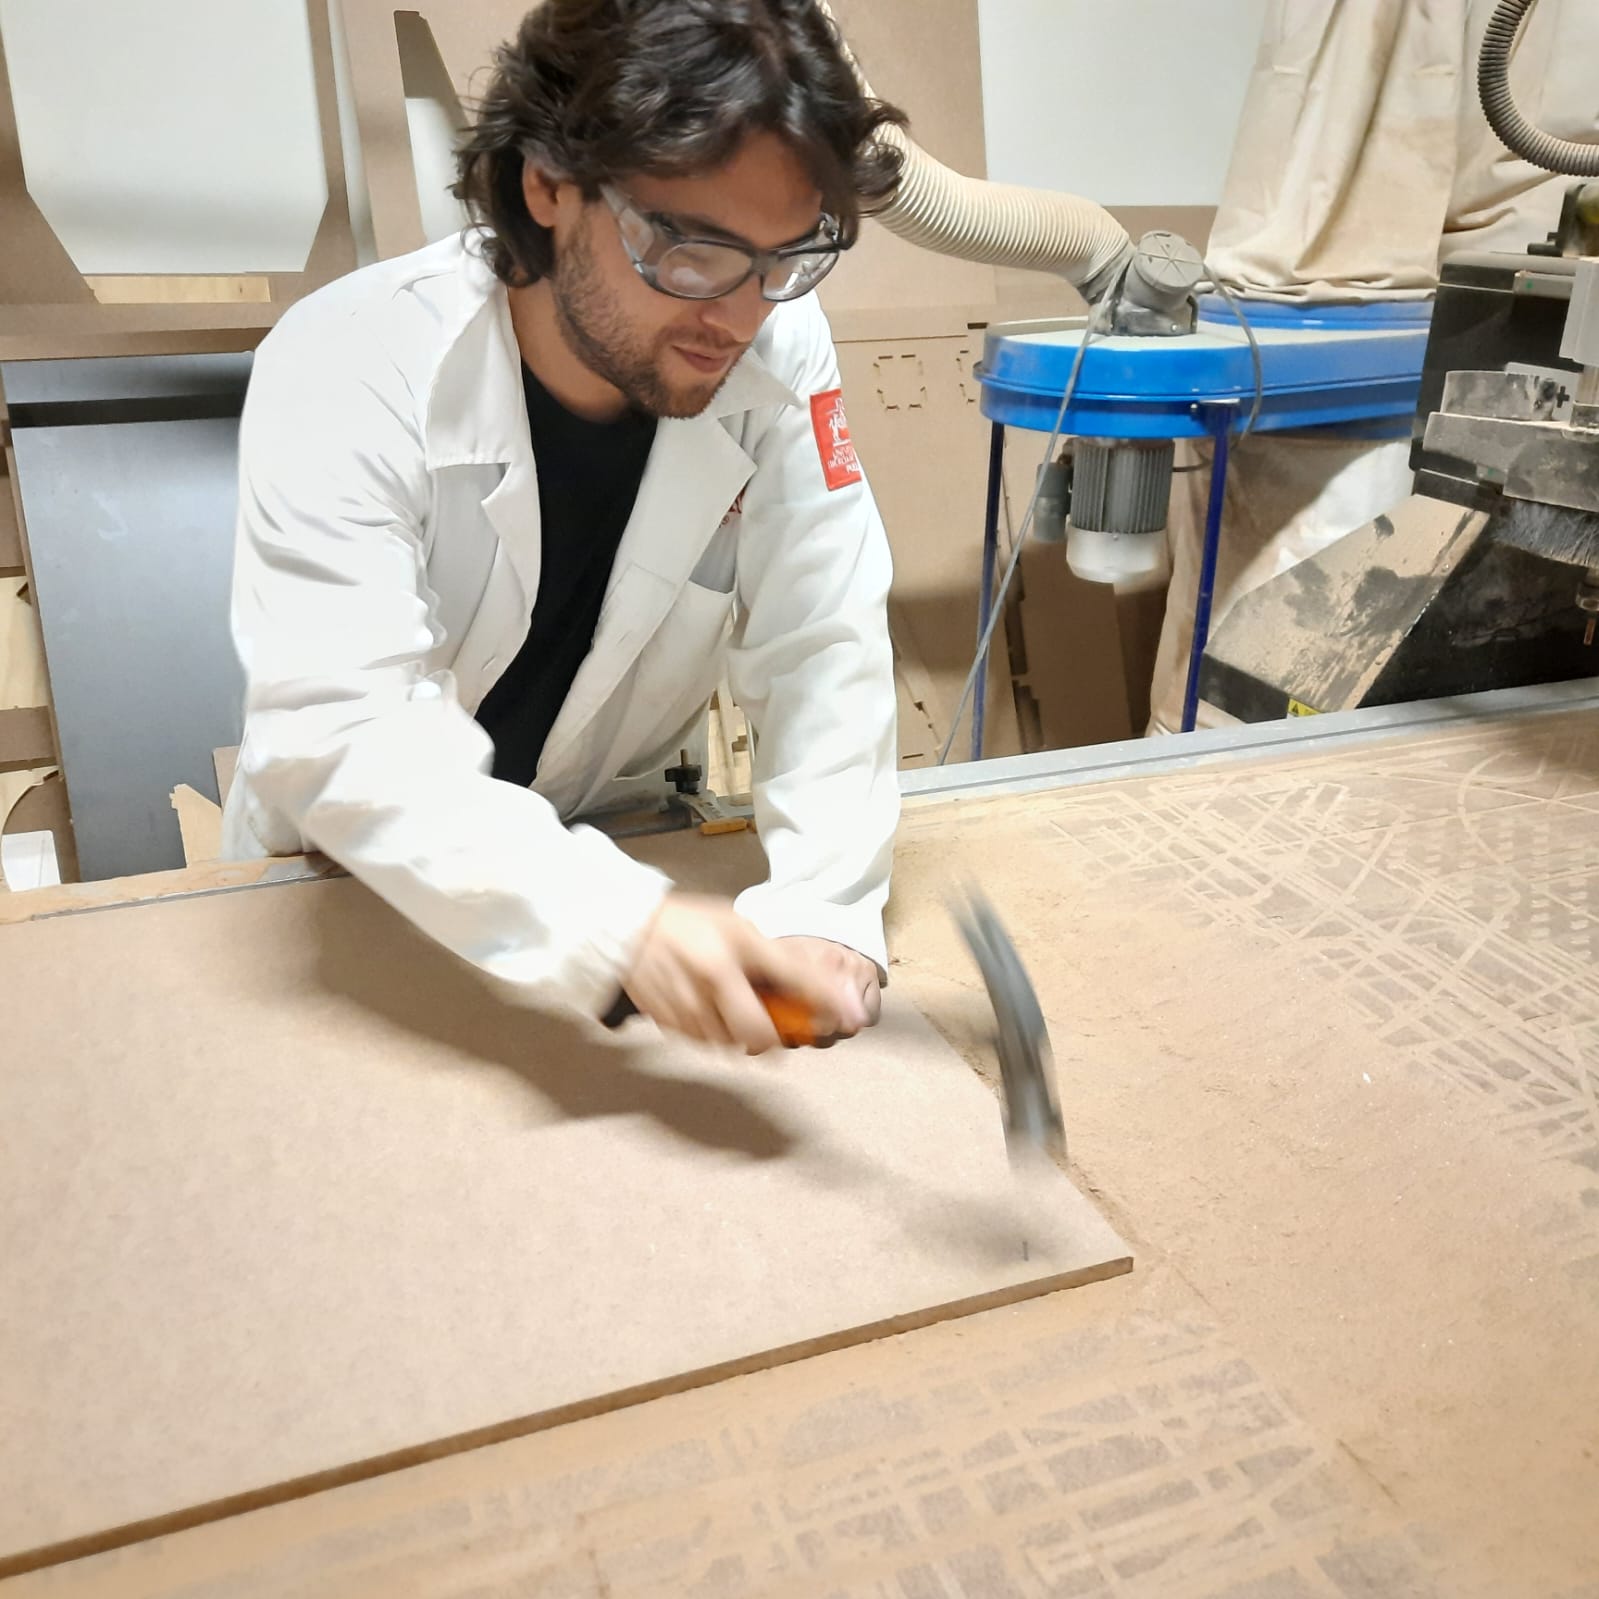
Wear the proper EPP: boots, eye protection, facemask, earplugs, lab coat.
Verify that conditions around the machine are safe.
Release the emergency button.
Push the ignition button.
Insert the USB stick containing the G-Code .
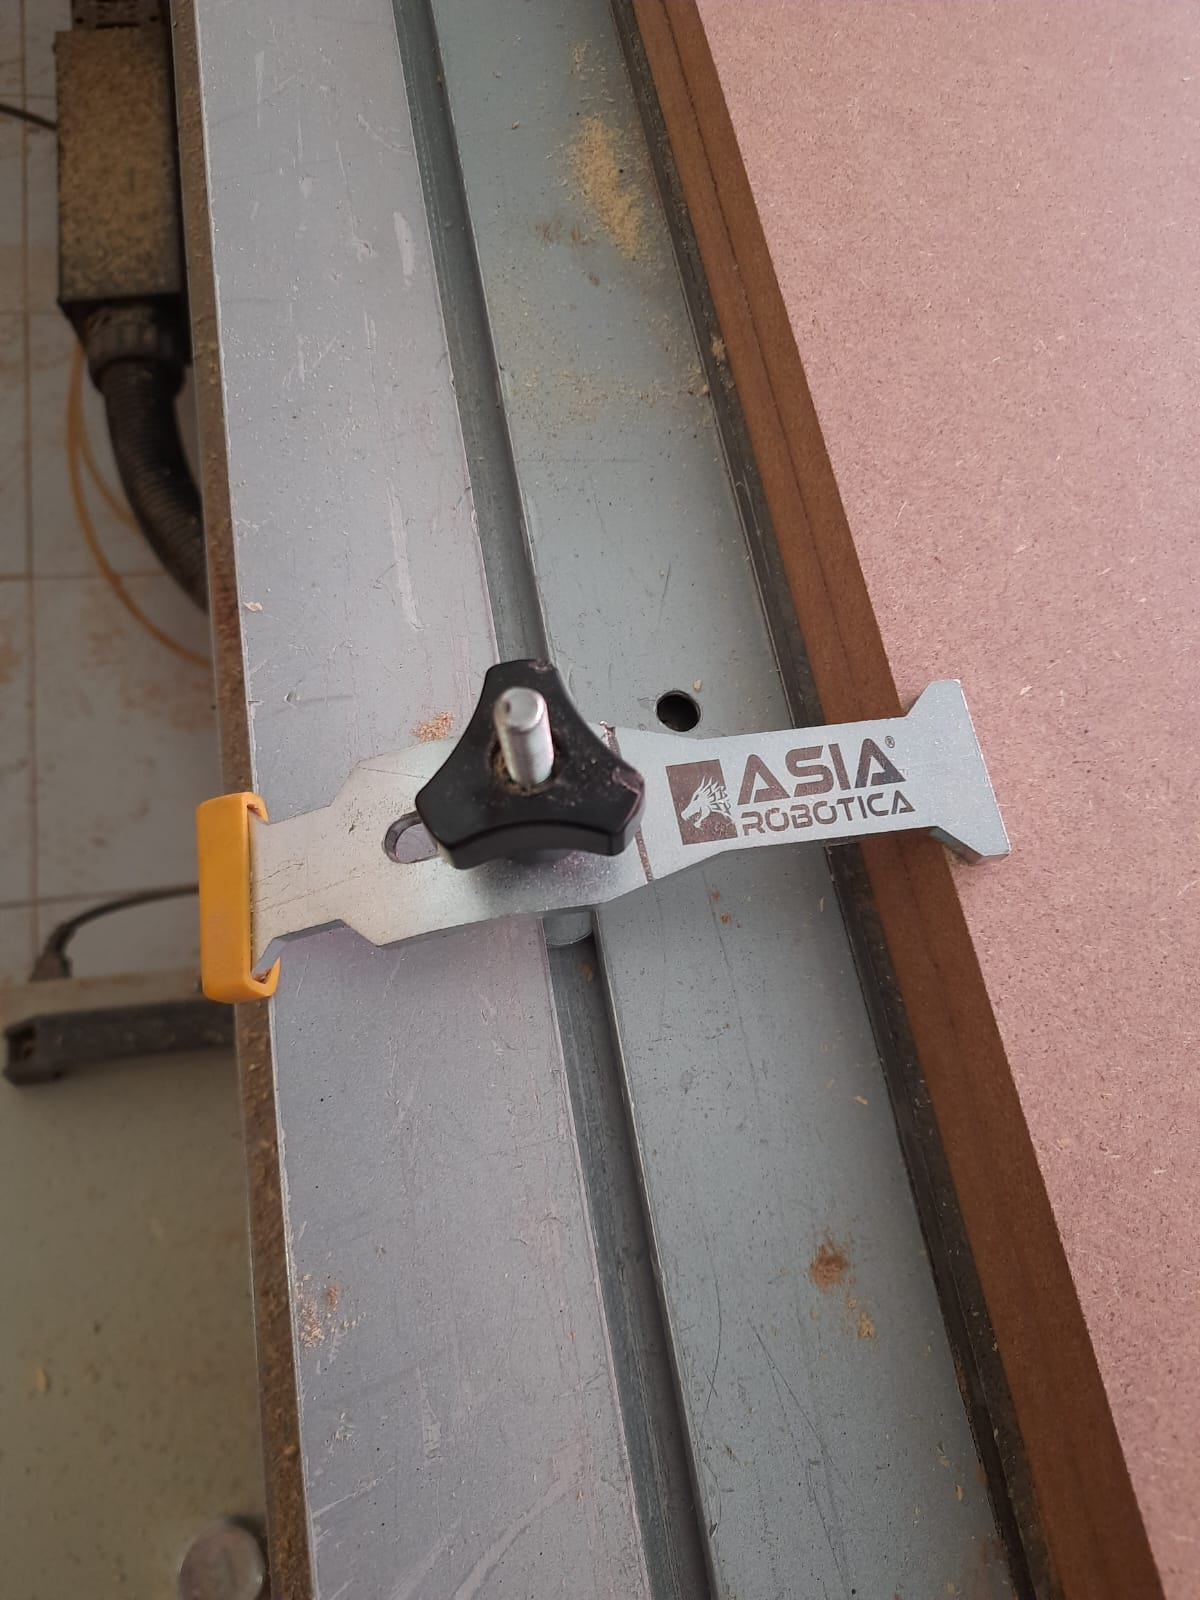
Send the tool away towards +Y and mount the material using nails and clamps.
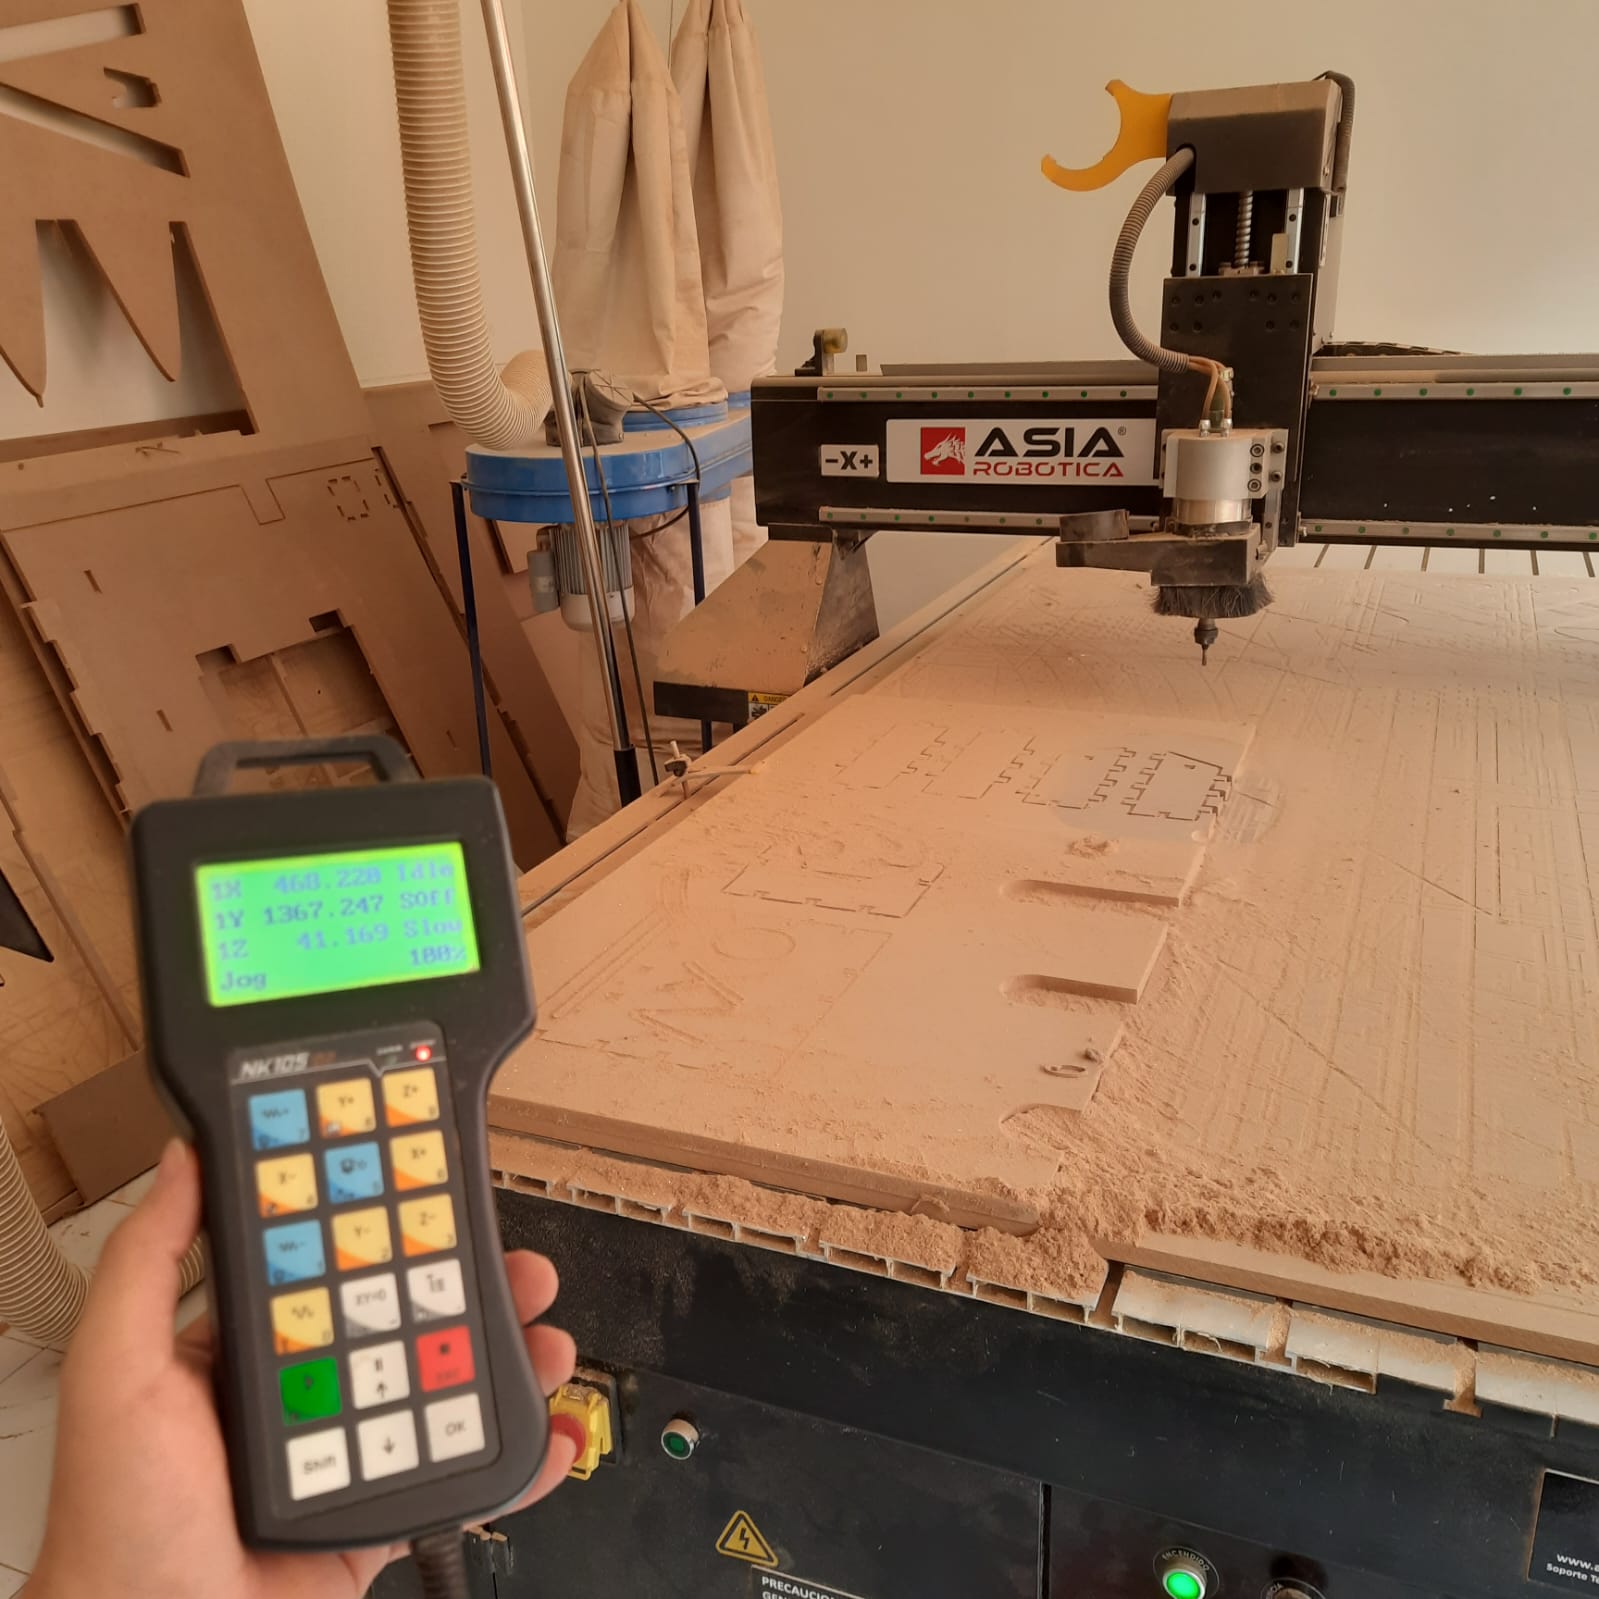
Bring the tool towards the bed origin (defined during the G Code stage).
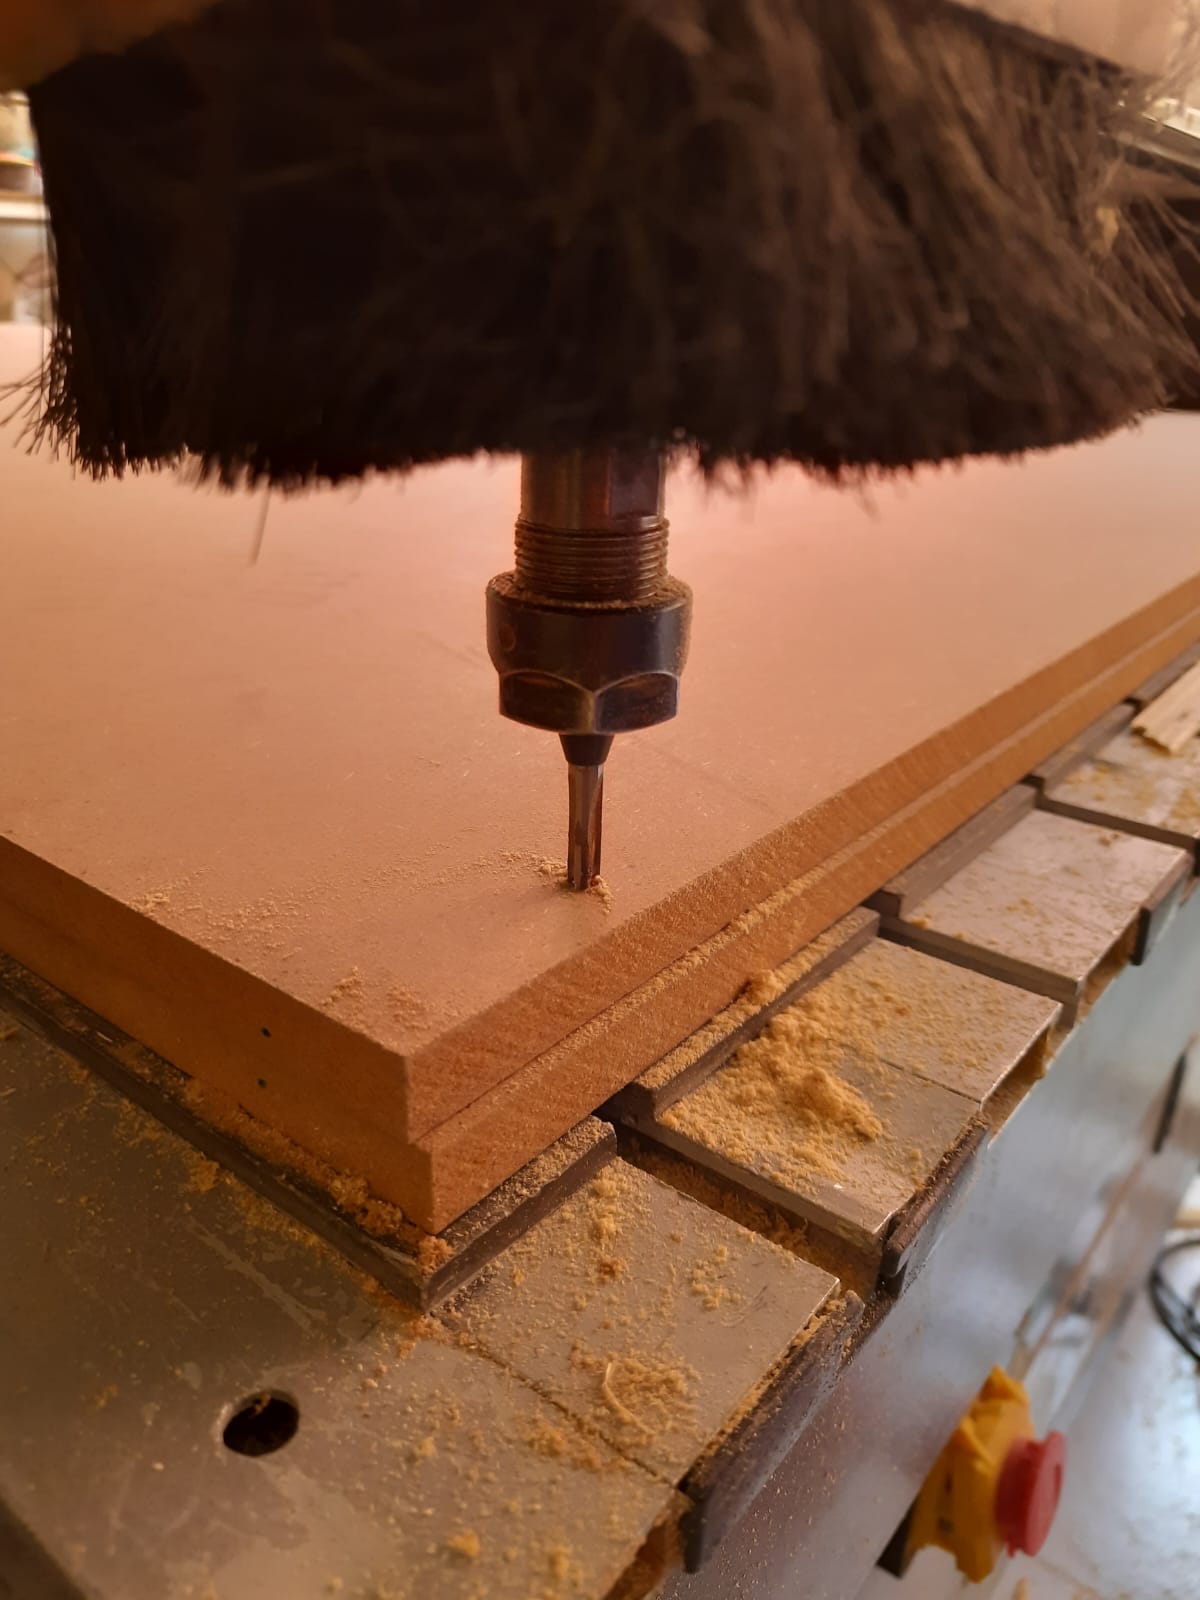
Slow the speed rate and adjust the origin for each axis using the control buttons. For Z, a common practice is to manually spin the spindle while lowering it, until a fine burr starts coming out. Be extra careful with this process.
Load the .NC file to Asia Robotica machine and hit play. Try to maintain the following recommended feaures.
Don’t be shy and maintain all the settings to 100% or risks of fire will increase.
After the work is done: send the tool away, remove your material, and CLEAN YOUR AREA FOR GODS SAKE.
Special thanks to Manu, Beto, Mar, and Augusto for their unvaluable help teaching me how to operate the system!
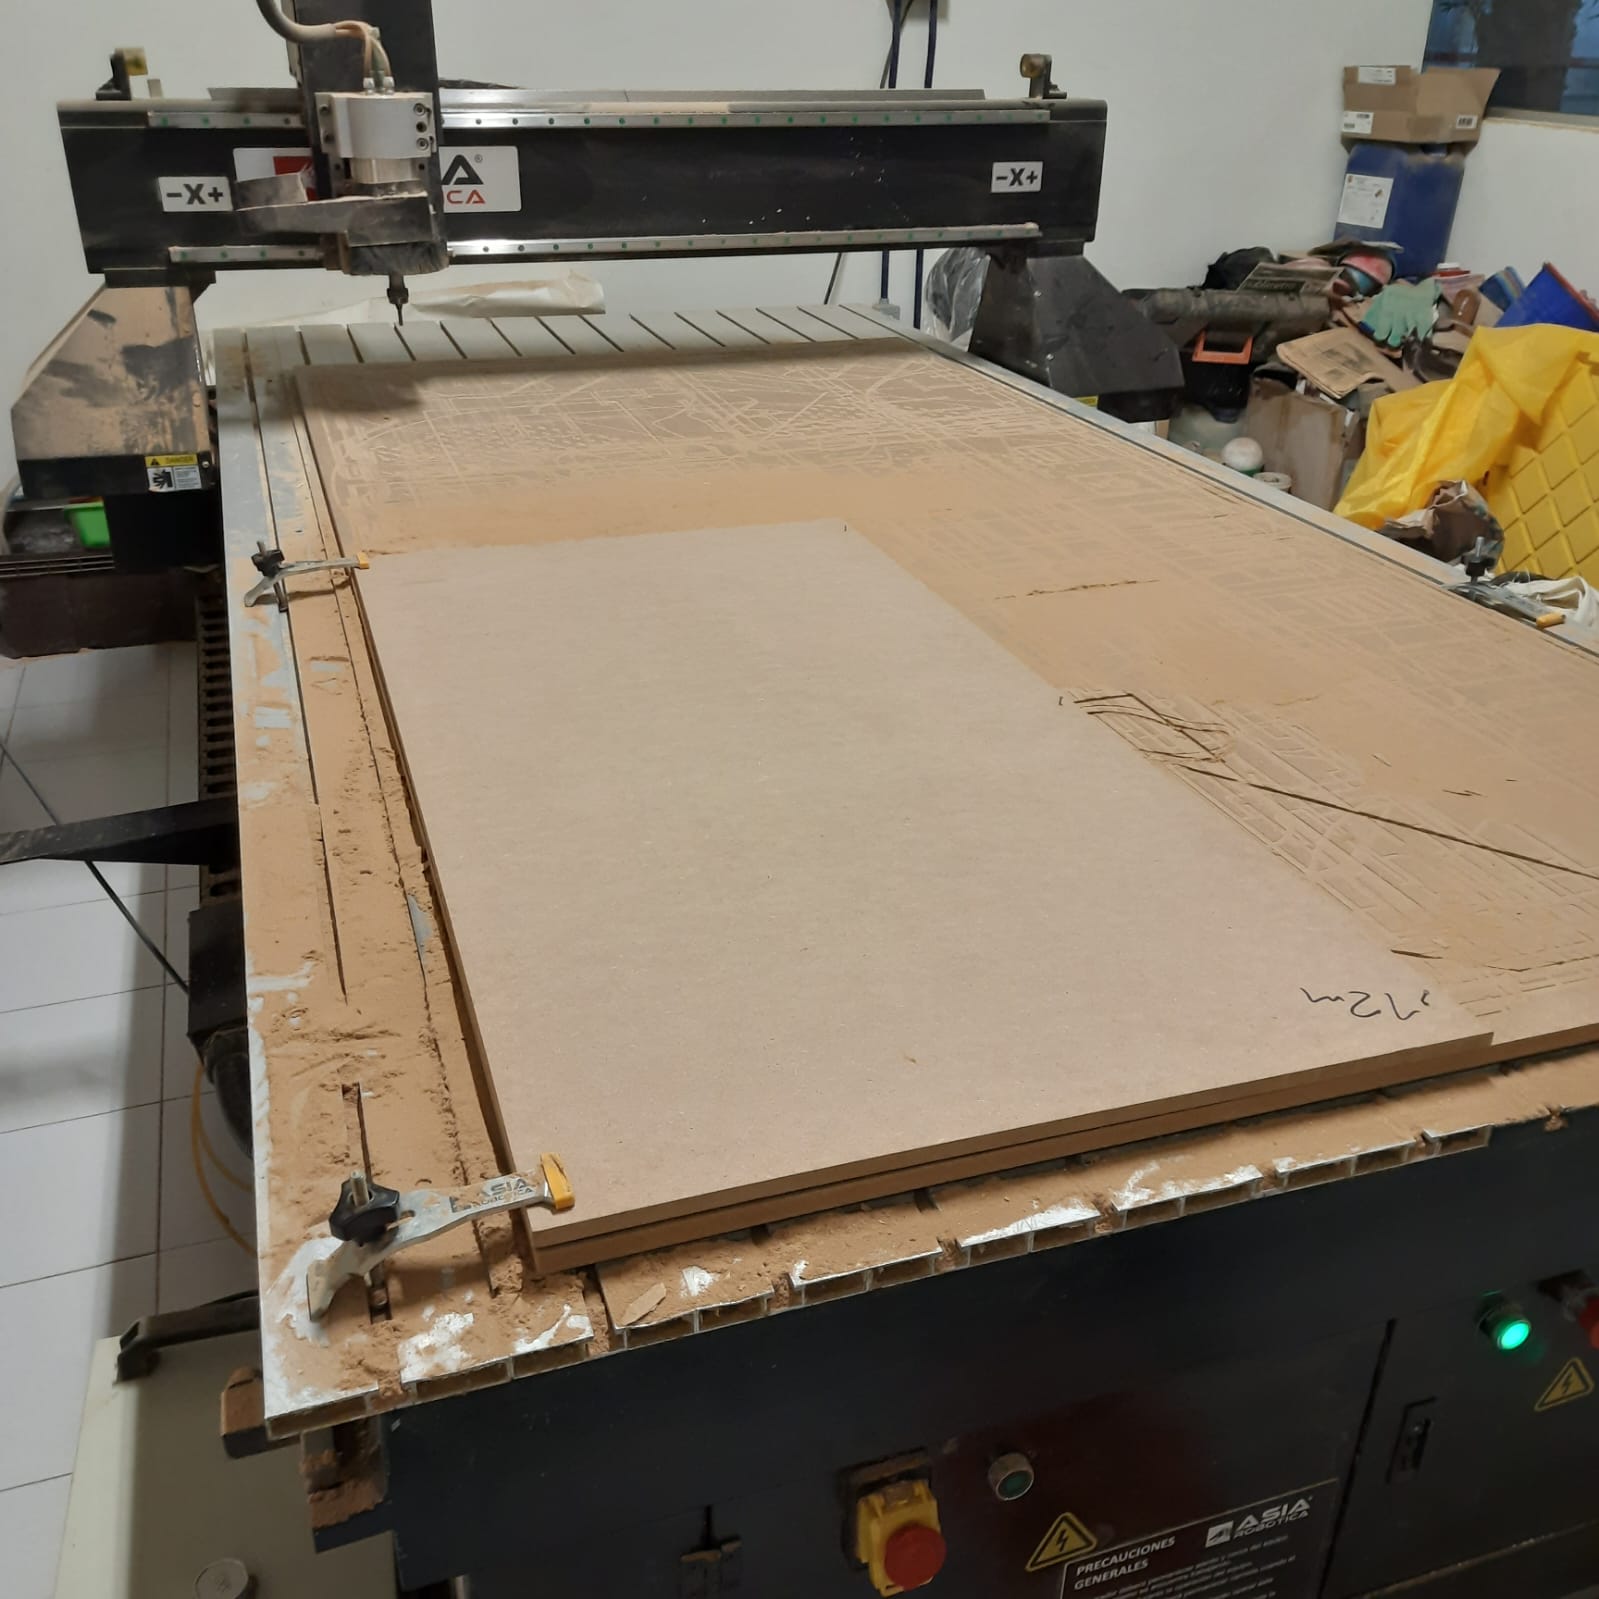
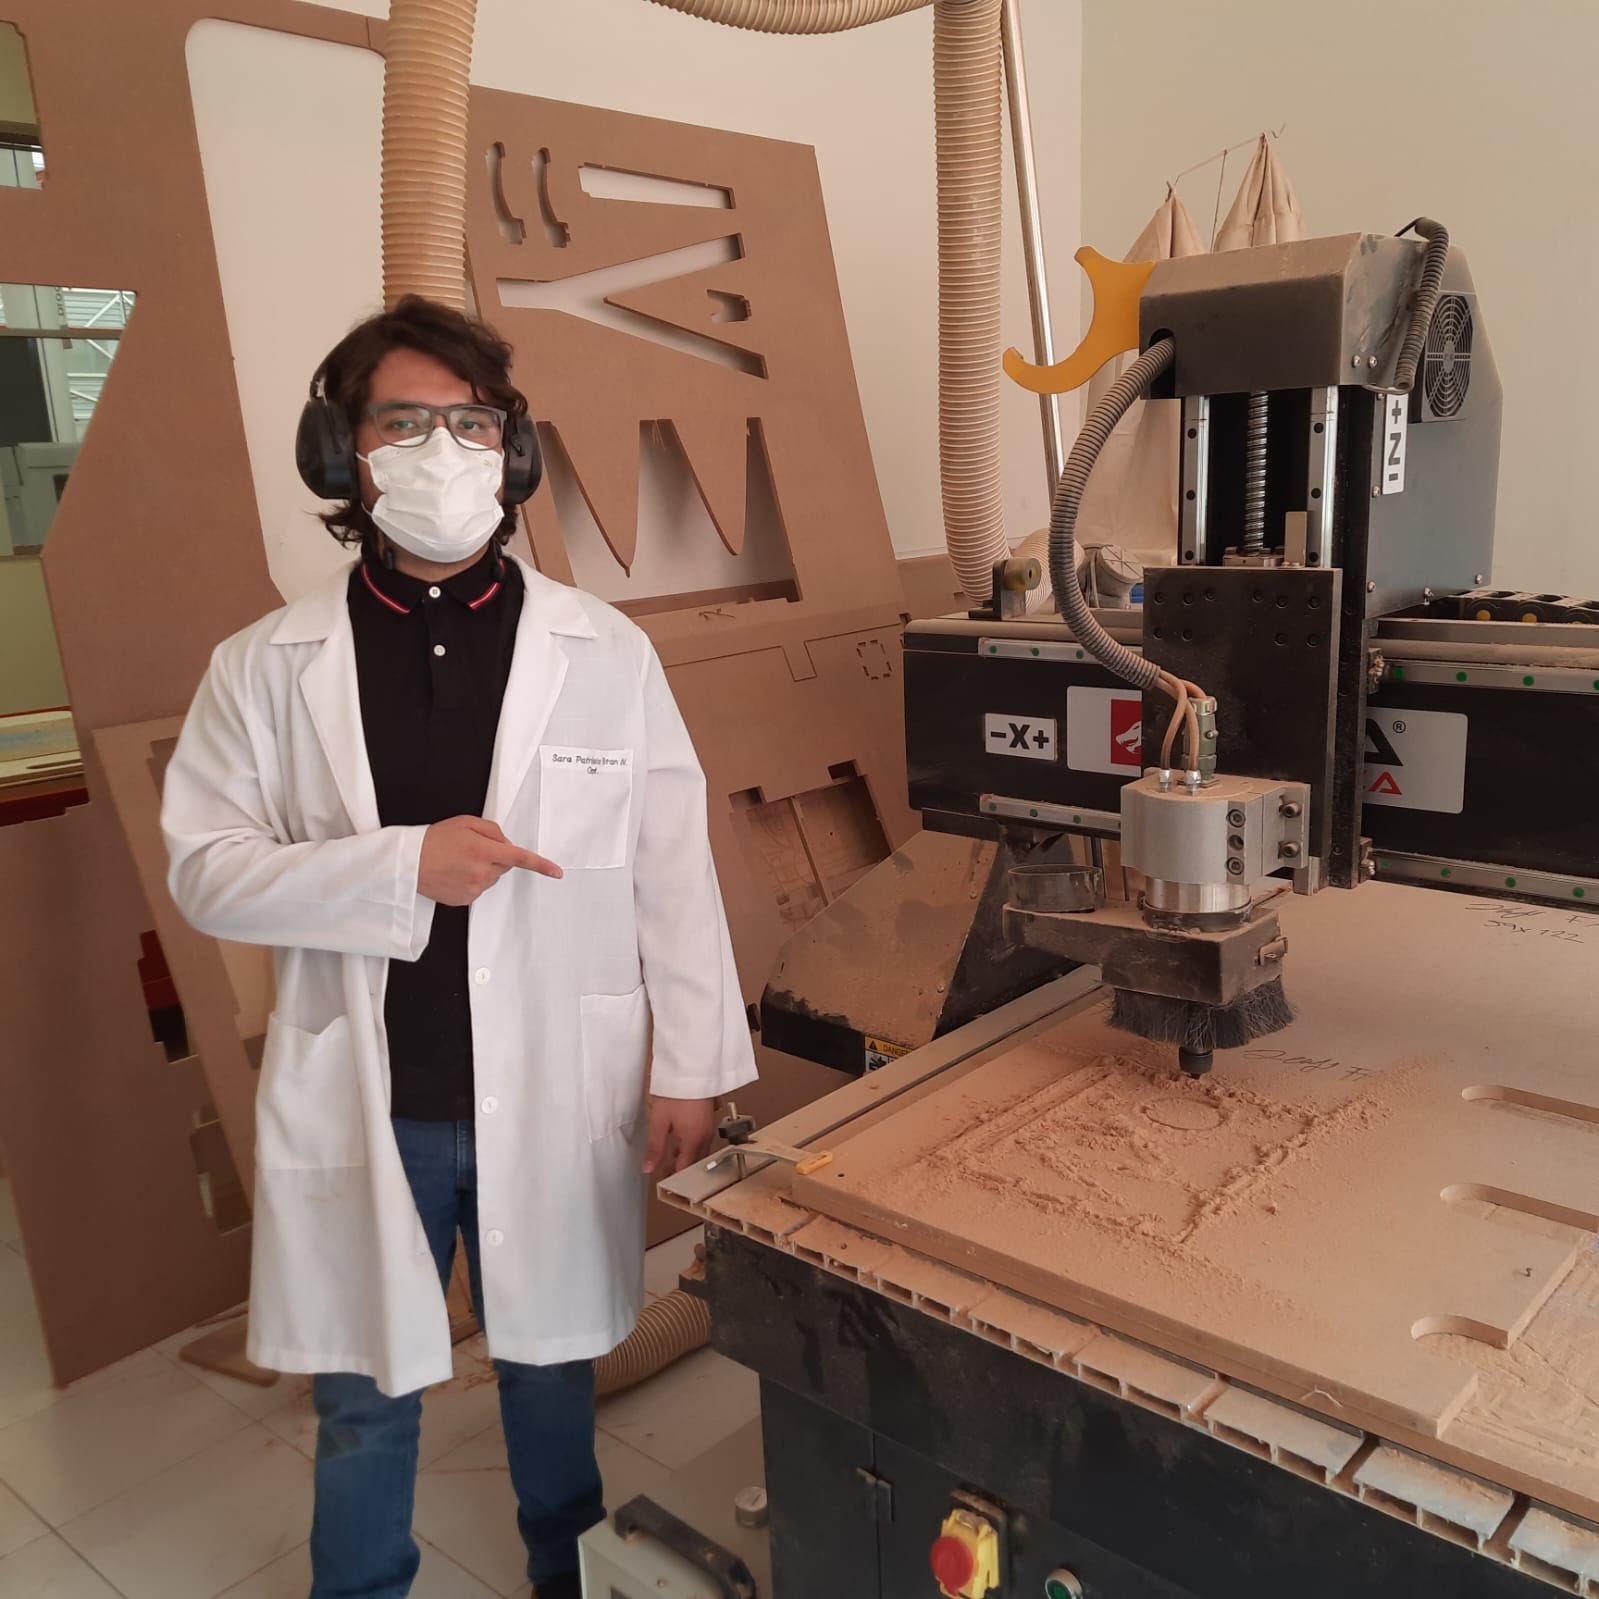
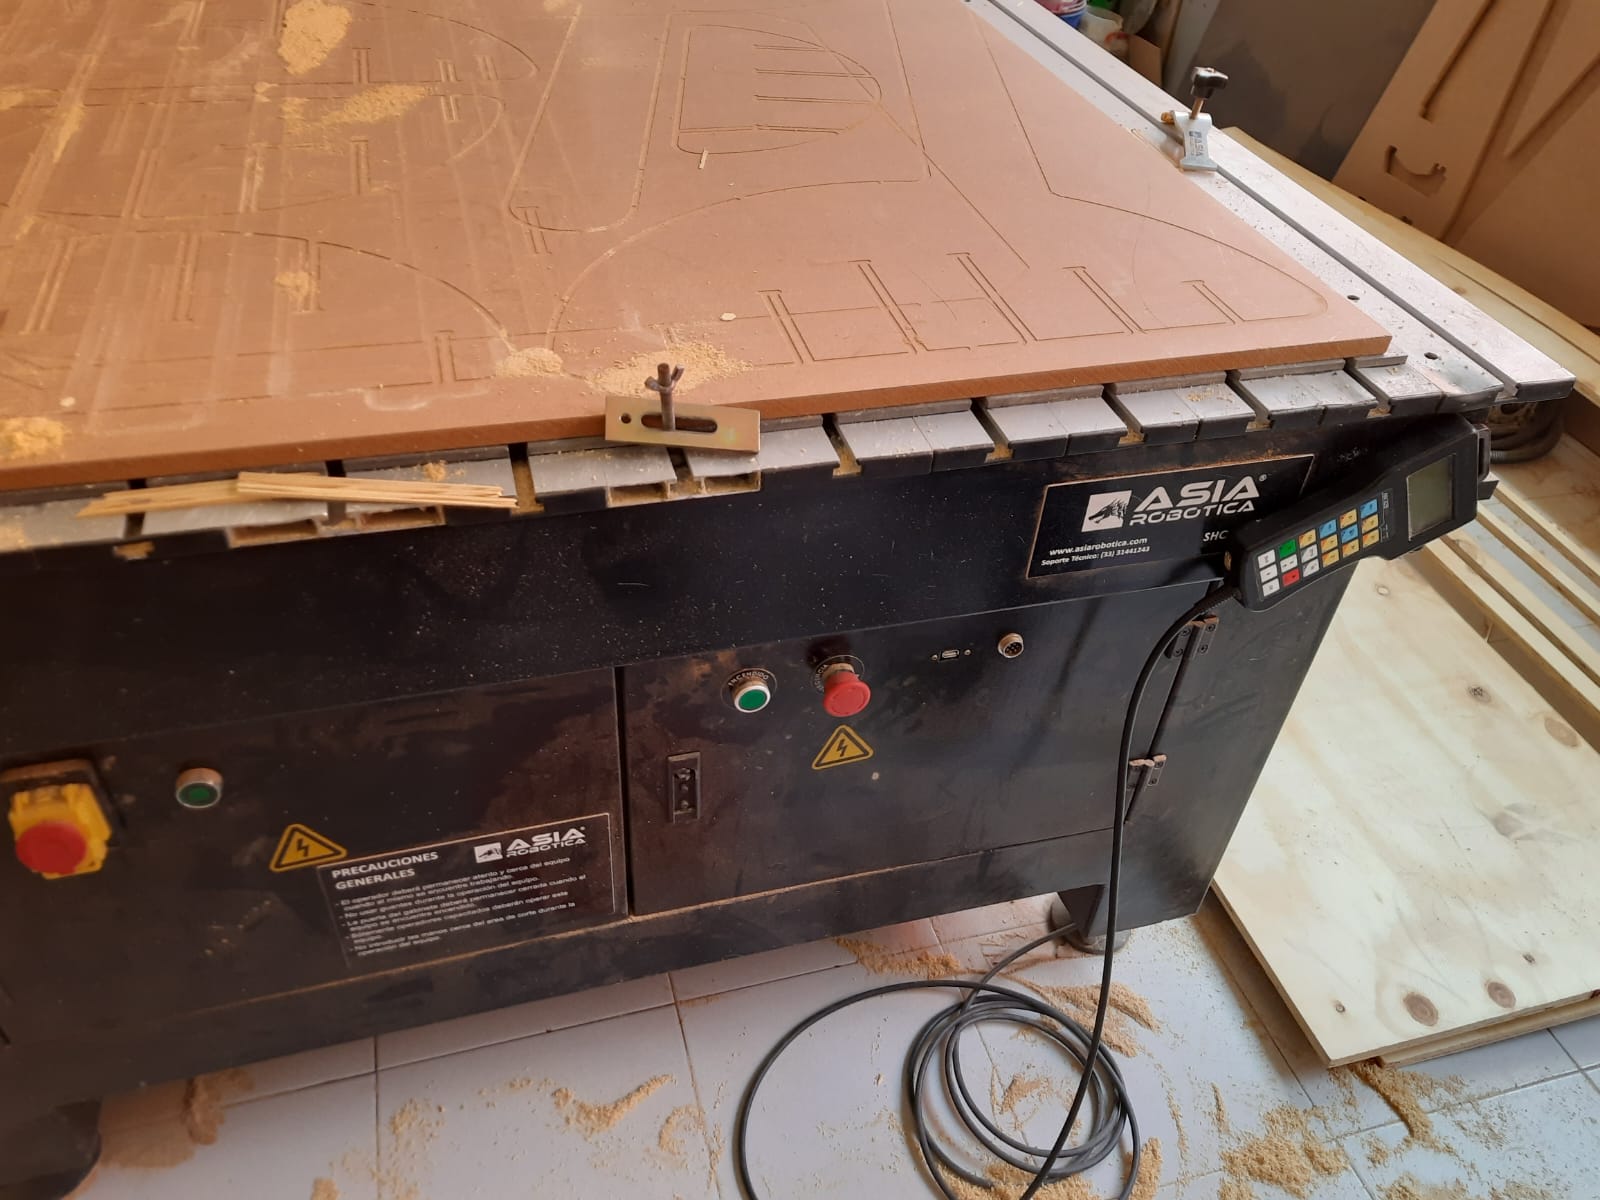
The machinning looks like this

This is the machinning result

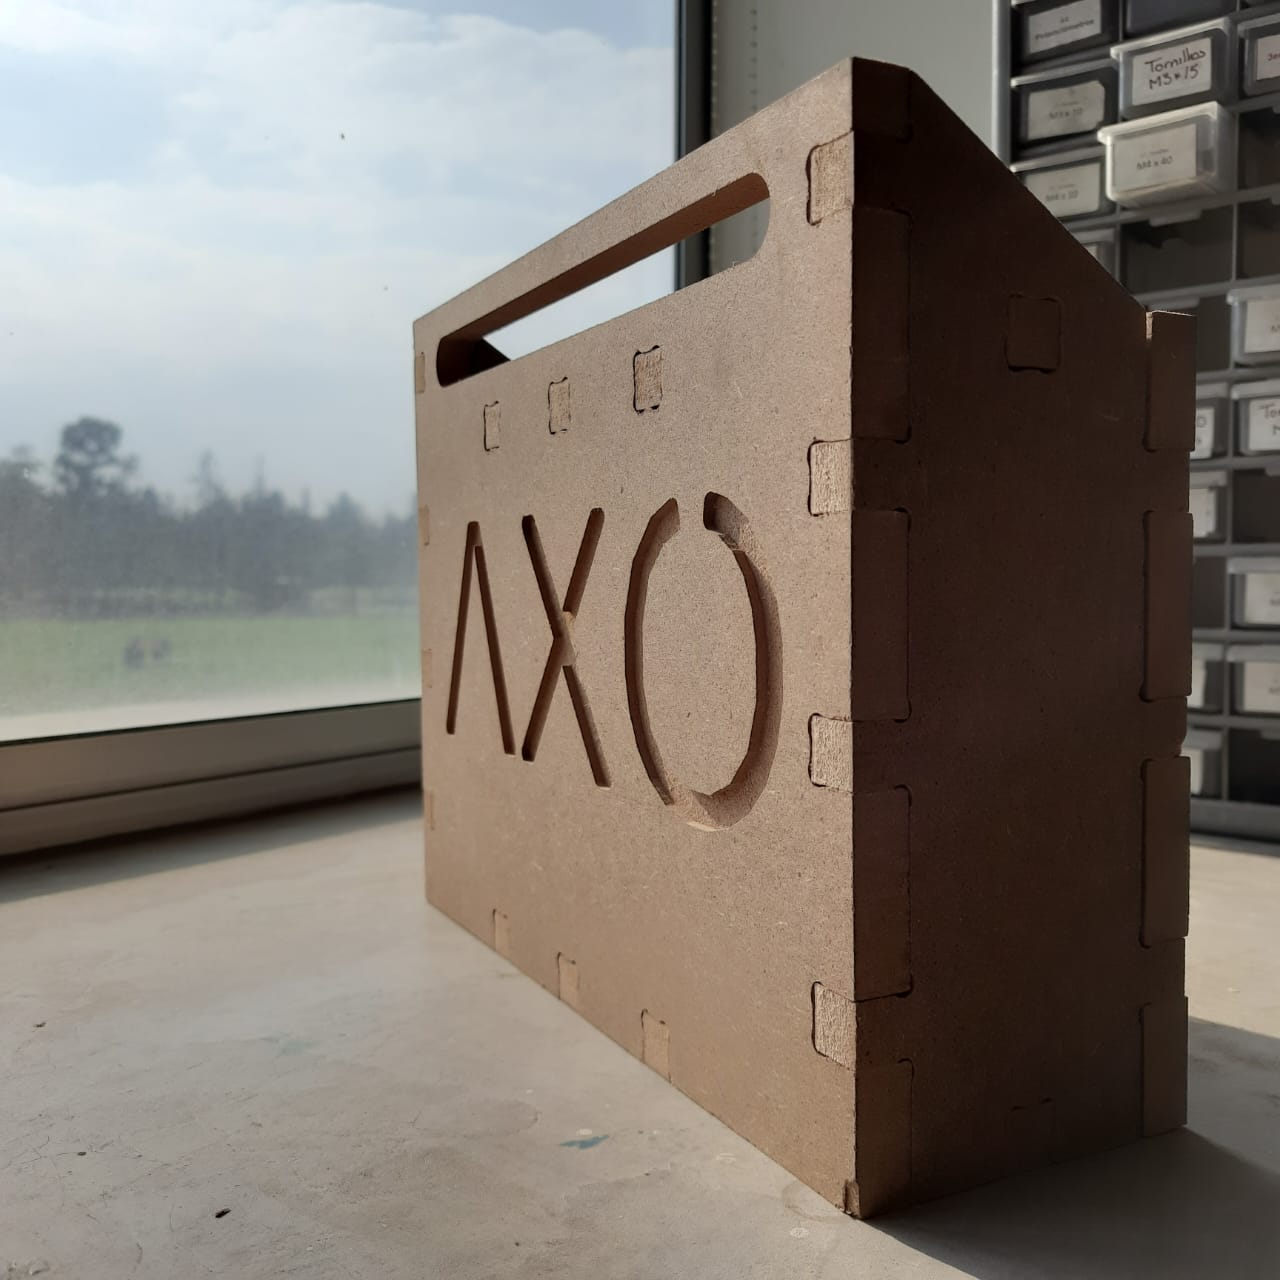
Assembling the product