

9. Output Devices
For this week assigment, we are using our electronics and PCBs to move and control actuators.
Output devices are important since it´s the major way we interact with physical objects and get our projects to do what we want. There are endless amounts of outpute devices, but in my case I´m gonna focus on a brushless DC motor made for drones, as it´s more complex than a regular motor and I will be using one in my final project.
For information about power consumption of output devices, check the Output Devices Fab Ibero Puebla´s Page
Brushless Motors
A brushless DC Electric motor, also known as a commutated motor, is a very powerful, high speed and efficiency motor. They can be found in computer peripherals, power tools and even aircrafts. And that´s exactly the use I´m looking for.
Most, if not all, RC planes use this type of motor since it can spin at very fast speeds to produce the thrust needed to get a plane in the air, at the cost of a huge current draw. Just take a look at the datasheet of the motor I will be using; the a2212

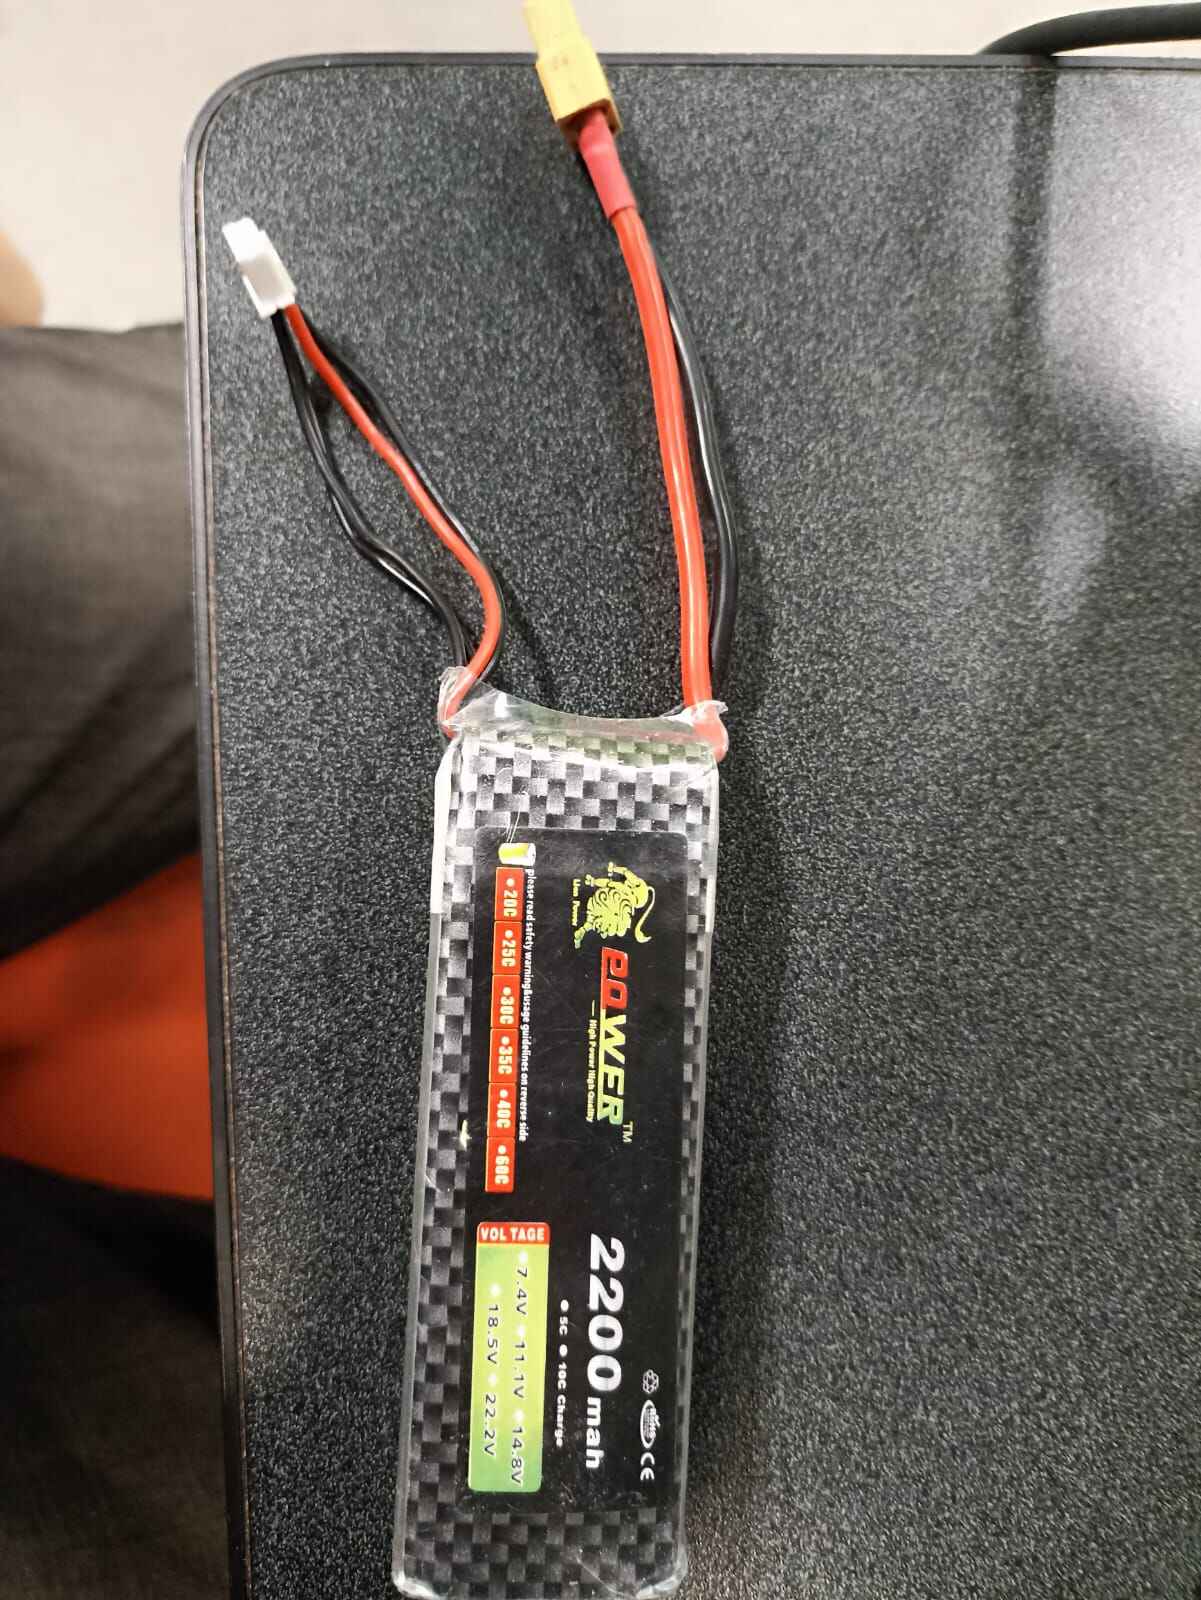
For my propeller, it is almost 10 amps for close to 700 grams of thrust. That´s why this type of motors use LiPo batteries with a high discharge capacity to run these monsters. I will be using an 11.1 volt, 2200 milliamp, 40C battery, meaning it can discharge up to 40 amps at one time.
Also, to control this motors we need an additional device, and ESC; Electronic Speed Controller. This connects to our microcontroller so it can drive the motor, and it works with PWM, just like a servomotor.
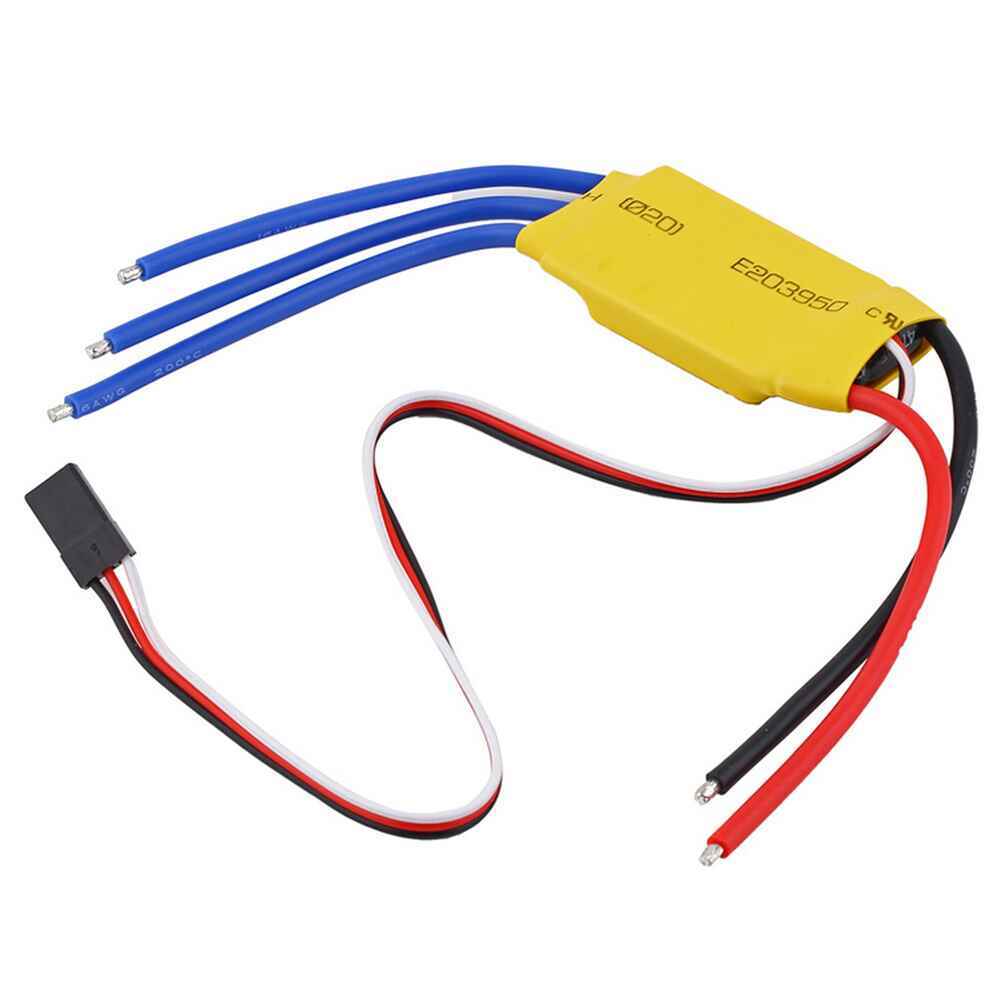
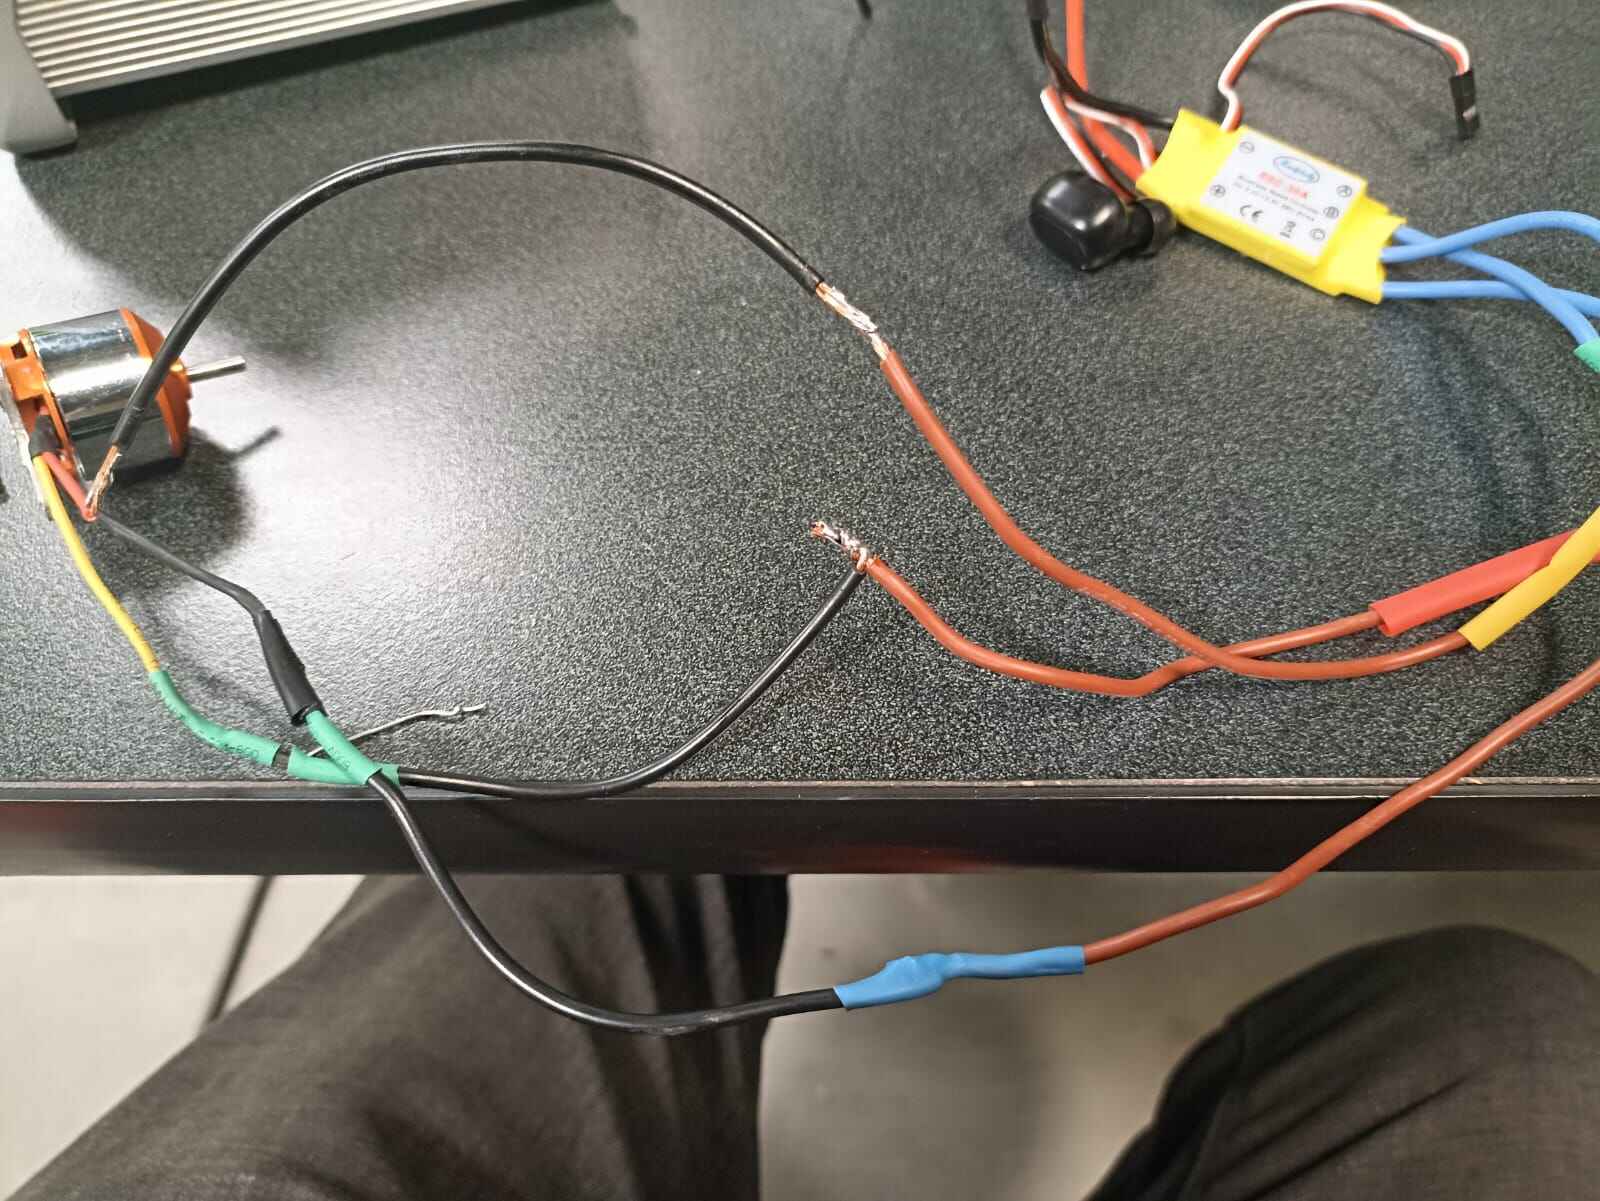
The blue cables go to the triphasic inputs of the motor, the red and black wires go to the battery, and the other 3 black, red and white wires go to the microcontroller, ground, voltage and signal respectively.
This is the motor I have with it´s respective 3 wires:
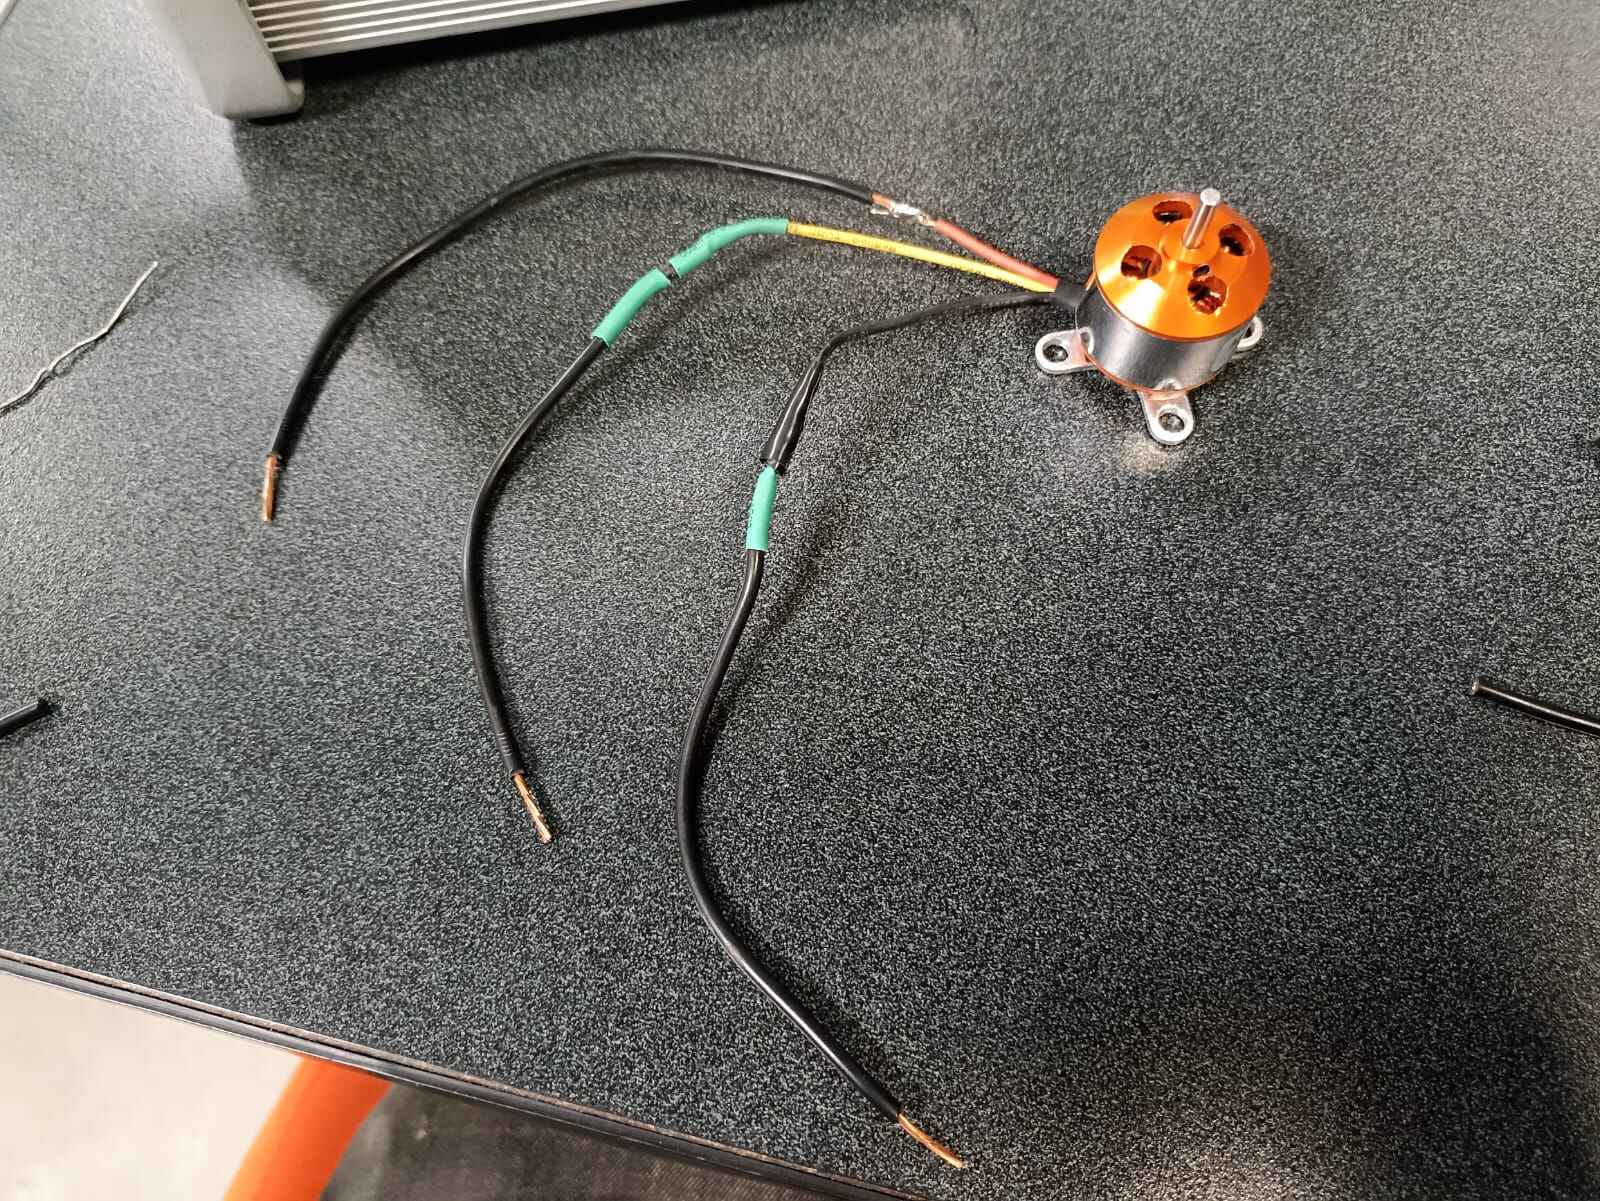
I also had to solder a longer wire to the red one since it was very short
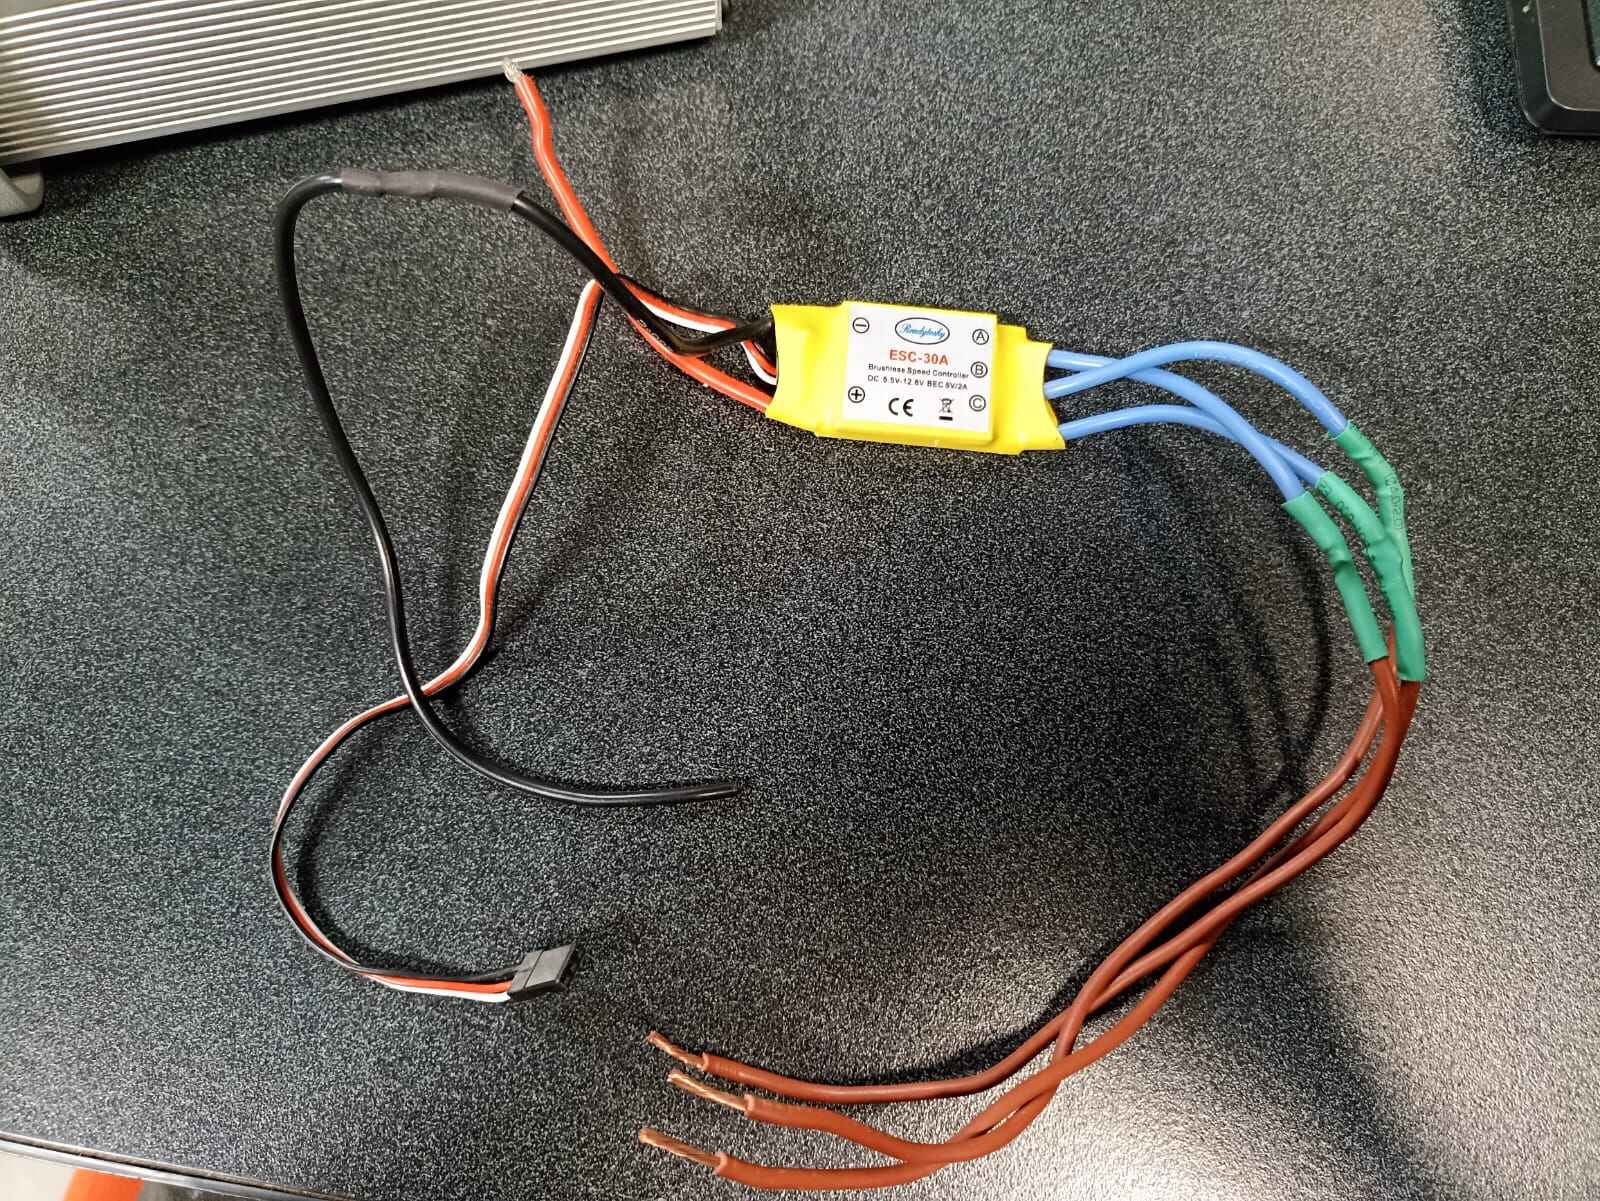
This is the ESC and the battery:
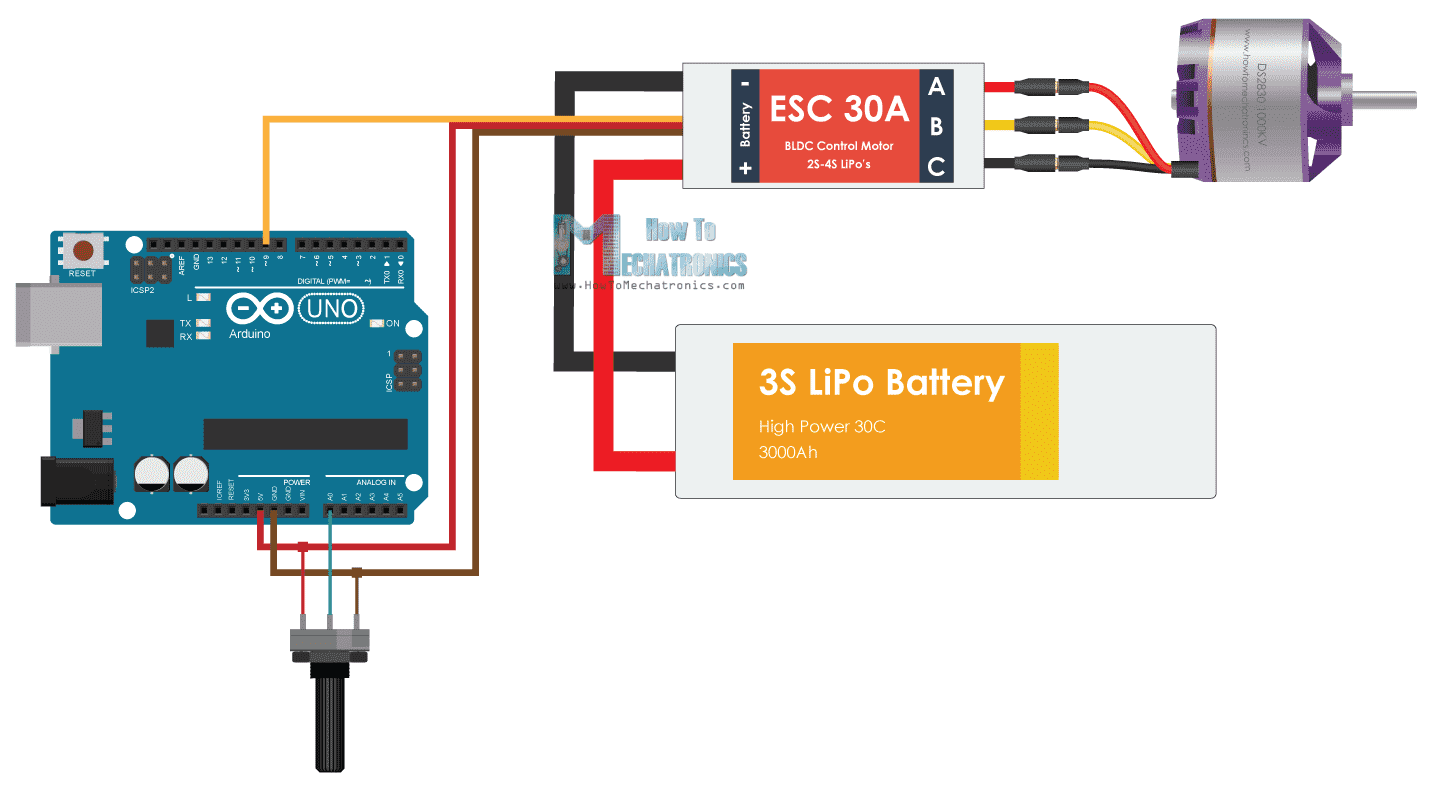
Now, this is the general diagram of how the connections should be made: the 3 output cables go to the 3 cables in the servomotor, the big red and black wires go to the LiPo battery, and the smaller black, red and yellow (or in my case white) wires go to ground, 5 volts and a PWM available pin respectively. The potentiometer is additional to control the speed of the servo but I will not be using that here.
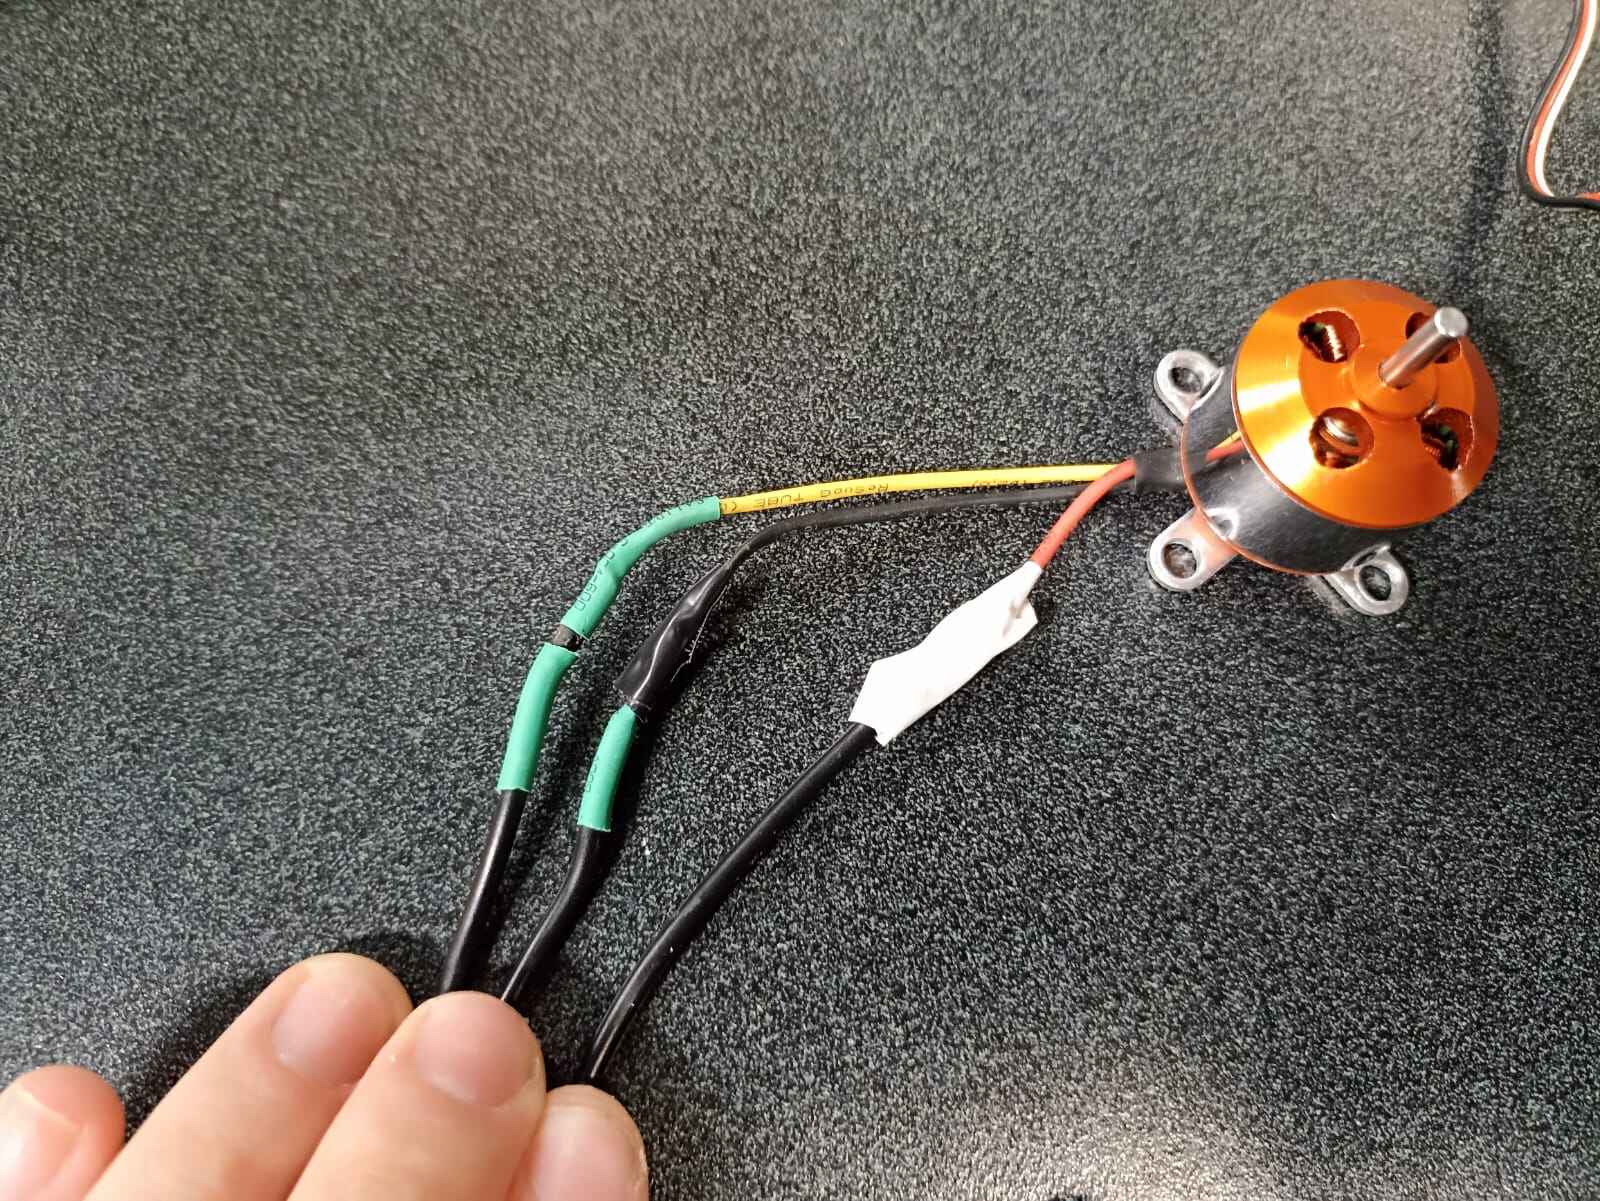
Seeing that, I soldered and 3 output cables of the ESC to the motor and covered them with heat shrink tubing to isolate them.
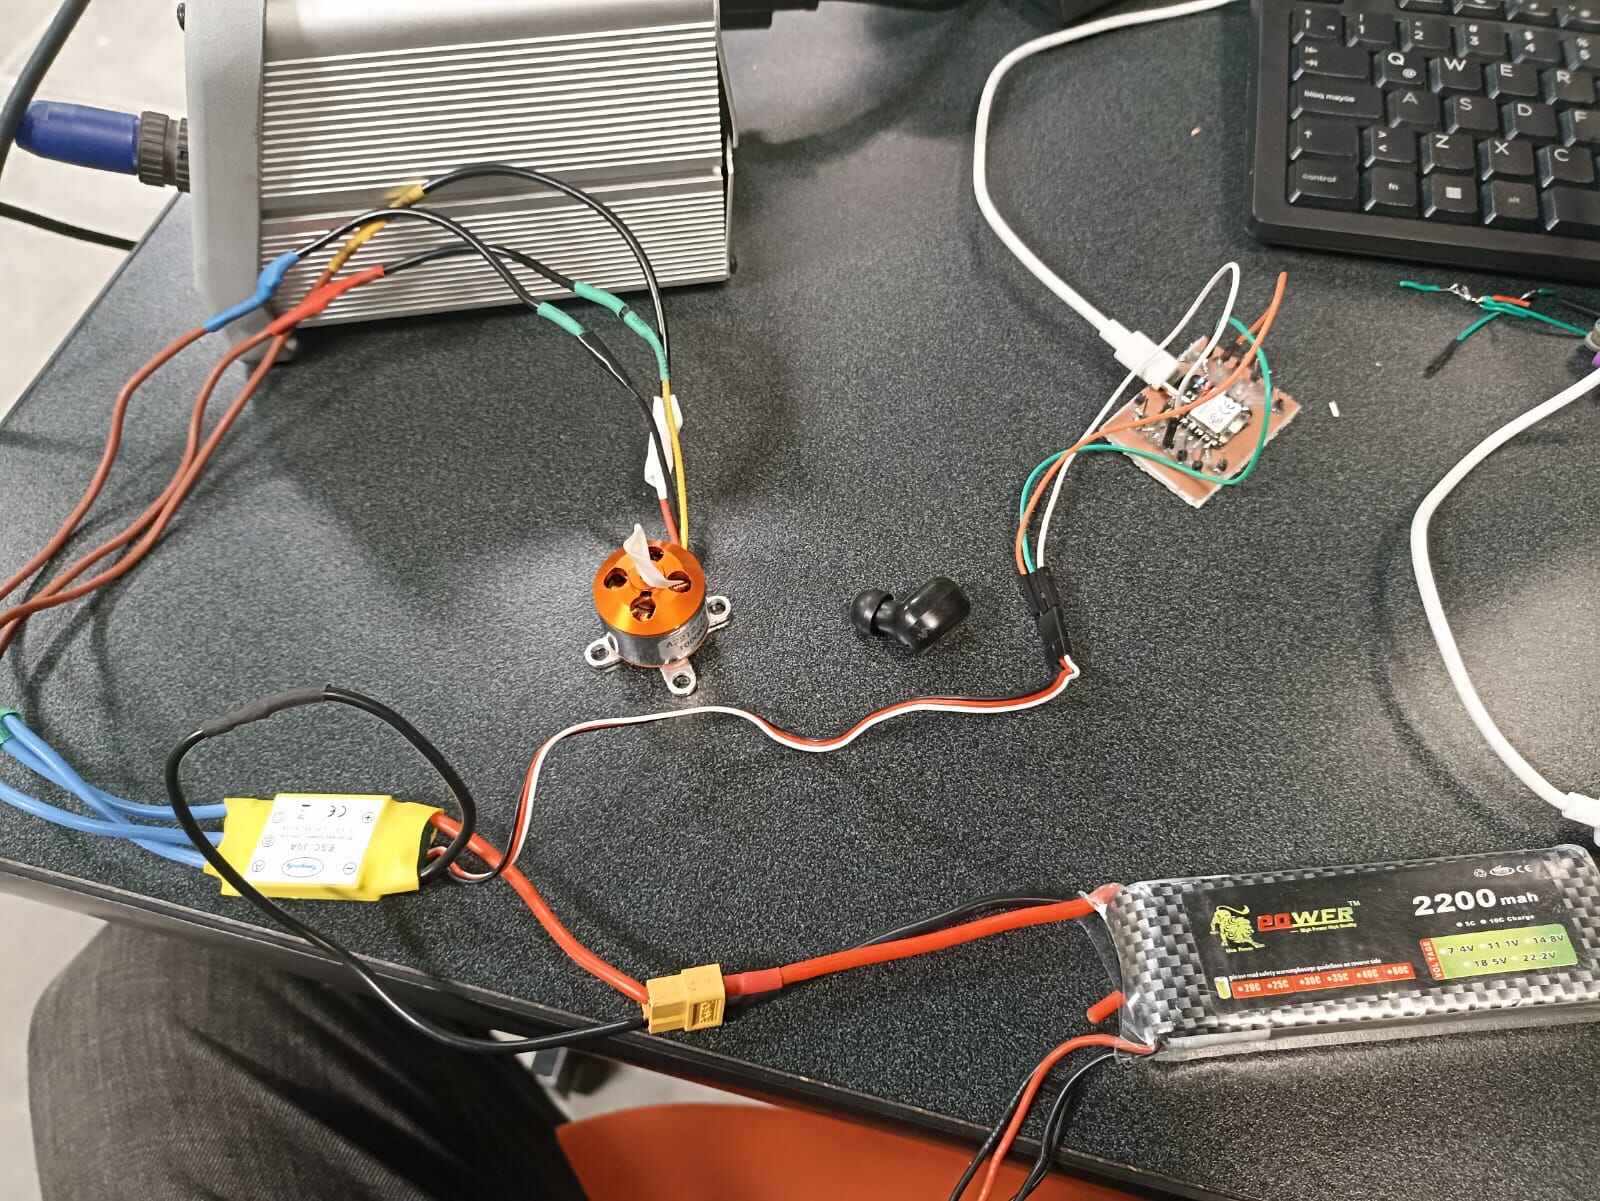
We later connect the signal cables to the XIAO RP2040 we did in the electronics design week, and also the battery to the ESC. Note: the esc should have the counterpart connection to the LiPo battery to ensure a solid connection between those, as the shoved cables inside the battery could come loose at any moment and you DEFINITELY don´t want to short a high discharge capacity LiPo battery. I did not have the respective connection on the ESC at hand, but I wil get one for my final project, I pinky promise.
Also, the board with which I will be testing the brushless motor is a XIAO RP2040 I made on my Electronics Design Week
If your connections are correct, the motor should do a sort of beeping sound and a slight movement, this indicates that it has power and it´s waiting for a signal to function.
By the way, I added some tape at the end of the motor to better visualize it´s rotation, because if I were to attach the propeller to the motor and run it, well... I would have my whole setup fly uncontrollably through the air, and I don´t really want that.
Now, we need the following code on the XIAO to make it work and spin at the speed we want:
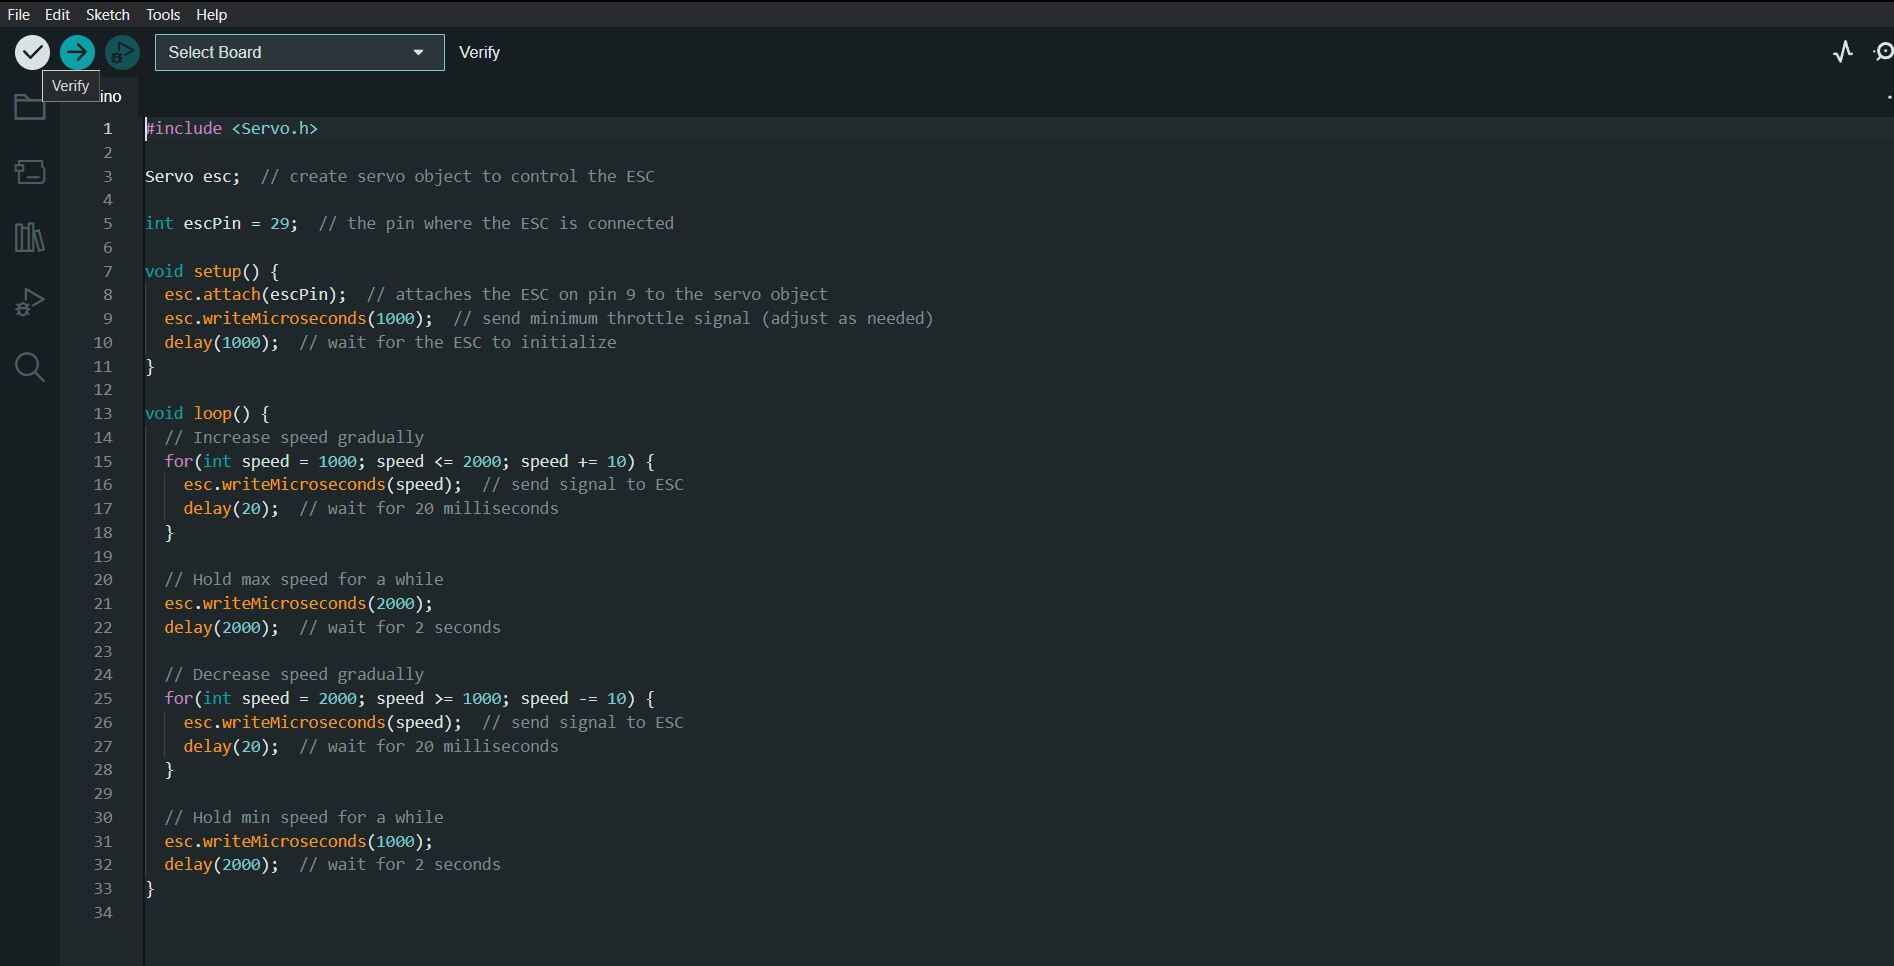
The way we program a brushless motor, is by using the servo.h library. On void setup, we attach the motor to the pin we have it one, and type "esc.writeMicroseconds(1000);". This sends a quick mini signal to the motor to synchronize it. You know it did that because the beeping and slight movement in the motor will stop.
After that, it´s just 2 loops where the speed increases from minimum power to max power, holds it for a couple of seconds and then brings it down. This is just to test if the motor actually works.
And here it is working:
As you can see I was holding the motor because even with no propeller, it jumps around a lot when spinning. But this issue is probably resolved once it has all 4 of it´s screws firmly attached to a surface.
Conclusions
Since I will use a brushless motor for my final project, I wanted to use this week to learn how to actually get one going. I had quite some trouble getting the motor to run, because I did not add the "esc.writeMicroseconds(1000);" part to the code, so it would not stop beeping and would not turn, but after that, they are very easy to handle.