Moulding and Casting
On this week we have to desing a mold, produce it with a smooth surface finish, and use it to cast parts.
Designing
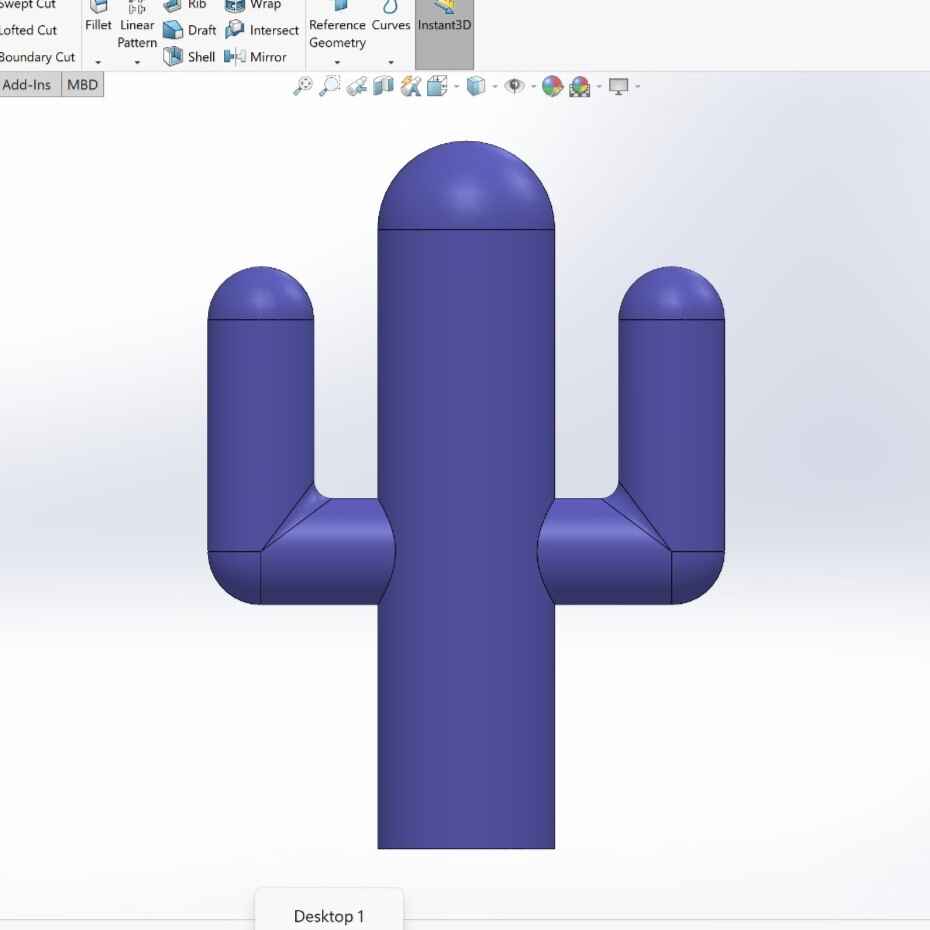
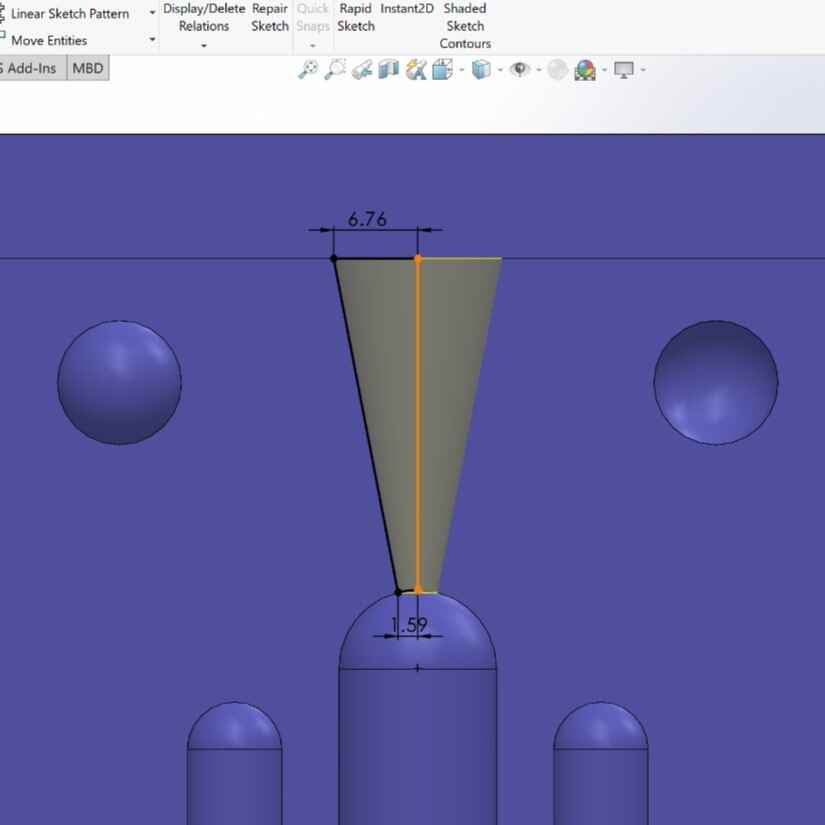
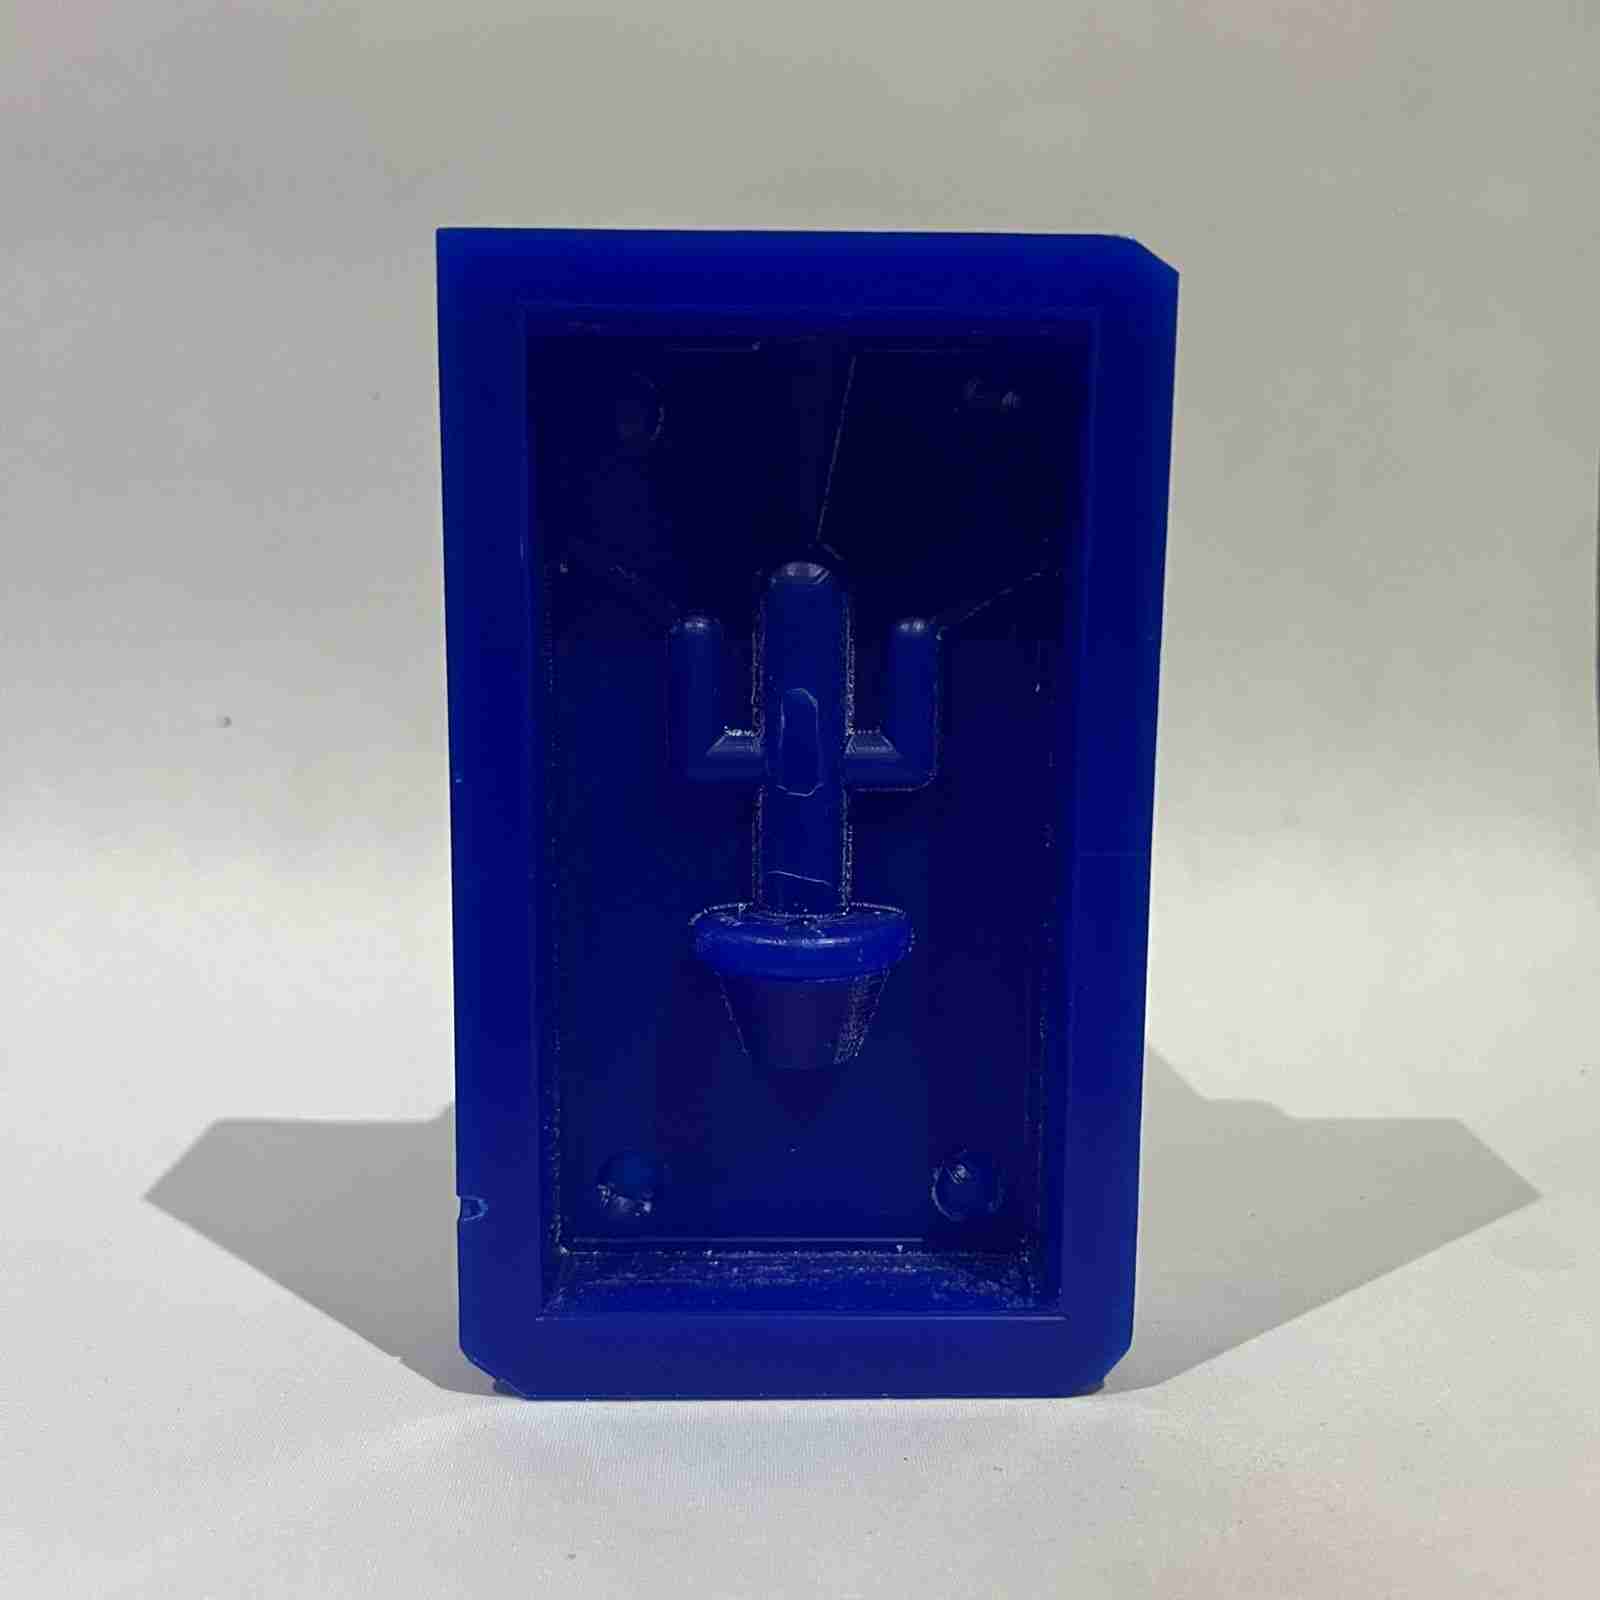
The piece I wanted to mold was a cactus, I got into grabcad to find any cactus desing that I can use. Fortunately I found a sldrpart that I liked.
Althought the original file was good I desided to modify it. I make it symmetrical so I could recycle the mold to make both sides and I also added a pot to make it cuter.
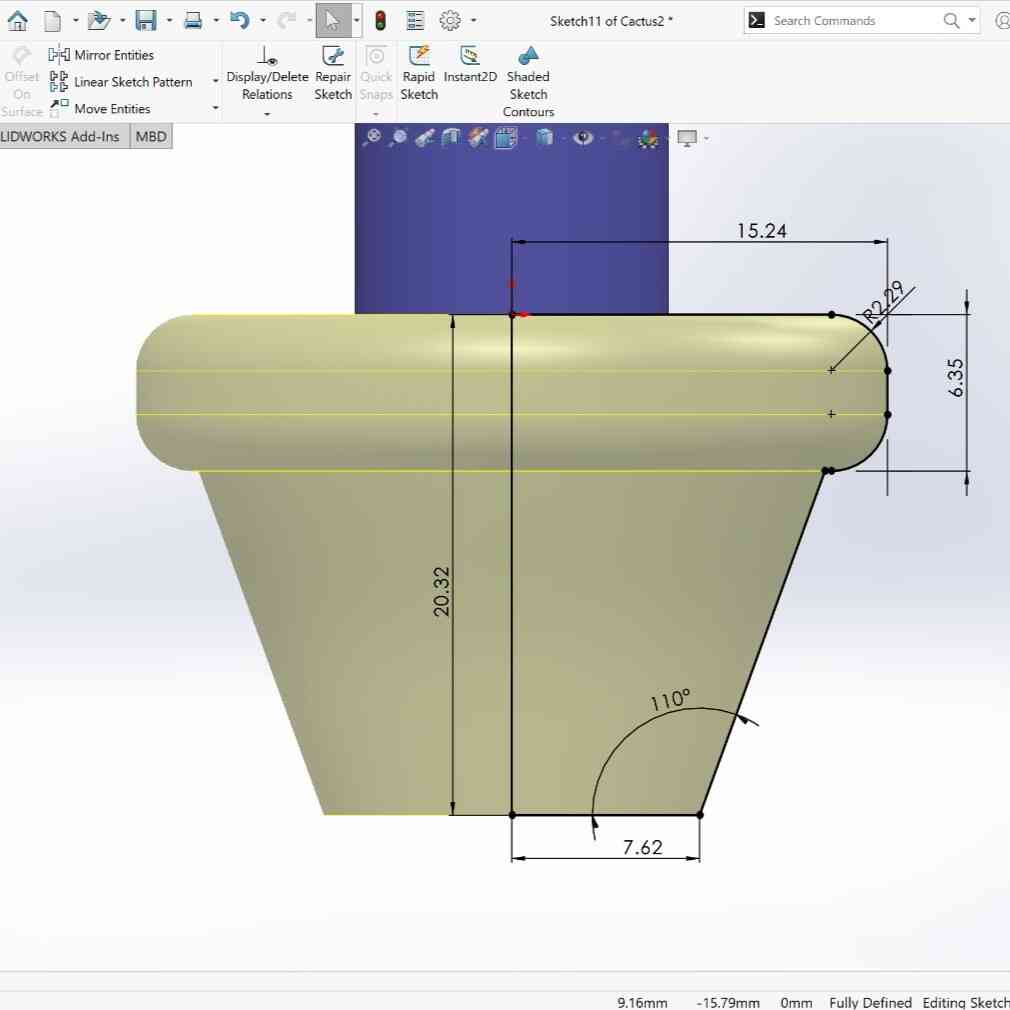
Now that I have the pieze how I wanted it was time to create the mold. To do that I just added a rectangle in the middle of the piece and extruceted a another rectangle to make the walls. Finally I added some funnel where the material that I´m going to pour, in my case melted gummies.
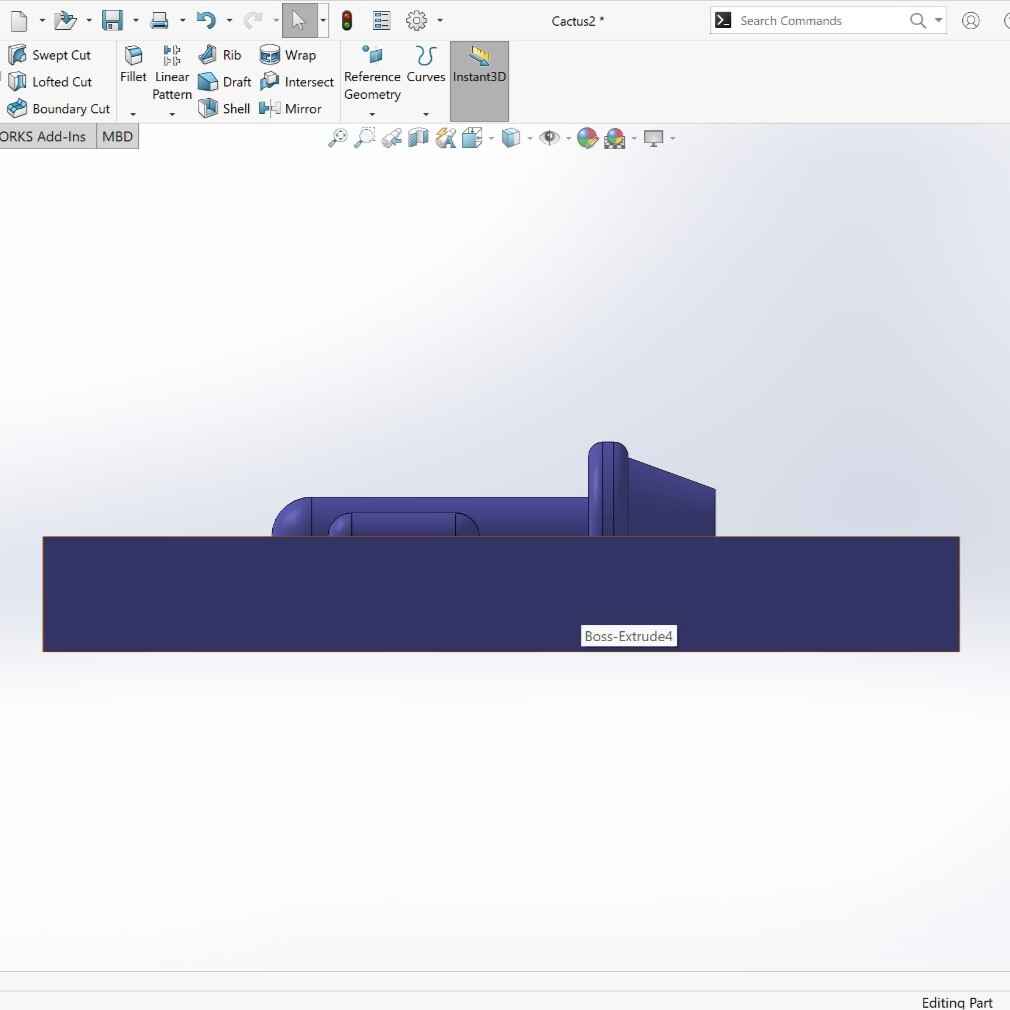
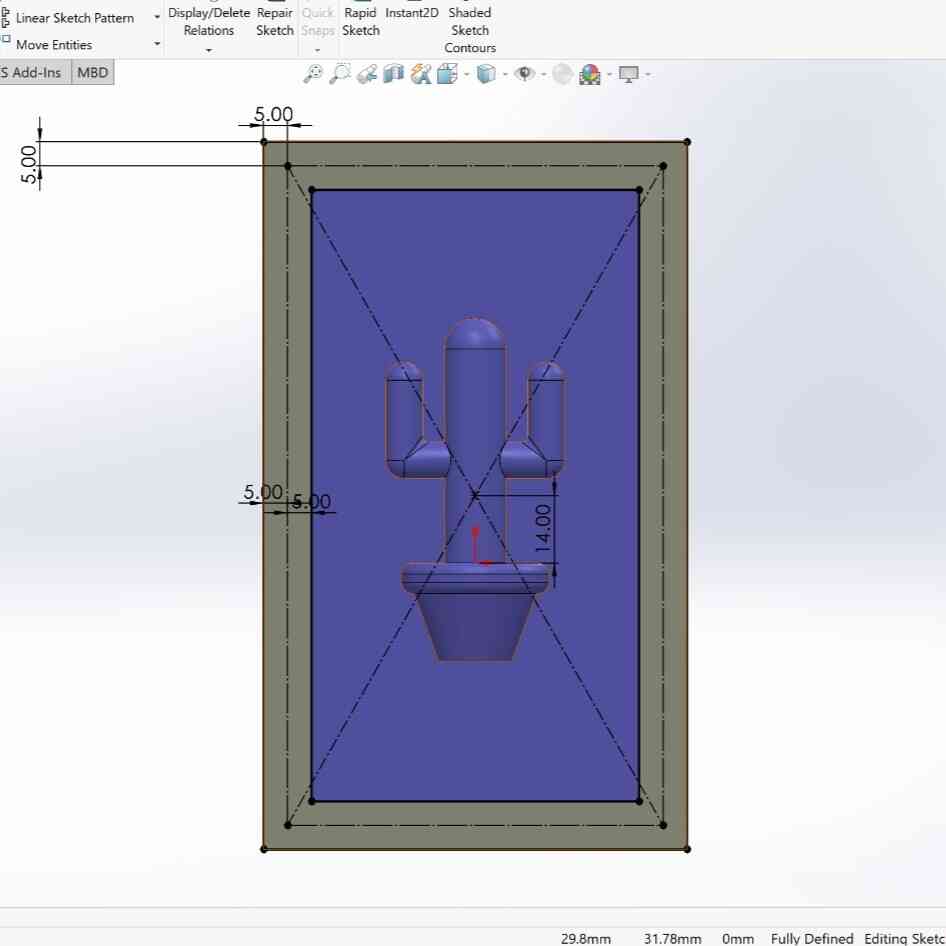
Here is the final result (rember to save your piece as stl file):
Machining
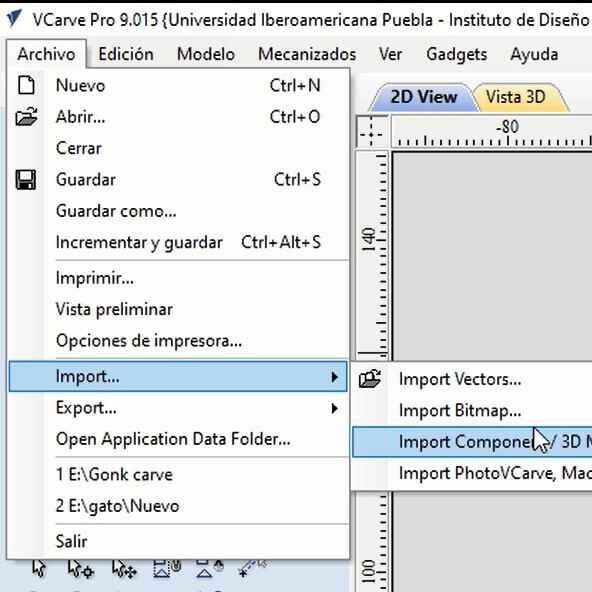
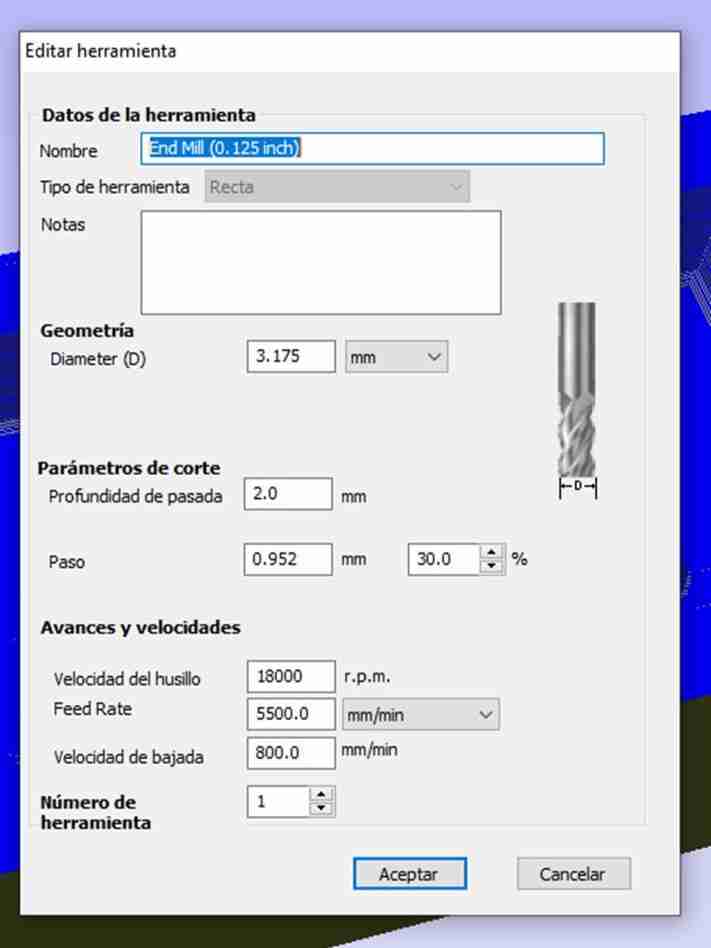
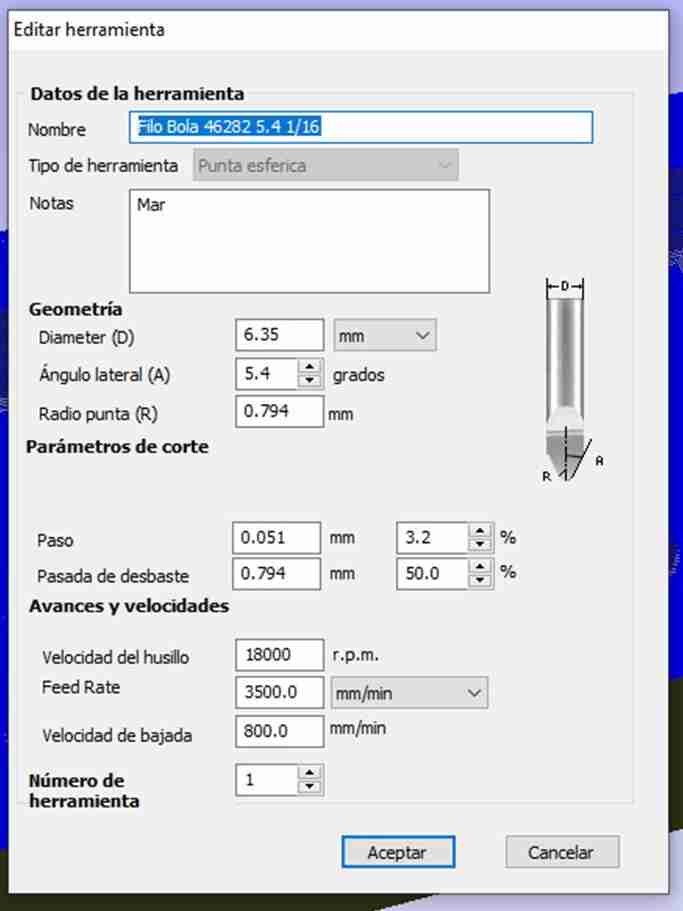
To make the first moled, the solid one, I decided to use the Router that we learn to use on Week 7. But, before using the machine I had to create on VCarve the nc files, one to make the roughing and another one to make the details.
To make the files first you have to import your stl file by going to Files → Import → Import Component / 3D Model. Then we have to set the size and and thickness of the material we are goint to work with. Finally we have to set the x, y and z reference points, I set them on the bottom left corner of the ceramic block. Once everything is set just click on accept.
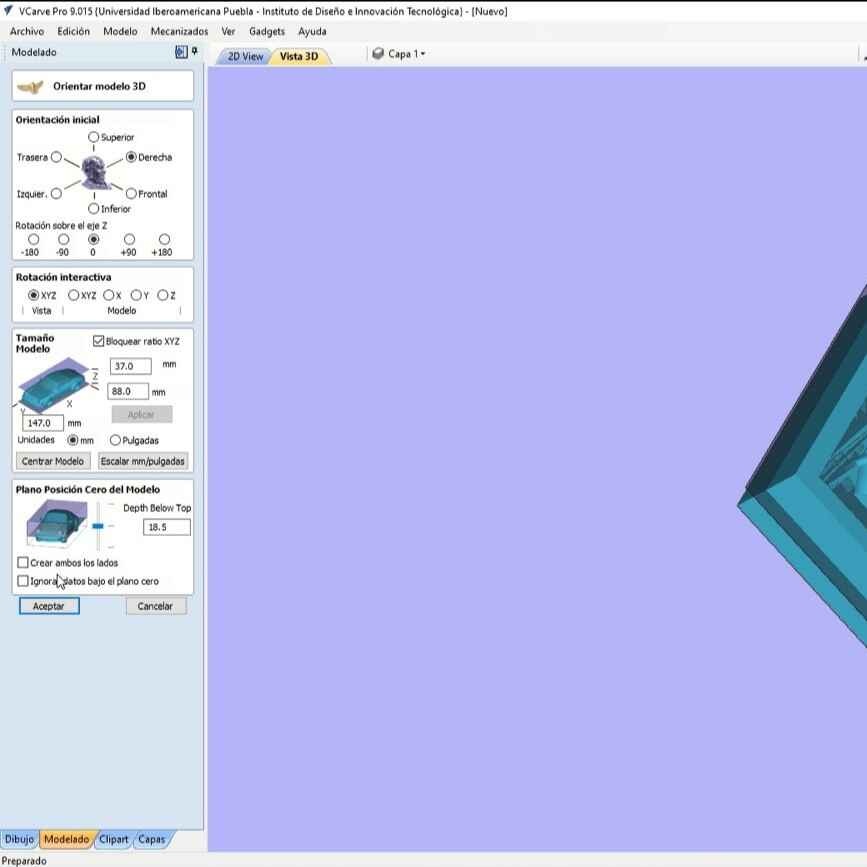
To create the desbasting and the finishing we just have to select the roughing and finishing modes. On each one we just have to set the tool we are going to work with and the parameters. Finally save both documents.


Once the files were done it was time to use the Router, the one I used was the Asia Robotic CNC beacuse it was the one I used on week 7 and I already knew how it works. Just remember that every time we use this machines we have tu wear the right equipment, lab. coat, glasses, boots, etc.

Molding
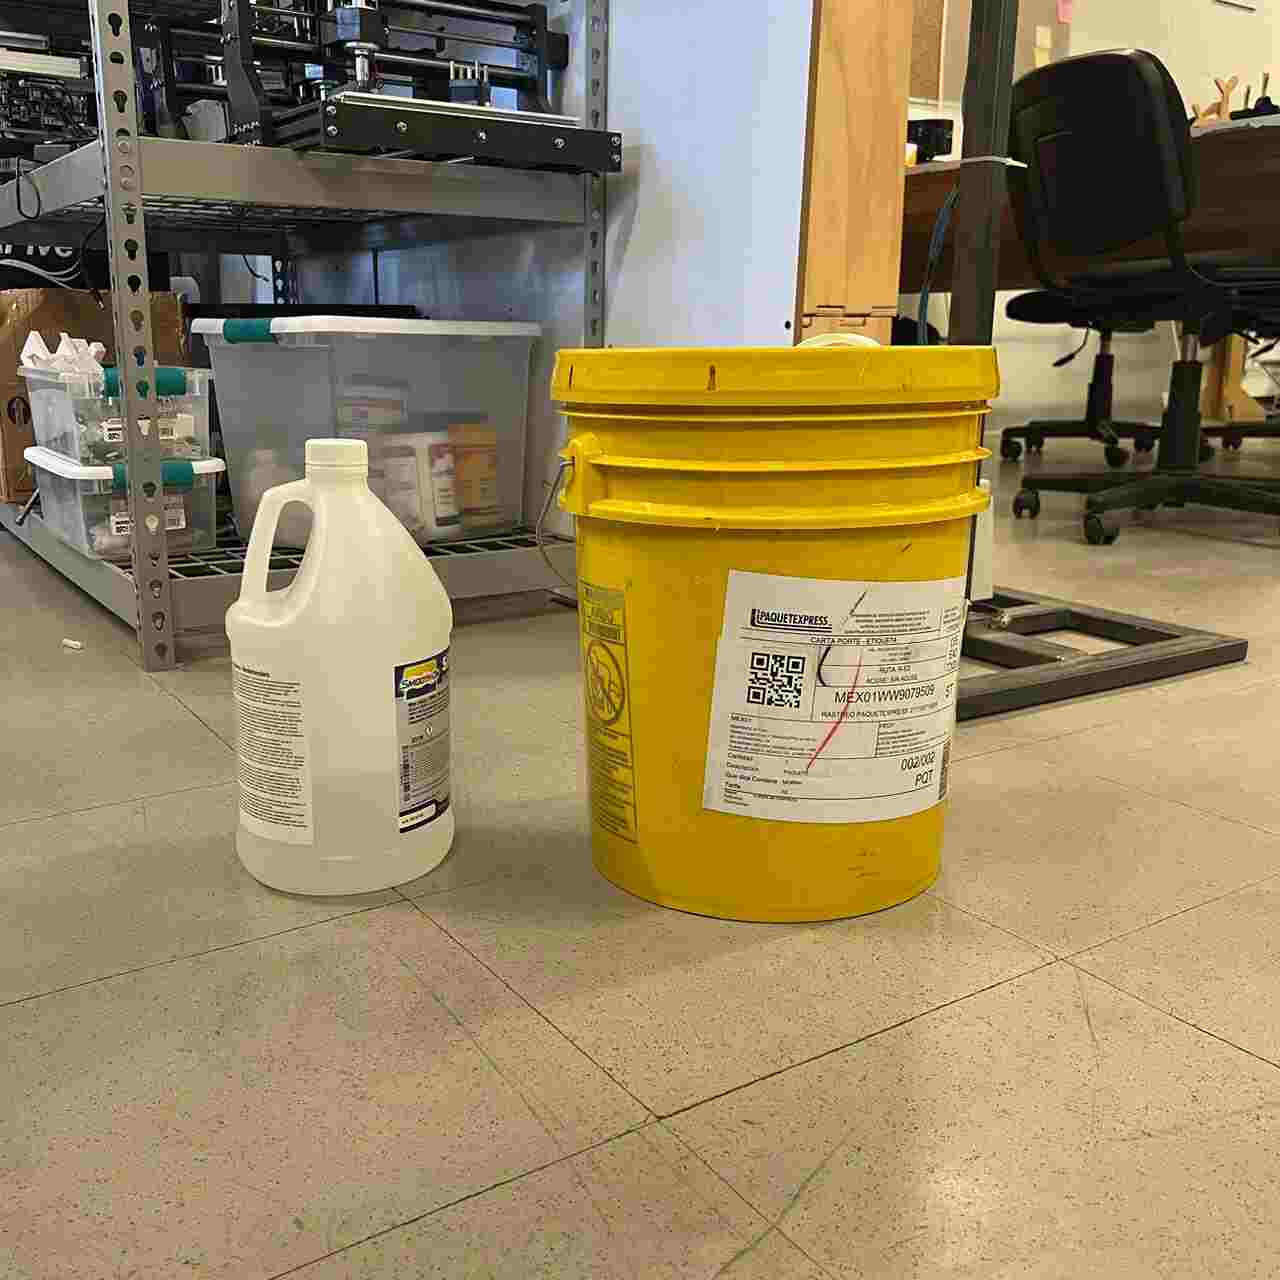 Now that I have the wax mold it was time to create the silicone mold using the wax mold. To create the silicon mold I used Silicone
3030 (here is the datasheet). Most of the time, silicone material is a two-part compound where you have to mix them to create the silicone.
In my case, I used a ratio of 100A:10B. It is important to know that the Silicone 3030 is not edible so, although that I
am going to create gummies, I am not going to eat it.
Now that I have the wax mold it was time to create the silicone mold using the wax mold. To create the silicon mold I used Silicone
3030 (here is the datasheet). Most of the time, silicone material is a two-part compound where you have to mix them to create the silicone.
In my case, I used a ratio of 100A:10B. It is important to know that the Silicone 3030 is not edible so, although that I
am going to create gummies, I am not going to eat it.
First I puor water on the wax mold to determine the amount of silicone I needed and to avoid any waste of material. The total volume of water was 128.4ml.

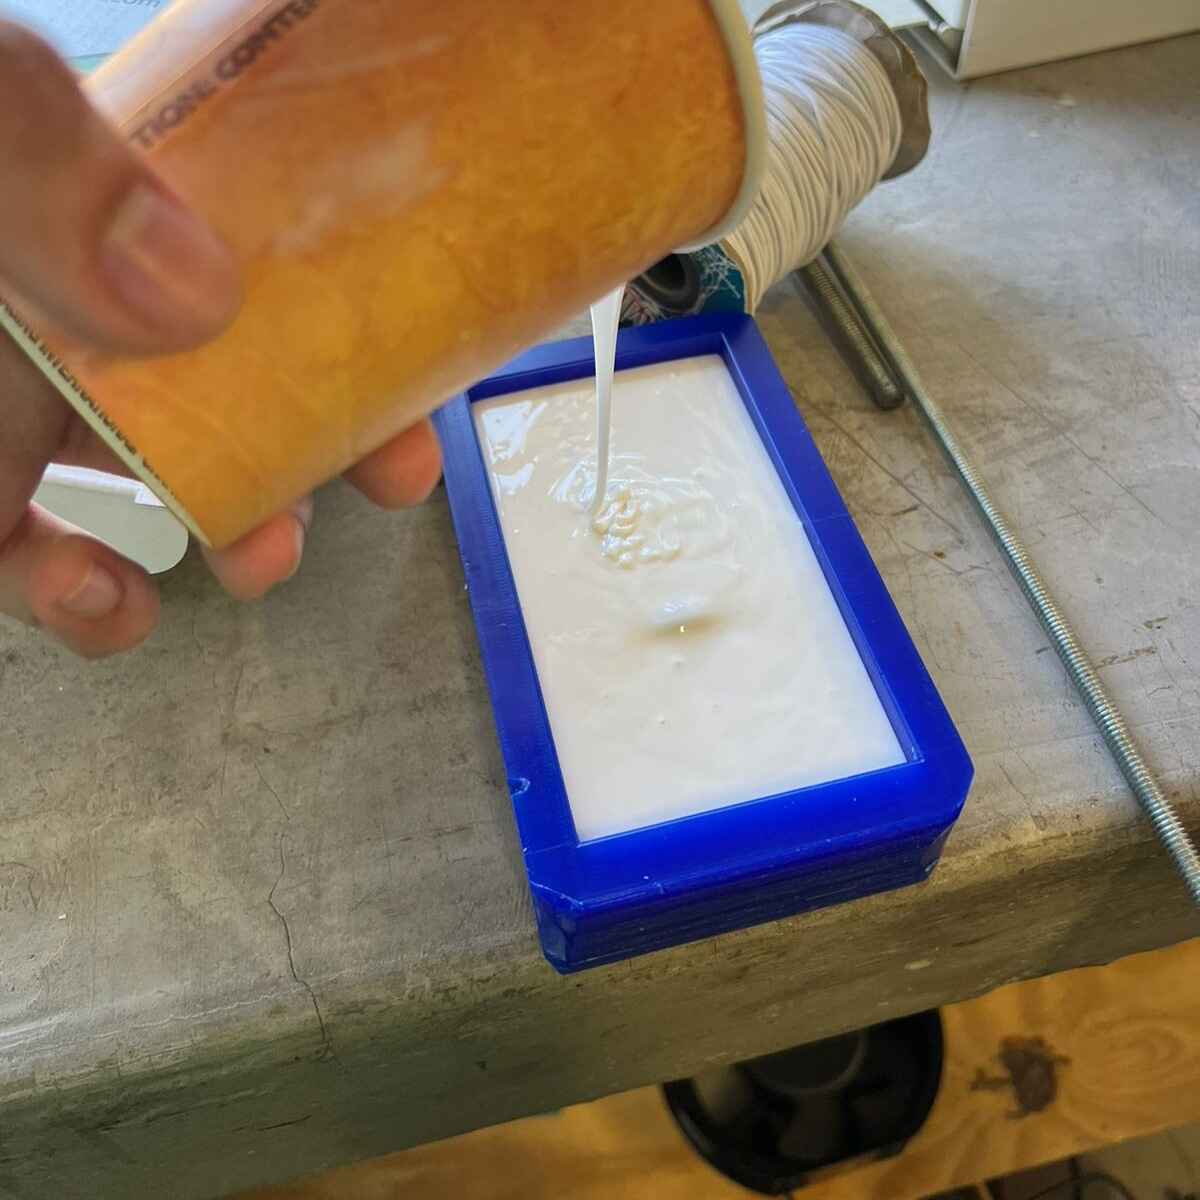
Once I knew what was the amount of silicone I needed I start making the mix. Knowing that the ratio is 100:10 I puor 180m l of Part A and 18ml of Part B and mixed it for about 5 min. After mixing I pour the mixed into the wax mold and let it dry for abour 6-12hrs.
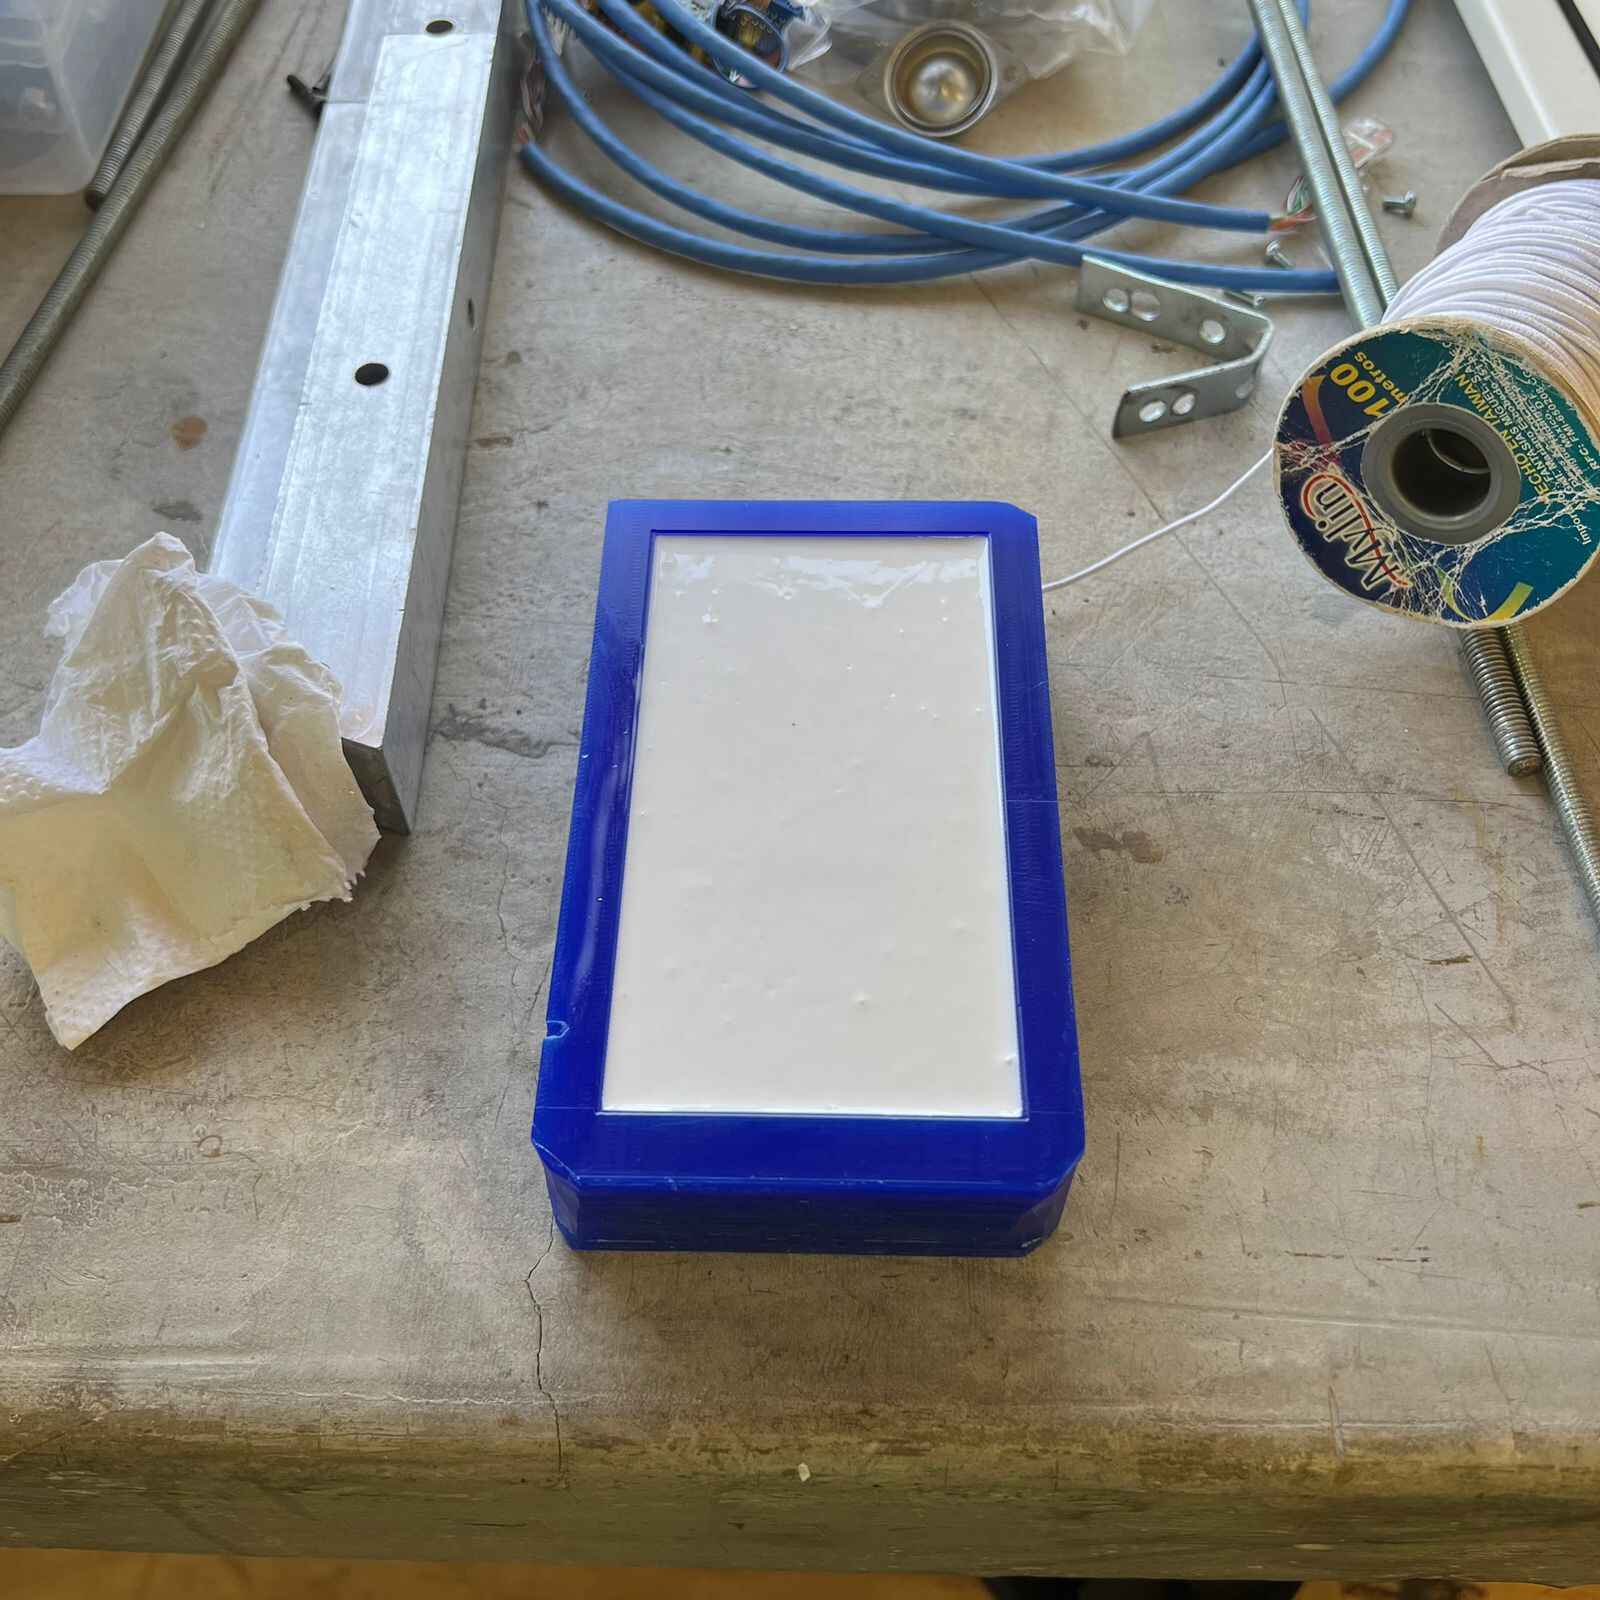
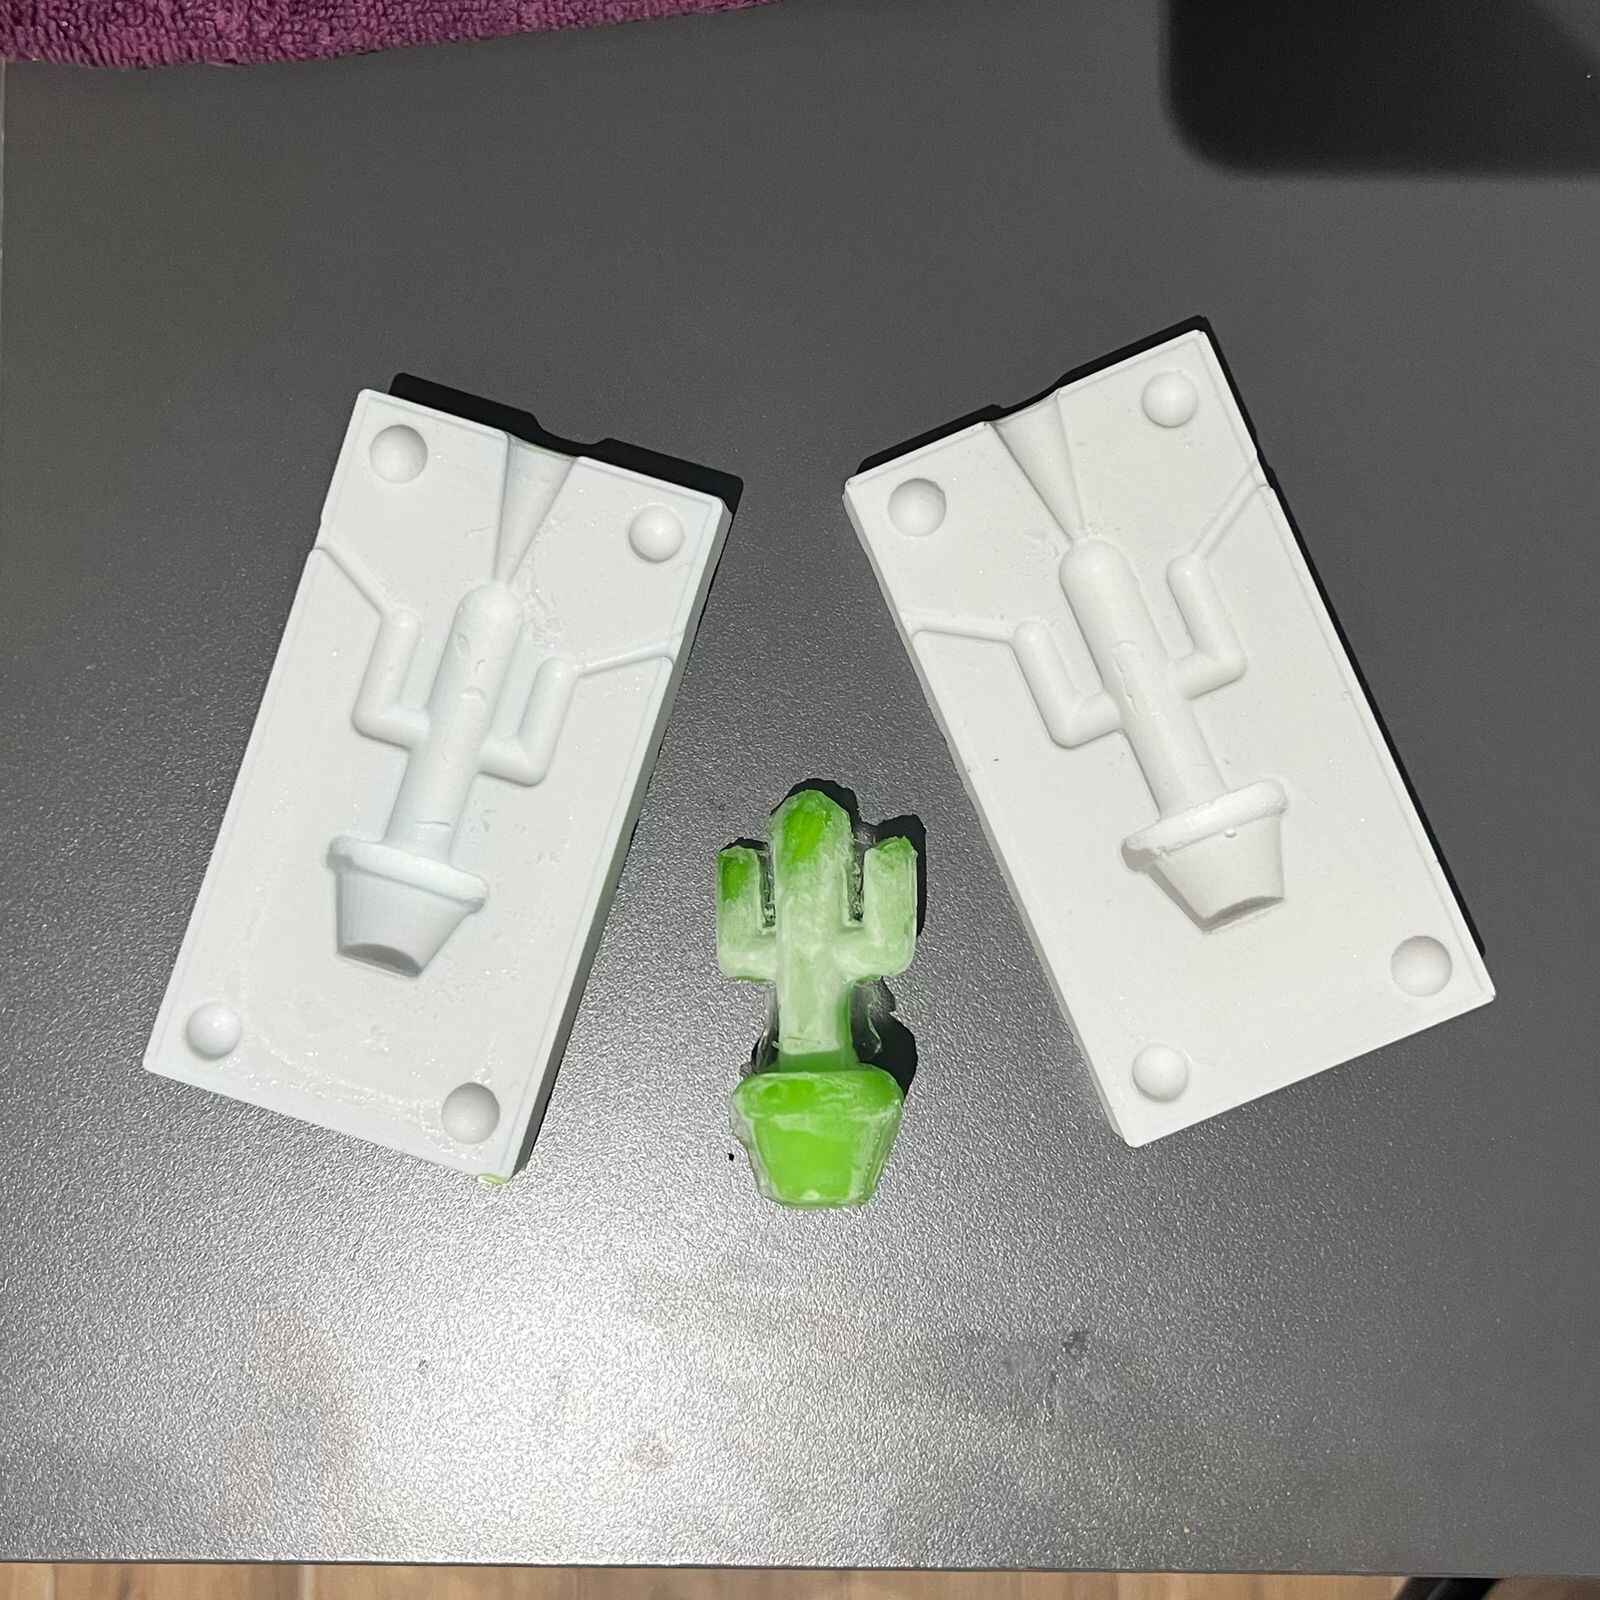
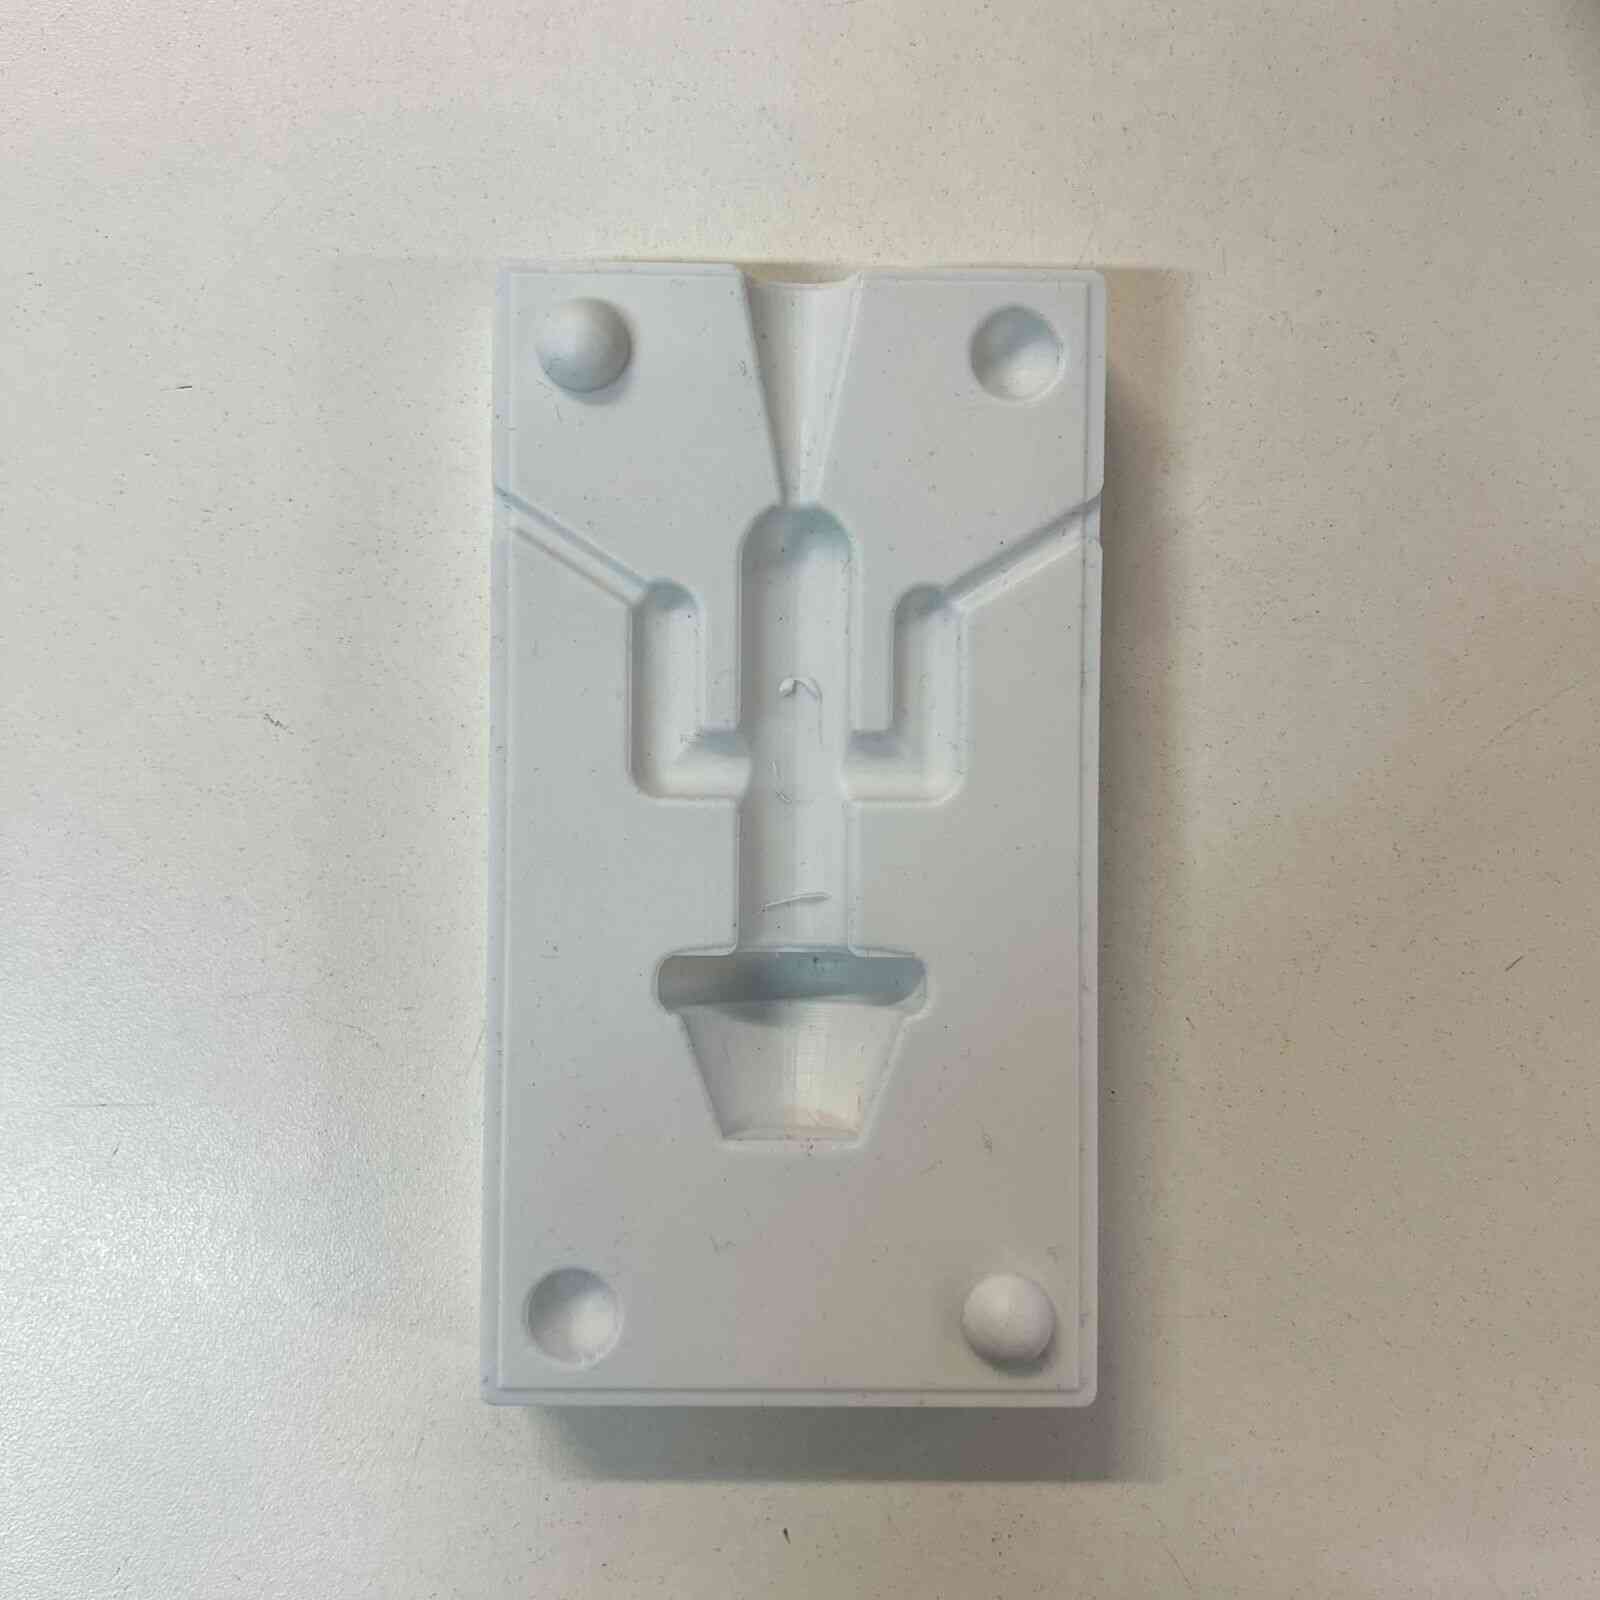
After around 8hrs of drying, the silicone mold was ready. I jut had to repeat the process in order to have to silicone molds and start casting.
Casting
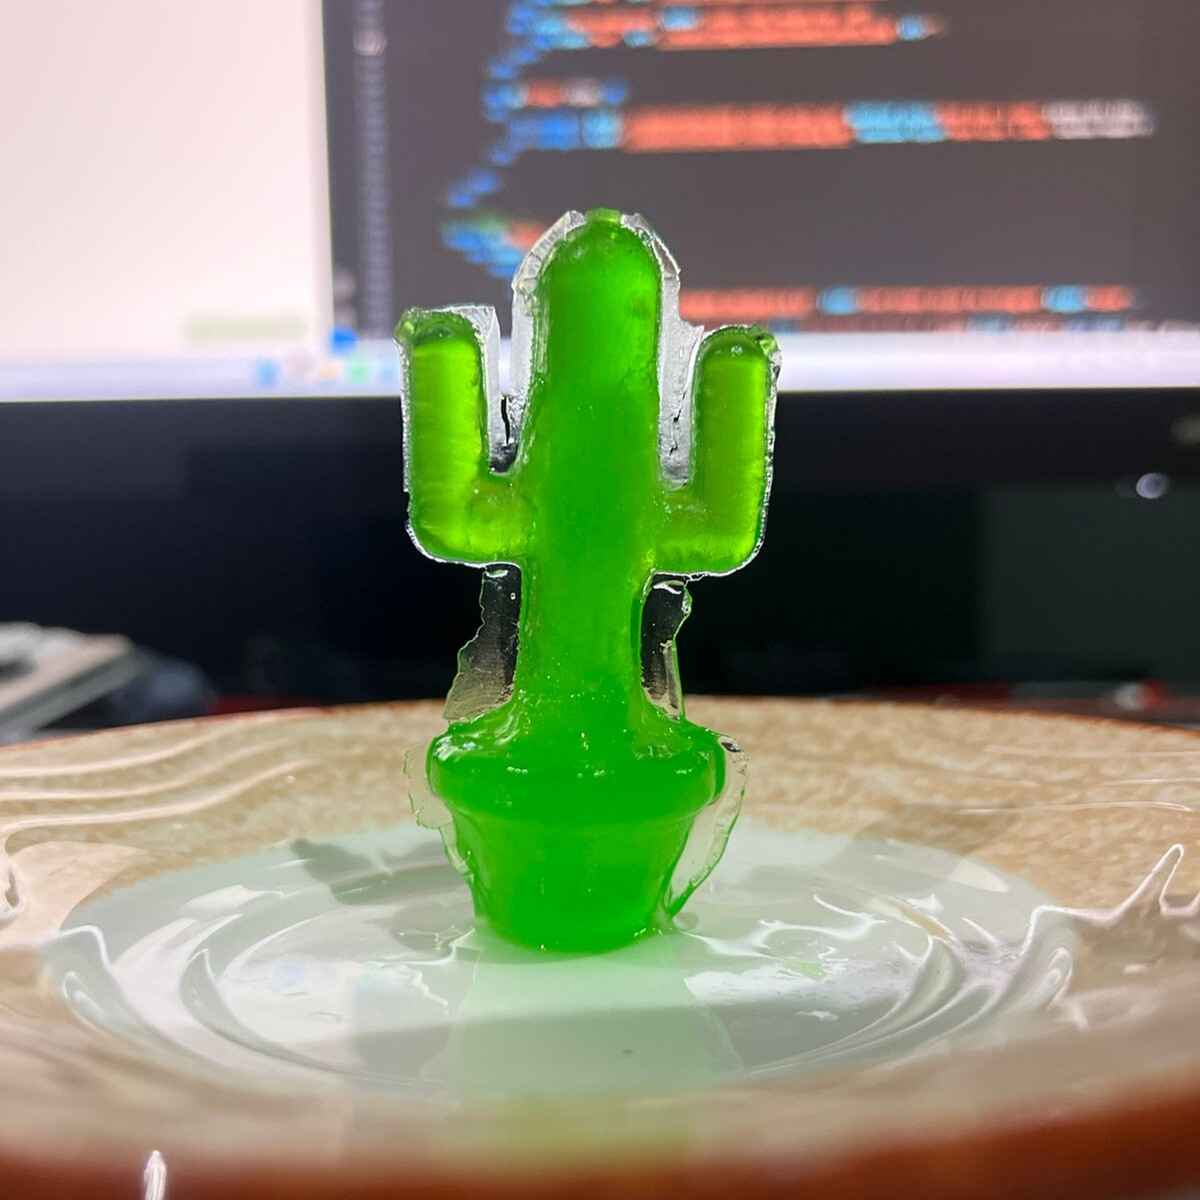
Although this silicone is not food grade I decided to create some gummies. I used gelatine and a bit of water to create the gummy and I left it on the freezer for about 2-3hrs.