Input devices
In this week's assignemt we just had to add an input device to the microcontroller board we design and measure something. A good thing is that the PCB I designed a few week ago also works for this assignment. An input device is a component or piece of equipment that is used to provide data, it responds to changes in the environment and produces a suitable electrical signal. In other words, forms of eneragy are transform into electrical energy.
LM 35
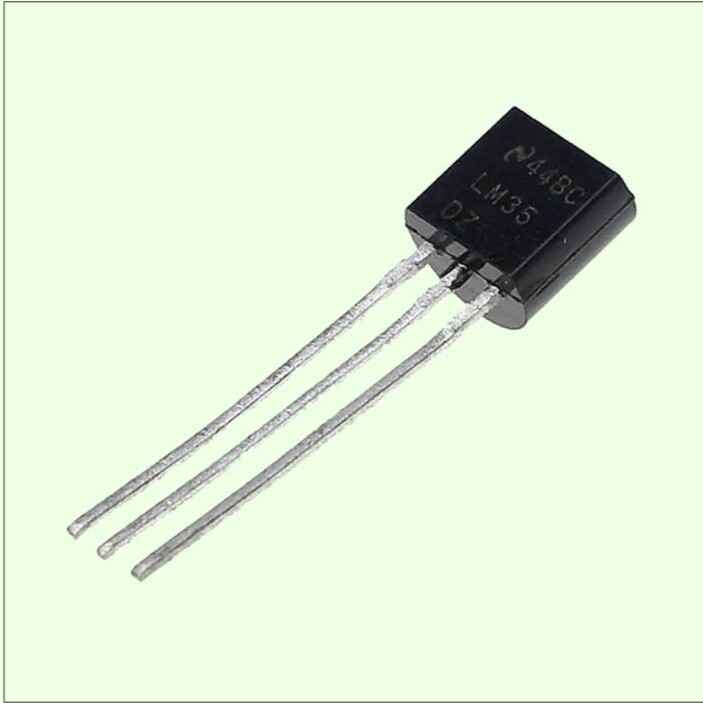
The LM35 is a Centigrade temperature sensor, it gives an output voltaje that is linearly proportional to the Centigrade temperature and it does not require any calibration.
Pins
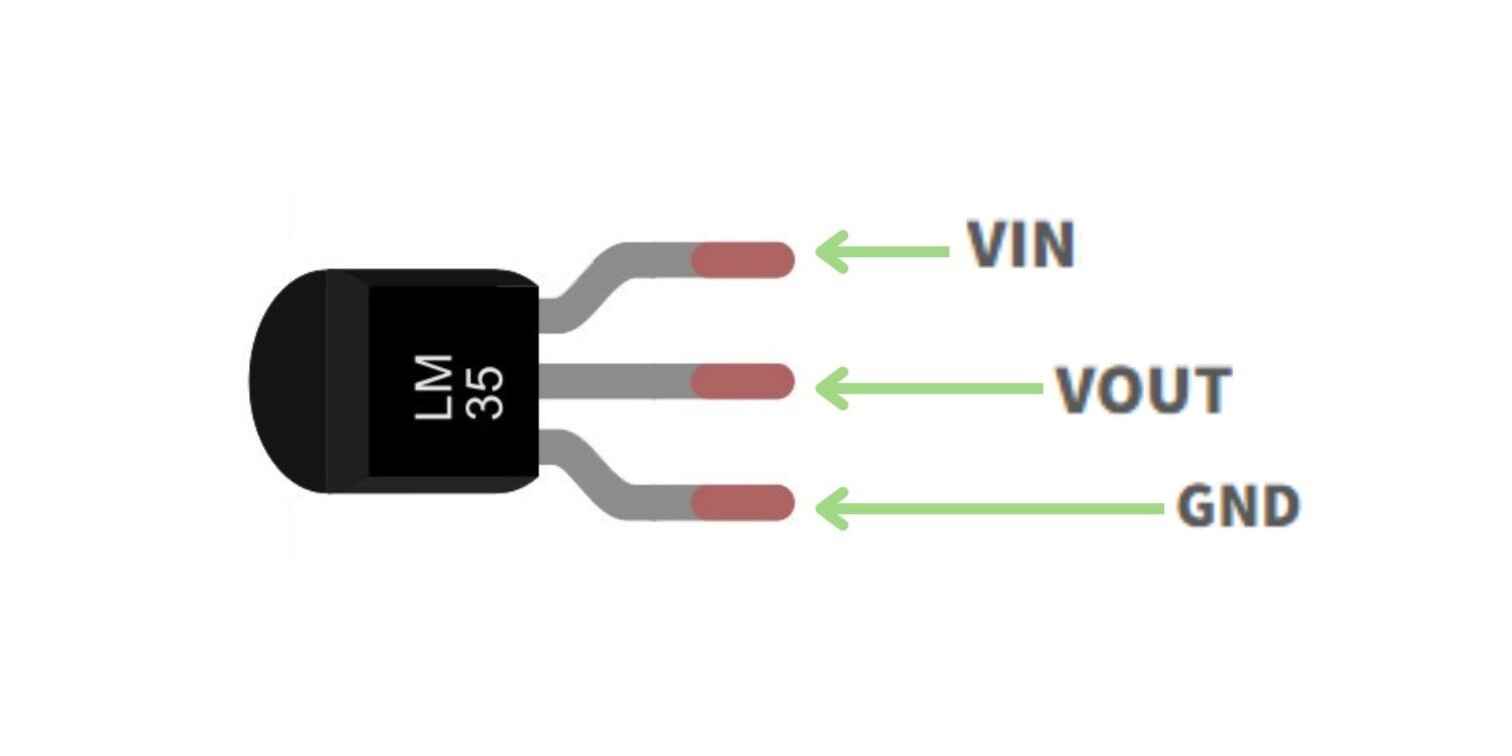
The LM35 only has three pins. It is power by a microcontroller, in this case, the attiny 45.
VIN: Positive power supply pin.
VOUT: Temperature sensor analog output.
GND: Device groung pin.
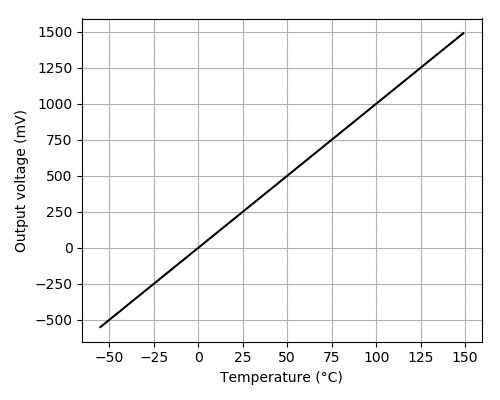
Conversion factor
The LM35 converts the temperature into an analog voltaje output, it outputs 10mV per degree Celsius. This means that for every degree Celsius, the output of the LM35 change by 10mV. The sensor requires a voltaje reference for accurate readings thats why I need to adjust the conversion factor according to the voltaje which I am powering it, so if I am using a 5v voltaje, the millivolts per step is 5000/1024 (1024 is the maximum value of the enalog read).
This means that each step of the analog to digital converter represents arround 4.88mV. Therefore, to convert the analog reading in °C I had to multiply the ADC reading by this factor.
temperature = analogRead(3)*0.00488*100;
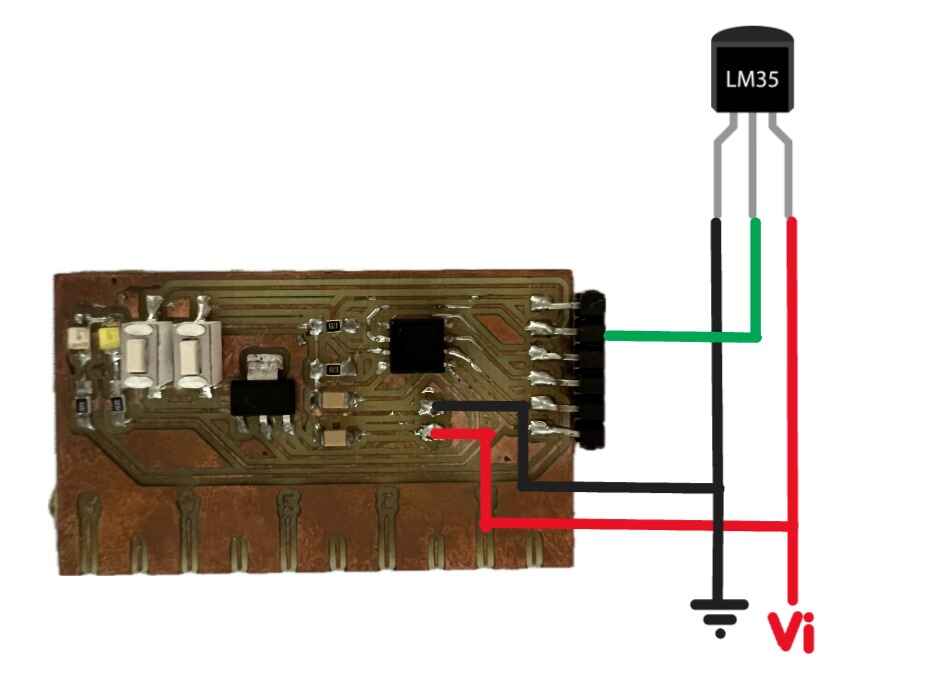
Schematic
Here is how I connected the sensor to my attiny 45.
Coding
In the following code, the temperature is read from the LM35 sensor and depending if the value is above or below 20°C the LED will turn on or off.
int temperature;	//Declares de variable temperature

void setup() {
  pinMode(1, OUTPUT); //Set pin 1 as output LED
}

void loop() {
  temperature = analogRead(3)*0.00488*100; //Reads the analog imput from pin 3 and stores it in the "temperature" variable.

  delay(1000); // wait a second between readings

  if (temperature < 20) { //If the temperature is below 20°C the LED will turn on
	digitalWrite(1, HIGH);
  }
  else {
	digitalWrite(1, LOW); //If the temperature is above from 20°C the LED will turn off
  }
}
Result
As a conclution I found out that when you use a sensor to obtain data, you depend a lot on your surroundings.
MPR 121
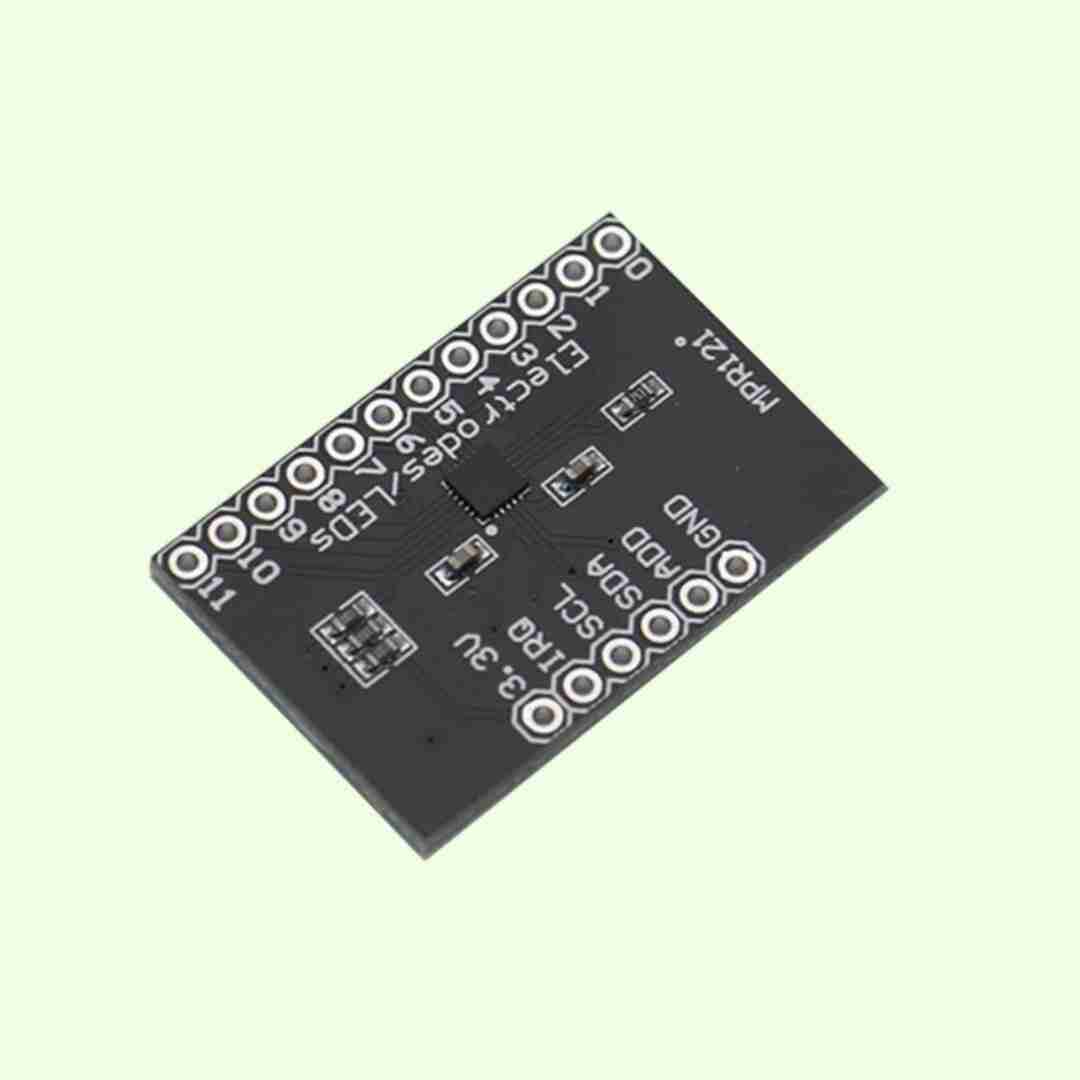
The MPR121 is a capacitive touch sensor, it is mostly uysed in touch-sensing application and it has up to 12 touch inputs; the communicaction with this sensor is done via I2C. I'm testing this sensor beacuause is is going to be de one I am going to use on my final project and I feel this week is good to start testing this sensor in case I have to change it or something.
Pins

The MPR121 has a lot of pins, on the left side we have the pins that are connected to our microcontroller and on the right we 12 pins that work as touch butons.
VCC: Moduel power supply - 3.3V.
IRQ: Interrupt output.
SCL: Serial Clock Input for I2C protocol.
SDA: Serial Data Input/Output for I2C protocol.
ADD: Adjusting address for I2C protocol.
GND: Module groung pin.
Libraries
For this sensor we need to libraries, the first is Adafruit_MPR121, a library made by Adafruit that makes the MPR121 work. An the other one is Wire.h which enables the I2C communication.
	#include <"Adafruit_MPR121.h"> //Library to enable MPR121
	#include <"Wire.h"> //Library to communicate with I2C
Code
What this code does is that enables the MPR121 to basically detect which touch buttons is being touched, and shows it on the Serial Monitor in both binary and decimal.
		#include <"Wire.h"> //Library to communicate with I2C
		#include <"Adafruit_MPR121.h"> //Library to enable MPR121

		// Create the sensor object
		Adafruit_MPR121 cap = Adafruit_MPR121();

		void setup() {
			Serial.begin(9600);

			// Initialize the sensor
			if (!cap.begin(0x5A)) {  // Default I2C address for MPR121 is 0x5A
				Serial.println("MPR121 not found, check wiring?");
				while (1);
			}
			Serial.println("MPR121 found!");
		}

		void loop() {
			// Get the currently touched pads
			int touched = cap.touched();

			Serial.print("Touched: ");
			Serial.println(touched, BIN);  // Print binary representation of the touched states

			// Check each pad to see if it is touched
			for (int i = 0; i < 12; i++) {
				if (touched & (1 << i)) {
					Serial.print("Pad ");
					Serial.print(i);
					Serial.println(" is touched"); //Print wich pad is touched
				}
			 }

			delay(100);  // Small delay to avoid flooding the serial output
		}
Schematic
Here is how I connected the sensor to the XiaoRP40
