
10. Machine & Mechanical Design
I this week's assignment me and my team were able to design a working ceramics 3D printer. In this page of mine you'll be able to see how I designed my contribution to the proyect: The ceramic extruder for the 3D printer.
1. Braingstorming:
We were a big team, and as such had a lot of ideas floating around, we wanted a task that was big yet "simple" enough for a large team that had a tight schedule. The ceramic printer idea stuck around for a while, because it integrated the skills of all the team members into one product, which also really appealed to our instructors. Having that, we got to work, and one of the main challenges was to create a way to handle the ceramic material. My team and I already knew what we needed: A mechanism which could create enough pressure to push the ceramic mixture along a hose at a constant, steady rate, but we weren't sure how to do it. My teammate Valeria, found, purchased and prepared a ceramic mixture that was viscous enough to hold its shape, but liquid enough to make our lives easier when extruding it. Putting the extruder as the head of the 3D printer wasn't an option for us, as we wanted to make the machine as compact (and good looking) as possible, and having a heavy, clunky and complicated mechanism moving around the printer made this more difficult. We decided then that the 3D printer structure should be based off the Ender-3 printer from brand name Creality, and the extruder should be kept as a separate module connected by a hose to a small nozzle on the printer.
2. Teamwork
Once the idea was settled, we divided the roles for the proyect, according to our individual skills, like this:
- Erick (me): Extruder Design & Testing. General Electronics.
- Salvador: Network interfacing.
- Valeria: Ceramic compound testing. CAD Rendering. Slide and documentation.
- Emmanuel: 3D Printer Mechanical Design, programming and Testing.
- Emilio: 3D Printer Assembly, programming and testing.
- Cristóbal: General CAD Design. Ceramic compound testing.
- Yesenhia: Documentation, graphic design & product conception.
- María del Rosario: Documentation, graphic design & product conception.
3. Individual contribution
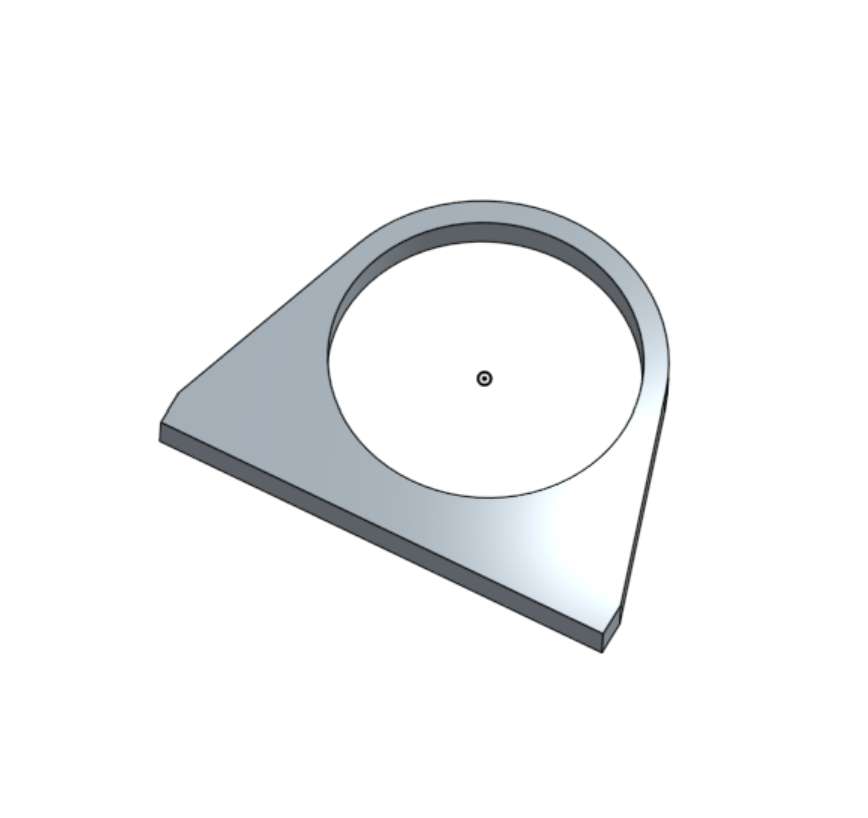
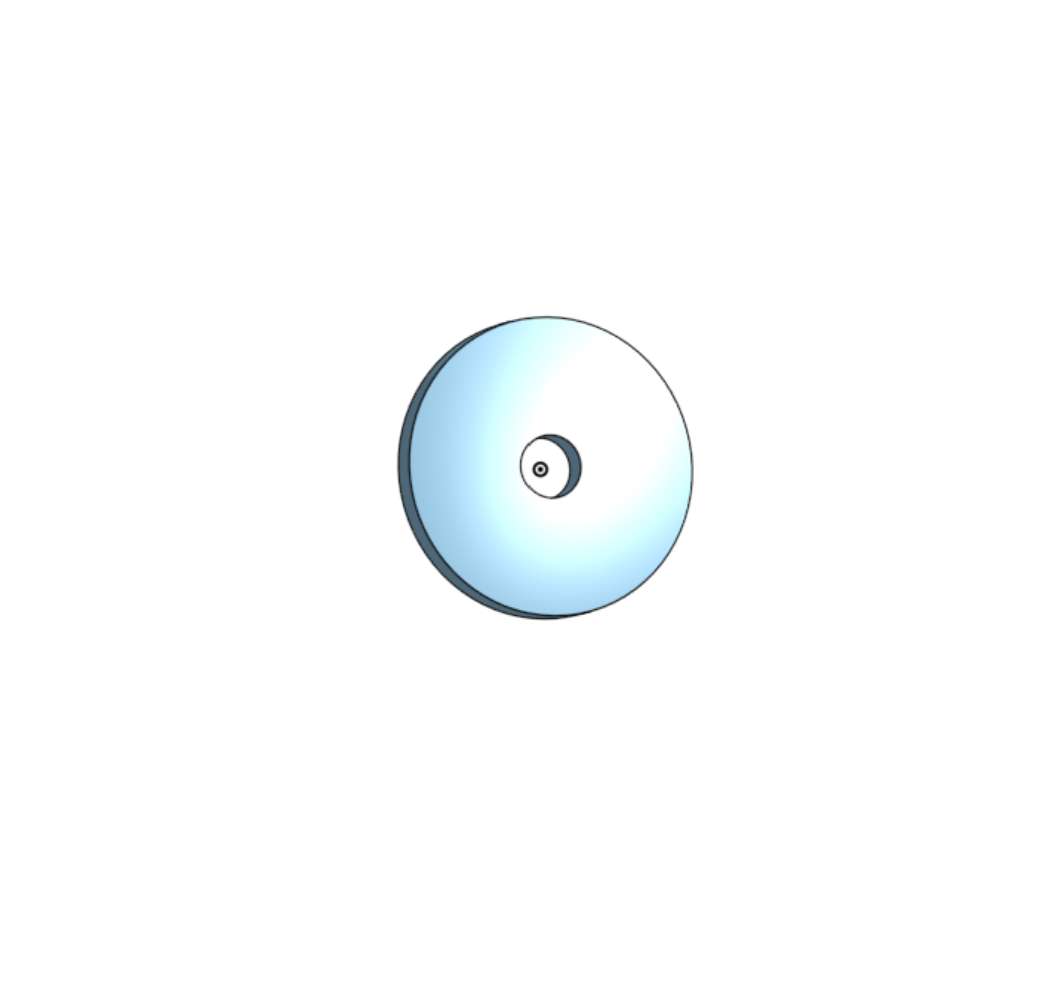
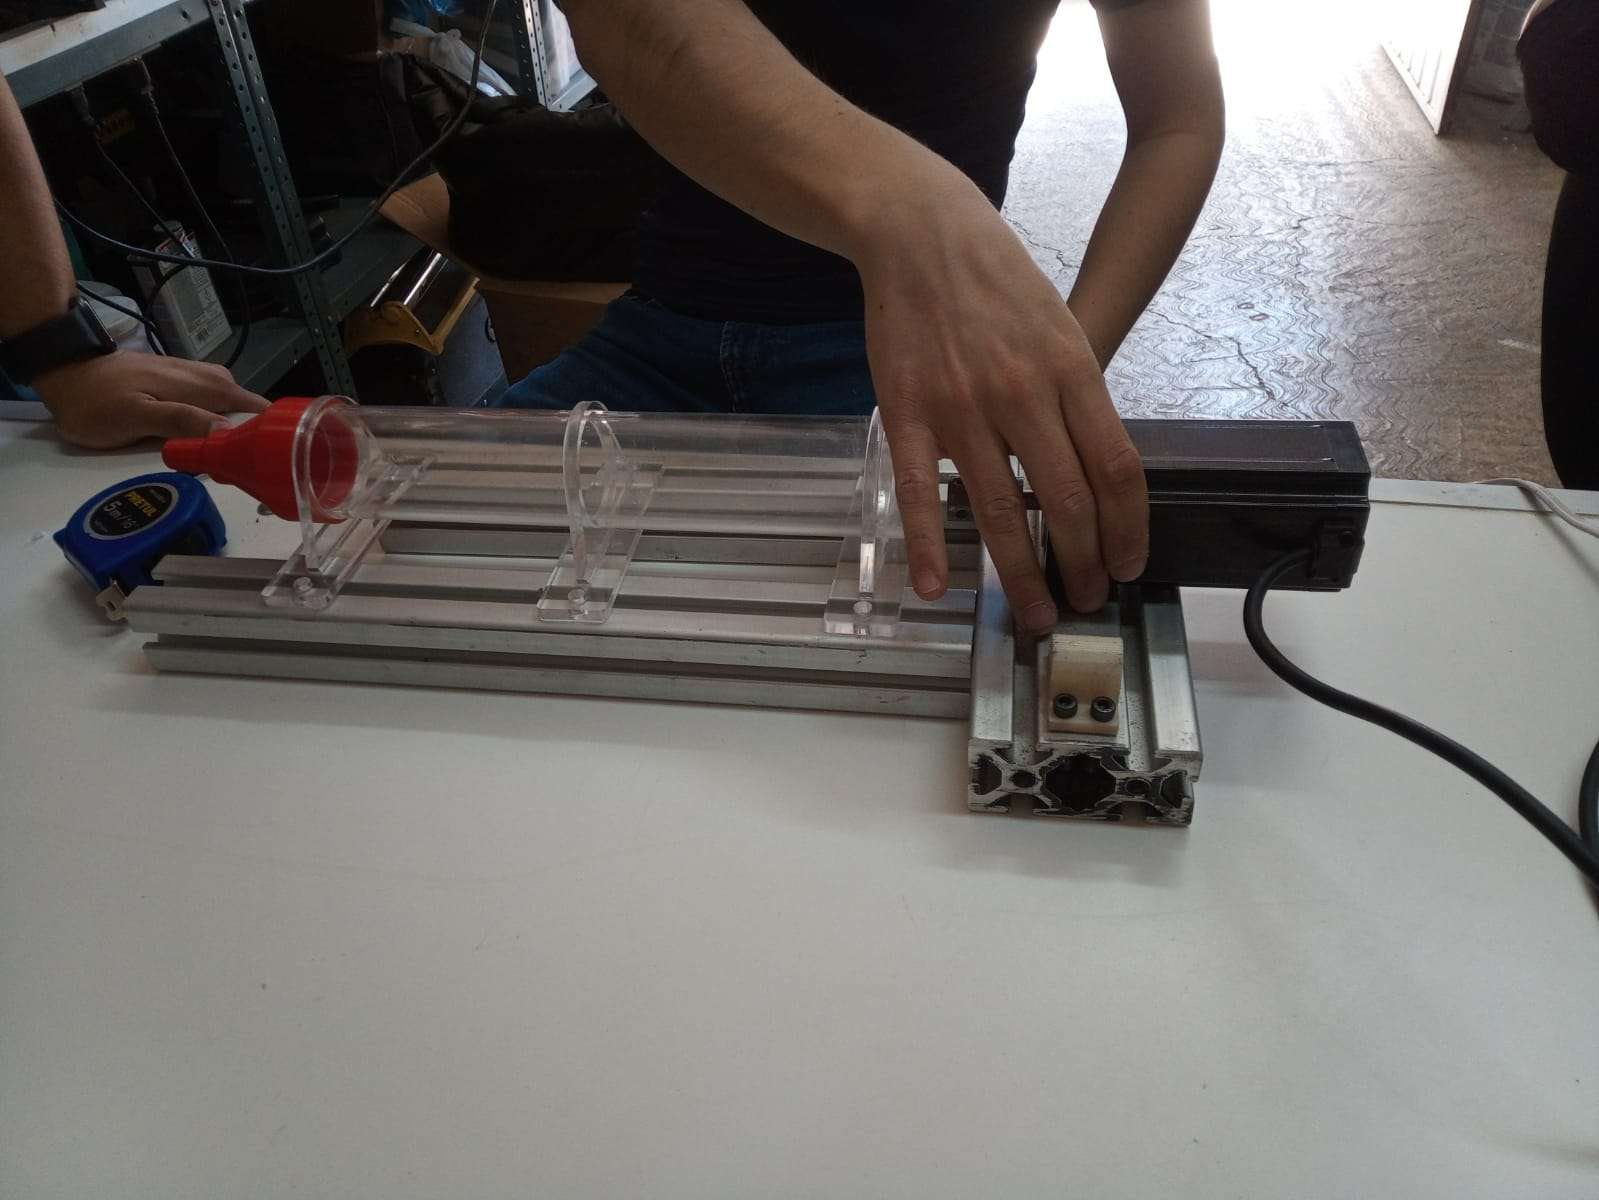
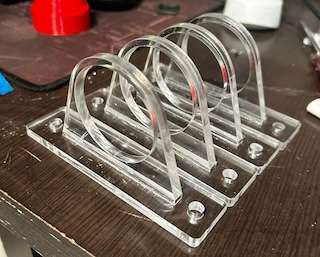
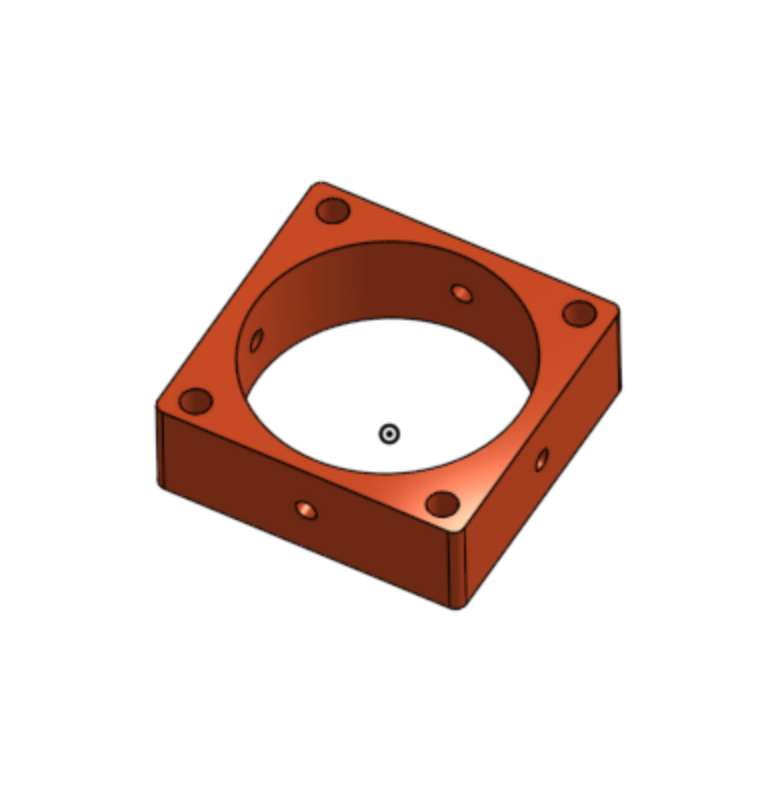
For the extruder design we had thought of different approaches, but we first tried an archimedes screw design. My teammate Cristóbal, designed the screw and I designed some mounts for a ball bearing and an acrylic tube which I cutted using the laser cutter. The tube also had a square hole on one of its sides, so we could install some kind of hopper to it to facilitate the ceramic feeding process.
I also designed and 3D printed an adapter for the acrylic tube, so we could connect the hose at the end of the extruder. Having that, we could make a first assembly, which also included the 1/2" PVC hose

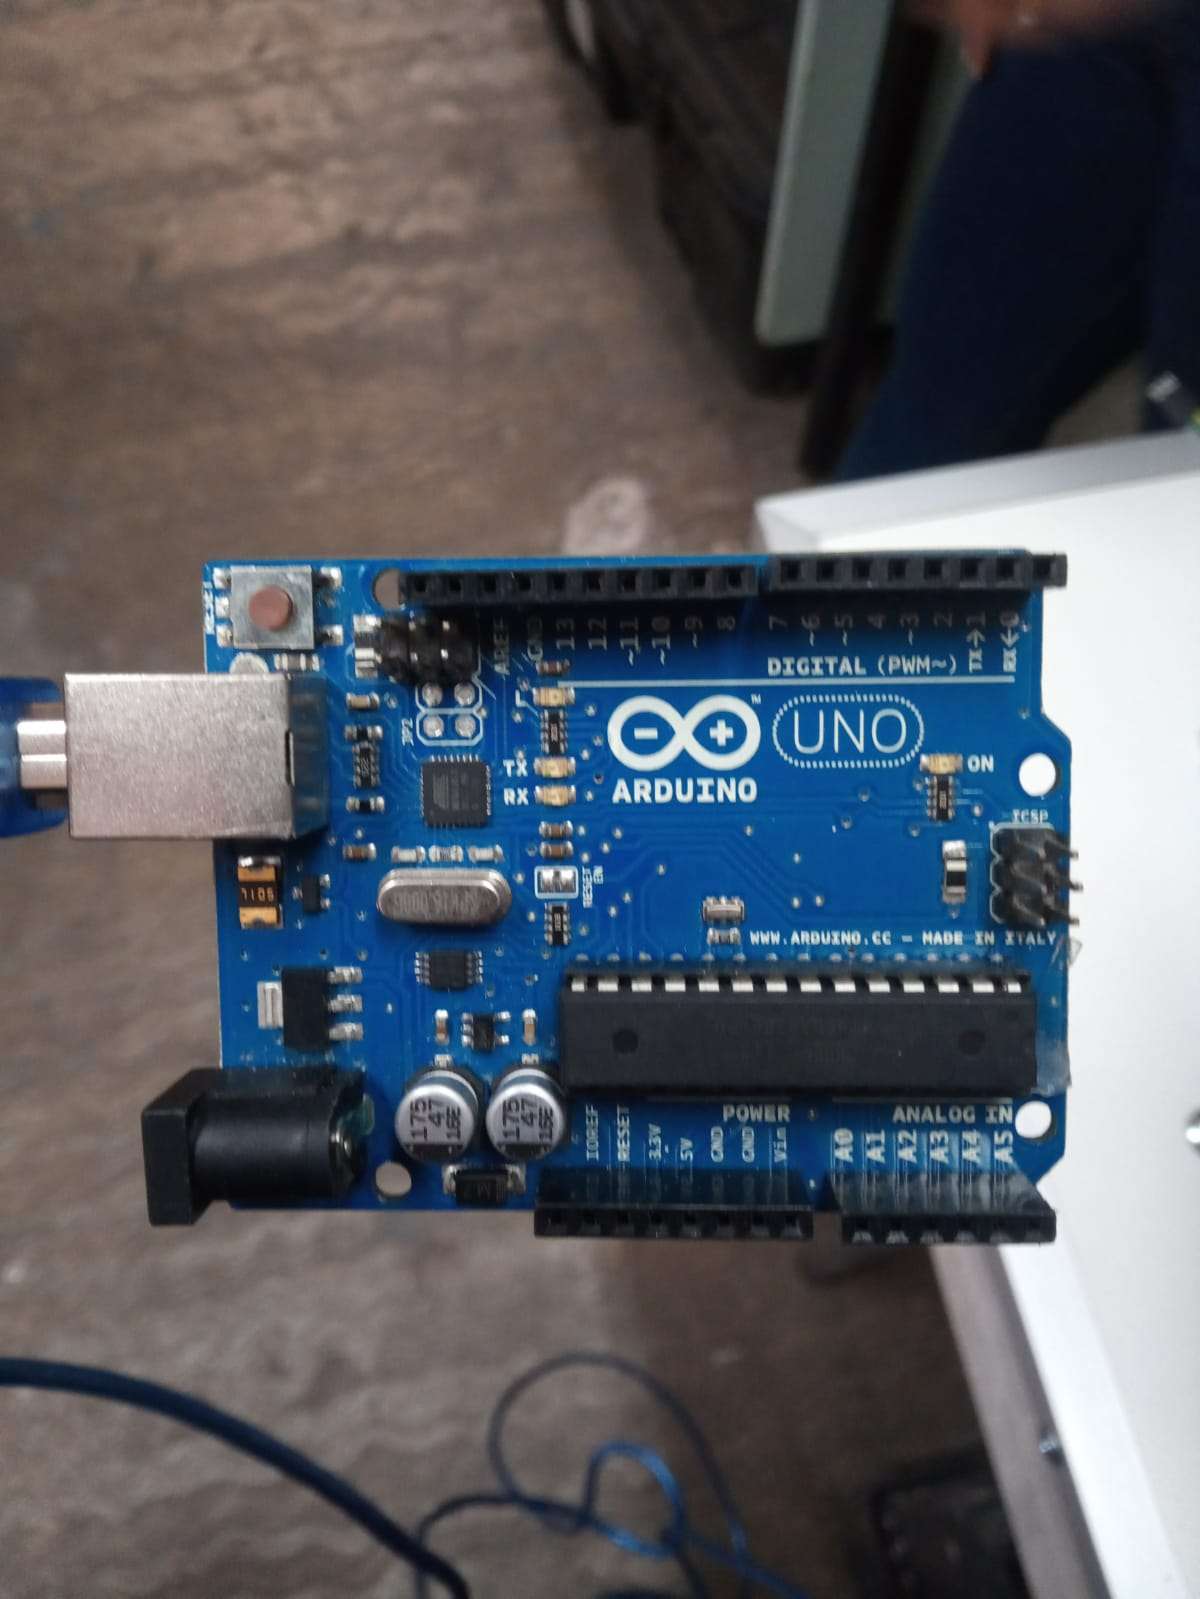
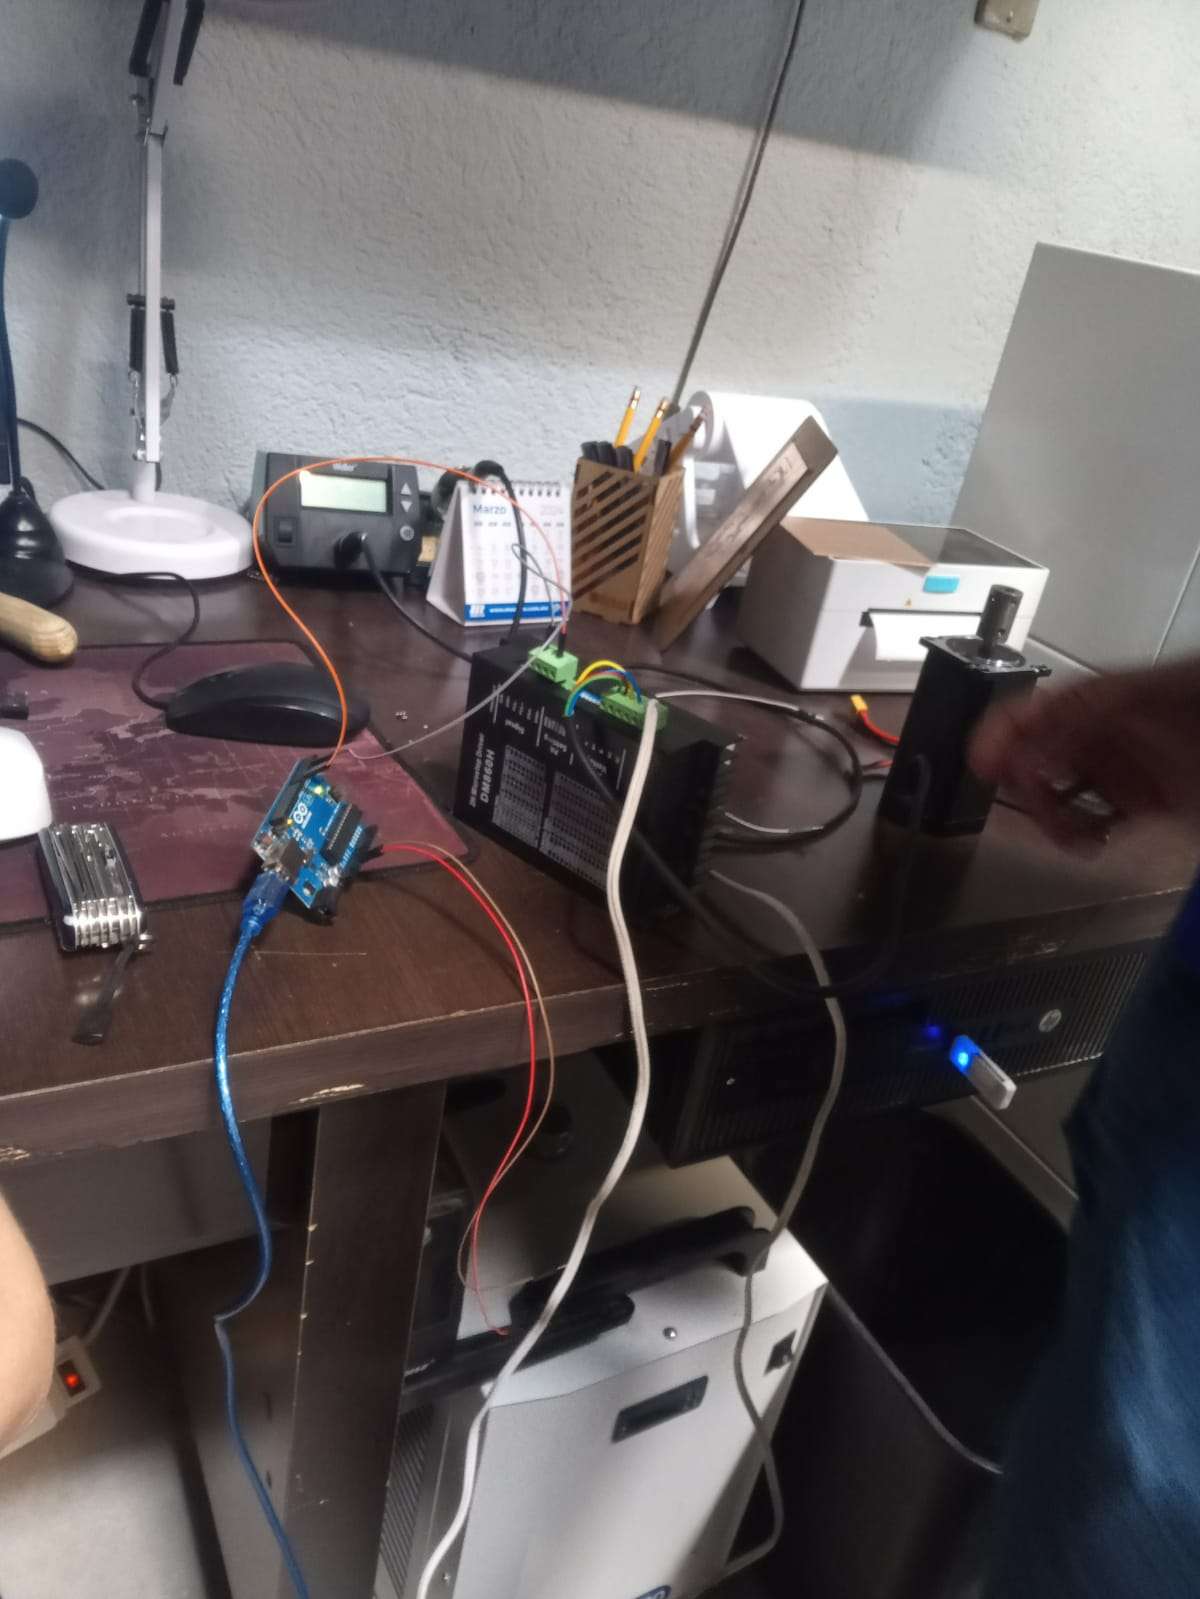
Once I had this, I started testing the stepper motor we would be using to extrude the material. Using an external driver and an arduino UNO, we tested the motor solo and also mounted with the Archimedes screw assembly.
When we started testing the screw with the ceramic mixture though, it didn't properly work, as it only moved the ceramic around and did not create any pressure. Because of this I started an alternative design, some kind of giant syringe system, which uses basically the same designed pieces.
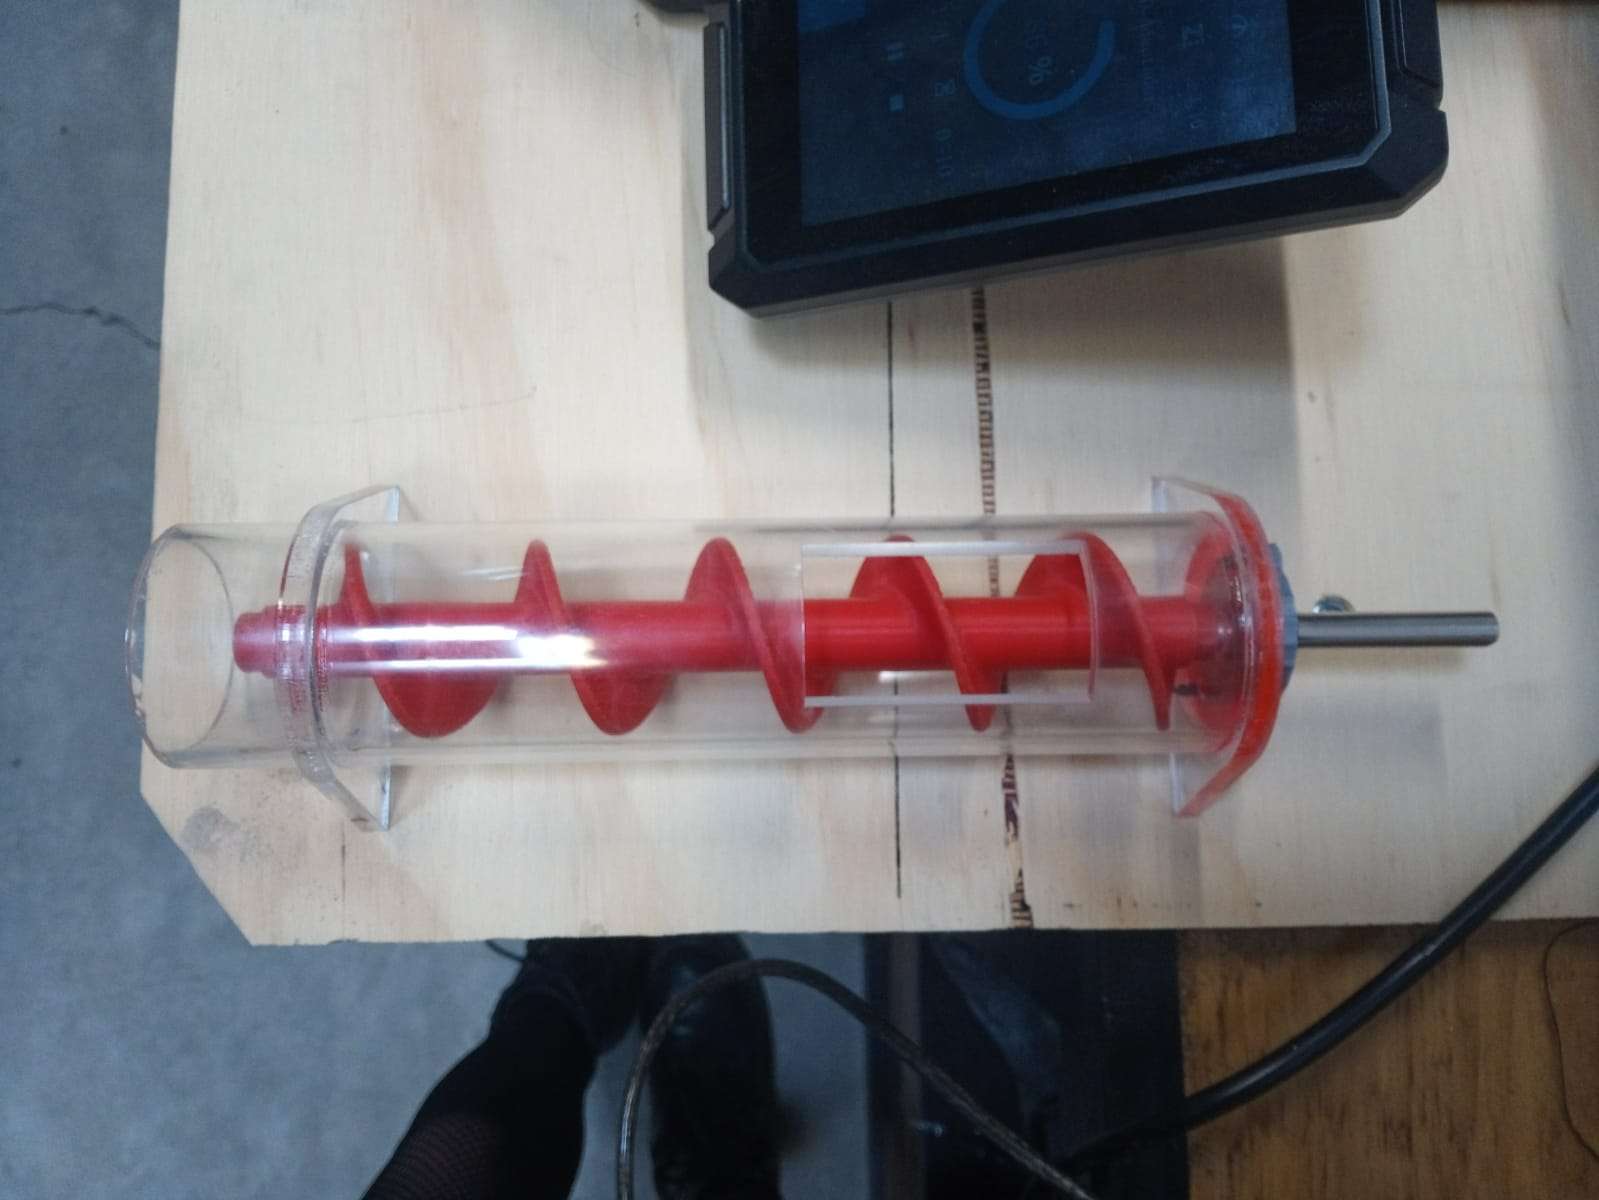
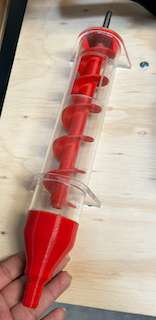
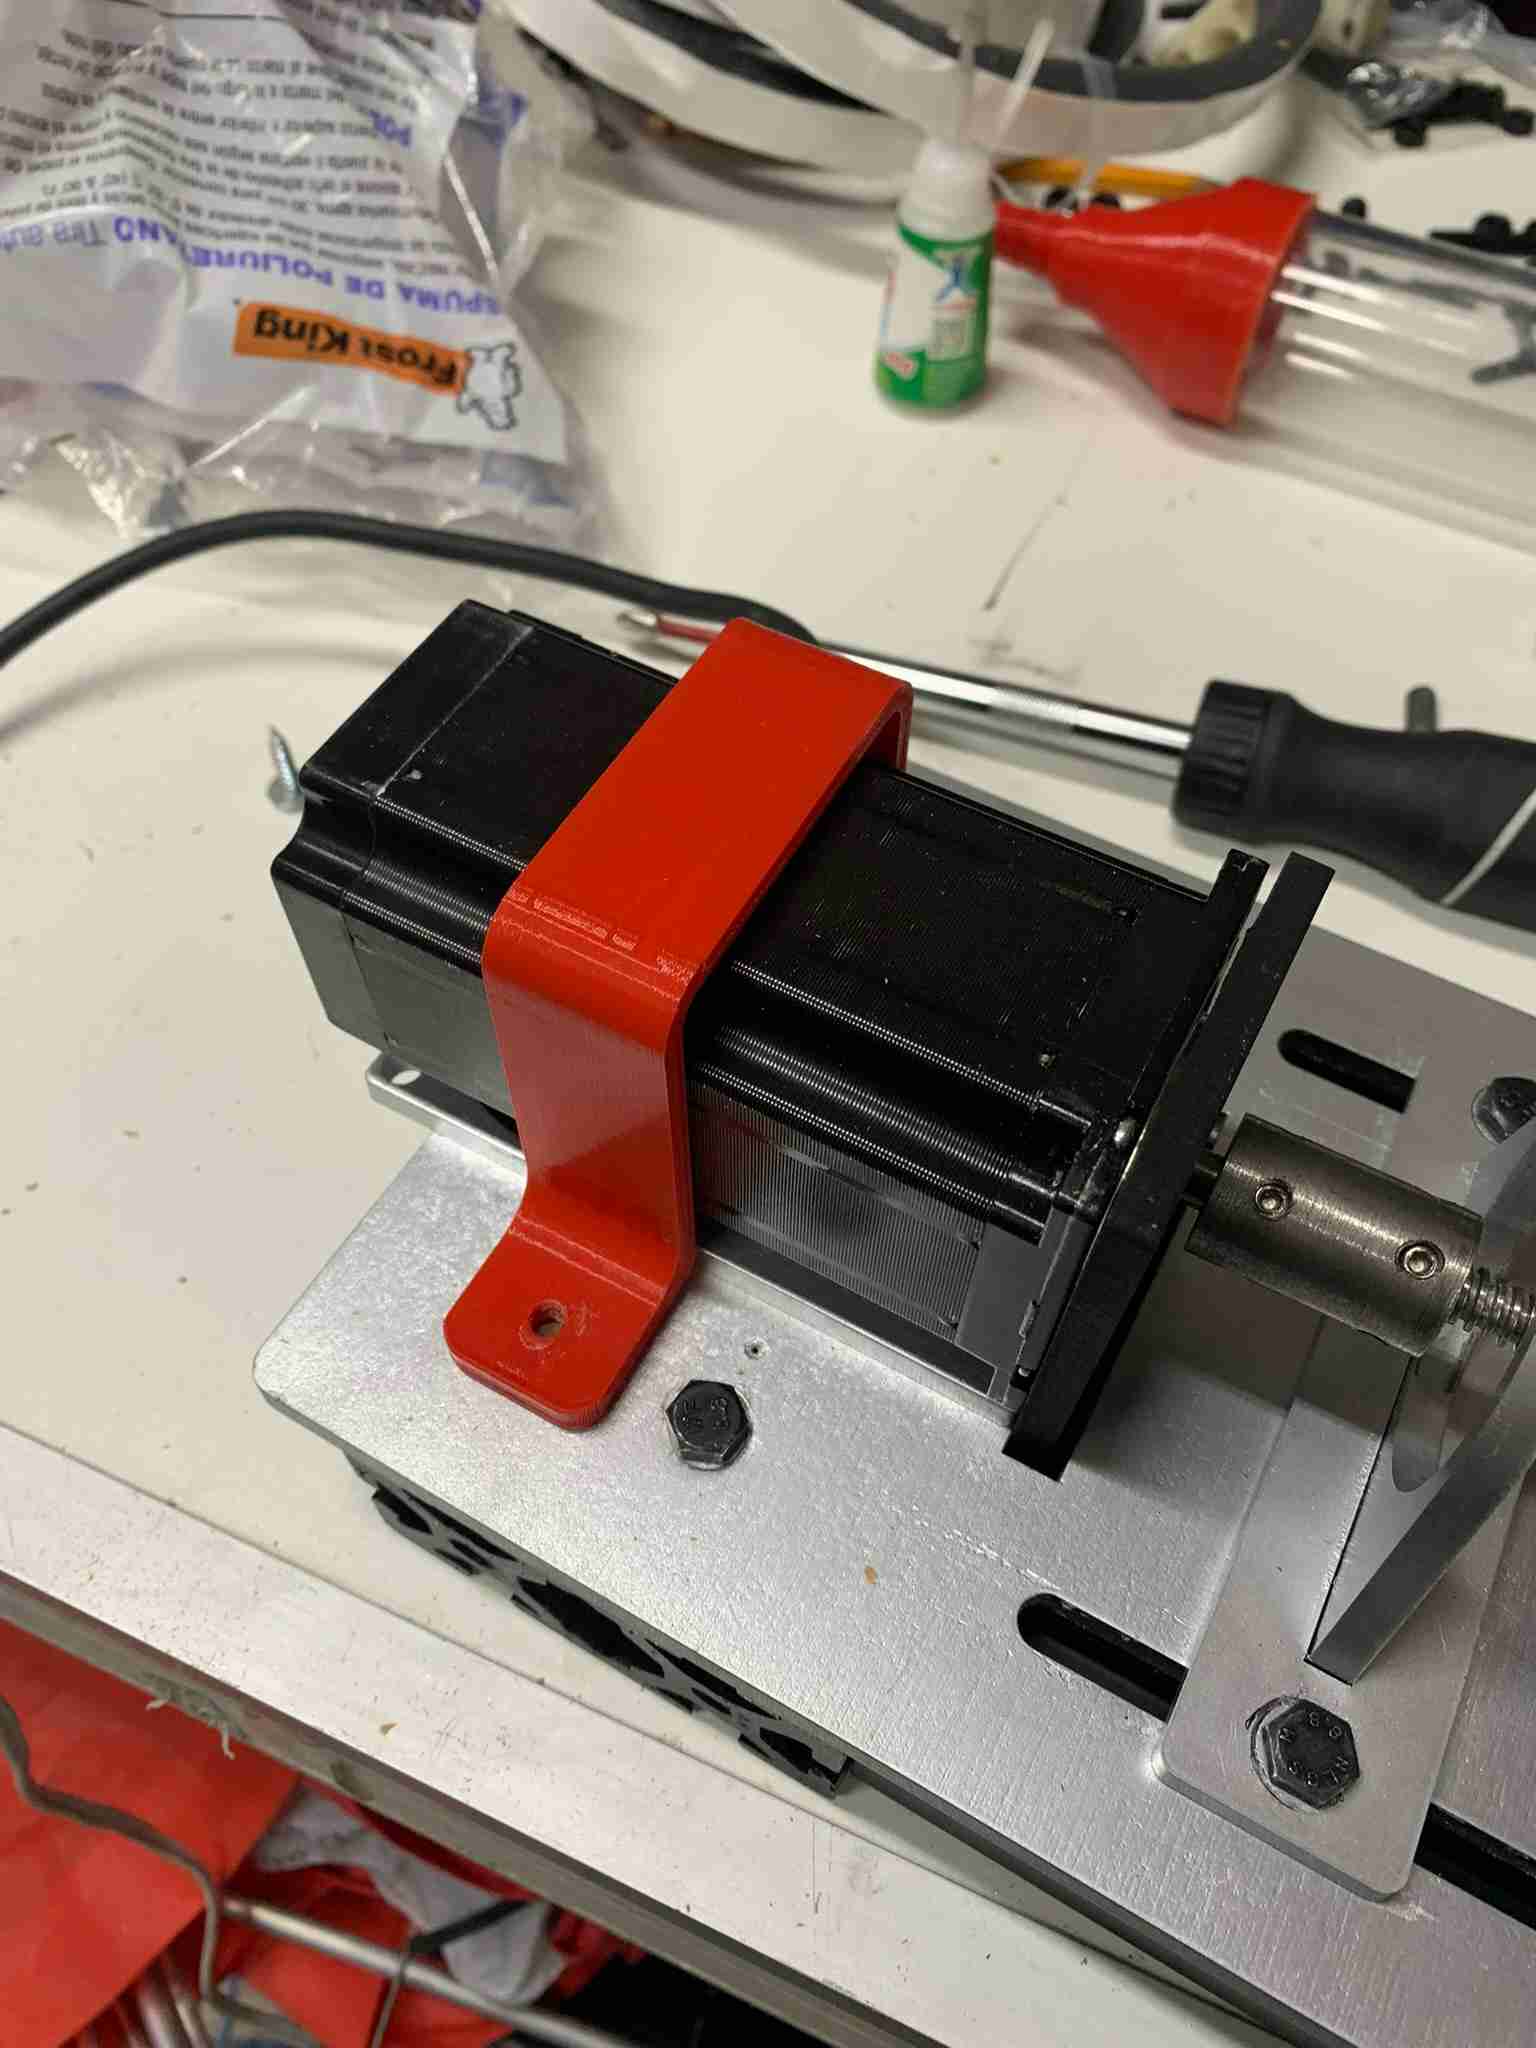
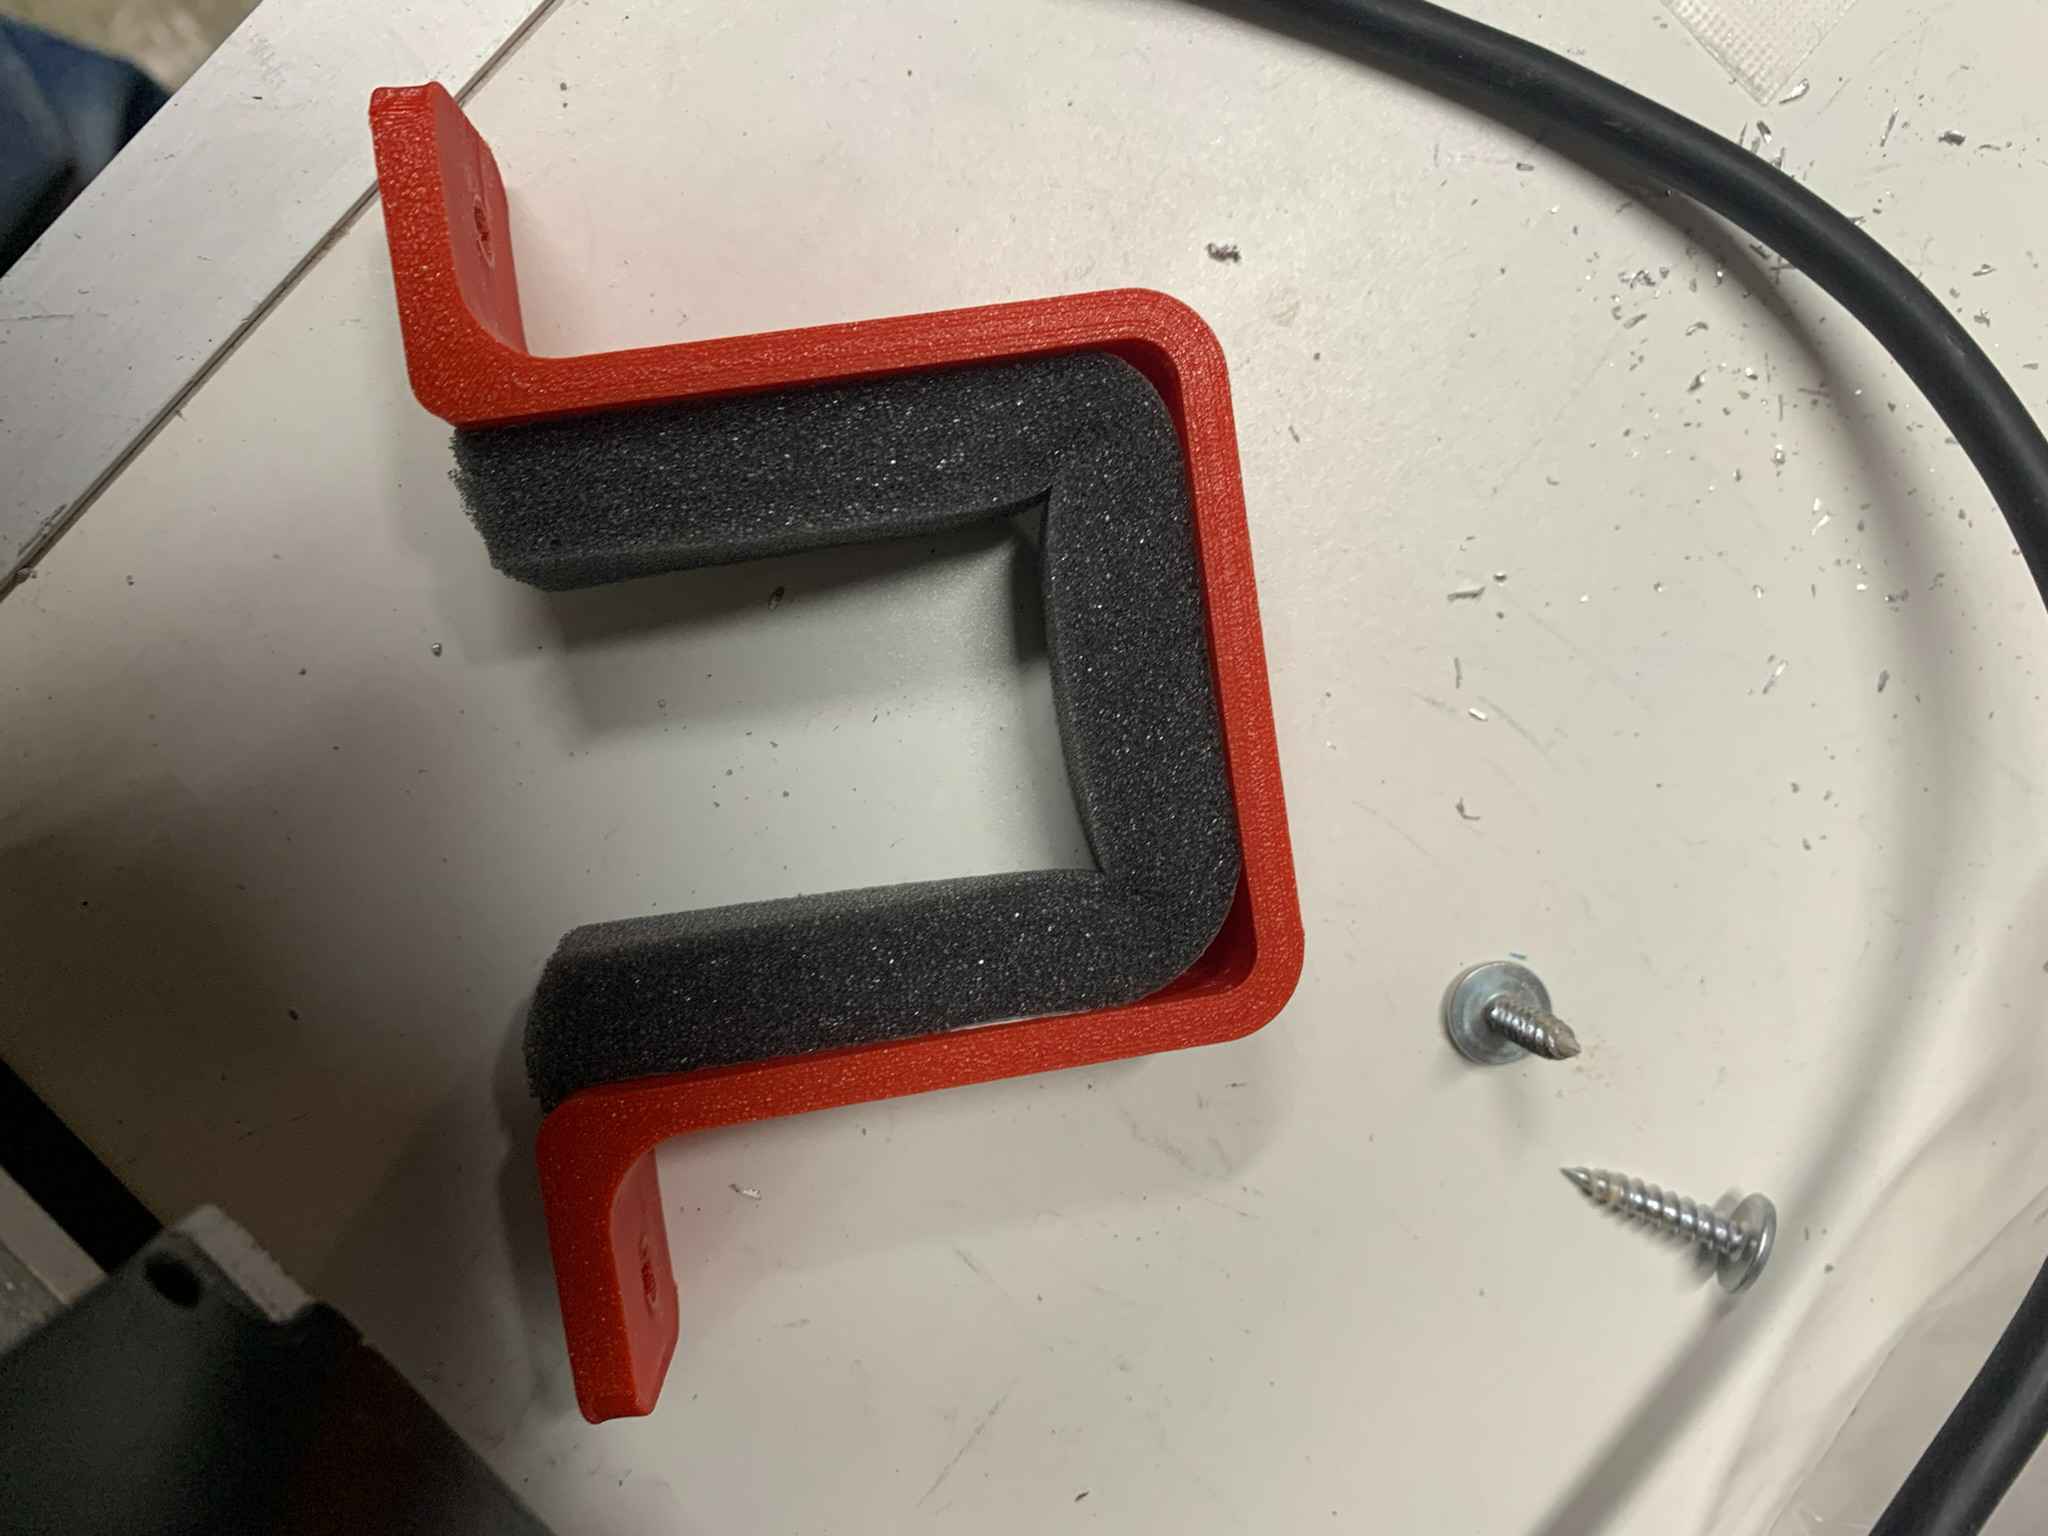
I started the new design by creating a kind of plunger using a hard section made in PLA and a soft seal made with 3D printed TPU flexible filament, parts which would be mounted onto a screw that would itself be connected to the nema motor.
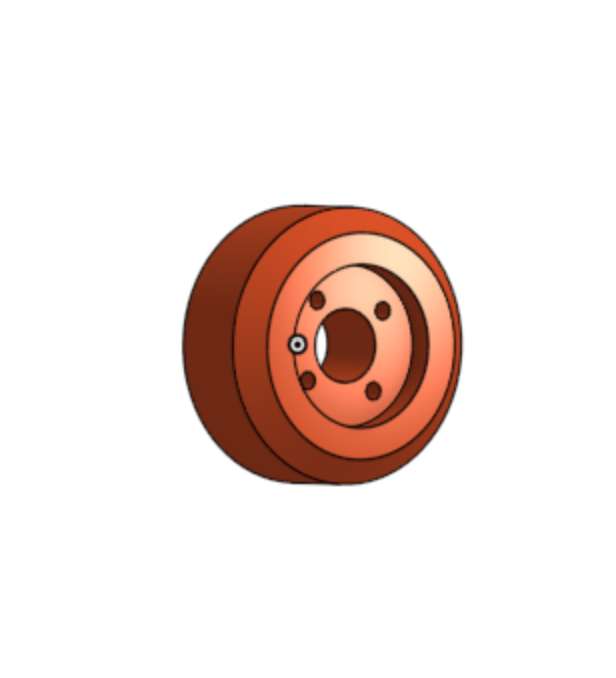
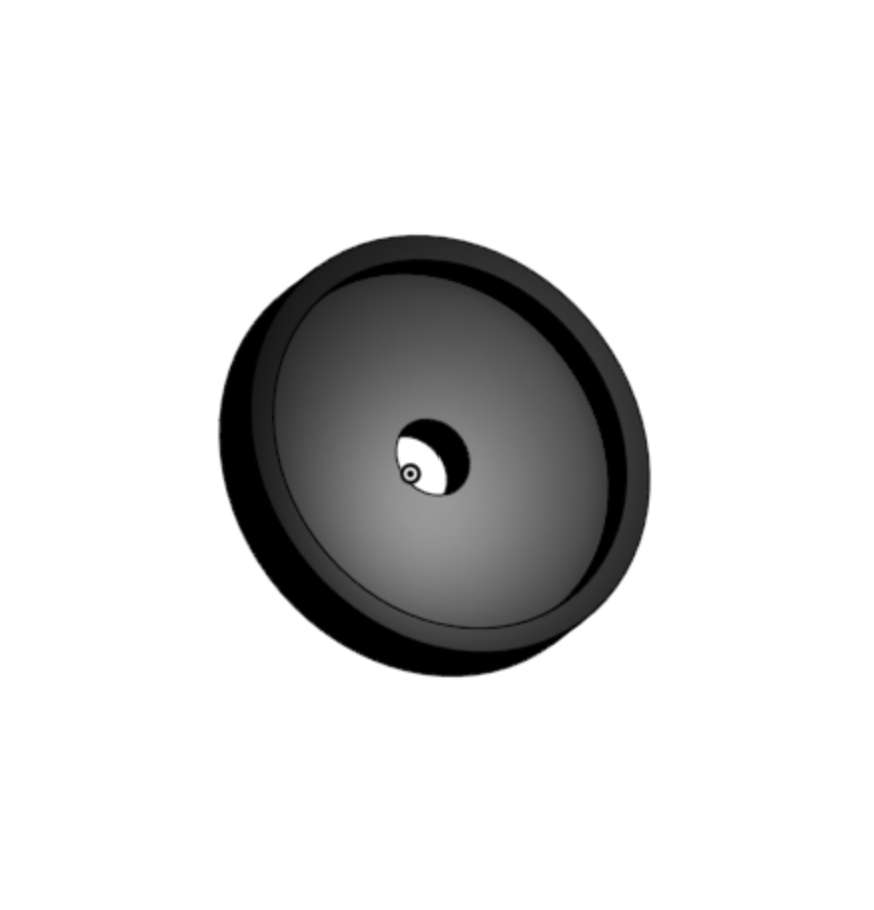
When the plunger was ready I mounted it along the screw onto the motor and inside the acrylic cylinder.
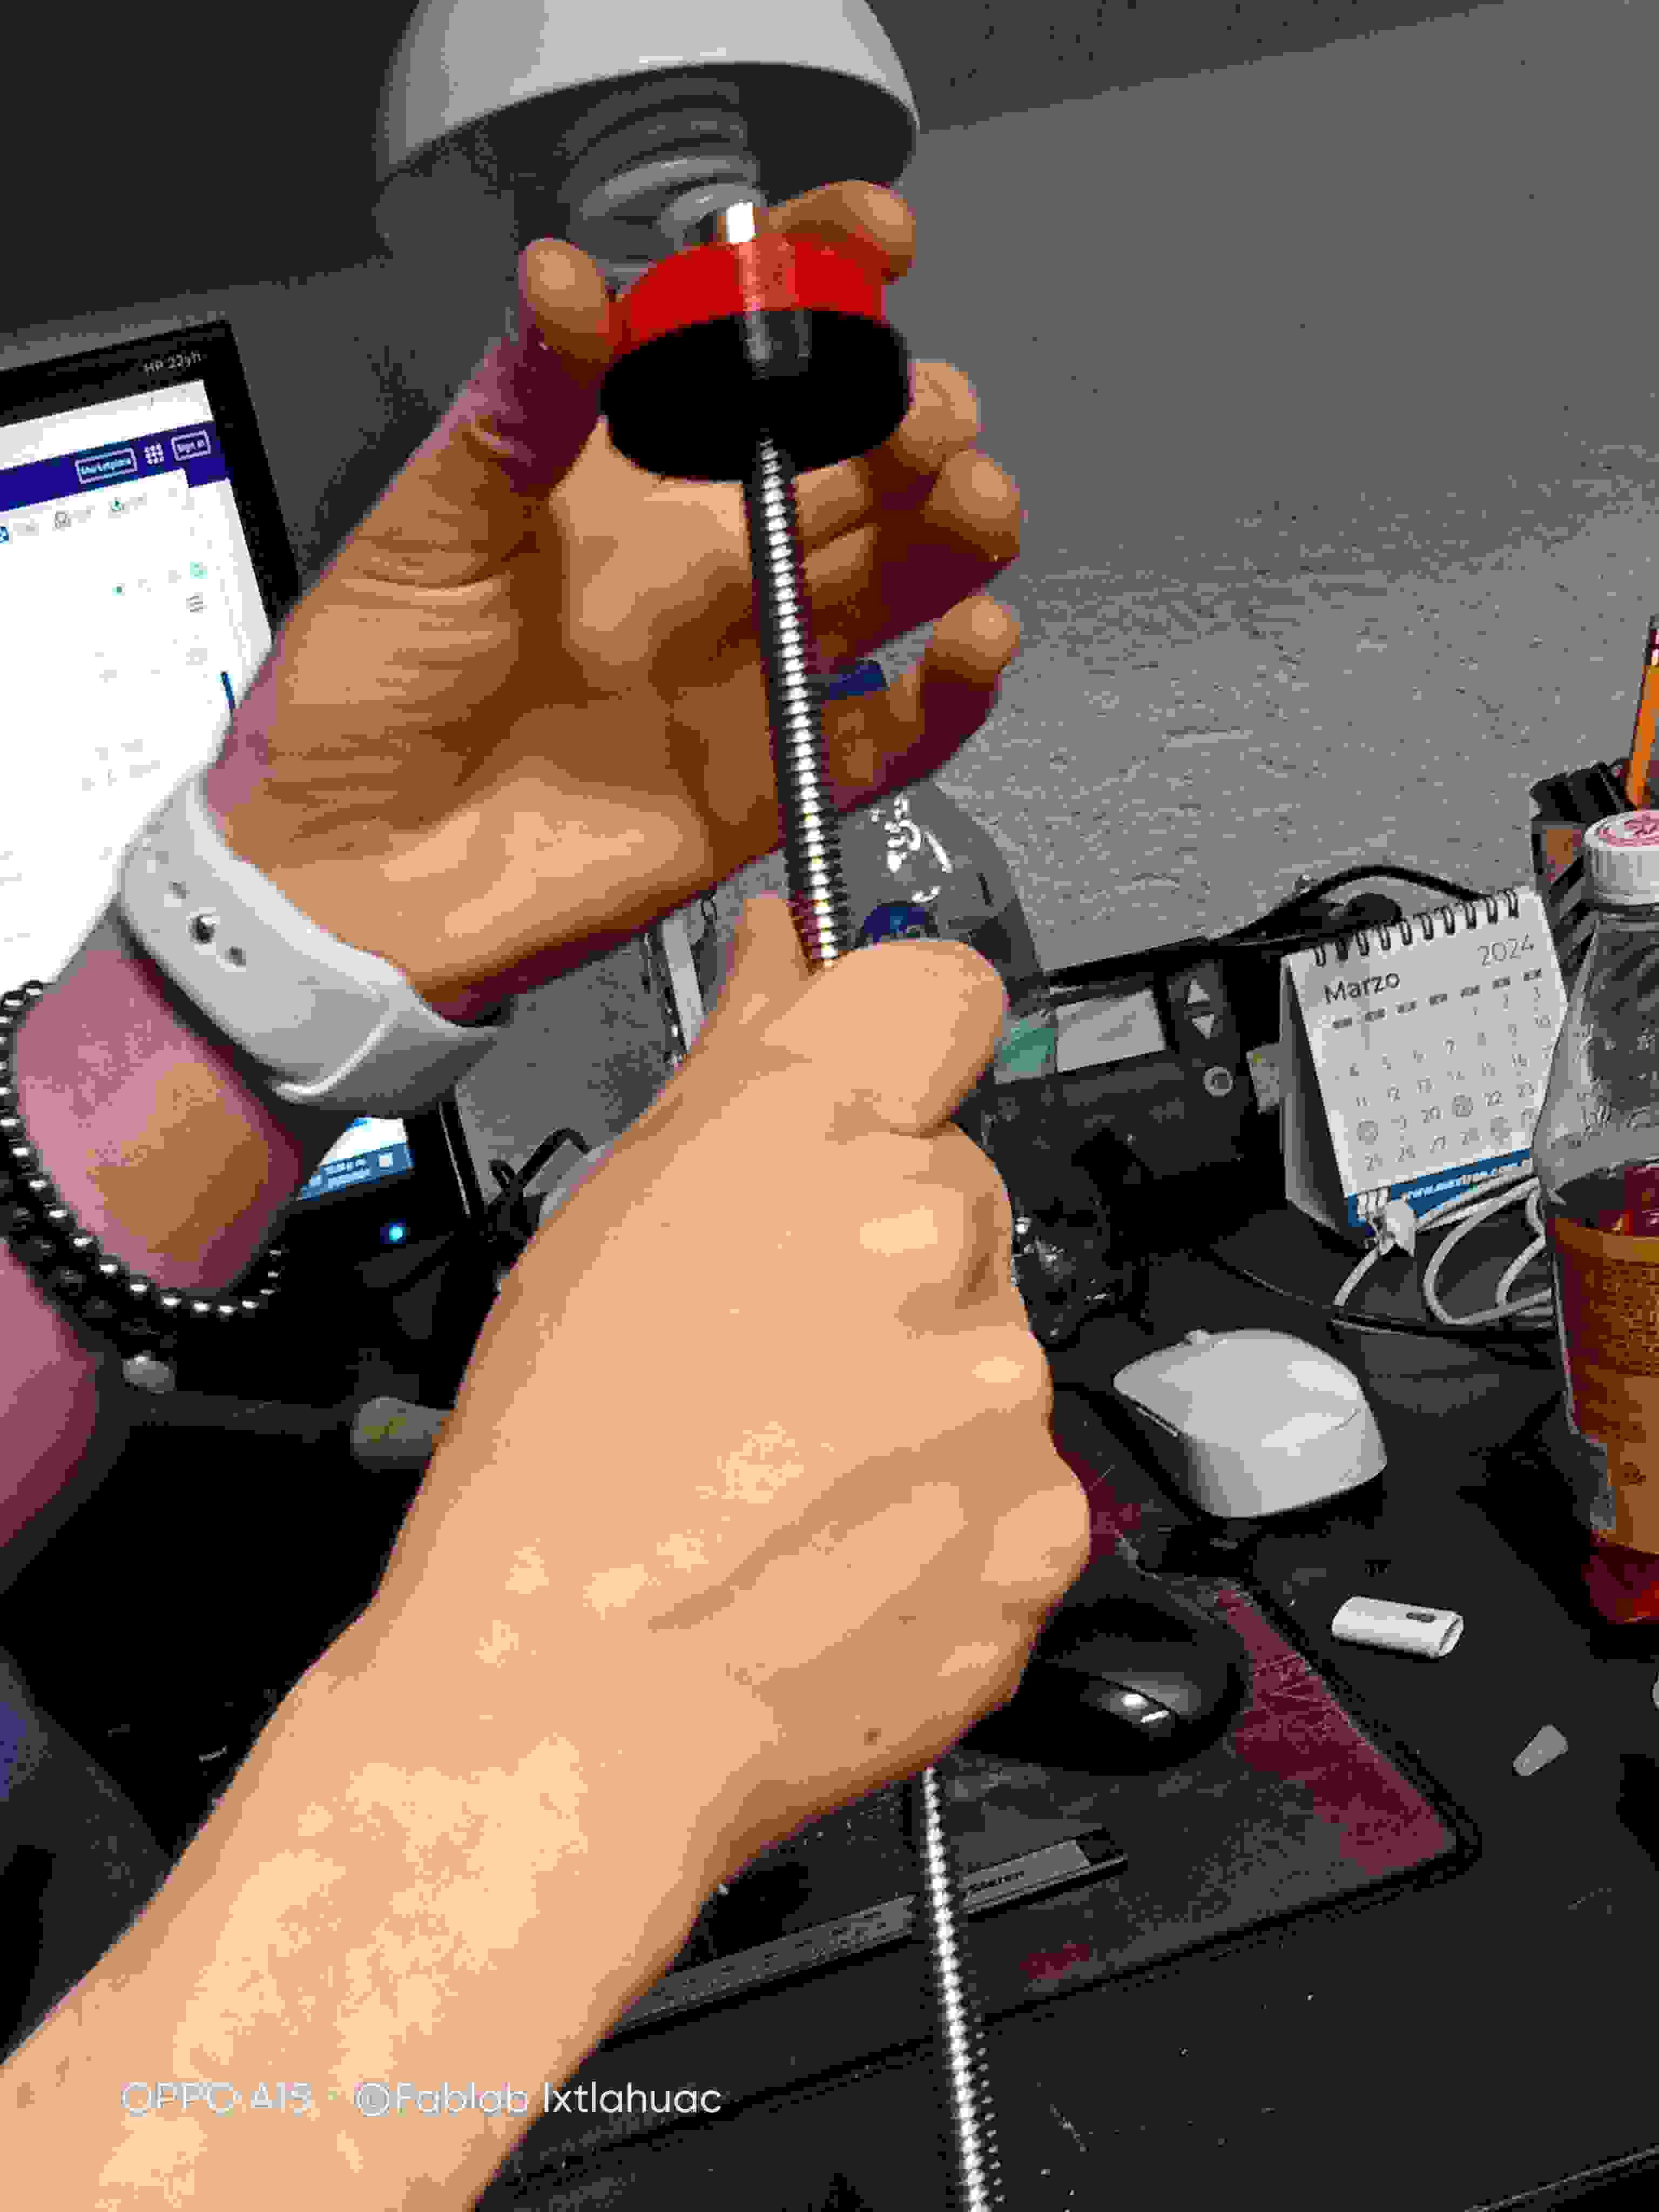
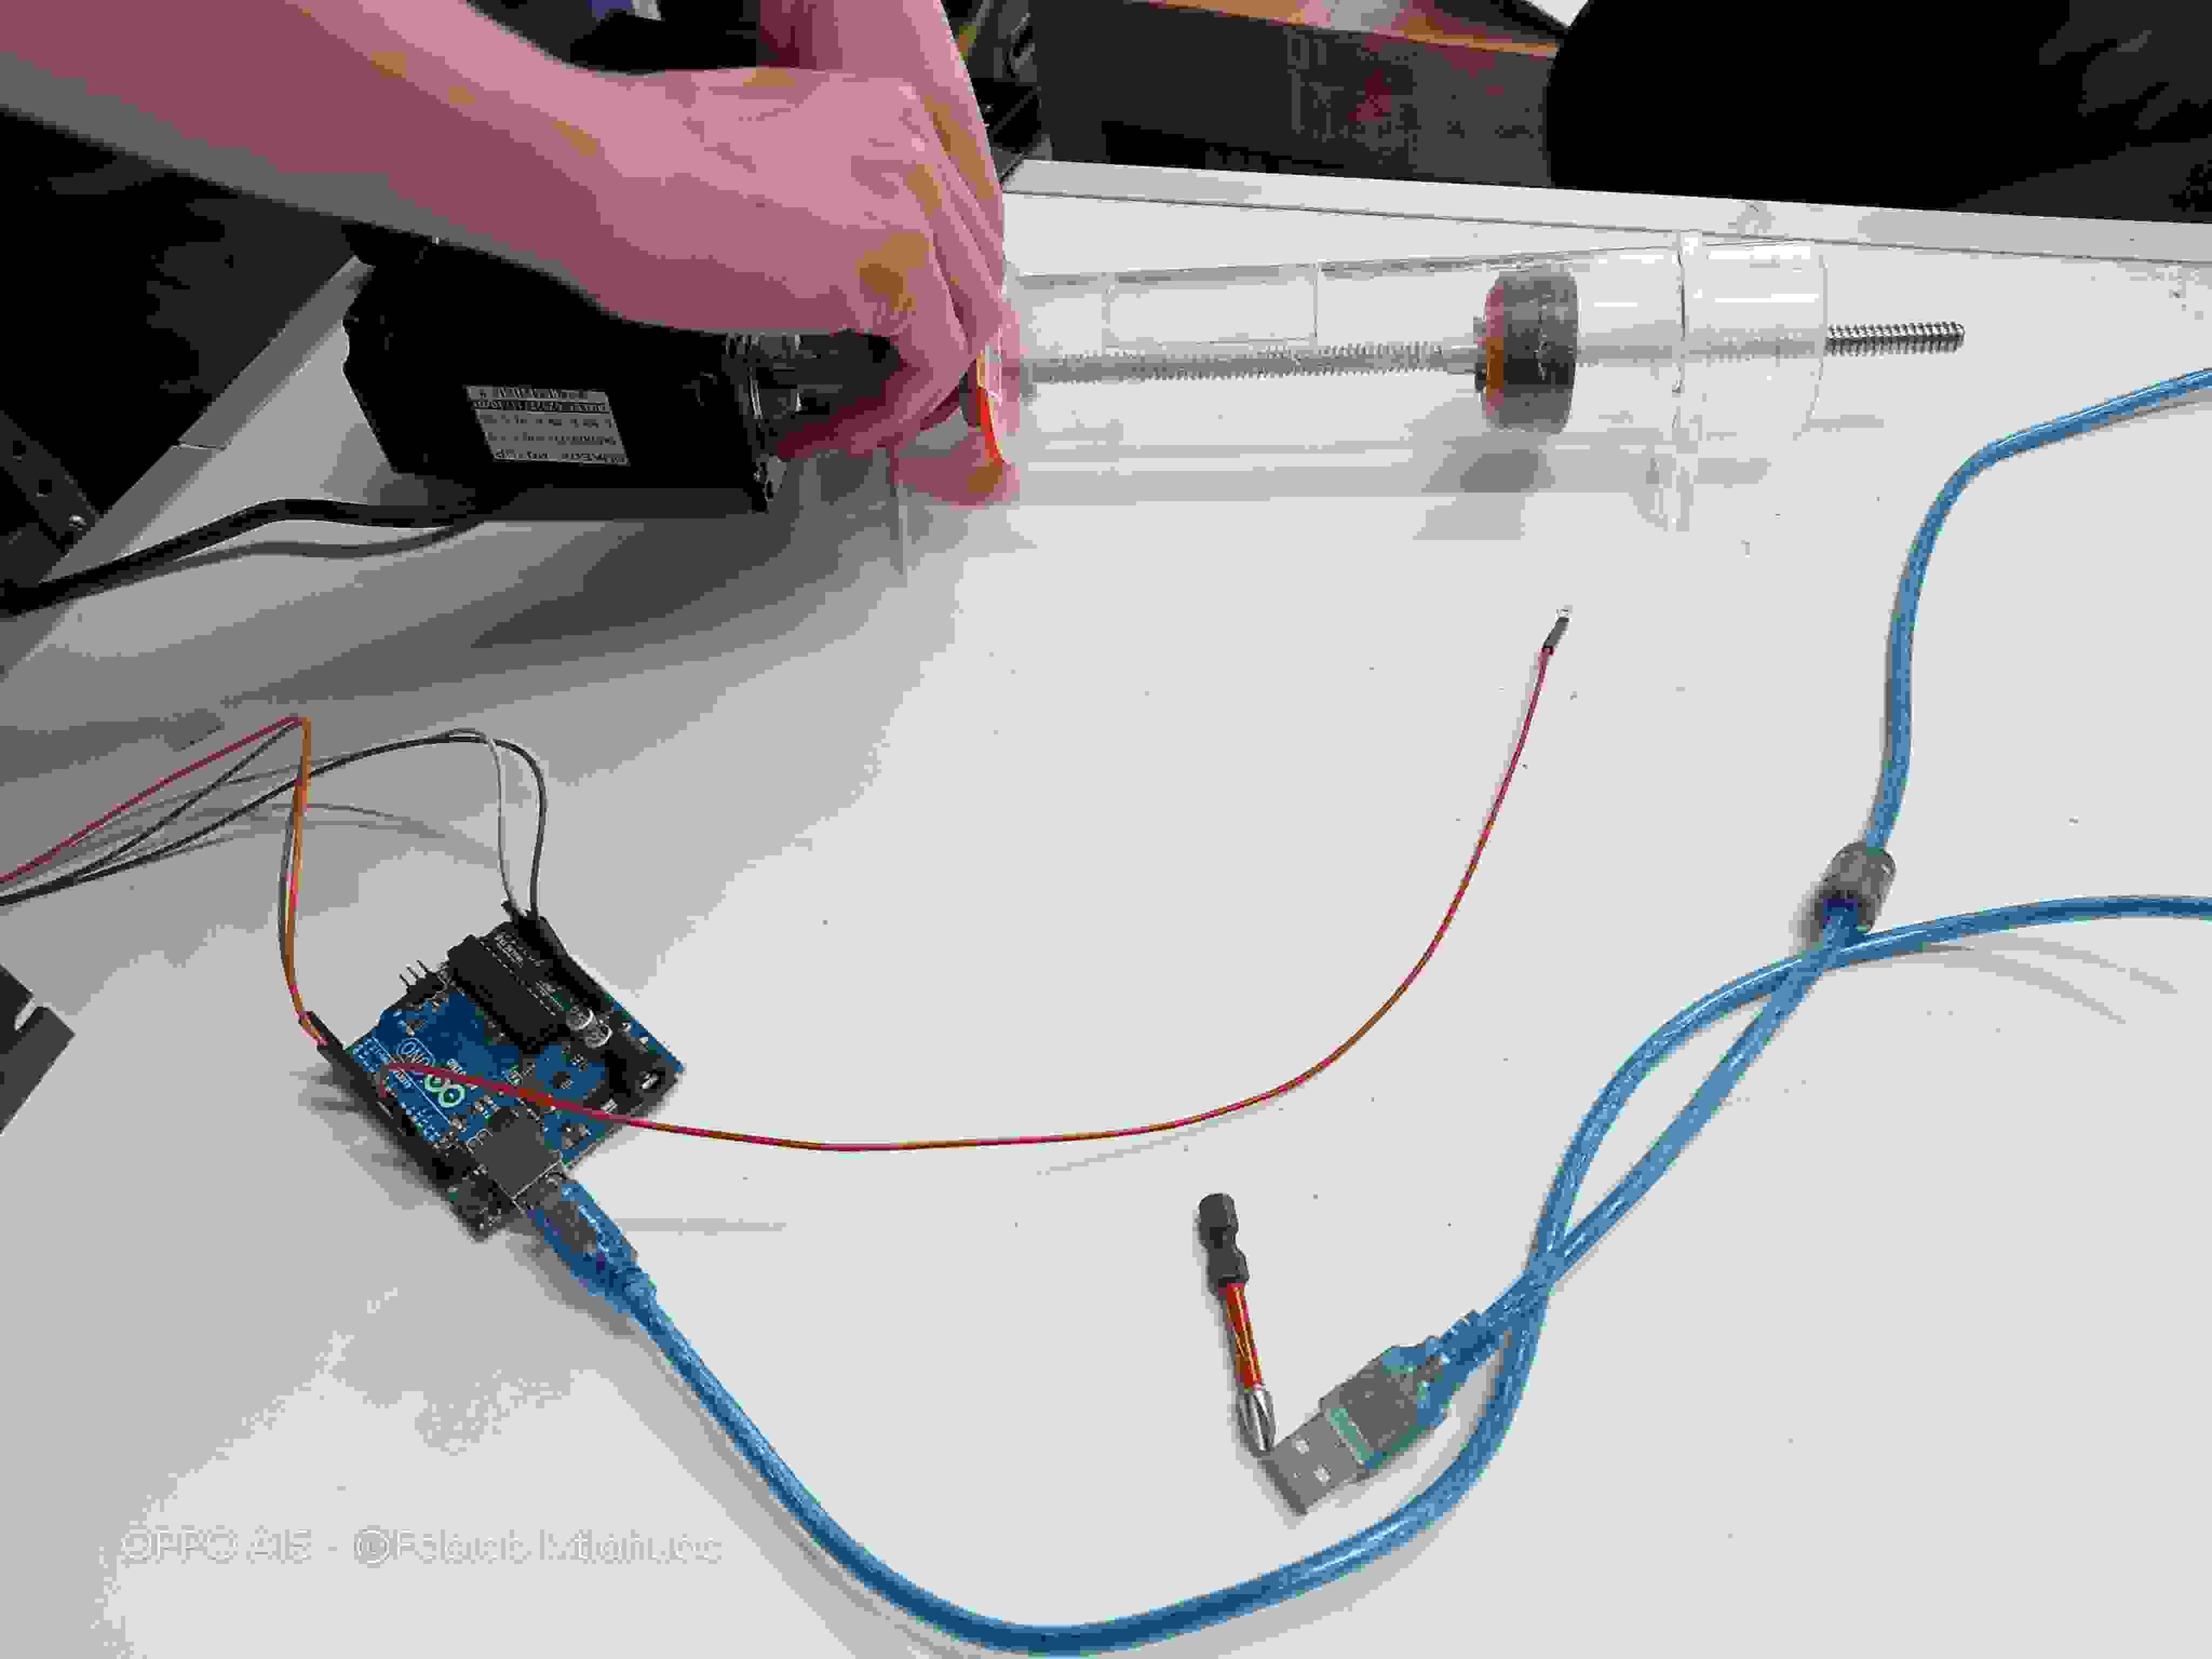
Using this code we were able to move the motor and test the new extrusion system:
	#define ENABLE 7
	#define PULL 6
	#define DIR 2
	int Speed;
	int Direction;

	void setup() {
	  // put your setup code here, to run once:
	  pinMode(ENABLE, OUTPUT);
	  pinMode(PULL, OUTPUT);
	  pinMode(DIR, OUTPUT);
	  Serial.begin(9600);
	}

	void loop() {
	  digitalWrite(DIR, 1);
	  tone(PULL, 500);
	}
This time the system worked perfectly! So now was time to mount everything in a cohesive module that could later be integrated into the full 3D printing system.
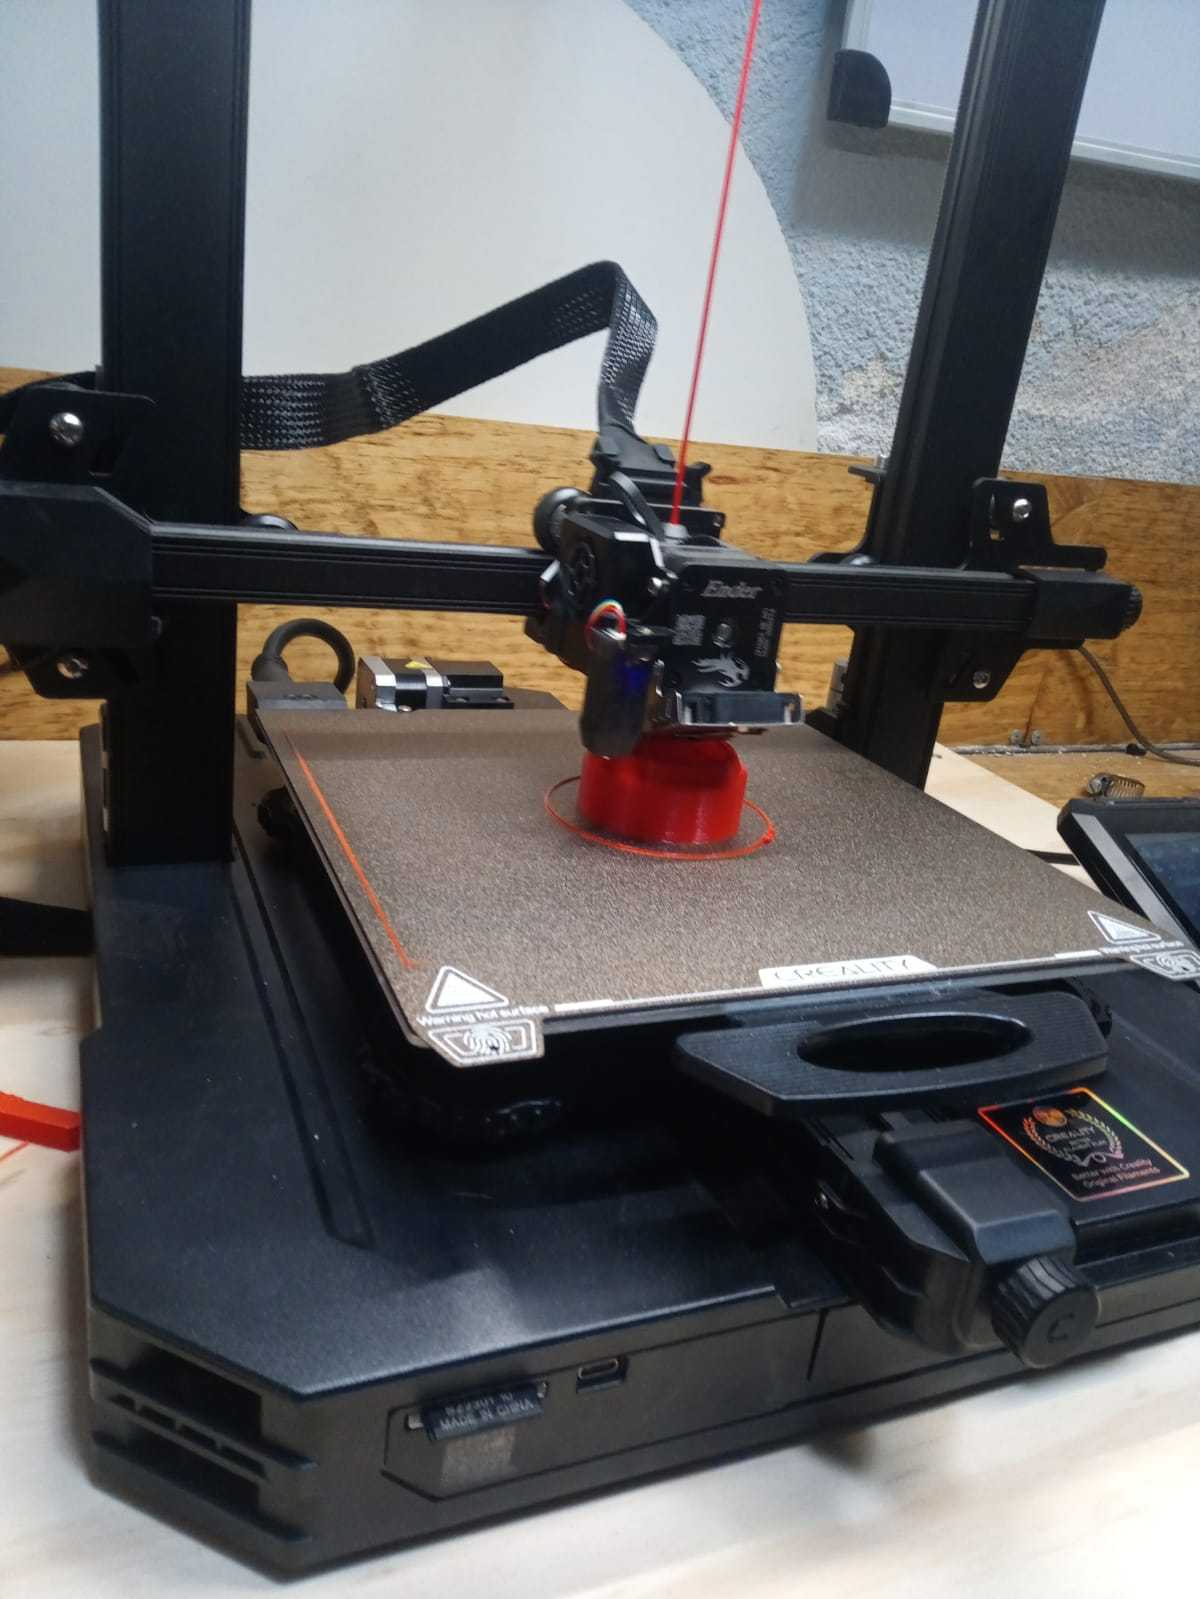
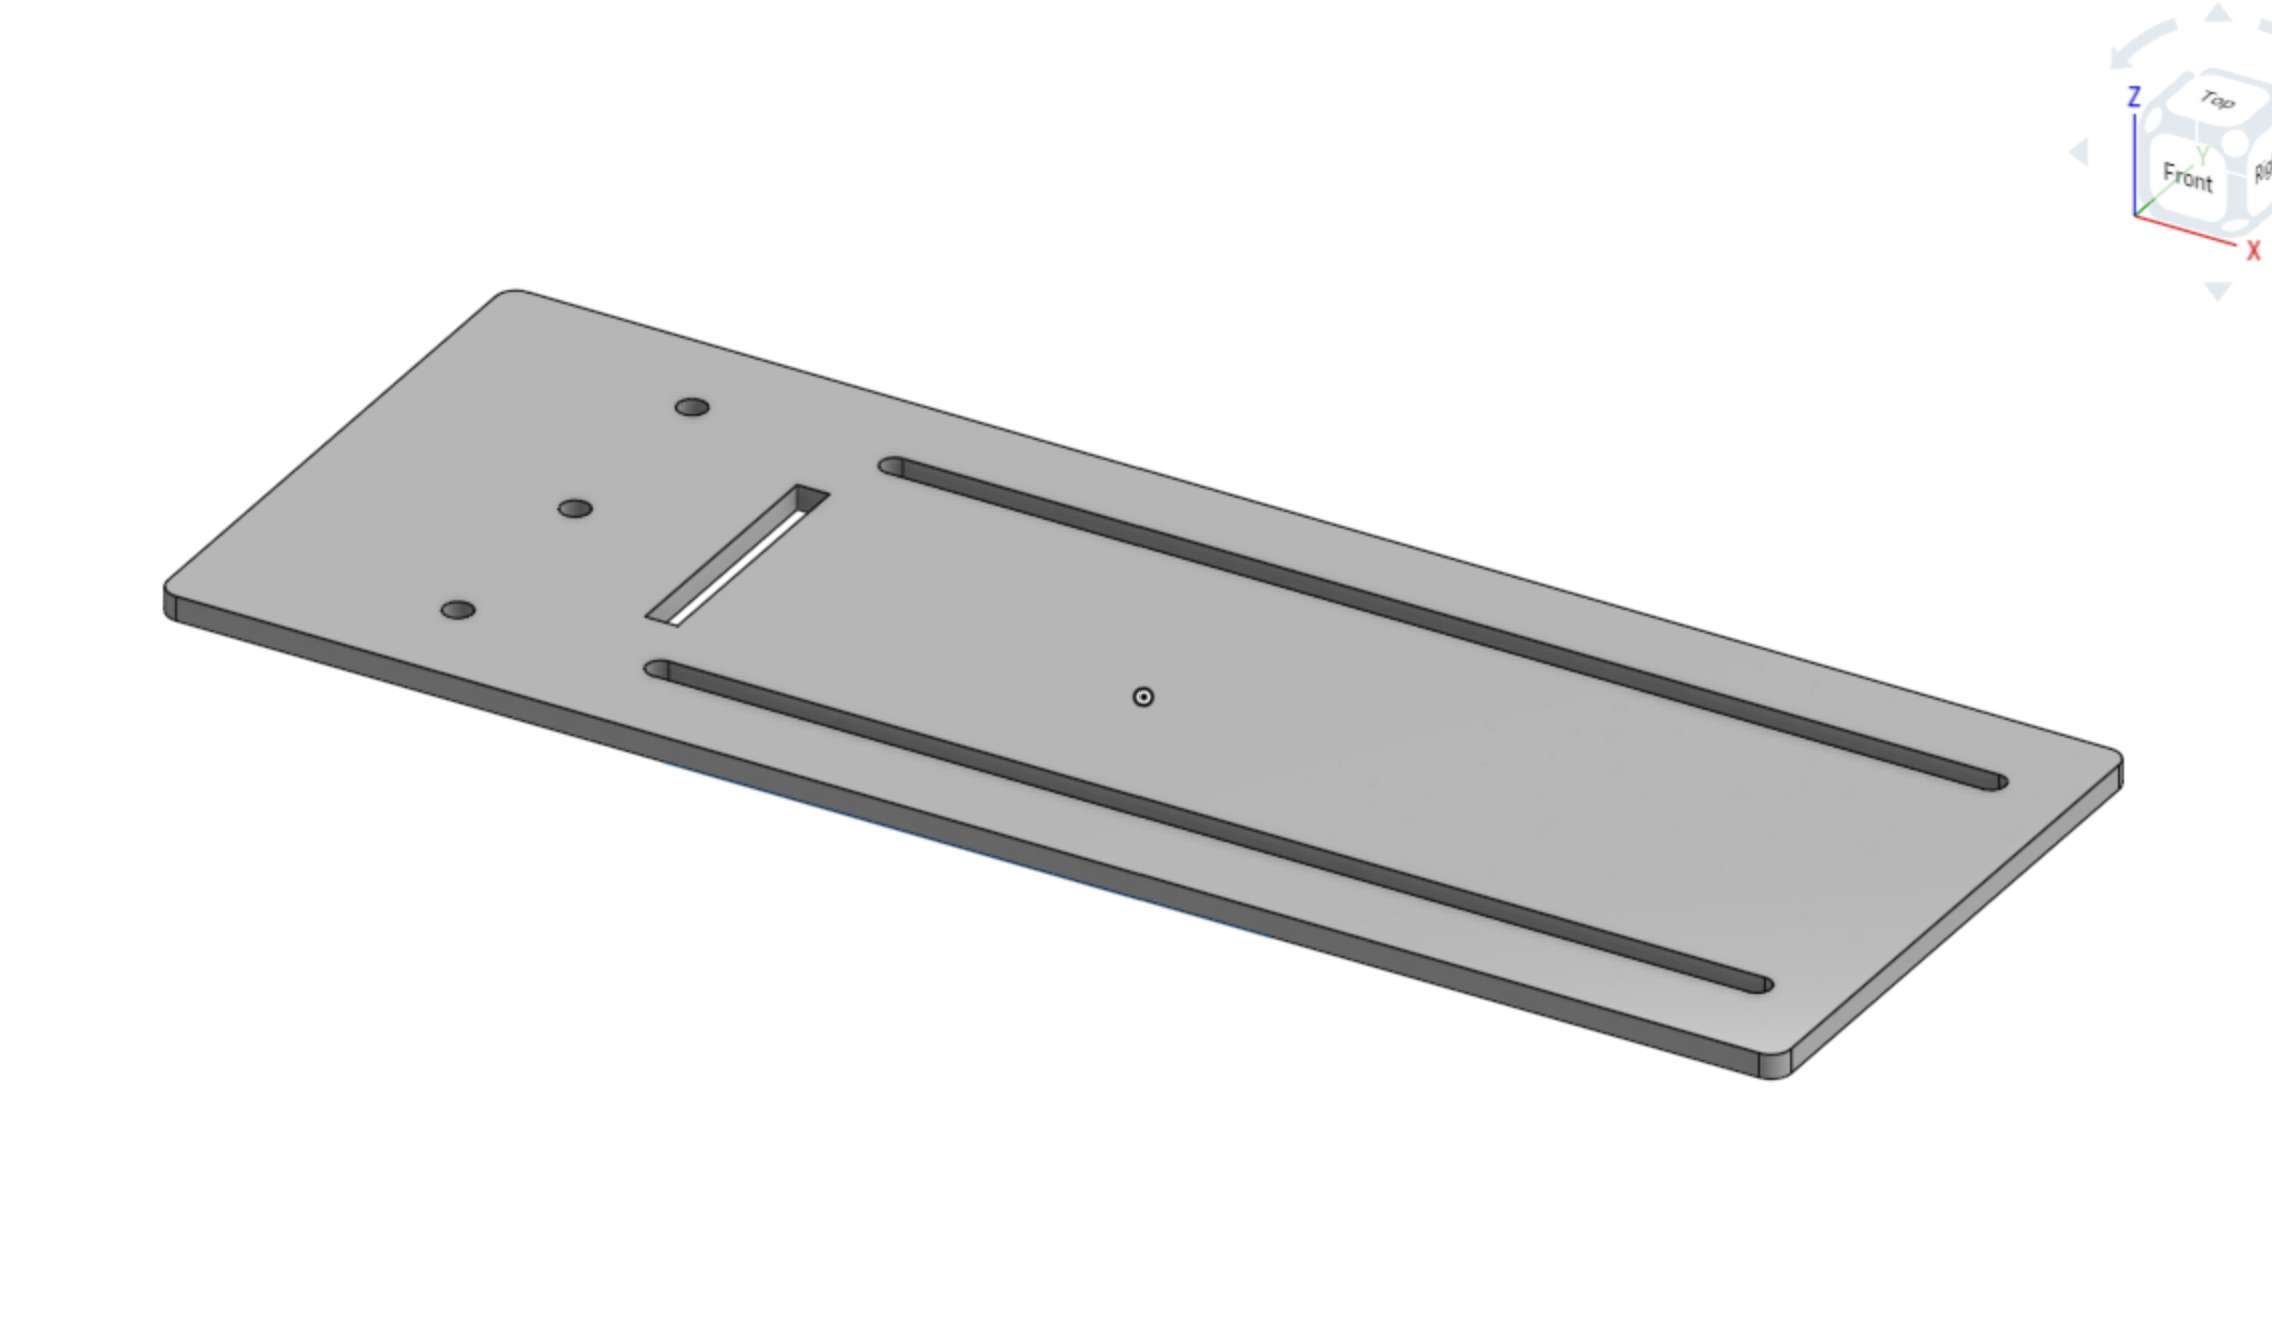
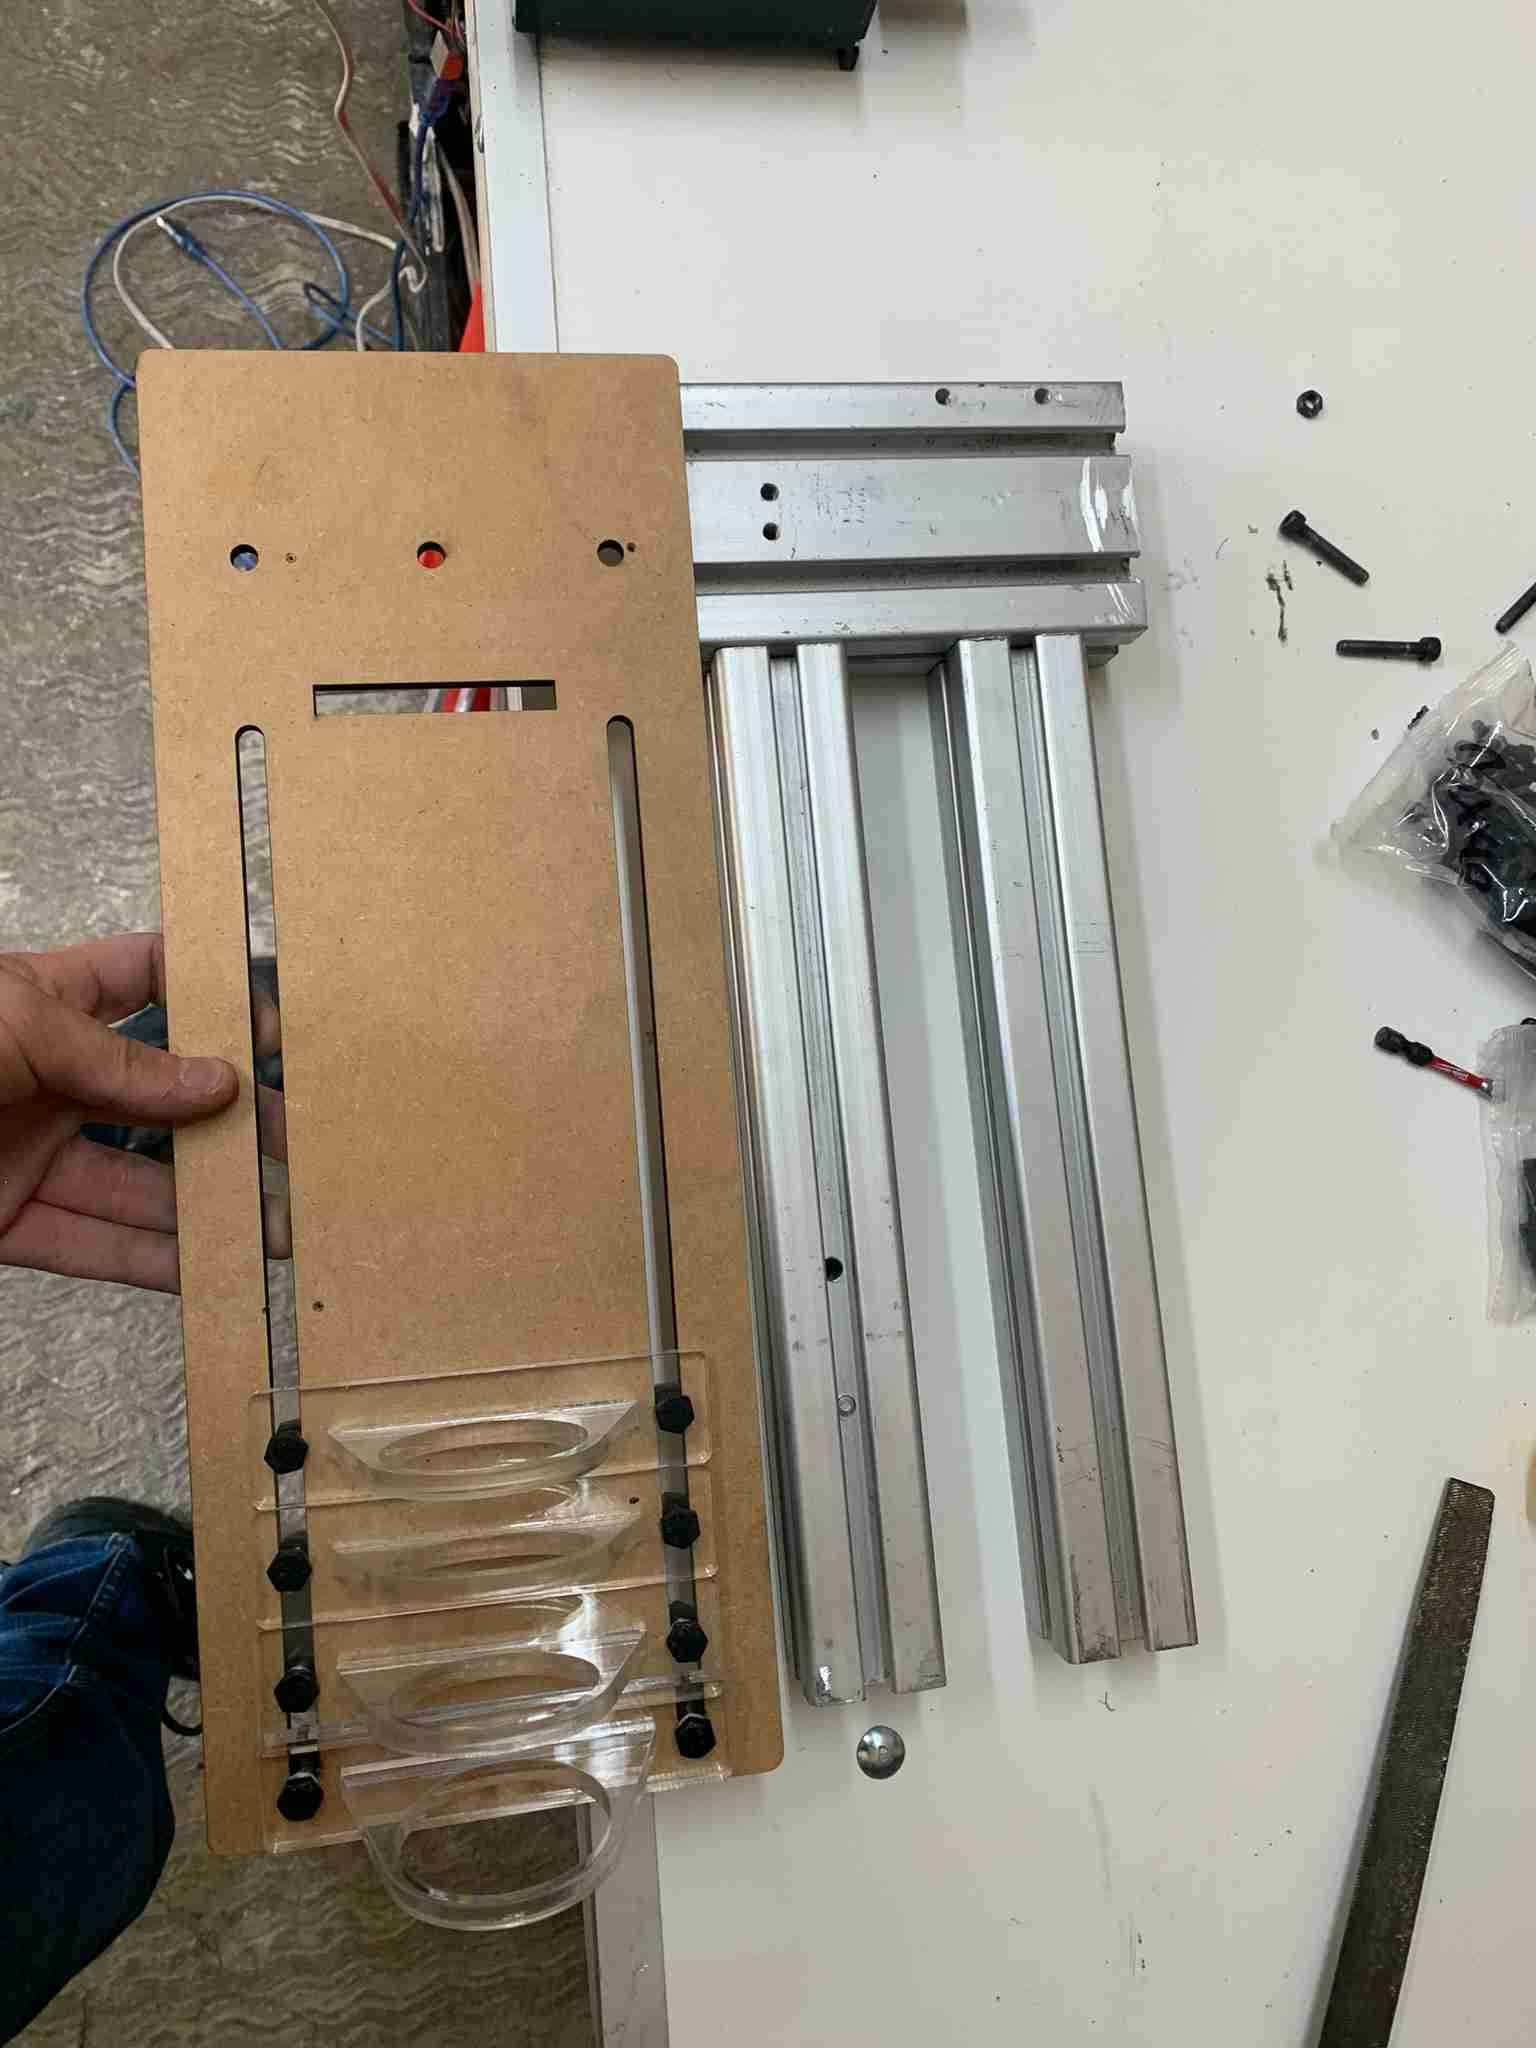
I designed and Fabbed many more parts to hold everything together. These were laser cutted:

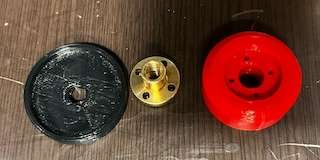
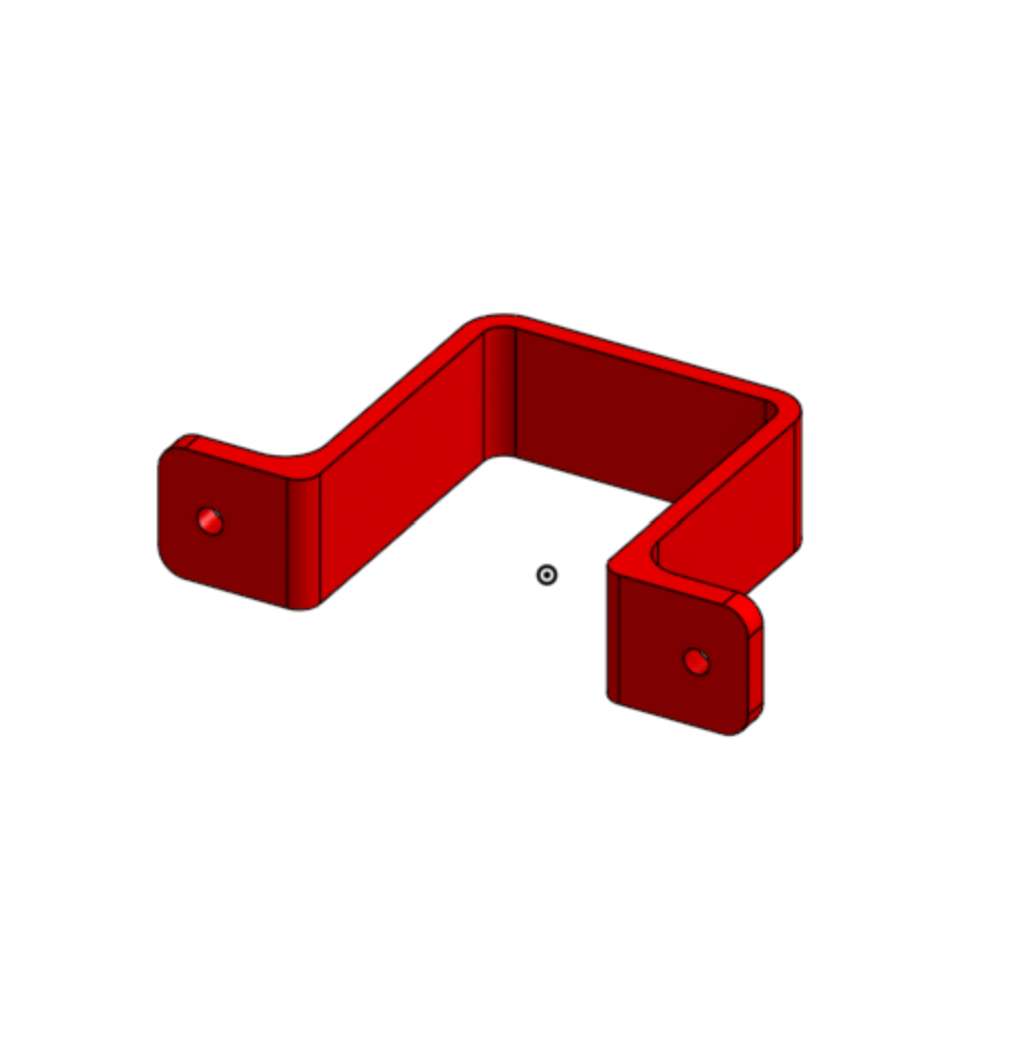
And these were 3D printed:
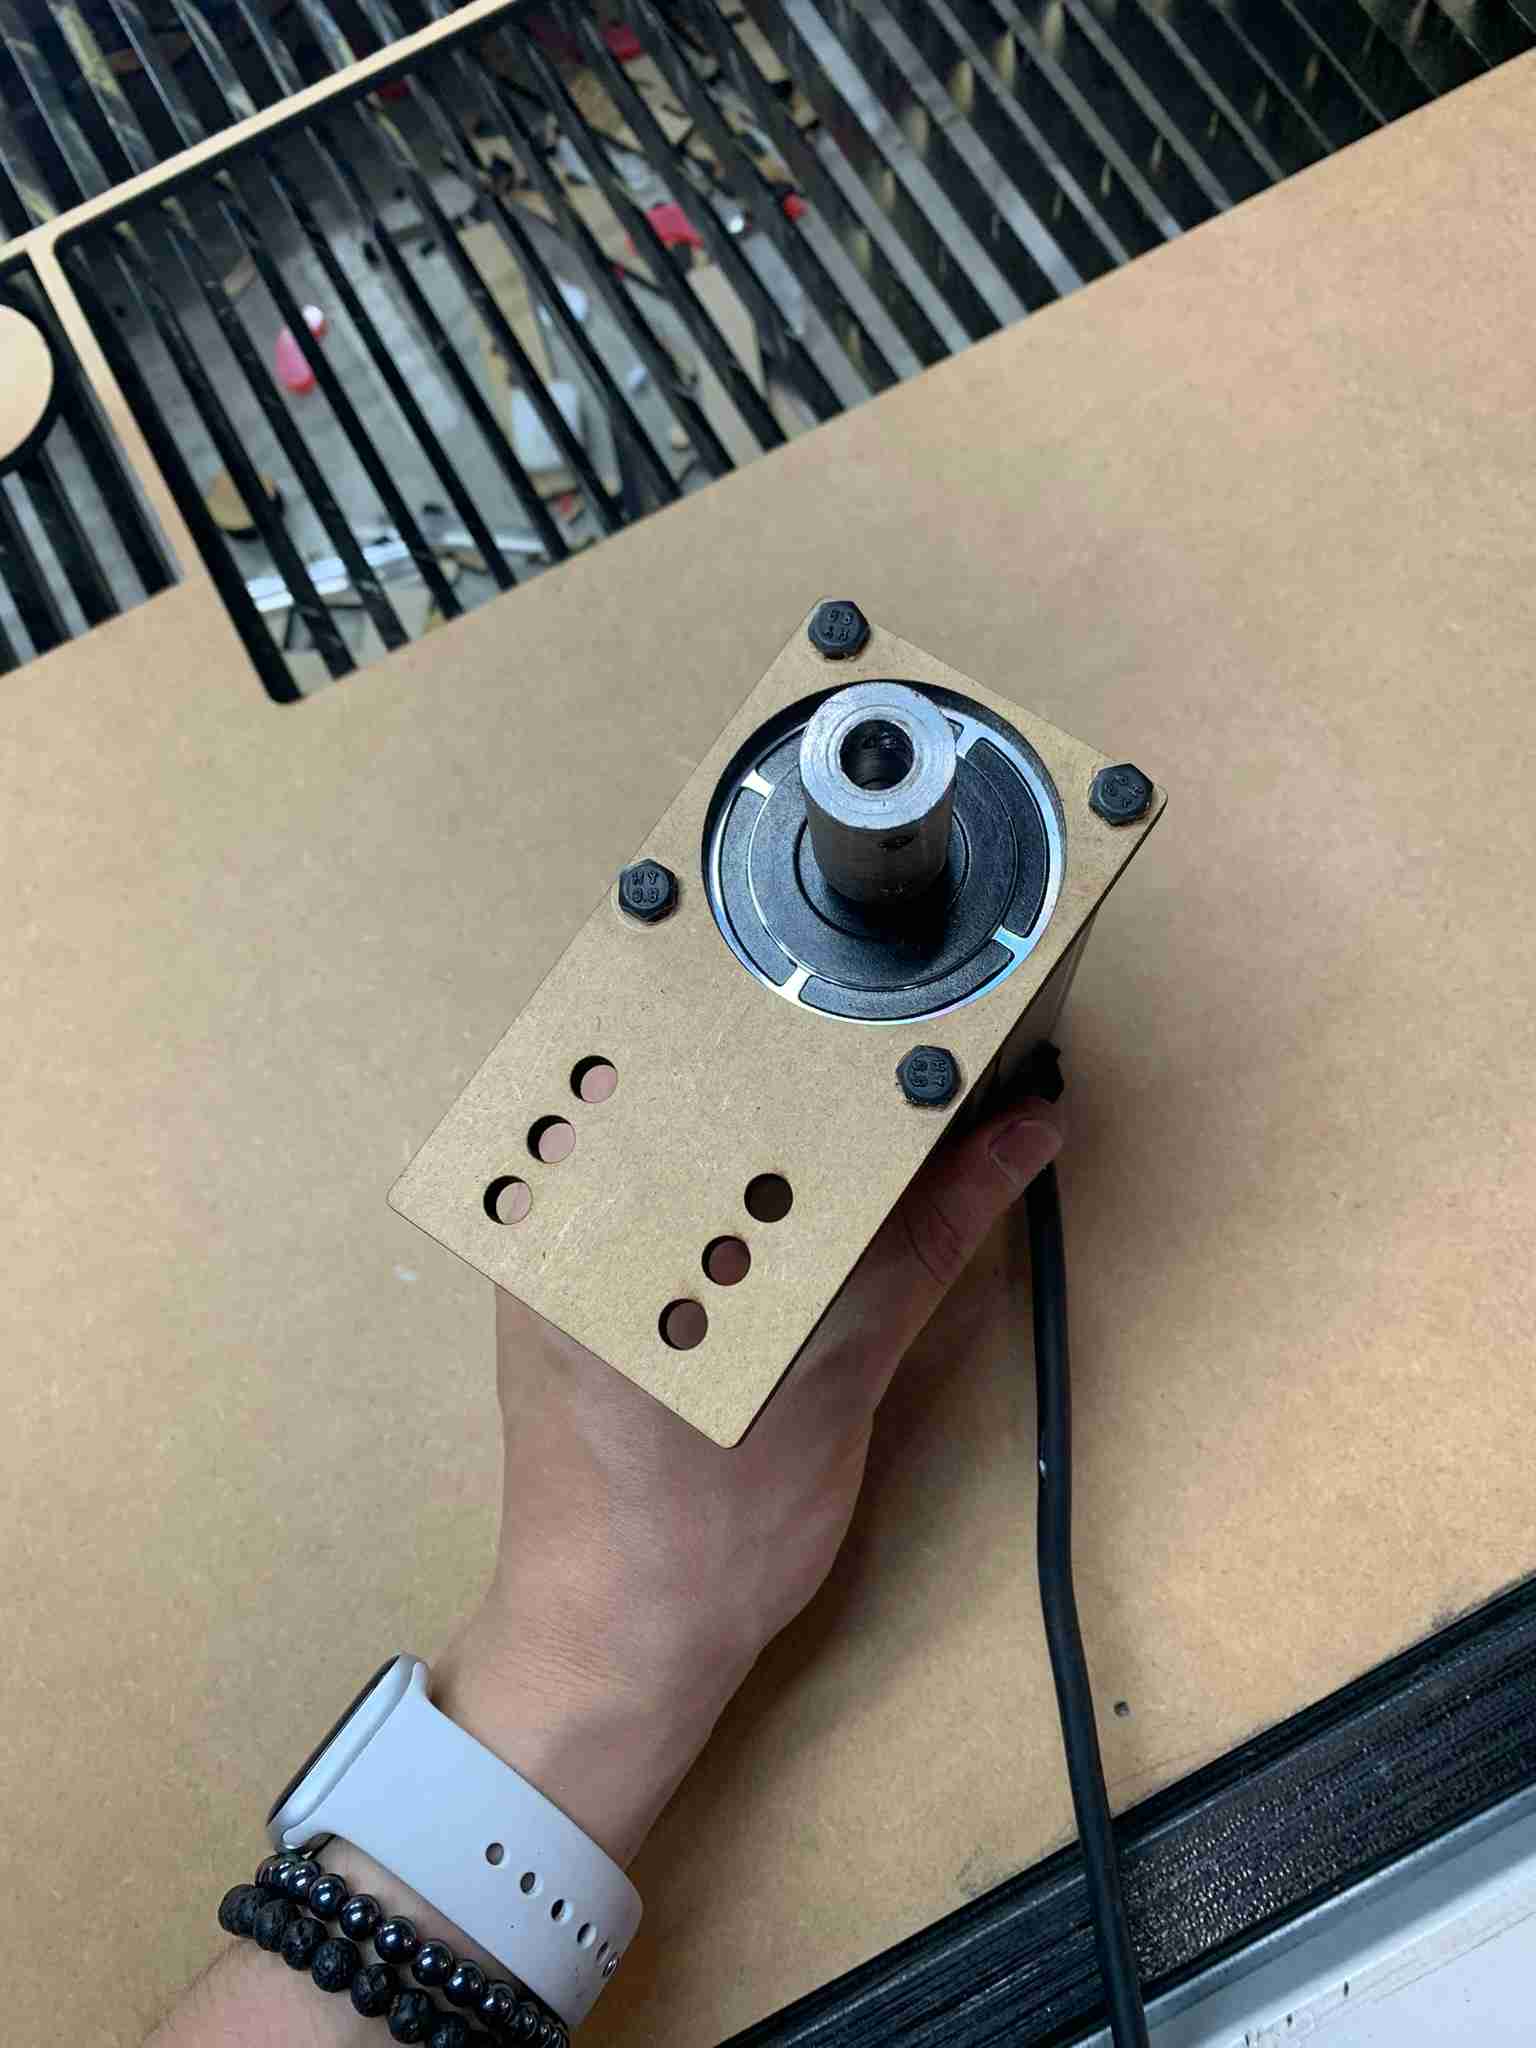
With the parts ready I started mounting everything, starting by the base which was made from 40x40 aluminum T-Slot Profiles and a laser cut 6mm MDF base. Then I tested a mounting system for the Nema motor using another laser cut piece.
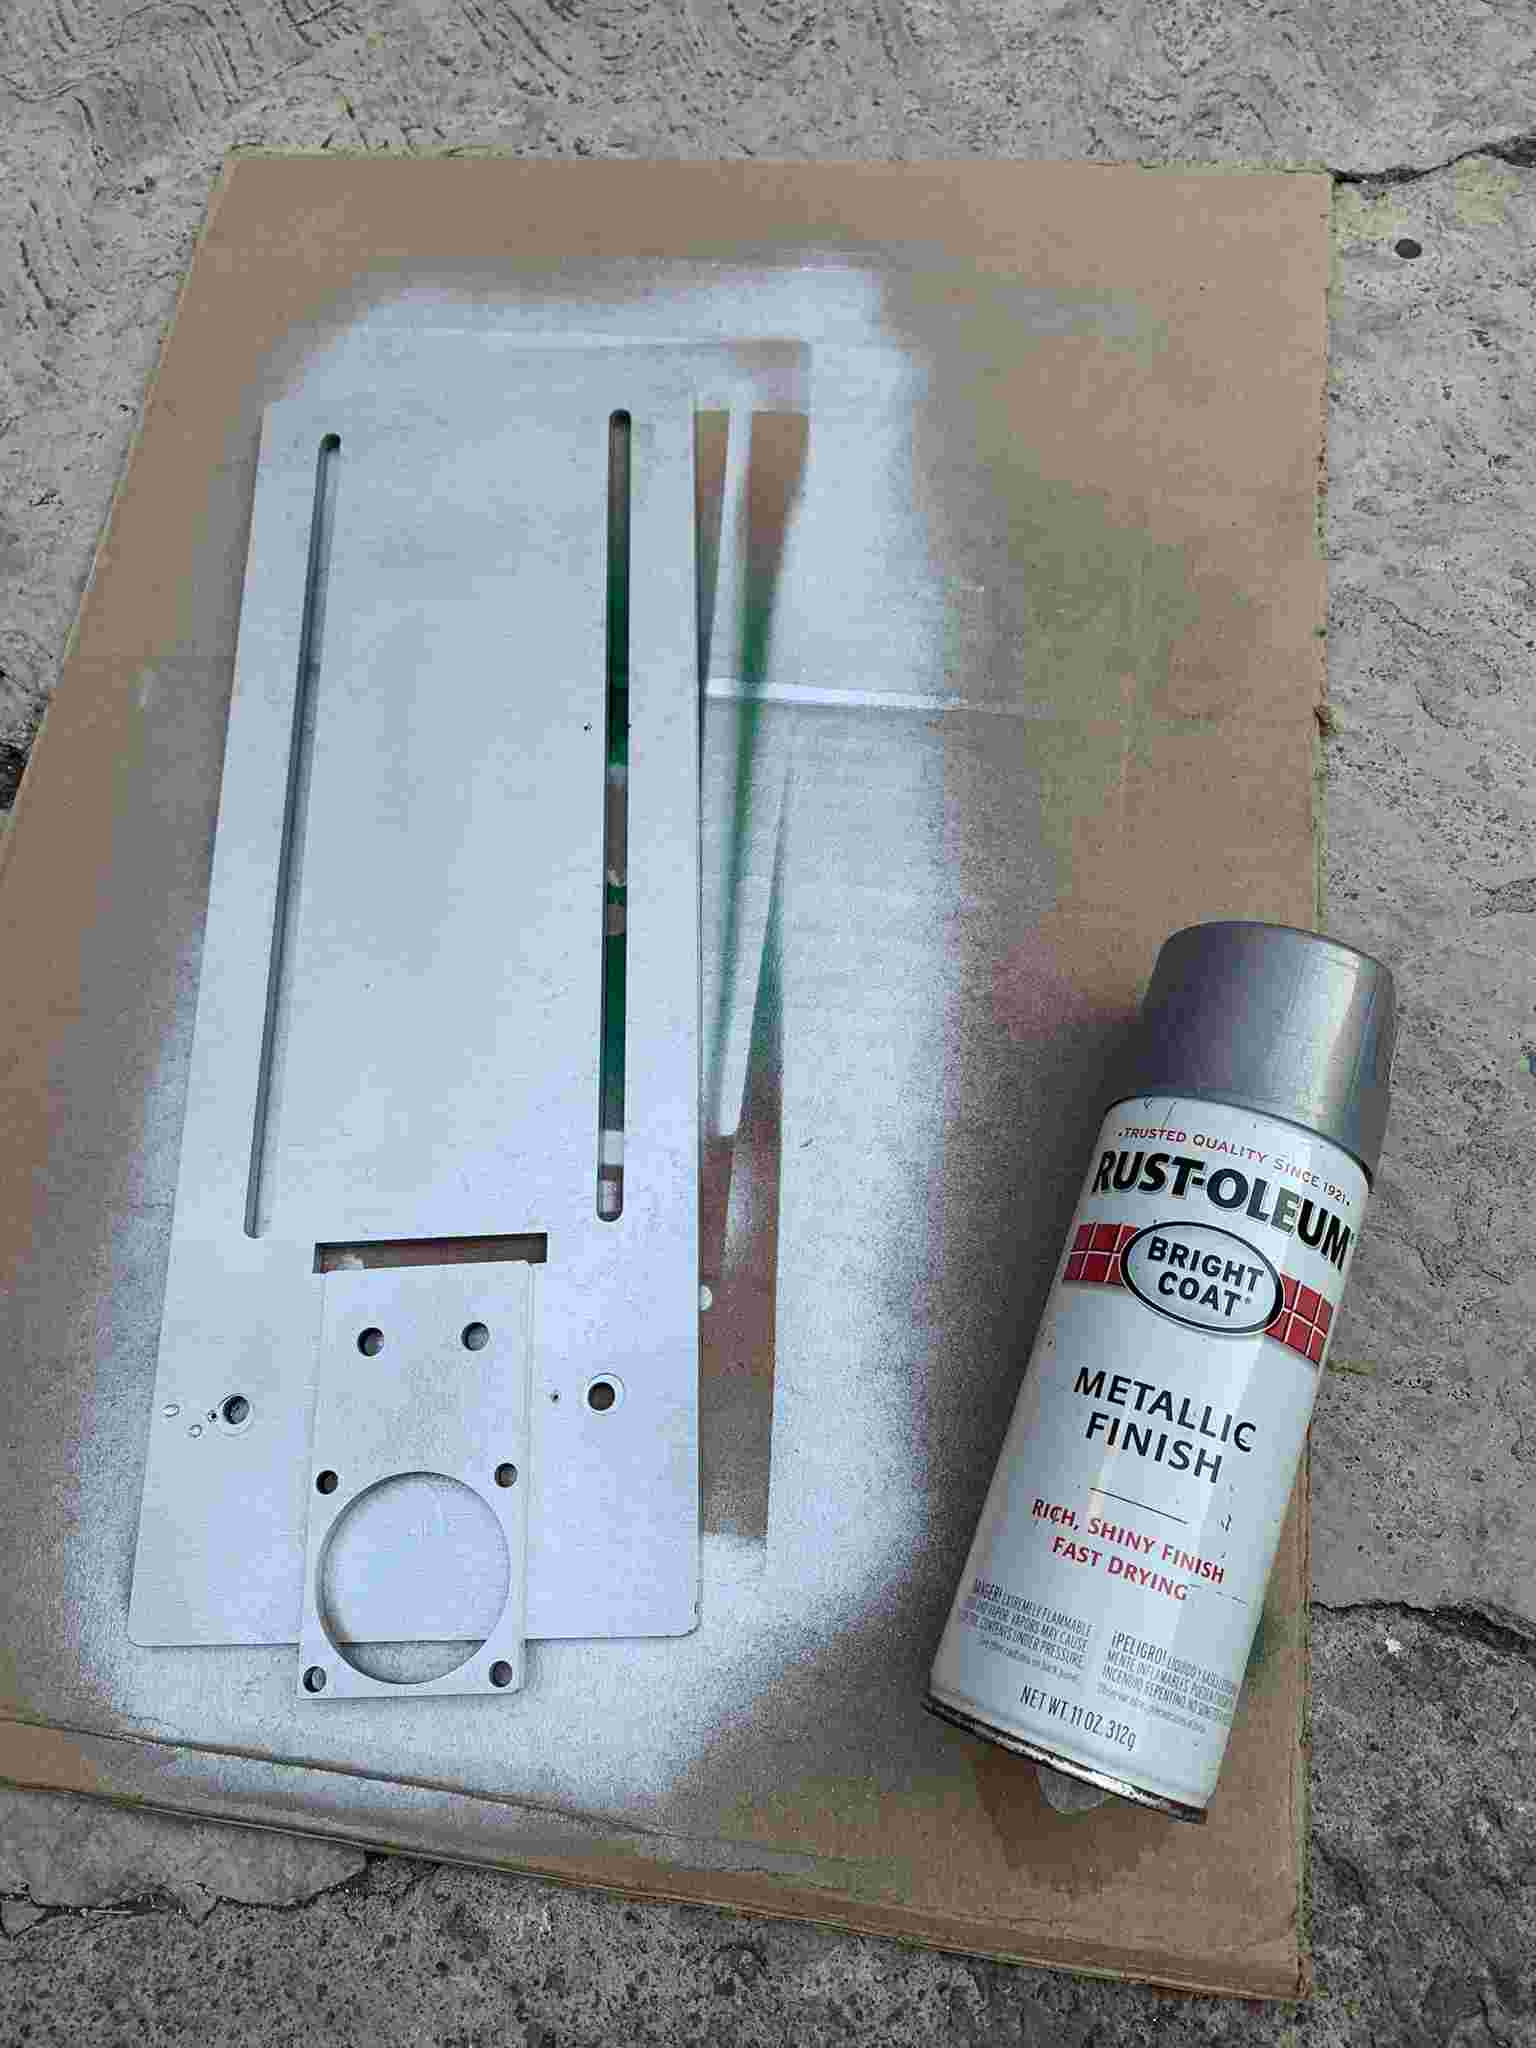
Then painted all those pieces in their respective colors using some spray paint.


I then mounted the 3D printed parts on the rest of the assembly using some metric screws.

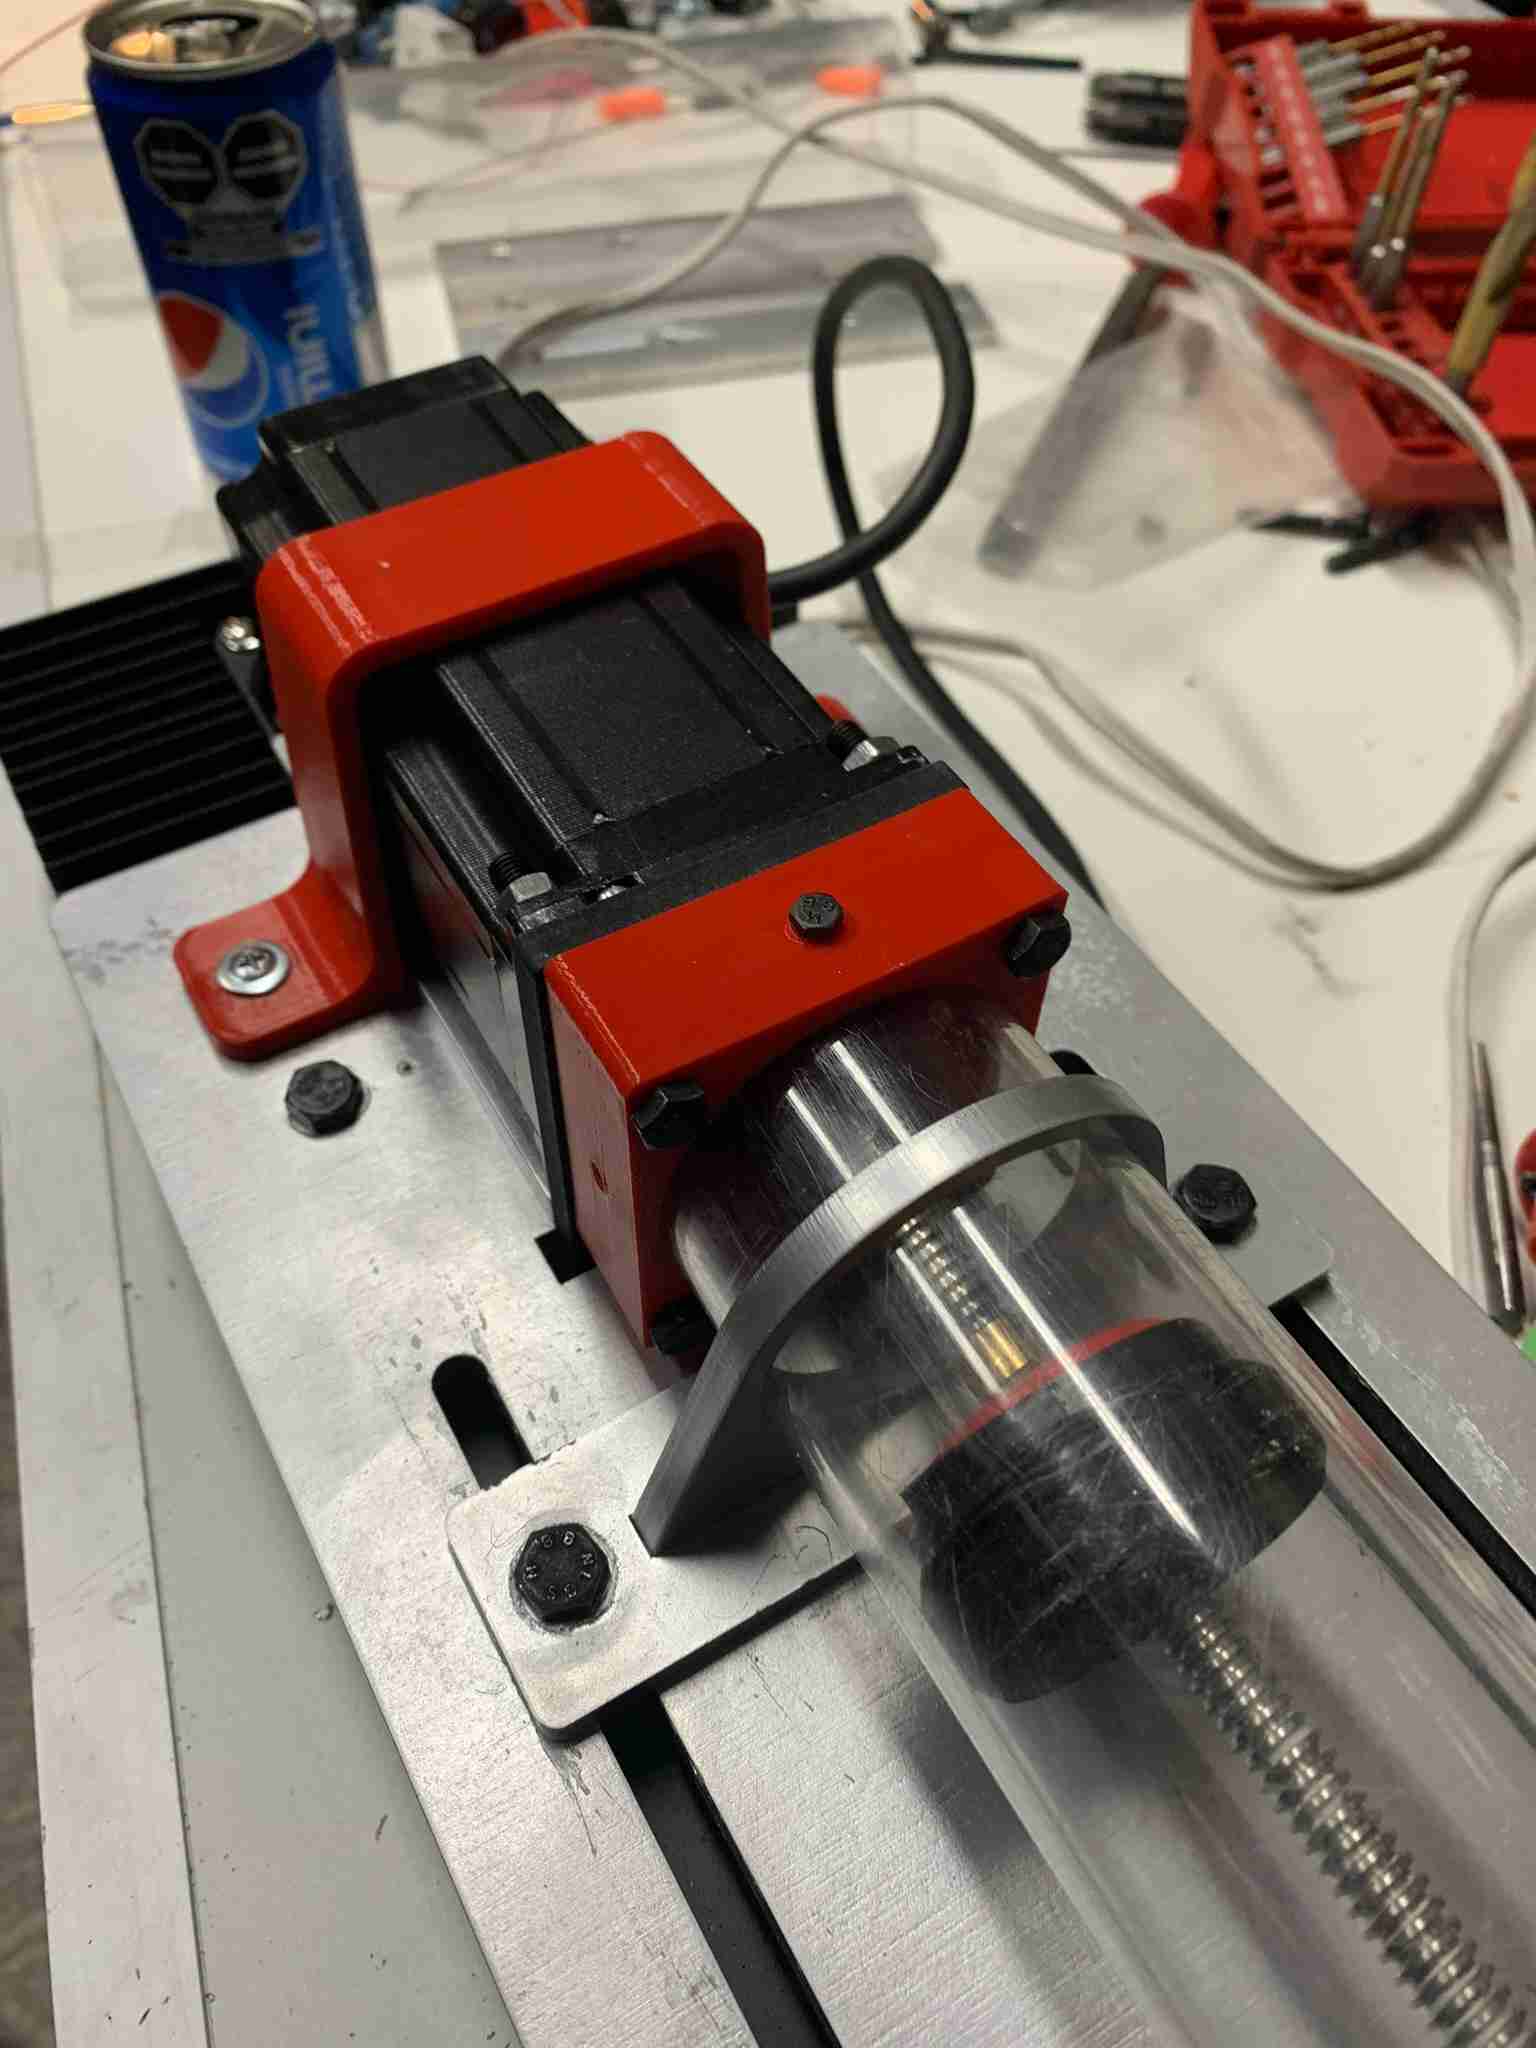
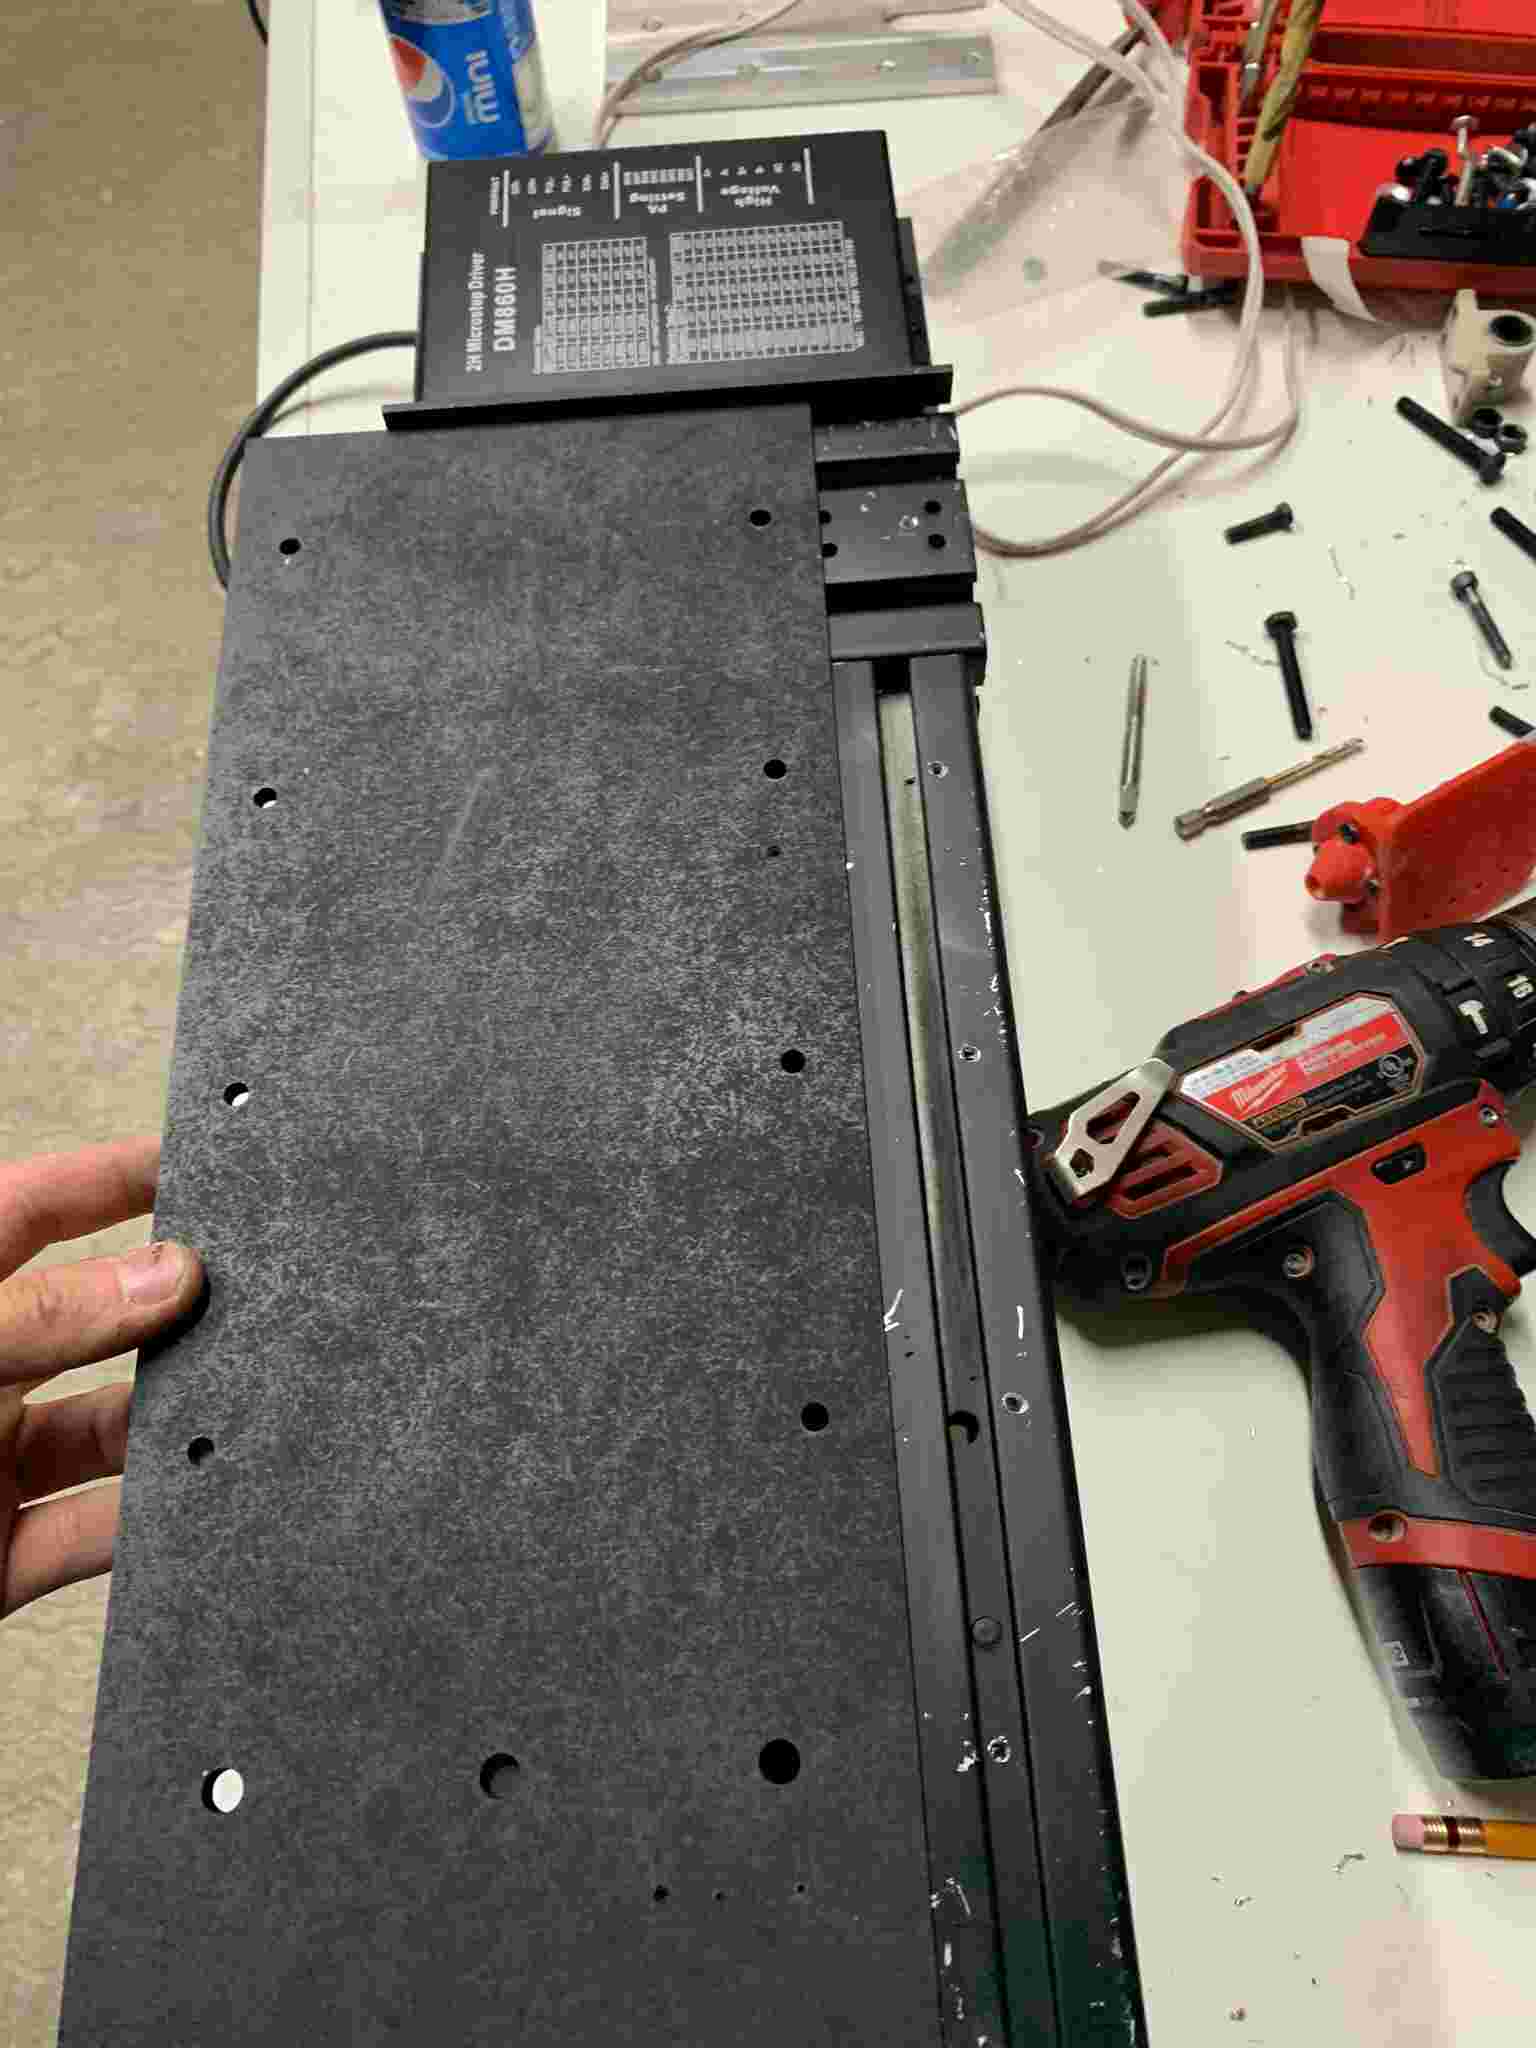
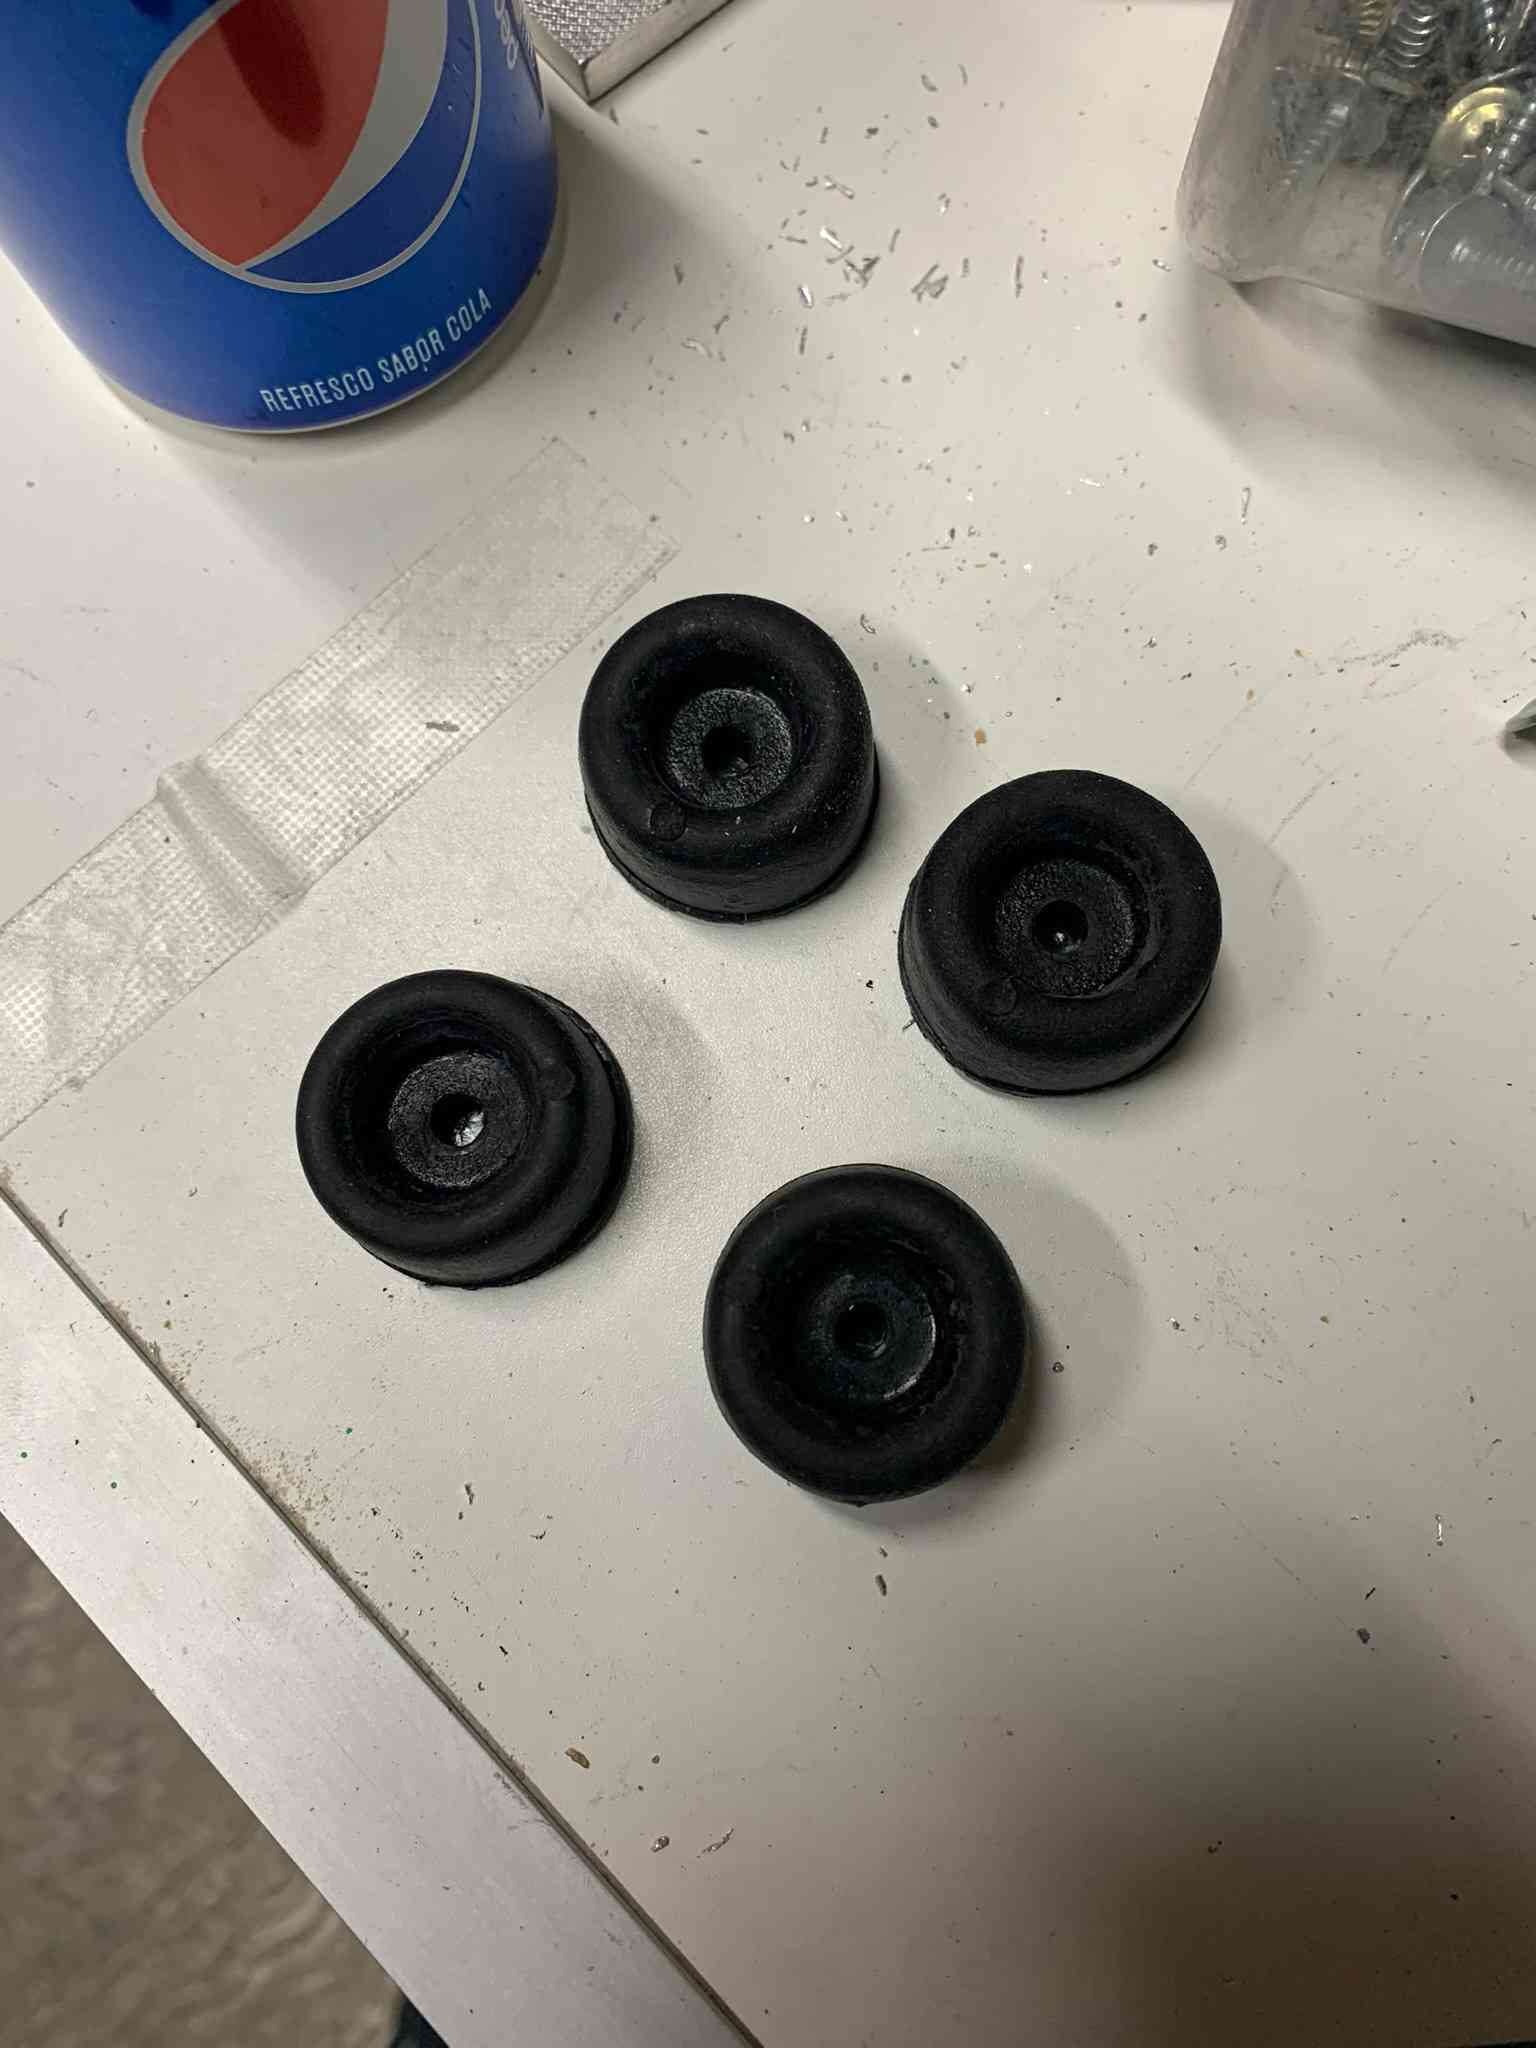
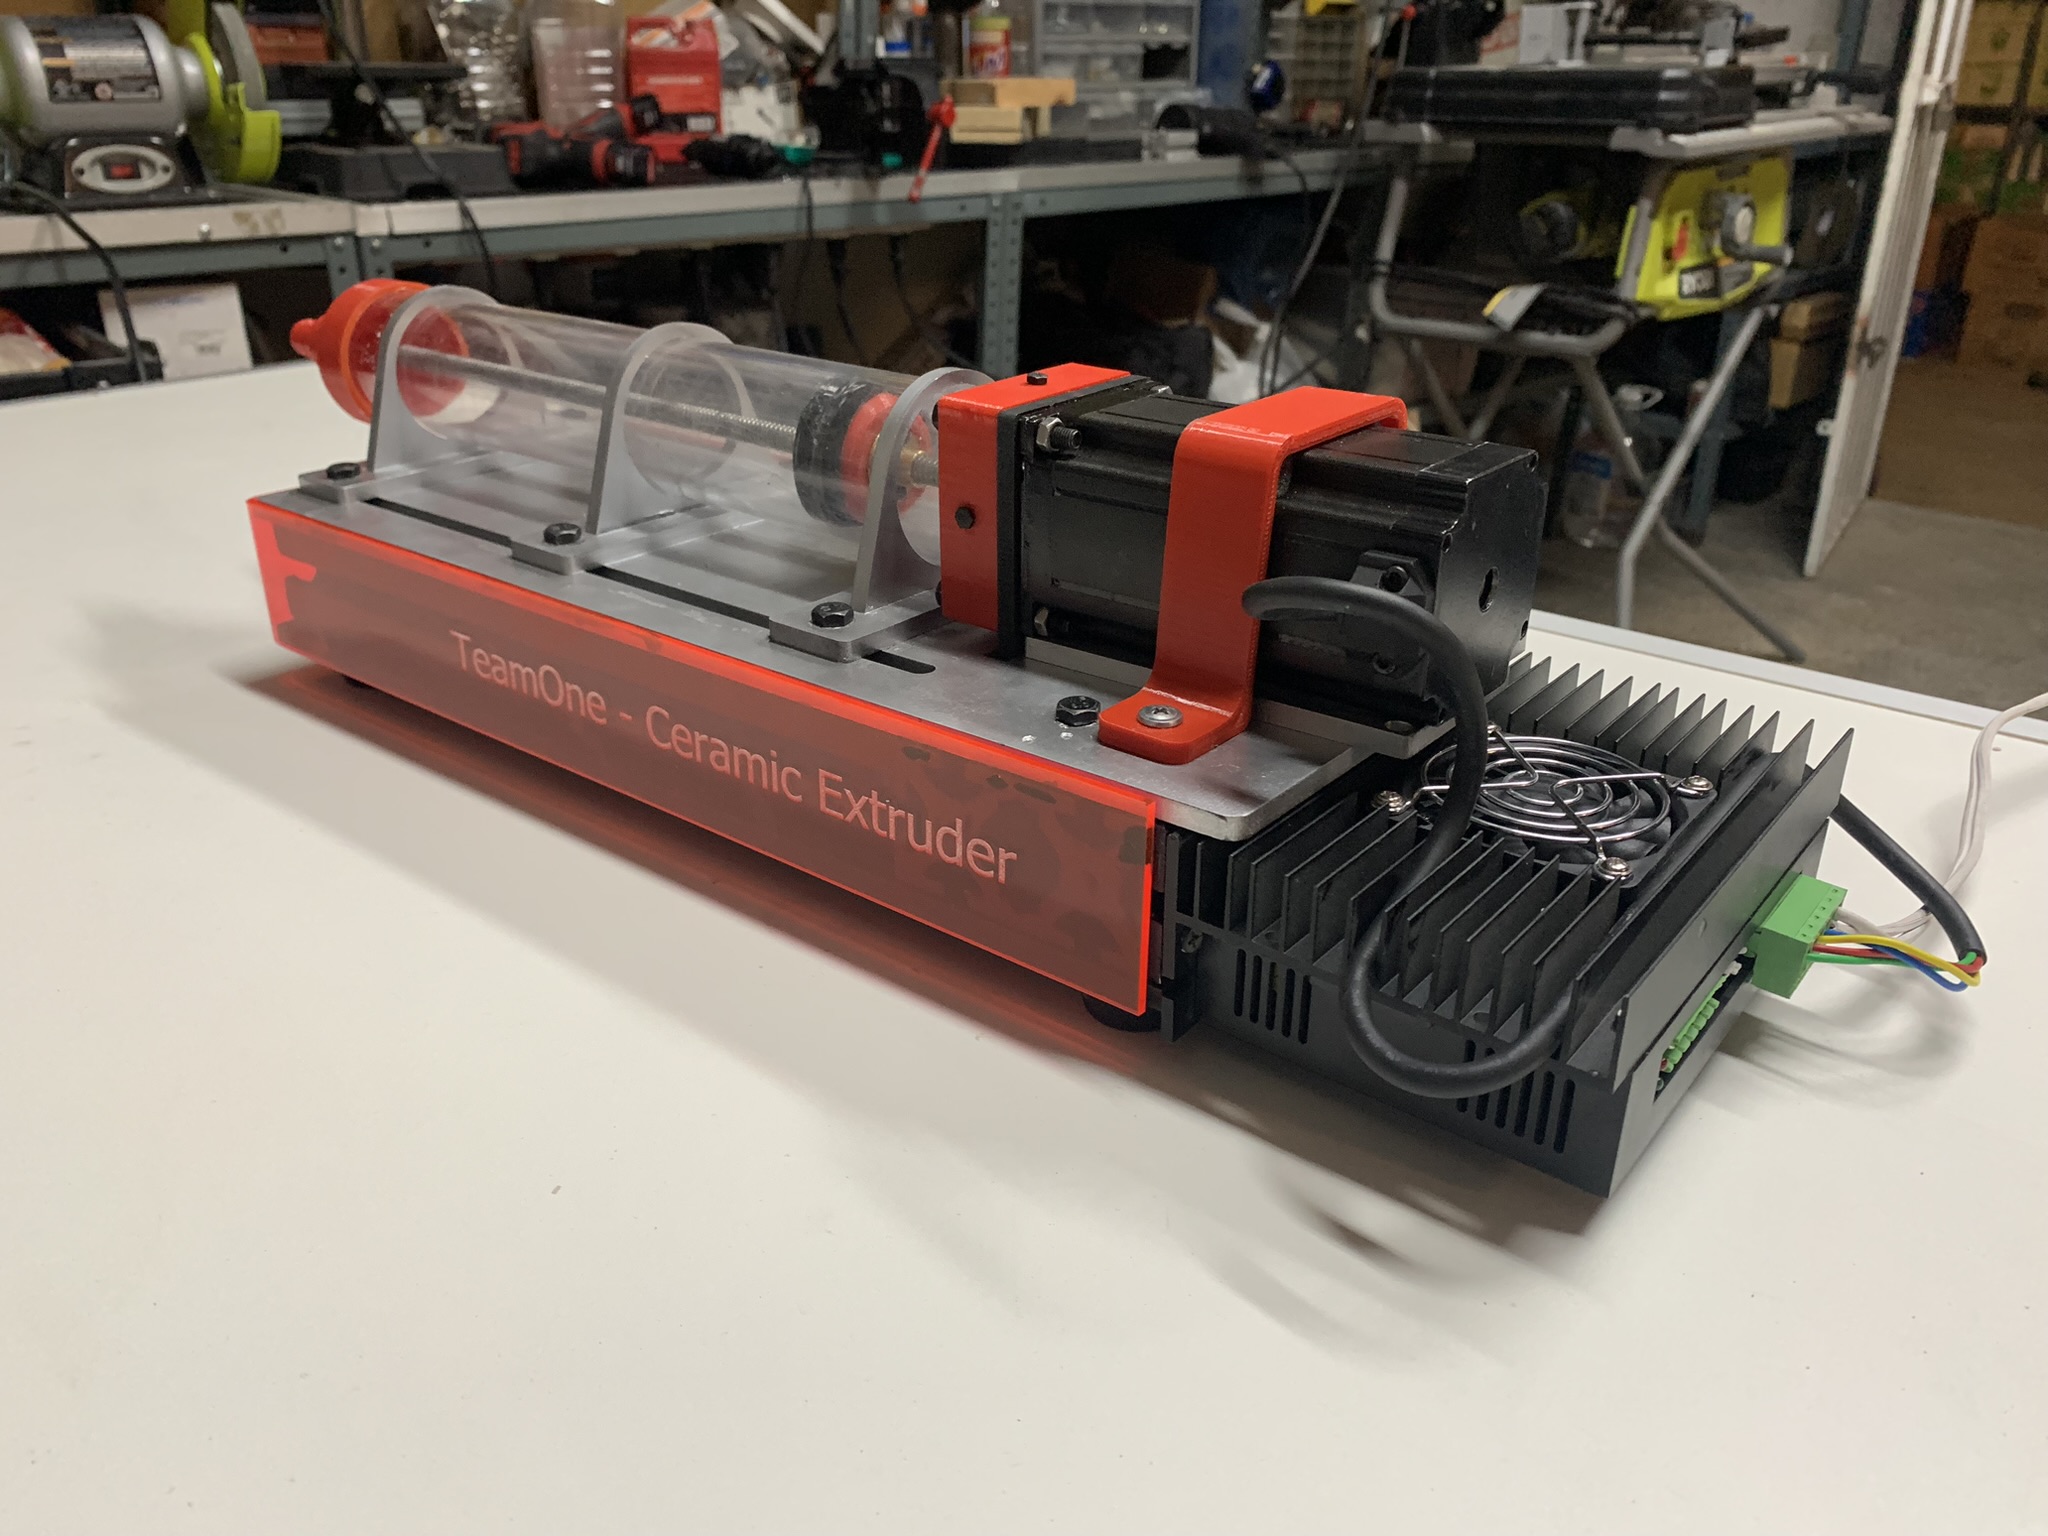
I mounted then another plate below the extruder module, and screwed in some rubber feet. I also mounted here the stepper driver.

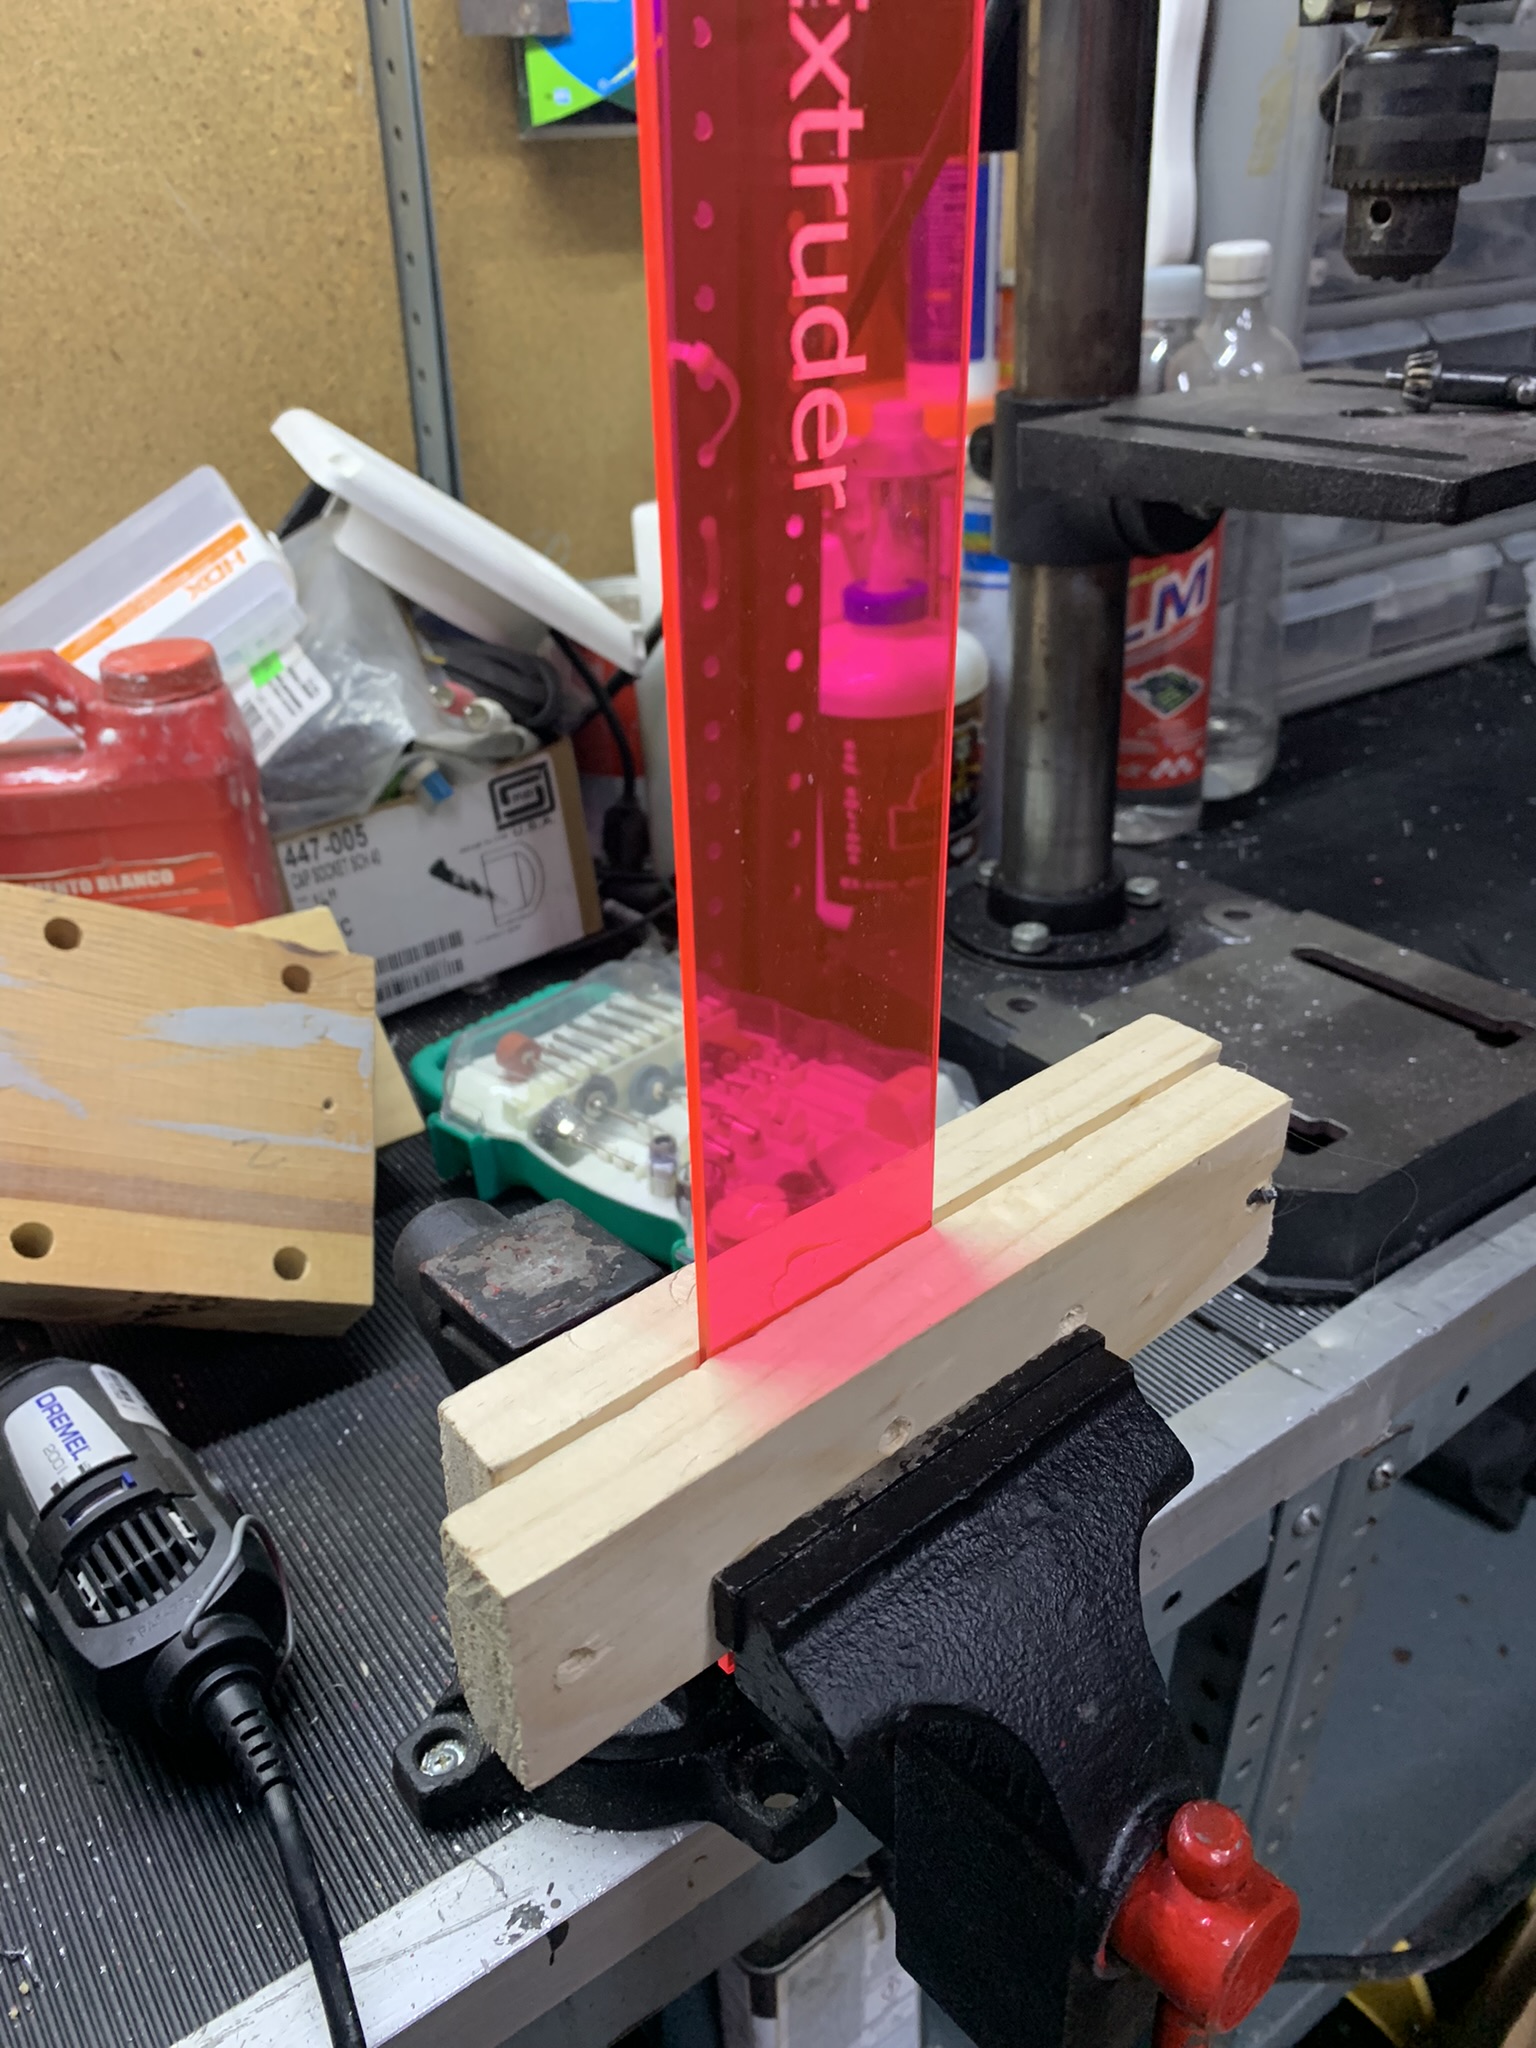
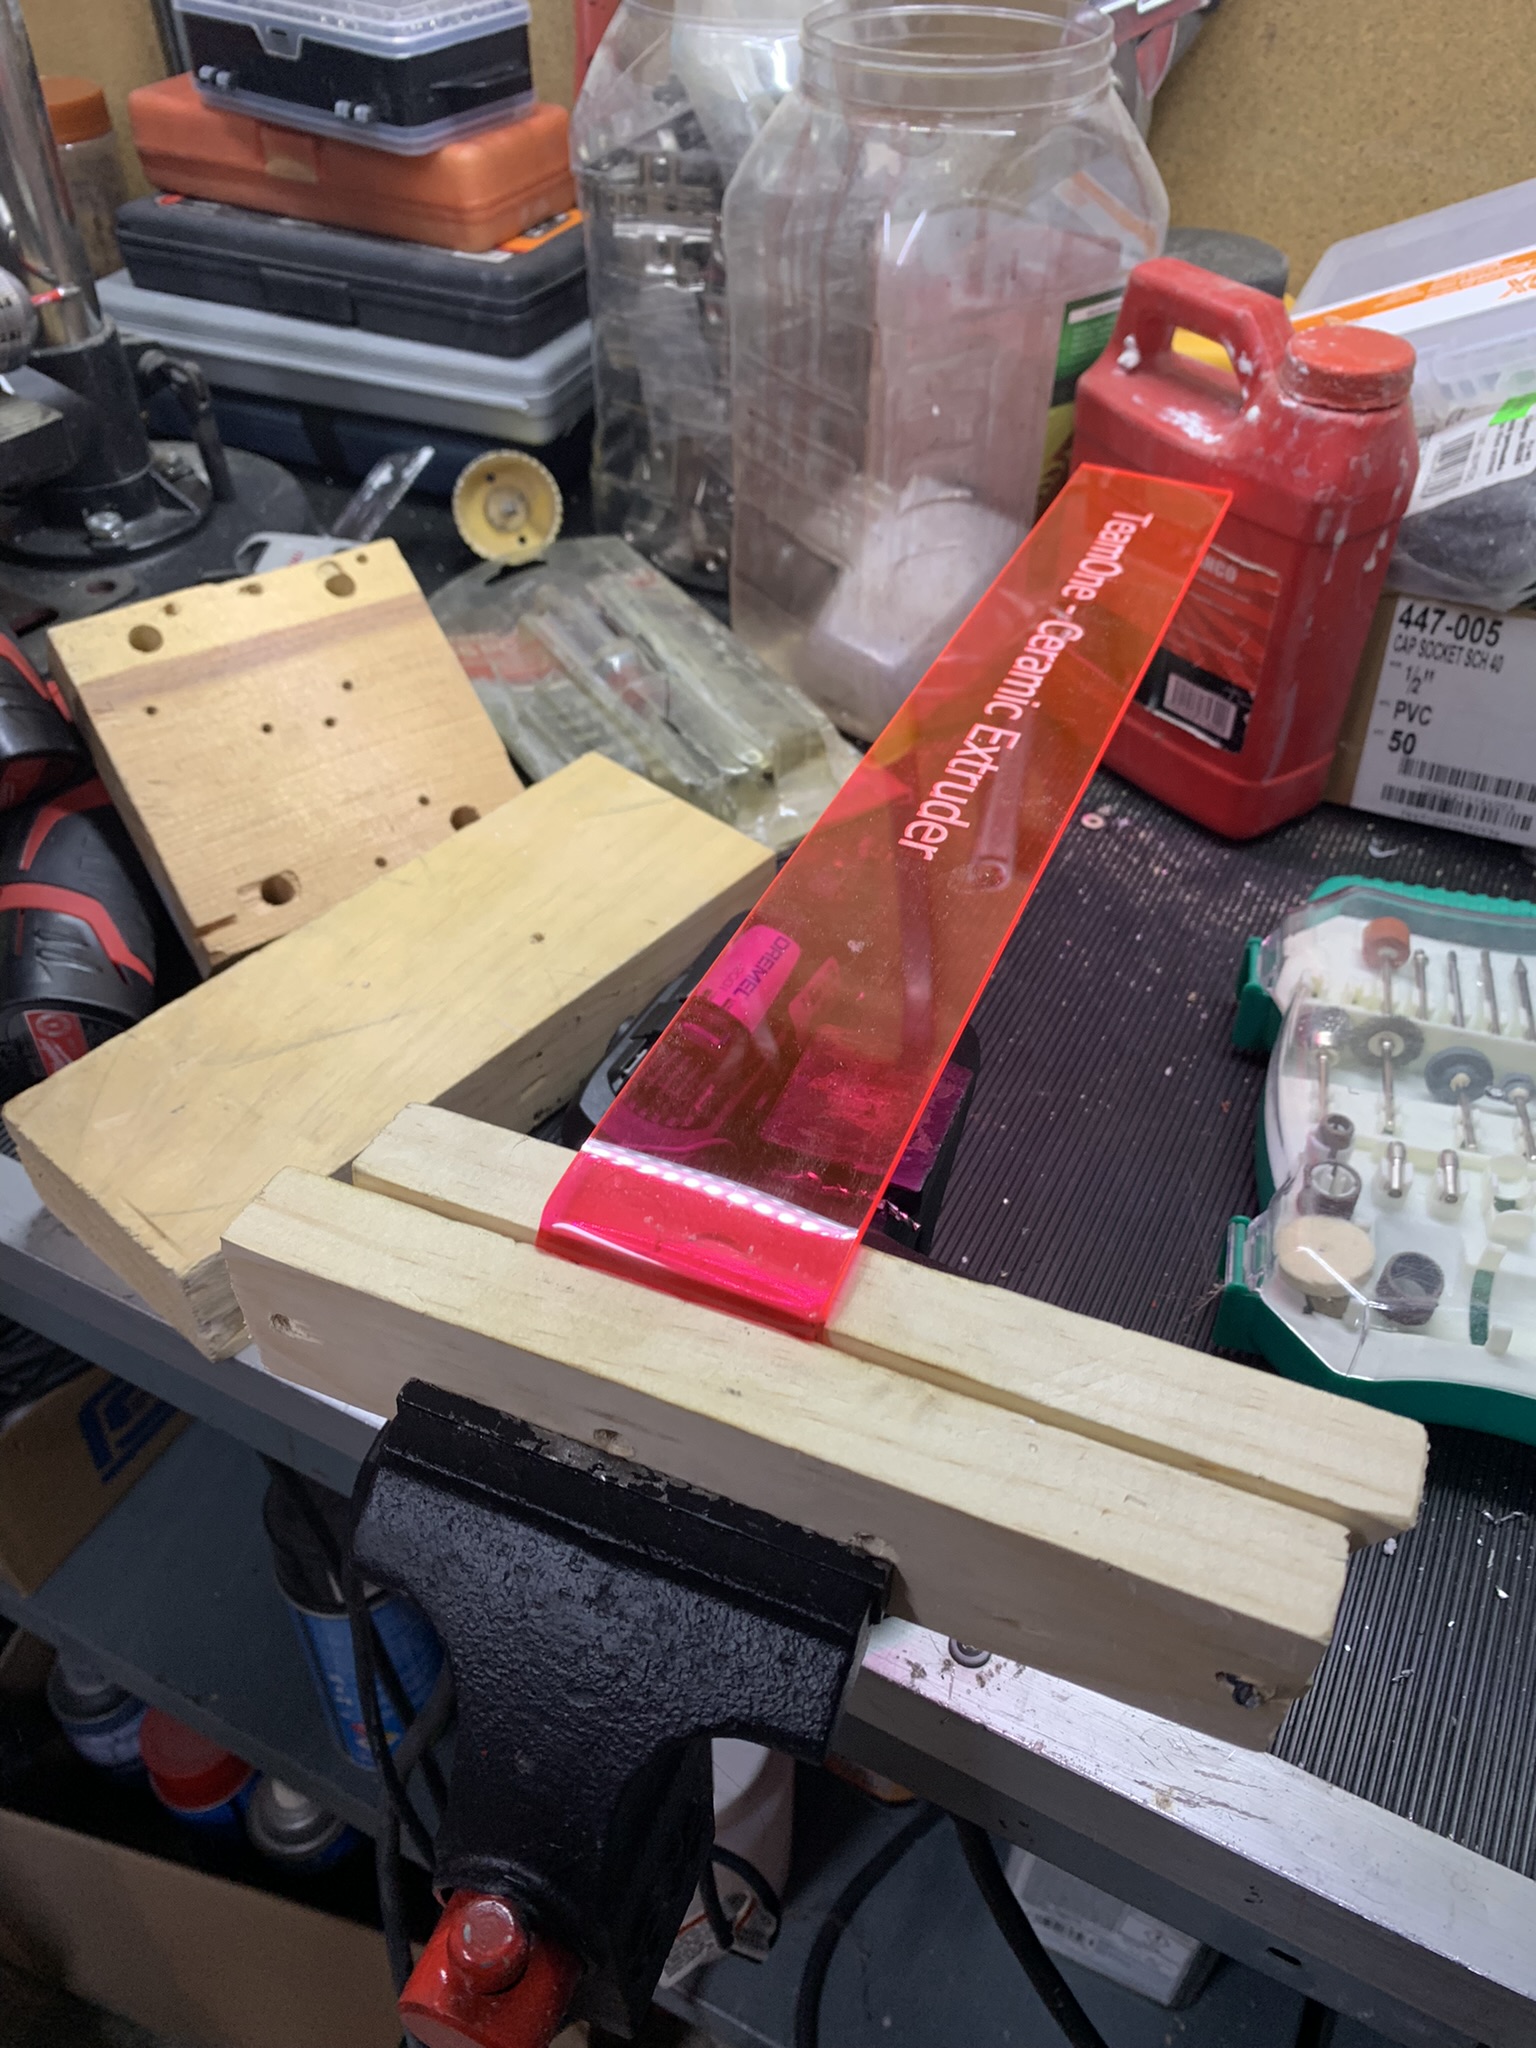
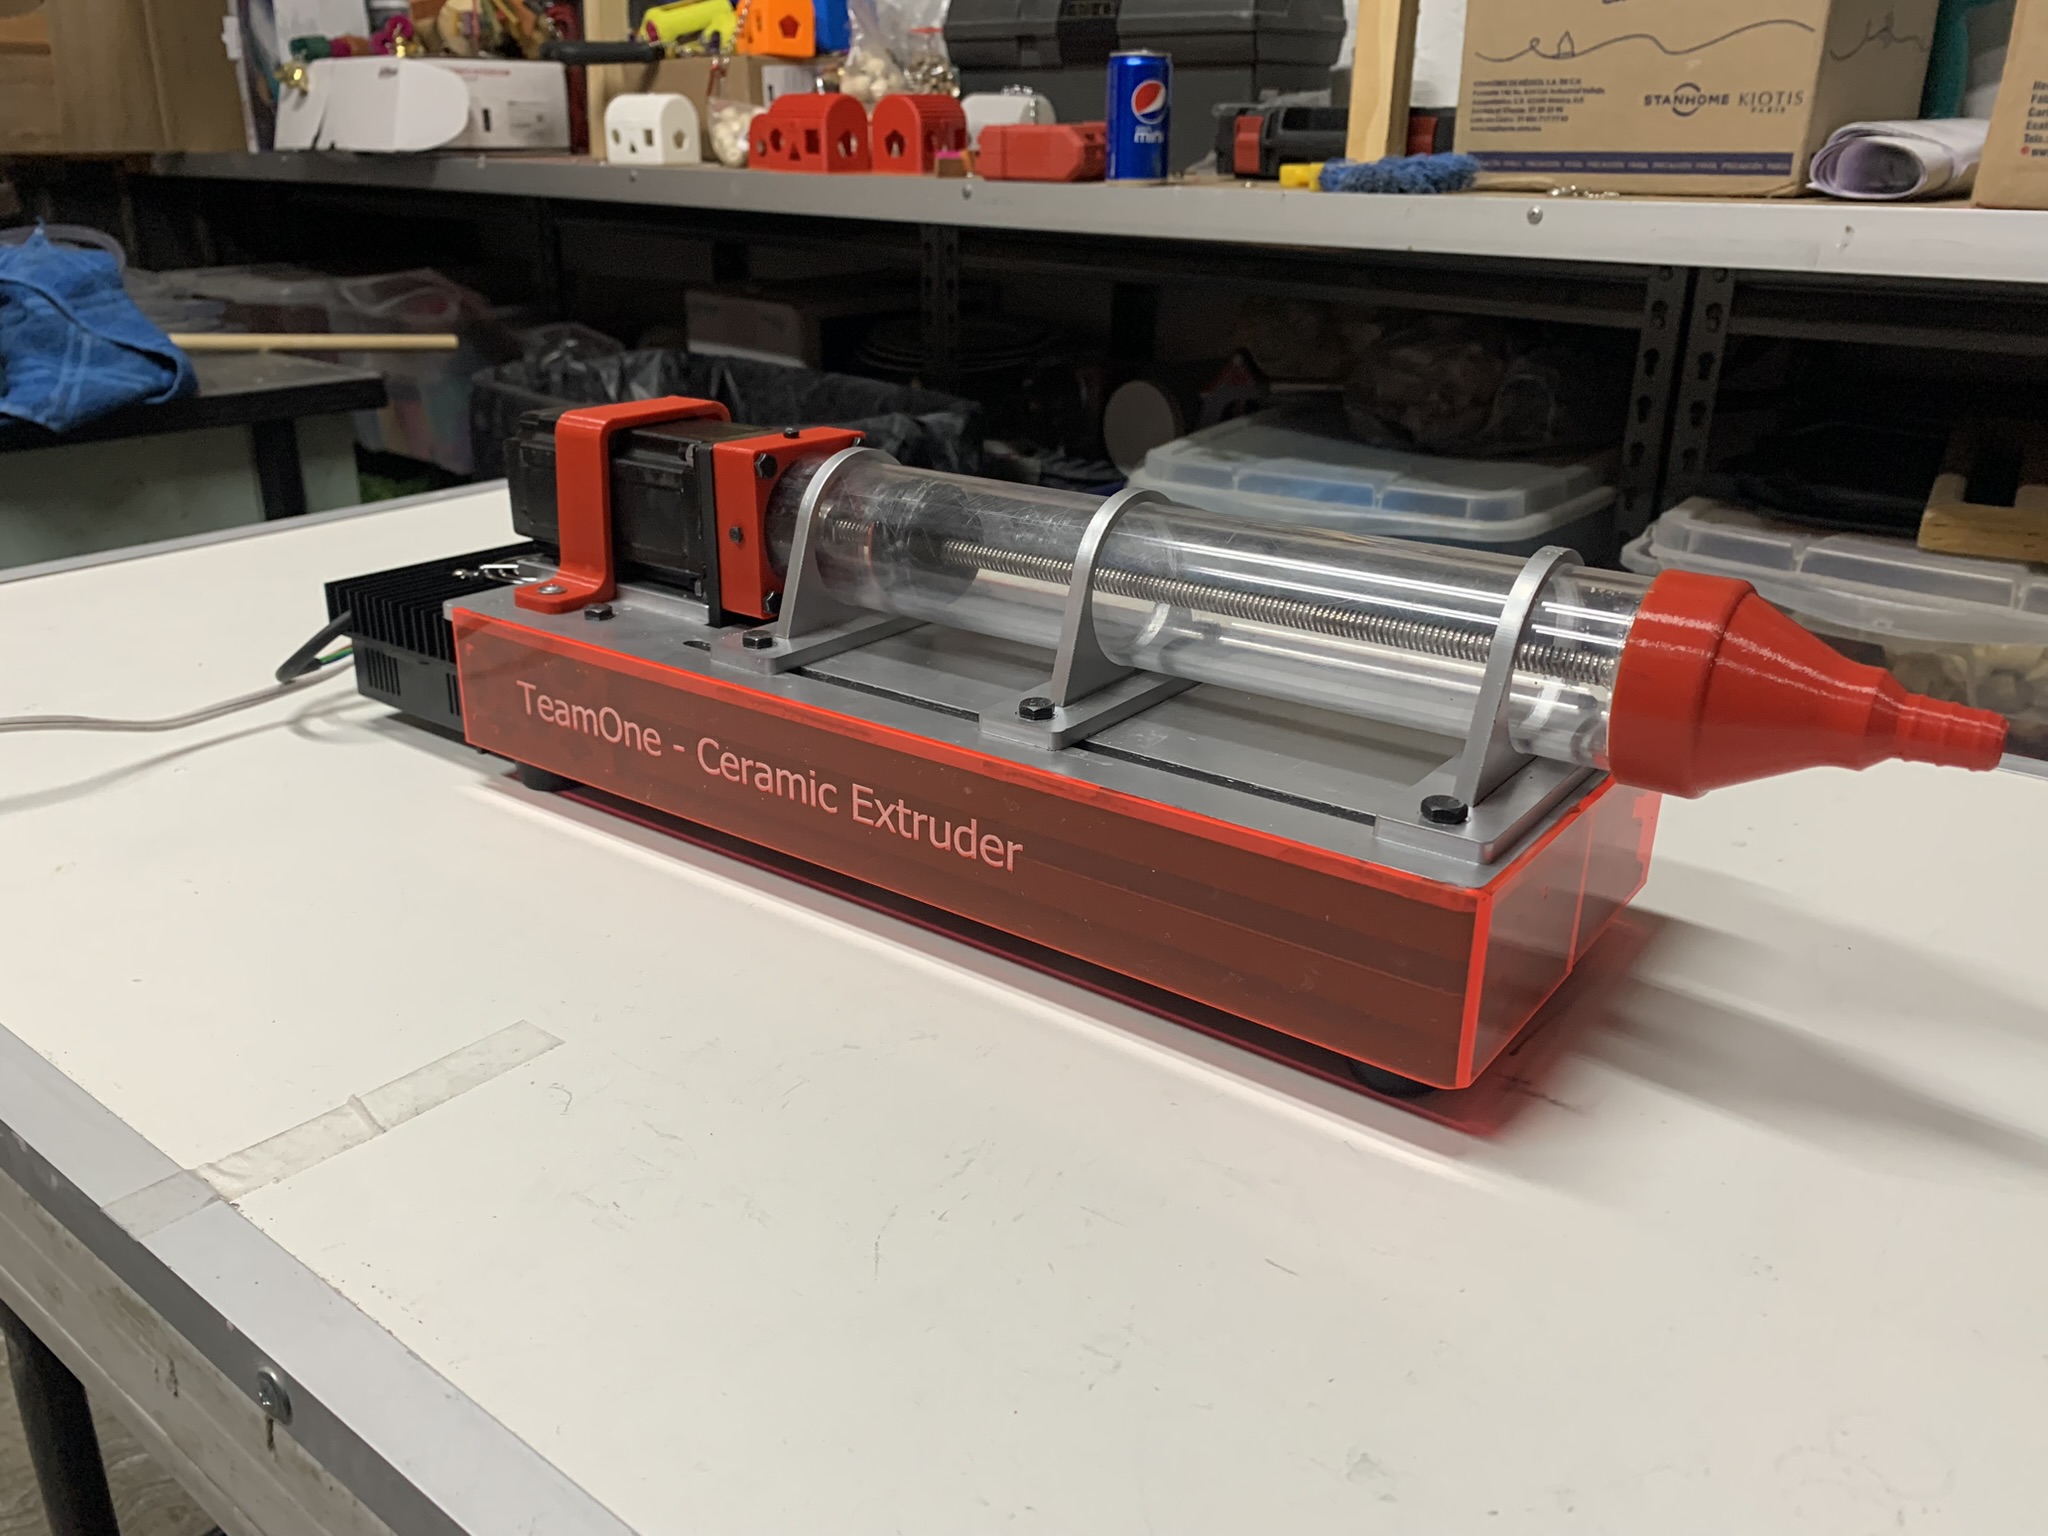
I then laser cut some red translucent acrylic and engraved it with our machine's branding on the sides to create de decorative veneer for the extruder unit. To mould it into the machine's shape though I used a heat gun to bend the previously cut acrylic.
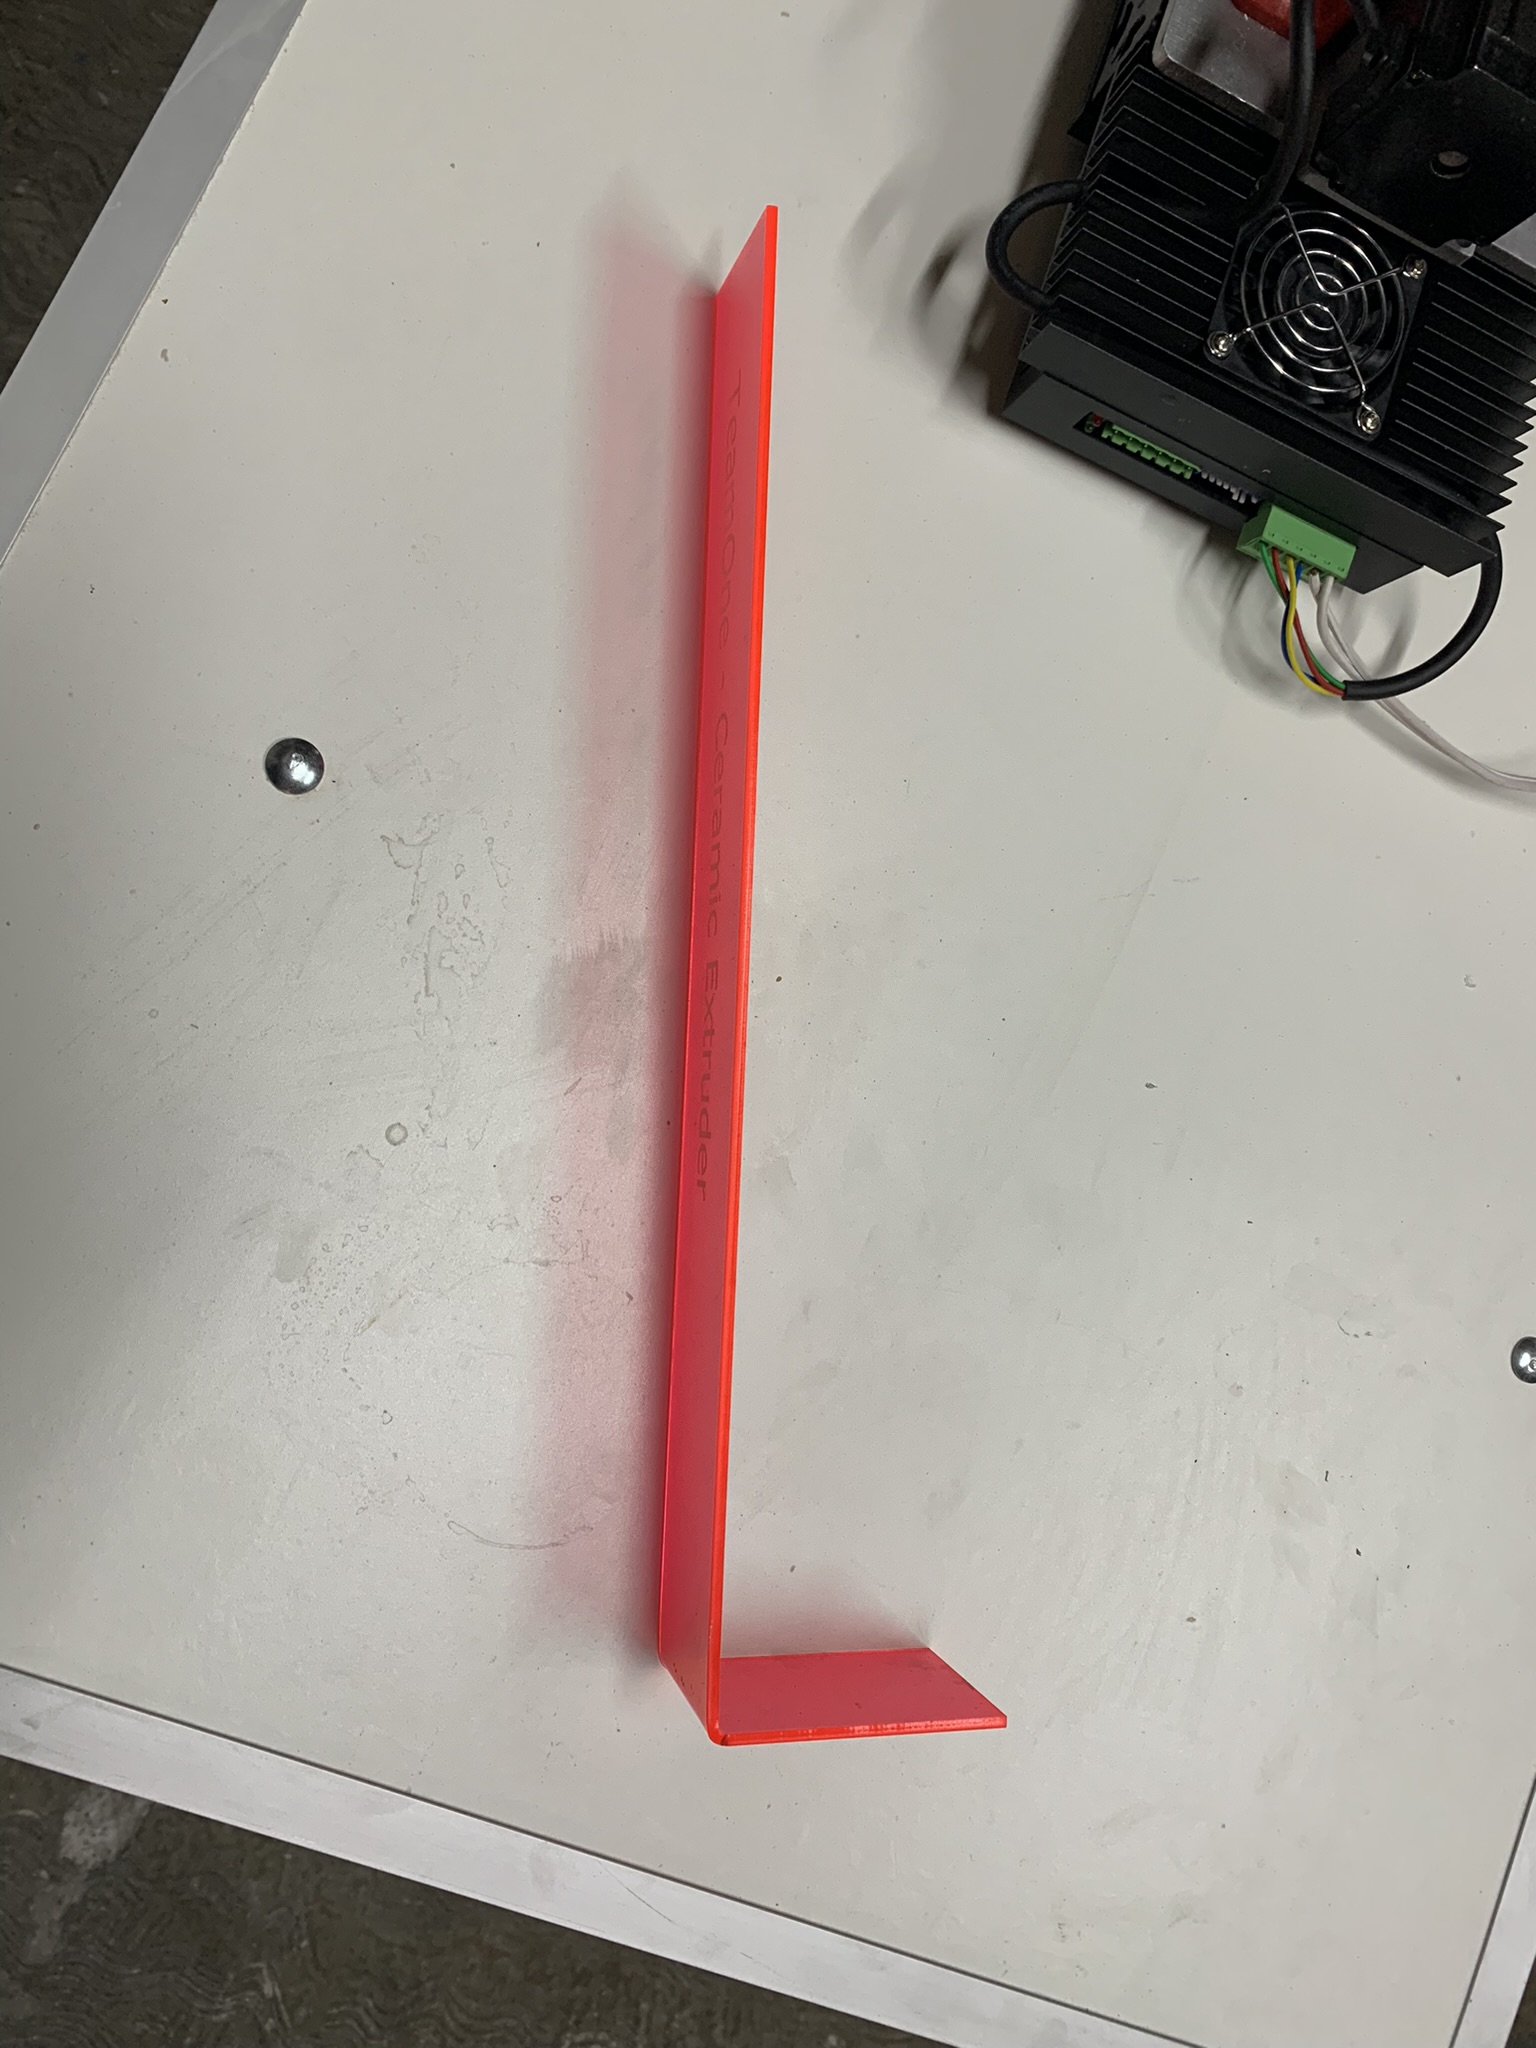
This is then the finished product, for which I feel really proud of!
4. Possible Improvements
Altough we acieved a nice-looking, and working ceramic 3D printer, there are many improvements we can do:
- Devise a way to make the loading of ceramic compound into the extruder easier.
- Design the extruder and nozzle in favor of ease of cleaning.
- Create a specially-purposed PCB design for the controller that fully incorporates Salvador's work.
- Create a nicer product image.
- Further investigate other ceramic compounds.
- Implement a larger compound tank to allow for bigger prints.
Thank you for taking a look into this 10th week's progress!